Tag Archives: washi tape

Whoa! It’s already flipping Friday. I can’t be the only person who wakes up on a Friday morning to realize the whole week flew by. I am usually lost as to what day it is and I can thank working from home for that. My birthday was two days ago and I am still getting so much love and support from the post I wrote. If you did not hear the big news I suggest reading it. I feel like I did when I was a senior in high school, 105 pounds. I mean, I don’t weigh that now but that is how much weight I feel is lifted. Poo Yi, that’s a lot huh! On to my DIY post of the day.

Today I will be showing you how to make washi tape magnets. This tutorial is so stinking easy you could do it in your sleep. Eh, not really but you get it. Let’s get it Jaderbugs! Check out my Spotify playlist that I listened to while working on this post!

washi tape magnets

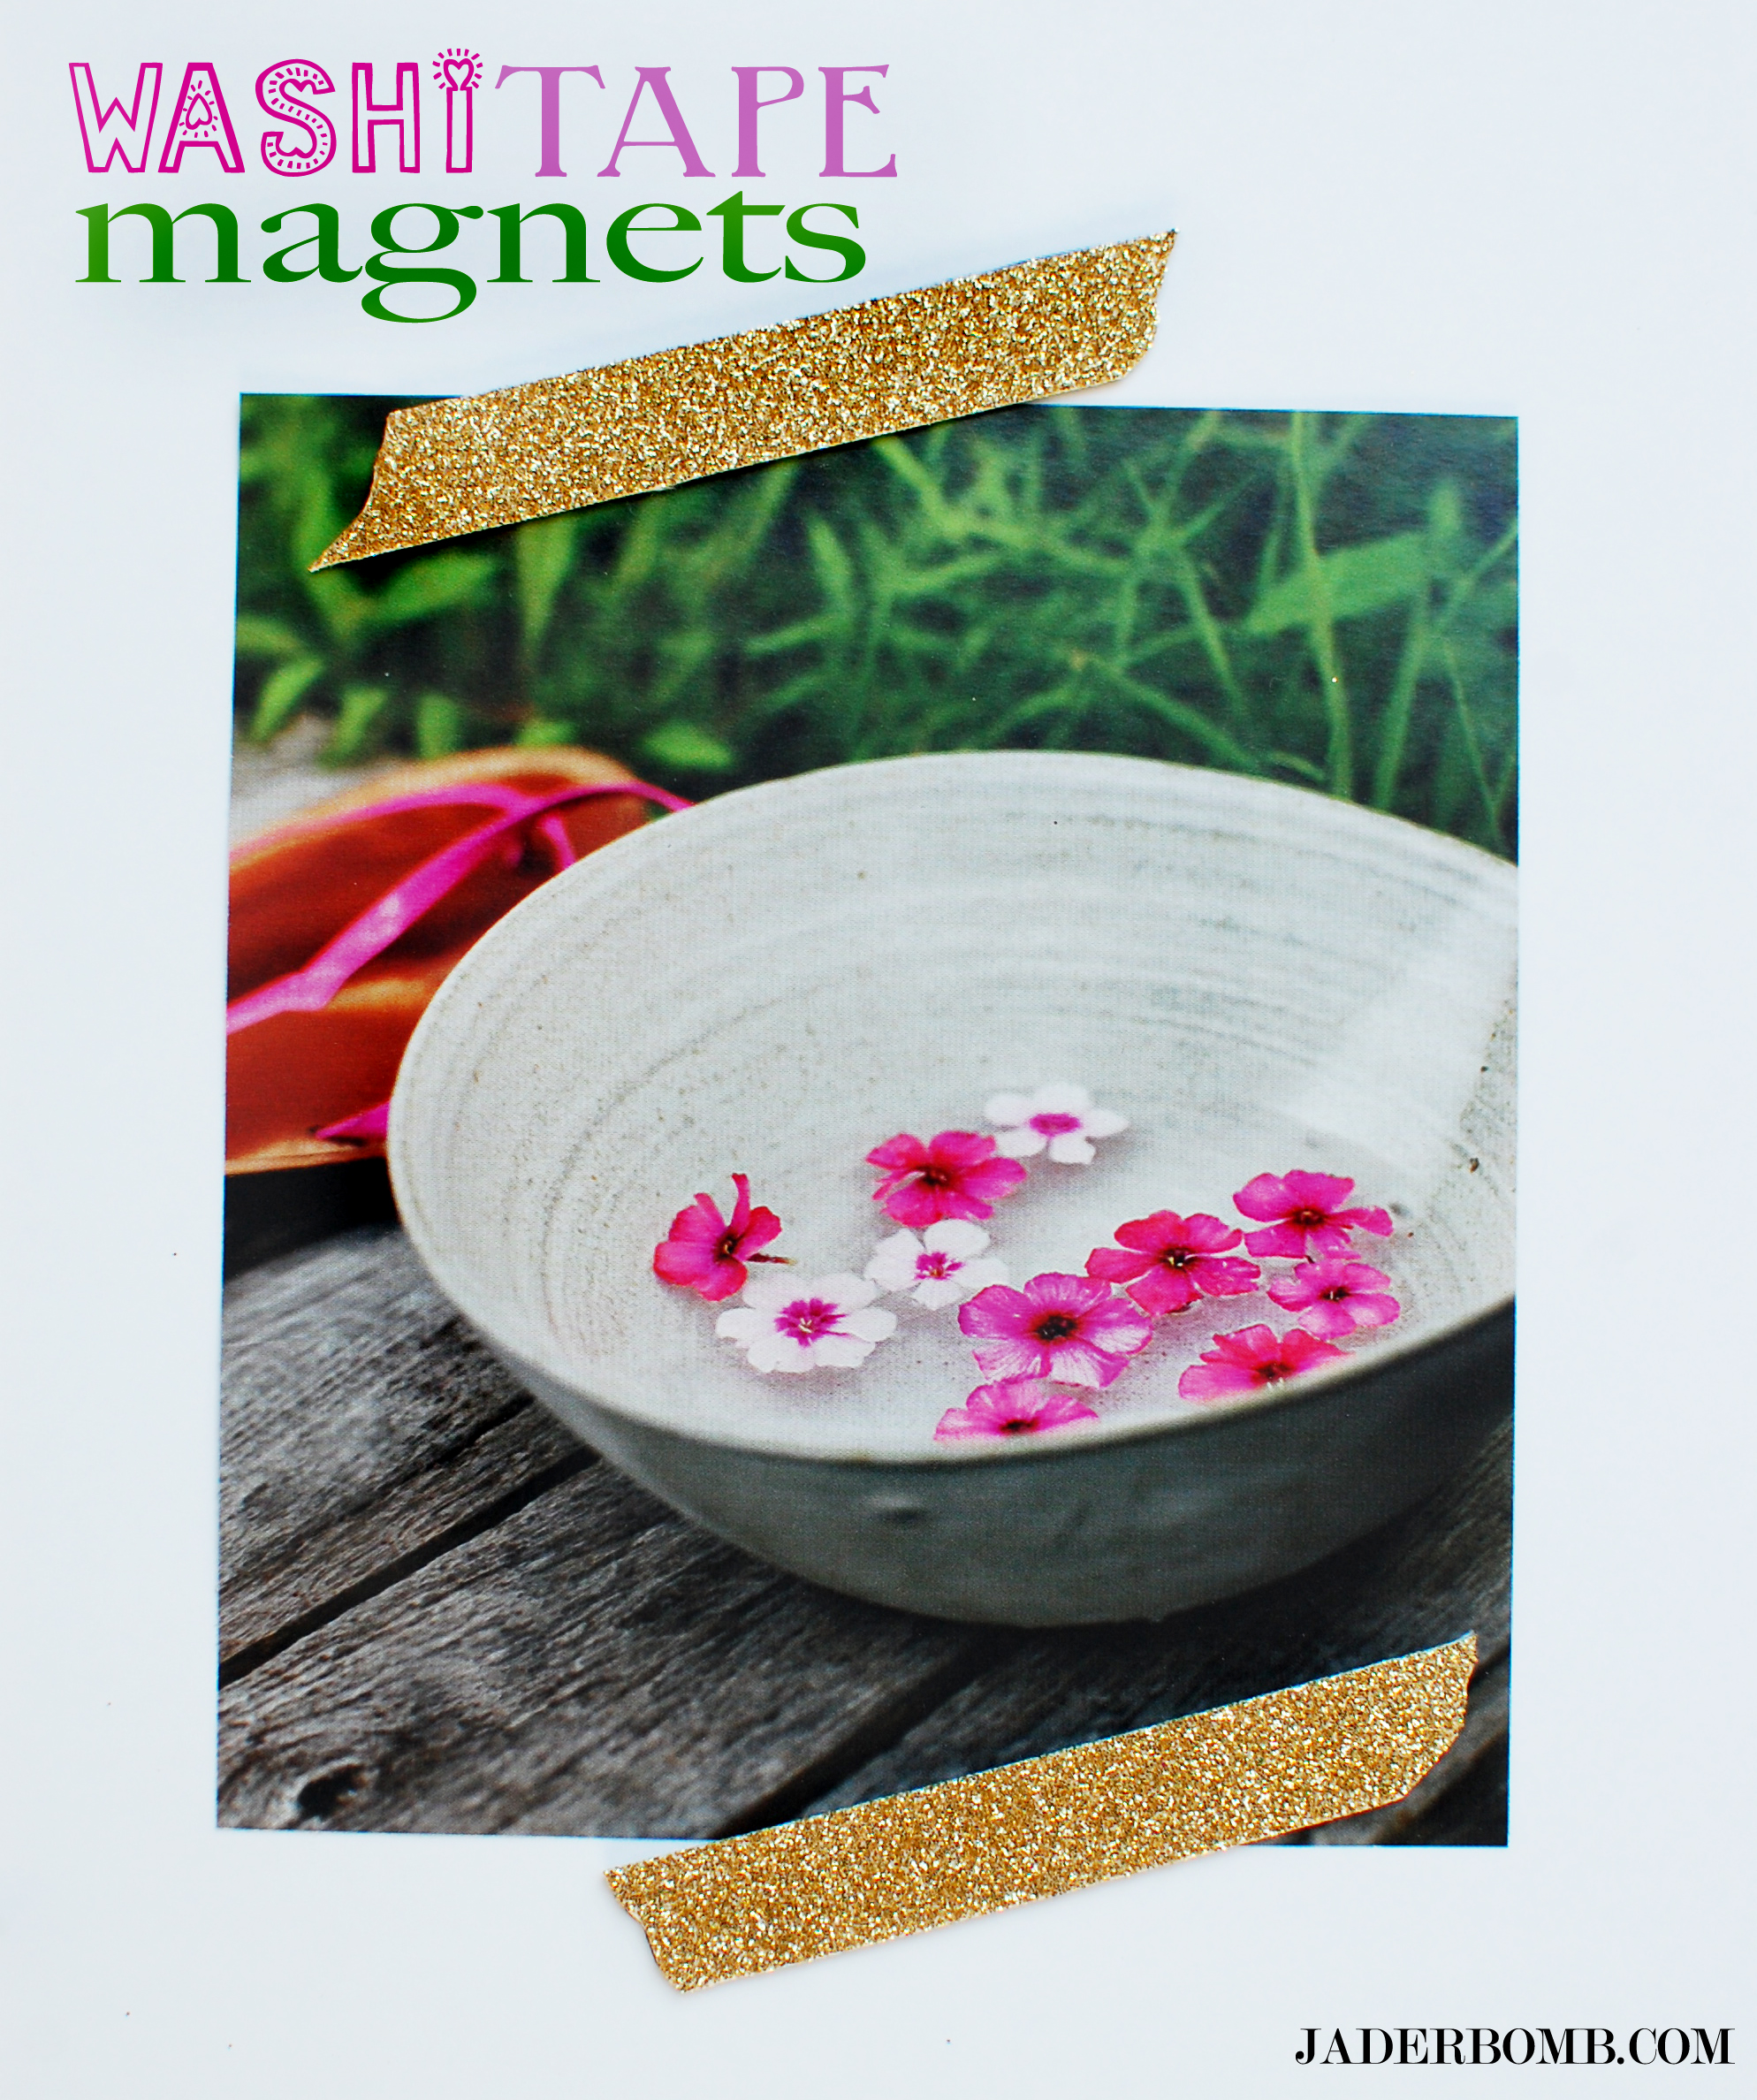
I am very happy with they way they turned out. Personally I love putting everything on my fridge so I can never have enough magnets. The best part is you can use any color paper, fabric, glitter or tissue paper. It’s all up to you. I will be putting some up in my ETSY shop soon just in case you don’t have the materials to make or if you just don’t feel like making them. You should check out all of my new items that I just listed. Super cute!
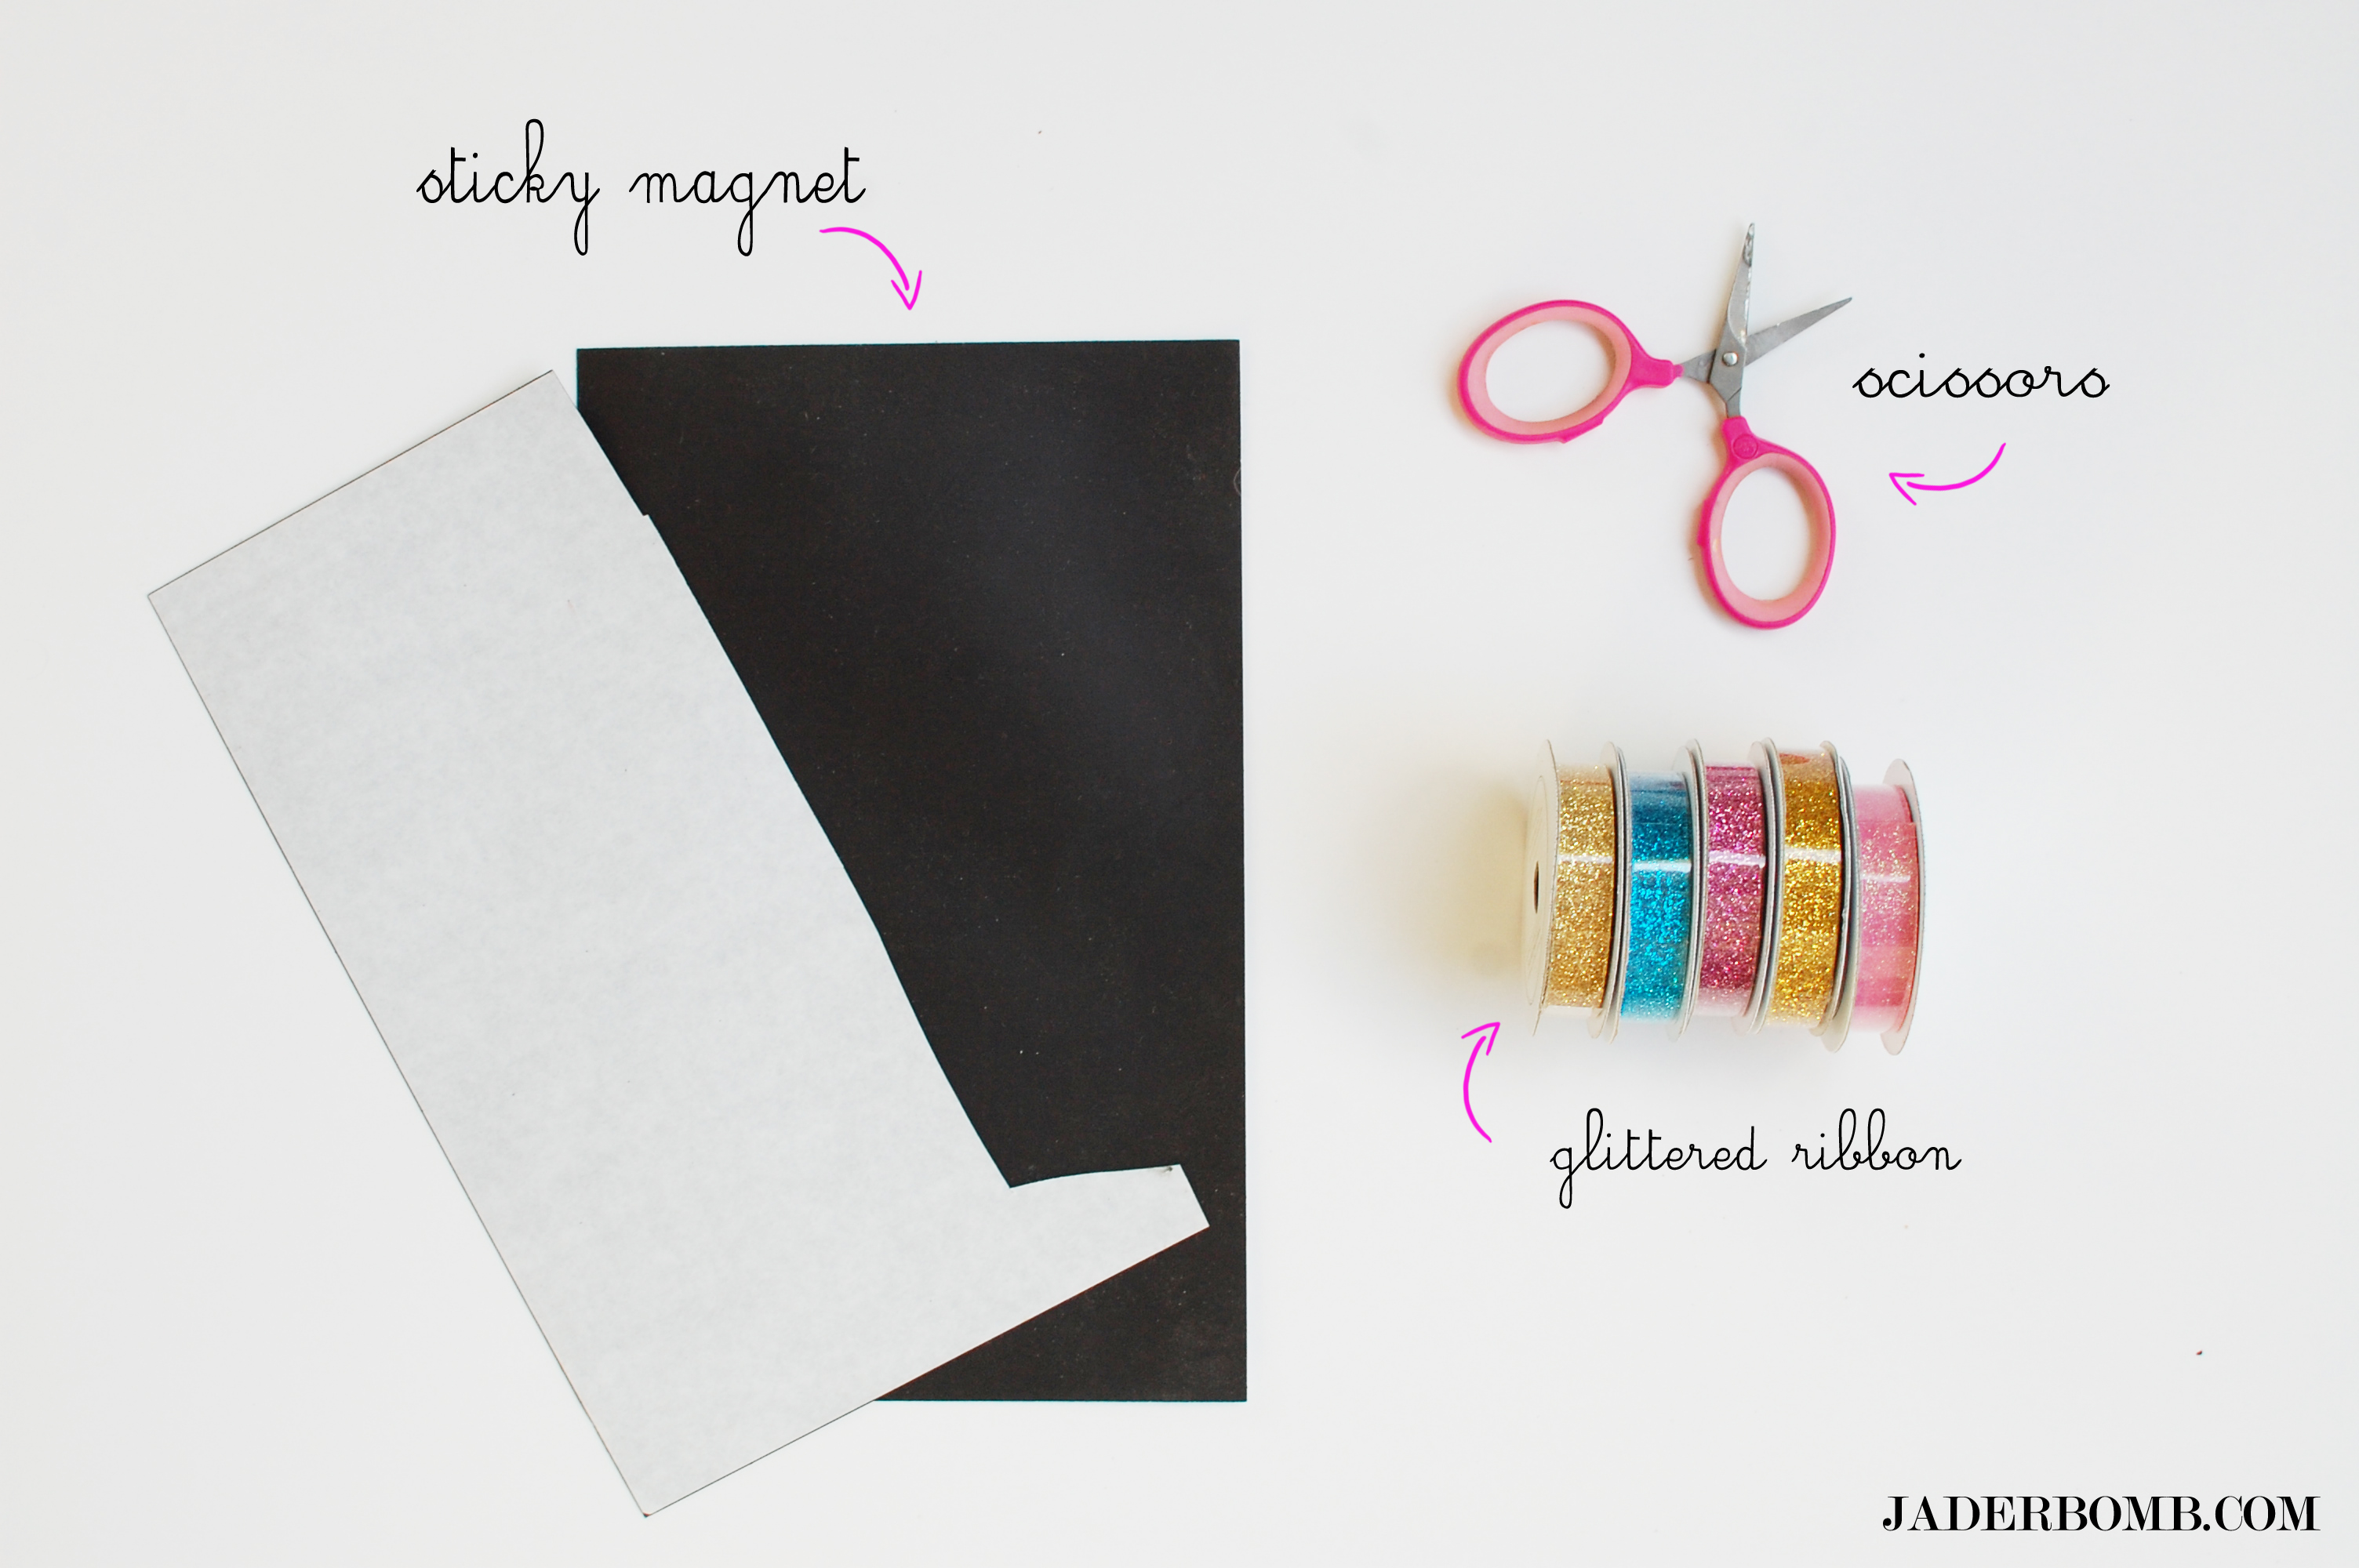
you will need

Sticky Magnet Scissors | Glitter Ribbon

washi tape magnets

washi tape magnets

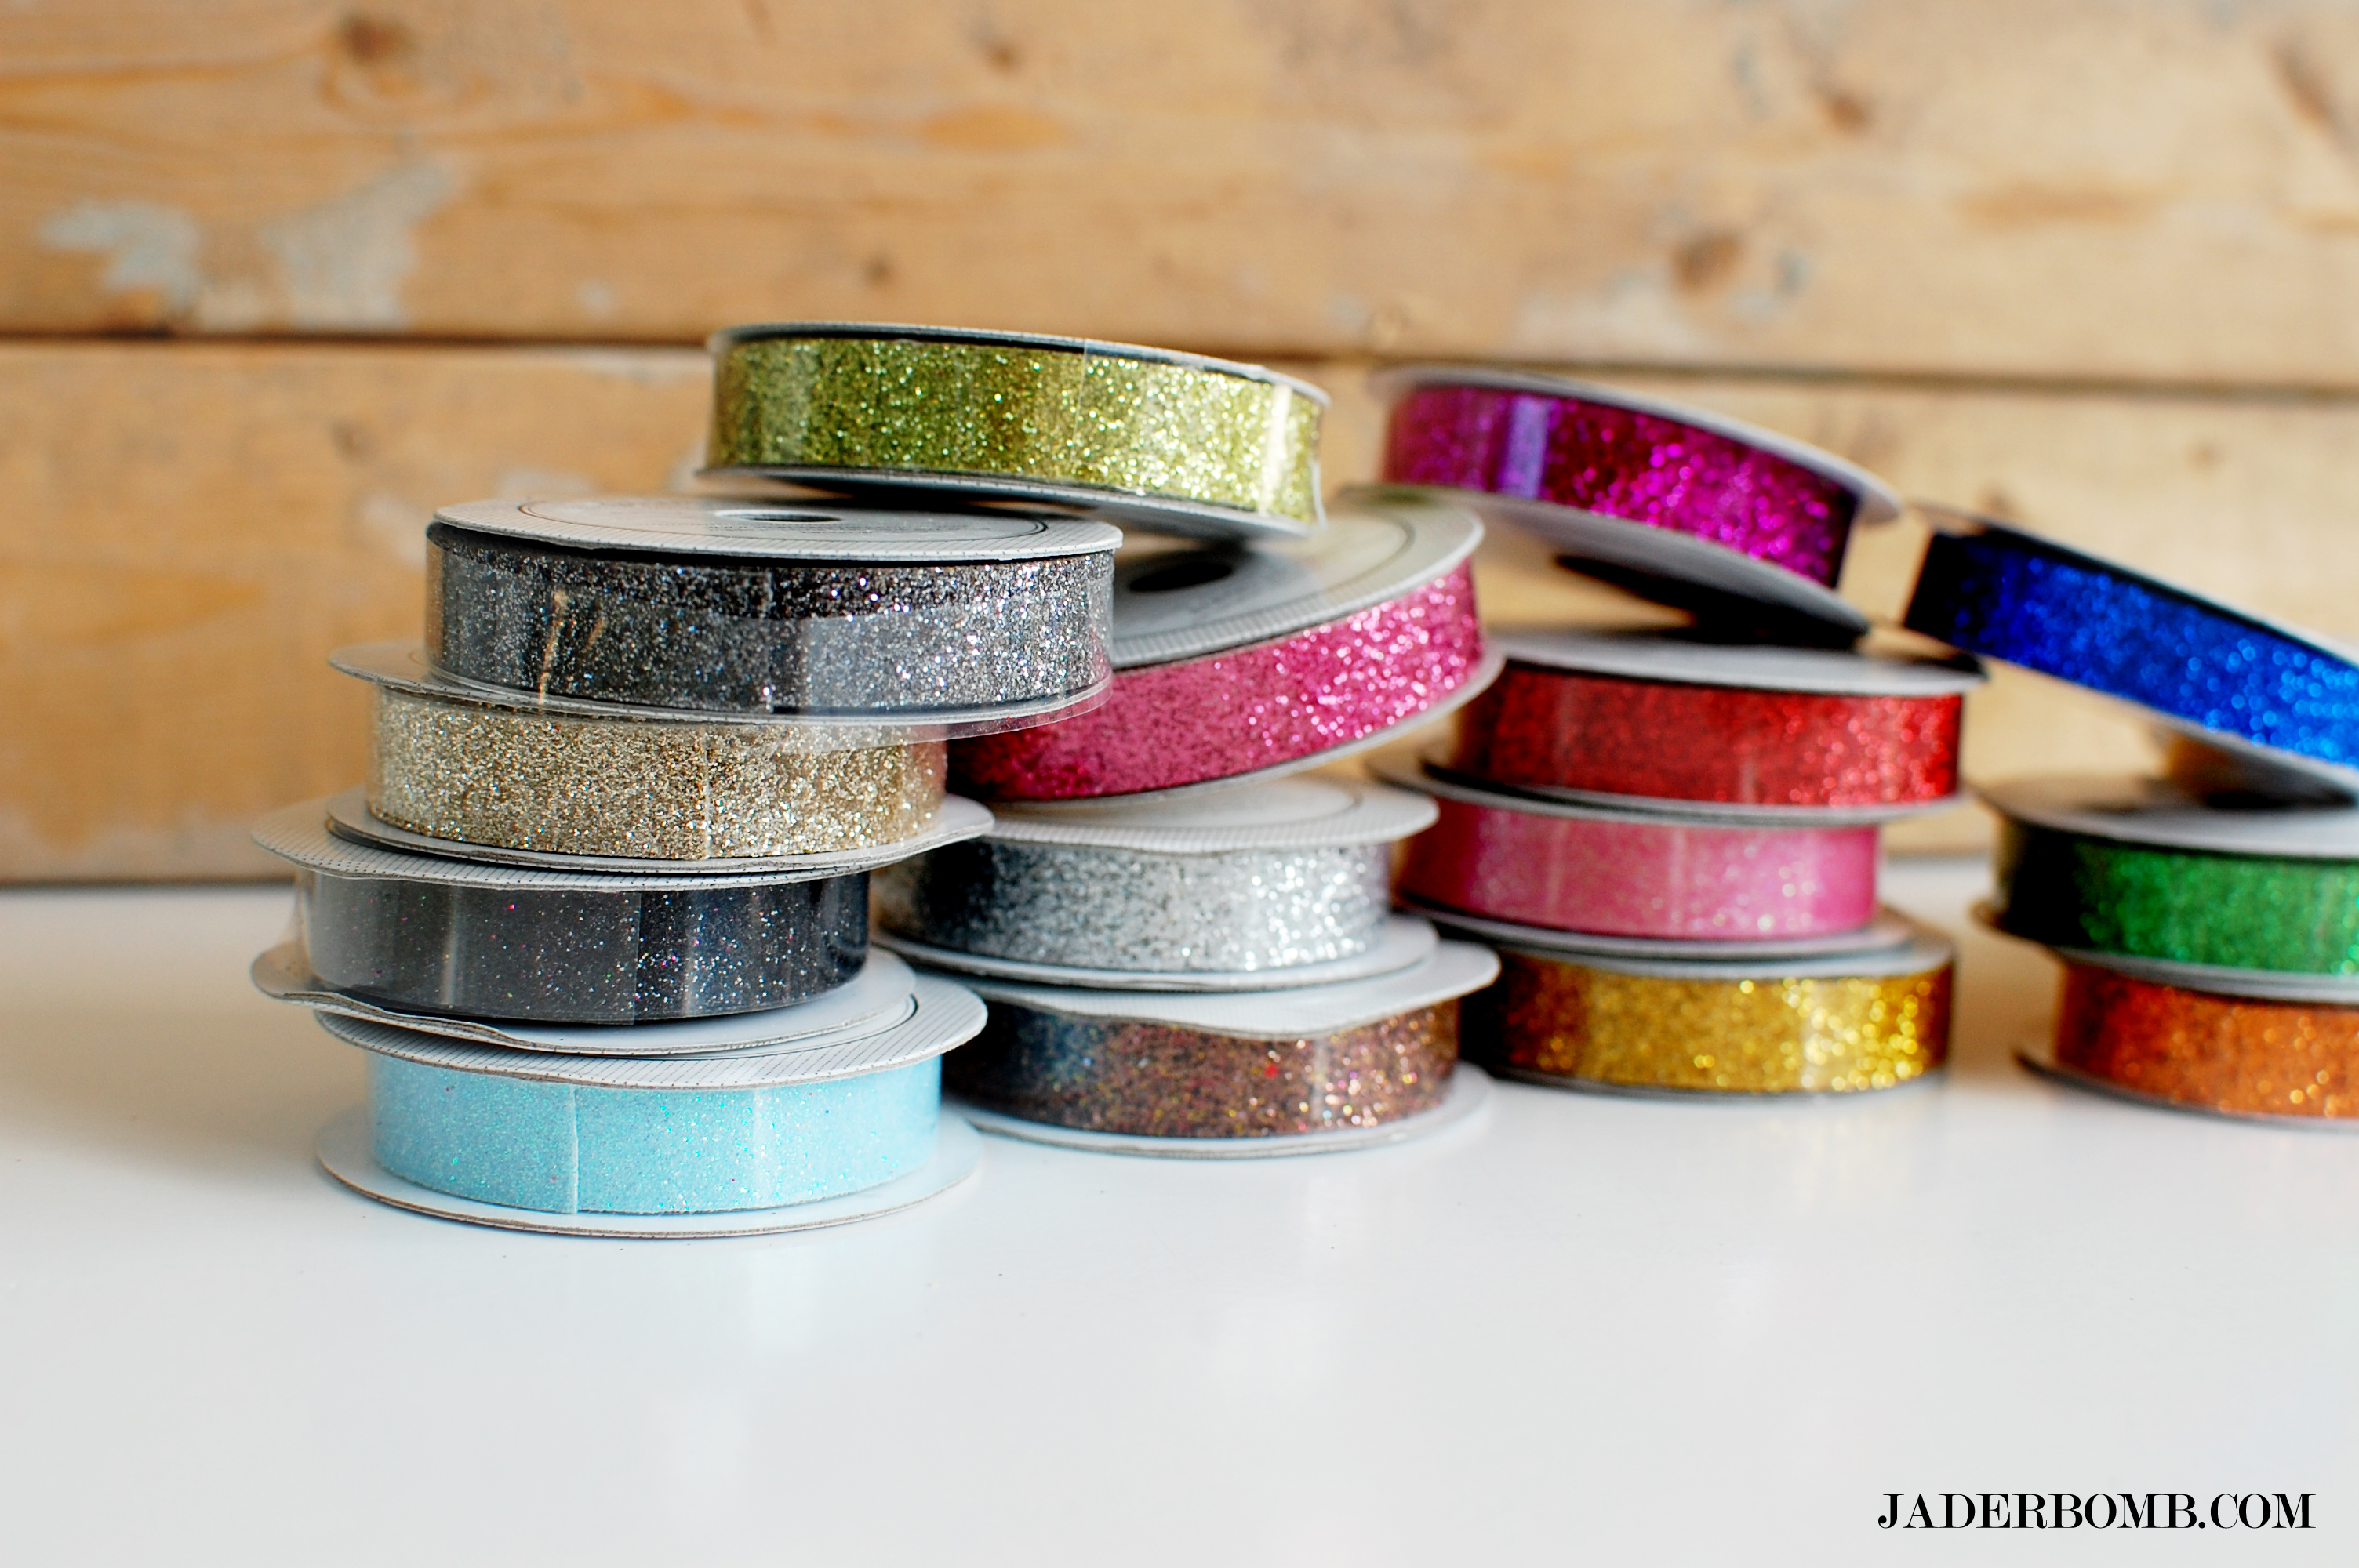
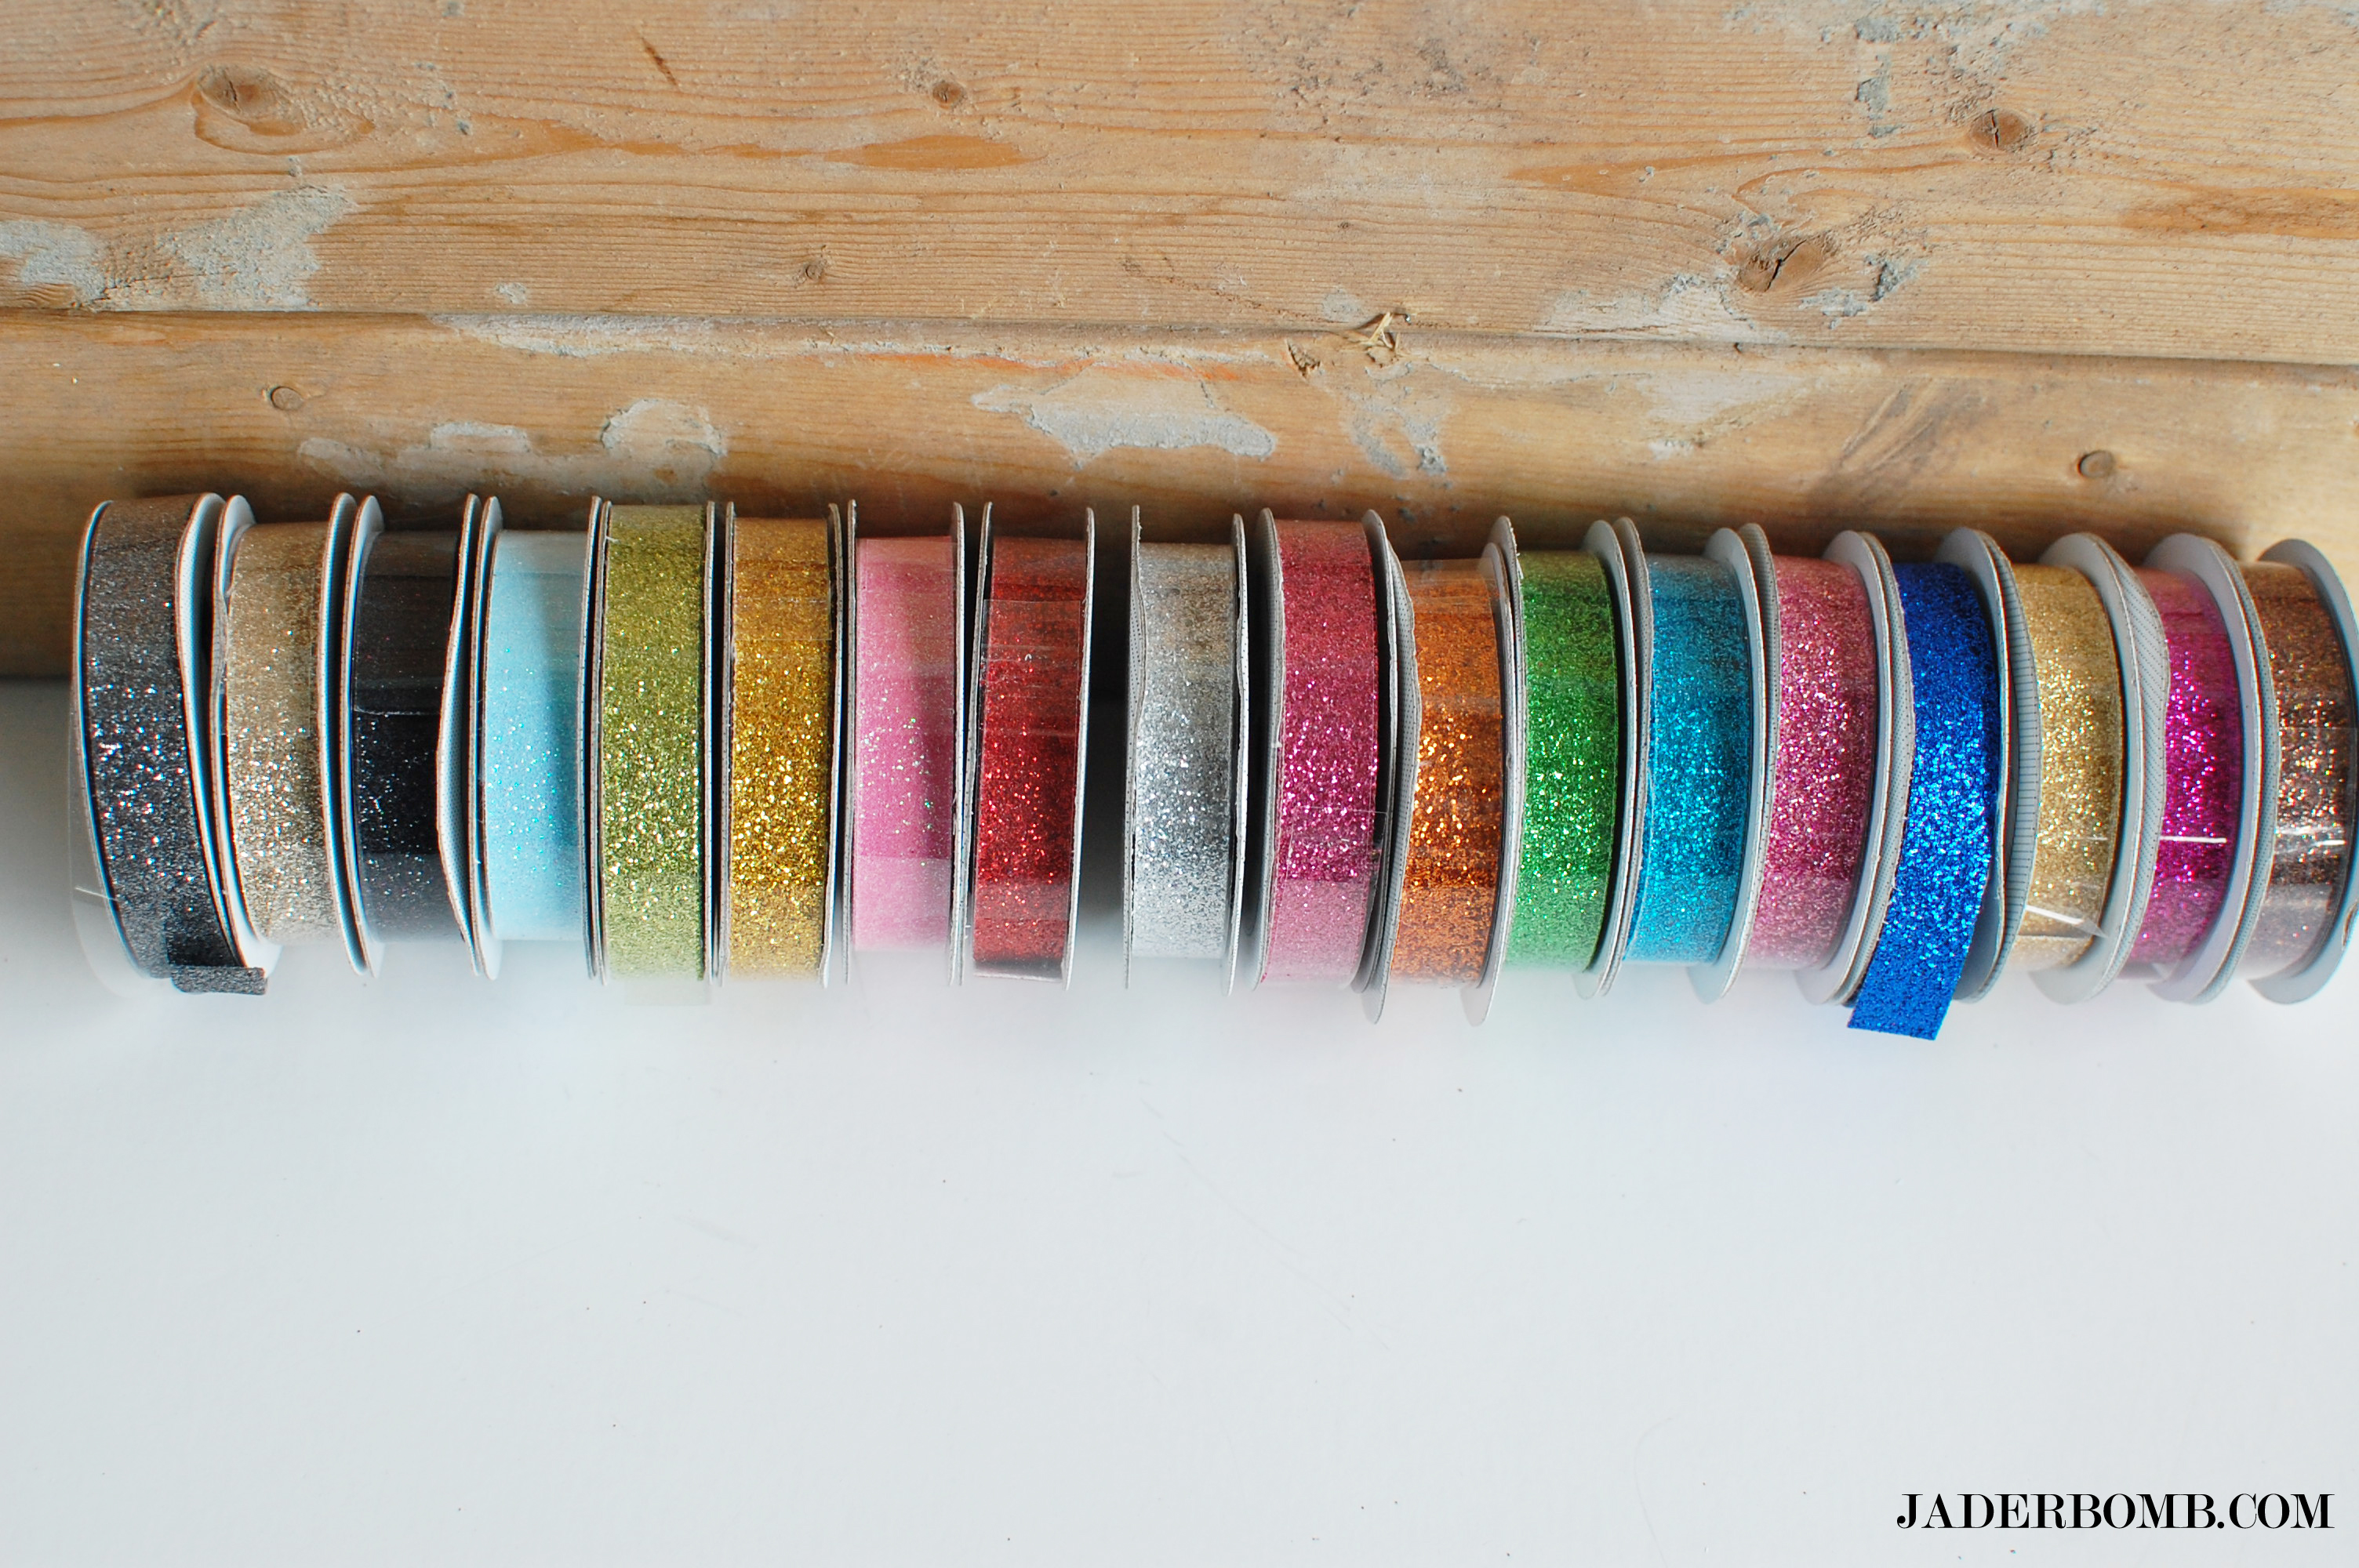
You can use any shade of ribbon that you like. The fun part is you can mix up your colors and have a variety on your fridge. Don’t stop on the fridge put these babies on your filing cabinet or on your face. I mean I don’t know about you but I am pretty magnetic. (shaking head here because I am ridiculous)

washi tape magnets

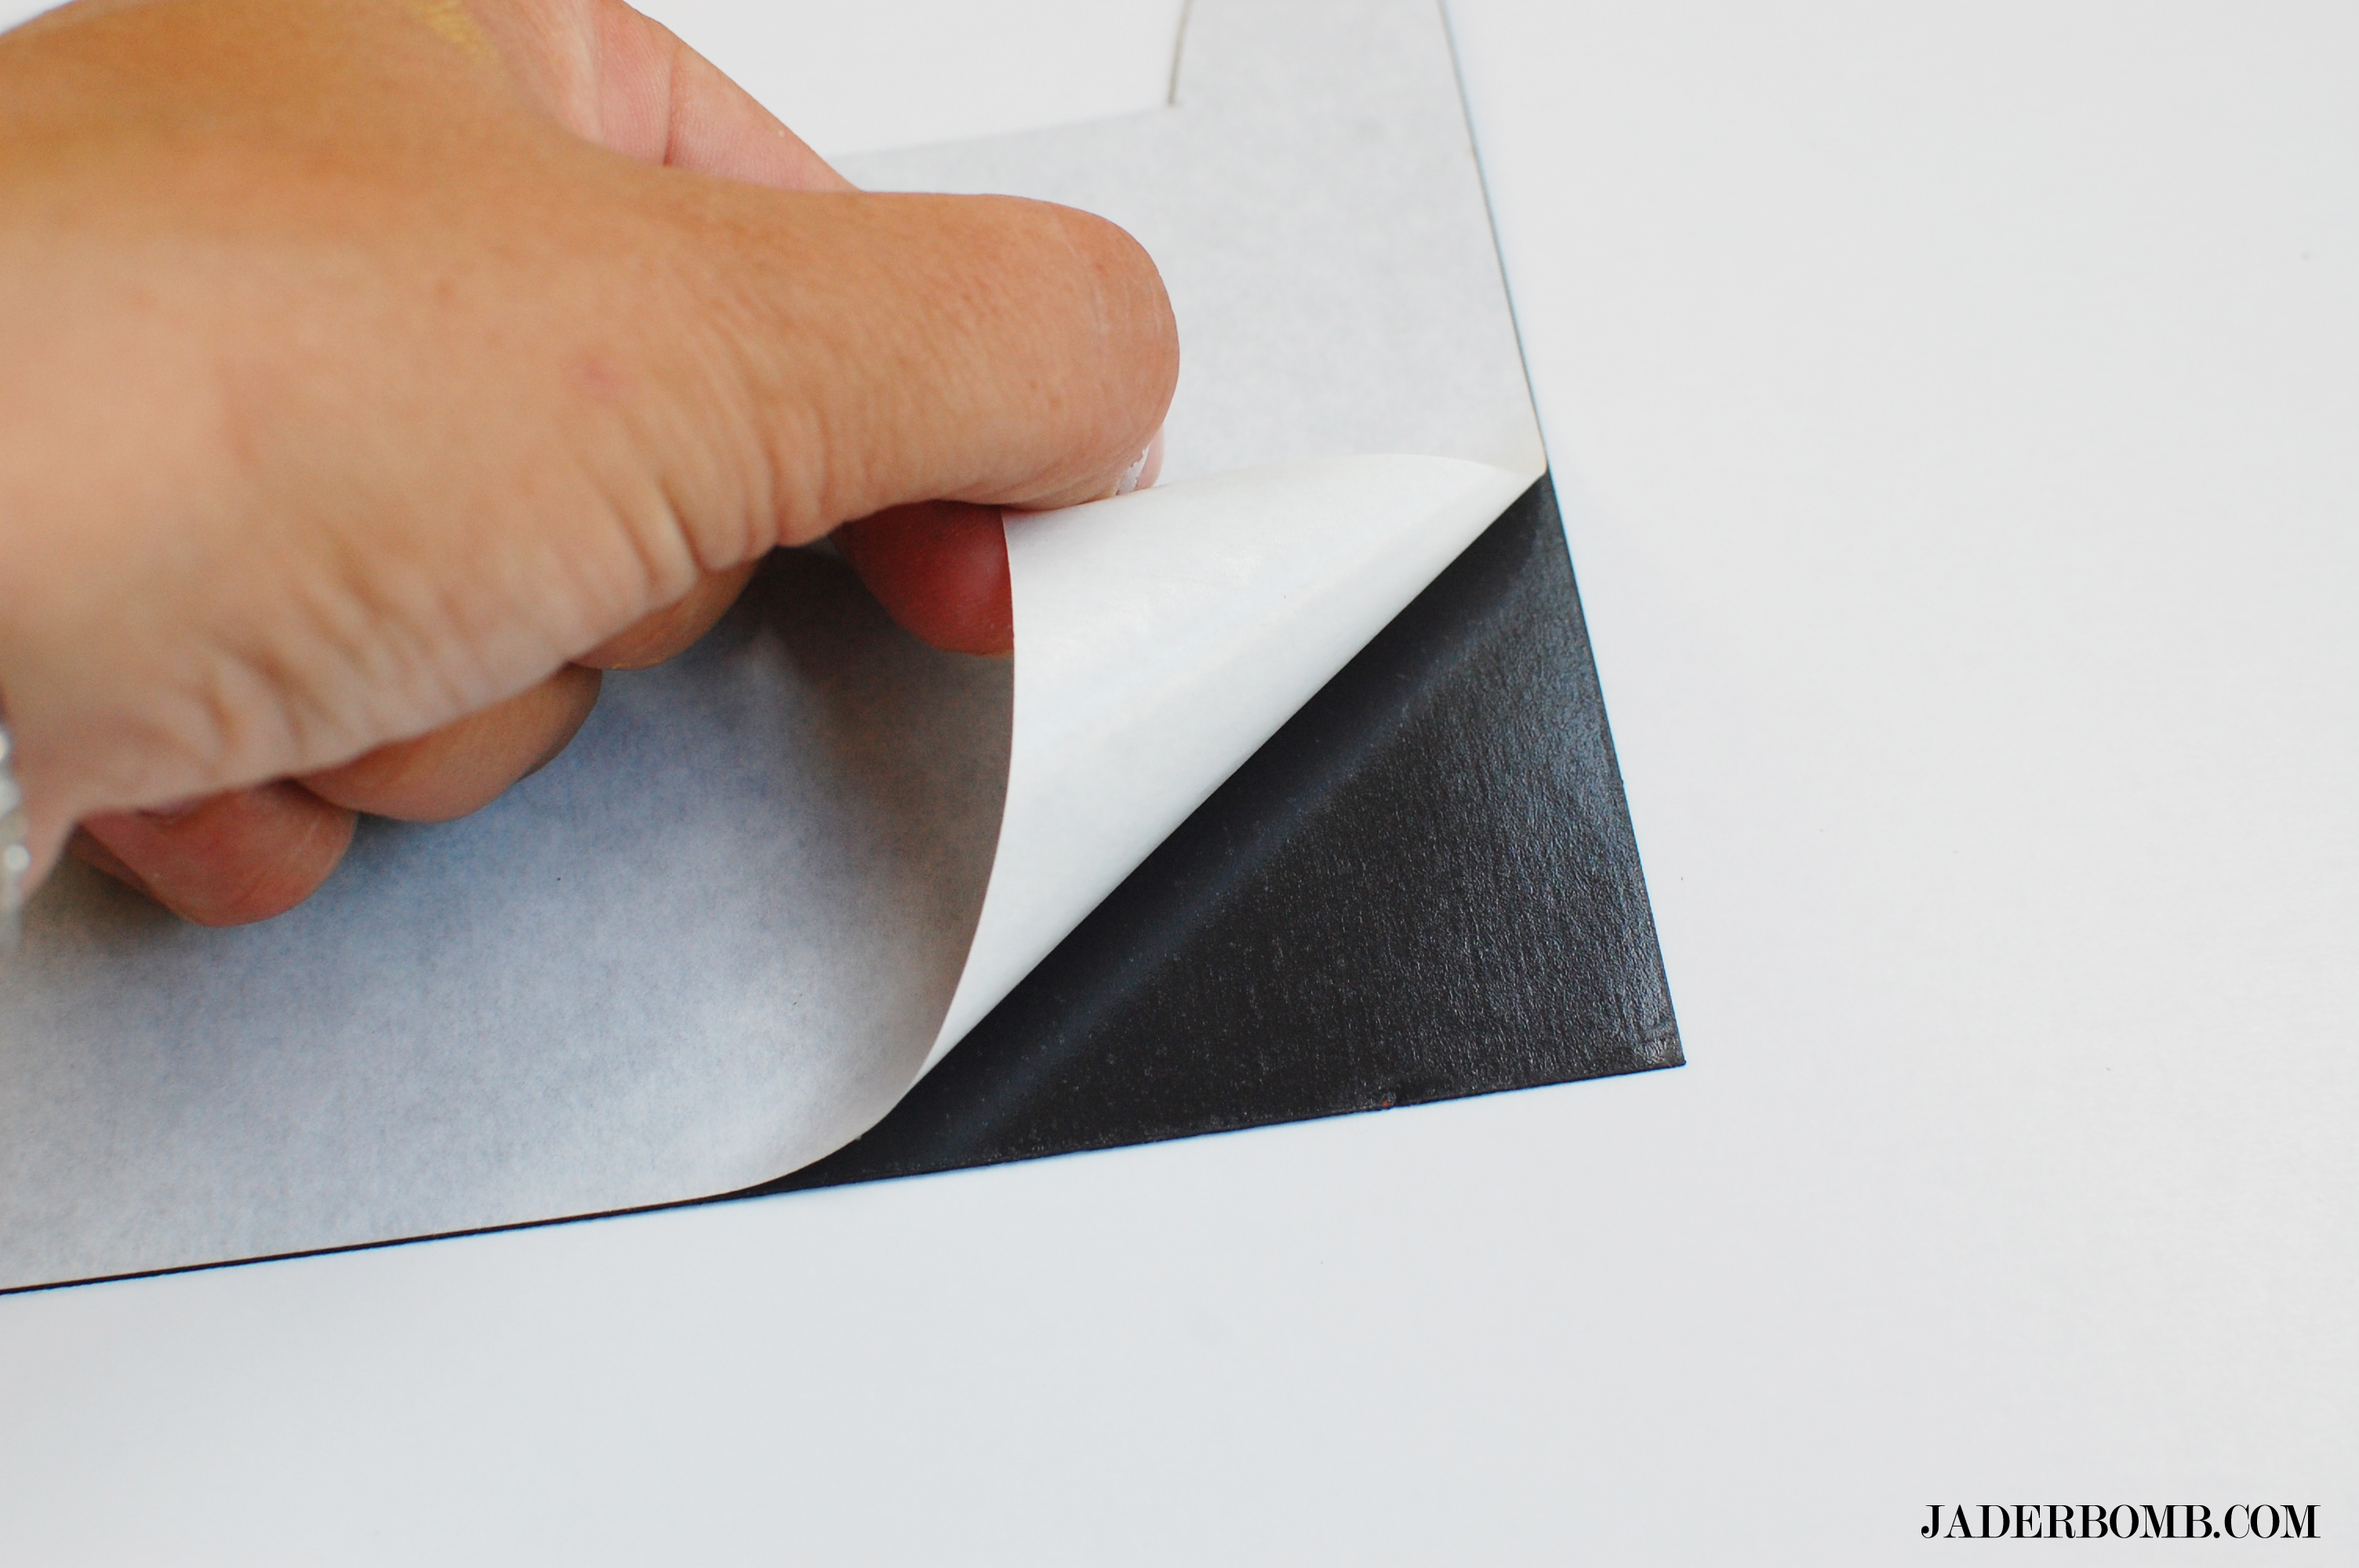
You can get these magnetic sheets anywhere. Seriously I bet the Dollar Store even has them but incase they don’t we can always depend on the trusty ole Wal-Mart. Kuddos Sam.

washi tape magnets

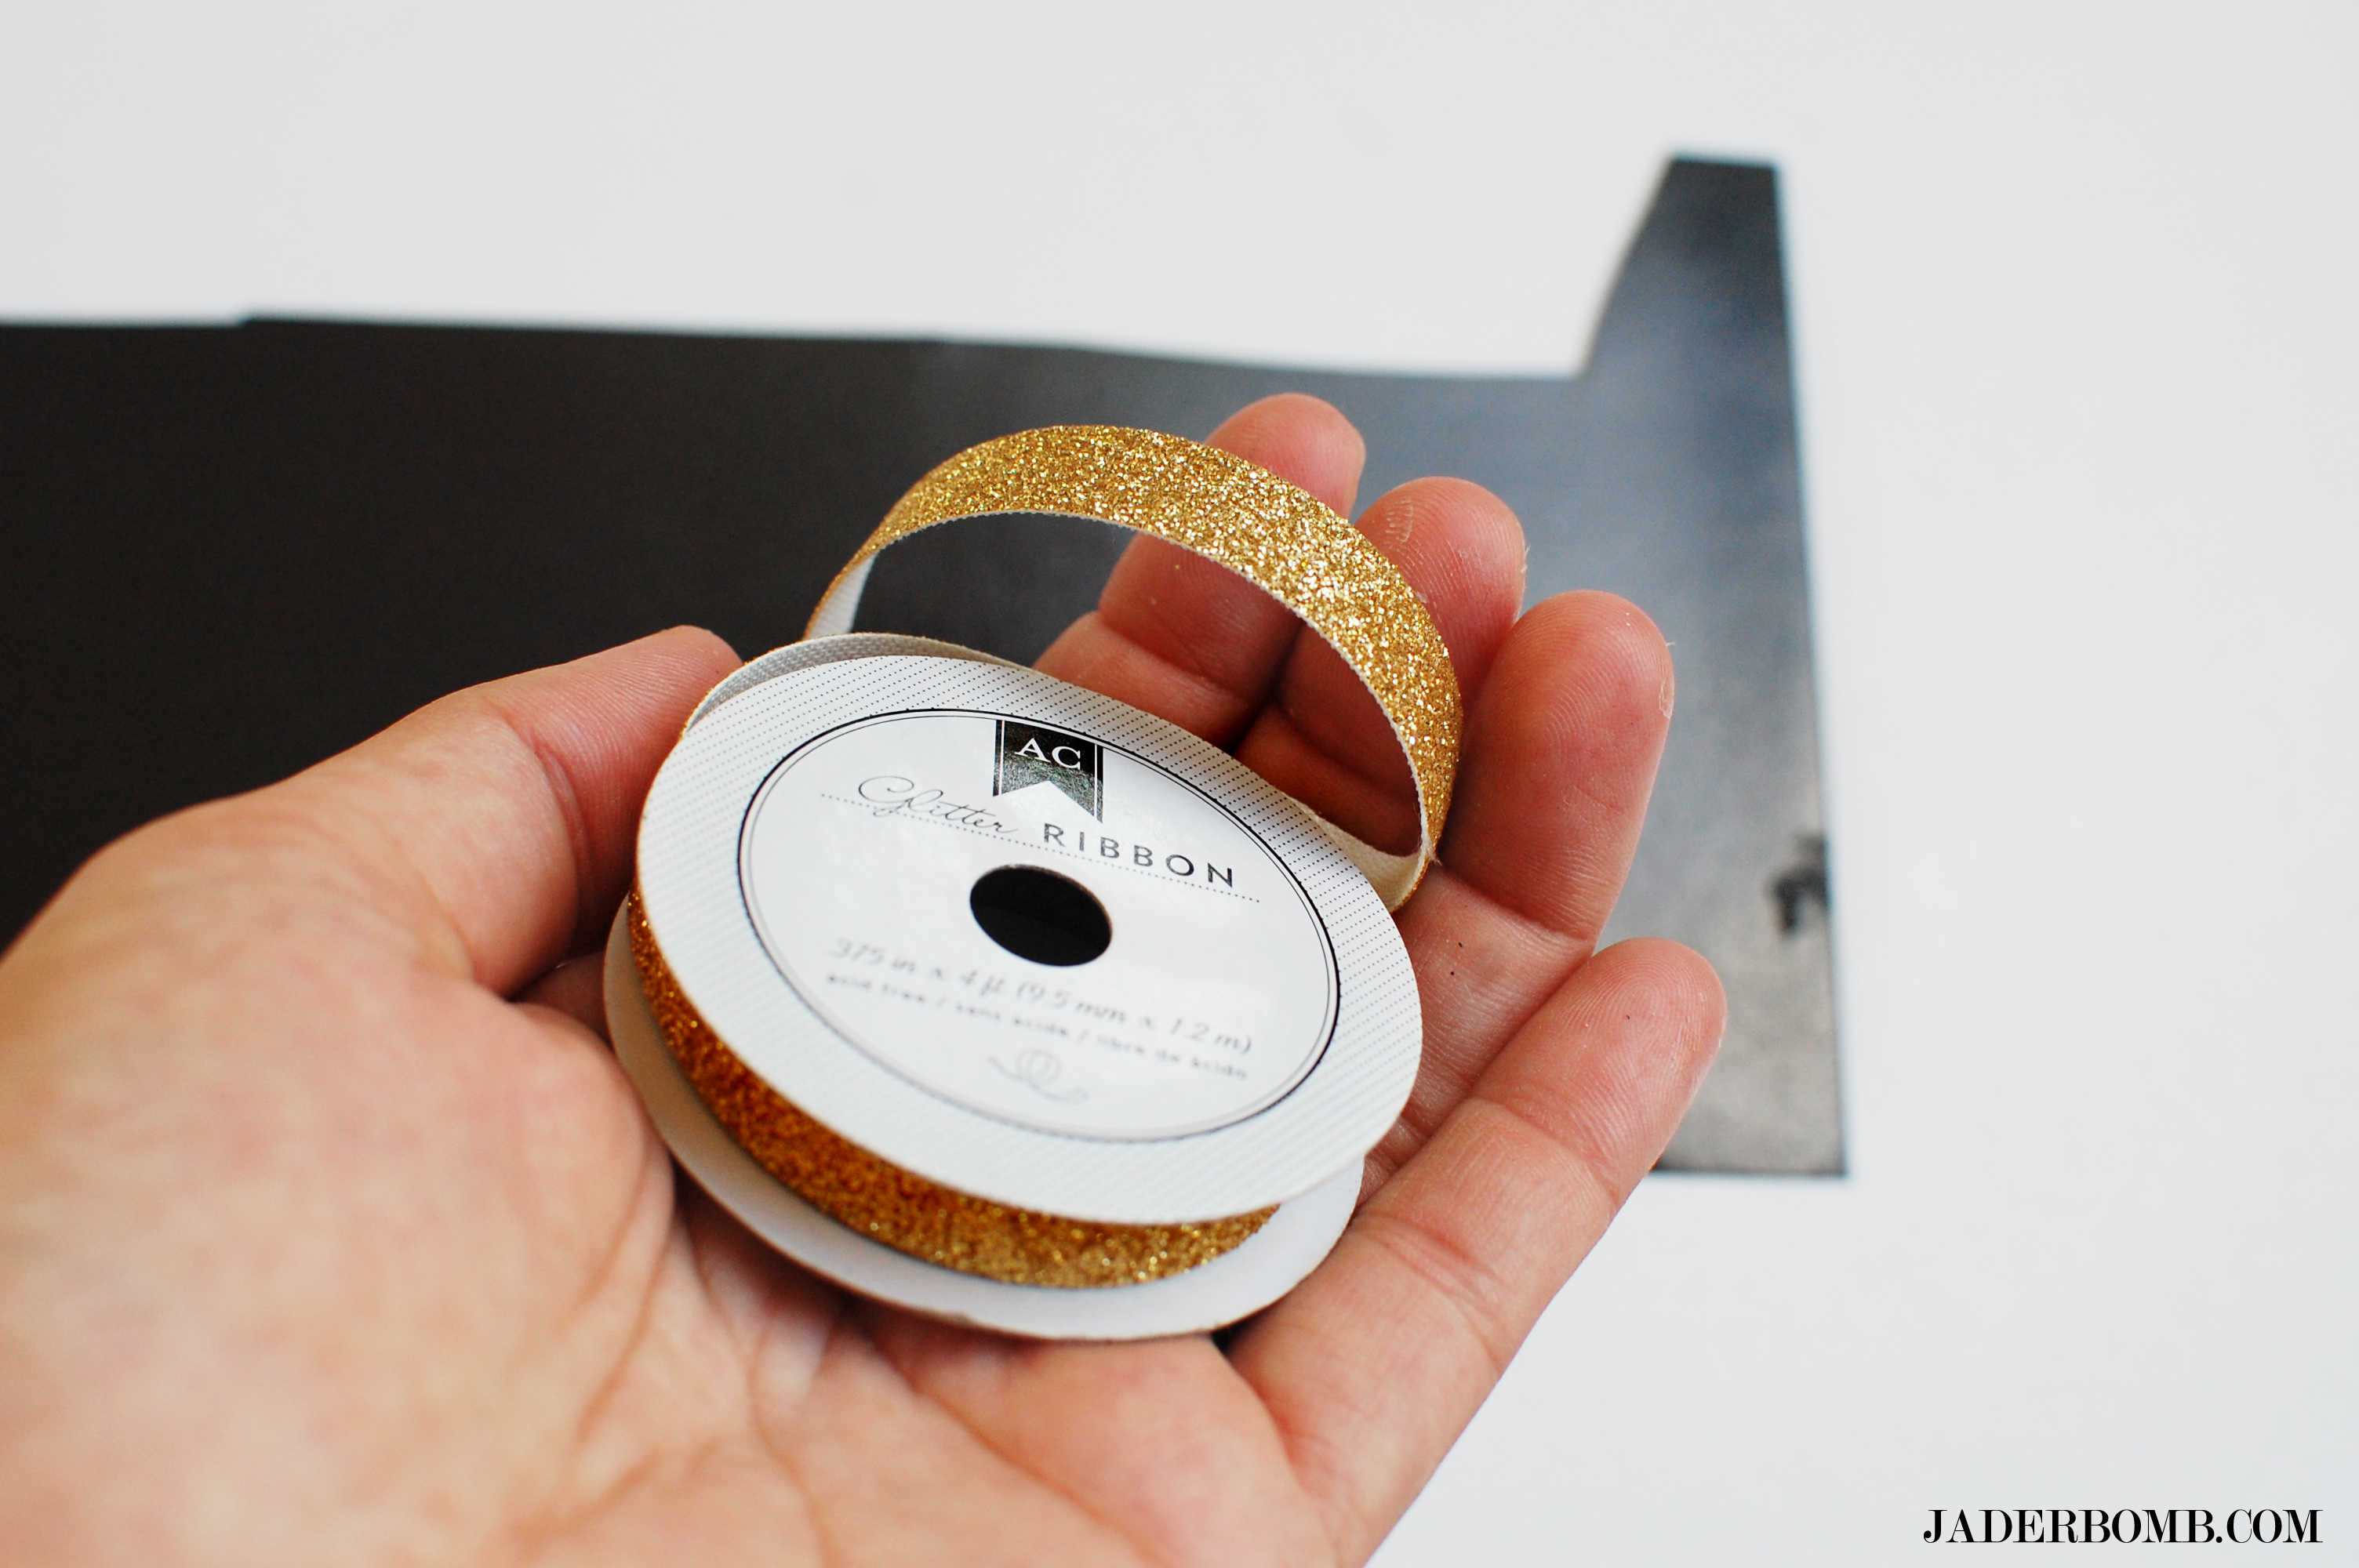
Get your ribbon and hold it in your hand. Observe each little glitter flake so you can feel really close to them. Tell them a story and maybe take them out for a walk, on a leash.

washi tape magnets

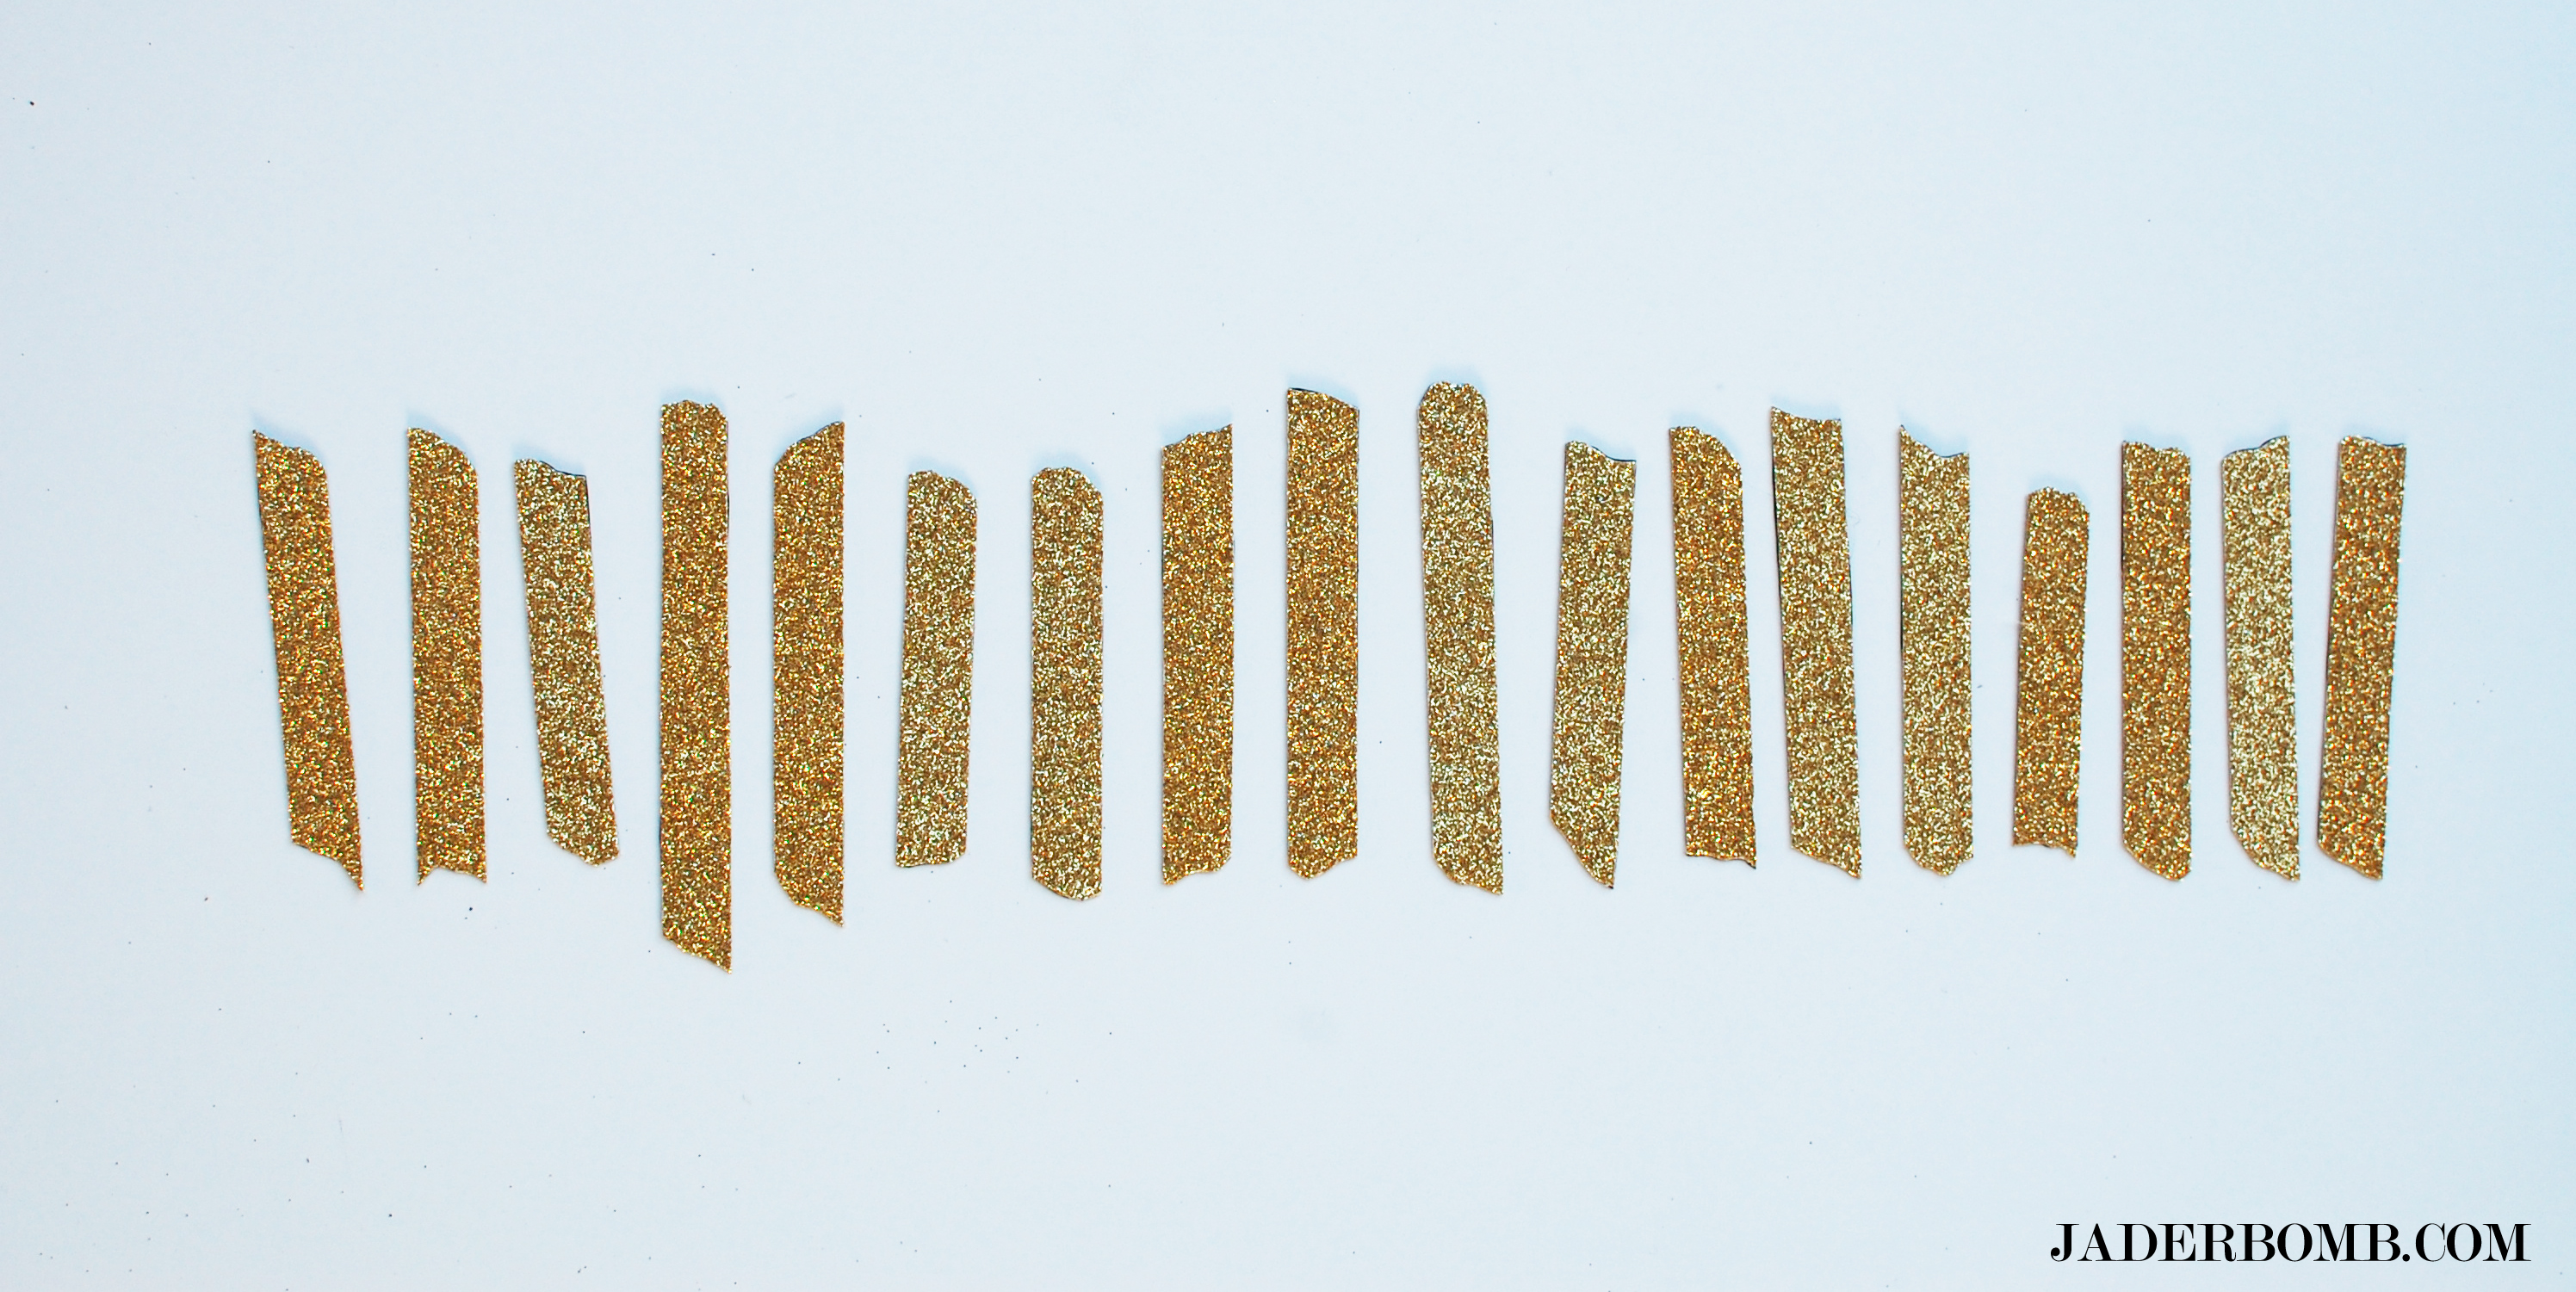
Peel the white sheet off of your magnetic sheet and just stick pieces of ribbon down. The magnet will be super sticky so no need for any glue. This is s perfect craft for kiddo’s too.

washi tape magnets

And there ya have it Jaderbugs. Your very own Washi Tape Magnets.  Who woulda ever thunk it. If this is something you personally don’t like I bet SOMEONE you know would love to get them. Pinky Promise!

washi tape magnets

 Welp, that’s it. That is all the goodness I have for you today. Off to putting cubes of ice down my back cause it’s hot as hell here in Louisiana! See you in the next post!

jade


Happy Tuesday Jaderbugs! I am so excited to finally share with you how I make Washi tape. Washi tape is pretty popular these days but what’s not popular is how much they cost. Sometimes you can snag them for a good deal but most of the time they are a little over priced. Now let me warn you that the washi tape I make does not tear like the “paper” washi tape. Sometimes that bugs me BUT most of the time I remember how much money I saved and that I could make tape with any print I like then I feel much better.  Don’t ya see, it’s like personalizing something…In a way. I also made a you tube video while I made the tape. I hope it makes you feel all warm and cozy inside. Hehe

Below is a picture of the ones I just made. If you are wondering what the gold paper is click HERE to find out.

INGREDIENTS:

*Wax Paper
*Rotary Cutter
*Cutting Mat
*Double stick tape
*Wrapping Paper
*Flat Ruler
(for a cutting mat)
or use something with a flat surface to cut
*Scissors
(use this if you don’t have a rotary cutter)

First thing you will do is lay a sheet of wax paper down.

Put a strip of double stick tape on it.

I usually put a alot.

Tear some wrapping paper and lay it right on top of the tape. Now your tape is stuck to the wax paper on one side and the wrapping paper on the other.

Once you are sure your tape is secure on the paper flip everything over.

It’s hard to see in the paper but in person you can now see where your strips of tape are. Get your ruler out and line it up on one side of the tape.

Grab your rotary cutter. If you don’t have a rotary cutter or flat ruler you can just hand cut the strips of tape with scissors. I just think it goes faster with the rotary cutter which is why I use it.

Now you are ready to start cut cut cutttinggggg (I was just singing that btw).
Cut one side of the tape on the mat.

Then move to the other side of the tape. When you are finishing cutting you will notice it will be one long strip of paper. Trim the edges where there is NO tape and VOILA!

You can now start wrapping all of your tape into a roll like I did below. I cut a little strip of cardboard to wrap around the entire roll. This hold it all in place.

How precious are these babies. I can’t wait to use these on all of my Christmas presents. When you are ready to use them cut a piece, pull the wax paper off and stick it where you want. It’s that easy!!!

I hope you enjoyed this tutorial!

Don’t forget to make it a DIY kinda day
See ya in the next post


Quote of the Day:
“We have two lives…the life we learn with and the life we live after that.” -Bernard Malamud

Video Inspiration for this post! Last night Beetle Juice played on ABC Family and I felt like having a party in the house. Nothing screams PAR-TAY Honey Boo Boo like PAR-TAY banners. Right now they have the 13 nights of HALLOWEEN so make sure and check out all of the classic movies playing. I suggest playing the video while you read the rest of the post, it’s sure to get you DANCING!

So, Washi Tape is pretty cool because you can use it for so many things. It’s really affordable until you become a washi tape addict then things can maybe get expensive. Sometimes at Michaels Arts and Crafts you can buy a pack of 3 or four for around 2.50. It might sound expensive but this stuff really last’s a long time. Once you start to get a collection then you can really get funky with your crafts.

INGREDIENTS:

*Washi Tape
*Scissors
*Baker’s Twine

(If you click on any of the above links you can order all of my ingredients)

What I really love more than washi tape is baker’s twine. There is something about this two toned string that makes me levitate and dance. I think when you add the black and white baker’s twine to things it adds a pop of color and it becomes a little magical to the eye.

The first thing you will do is lay out your baker’s twine on a flat surface.

Cut a piece of washi tape. I always like to cut a little more than I need. In the end we will be cutting these strips, plus it’s good to have some longer than other.

Lay your piece of washi tape on your flat surface and place your baker’s twine right on top of it. You want to make sure and place your baker’s twine is right in the middle.

Here is another angle for ya.

Fold it over so each side sticks to each other. Once you are happy with that you can cut it strait across or like I did below. It kinda adds a little “carnival” in your life!

I am really pleased with they way they turned out. Make sure you squeeze the washi tape around the baker’s twine so it is secure.

I hope you enjoyed this tutorial. Remember they make washi tape in every design you could think of. Here is a great site to order from. It’s Wishy Washi Tape . You will really enjoy this shop.

Quote of the day:
“After hard work, the biggest determinant is being in the right place at the right time.” -Michael Bloomberg
Are you ready to make Washi Tape Candles? I know I am so let’s get started!

I really love making crafts that are easy, affordable and easy. Yeah, I know I said easy TWICE because that is my favorite part about it!
Since your candles are made of wax when you are ready to take off your washi tape it will come right off. You won’t have to worry about damaging your candle. I used long thin candles because I wanted to dress up my centerpiece on our table. I keep this baby up year round. So, when Christmas comes around guess what I will do…prolly grab some white pillar candles and put Christmas washi tape on them. Wanna see how easy it is to do this? If you want to see how I made HOMEMADE WASHI tape click HERE.

INGREDIENTS:

*Washi Tape
*Scissors
*Candles

I am using Halloween washi tape by Martha Stewart. You can buy directly from the link under my ingredients (above).

The first thing you will do is stick the end of the washi tape on the candle.

Wrap it till it meets the other end of washi tape, then SNIP it!

Tadah!
This is the end result! The fun thing about this craft is you can use whatever washi tape you want and this is practically good for ANY occasion. A simple candle can turn into a work of art with this tutorial.

I hope you enjoyed it… See you in the NEXT post.

*Have you seen my vintage CHRISTMAS lights printable. Click HERE to download it!

PERSONALIZE YOUR PENS

Happy Tuesday Jaderbugs!!!! You know what happens tonight right?!?!?

CRAFT WARS!!! (click on link)

If you have not seen it yet, you “must” make it priority! It’s great to finally see a craft show on television!

MORE CRAFT, LESS PAWN…haha

One of my fellow blogger’s WHIPPY CAKE posted a fun picture of her pens she “personalized” the other day on instagram. I just knew I had to do a TUTORIAL on it for all of my Jaderbugs! Check out her  Etsy shop!  She sells out of things really quick!!! So hurry and check her out!

  I thought this was a great idea and wanted to show you how to make it. It’s really not that hard but people like me LOVE “STEP BY STEP” tutorials! I know some of you will be going to BlogHer soon and this would be PERFECT for that!

 How cute is this! It’s like they are saying “Hey I am cold in here, grab me a scarf”

You will only need a few ingredients for this project. {insert a big ole YAYYYY}

Let’s get started.

INGREDIENTS:

I used washi tape for this. You can buy it online here  or sometimes they will have decorative tape at your local craft stores! I promise this stuff can become addicting! I purchased the one I am using from Michaels Craft store.

First thing you will do is cut a piece of tape and wrap it around pen. Make sure you stick both ends together evenly.

 After you do that, get out your scissors and cut a letter V in it.

Tadaahhhh! It’s that simple. In no time you can personalize all of your pens. Shoot’s, if you live a in a house like I live in pens go missing really quick! The key is putting pretty, pretty tape on them. Well, we will see because that might actually be a hit!

or NOT!

I hope you are all having a great morning and see ya tomorrow for another fun new craft! Giveaway coming soon so stay tuned!!!!

Sending you loads of love and washi tape hugs,