Tag Archives: Christmas Crafts

Flag Streamers

 Seriously! Nothing pulls a party together like a motif and a vibrant palette. We can’t forget about paper flags! I love putting these babies up for parties. I have even seen some people do them for weddings and baby showers. I promise, you can find something to use these for! Here is the template for the flag. Oh, and the thing I like best about these paper flags is the fact that you can throw them away when you are done. {{or save them}}………Just throwing that out there for ya!

Material you will need: Paper, Scissors and Twine.

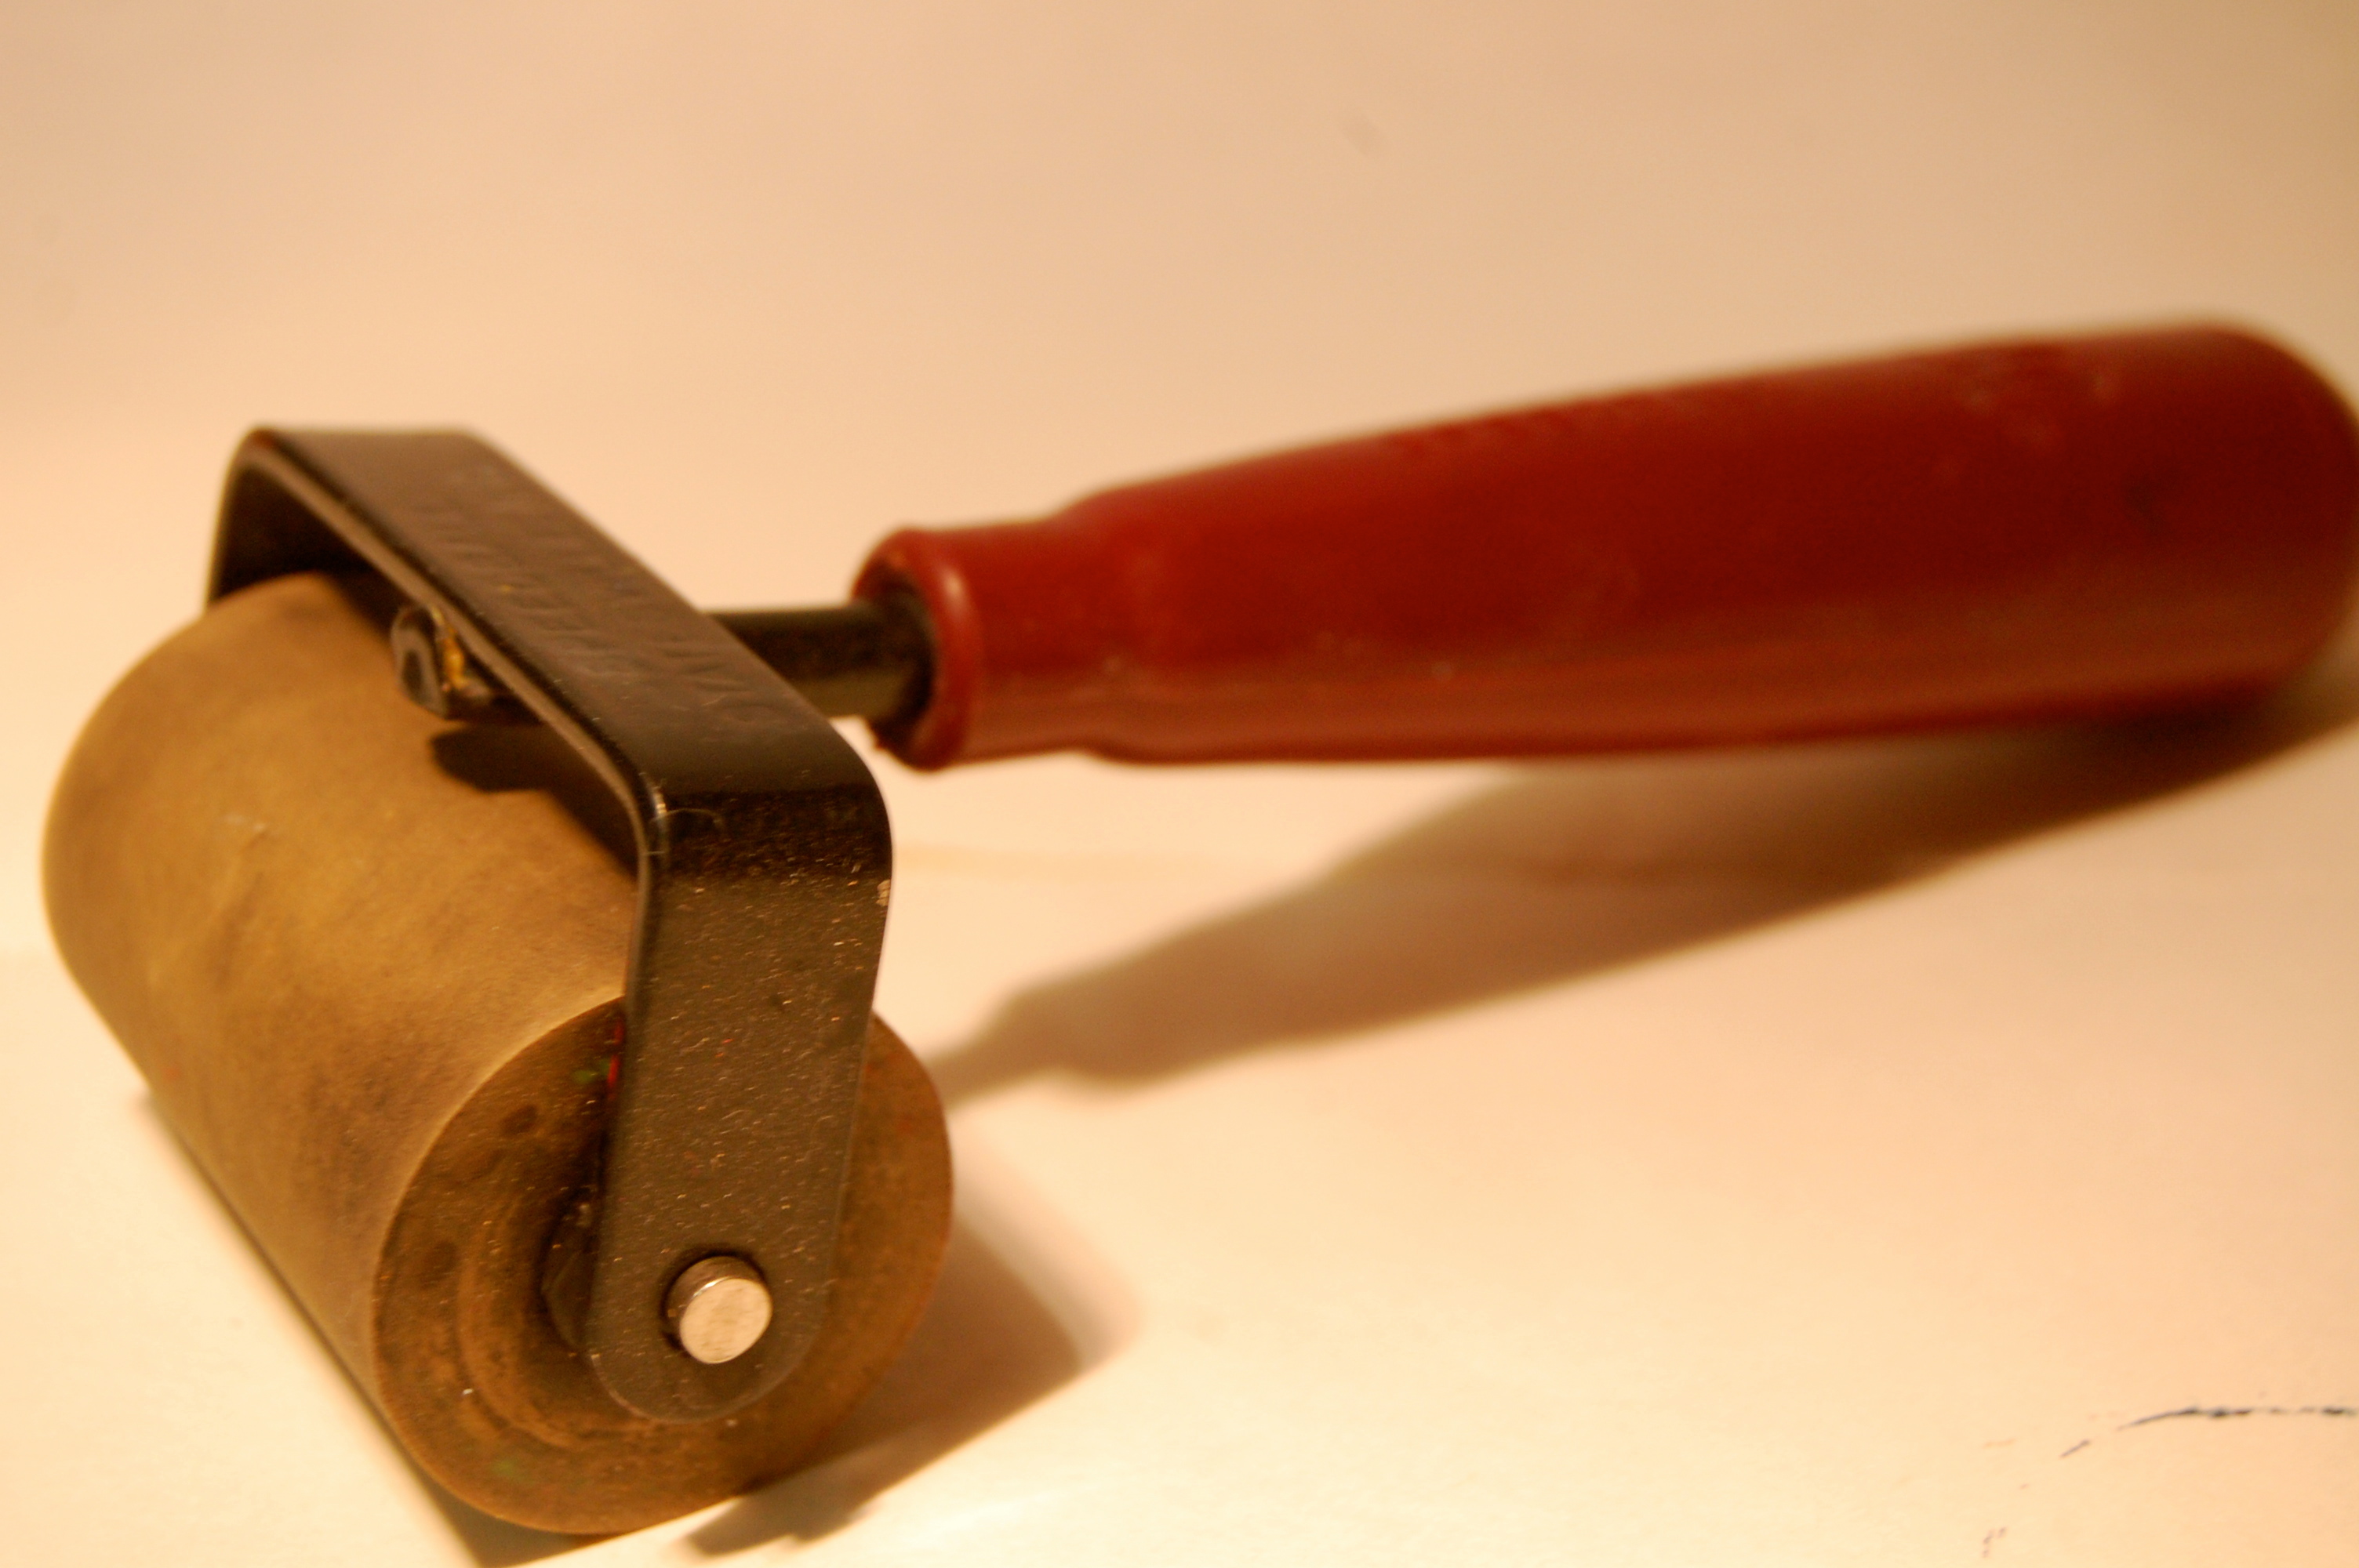
You want to get your handy dandy Martha Stewart scoring board. I LOVE THIS PIECE OF PLASTIC!!

After you cut out your template (which I listed above) trace it onto whatever paper you want to use. I wanted a original “red and green” flag!

After you cut out the flag take a couple and make lines in them using the scoring board. I didn’t follow a certain pattern I just kinda put lines wherever I felt like it.

As you can see I didn’t follow a certain pattern. Jaderbomb doesn’t use patterns. HAHA

Get your glue gun. I used my dual temperatured one from Martha Stewart because, well….this is why {{ the dual-temperature glue gun allows you to change the setting to fit your materials. Switch it on high for a stronger bond that is best used with wood, plastic, metal, ceramics, magnets, leather, and fabric. Set it to low for more delicate materials such as lace, foil, ribbon, floral foam and lightweight fabric, or paper}} NOW DO YOU SEE HOW AWESOME THIS BABY IS… MIGHT PUT THIS IN MY NEXT GIVEAWAY!

I love this bakers twine.

Place a bead of glue on the top of your flag and quickly put your twine on top of it.

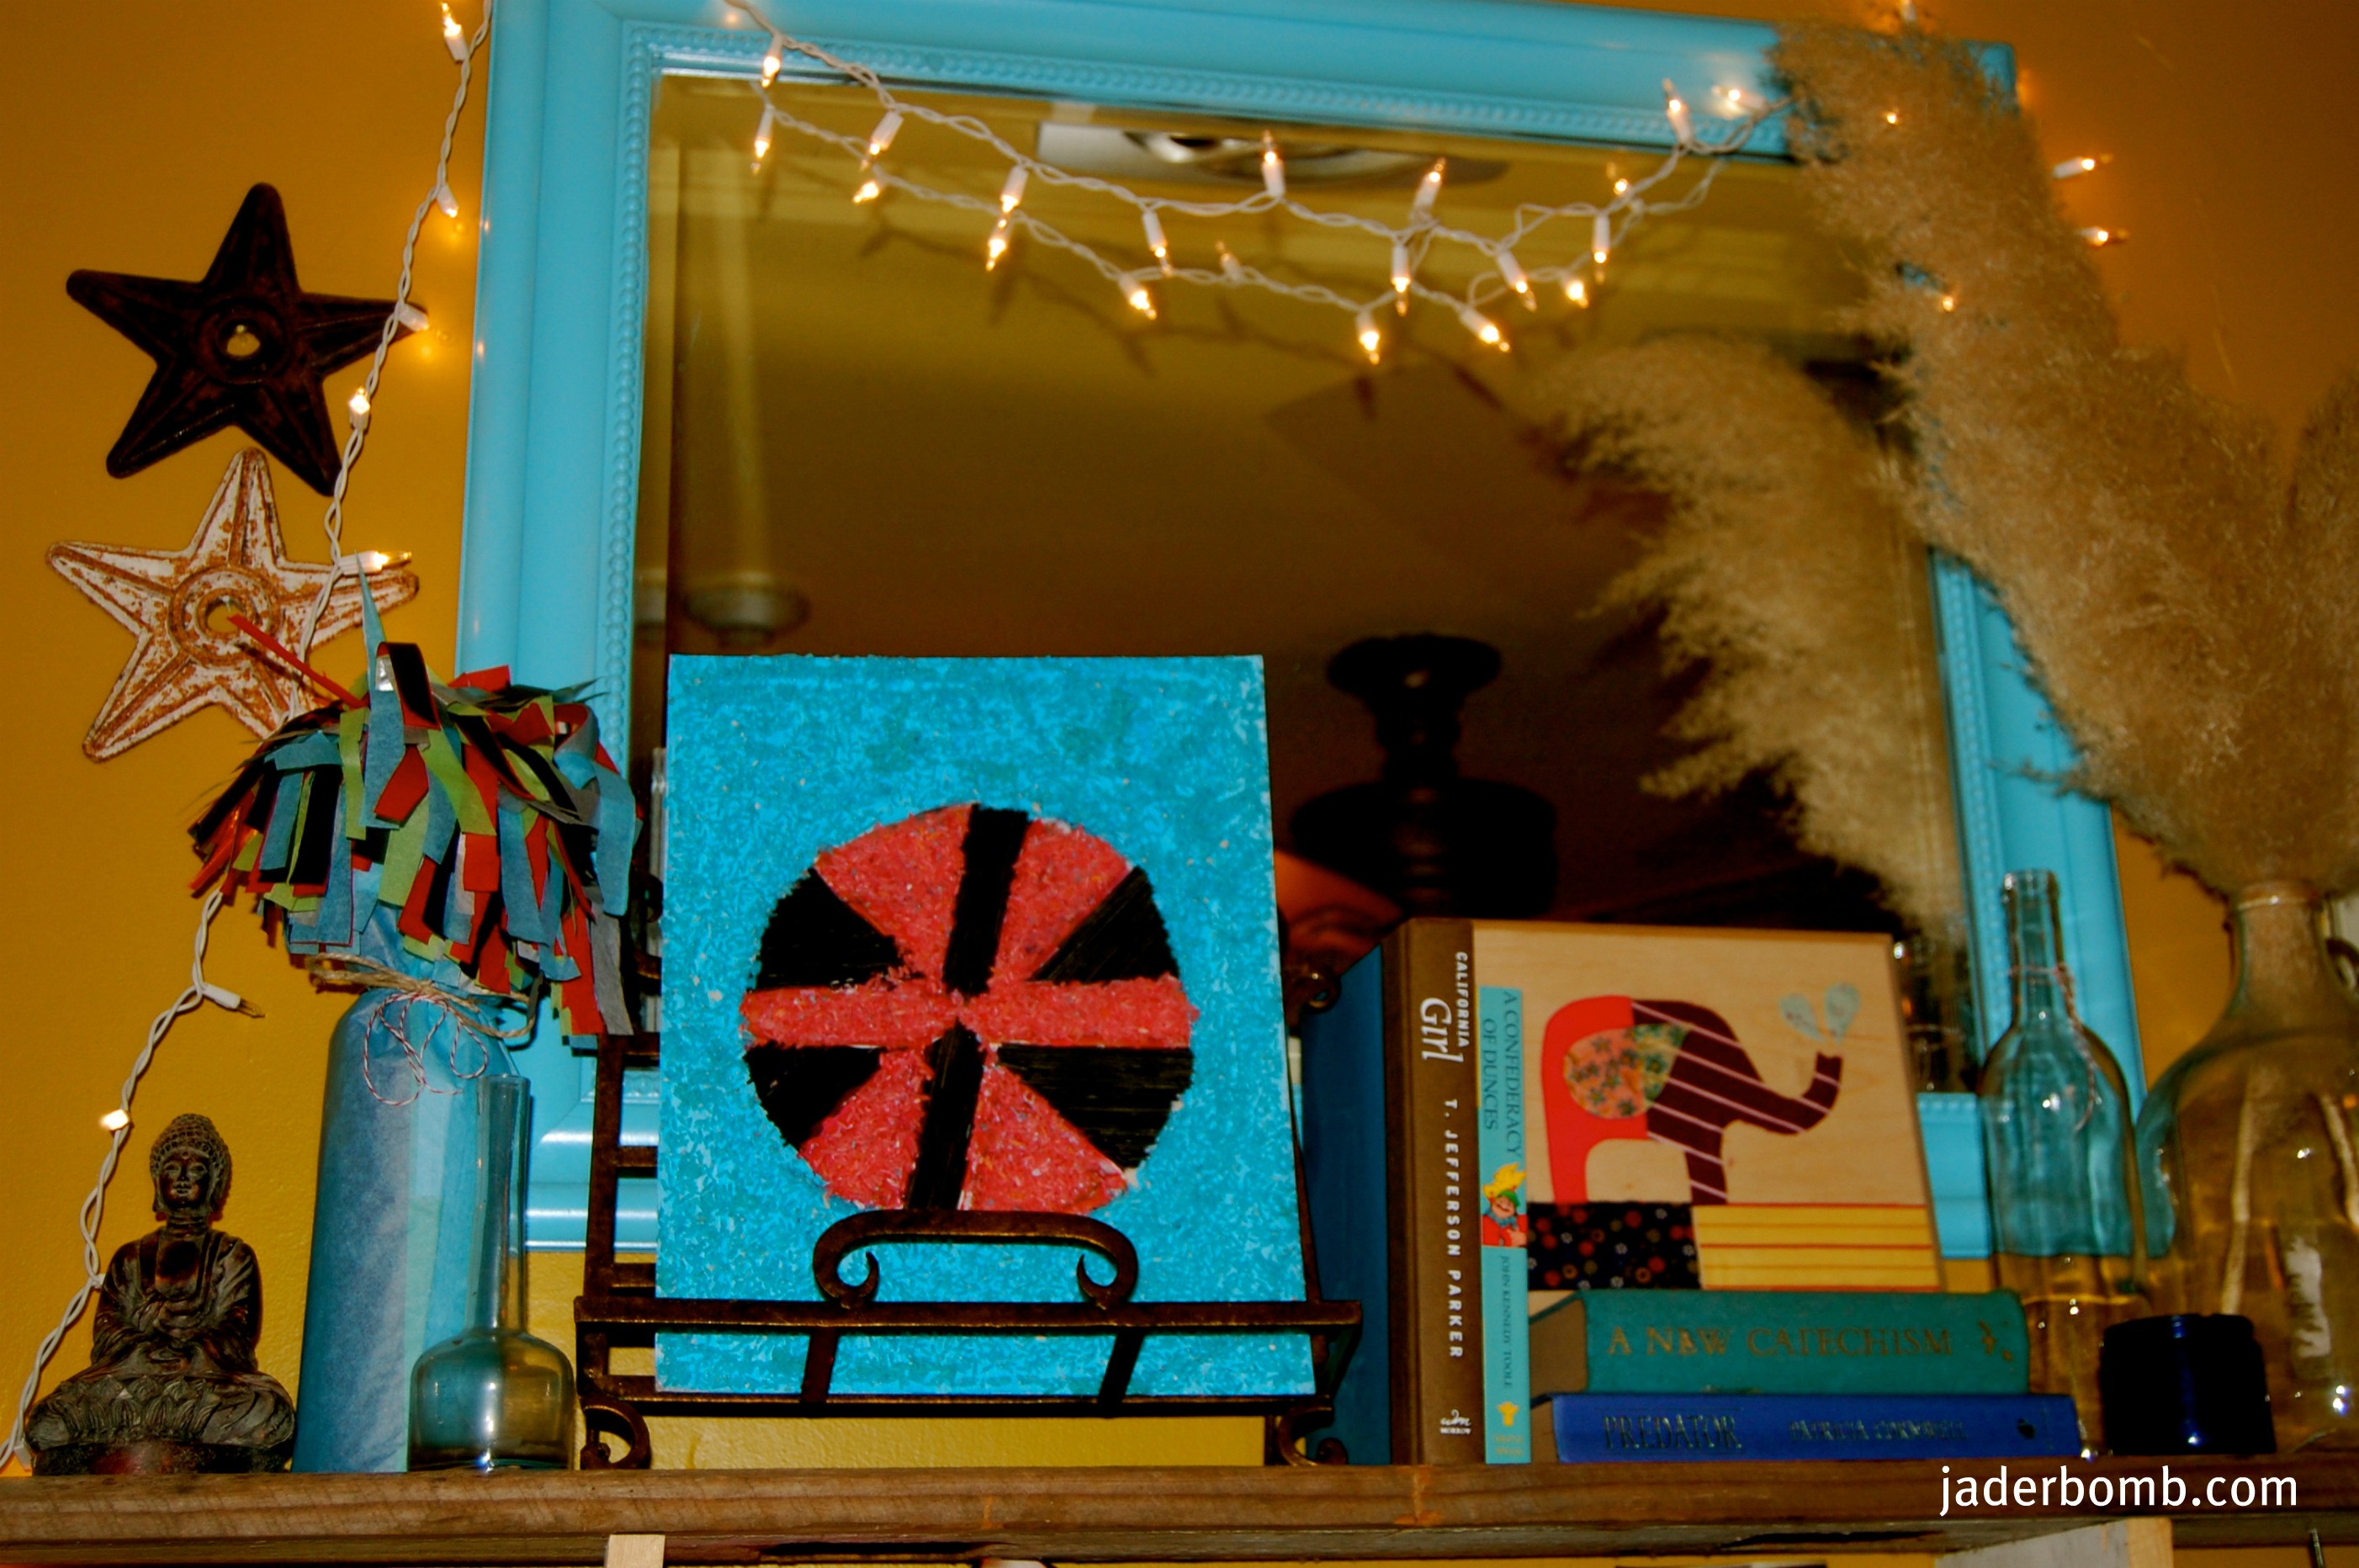
This is what your end result is {{{yayyyy}}} I LOVE FLAGS! My world I live in is one big party so I am always dressed to the occasion. Have fun with this. You could totally put glitter all over these babies, or stickers, or layers of different colors of flags on top of each other. Yayyyy I wanna make more just talking about it!!!

Wanted to share with you the candle burning in my house right now. YOU have to get this one because it smells SOOOO good! I have many more to try out so stay tuned for my thoughts on them! You can order one HERE! AND THEY ARE 2 FR 25$ RIGHT NOW!

House smelling like a wonderful forest in winter, jaderbomb

Check out Martha’s original craft HERE and you can purchase Martha Stewart’s Encyclopedia of Crafts here!

CLICK HERE TO WATCH VIDEO

(me on the show!)
Click HERE to read all about it!!!
 IF YOU DECIDE TO DO ANY OF THE CRAFTS, SHOOT ME AN EMAIL AND I WILL ATTACH  IT TO THE POST WITH A LINK THAT GOES STRAIT TO YOUR BLOG!  IF YOU DON’T HAVE A BLOG JUST EMAIL IT TO ME AND I WILL PUT IT UP!!!!
Thanks to Martha Stewart crafts for sponsoring me with craft supplies!

Champagne-Bottle Wrap

 If you are looking to give someone a bottle of wine but can’t quite find the right “bag” to put it in then you need to start scrolling down! This wine bottle cover is absolutely adorable! It has just enough “POP” to it and boy would I love to get this! I actually wrapped mine around an empty bottle and I love the way it looks just by itself on the shelf!

You will need a wine bottle, any size will work. You can even do this to glasses or any container!!!

Tissue Paper

Place a champagne bottle on 5 sheets of tissue with the cork 5 inches from one edge.

Tape tissue to the center of the bottle, roll up, and tape down the free edge of the tissue.

Just tuck in the bottom or tape it down.

Tie a cord around the bottle’s neck, and cut paper into strips above it. Add ribbon, and attach a card.

How different is this sucker!

I think the one thing I love the most about this craft is that you can do different colors and then the pom pom at the top turns out simply AMAZING!

Your tired friend, jaderbomb

Check out Martha’s original craft HERE and you can purchase Martha Stewart’s Encyclopedia of Crafts here!

CLICK HERE TO WATCH VIDEO

(me on the show!)
Click HERE to read all about it!!!
 IF YOU DECIDE TO DO ANY OF THE CRAFTS, SHOOT ME AN EMAIL AND I WILL ATTACH  IT TO THE POST WITH A LINK THAT GOES STRAIT TO YOUR BLOG!  IF YOU DON’T HAVE A BLOG JUST EMAIL IT TO ME AND I WILL PUT IT UP!!!!
Thanks to Martha Stewart crafts for sponsoring me with craft supplies!

DIY Wine Cork Board

This simple craft is an easy and attractive way to display your favorite wine corks.

Tools and Materials

Store-bought frame
Sheet of Masonite or plywood, sized to frame
Liquid cement
Wine corks
Decorative pins or tacks (such as cork pins)

p.s. omg! I found these babies at michaels arts and crafts for only $1.99!!!
can you imagine the things i will be using these babies for now that i know how inexpensive they are…. {{i mean if i buy 200, then it could be expensive lol}}


I used old corks from wine bottles! If you don’t have enough to make one of these little suckers i am sure you could start asking around and before you know it you will have more than you NEED!!!!
Be careful here because the glue can be really hot! {{and i would know}}.. you want to “almost” stagger the corks so  they all fit nicely together.. Kinda like a bee hive… speaking of honey. I need more kona queen honey SOON!!!
Iam not quite sure why this baby makes me so happy!
seriously. could a real {live} person actually live for crafting…

Check out Martha’s original craft HERE and you can purchase Martha Stewart’s Encyclopedia of Crafts here!

CLICK HERE TO WATCH VIDEO

(me on the show!)
Click HERE to read all about it!!!
 IF YOU DECIDE TO DO ANY OF THE CRAFTS, SHOOT ME AN EMAIL AND I WILL ATTACH  IT TO THE POST WITH A LINK THAT GOES STRAIT TO YOUR BLOG!  IF YOU DON’T HAVE A BLOG JUST EMAIL IT TO ME AND I WILL PUT IT UP!!!!
Thanks to Martha Stewart crafts for sponsoring me with craft supplies!

How To Make Block-Print Cards

 If you wanna make an impression with ink-block printing, an art form dating back to ninth-century China. A block print is an ink impression of a design carved into wood, linoleum, or other engravable material. Once you’ve cut out a design, you can use the block to make an unlimited number of identical prints.

You can even write a special note and make tons and tons of Christmas cards!

Ink block.

Every block print starts with an image. Choose a flower, a particular script, or even a drawing of your own. Use a photocopier to reduce or enlarge the image to fit the card of your choice. Cut ink block to approximate size of card, allowing for a border if desired. Lay tracing paper over design, securing the corners with tape if you wish, and trace with a pencil.

Brayer tool, available at art-supply stores

Linoleum-cutting tool, from Martha Stewart Crafts

Be very careful because it is SUPER sharp!

Block-printing ink, available at art-supply stores

 Next, transfer image to block by placing paper facedown and rubbing the entire surface gently with your fingernail or the back of a spoon. Remember, the carving will be a mirror image of the finished print; only uncarved areas will pick up ink — not the image itself. (If you want the image to pick up the ink, as shown in the wedding-ring and small-leaf cards in the Introduction, cut away the background, so the image will be raised. For this technique, your ink block would not need to be as large as the card.)

Paper plate to roll the ink on with. 

Carve design into block using a linoleum-cutting tool. Use a small blade to cut details and the large blade to carve away broad areas. Hold the cutter like a pencil, and use your other hand as a guide, keeping it clear of the blade’s path. Begin with shallow cuts; if you dig the cutter down into the block, it can cut all the way through.

Squeeze a dollop of block-printing ink onto a paper plate; roll the brayer tool over ink until thoroughly covered with a thin, even layer. Use brayer to coat the block with ink.

Plain store-bought cards, or assorted paper, from Martha Stewart Crafts

How easy was that!

You know I just HAD to add glitter in this baby!

This makes my heart smile! Do something different this year and make your own cards!

Wishing you a Friday FULL OF FUN, jaderbomb

Check out Martha’s original craft HERE and you can purchase Martha Stewart’s Encyclopedia of Crafts here!

CLICK HERE TO WATCH VIDEO

(me on the show!)
Click HERE to read all about it!!!
 IF YOU DECIDE TO DO ANY OF THE CRAFTS, SHOOT ME AN EMAIL AND I WILL ATTACH  IT TO THE POST WITH A LINK THAT GOES STRAIT TO YOUR BLOG!  IF YOU DON’T HAVE A BLOG JUST EMAIL IT TO ME AND I WILL PUT IT UP!!!!
Thanks to Martha Stewart crafts for sponsoring me with craft supplies!


Paper Butterflies

 Happy Friday Jaderbugs! I could not wait to share this craft with you because everyone LOVES butterflies. I know for me when I see one I feel in my heart that it’s a loved one that has passed. Maybe I am “cliche” but I just feel that way! I think the weather in Louisiana is supposed to be GREAT this weekend so I can’t wait to take it all in! Life is what you make of it! Just always remember. When you think you have it bad step back and look around you. God gave you what you need. When he is ready for change you will know! Happy crafting!

Get a Monarch Butterfly Punch. You can order one or get it at Michaels Arts and Crafts. 

Grab some scrap book paper and get to punching! 

Place your paper in the slit and give it one good punch. I have to tell you the awesome things about these punches is you barely have to press it. It really just works so easily! 

How pretty is this! I want to cover a piece of wood with TONS of these butterflies! You know you can even make these and put them at your loved ones grave site! Just saying they would prolly like it! 


I am using floral wire which you can get at your local craft store. 

and my handy dandy glue gun! This glue gun has a dual temperature on it so it’s really cool to work with! A must have for your “wish” list!

They come out FLAWLESS!

After you punch your butterfly out put a line of hot glue along the back of it then place a piece of your floral wire in the glue. 

These suckers are so fun! I don’t usually like “thing’s” like this because I am not a scrap-booker but I really like this and I would totally put them in another bouquet of flowers.

You can also put these on top of Christmas presents! That would be fun! 


Check out Martha’s original craft HERE
 and you can purchase Martha Stewart’s Encyclopedia of Crafts here!

CLICK HERE TO WATCH VIDEO

(me on the show!)
Click HERE to read all about it!!!
 IF YOU DECIDE TO DO ANY OF THE CRAFTS, SHOOT ME AN EMAIL AND I WILL ATTACH  IT TO THE POST WITH A LINK THAT GOES STRAIT TO YOUR BLOG!  IF YOU DON’T HAVE A BLOG JUST EMAIL IT TO ME AND I WILL PUT IT UP!!!!
Disclosure: This is a sponsored post by Martha Stewart crafts. The content and ideas are all my own!


Button Stamp How-To

Do you ever find “loose” buttons in random spots! Don’t throw them away because you can really use them for a fun craft! I can’t wait to show you this one because it’s a really cool way to show off your unique buttons to the world!

Hope everyone is having a great night!

Grab some corks (again)

Don’t forget your “awesome” vintage buttons. If you don’t have old buttons just use the ones you have. Select buttons with raised surfaces and distinct patterns — fluted edges, stars, flowers, cat’s eyes, and pinwheels.

We can’t forget out glue gun!

With white craft glue, mount buttons on wine or craft corks; if possible, use a cork narrower than the button so you can see to position the stamp accurately.

Then carefully place your button on top of the hot glue.

Buy already inked stamp pads in several colors

Uncoated papers are most receptive to the ink. I just wanted to show you how you need just the right stamp for it to stamp correctly.

I placed the button stamps across from their design. They are just so pretty to look at !

I am seriously in love! Who knew all the different things you could do with good ole buttons!

Drinking “refresh” tea and sending all of my jaderbugs good energy, jaderbomb

Check out Martha’s original craft HERE and you can purchase Martha Stewart’s Encyclopedia of Crafts here!

CLICK HERE TO WATCH VIDEO

(me on the show!)
Click HERE to read all about it!!!
 IF YOU DECIDE TO DO ANY OF THE CRAFTS, SHOOT ME AN EMAIL AND I WILL ATTACH  IT TO THE POST WITH A LINK THAT GOES STRAIT TO YOUR BLOG!  IF YOU DON’T HAVE A BLOG JUST EMAIL IT TO ME AND I WILL PUT IT UP!!!!
Disclosure: This is a sponsored post by Martha Stewart crafts. The content and ideas are all my own!