Tag Archives: christmas ornaments

Champagne-Bottle Wrap

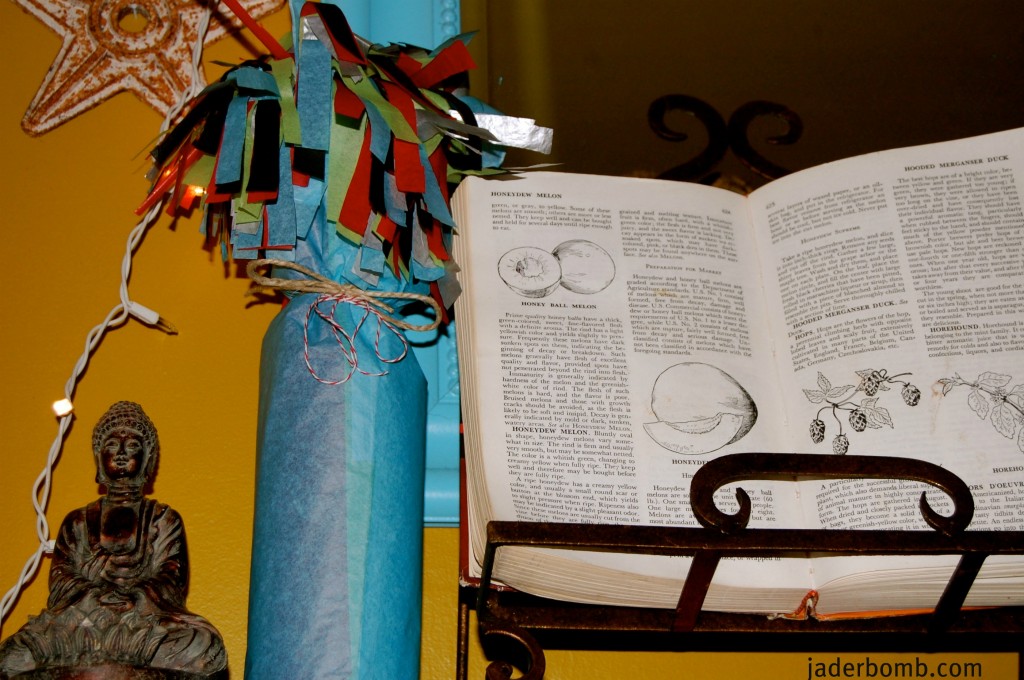
 If you are looking to give someone a bottle of wine but can’t quite find the right “bag” to put it in then you need to start scrolling down! This wine bottle cover is absolutely adorable! It has just enough “POP” to it and boy would I love to get this! I actually wrapped mine around an empty bottle and I love the way it looks just by itself on the shelf!

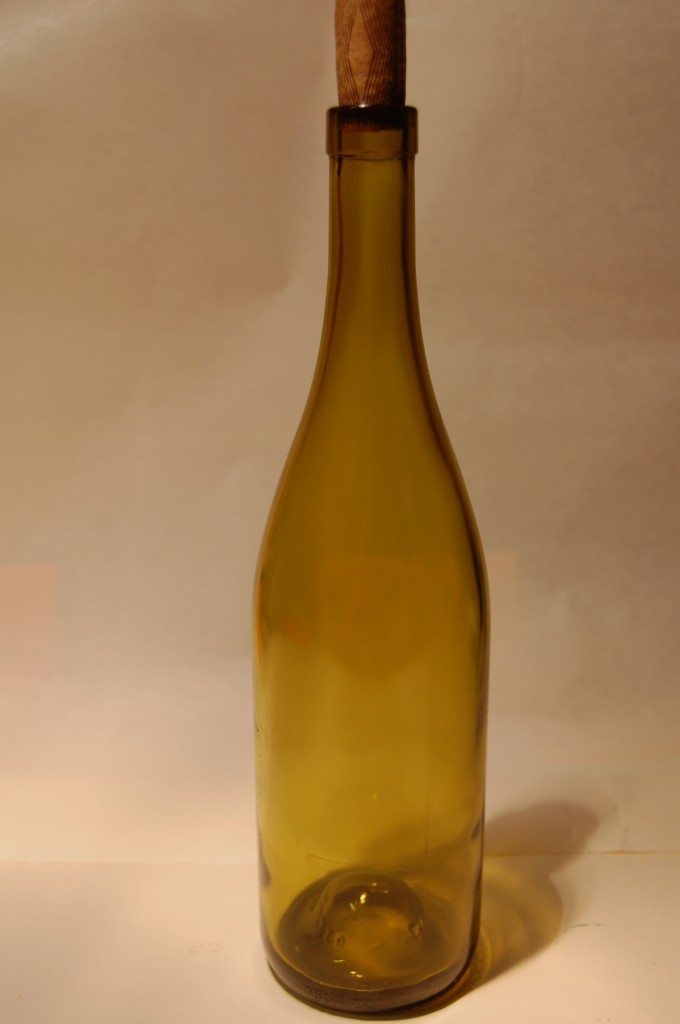
You will need a wine bottle, any size will work. You can even do this to glasses or any container!!!

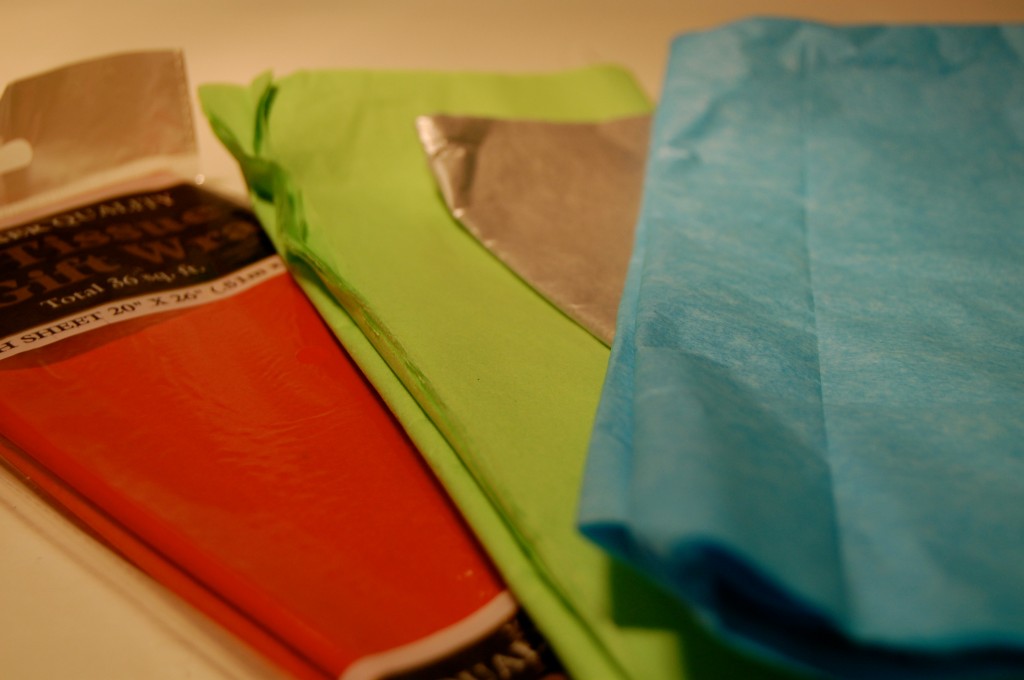
Tissue Paper

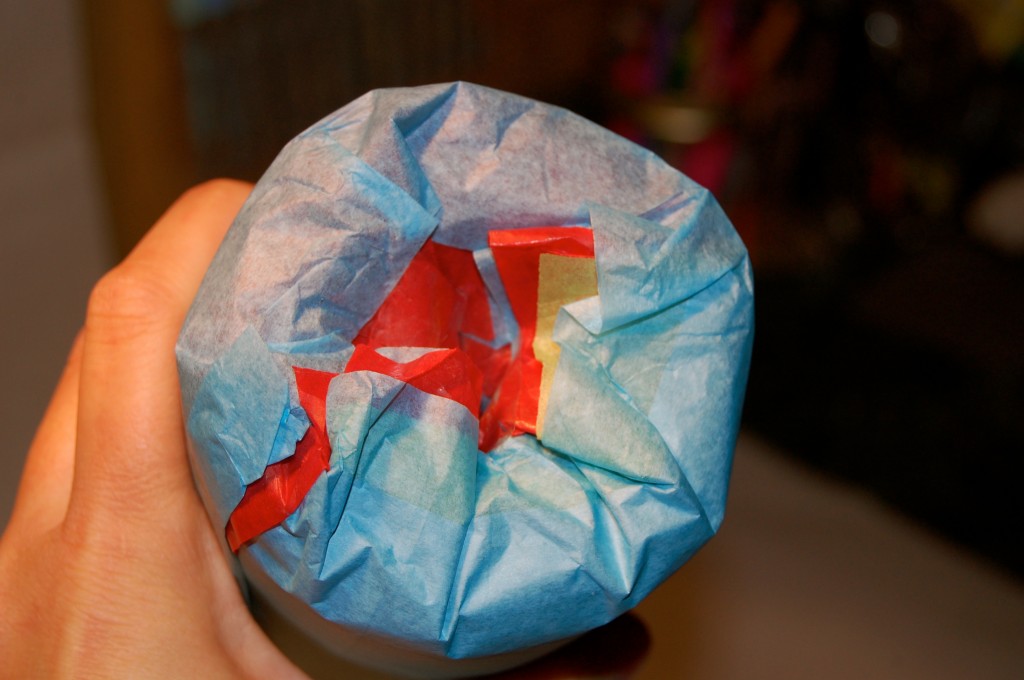
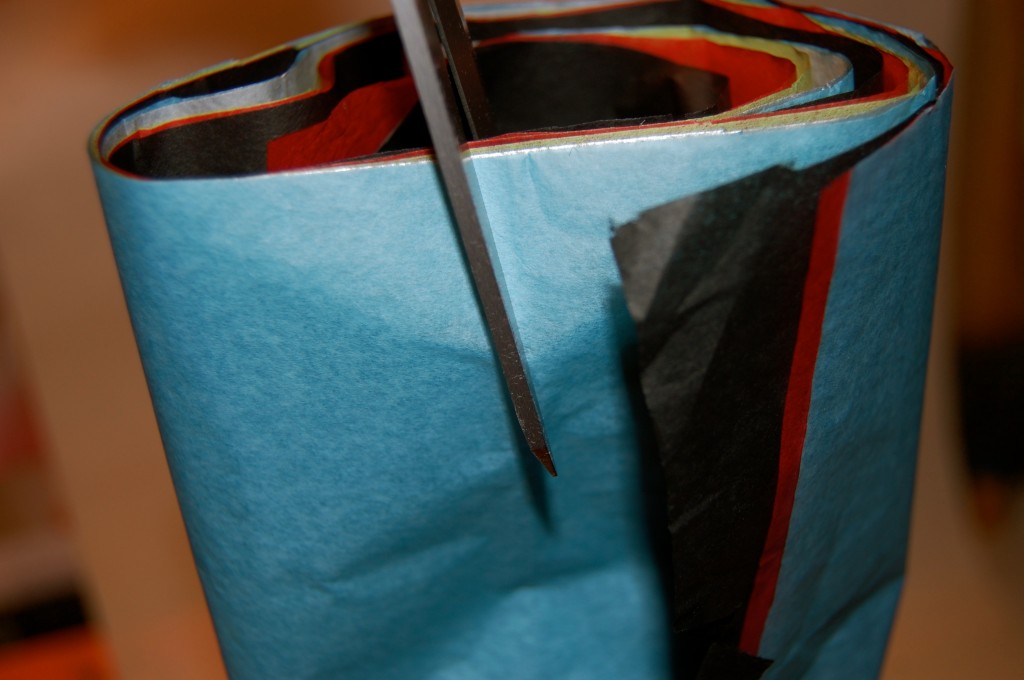
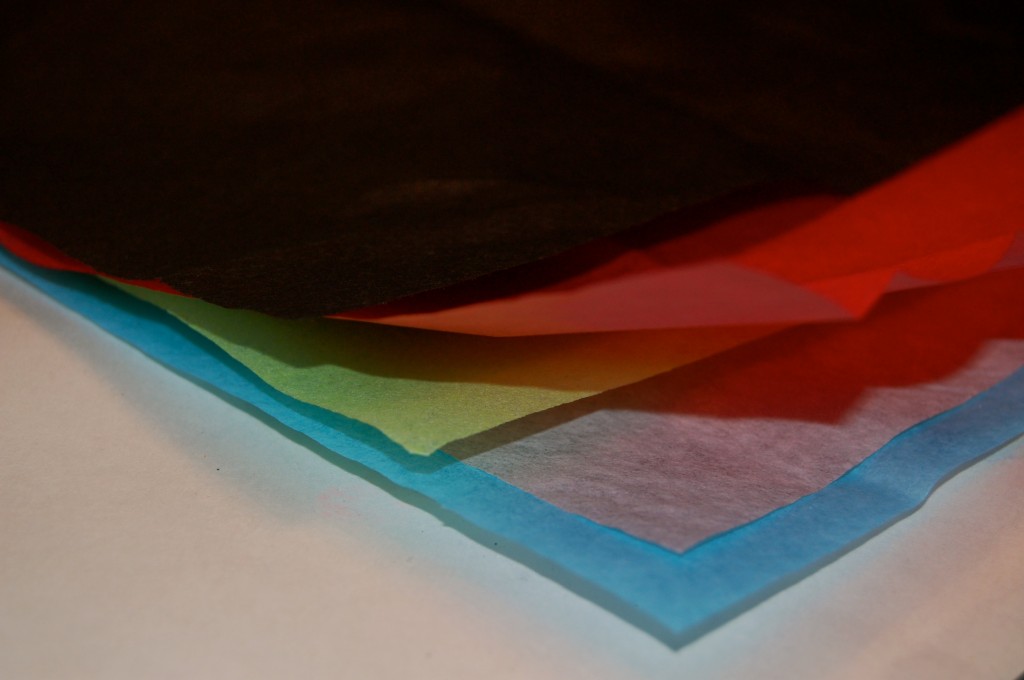
Place a champagne bottle on 5 sheets of tissue with the cork 5 inches from one edge.

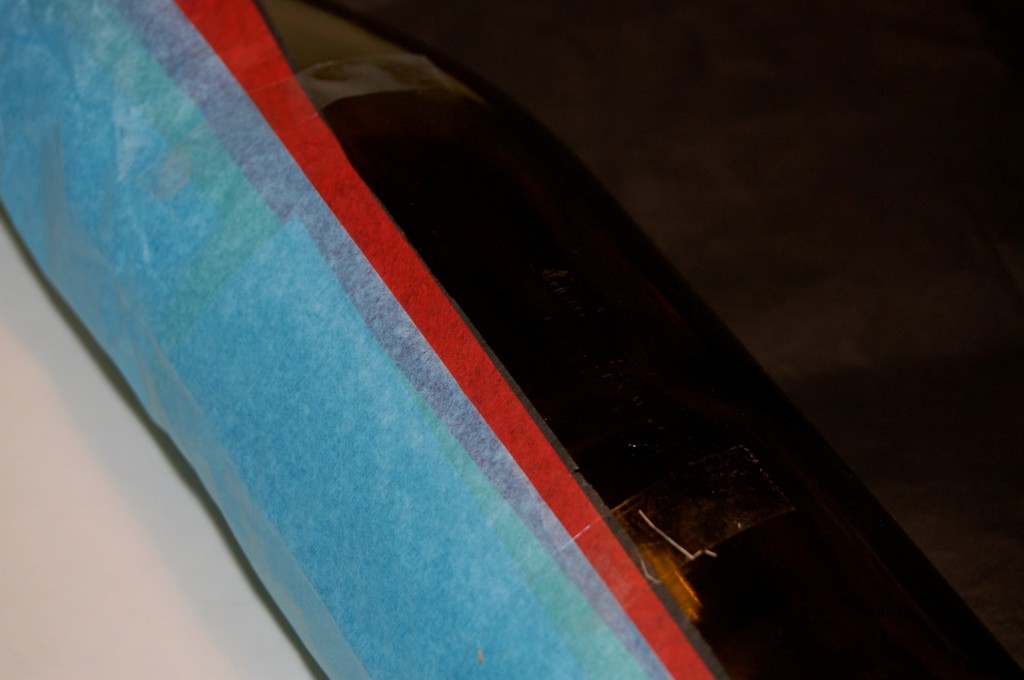
Tape tissue to the center of the bottle, roll up, and tape down the free edge of the tissue.

Just tuck in the bottom or tape it down.

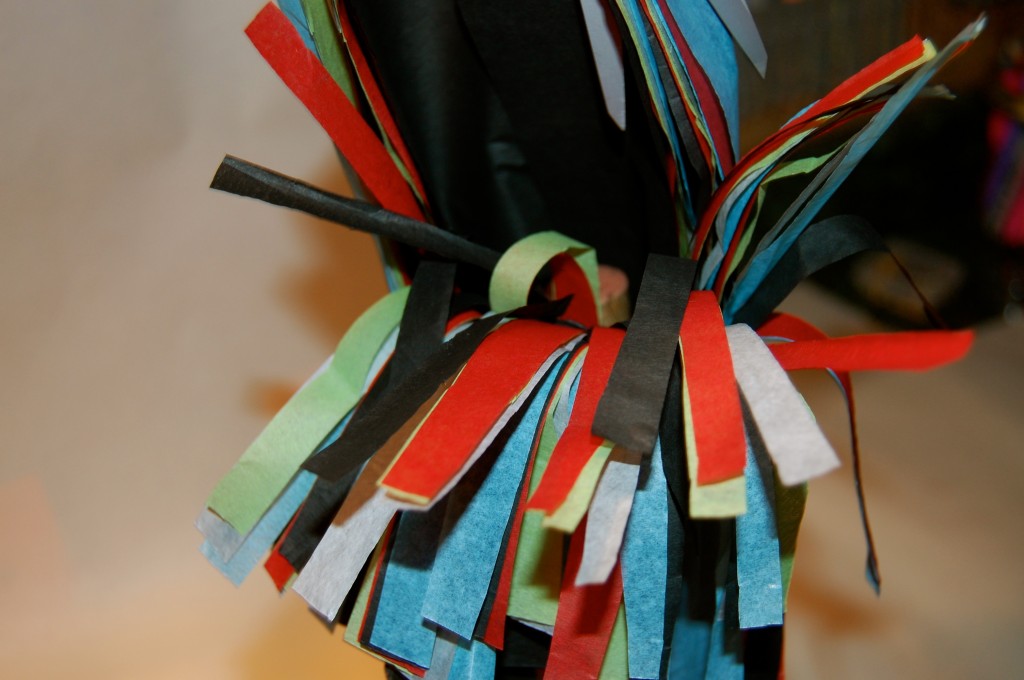
Tie a cord around the bottle’s neck, and cut paper into strips above it. Add ribbon, and attach a card.

How different is this sucker!

I think the one thing I love the most about this craft is that you can do different colors and then the pom pom at the top turns out simply AMAZING!

Your tired friend, jaderbomb

Check out Martha’s original craft HERE and you can purchase Martha Stewart’s Encyclopedia of Crafts here!

CLICK HERE TO WATCH VIDEO

(me on the show!)
Click HERE to read all about it!!!
 IF YOU DECIDE TO DO ANY OF THE CRAFTS, SHOOT ME AN EMAIL AND I WILL ATTACH  IT TO THE POST WITH A LINK THAT GOES STRAIT TO YOUR BLOG!  IF YOU DON’T HAVE A BLOG JUST EMAIL IT TO ME AND I WILL PUT IT UP!!!!
Thanks to Martha Stewart crafts for sponsoring me with craft supplies!

How To Make Block-Print Cards

 If you wanna make an impression with ink-block printing, an art form dating back to ninth-century China. A block print is an ink impression of a design carved into wood, linoleum, or other engravable material. Once you’ve cut out a design, you can use the block to make an unlimited number of identical prints.

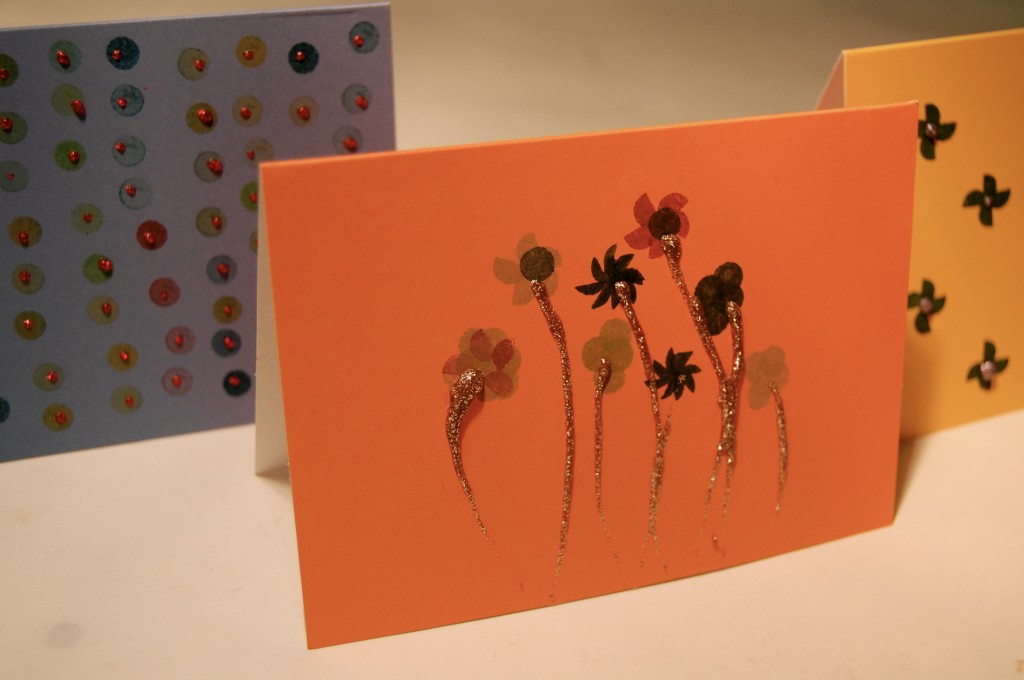
You can even write a special note and make tons and tons of Christmas cards!
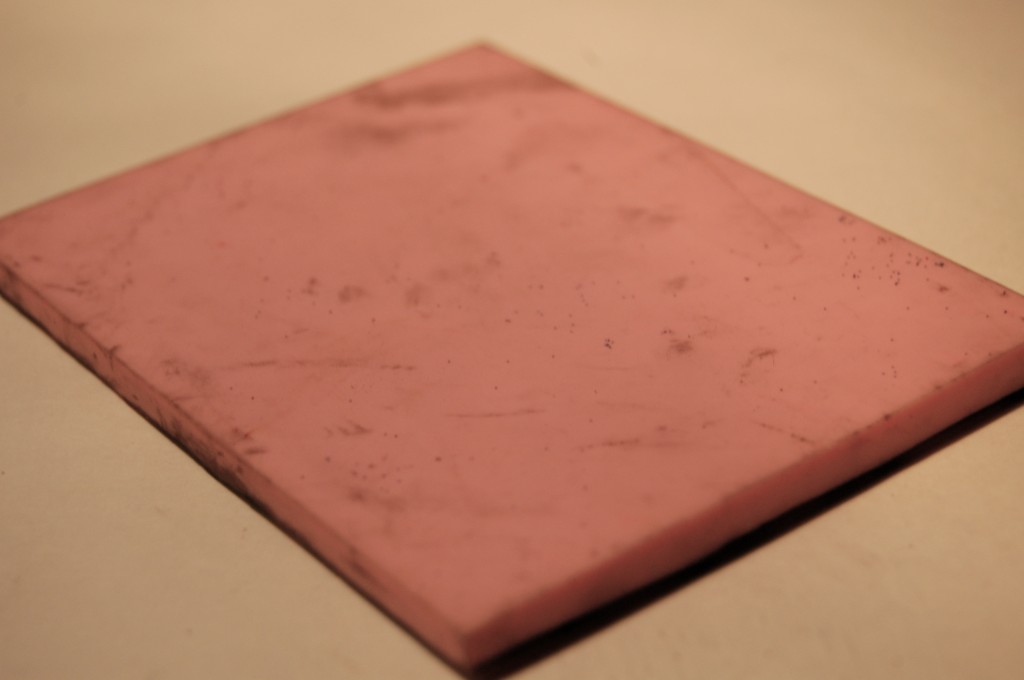
Ink block.

Every block print starts with an image. Choose a flower, a particular script, or even a drawing of your own. Use a photocopier to reduce or enlarge the image to fit the card of your choice. Cut ink block to approximate size of card, allowing for a border if desired. Lay tracing paper over design, securing the corners with tape if you wish, and trace with a pencil.
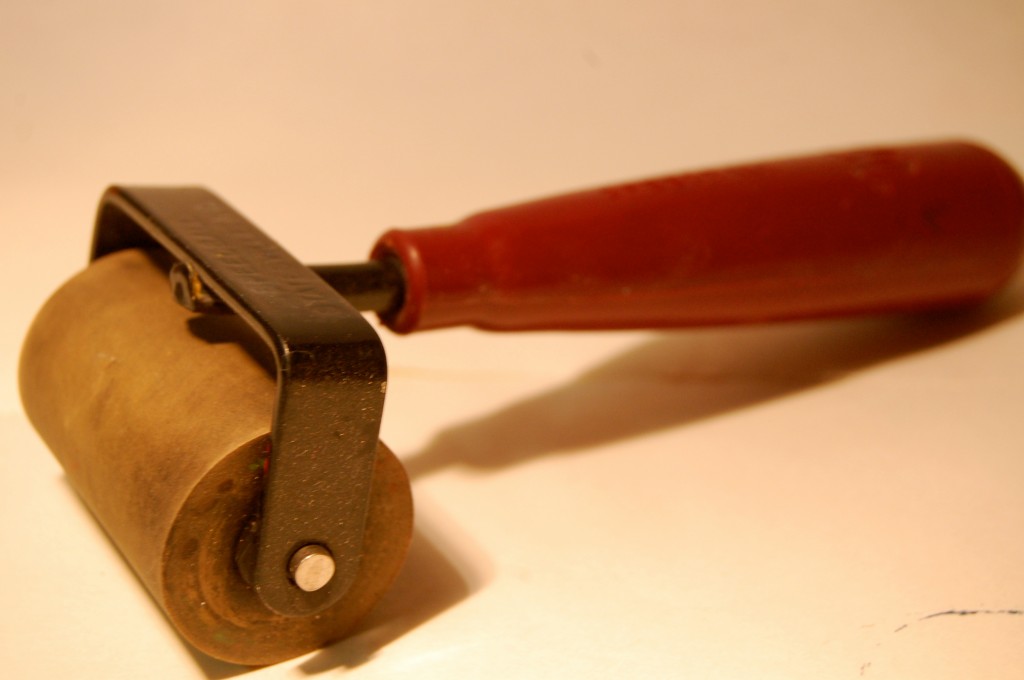
Brayer tool, available at art-supply stores
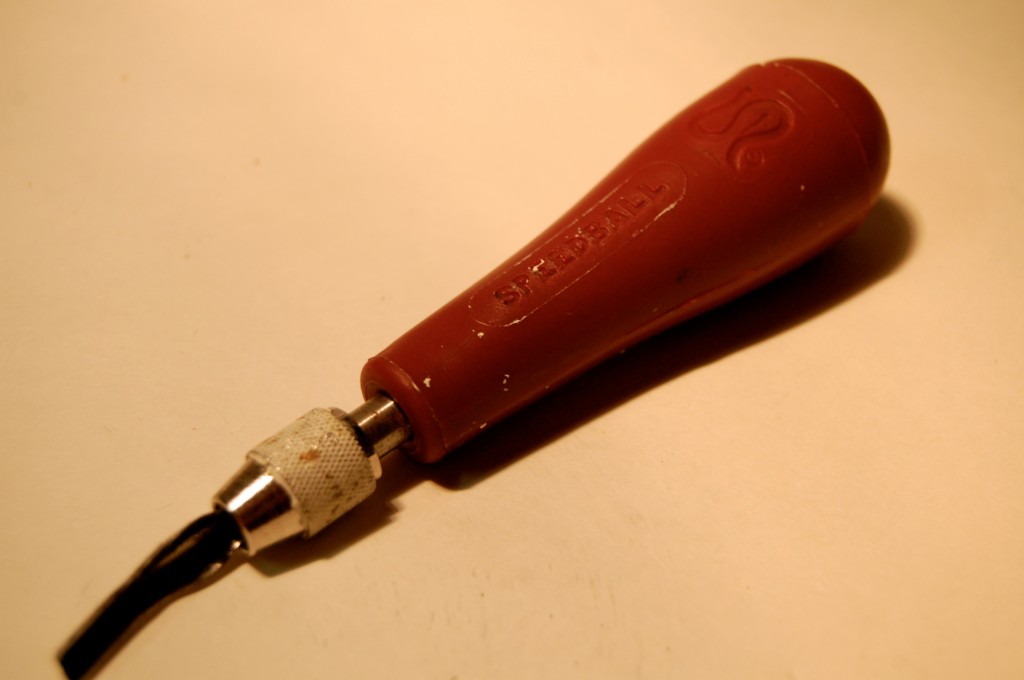
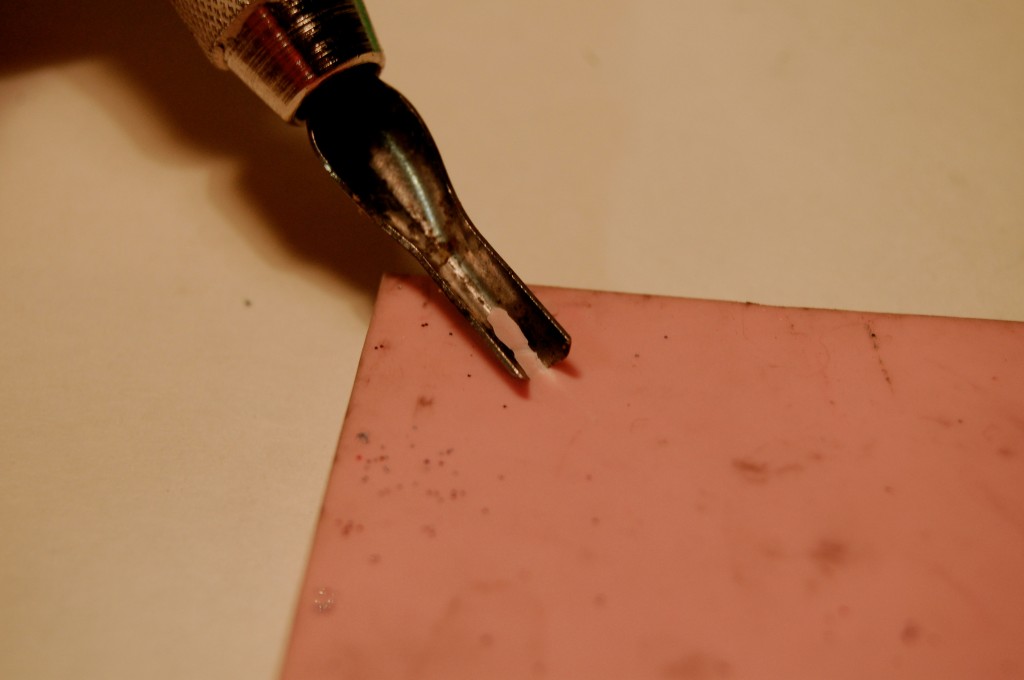
Linoleum-cutting tool, from Martha Stewart Crafts
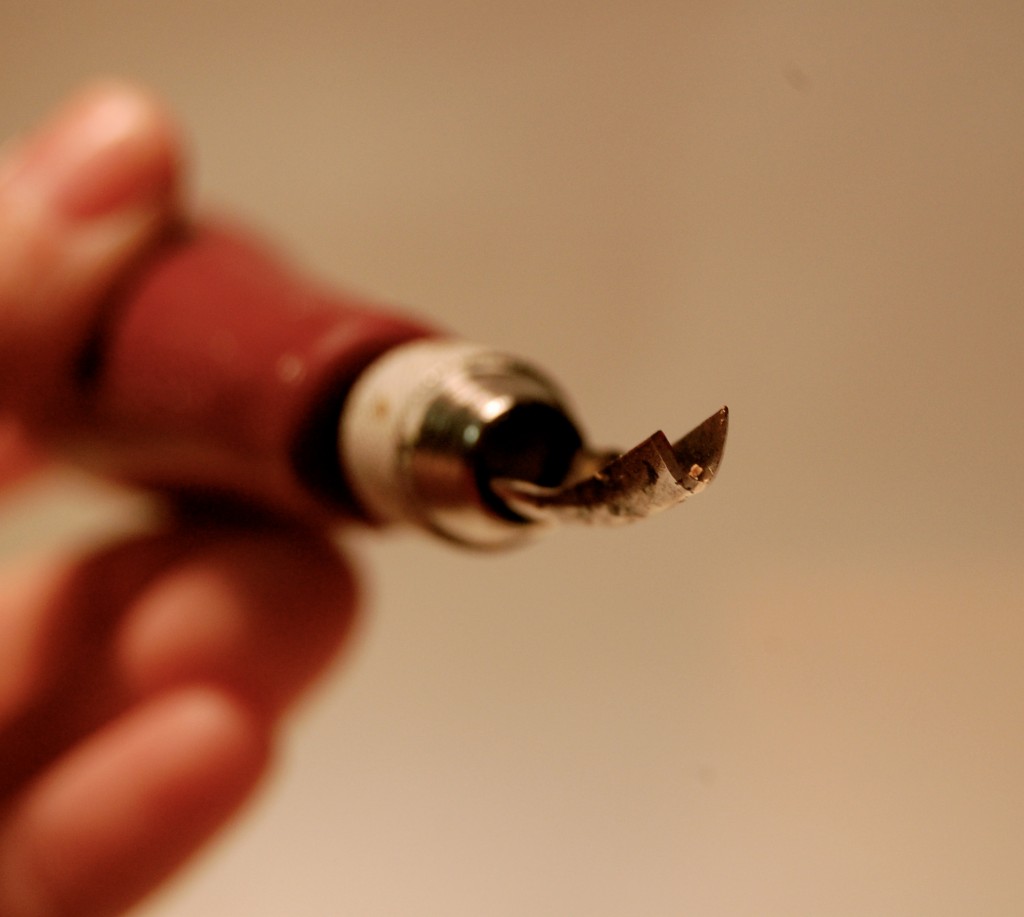
Be very careful because it is SUPER sharp!
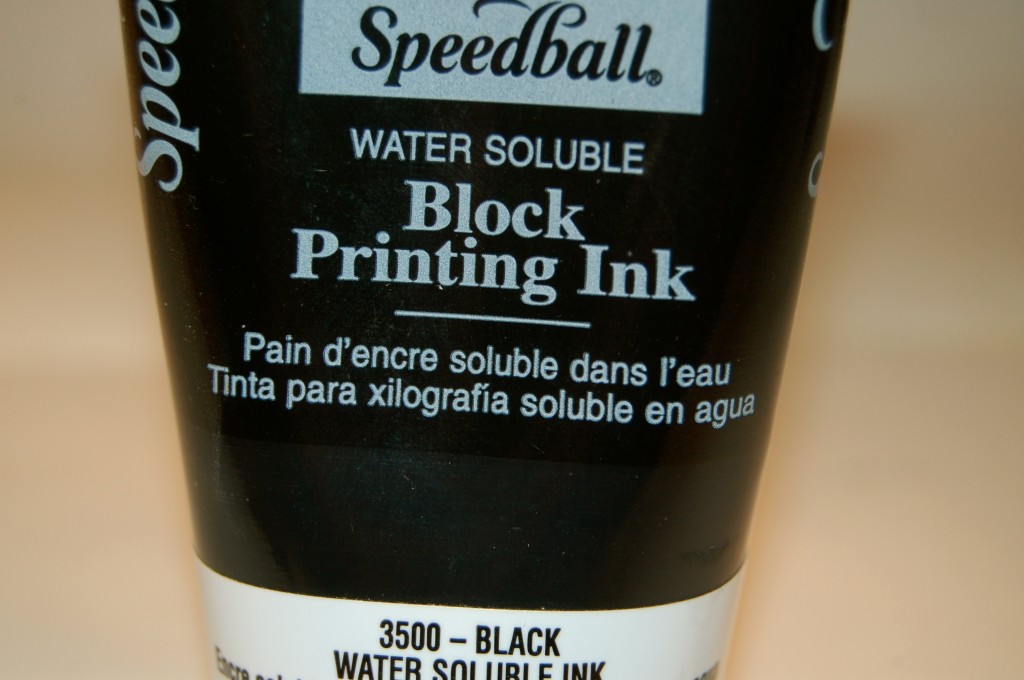
Block-printing ink, available at art-supply stores
 Next, transfer image to block by placing paper facedown and rubbing the entire surface gently with your fingernail or the back of a spoon. Remember, the carving will be a mirror image of the finished print; only uncarved areas will pick up ink — not the image itself. (If you want the image to pick up the ink, as shown in the wedding-ring and small-leaf cards in the Introduction, cut away the background, so the image will be raised. For this technique, your ink block would not need to be as large as the card.)
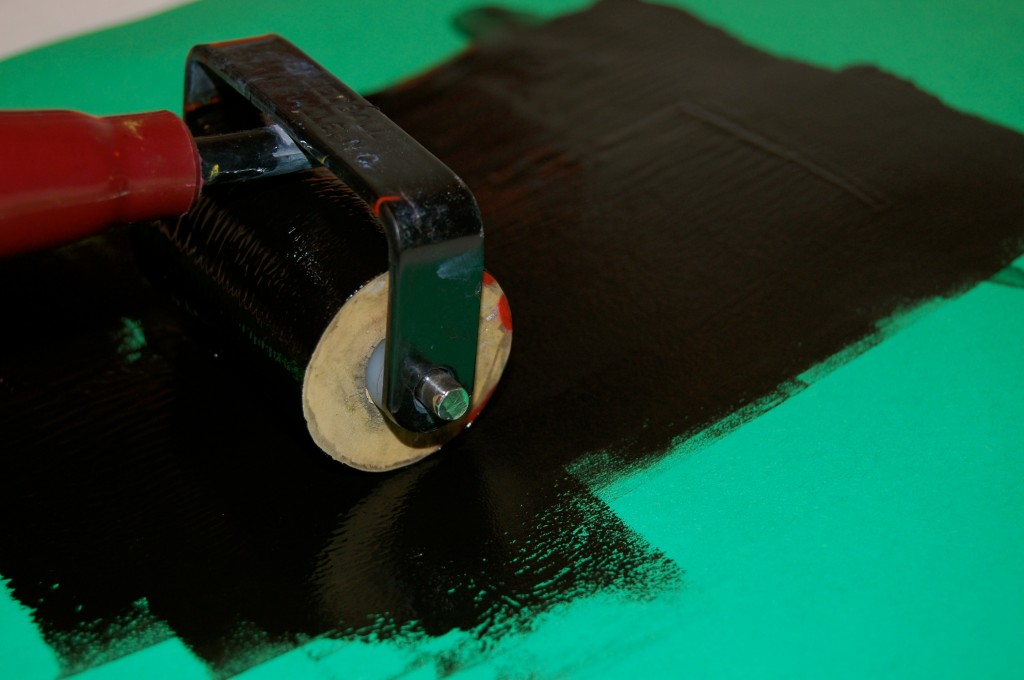
Paper plate to roll the ink on with. 
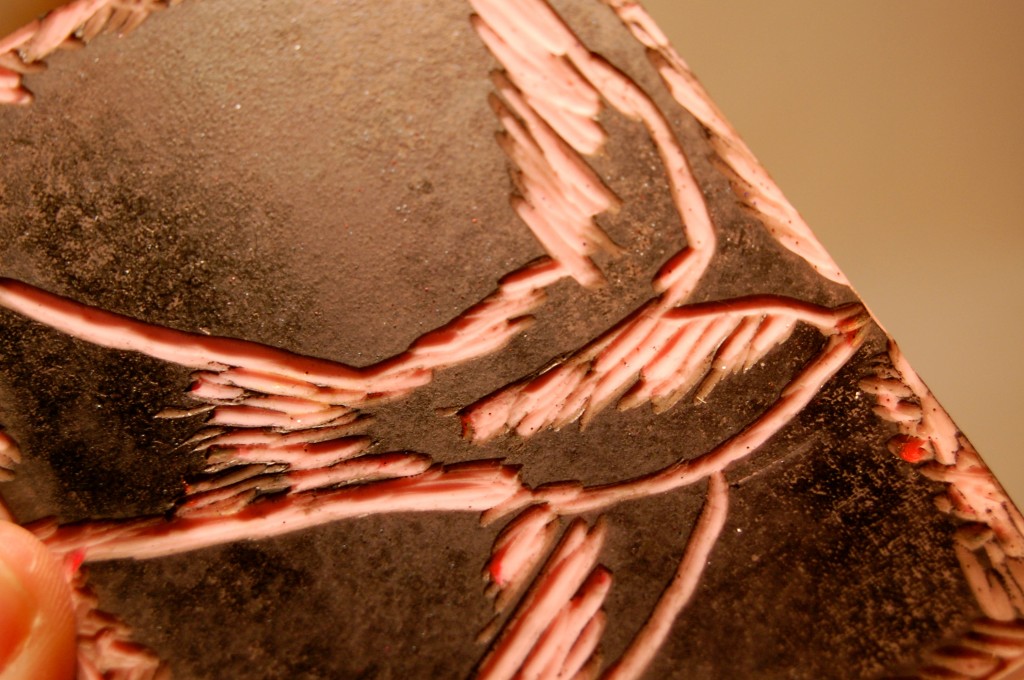
Carve design into block using a linoleum-cutting tool. Use a small blade to cut details and the large blade to carve away broad areas. Hold the cutter like a pencil, and use your other hand as a guide, keeping it clear of the blade’s path. Begin with shallow cuts; if you dig the cutter down into the block, it can cut all the way through.
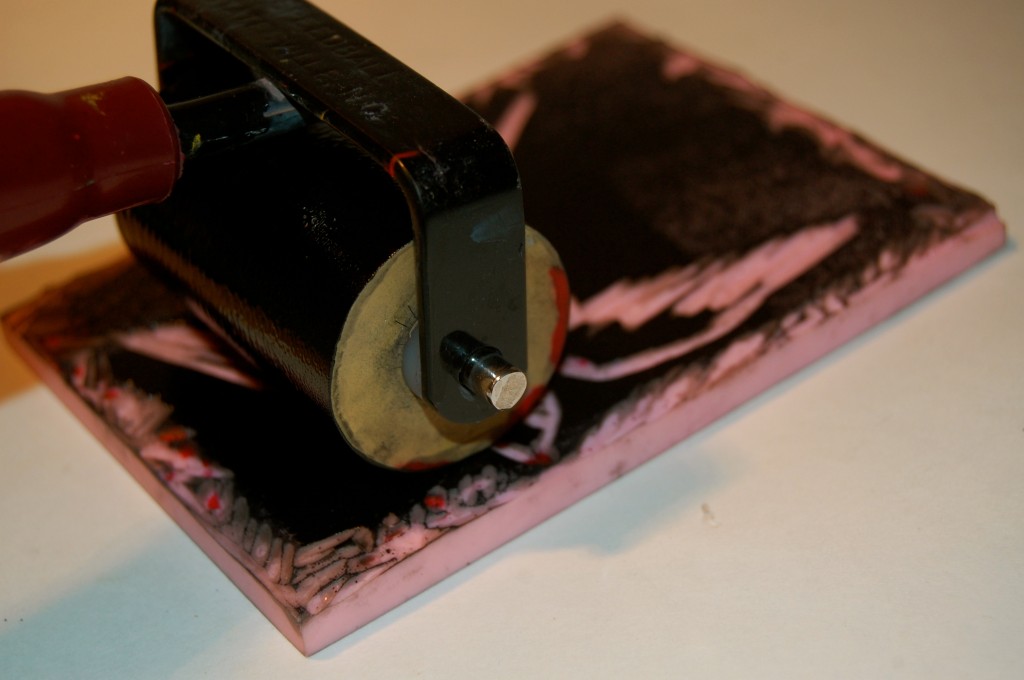
Squeeze a dollop of block-printing ink onto a paper plate; roll the brayer tool over ink until thoroughly covered with a thin, even layer. Use brayer to coat the block with ink.
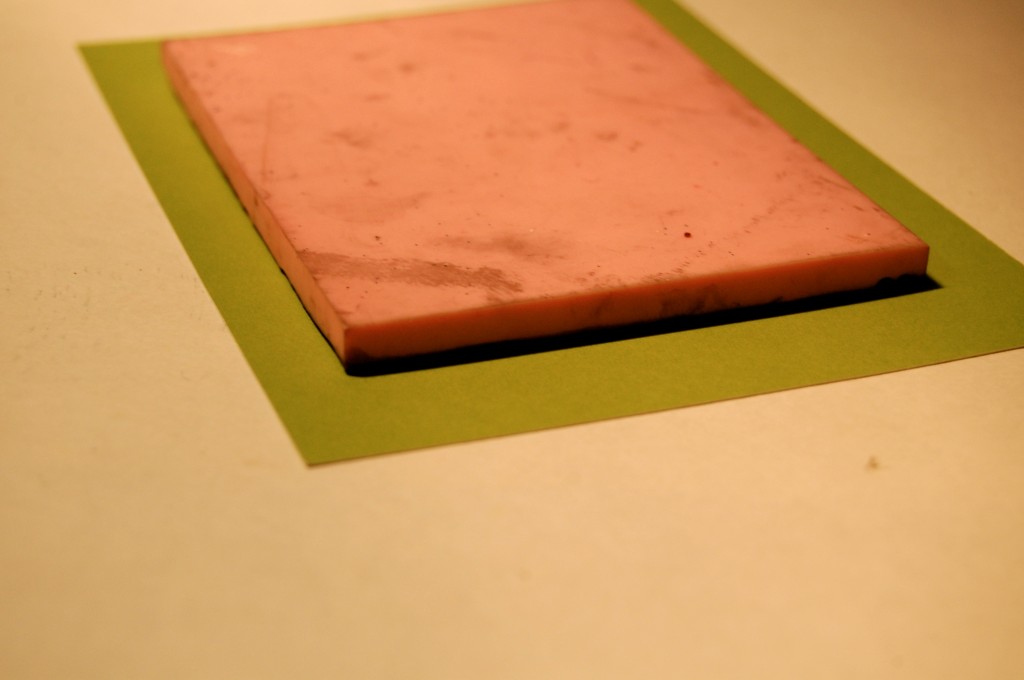
Plain store-bought cards, or assorted paper, from Martha Stewart Crafts
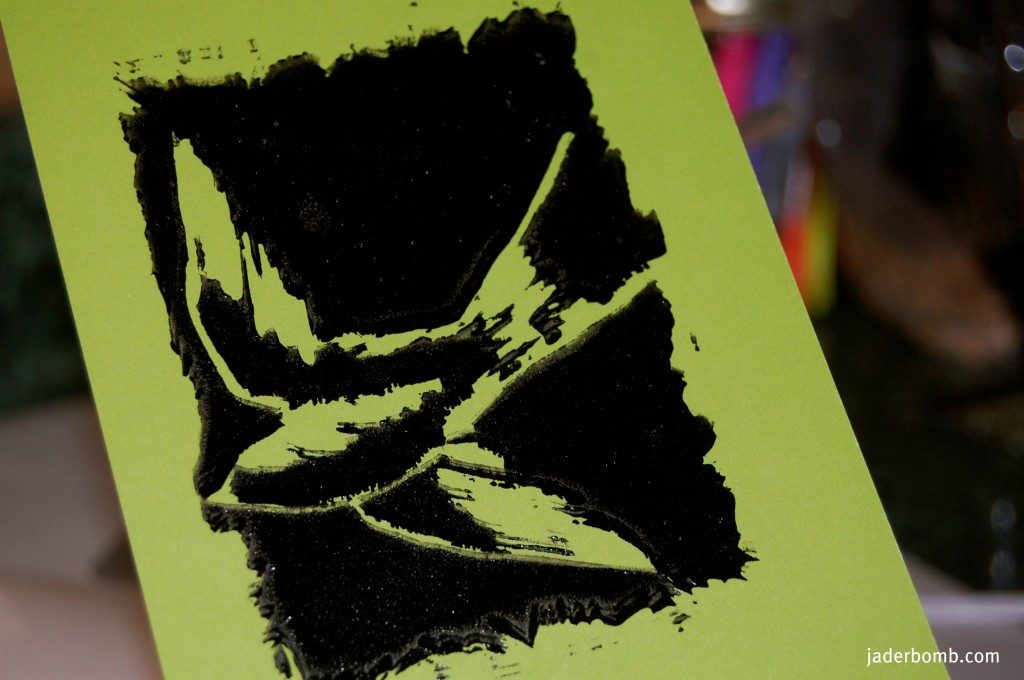
How easy was that!
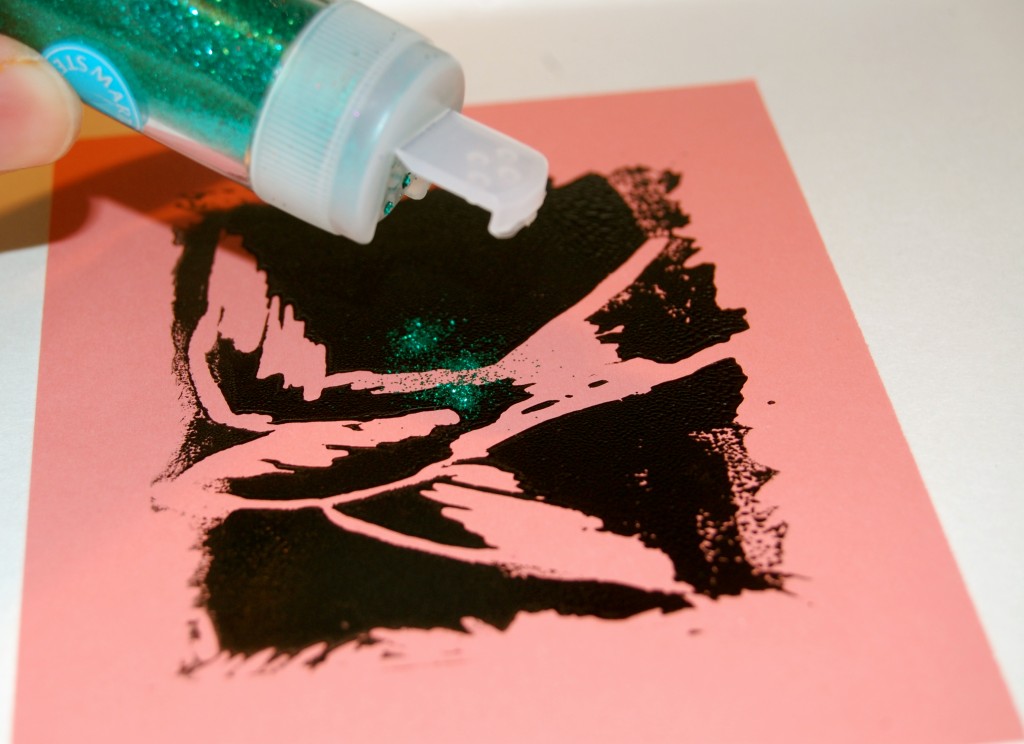
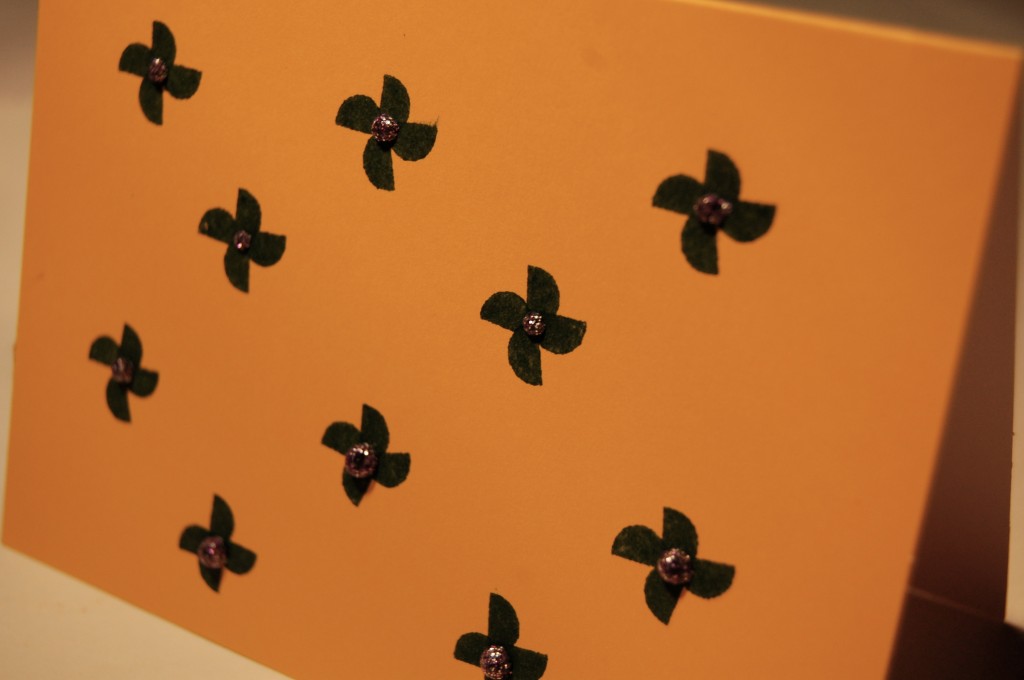
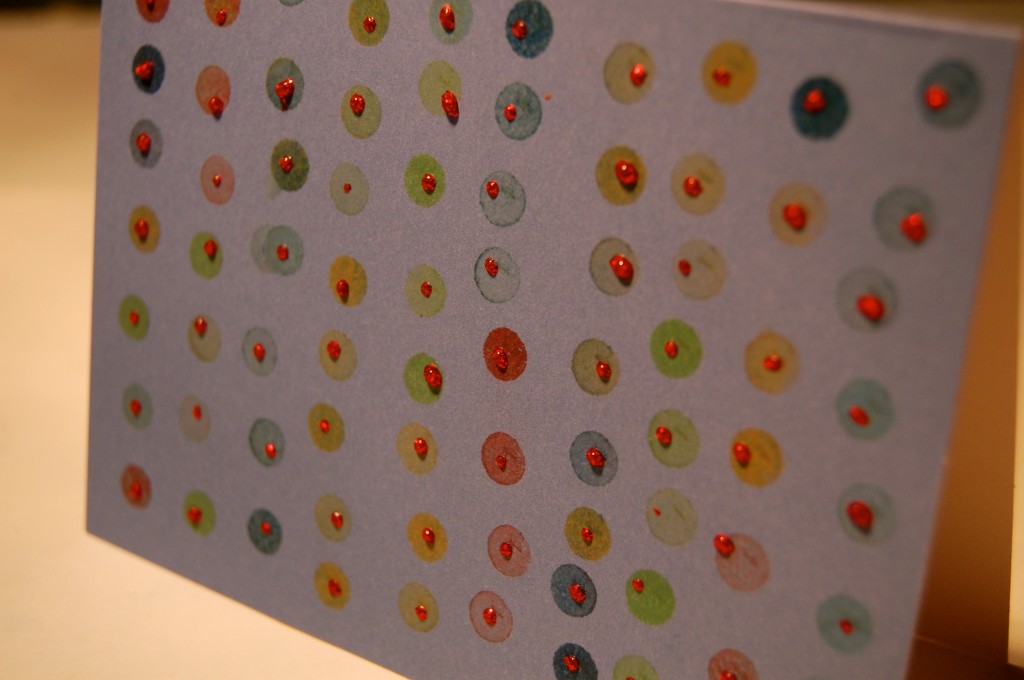
You know I just HAD to add glitter in this baby!
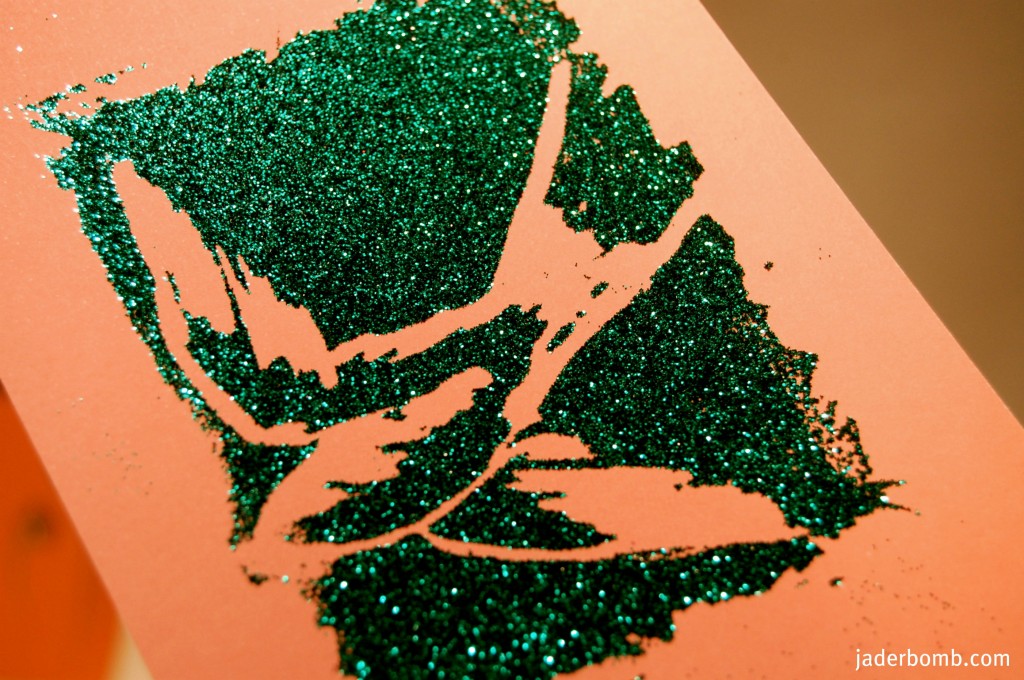
This makes my heart smile! Do something different this year and make your own cards!

Wishing you a Friday FULL OF FUN, jaderbomb

Check out Martha’s original craft HERE and you can purchase Martha Stewart’s Encyclopedia of Crafts here!

CLICK HERE TO WATCH VIDEO

(me on the show!)
Click HERE to read all about it!!!
 IF YOU DECIDE TO DO ANY OF THE CRAFTS, SHOOT ME AN EMAIL AND I WILL ATTACH  IT TO THE POST WITH A LINK THAT GOES STRAIT TO YOUR BLOG!  IF YOU DON’T HAVE A BLOG JUST EMAIL IT TO ME AND I WILL PUT IT UP!!!!
Thanks to Martha Stewart crafts for sponsoring me with craft supplies!


DIY Cork Trivet

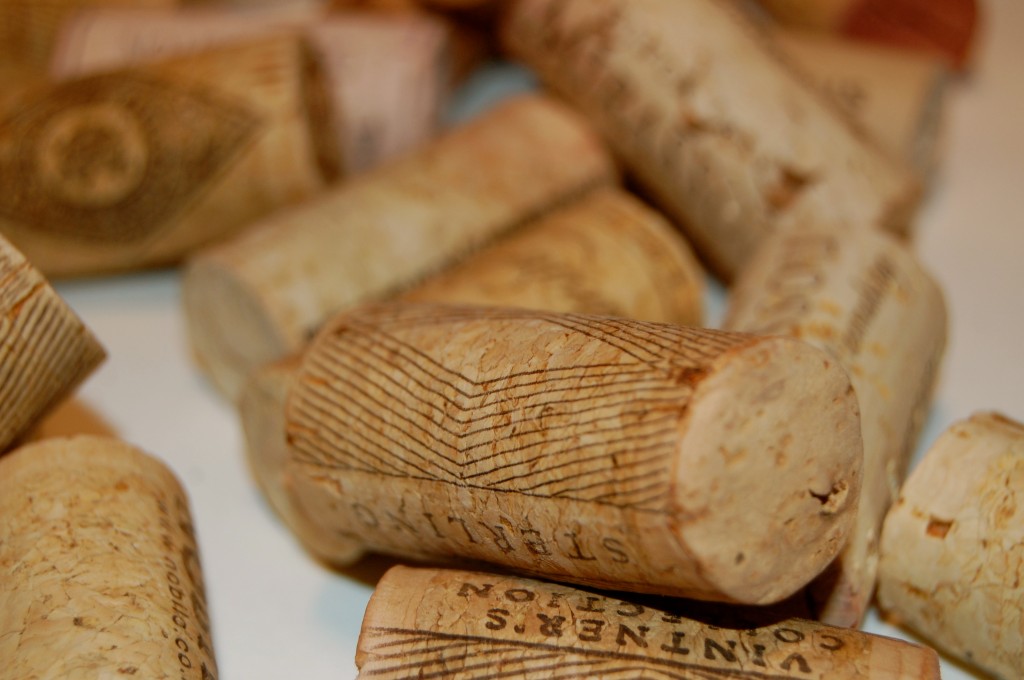
Happy CORK day! If you are like me then you LOVE corks! I always keep my corks. They always come in handy I tell ya!!!

They don’t just keep your wine from spilling and spoiling; corks can also protect your tables and countertops from hot pots and pans. Hope you enjoy this craft!!!

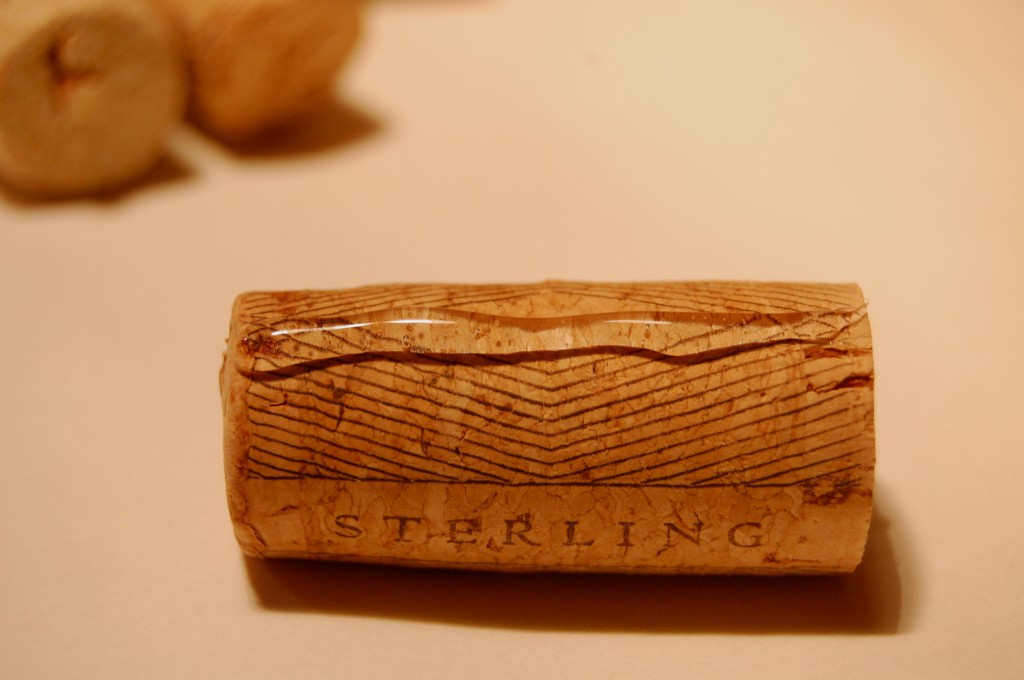
Grab some corkeyroos.

Put a bead of hot glue on one side of the cork. 

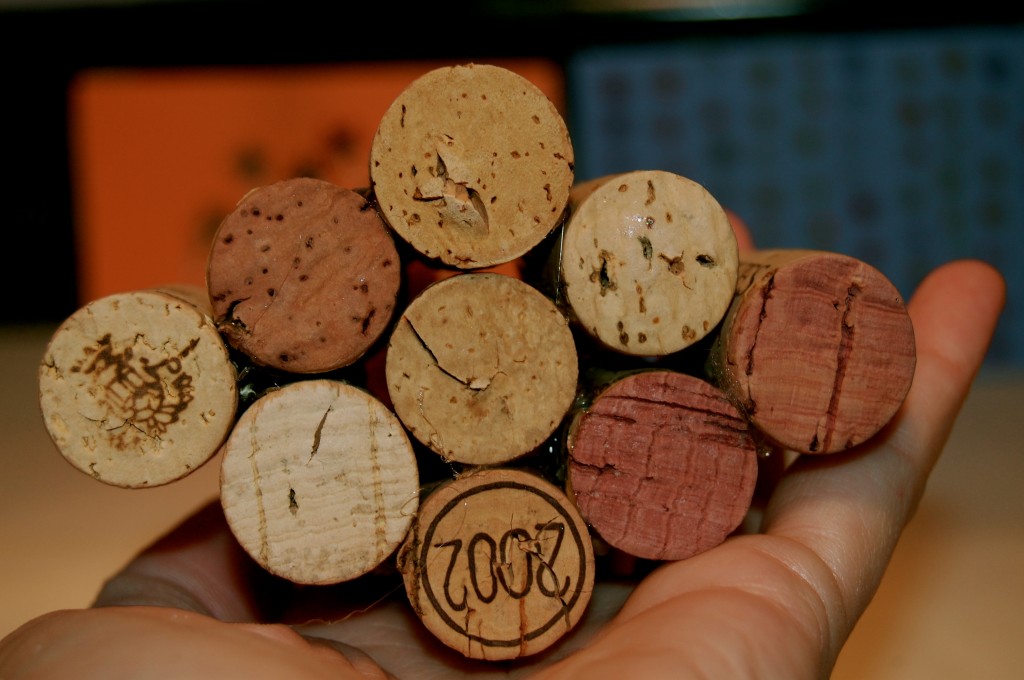
Once you start putting them together it will start to form it’s shape. 

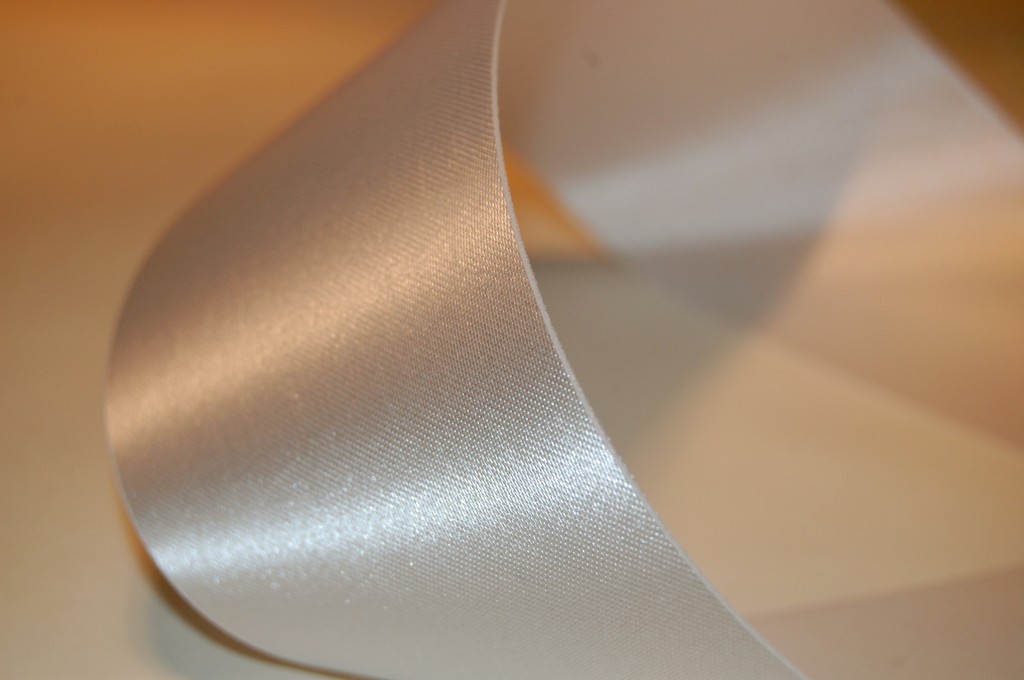
Get a piece of ribbon.

Fold it in half and apply it to corks using hot glue. {{you can totally see that I put WAY too much hot glue on this baby}}

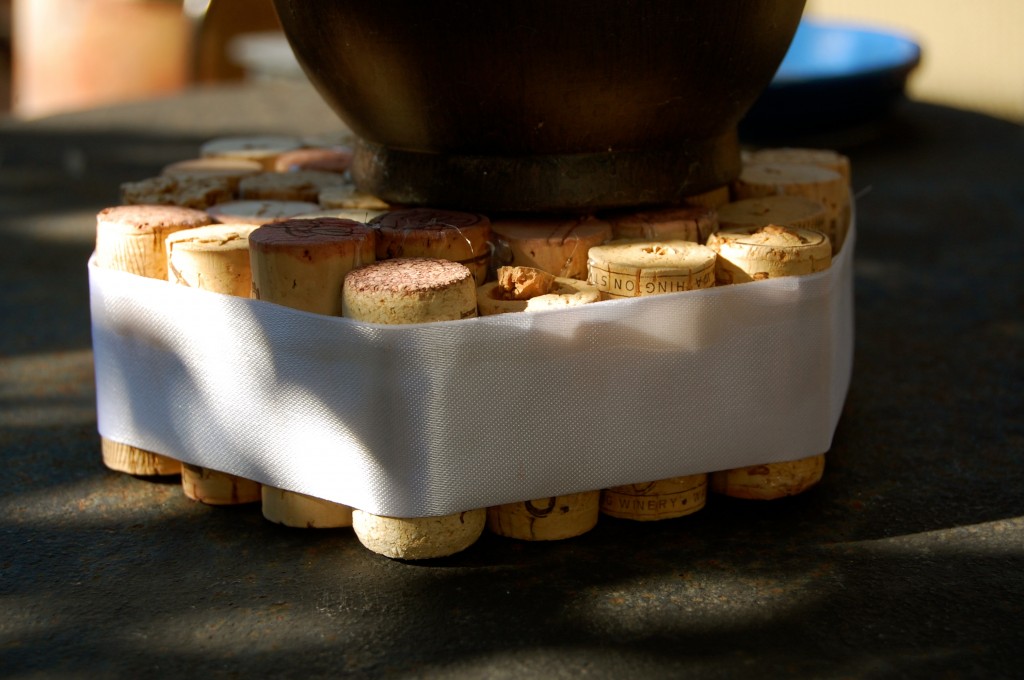
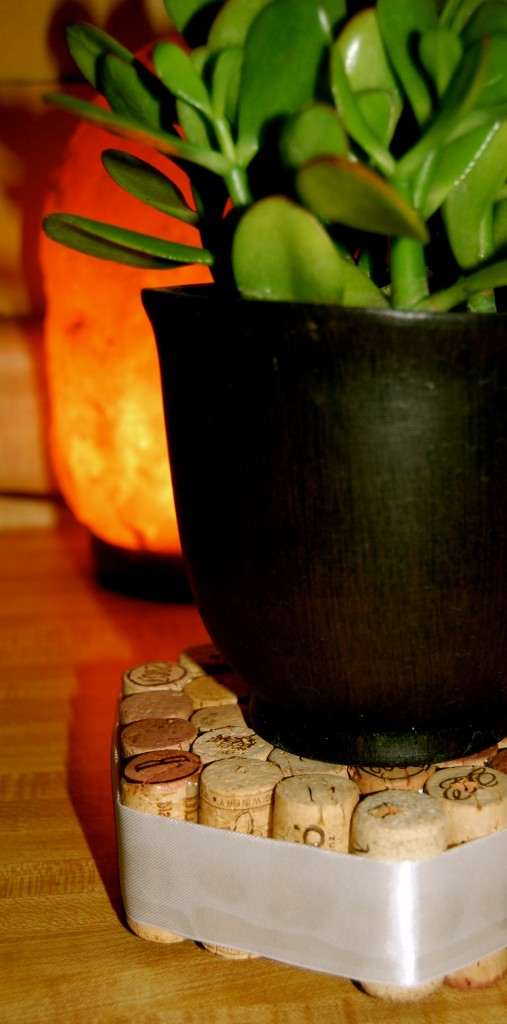
This is what it will look like when you are done! The cool thing is you can make ANY shape you want and it will be BEAUTIFUL!!!

Wishing you a corky day, Jaderbomb

Check out Martha’s original craft HERE and you can purchase Martha Stewart’s Encyclopedia of Crafts here!

CLICK HERE TO WATCH VIDEO

(me on the show!)
Click HERE to read all about it!!!
 IF YOU DECIDE TO DO ANY OF THE CRAFTS, SHOOT ME AN EMAIL AND I WILL ATTACH  IT TO THE POST WITH A LINK THAT GOES STRAIT TO YOUR BLOG!  IF YOU DON’T HAVE A BLOG JUST EMAIL IT TO ME AND I WILL PUT IT UP!!!!
Thanks to Martha Stewart crafts for sponsoring me with craft supplies!


Martha Stewart Countdown #62 Rope Coasters

 Totally another day that is going by SOOOO fast!! I hope everyone’s day is going FABULOUS!!!!

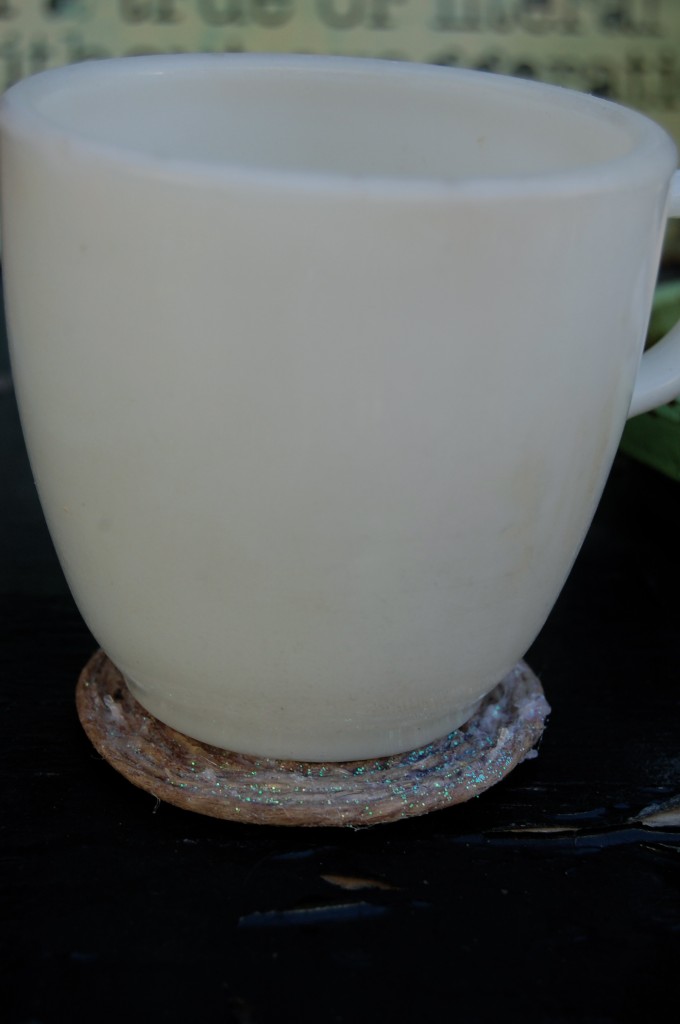
If your looking for the best gift to give someone or if you want to make something for yourself then these coasters will do the trick. Suggesting the casual atmosphere of the seaside with their cheerful hues and nautically inspired coils of cotton rope. Since they are inexpensive and easy to make, you can have plenty of them on hand to put alongside all of the  drinks that you’ll soon be serving. I think what is great about twine is that you can use it for ANY holiday! This is something I have on hand ALL OF THE TIME!

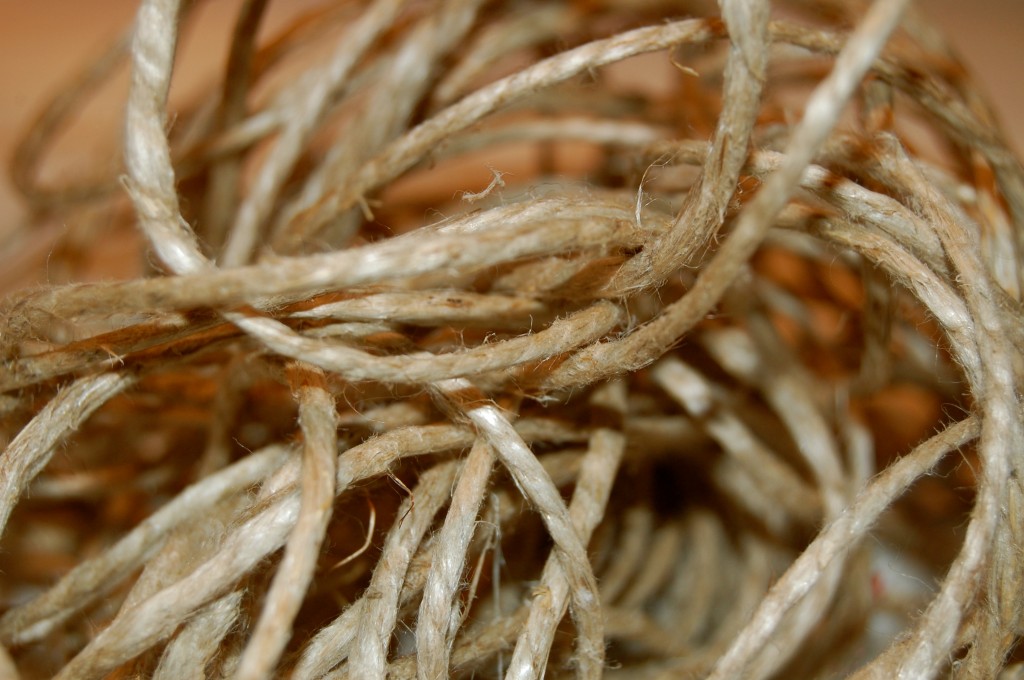
Grab some good ole twine!

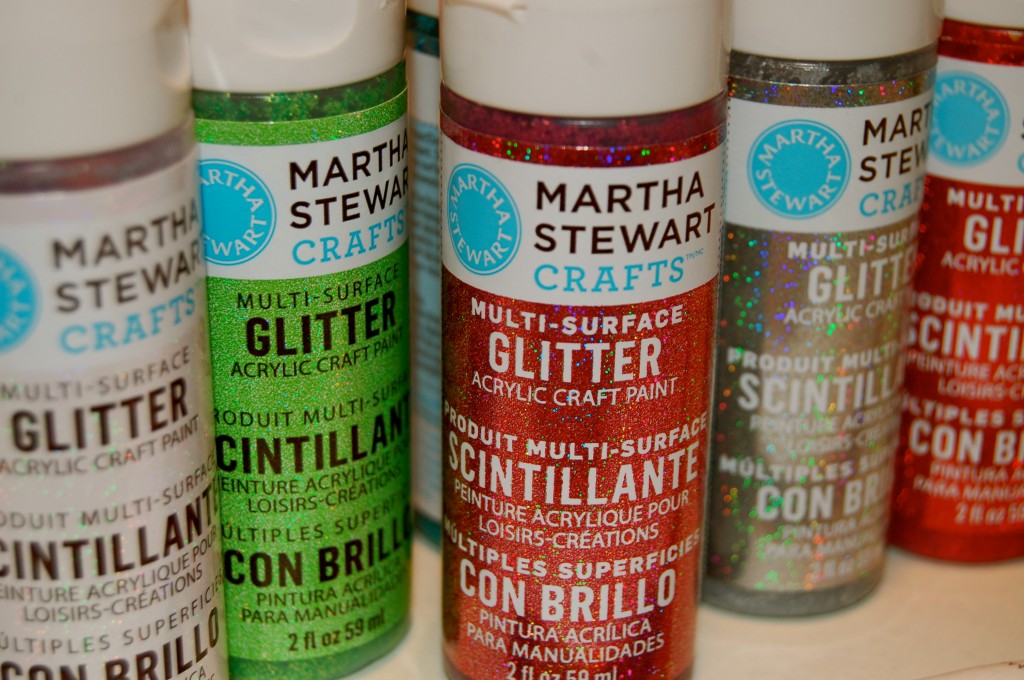
and some good ole Martha Stewart paint…

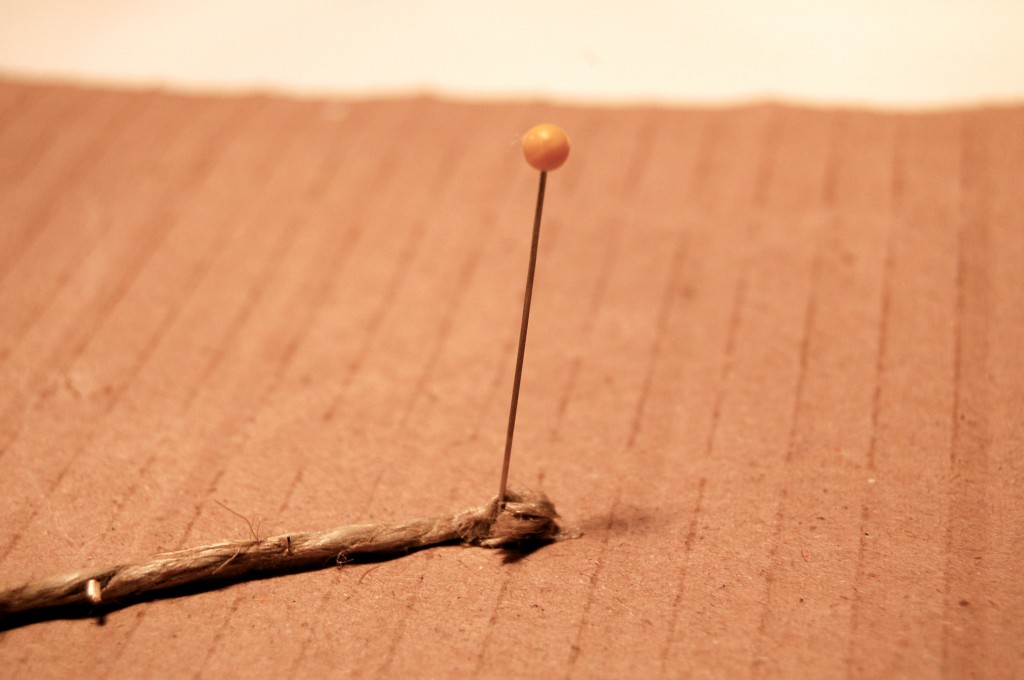
Take the end of the twine and place a pin in it (into cardboard). This is secure it in place.

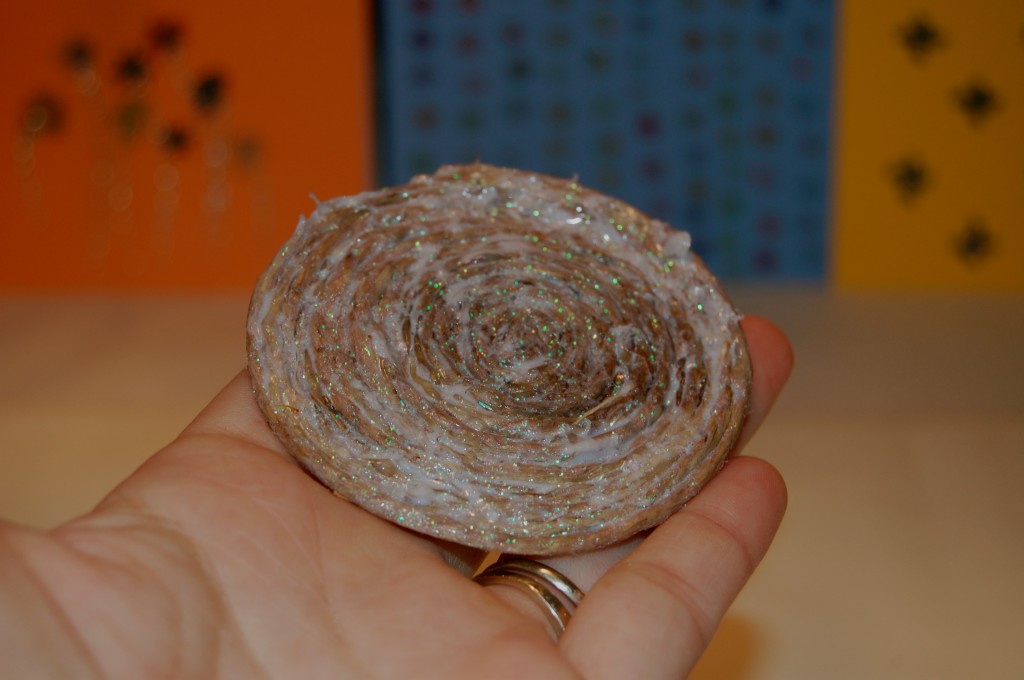
It should start coming together!

Tadahhh.. For some reason this picture does not look at good as it does in person. I think it was the glitter reflecting the wrong way! What cha think.. I think we should blame it on the glitter!!

Sending you glitter that does NOT reflect in pictures, your jaderbomb


Check out Martha’s original craft HERE and you can purchase Martha Stewart’s Encyclopedia of Crafts here!

CLICK HERE TO WATCH VIDEO

(me on the show!)
Click HERE to read all about it!!!
 IF YOU DECIDE TO DO ANY OF THE CRAFTS, SHOOT ME AN EMAIL AND I WILL ATTACH  IT TO THE POST WITH A LINK THAT GOES STRAIT TO YOUR BLOG!  IF YOU DON’T HAVE A BLOG JUST EMAIL IT TO ME AND I WILL PUT IT UP!!!!
Thanks to Martha Stewart crafts for sponsoring me with craft supplies!

Martha Stewart Countdown #61 Bottle-Cap Magnets

Well Well Well…. What shall we talk about today? I will show you step by step how to turn a dingy old bottle cap into a cute and chic magnet for your ice box. Some of the Ingredients you will need are:

1-inch circular craft punch
Craft glue
Bottle caps
Clear casting resin
Contact cement
Small magnets or thumbtacks
  
Some of the ingredients shown above~

If you don’t have a stamp to cut your circle you can use a quarter as a template.
When you find a picture you love get a quarter and place it on top of the image. Gently cut around the quarter with scissors or a razor blade. Either one works great.

Next step: You will place the peel n stick magnet on the bottom of each bottle cap.

Turn the bottle caps upside down now and we will prepare for the next step. You will take the pieces that you cut out of the magazines and glue them inside of the bottle cap.
You will take the picture you cut out of the magazine and squirt  glue onto the back of it. After you apply the glue you will simply place the piece of paper inside the bottle cap. Take your finger and press to make sure the paper is firmly touching the bottom of bottle cap.

Above is what they will look like with just the pictures in the bottle caps.
CUTE HUH~~

Next you will get your Polyurethane and take a spoonful of it and carefully pour it into the top of bottle cap. You want to fill it all the way to the top. Mine is a darker shade because I wanted them to look kinda old and antique. You can get clear if you want the images to show up more clearly.

Once poured and dried this is what they look like.

I posted the picture above to show you that if you have any air pockets after you fill the bottle caps up and you don’t pop them, this is what will happen. I actually like them more like this but it can be prevented~

Tadahhhh~~~ This is how they look when completed! They are so cute and it’s a great way to personalize as gifts! I know I would absolutely LOVE getting a couple of these for Christmas~~
Going to bed early for the first time in MONTHS… For real you will NOT see me creeping in a little bit.. Love each and every one of my jaderbugs!

Check out Martha’s original craft HERE and you can purchase Martha Stewart’s Encyclopedia of Crafts here!

CLICK HERE TO WATCH VIDEO

(me on the show!)
Click HERE to read all about it!!!
 IF YOU DECIDE TO DO ANY OF THE CRAFTS, SHOOT ME AN EMAIL AND I WILL ATTACH  IT TO THE POST WITH A LINK THAT GOES STRAIT TO YOUR BLOG!  IF YOU DON’T HAVE A BLOG JUST EMAIL IT TO ME AND I WILL PUT IT UP!!!!
Thanks to Martha Stewart crafts for sponsoring me with craft supplies!


Martha Stewart Countdown #60 Pencil Stamps

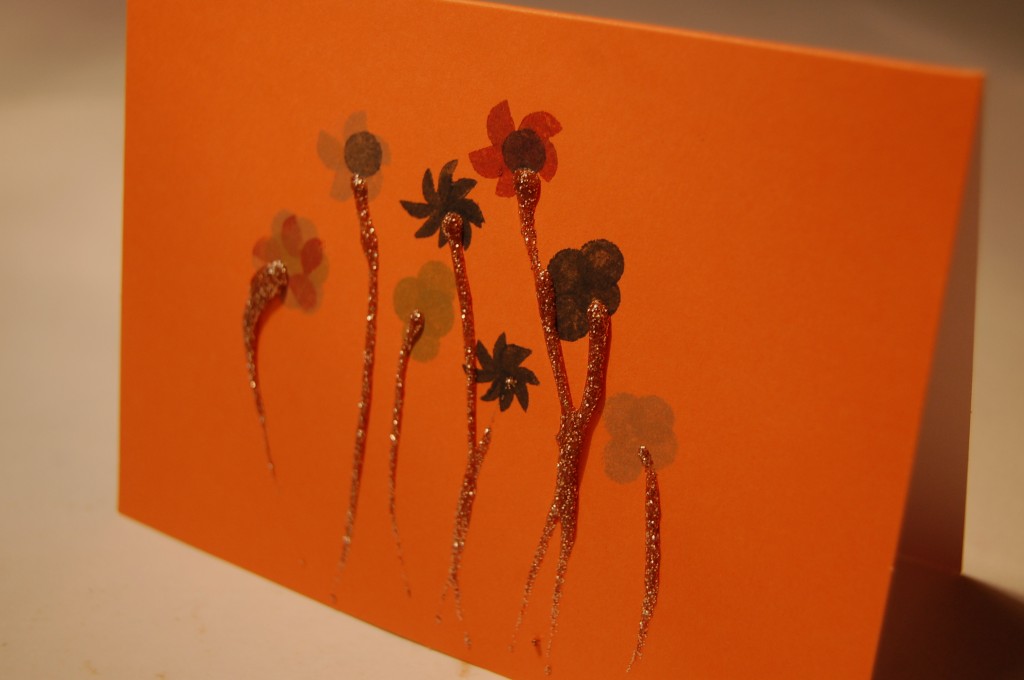
OK! I am obsessed with making note cards lately! Thank goodness Martha likes note cards! For some reason I just love giving someone something that I have made! I am POSITIVE you will too. It’s a rewarding feeling when someone looks at something and they have that “wow, did you really make that” look on their face! Then you say “YEP, I DID”

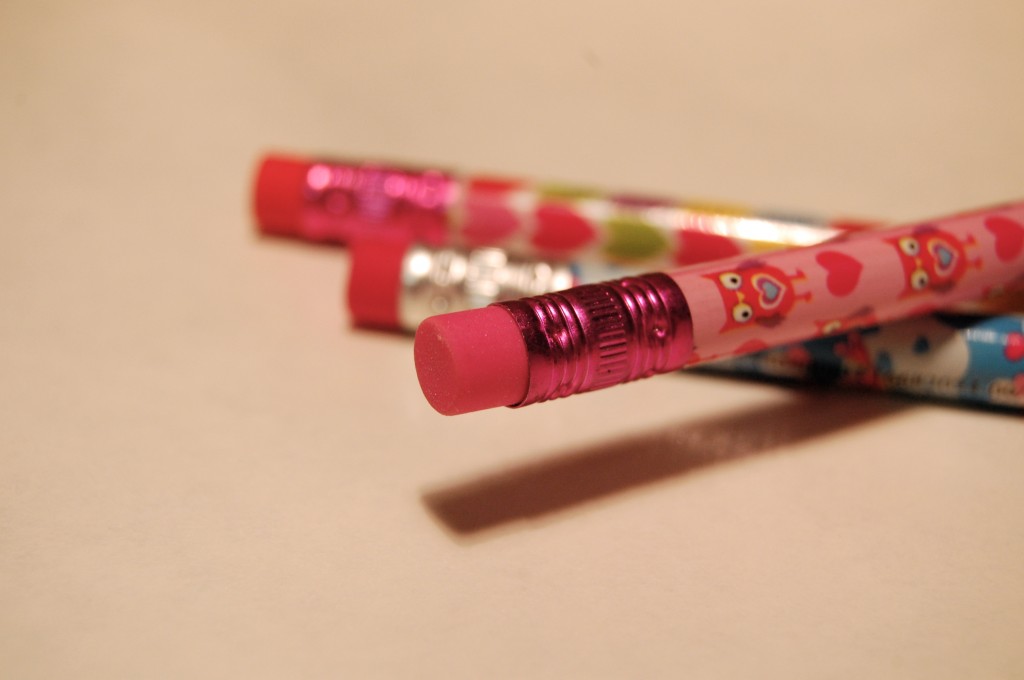
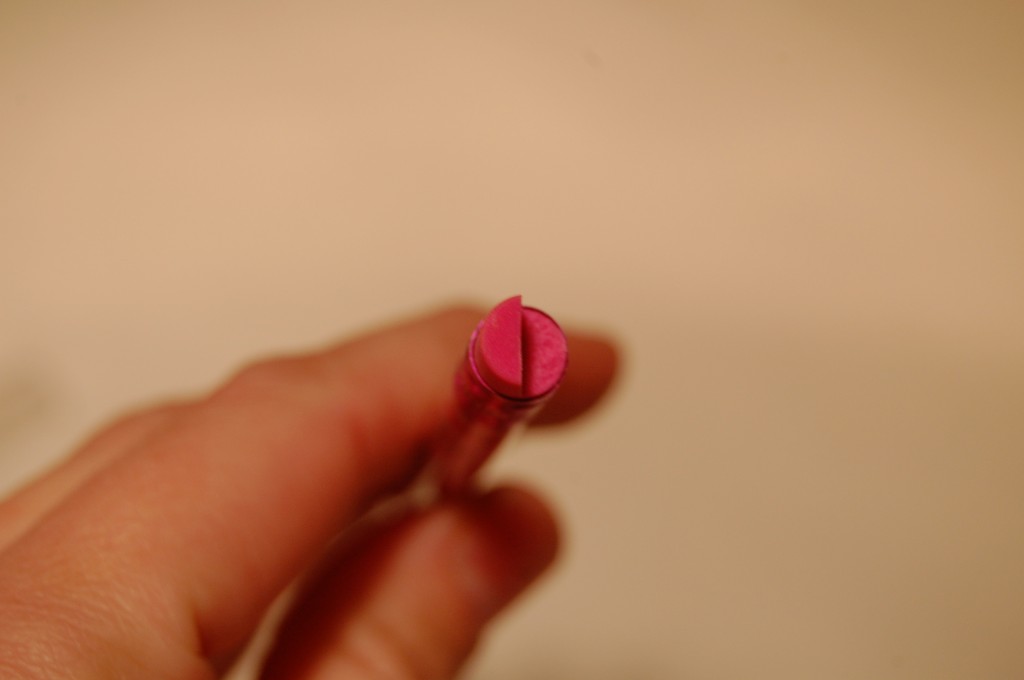
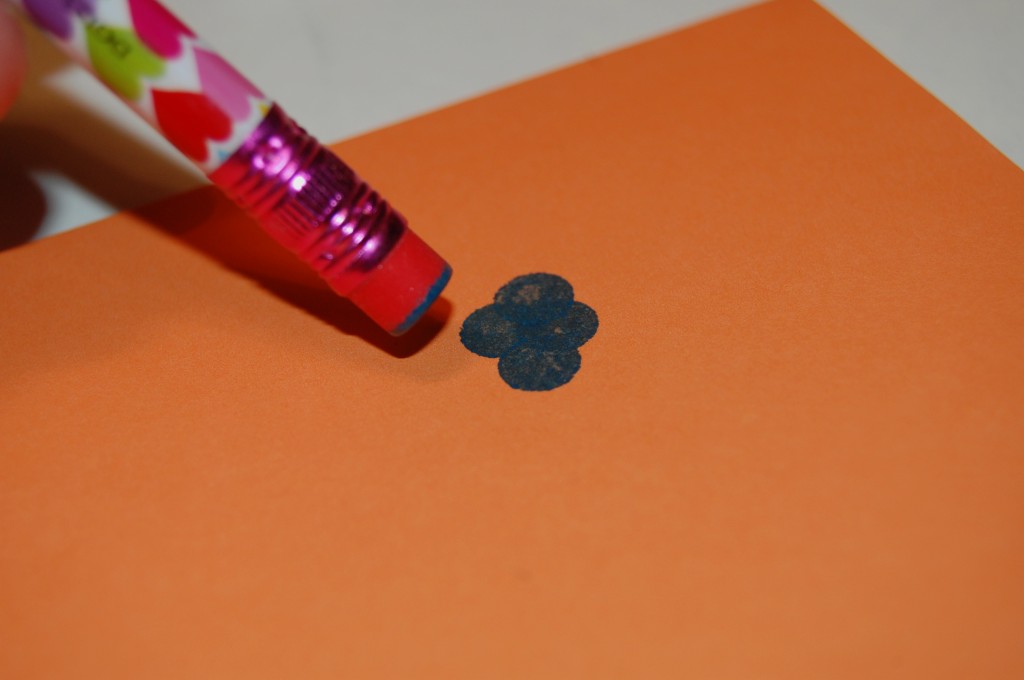
Instead of using your pencil eraser to make marks disappear, turn it into a stamp and make playful pictures appear on cards and wrapping paper.  Just press the eraser into an ink pad, and stamp polka dots onto paper. Or cut the eraser with a utility knife to create different looks: Half an eraser makes a half-moon, and a third creates a delicate crescent.

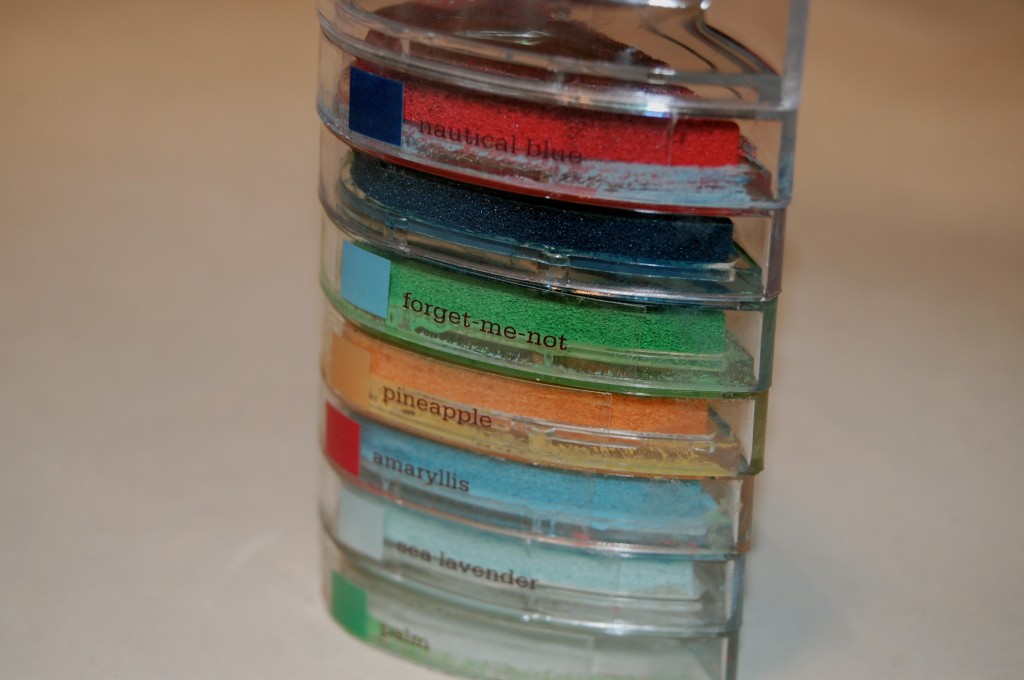
I used Martha Stewart’scraft knife and ink pads.

I hope you make tons and tons of notecards for all of your loved ones. Just think of the look on their face when they see it.

Lot’s polka dot love being sent your way, Jaderbomb

Check out Martha’s original craft HERE and you can purchase Martha Stewart’s Encyclopedia of Crafts here!

CLICK HERE TO WATCH VIDEO

(me on the show!)
Click HERE to read all about it!!!
 IF YOU DECIDE TO DO ANY OF THE CRAFTS, SHOOT ME AN EMAIL AND I WILL ATTACH  IT TO THE POST WITH A LINK THAT GOES STRAIT TO YOUR BLOG!  IF YOU DON’T HAVE A BLOG JUST EMAIL IT TO ME AND I WILL PUT IT UP!!!!
Thanks to Martha Stewart crafts for sponsoring me with craft supplies!