Tag Archives: cork crafts

What is better than a nice bundle of sweet cotton candy? Welp, I will tell ya! Learning how to make Earrings

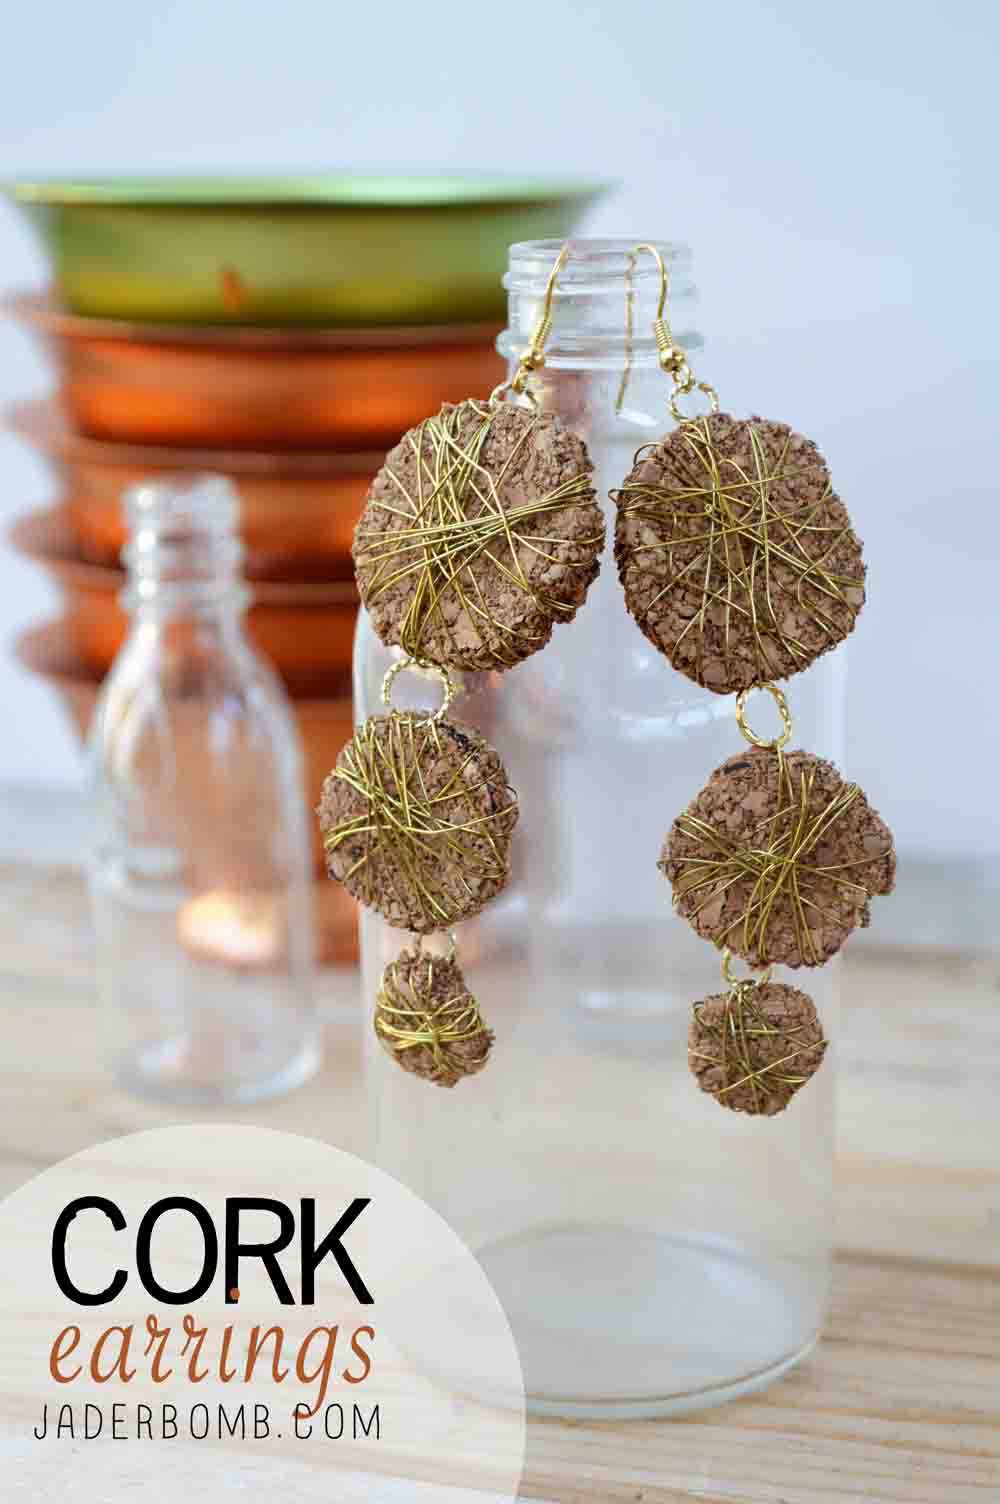
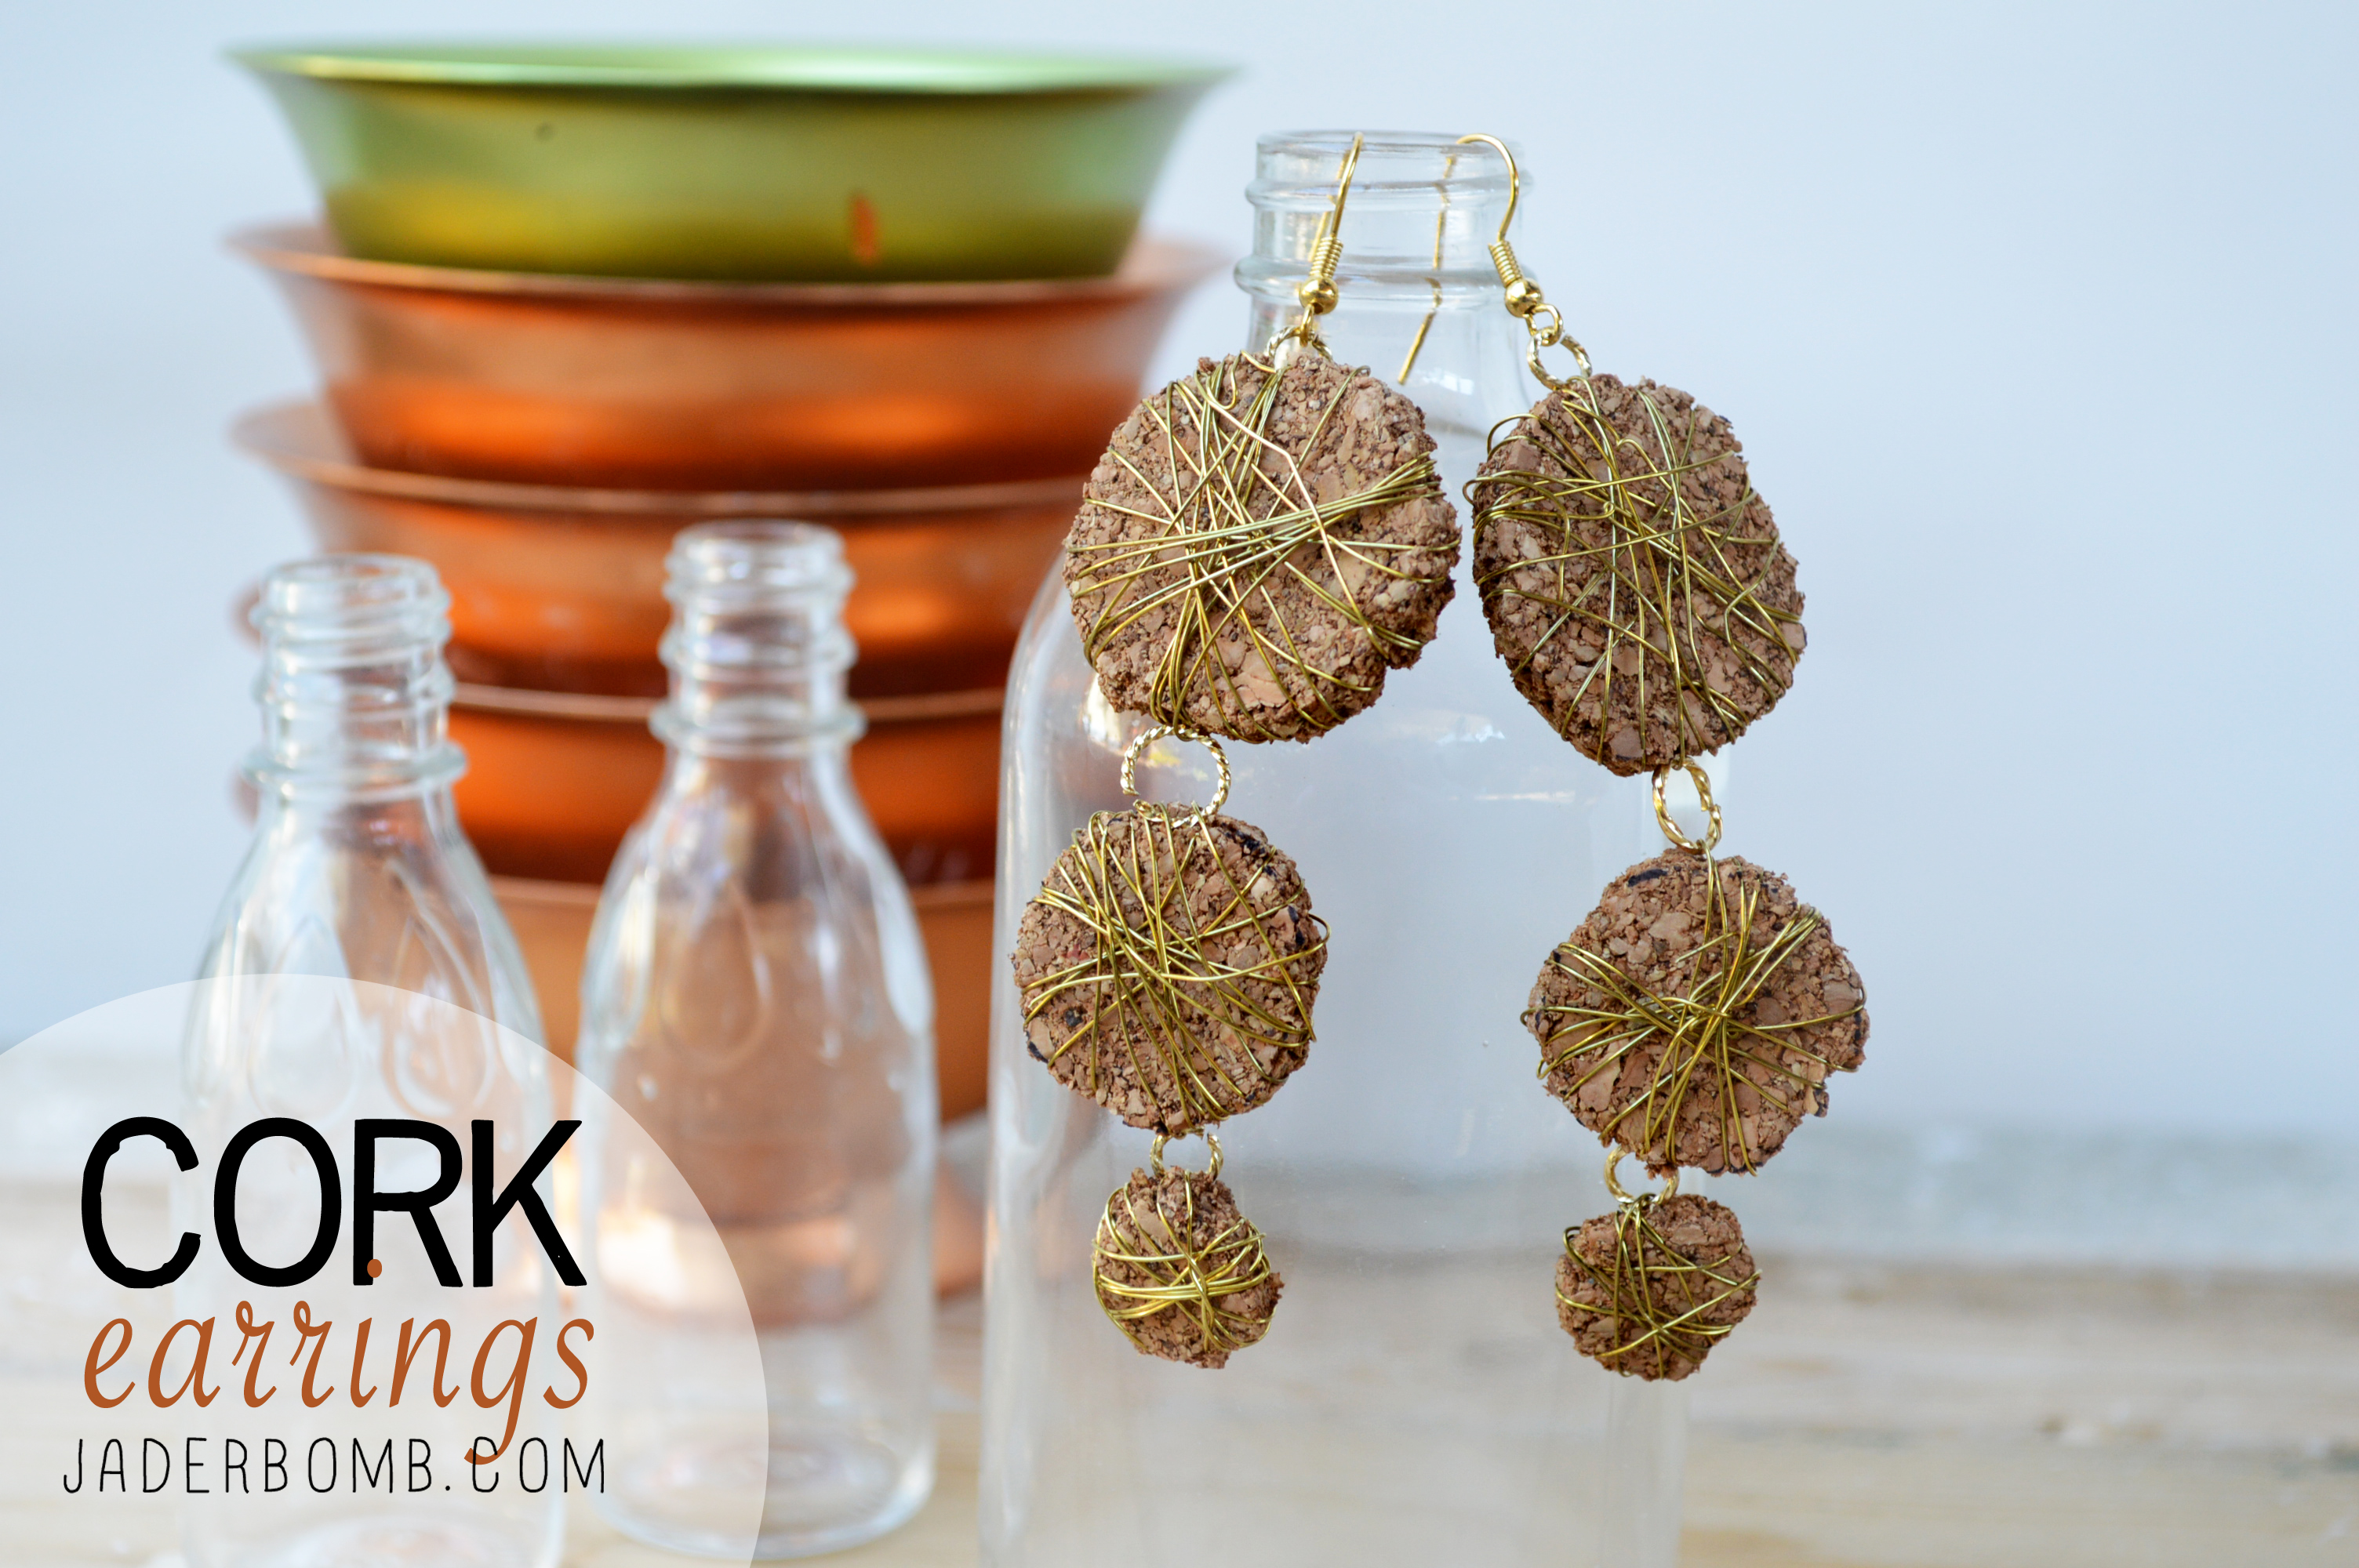
Cork and Wire Earrings, y’all! What? You didn’t know this was the new thing for 2056?

These day’s corks are used for many crafty creations. Sometimes things you use in your daily life can quickly become a fashion statement if you simply use your imagination. Did you ever think you would use corks to make earrings? I sure did.  Let me show you how easy it is to make them.

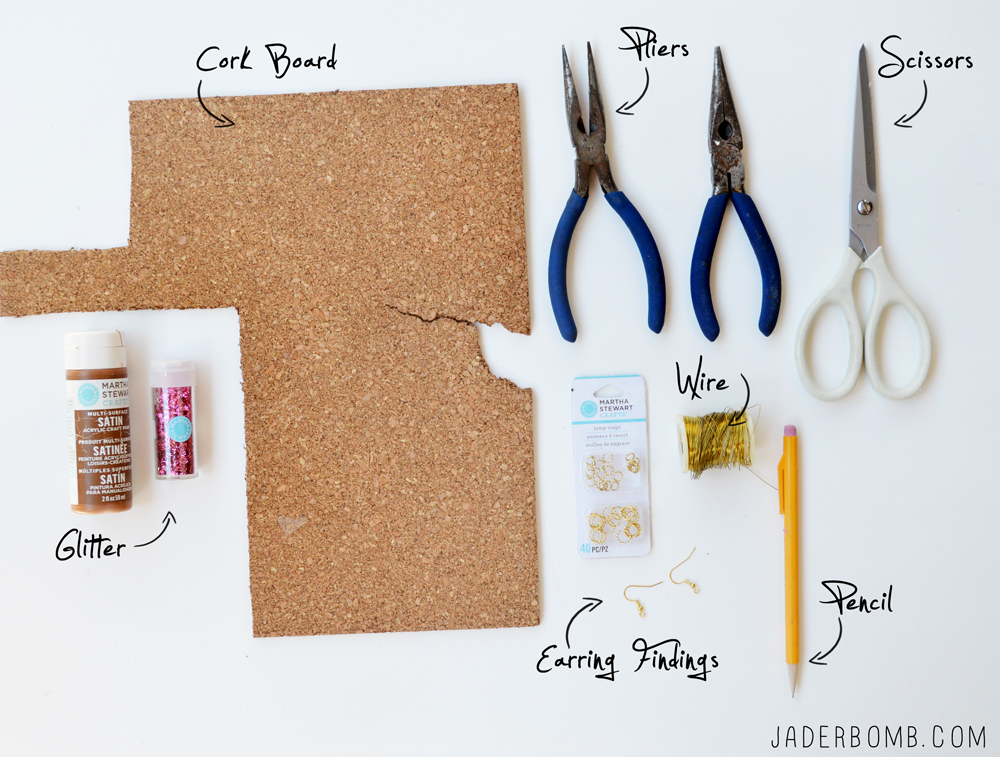
big2YOUWILLNEEDCork Boards | Pliers | Scissors | Glitter and Paint bottles (to trace with) | Wire | Findings | Pencil
corkearringsupplies

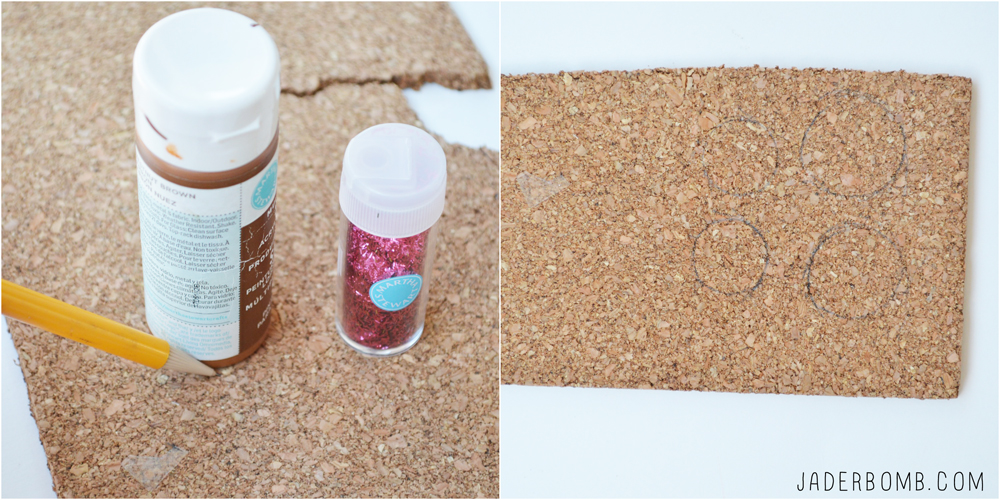
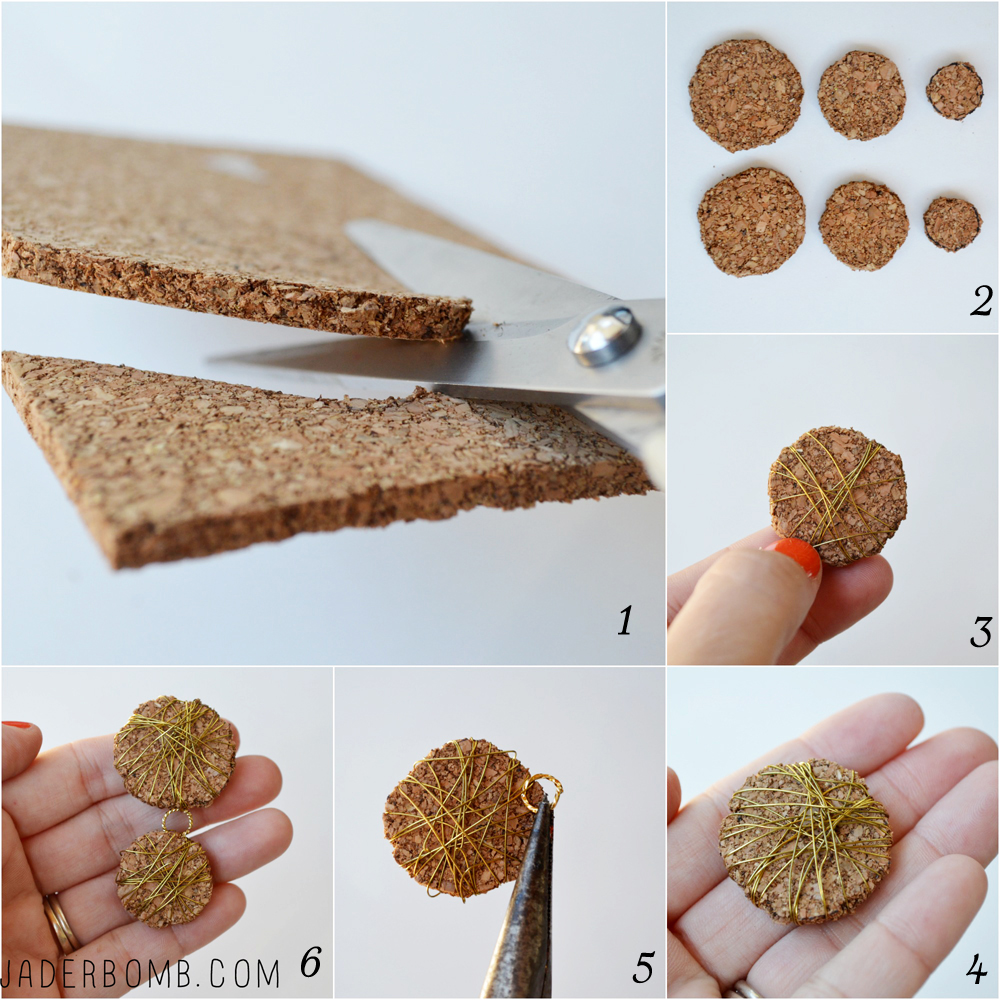
The first thing we need to do is create our circles. I used a paint bottle and tube of glitter to create my circles. howtomakecorkearringscorkearringdiy1. Grab a good pair of scissors and cut your cork.
2. Create different sizes.
3. Start wrapping your cork circle with wire. I used gold, duh!
4. The amount of wire you use is up to you. I like to go big so you can barely see cork, hehe.
5. Grab a jump ring and attach it to the wire.
6. Attach them all together.

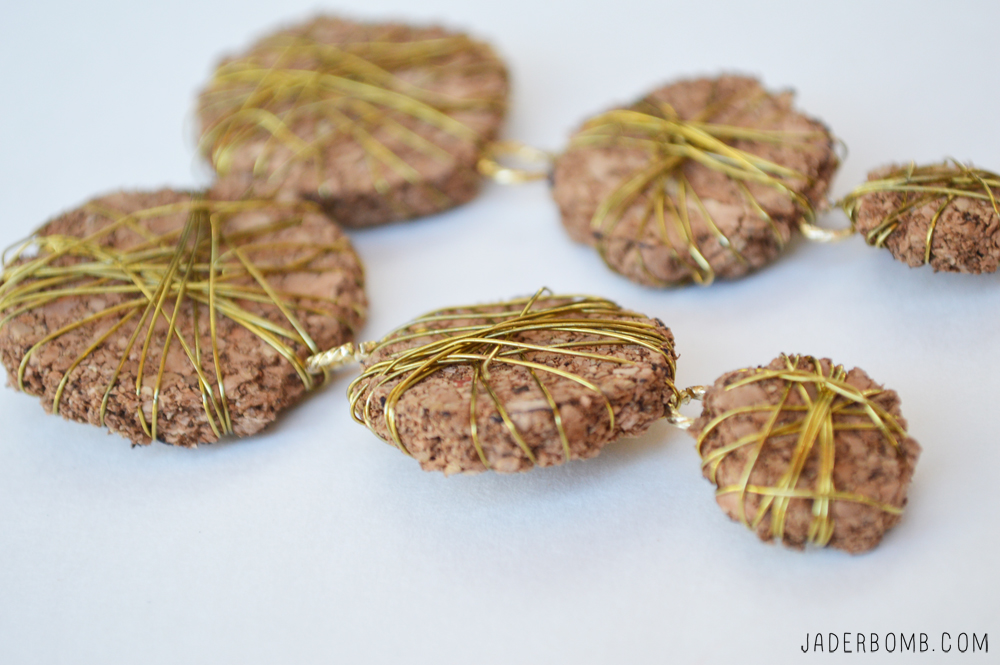
corkandwireearrings1howtomakeearrings

ending

Huge glittery hugs—See you in the next post! Visit me on FacebooknofollowTwitternofollow,Pinterestnofollow, or Instagramfollow!

(insert blood, sweat, burns, tears, eye rolls and maybe a few ugly words here)

Yes, our cabinets have chalk paint on them. Check out how we did that here.

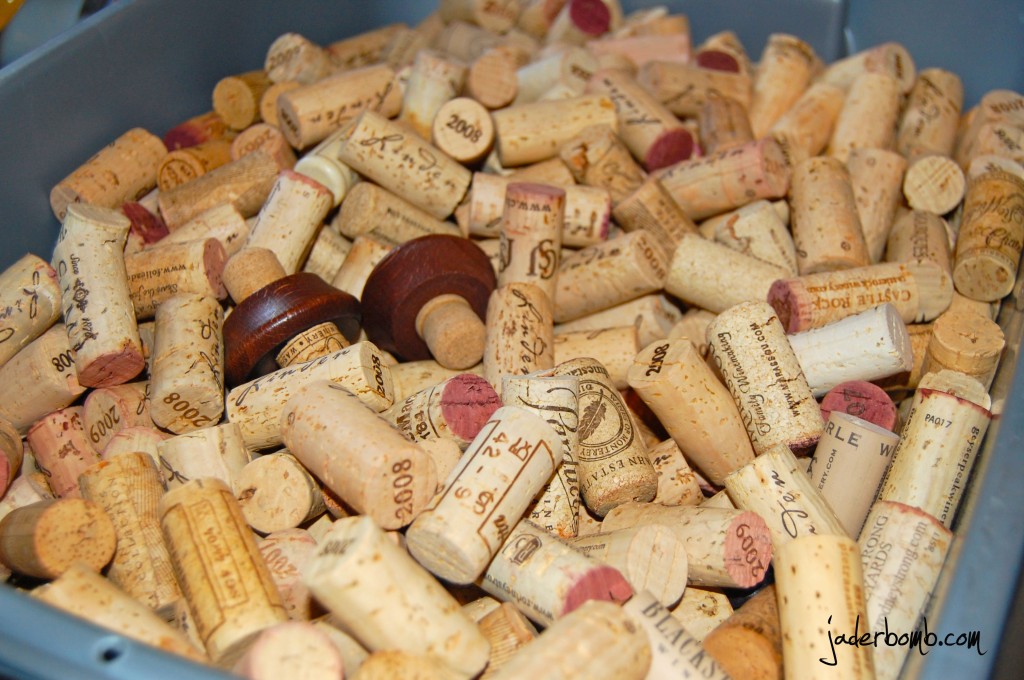
One might encounter some of these these things while covering a wall with wine corks. A friend had bags full and gave them to me SCORE!!!!!!

I posted sometime last week the hot mess going on in our kitchen. Remember? Check it out here. When the dad’s put our new cabinets in they were  lower than our old ones.  The wall behind the sink was a hot mess when we were done with the installation so we were gonna put glass or tiles until I had a Jaderbomb moment.

CORKS!!! CORK BACKSPLASH!

Ashy just looked at me with this weird stank eye and then her eyes got big and she said “I LOVE IT”….
{{I was worried for a hot minute}}

Let’s get started. You will need corks (alot), glue gun(s) and lot’s of glue sticks! You can do like me and plug in 3 glue guns!!!! I think that is where I started to insert the burns and bad words. It seemed like every 3 minutes I would lean over and burn my arms. HAHA.It was the best time ever!!!
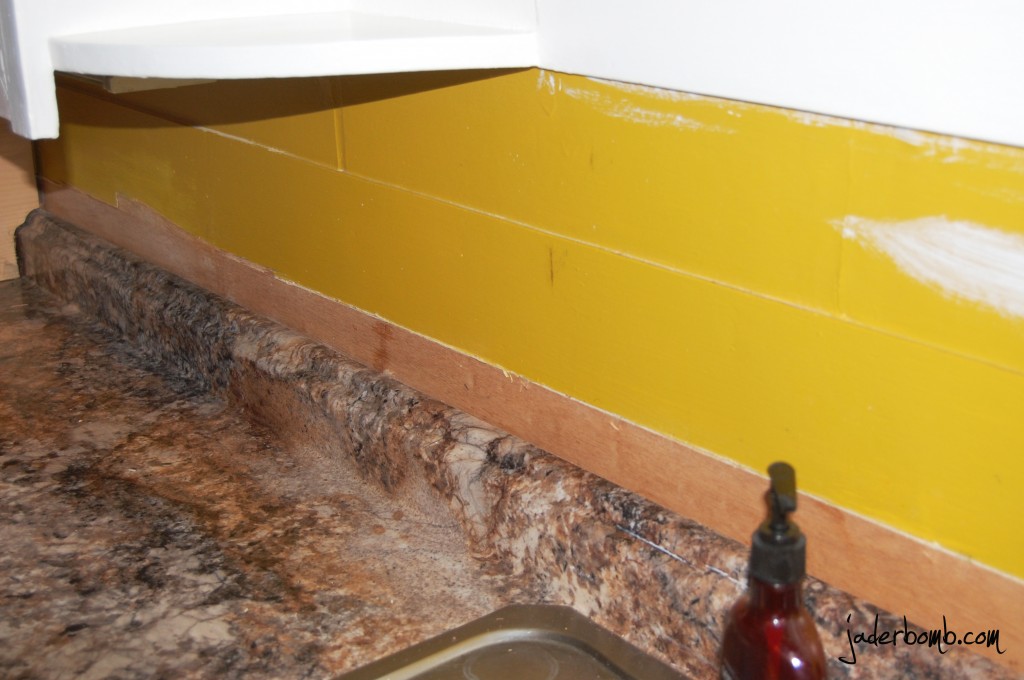
See the wall. UGLY!
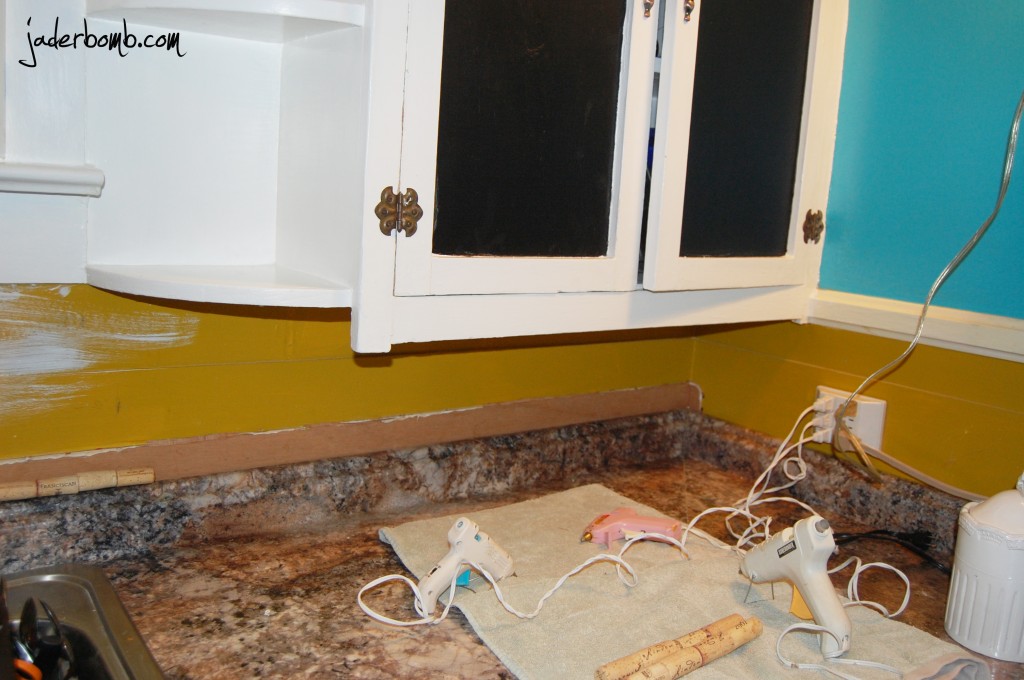
I have the three glue guns all plugged and ready to be overworked!!!

First thing you will do is hot glue four corks together like this!

The picture to the right is me holding two “sticks” together. They are not glued together. Hot glue is the best thing to use for this because it dries really quick.
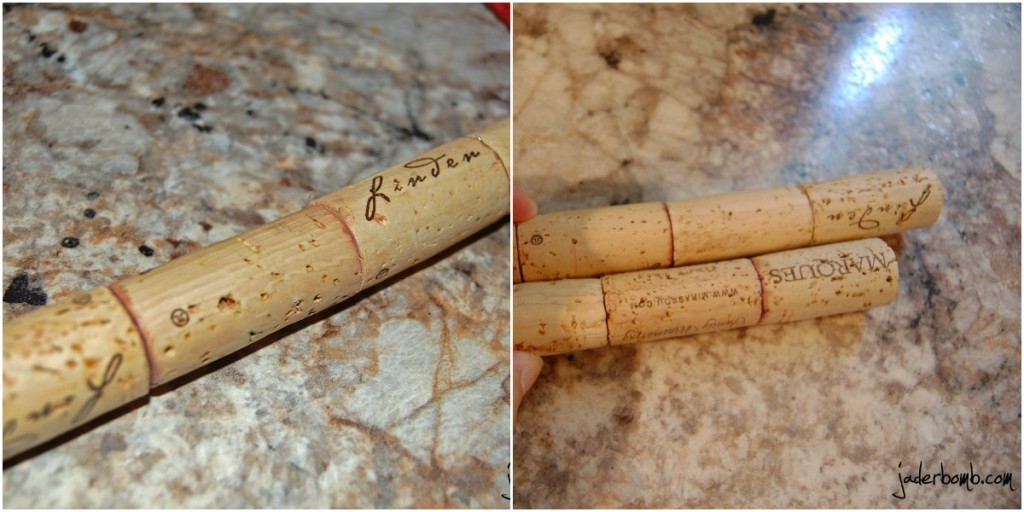
 So you will glue 4 together. Put a long line of hot glue on the back of all 4. Then stick it on your wall. I started from the bottom and made my way up. I also did play around before to have an idea of how many rows I would need to make it to the top. See the thing is with corks is they are all different sizes. So when you get to the end you might have more space at the top in some spots and other spots might be perfect. If you don’t want to glue 4 together, you can glue ONE on at a time on the wall. Phew, good luck! But play around with the corks because sometimes moving them around will make them fit better.

TAKE YOUR TIME!

You really want to try your best to have STRAIT lines. That will make it look clean and crisp in the end.
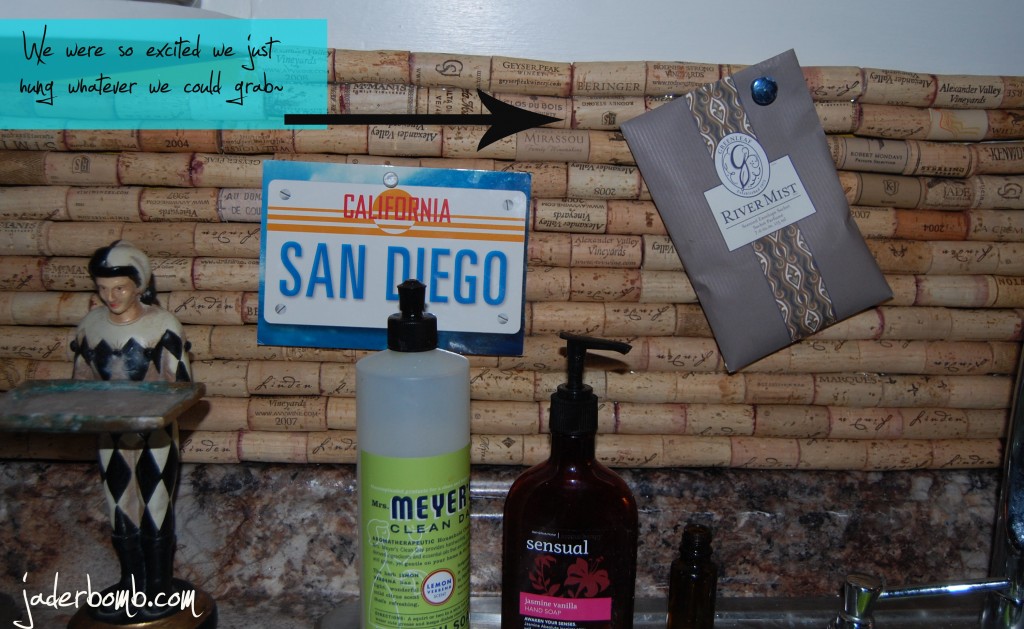
HAHA!!!! Check out this post on what I use to clean my dishes! It is truly the BEST!

Don’t forget to come back for the COMPLETE reveal! Believe it or not there is MUCH more!!!!  We actually kept the top part of the cabinets because they are REALLY old and we just love them!

There ya have it, and instand cork board! Until next time…

Make it a DIY kinda day,

Jade
DIY Wine Cork Board

This simple craft is an easy and attractive way to display your favorite wine corks.

Tools and Materials

Store-bought frame
Sheet of Masonite or plywood, sized to frame
Liquid cement
Wine corks
Decorative pins or tacks (such as cork pins)

p.s. omg! I found these babies at michaels arts and crafts for only $1.99!!!
can you imagine the things i will be using these babies for now that i know how inexpensive they are…. {{i mean if i buy 200, then it could be expensive lol}}


I used old corks from wine bottles! If you don’t have enough to make one of these little suckers i am sure you could start asking around and before you know it you will have more than you NEED!!!!
Be careful here because the glue can be really hot! {{and i would know}}.. you want to “almost” stagger the corks so  they all fit nicely together.. Kinda like a bee hive… speaking of honey. I need more kona queen honey SOON!!!
Iam not quite sure why this baby makes me so happy!
seriously. could a real {live} person actually live for crafting…

Check out Martha’s original craft HERE and you can purchase Martha Stewart’s Encyclopedia of Crafts here!

CLICK HERE TO WATCH VIDEO

(me on the show!)
Click HERE to read all about it!!!
 IF YOU DECIDE TO DO ANY OF THE CRAFTS, SHOOT ME AN EMAIL AND I WILL ATTACH  IT TO THE POST WITH A LINK THAT GOES STRAIT TO YOUR BLOG!  IF YOU DON’T HAVE A BLOG JUST EMAIL IT TO ME AND I WILL PUT IT UP!!!!
Thanks to Martha Stewart crafts for sponsoring me with craft supplies!

Button Stamp How-To

Do you ever find “loose” buttons in random spots! Don’t throw them away because you can really use them for a fun craft! I can’t wait to show you this one because it’s a really cool way to show off your unique buttons to the world!

Hope everyone is having a great night!

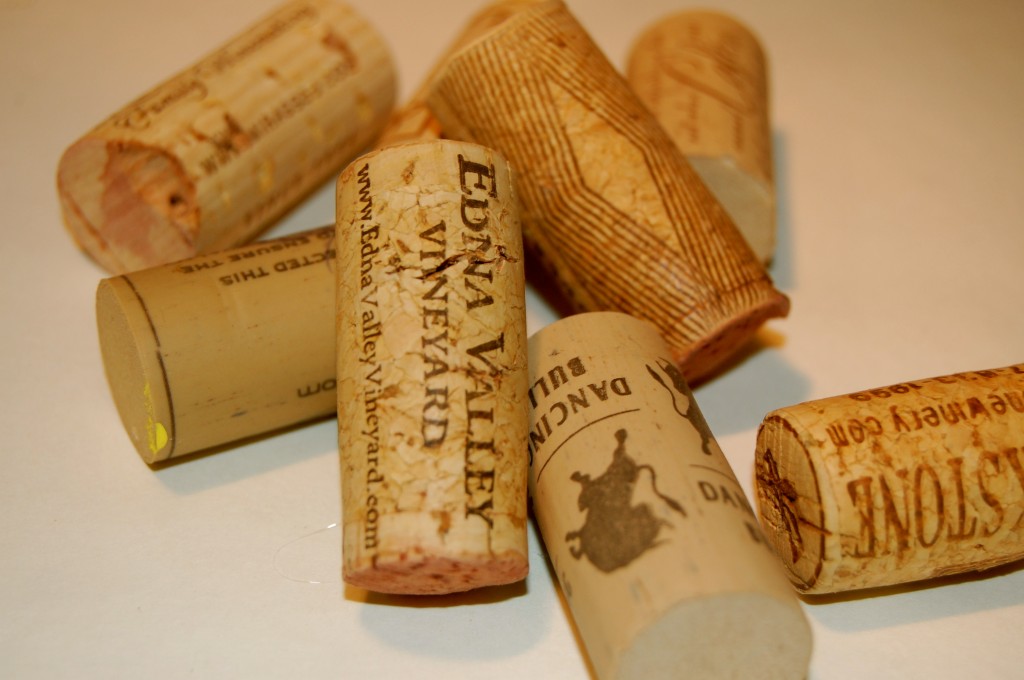
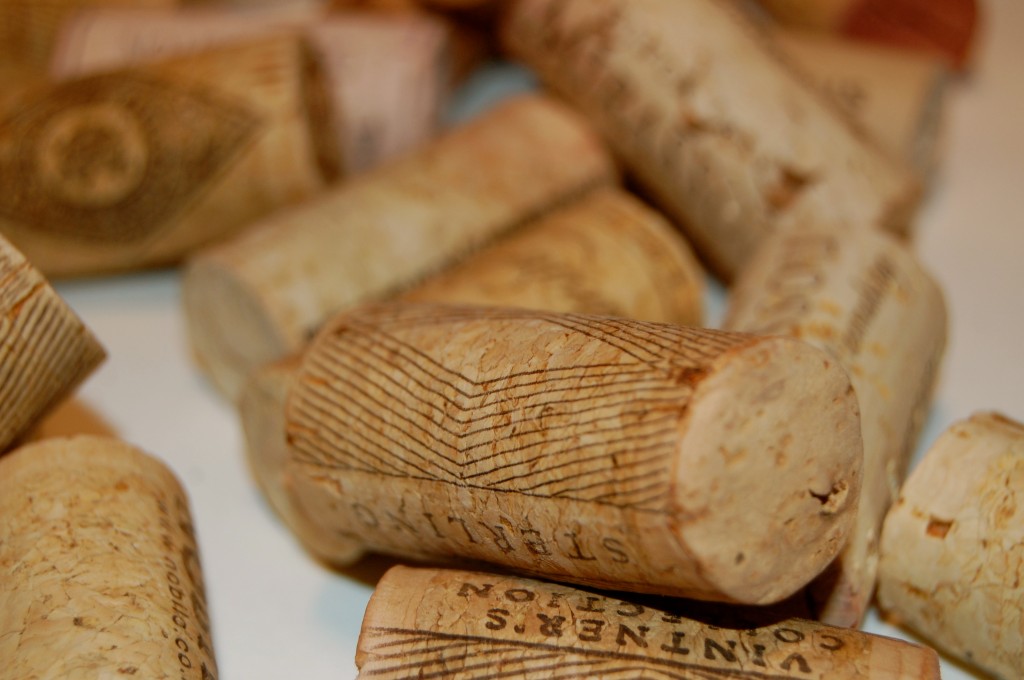
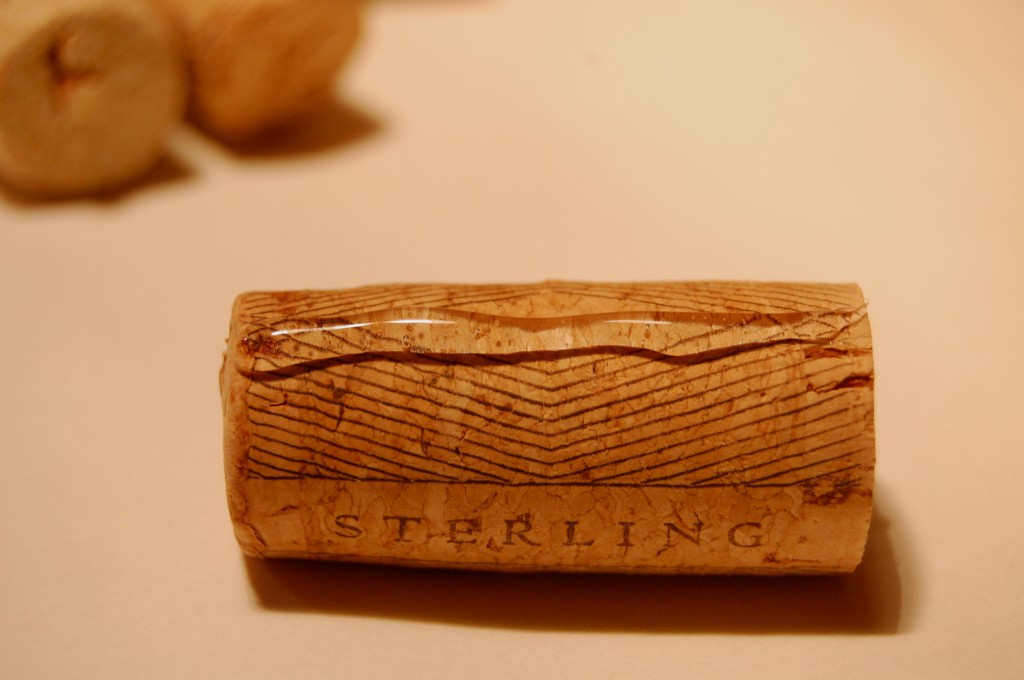
Grab some corks (again)

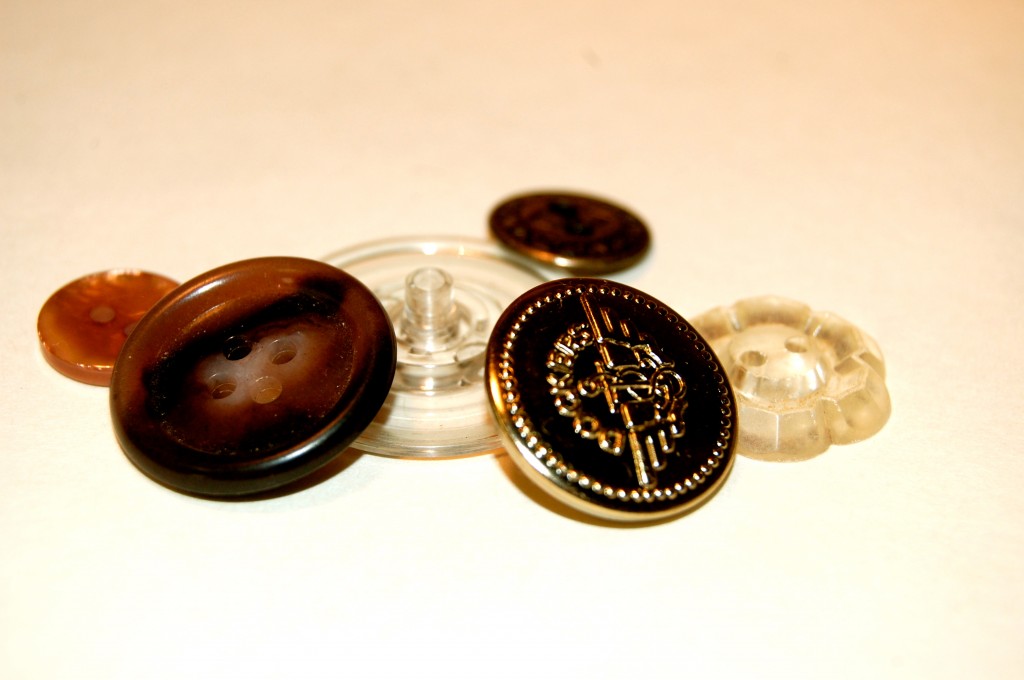
Don’t forget your “awesome” vintage buttons. If you don’t have old buttons just use the ones you have. Select buttons with raised surfaces and distinct patterns — fluted edges, stars, flowers, cat’s eyes, and pinwheels.

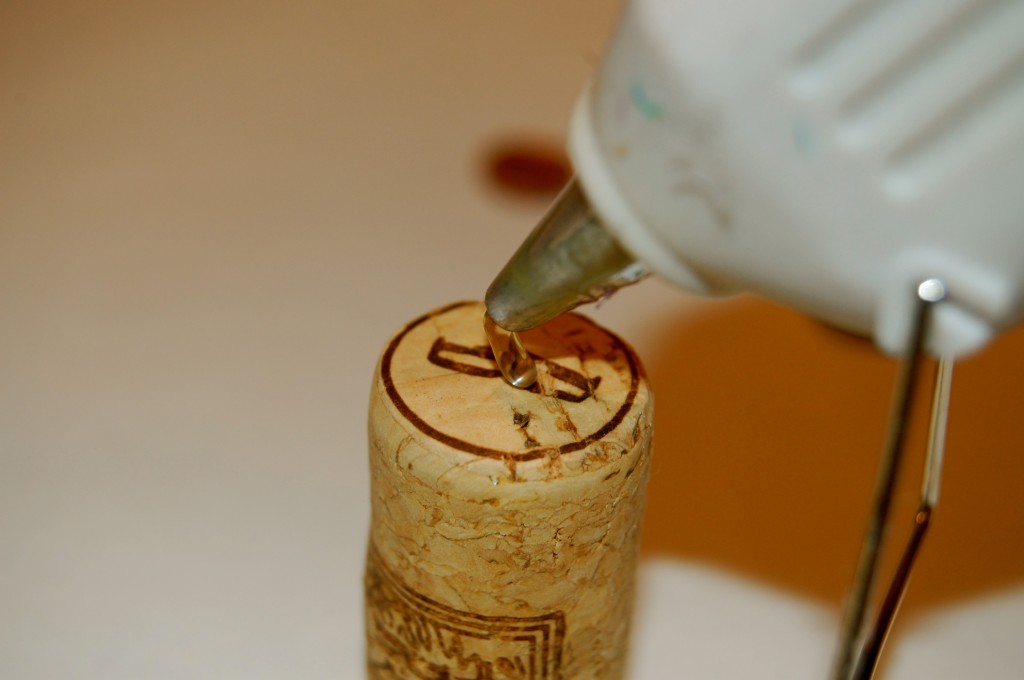
We can’t forget out glue gun!

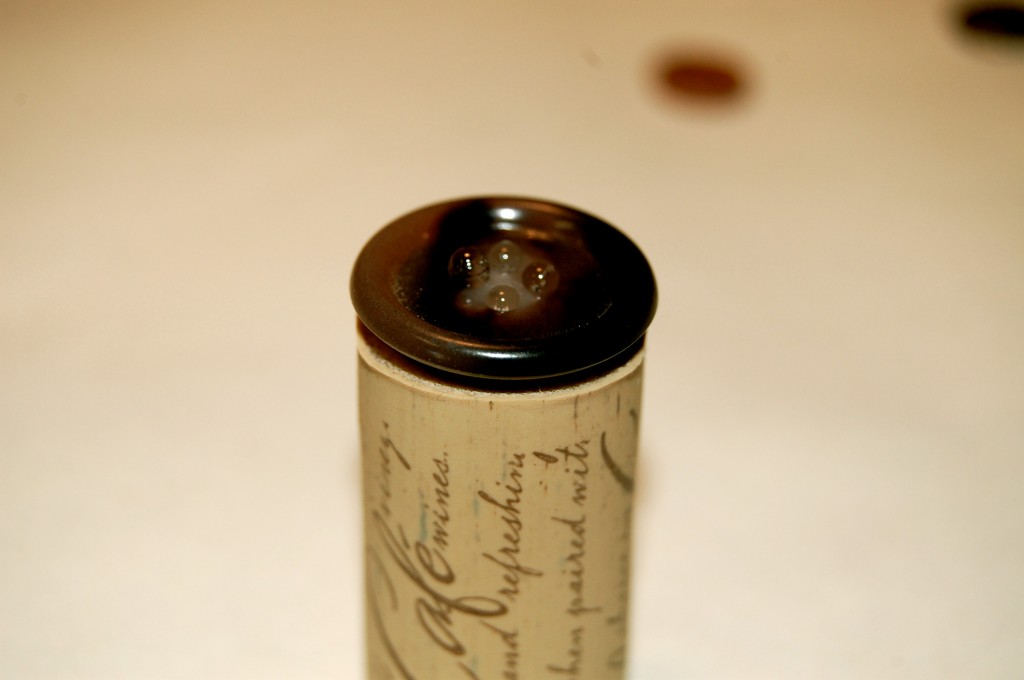
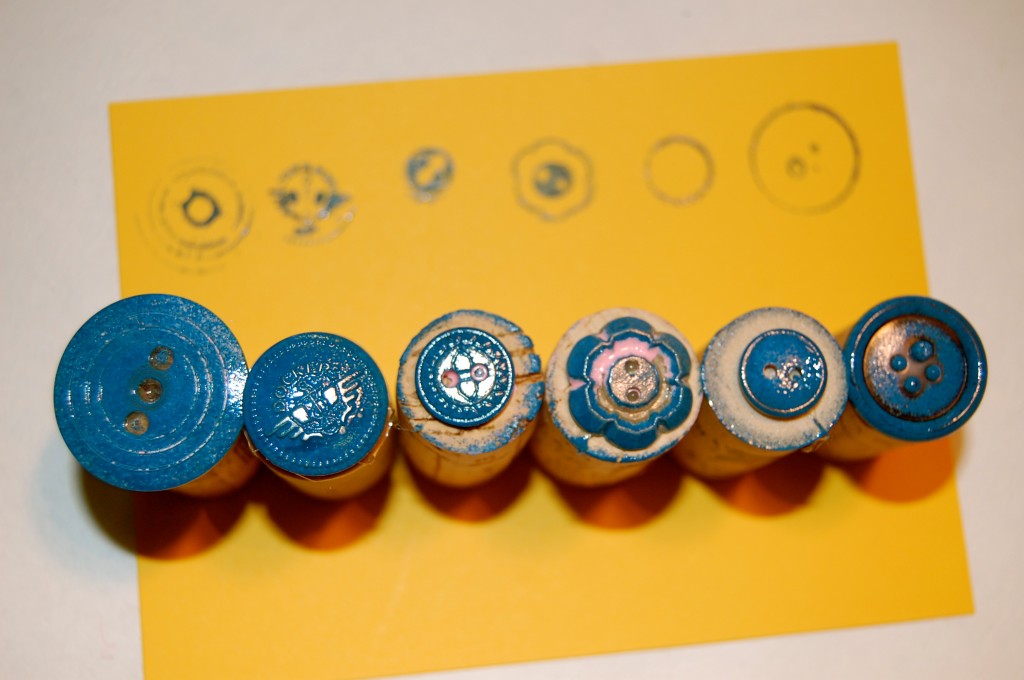
With white craft glue, mount buttons on wine or craft corks; if possible, use a cork narrower than the button so you can see to position the stamp accurately.

Then carefully place your button on top of the hot glue.

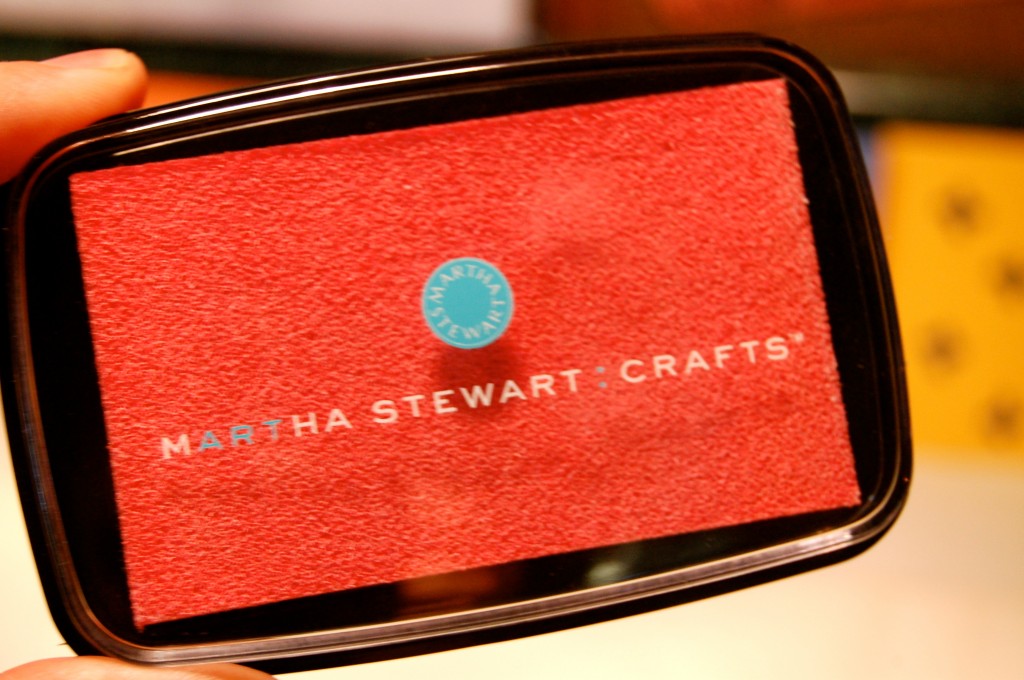
Buy already inked stamp pads in several colors

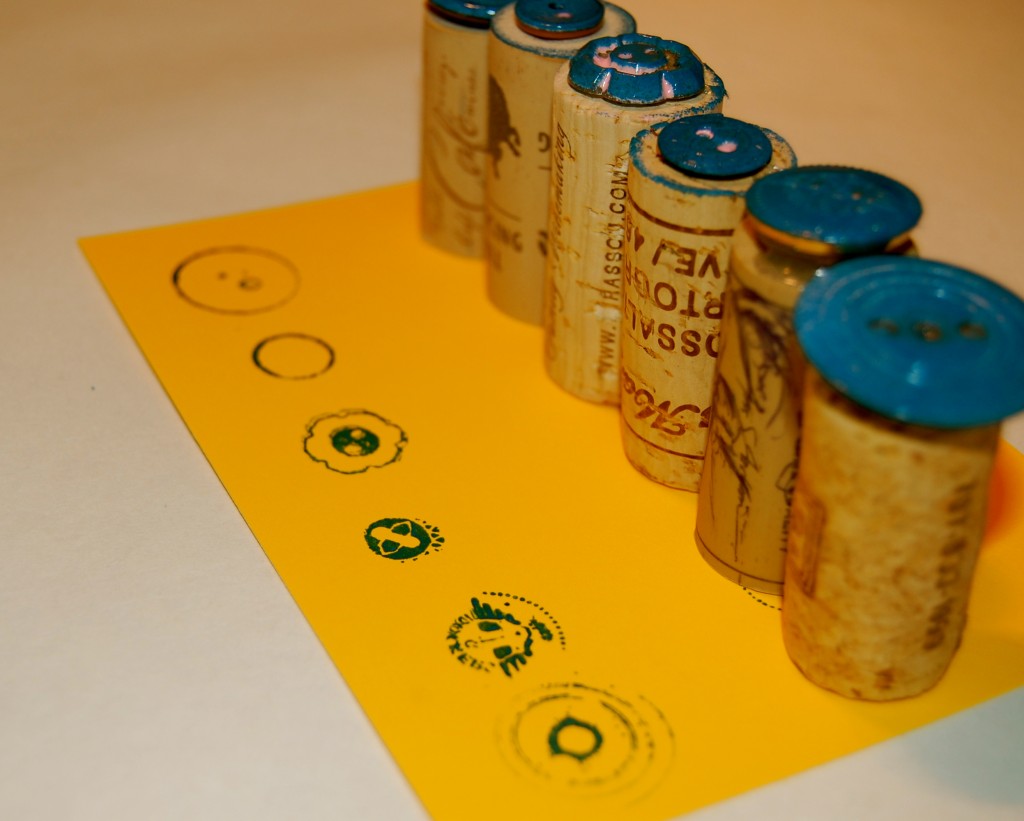
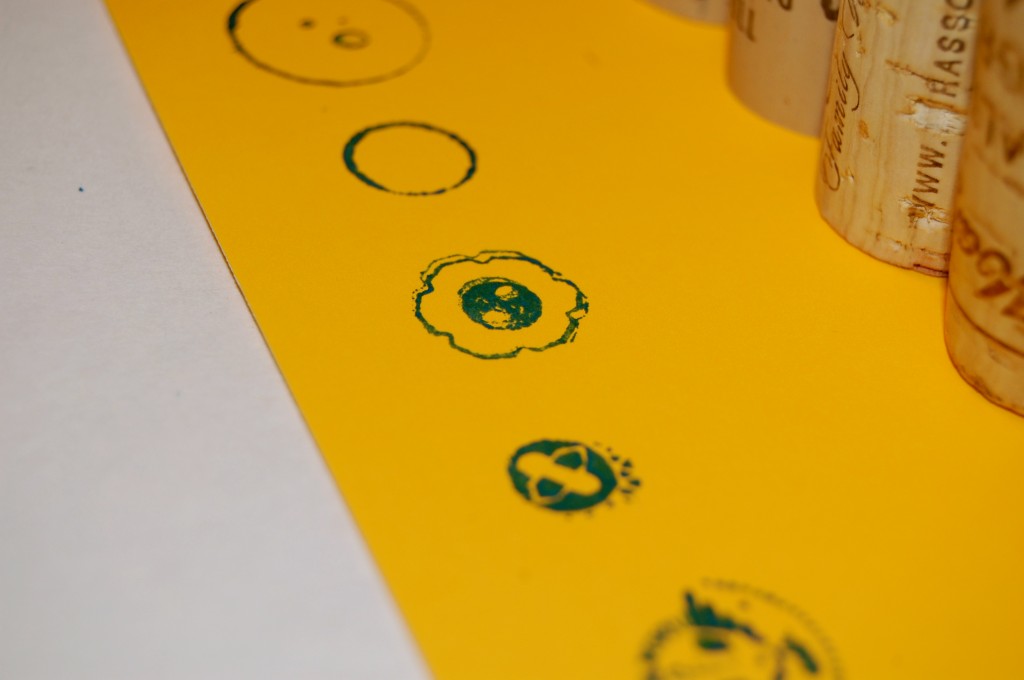
Uncoated papers are most receptive to the ink. I just wanted to show you how you need just the right stamp for it to stamp correctly.

I placed the button stamps across from their design. They are just so pretty to look at !

I am seriously in love! Who knew all the different things you could do with good ole buttons!

Drinking “refresh” tea and sending all of my jaderbugs good energy, jaderbomb

Check out Martha’s original craft HERE and you can purchase Martha Stewart’s Encyclopedia of Crafts here!

CLICK HERE TO WATCH VIDEO

(me on the show!)
Click HERE to read all about it!!!
 IF YOU DECIDE TO DO ANY OF THE CRAFTS, SHOOT ME AN EMAIL AND I WILL ATTACH  IT TO THE POST WITH A LINK THAT GOES STRAIT TO YOUR BLOG!  IF YOU DON’T HAVE A BLOG JUST EMAIL IT TO ME AND I WILL PUT IT UP!!!!
Disclosure: This is a sponsored post by Martha Stewart crafts. The content and ideas are all my own!


DIY Cork Trivet

Happy CORK day! If you are like me then you LOVE corks! I always keep my corks. They always come in handy I tell ya!!!

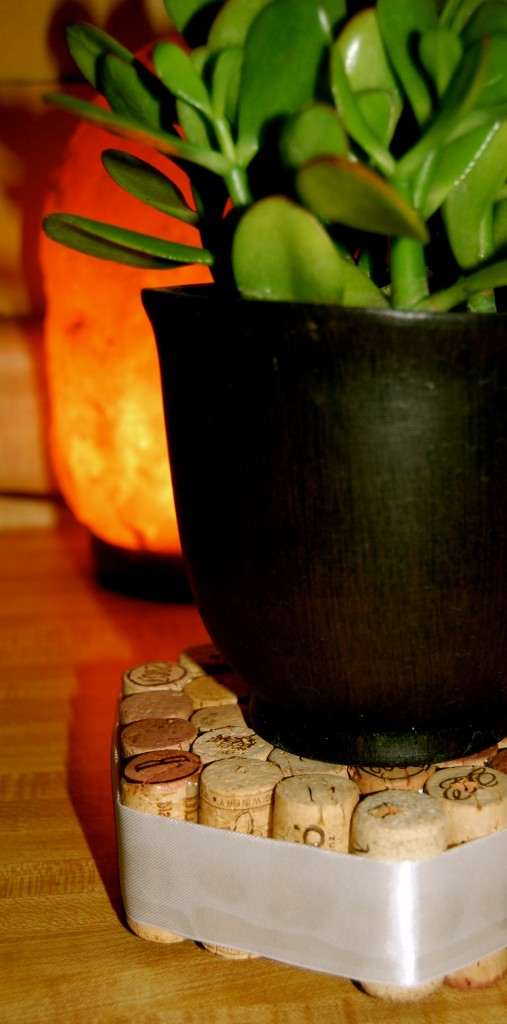
They don’t just keep your wine from spilling and spoiling; corks can also protect your tables and countertops from hot pots and pans. Hope you enjoy this craft!!!

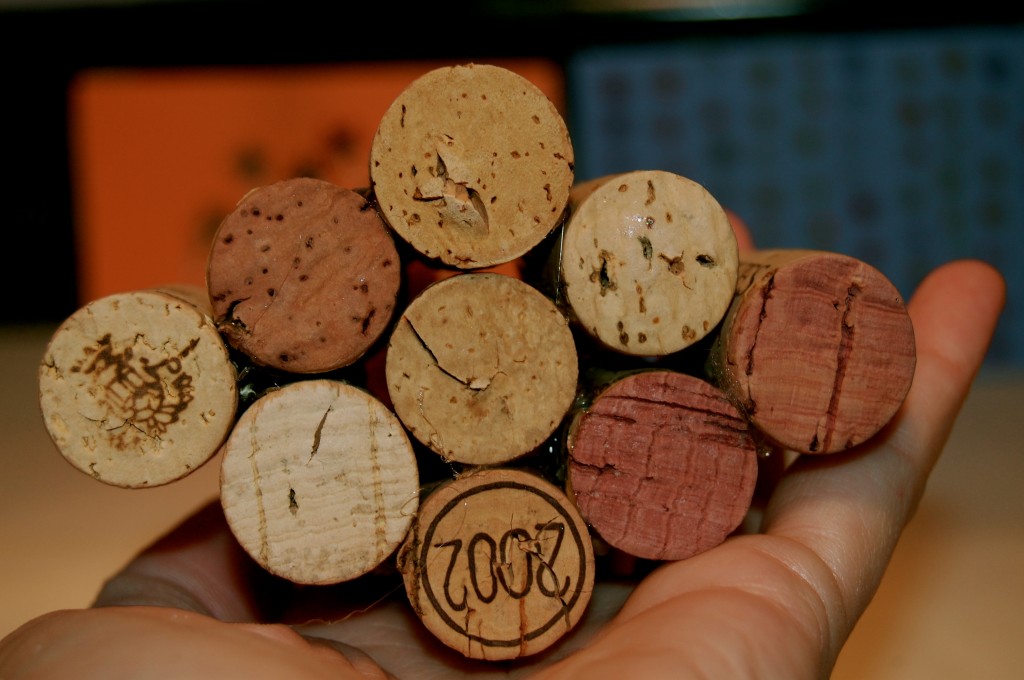
Grab some corkeyroos.

Put a bead of hot glue on one side of the cork. 

Once you start putting them together it will start to form it’s shape. 

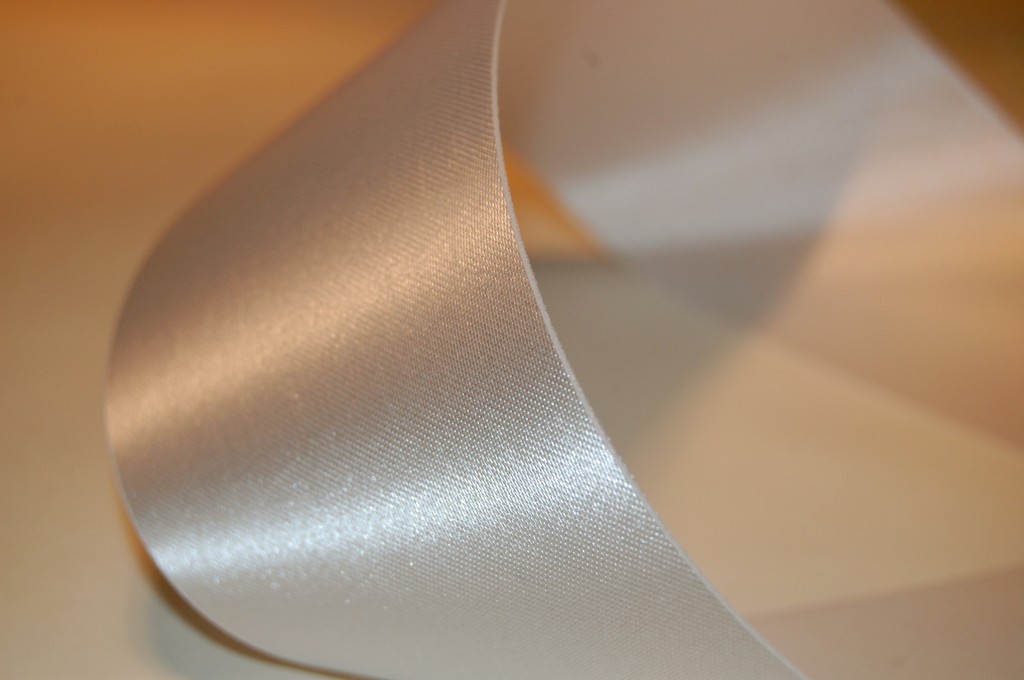
Get a piece of ribbon.

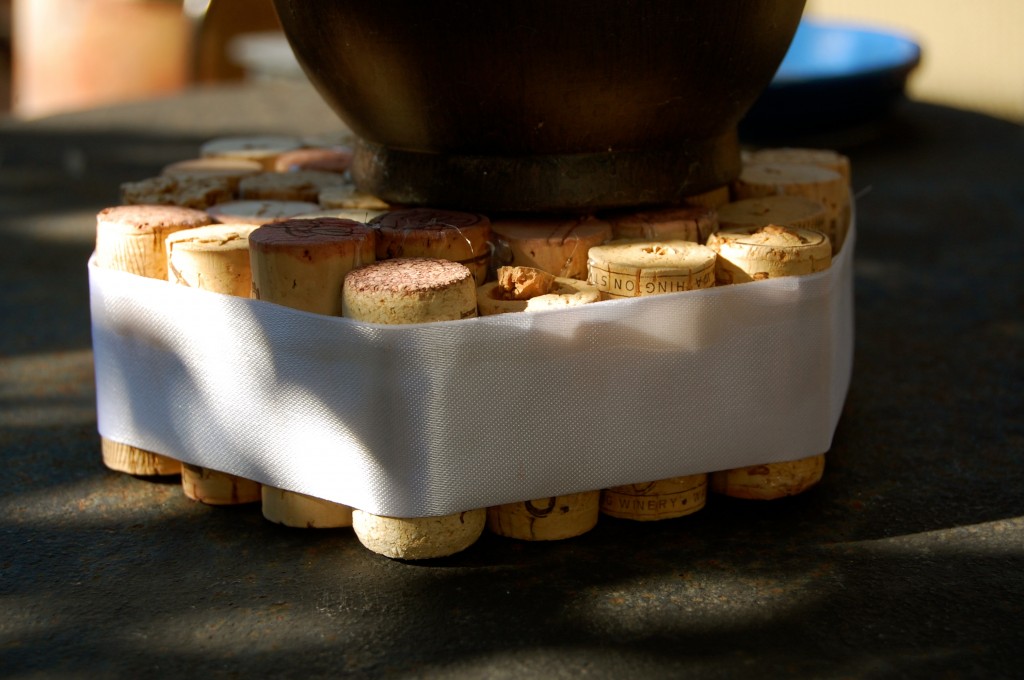
Fold it in half and apply it to corks using hot glue. {{you can totally see that I put WAY too much hot glue on this baby}}

This is what it will look like when you are done! The cool thing is you can make ANY shape you want and it will be BEAUTIFUL!!!

Wishing you a corky day, Jaderbomb

Check out Martha’s original craft HERE and you can purchase Martha Stewart’s Encyclopedia of Crafts here!

CLICK HERE TO WATCH VIDEO

(me on the show!)
Click HERE to read all about it!!!
 IF YOU DECIDE TO DO ANY OF THE CRAFTS, SHOOT ME AN EMAIL AND I WILL ATTACH  IT TO THE POST WITH A LINK THAT GOES STRAIT TO YOUR BLOG!  IF YOU DON’T HAVE A BLOG JUST EMAIL IT TO ME AND I WILL PUT IT UP!!!!
Thanks to Martha Stewart crafts for sponsoring me with craft supplies!