The Simple Secret to making a Pumpkin Planter!
Today is your lucky day because I will show you a DIY Tutorial On How to Make a Pumpkin Planter! I am assuming you are jumping for joy right about now, right! The good thing about pumpkin planters is they make great fall decorations plus they are quick, easy, fun and satisfying.
One thing I love about pumpkin planters is they look good by themselves or grouped together with multiple pumpkins. Did I mention you can use them indoors or outdoors?! That is a win win in my book because I love succulents and I can visualize these all over my house! They would even be great gifts to give to someone special!
One great thing about using a faux pumpkin is you can reuse it over for each season and plant different plants or flowers in it based off of the holiday!
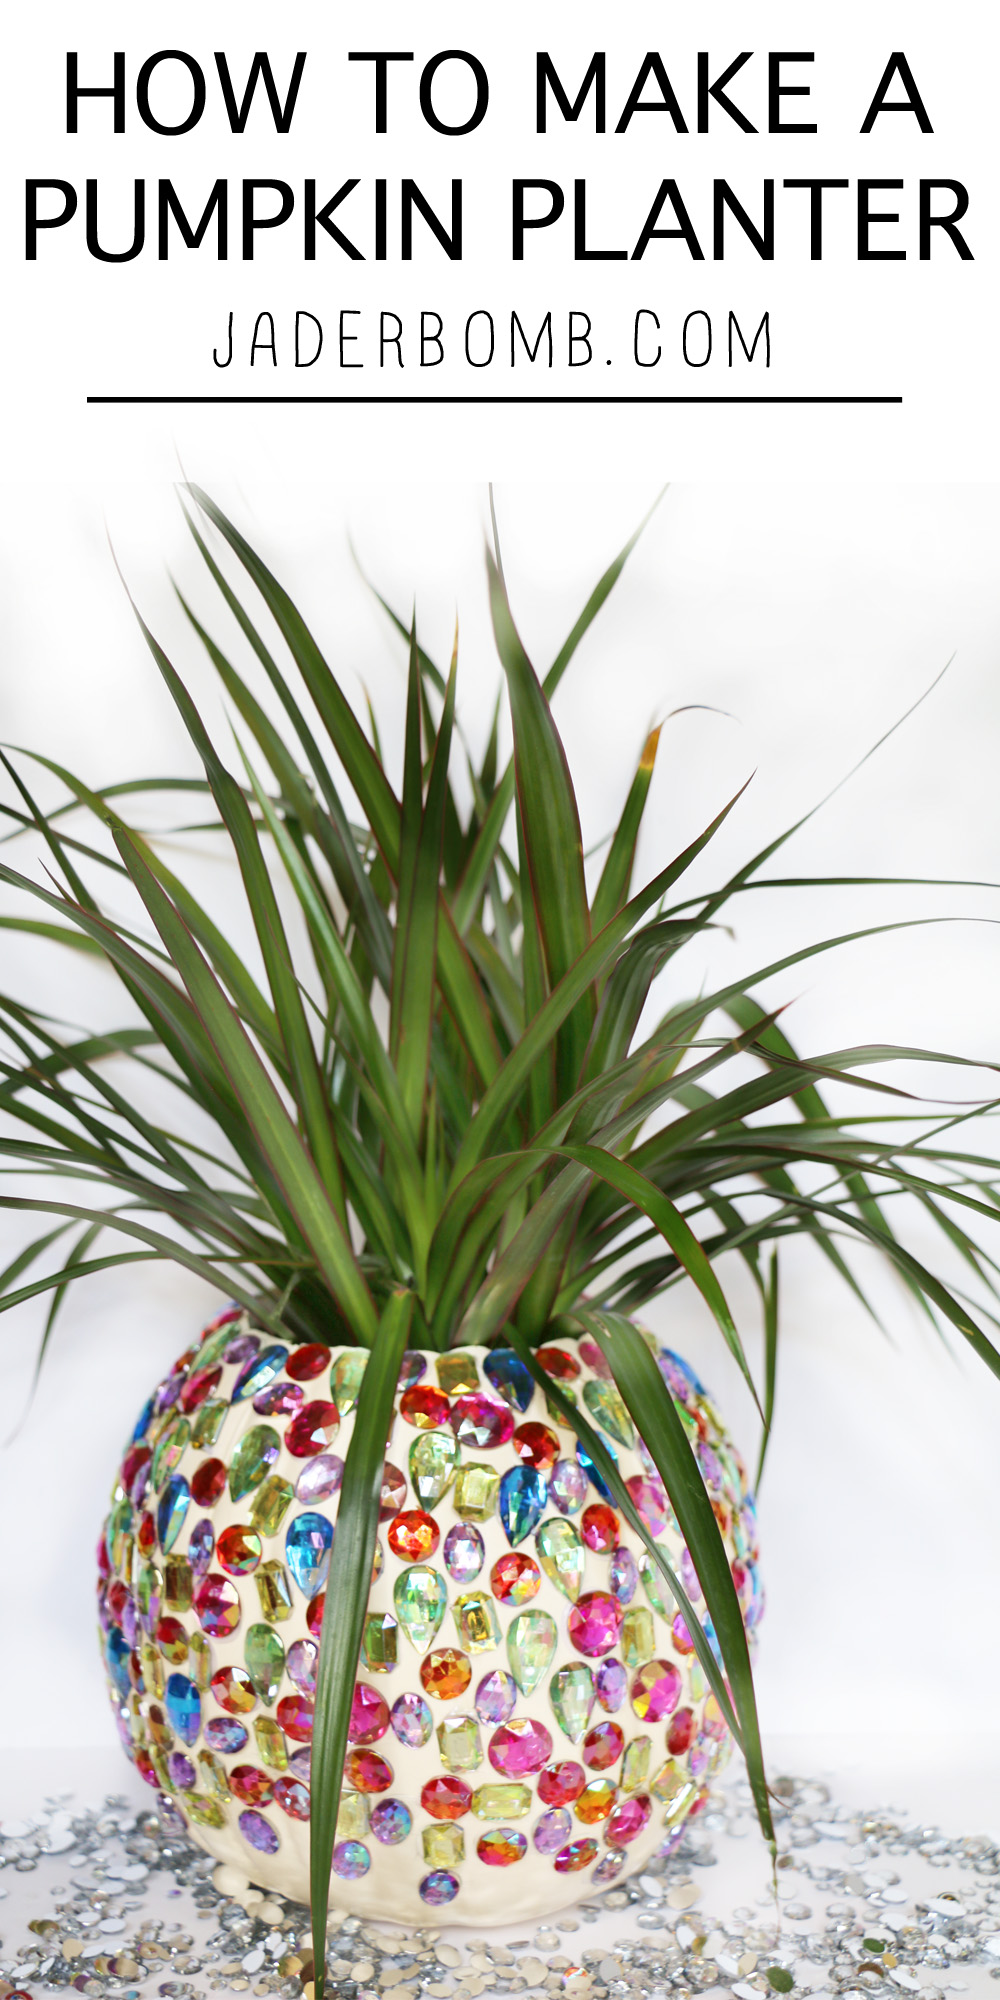
You will need: Faux Pumpkin | Jewels | Hot Glue Gun |
X-Acto Knife
As you can see the materials needed are very minimal which are my kinda projects. I always try to keep jewels like these on hand all year long because you can add them into to many projects. I could literally stare at these for minutes at a time and get lost in my thoughts, maybe it’s the sparkly accents that gets me! 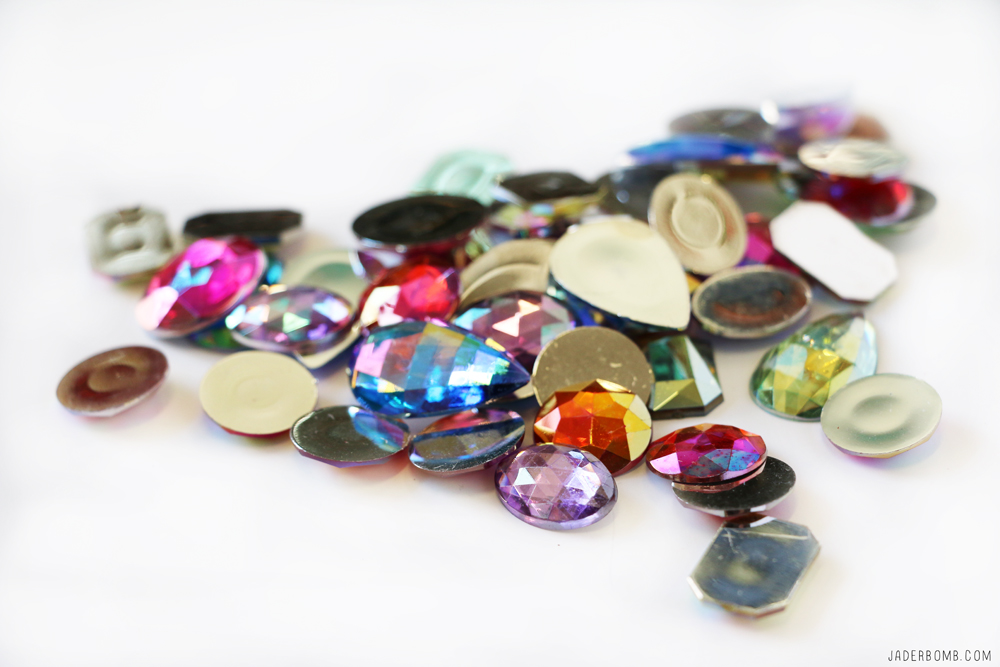
For this project you will indeed need an X-Acto knife and I suggest if you have kids involved you have an adult assisting for this part. I prefer using a knife from a hardware store that is really durable, I find they work the best. 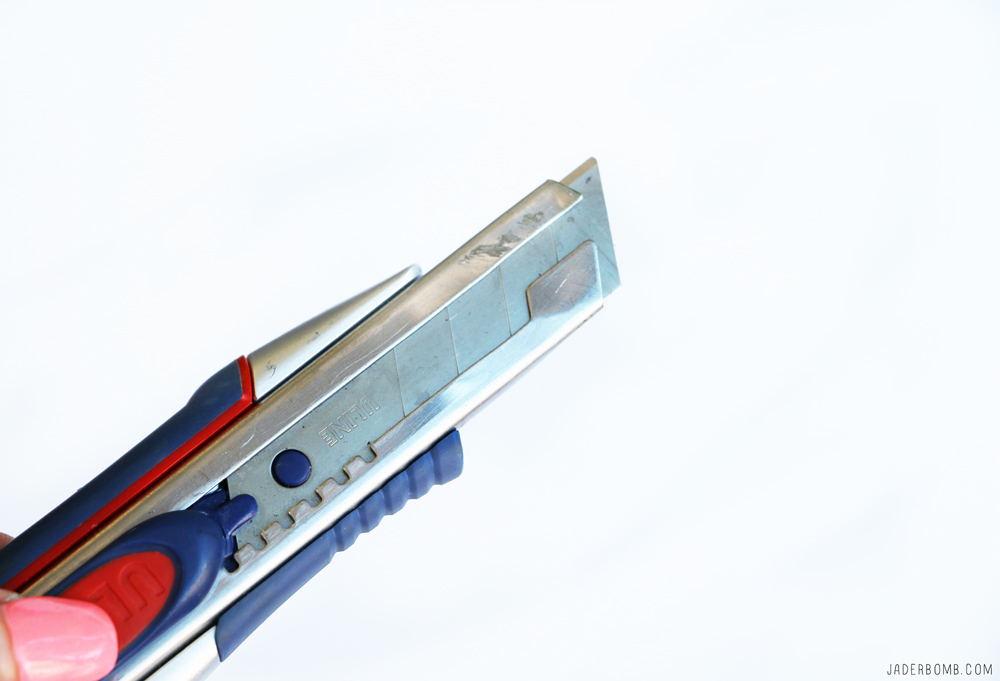
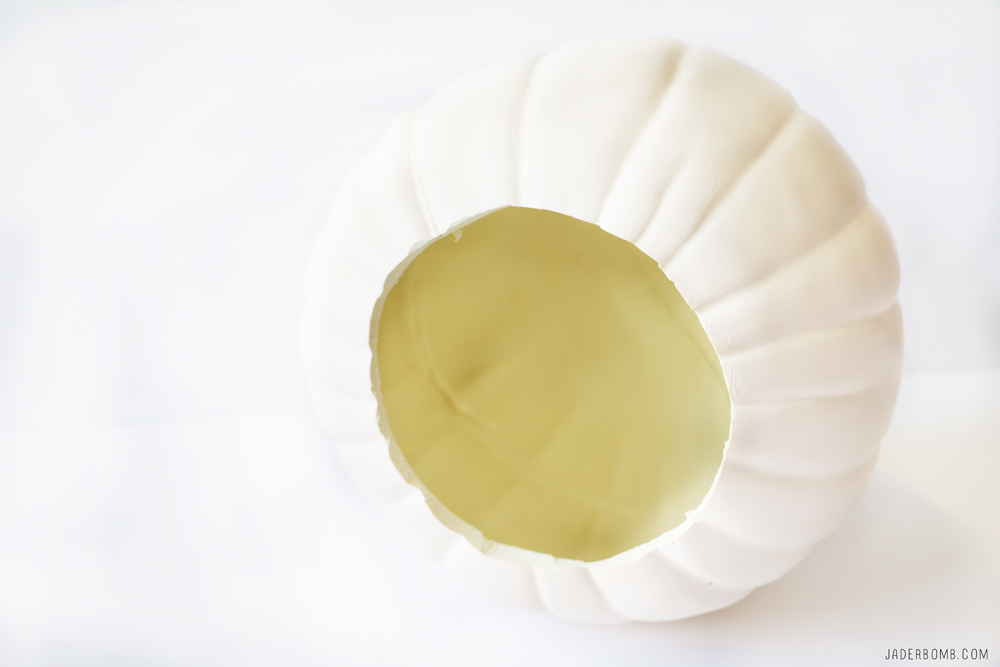
Carefully cut out the top portion of your faux pumpkin. These are hollow on the inside so it’s easier to cut than you think. The most important thing is making sure your fingers are not in the way of the knife! 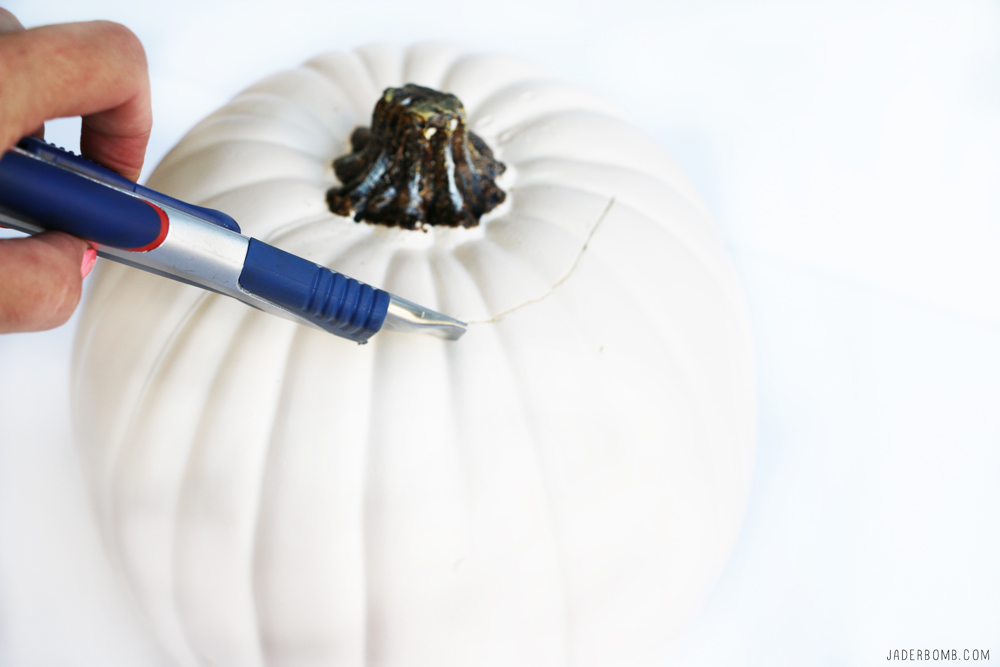 Depending on what you plan on planting inside will determine how large you want to make your top opening.
You can use any size plant or pumpkin, just make sure that the diameter and height of the nursery pot, isn’t larger than your pumpkin.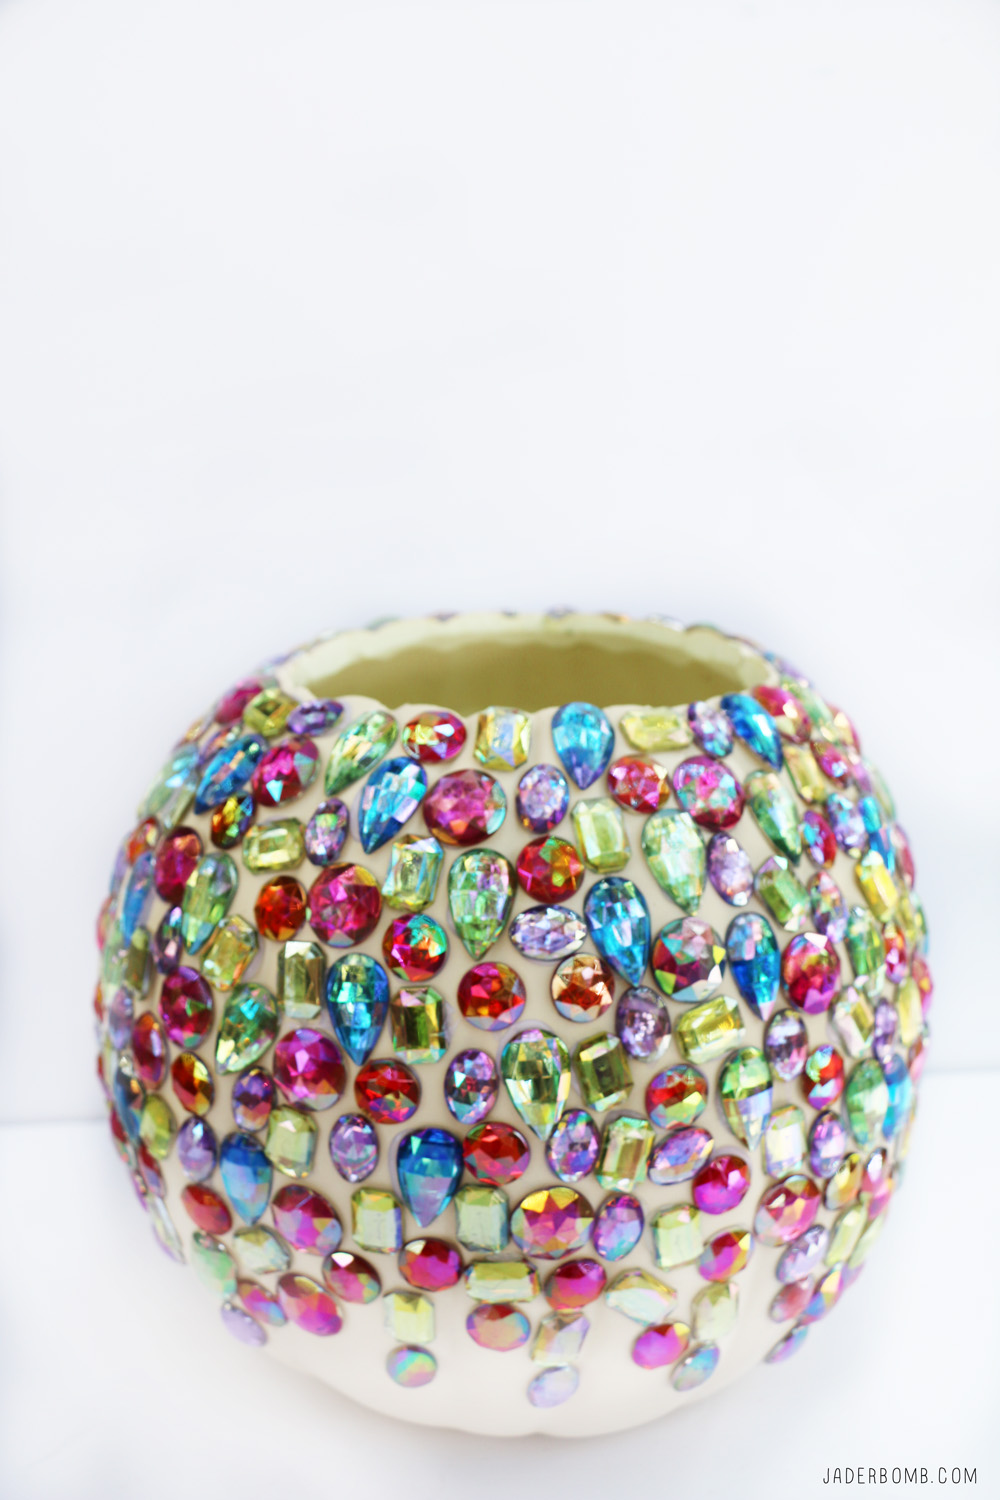
Now you can start hot gluing your jewels all over your pumpkin. I didn’t follow any particular order I just started in one spot and kept adding whichever jewel my fingers picked up, haha!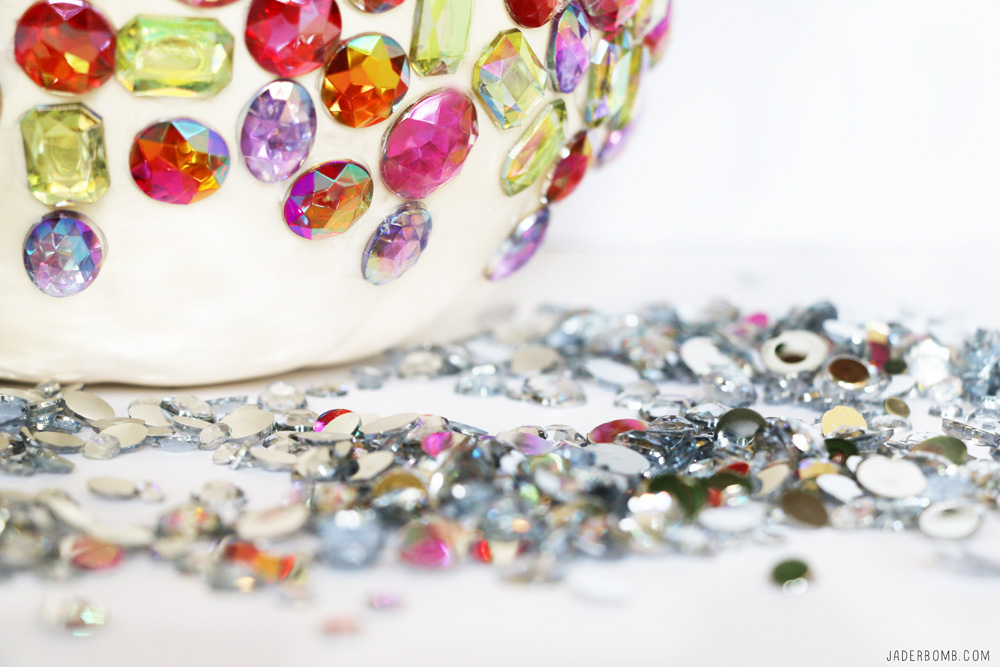
We have to add holes on the bottom of your pumpkin for the water to drain. Because it’s hollow inside you can just hit a hammer on top of a screw driver to puncture the bottom with holes. You can also use a drill if you prefer. Either way just be careful!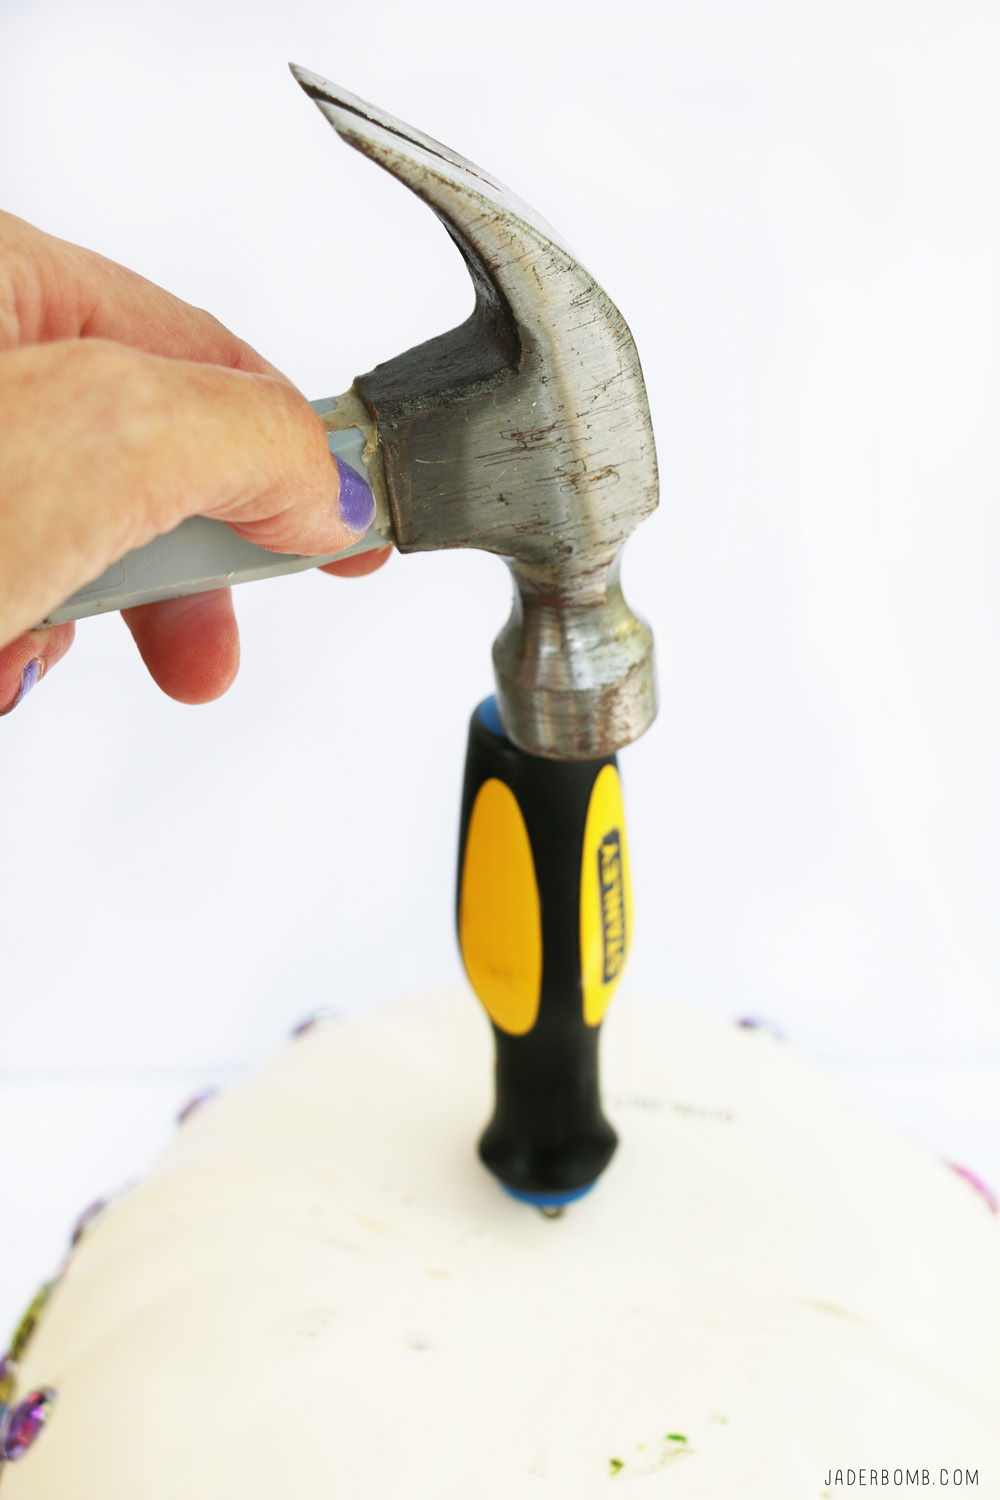
Time to add our dirt and plants or flowers! Check out this owl I jeweled up, she is still one of my favorites! Hopefully this DIY Tutorial On How to Make a Pumpkin Planter brings happiness to your life!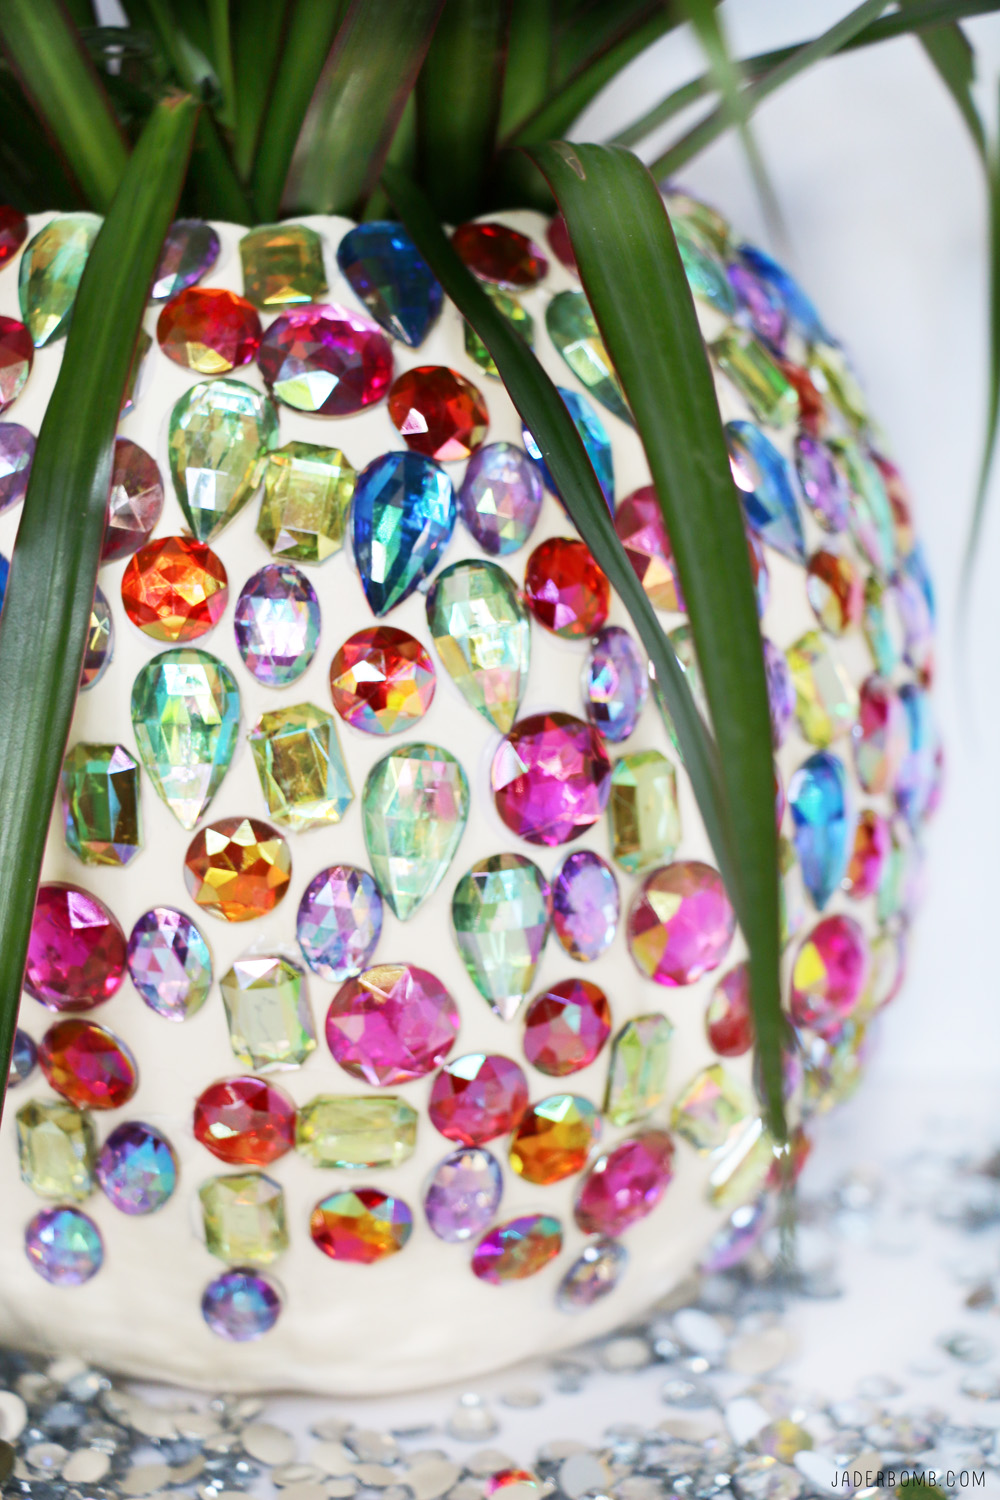
I didn’t think I would love this project as much as I did. This will be one pumpkin I don’t plan on taking down for a while! 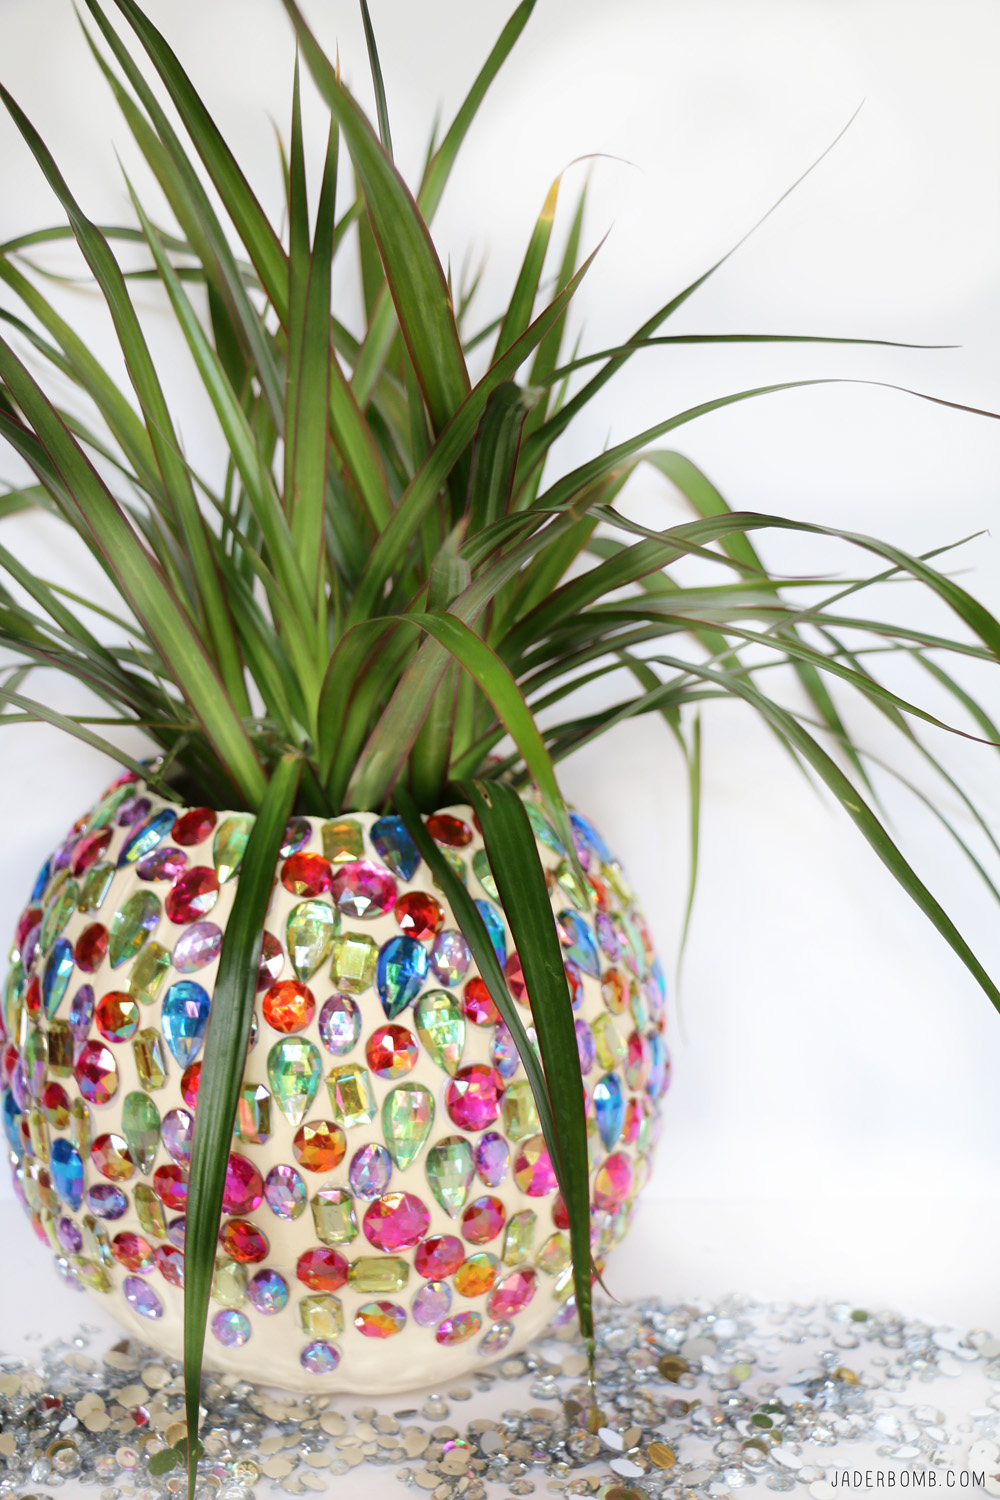
I hope you enjoyed this project as much as I did! See you in the next post, until then hugs from my computer to yours!
Don’t forget to follow me on all of my social media channels because I love all of you to pieces!!!!
FACEBOOK | INSTAGRAM | TWITTER | PINTEREST


