Tag Archives: How to decorate with Christmas decorations

How To Make Block-Print Cards

 If you wanna make an impression with ink-block printing, an art form dating back to ninth-century China. A block print is an ink impression of a design carved into wood, linoleum, or other engravable material. Once you’ve cut out a design, you can use the block to make an unlimited number of identical prints.

You can even write a special note and make tons and tons of Christmas cards!

Ink block.

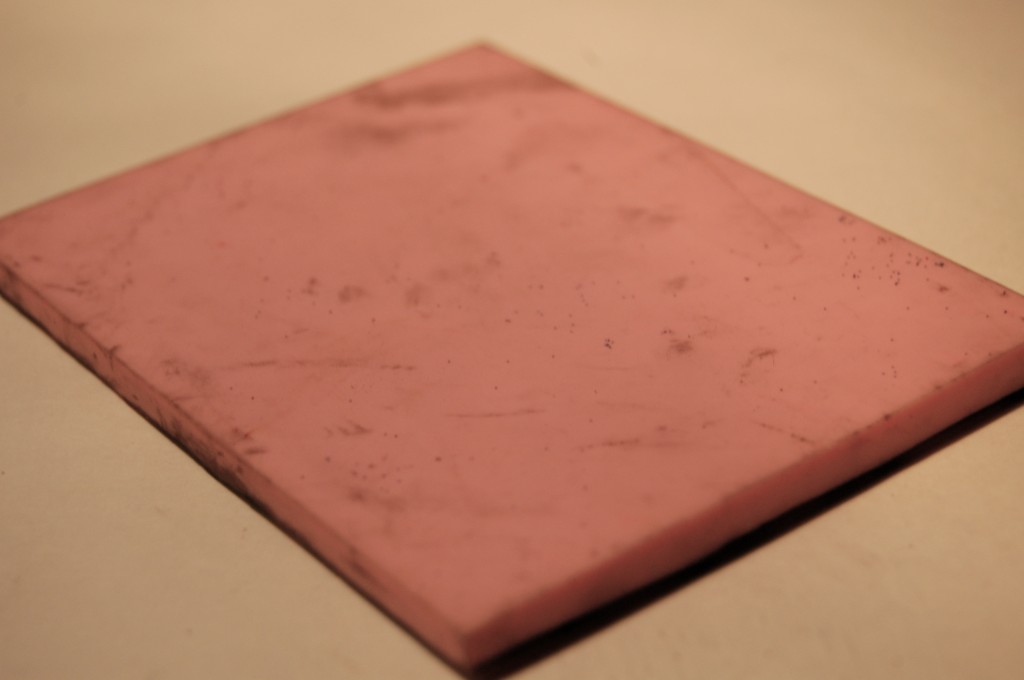
Every block print starts with an image. Choose a flower, a particular script, or even a drawing of your own. Use a photocopier to reduce or enlarge the image to fit the card of your choice. Cut ink block to approximate size of card, allowing for a border if desired. Lay tracing paper over design, securing the corners with tape if you wish, and trace with a pencil.
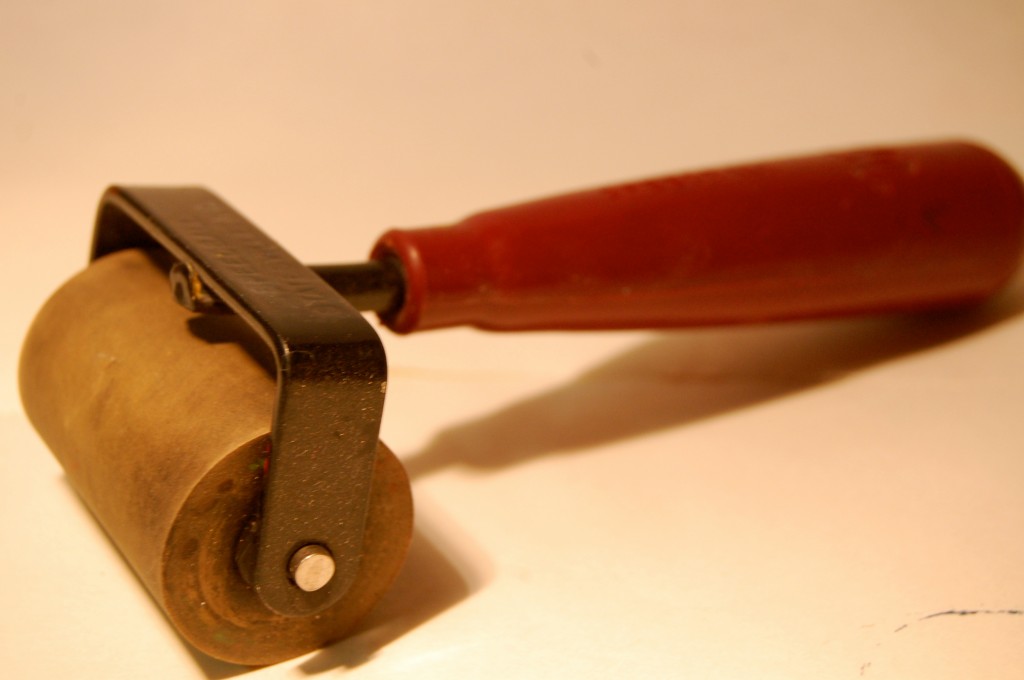
Brayer tool, available at art-supply stores

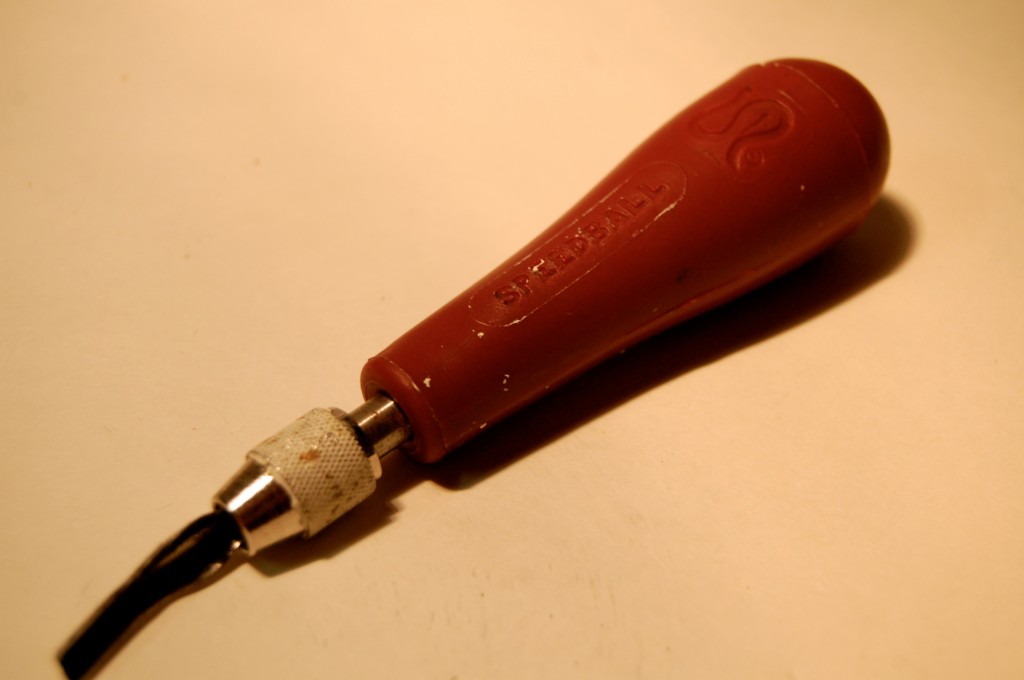
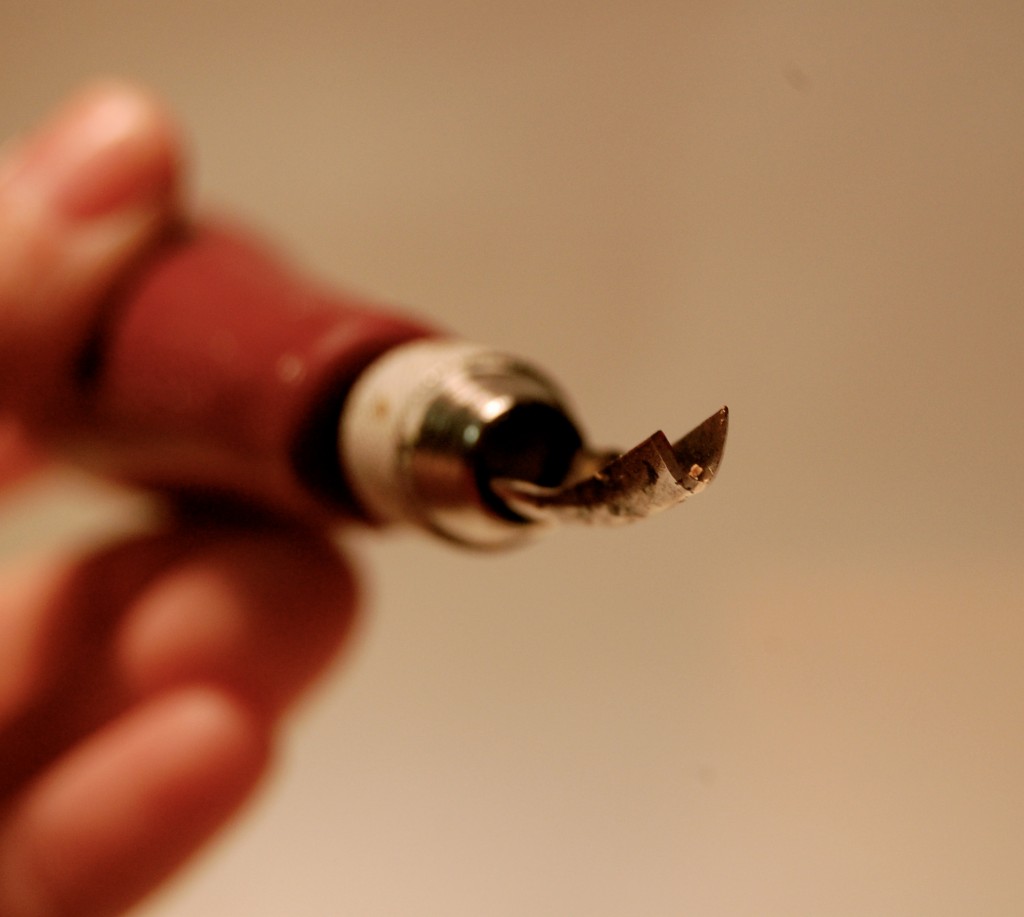
Linoleum-cutting tool, from Martha Stewart Crafts

Be very careful because it is SUPER sharp!

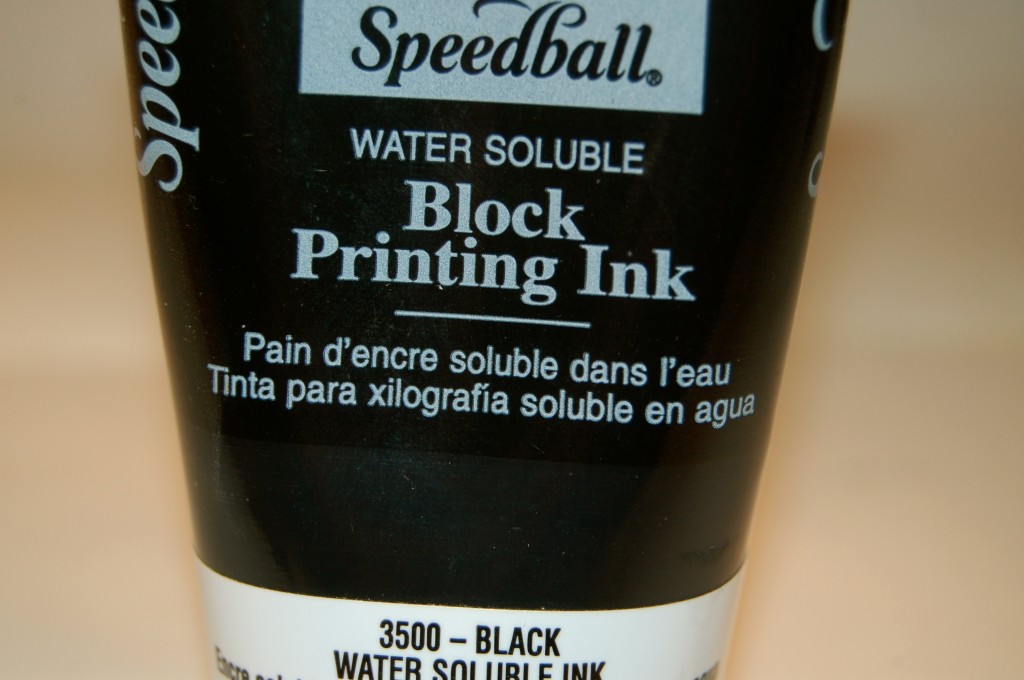
Block-printing ink, available at art-supply stores

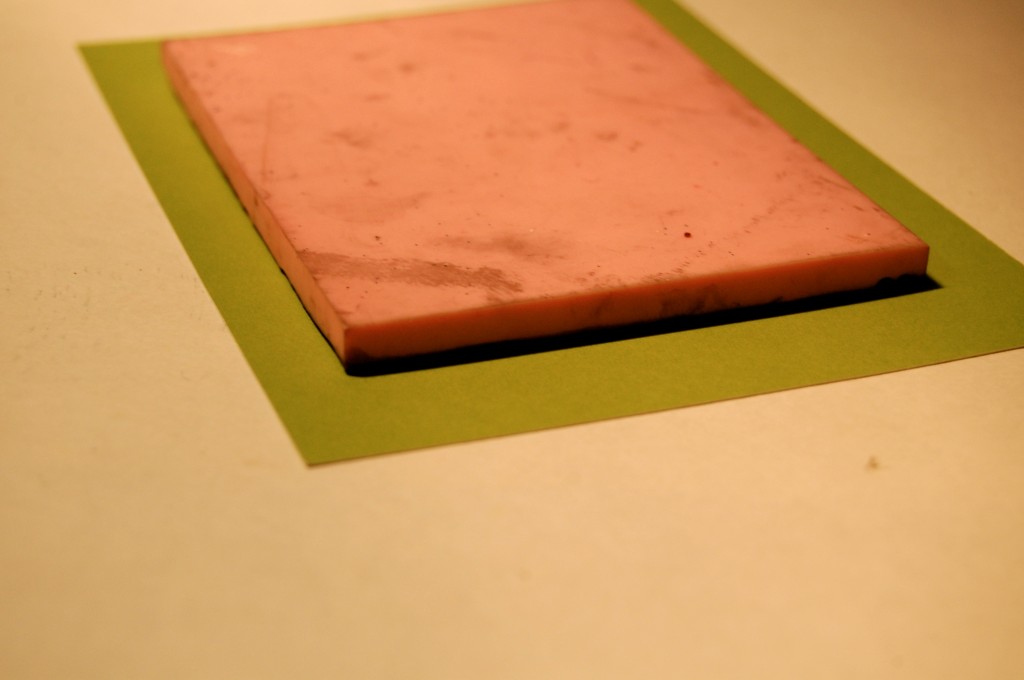
 Next, transfer image to block by placing paper facedown and rubbing the entire surface gently with your fingernail or the back of a spoon. Remember, the carving will be a mirror image of the finished print; only uncarved areas will pick up ink — not the image itself. (If you want the image to pick up the ink, as shown in the wedding-ring and small-leaf cards in the Introduction, cut away the background, so the image will be raised. For this technique, your ink block would not need to be as large as the card.)

Paper plate to roll the ink on with. 

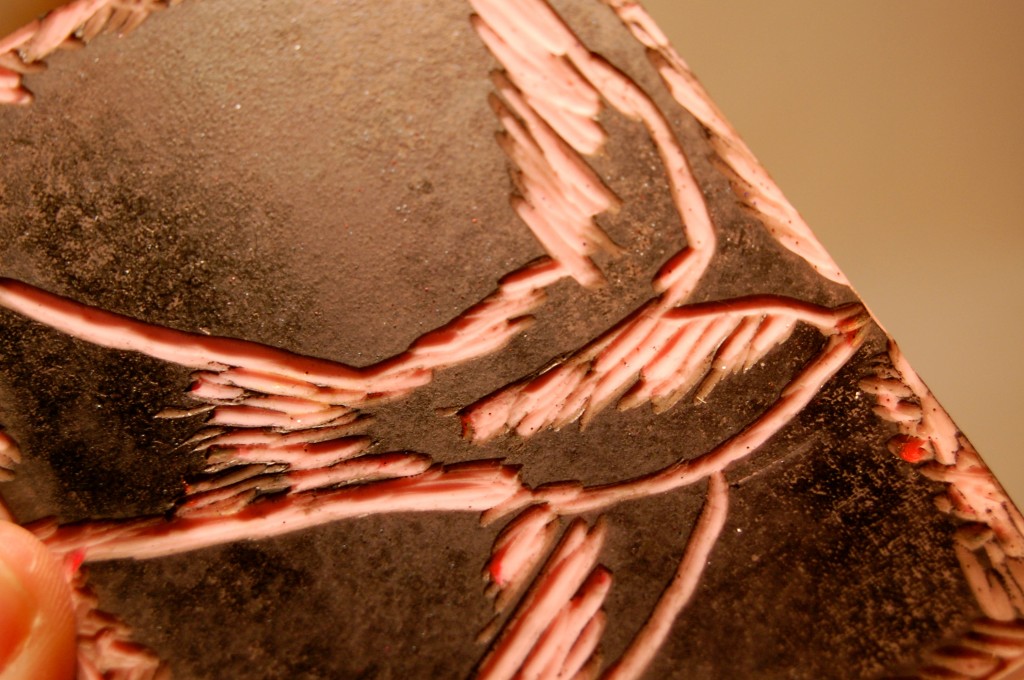
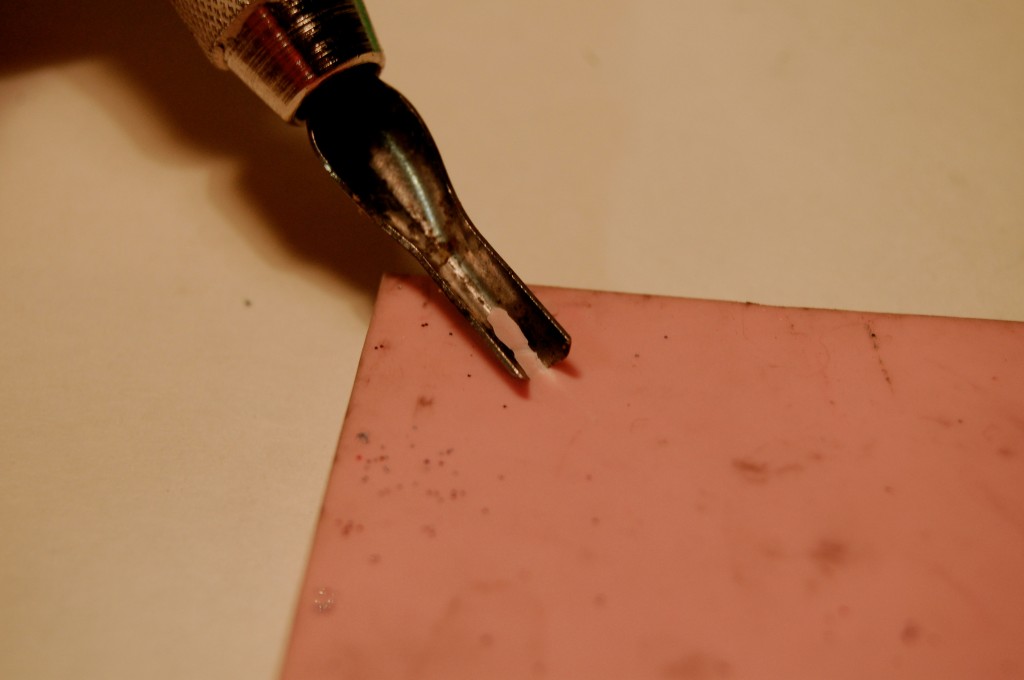
Carve design into block using a linoleum-cutting tool. Use a small blade to cut details and the large blade to carve away broad areas. Hold the cutter like a pencil, and use your other hand as a guide, keeping it clear of the blade’s path. Begin with shallow cuts; if you dig the cutter down into the block, it can cut all the way through.

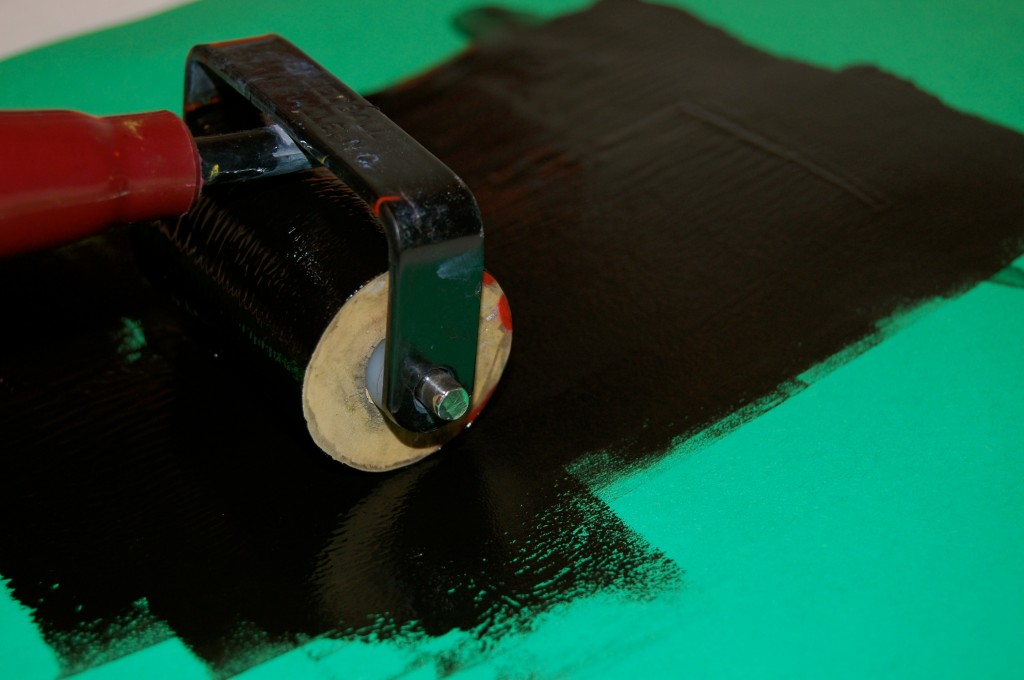
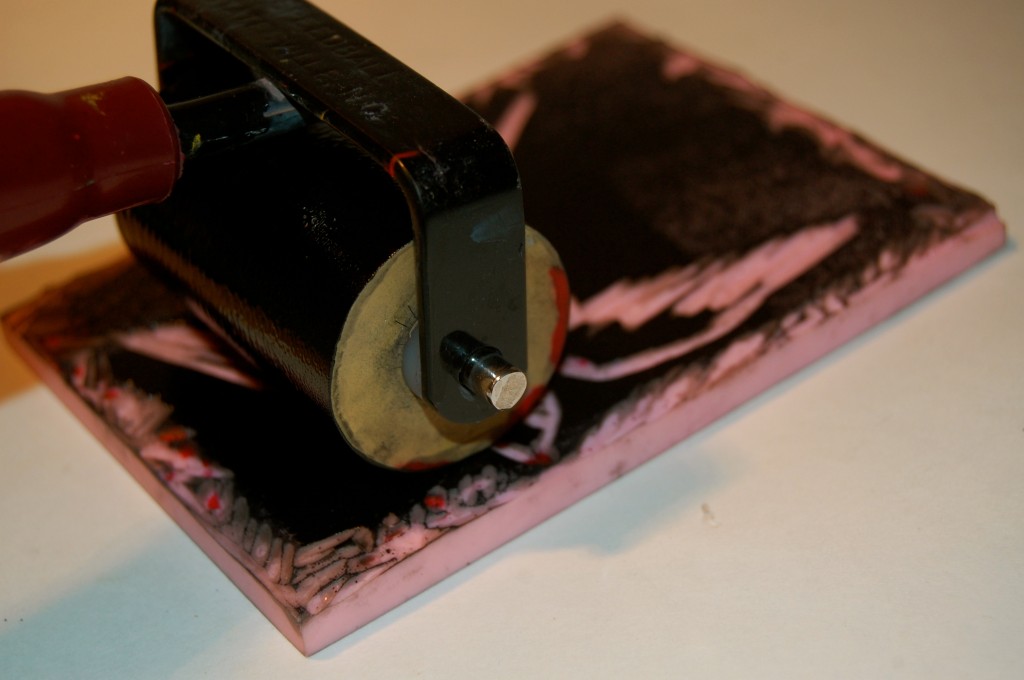
Squeeze a dollop of block-printing ink onto a paper plate; roll the brayer tool over ink until thoroughly covered with a thin, even layer. Use brayer to coat the block with ink.

Plain store-bought cards, or assorted paper, from Martha Stewart Crafts
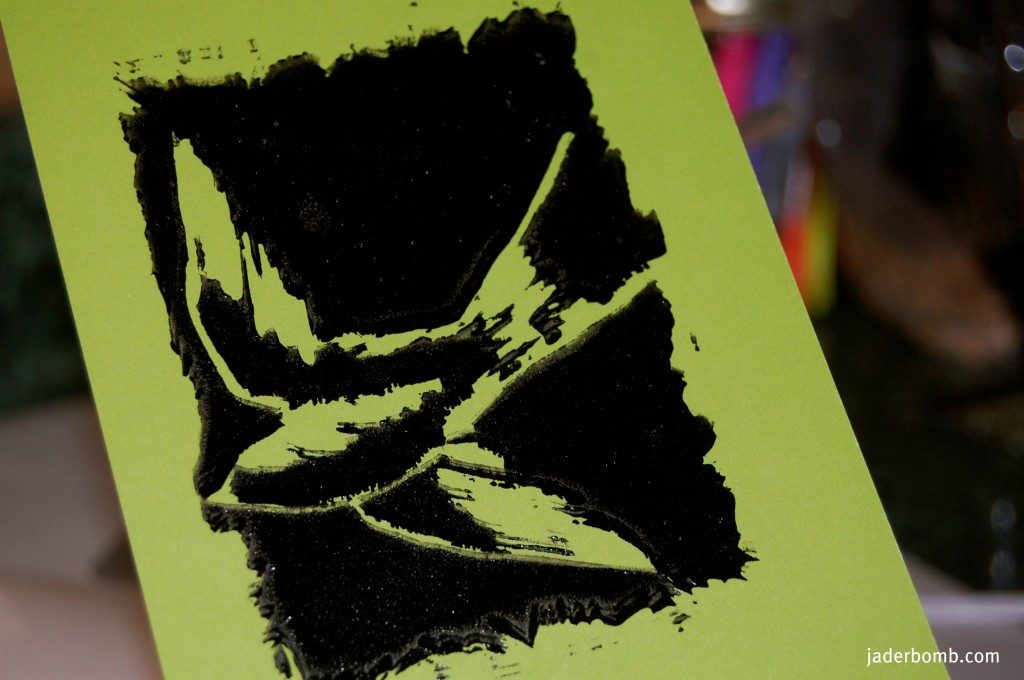
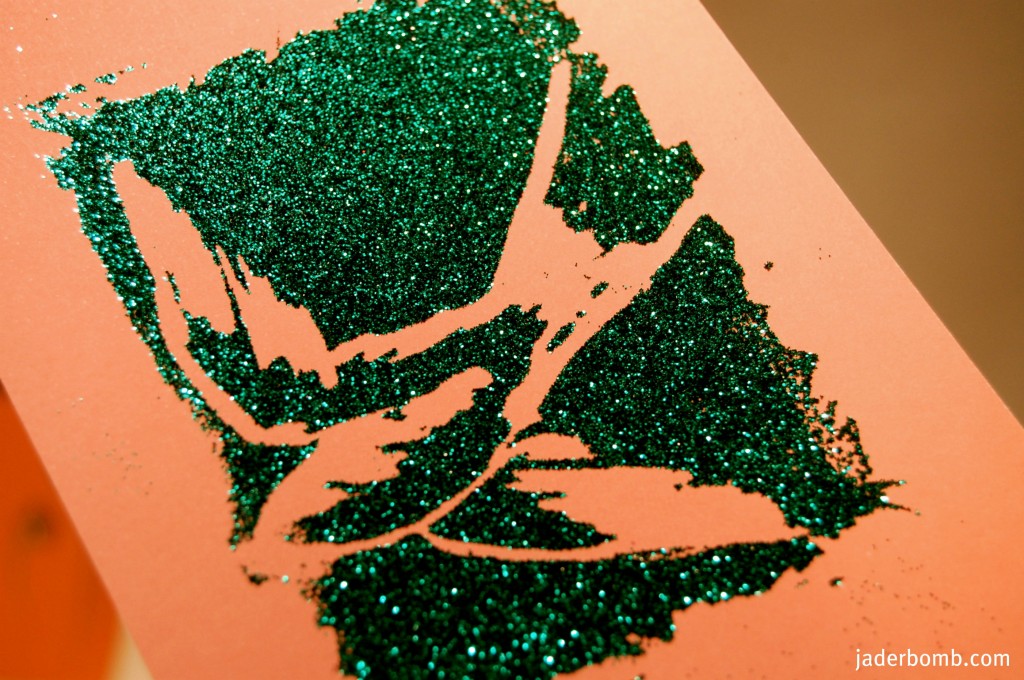
How easy was that!

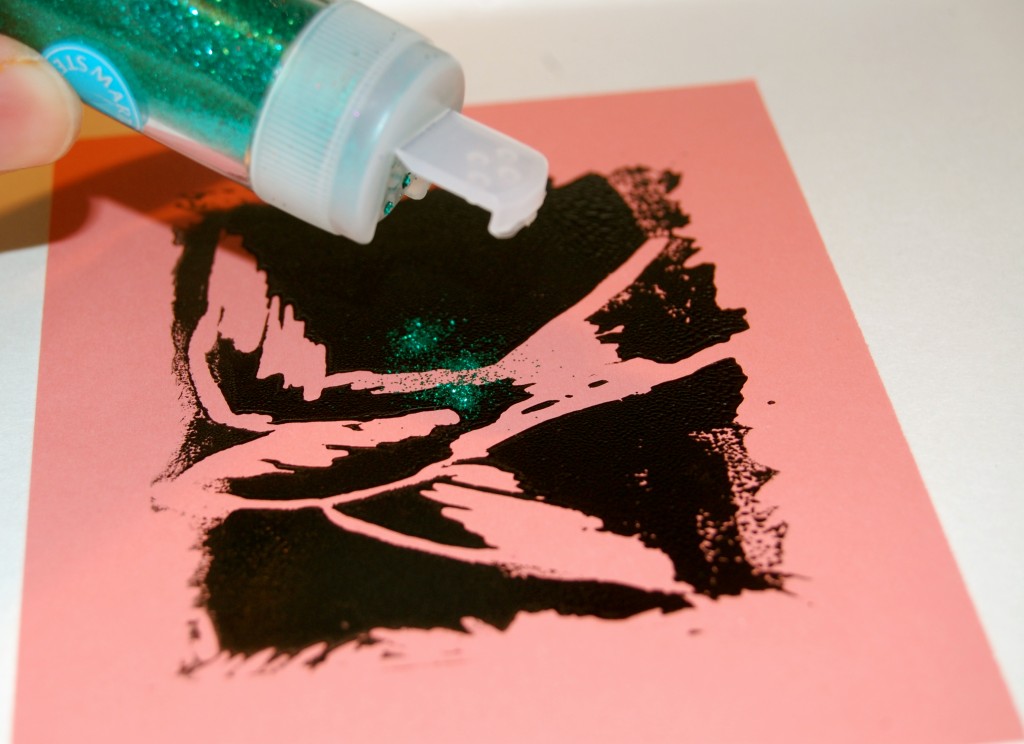
You know I just HAD to add glitter in this baby!

This makes my heart smile! Do something different this year and make your own cards!

Wishing you a Friday FULL OF FUN, jaderbomb

Check out Martha’s original craft HERE and you can purchase Martha Stewart’s Encyclopedia of Crafts here!

CLICK HERE TO WATCH VIDEO

(me on the show!)
Click HERE to read all about it!!!
 IF YOU DECIDE TO DO ANY OF THE CRAFTS, SHOOT ME AN EMAIL AND I WILL ATTACH  IT TO THE POST WITH A LINK THAT GOES STRAIT TO YOUR BLOG!  IF YOU DON’T HAVE A BLOG JUST EMAIL IT TO ME AND I WILL PUT IT UP!!!!
Thanks to Martha Stewart crafts for sponsoring me with craft supplies!


Button Stamp How-To

Do you ever find “loose” buttons in random spots! Don’t throw them away because you can really use them for a fun craft! I can’t wait to show you this one because it’s a really cool way to show off your unique buttons to the world!

Hope everyone is having a great night!

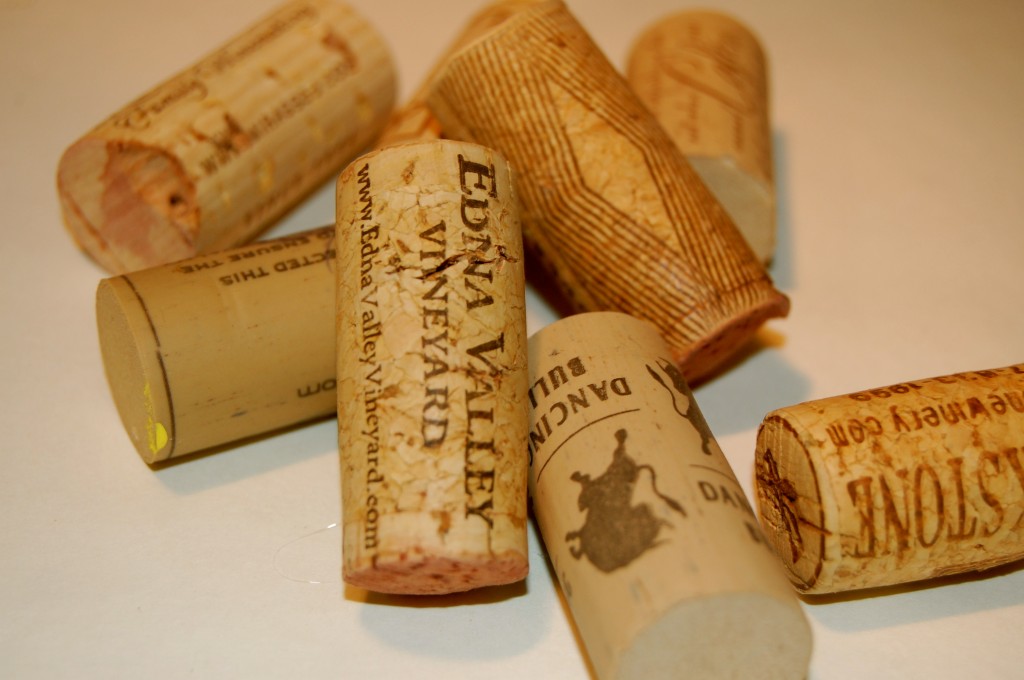
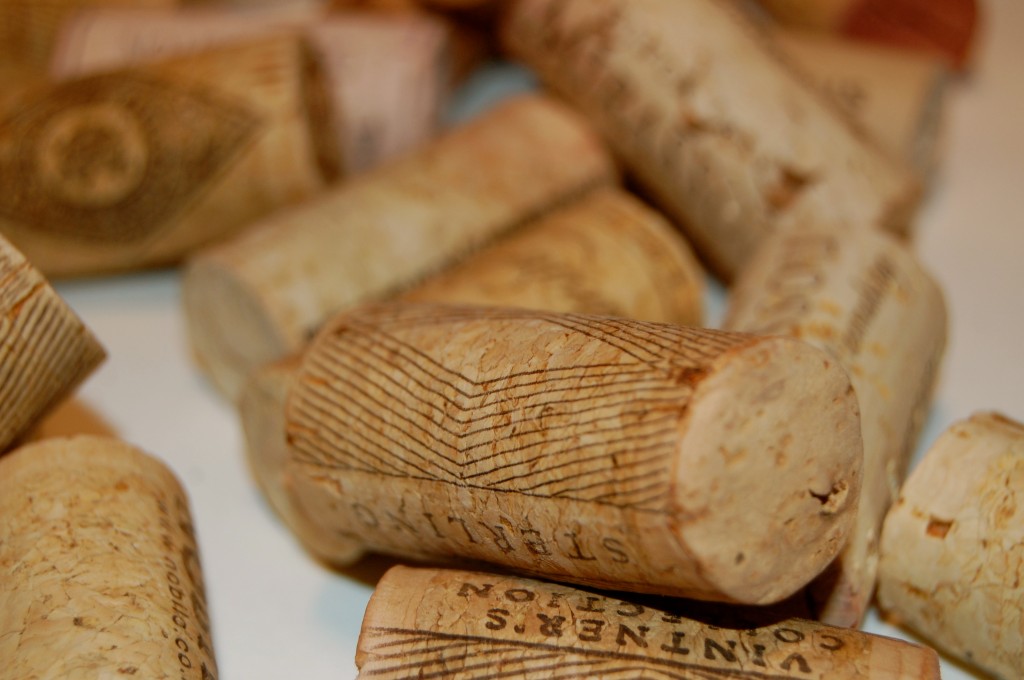
Grab some corks (again)

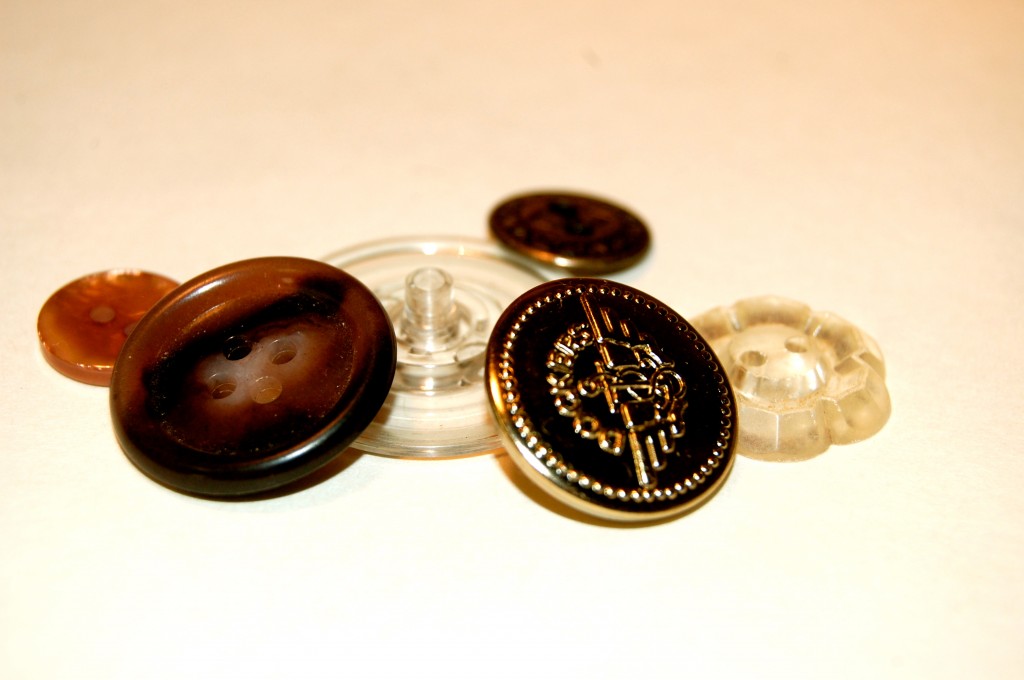
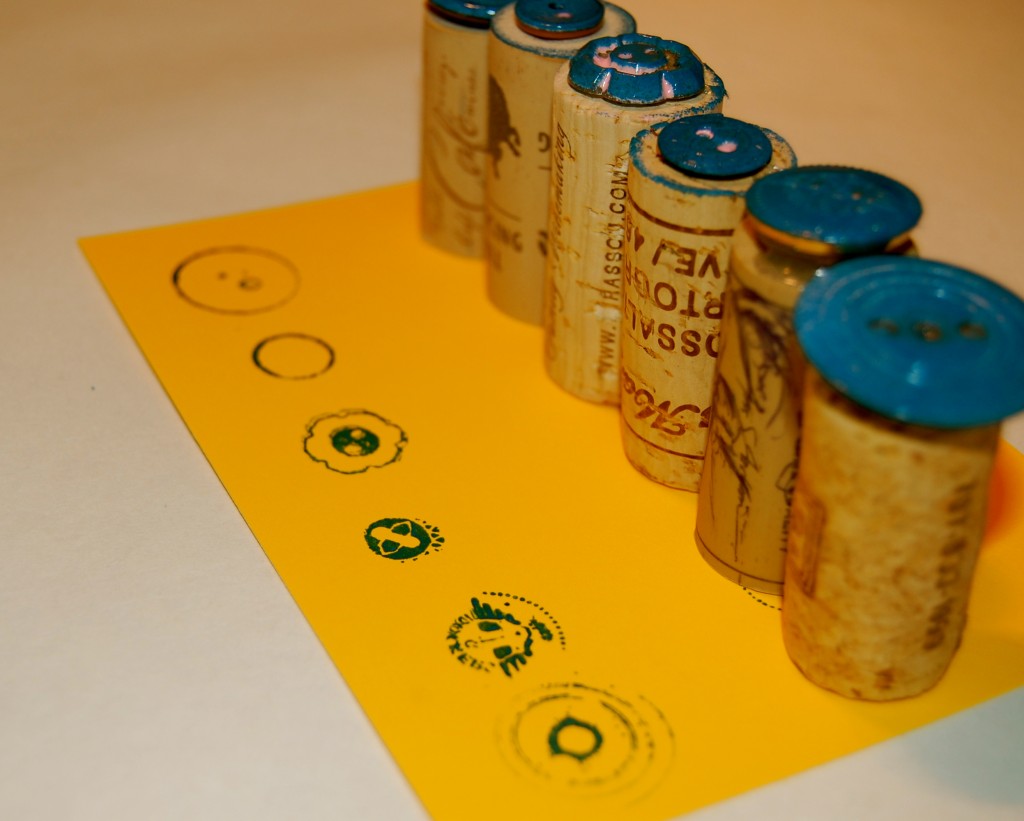
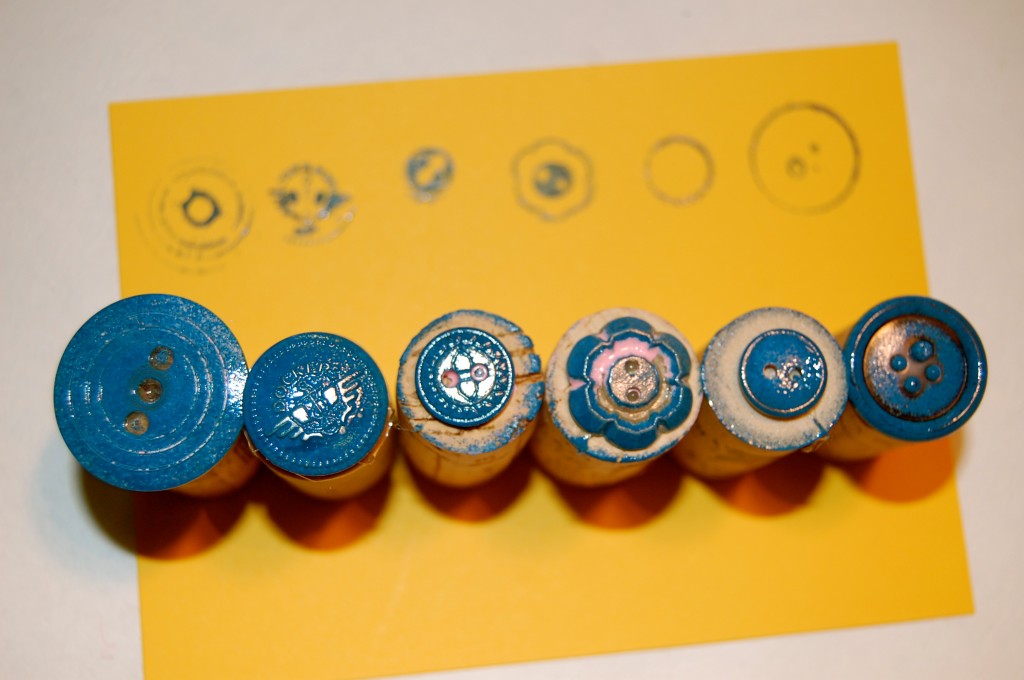
Don’t forget your “awesome” vintage buttons. If you don’t have old buttons just use the ones you have. Select buttons with raised surfaces and distinct patterns — fluted edges, stars, flowers, cat’s eyes, and pinwheels.

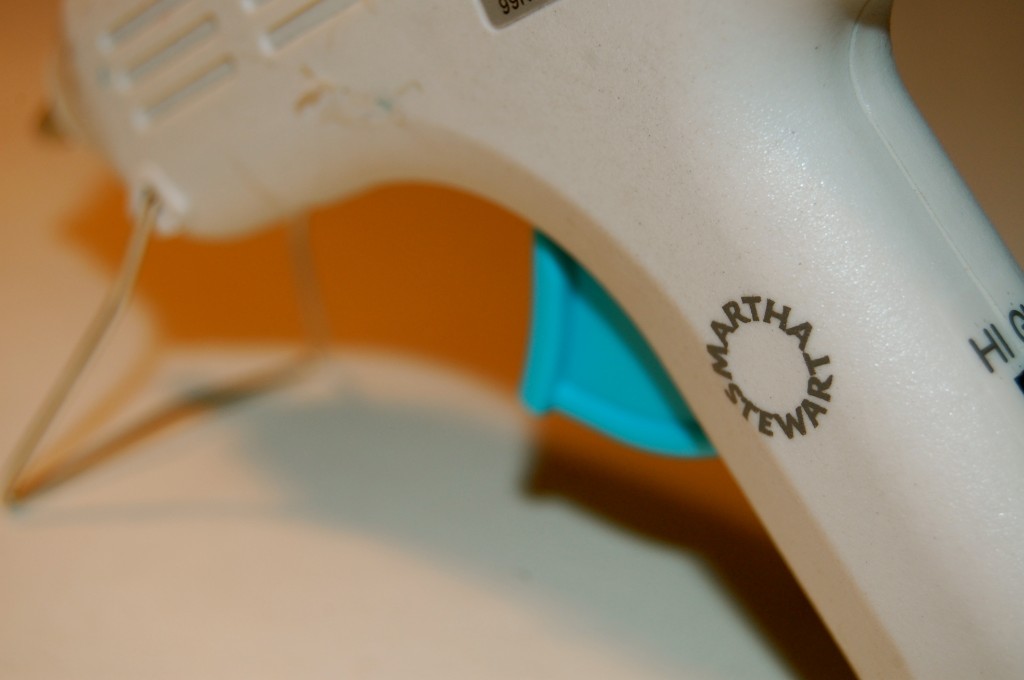
We can’t forget out glue gun!

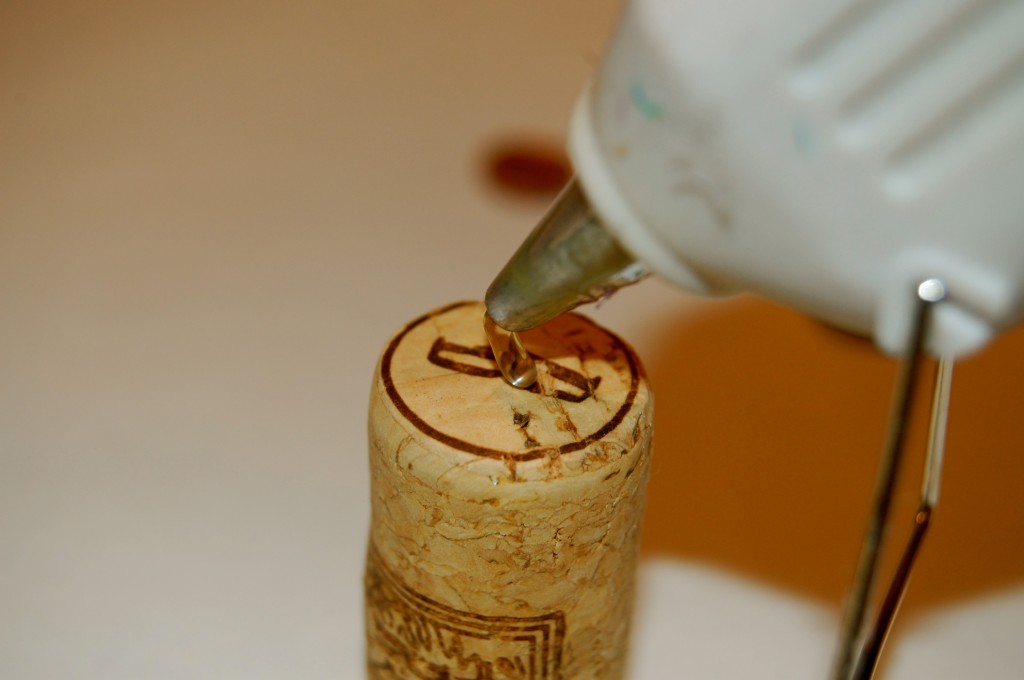
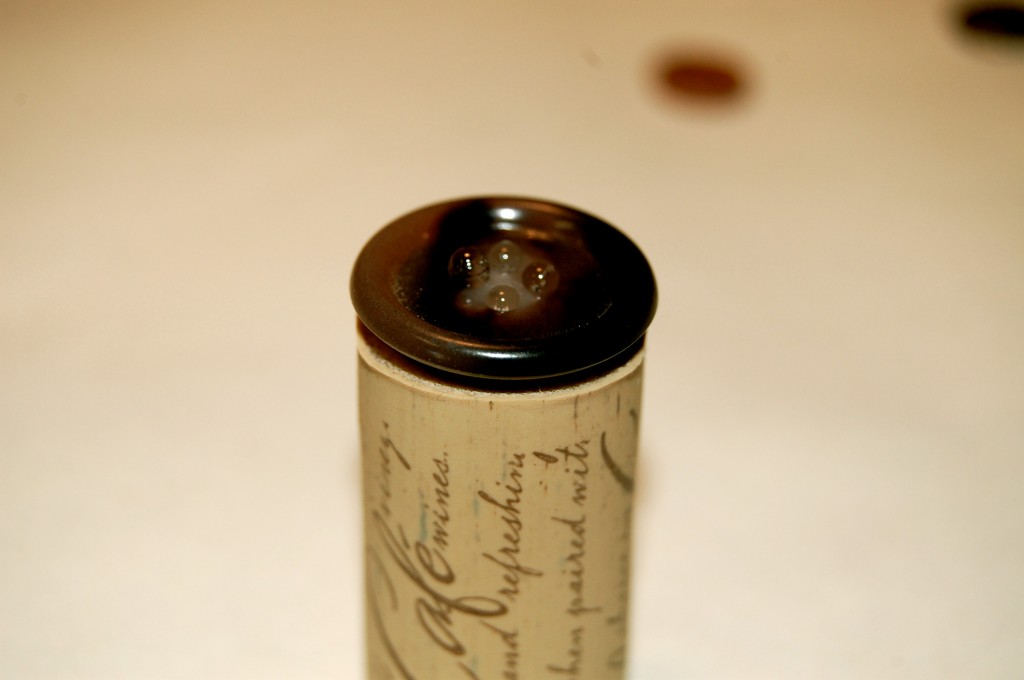
With white craft glue, mount buttons on wine or craft corks; if possible, use a cork narrower than the button so you can see to position the stamp accurately.

Then carefully place your button on top of the hot glue.

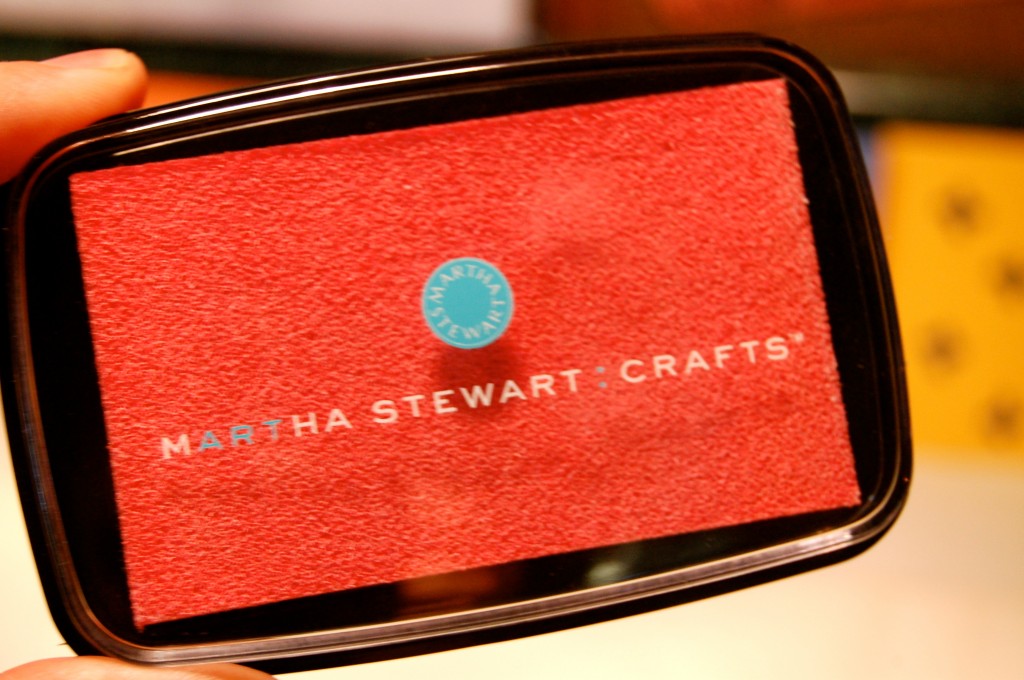
Buy already inked stamp pads in several colors

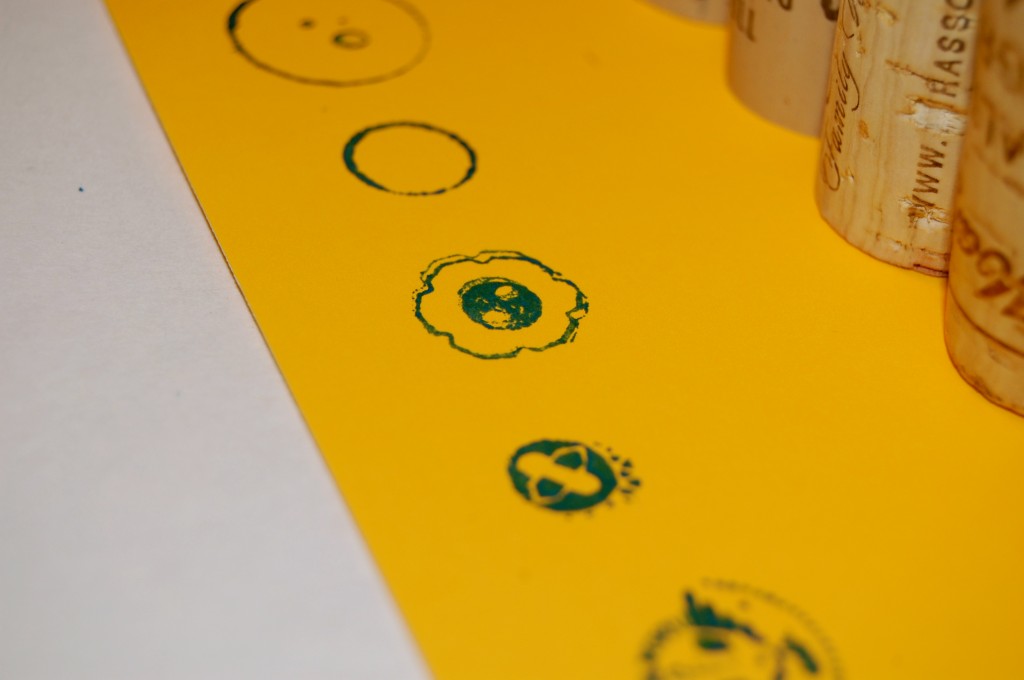
Uncoated papers are most receptive to the ink. I just wanted to show you how you need just the right stamp for it to stamp correctly.

I placed the button stamps across from their design. They are just so pretty to look at !

I am seriously in love! Who knew all the different things you could do with good ole buttons!

Drinking “refresh” tea and sending all of my jaderbugs good energy, jaderbomb

Check out Martha’s original craft HERE and you can purchase Martha Stewart’s Encyclopedia of Crafts here!

CLICK HERE TO WATCH VIDEO
(me on the show!)
Click HERE to read all about it!!!
 IF YOU DECIDE TO DO ANY OF THE CRAFTS, SHOOT ME AN EMAIL AND I WILL ATTACH  IT TO THE POST WITH A LINK THAT GOES STRAIT TO YOUR BLOG!  IF YOU DON’T HAVE A BLOG JUST EMAIL IT TO ME AND I WILL PUT IT UP!!!!
Disclosure: This is a sponsored post by Martha Stewart crafts. The content and ideas are all my own!


Stenciled Baby Gifts

Dooby Dooo woppp wop woppppp! That is EXACTLY how I feel right now! I just want to tell you that I am sorry if you feel like I don’t write too “personal” anymore but GOODNESS GRACIOUS this Martha countdown is putting me to the test! I already feel like I have accomplished SO much just since I started this so I can about imagine how I will feel on the last day. When I start getting really stressed {{which is every second of every day now}} I just step back and get more stressed out  realize all the good things that have come out of this. All of the wonderful people I have met and the new life long friends I will have. I love all of my Martha people and I am so happy I have them on speed dial! Let’s just refer to them from now on as my “NEW YORK FAMILY”…..What cha think! OK let’s get to crafting because I have LOT’s more to post tonight! By the way, HAPPY 1st of DECEMBER!

I absolutely love this stencil set. It has little baby stencils for pretty much EVERY holiday! Click here to get some!

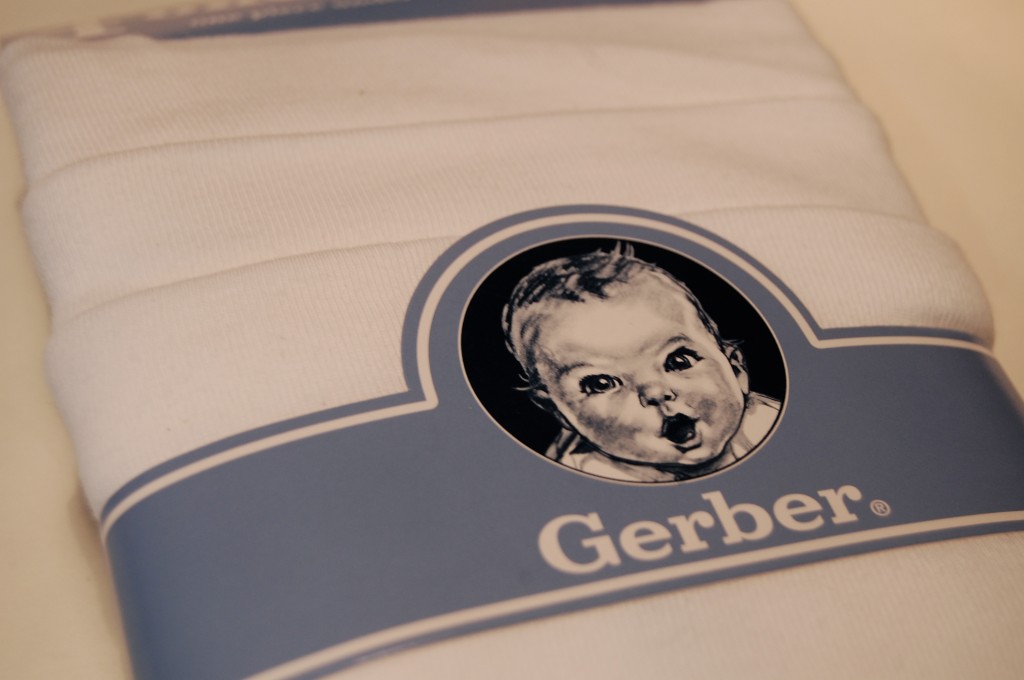
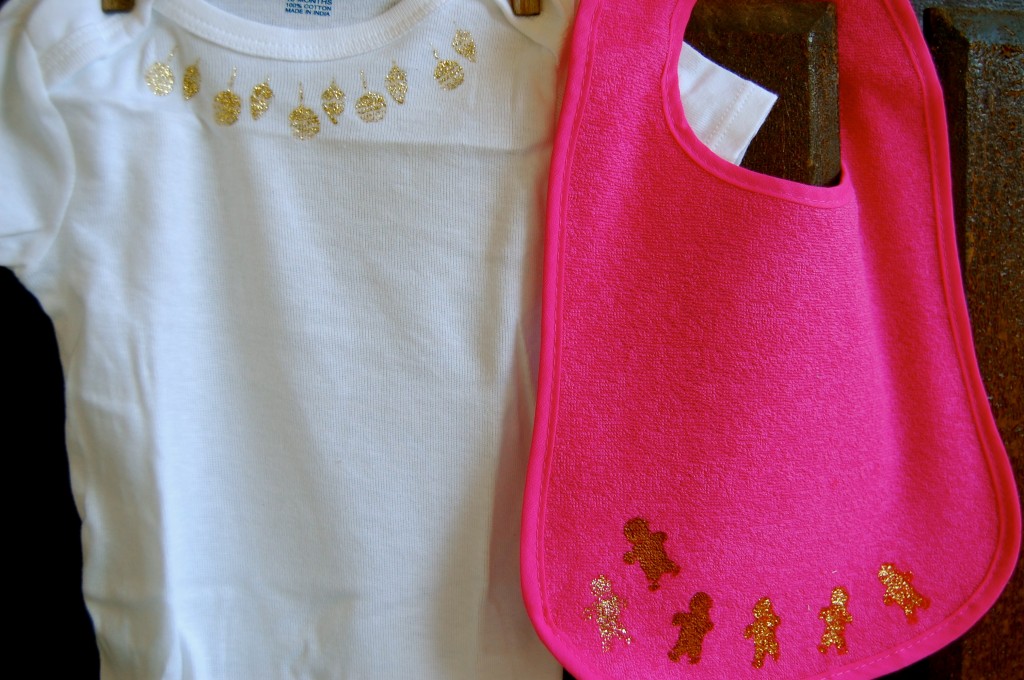
I grabbed a pack of onesies. {white because it will show much better than a color}

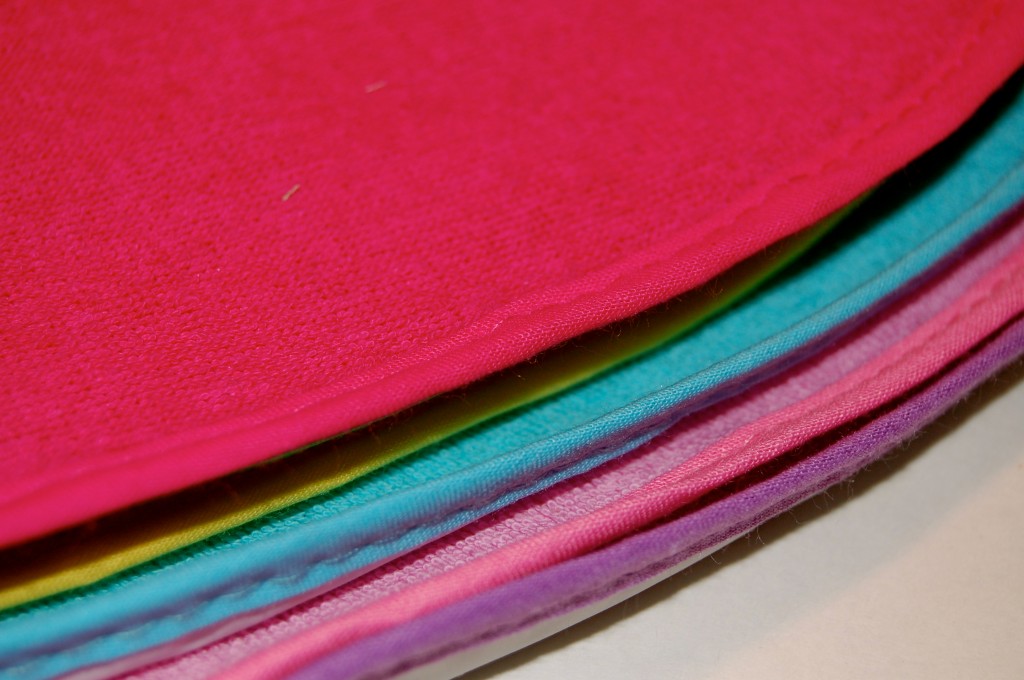
Some bright colored bibs.

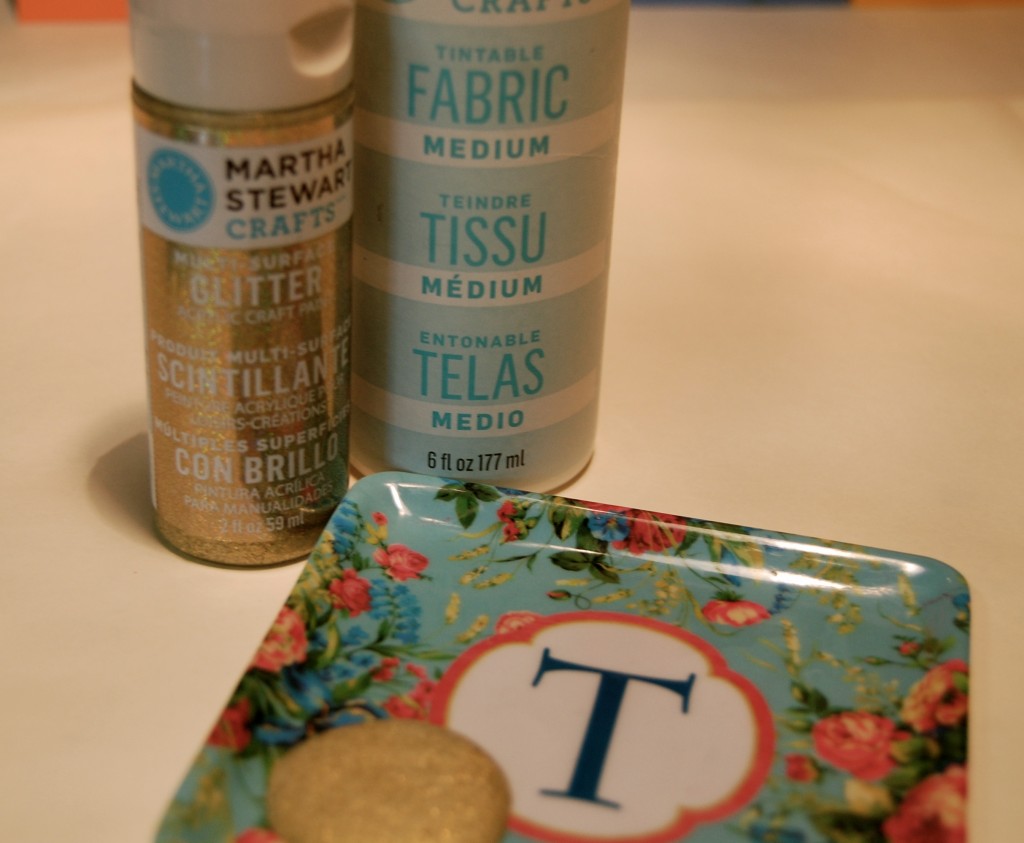
Gold glitter paint and fabric medium.

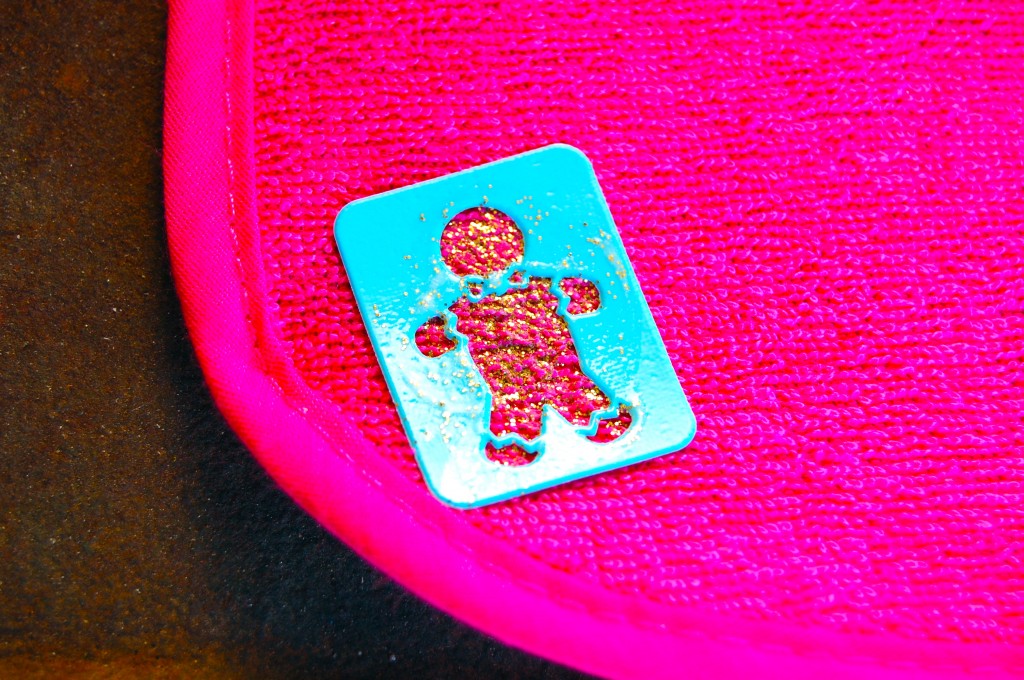
Place your stencil on the surface you want.

Tadahhh! How cute! I love how simple the gingerbread men {or women} are…Makes me kinda hungry for some. I hope you are filled with all the love you could possibly be filled with! NOW GET TO CRAFTING JADERBUGS!!!

Hungry but not really HUNGRY, your hungry jaderbomb

Check out Martha’s original craft HERE and you can purchase Martha Stewart’s Encyclopedia of Crafts here!

CLICK HERE TO WATCH VIDEO
(me on the show!)
Click HERE to read all about it!!!
 IF YOU DECIDE TO DO ANY OF THE CRAFTS, SHOOT ME AN EMAIL AND I WILL ATTACH  IT TO THE POST WITH A LINK THAT GOES STRAIT TO YOUR BLOG!  IF YOU DON’T HAVE A BLOG JUST EMAIL IT TO ME AND I WILL PUT IT UP!!!!
Disclosure: This is a sponsored post by Martha Stewart crafts. The content and ideas are all my own!

DIY Cork Trivet

Happy CORK day! If you are like me then you LOVE corks! I always keep my corks. They always come in handy I tell ya!!!

They don’t just keep your wine from spilling and spoiling; corks can also protect your tables and countertops from hot pots and pans. Hope you enjoy this craft!!!

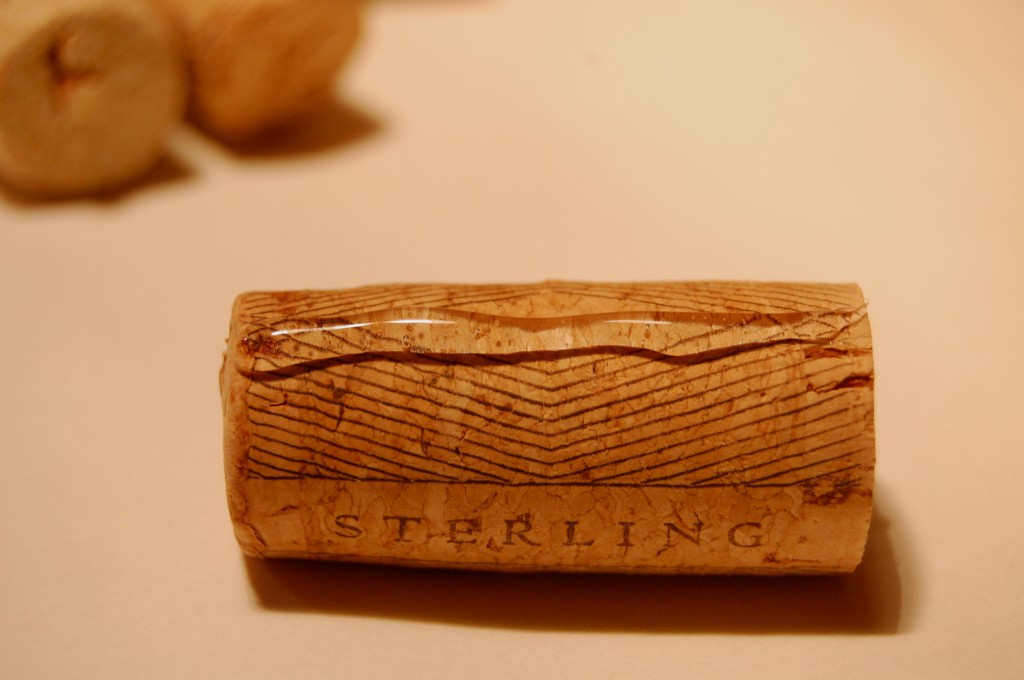
Grab some corkeyroos.

Put a bead of hot glue on one side of the cork. 

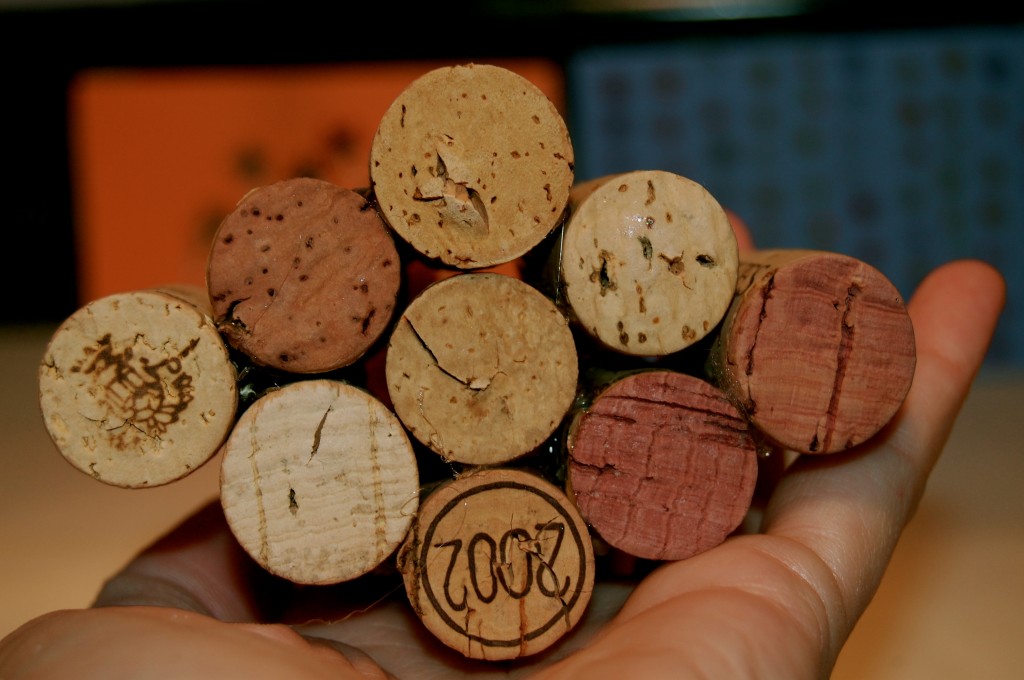
Once you start putting them together it will start to form it’s shape. 

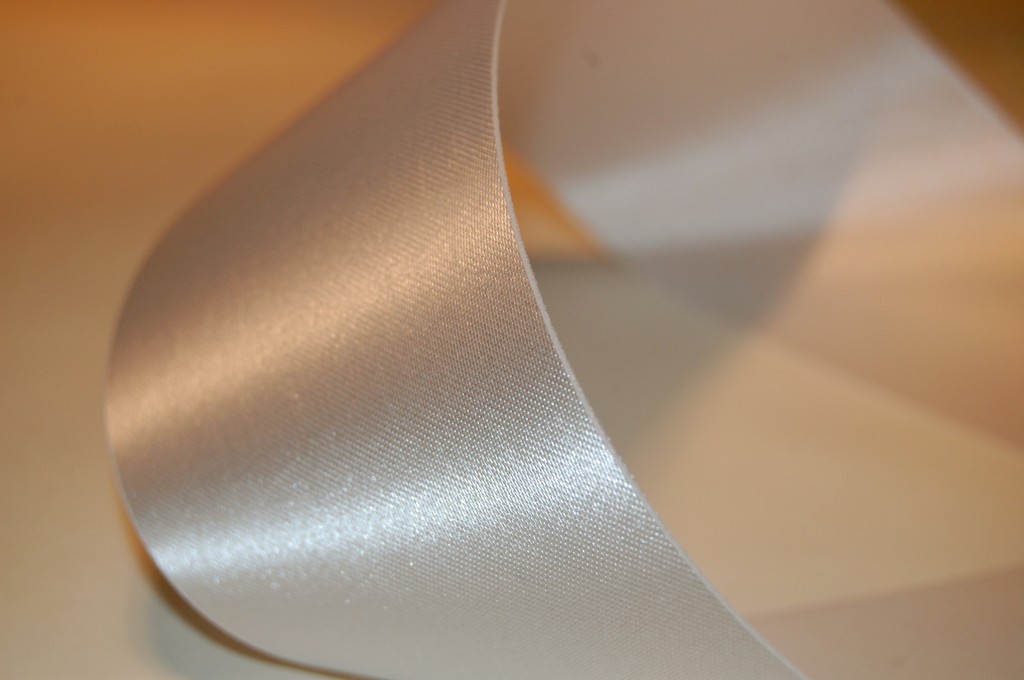
Get a piece of ribbon.

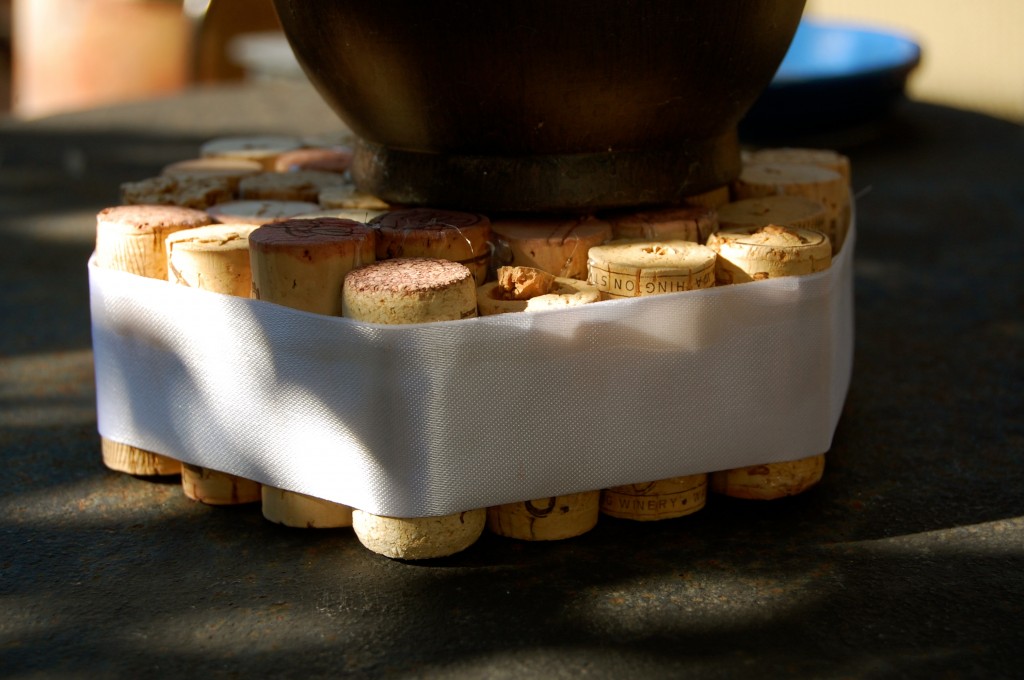
Fold it in half and apply it to corks using hot glue. {{you can totally see that I put WAY too much hot glue on this baby}}

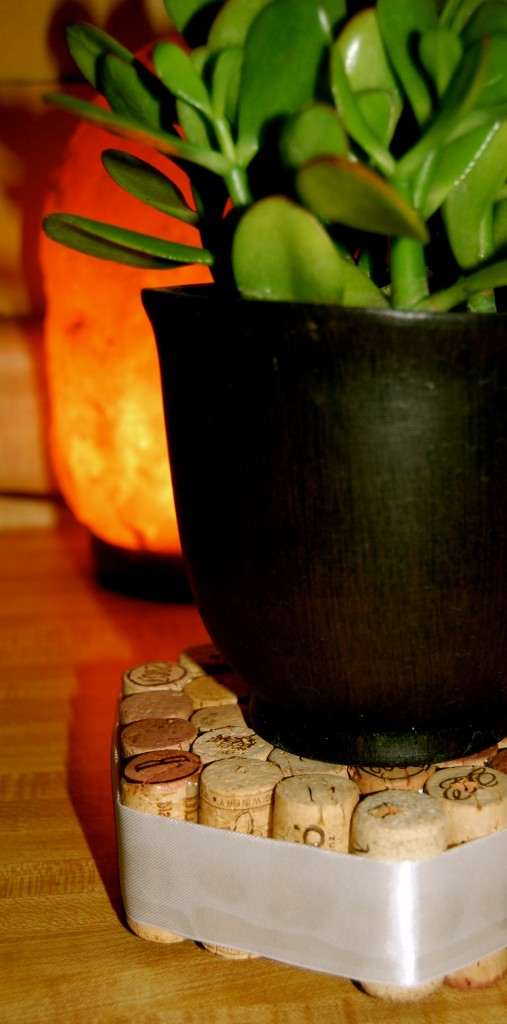
This is what it will look like when you are done! The cool thing is you can make ANY shape you want and it will be BEAUTIFUL!!!

Wishing you a corky day, Jaderbomb

Check out Martha’s original craft HERE and you can purchase Martha Stewart’s Encyclopedia of Crafts here!

CLICK HERE TO WATCH VIDEO
(me on the show!)
Click HERE to read all about it!!!
 IF YOU DECIDE TO DO ANY OF THE CRAFTS, SHOOT ME AN EMAIL AND I WILL ATTACH  IT TO THE POST WITH A LINK THAT GOES STRAIT TO YOUR BLOG!  IF YOU DON’T HAVE A BLOG JUST EMAIL IT TO ME AND I WILL PUT IT UP!!!!
Thanks to Martha Stewart crafts for sponsoring me with craft supplies!


Martha Stewart Countdown #62 Rope Coasters

 Totally another day that is going by SOOOO fast!! I hope everyone’s day is going FABULOUS!!!!

If your looking for the best gift to give someone or if you want to make something for yourself then these coasters will do the trick. Suggesting the casual atmosphere of the seaside with their cheerful hues and nautically inspired coils of cotton rope. Since they are inexpensive and easy to make, you can have plenty of them on hand to put alongside all of the  drinks that you’ll soon be serving. I think what is great about twine is that you can use it for ANY holiday! This is something I have on hand ALL OF THE TIME!

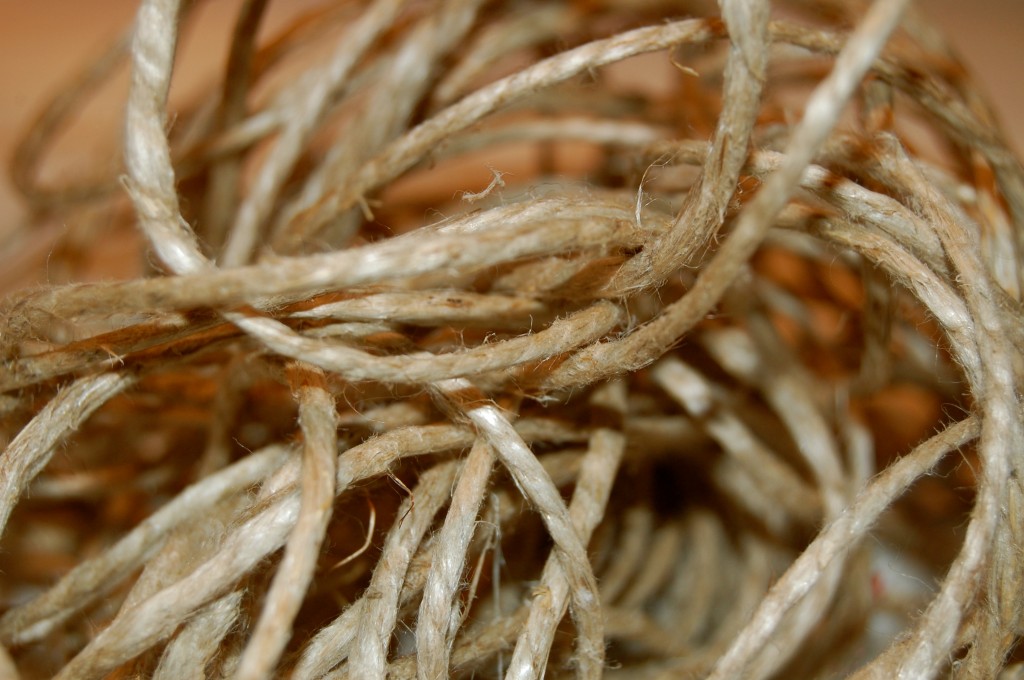
Grab some good ole twine!

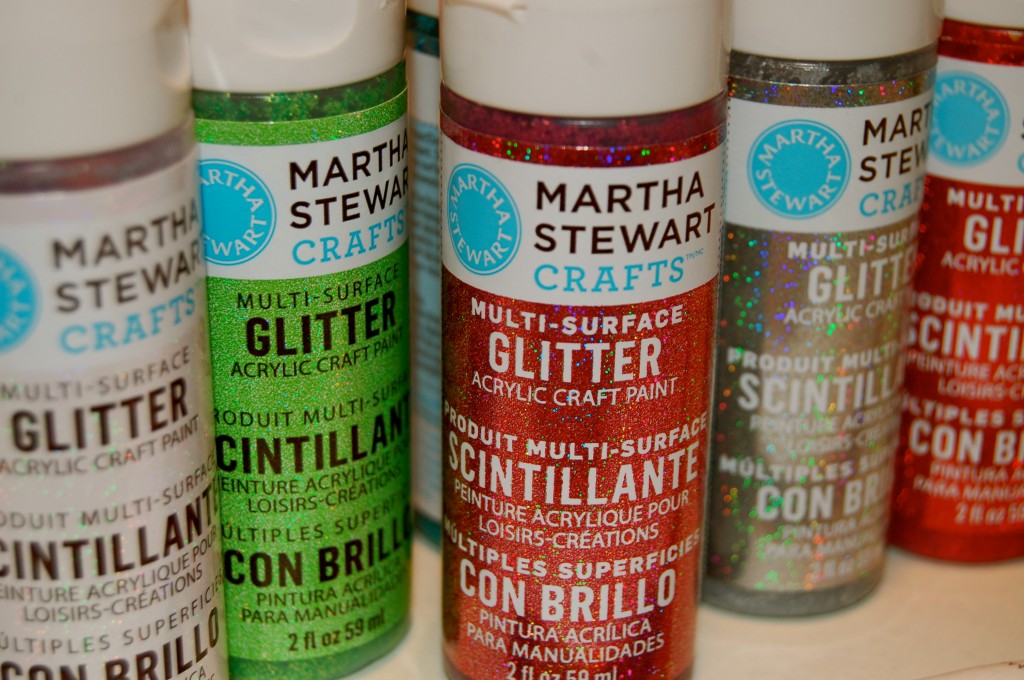
and some good ole Martha Stewart paint…

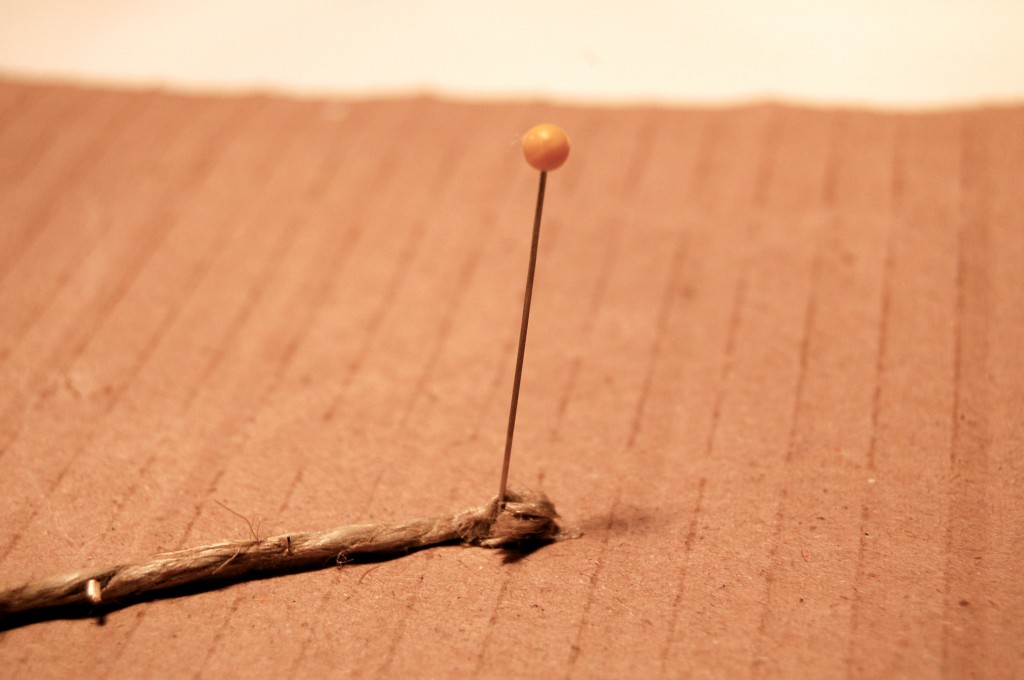
Take the end of the twine and place a pin in it (into cardboard). This is secure it in place.

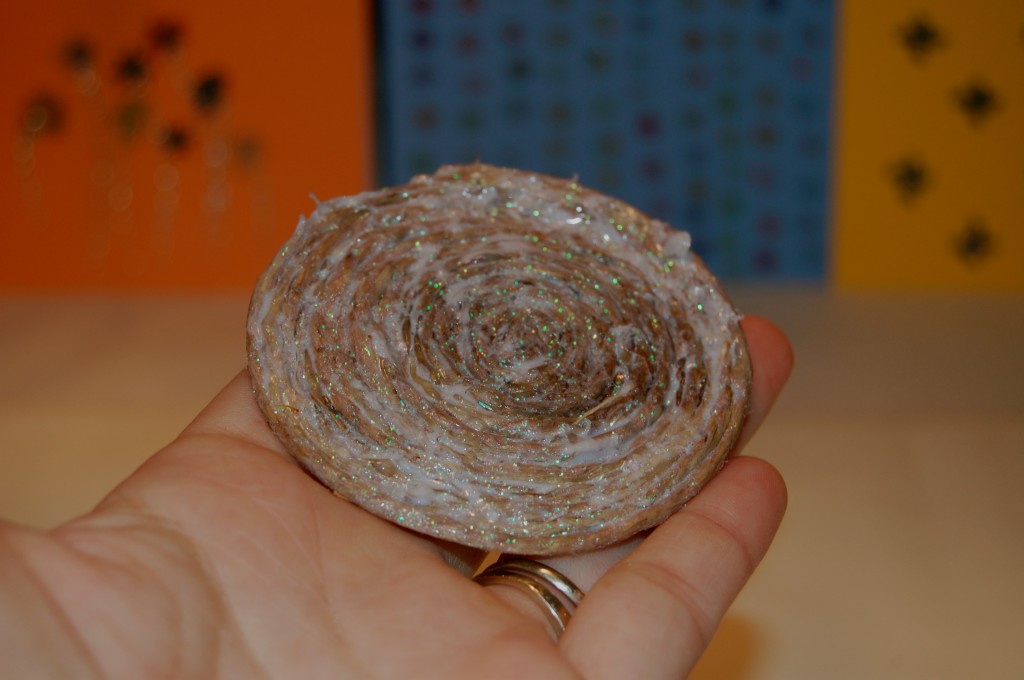
It should start coming together!

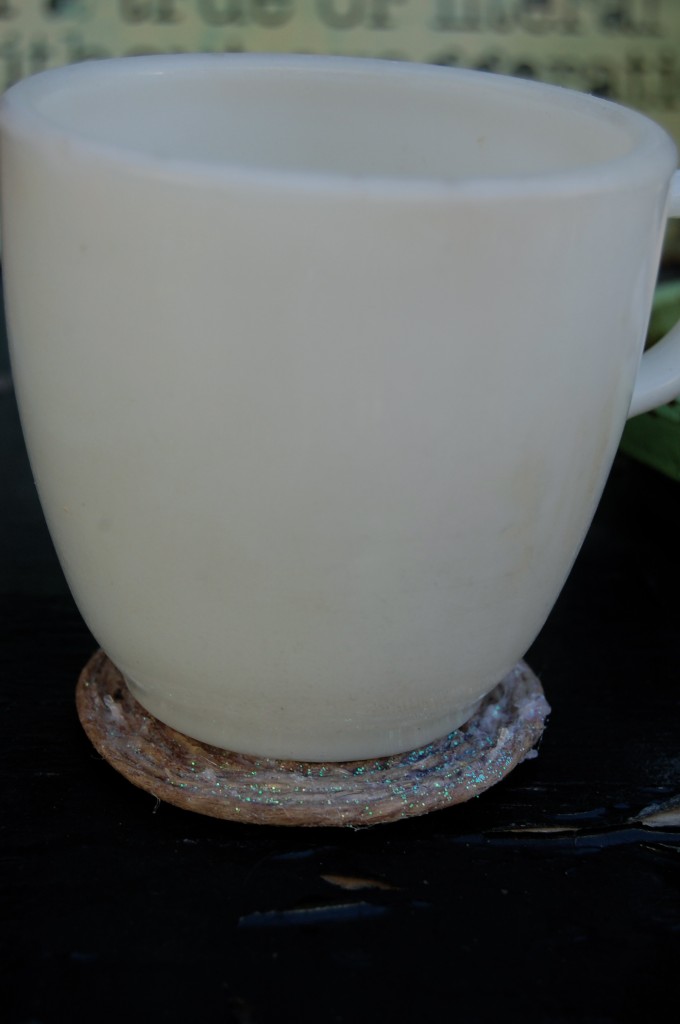
Tadahhh.. For some reason this picture does not look at good as it does in person. I think it was the glitter reflecting the wrong way! What cha think.. I think we should blame it on the glitter!!

Sending you glitter that does NOT reflect in pictures, your jaderbomb


Check out Martha’s original craft HERE and you can purchase Martha Stewart’s Encyclopedia of Crafts here!

CLICK HERE TO WATCH VIDEO
(me on the show!)
Click HERE to read all about it!!!
 IF YOU DECIDE TO DO ANY OF THE CRAFTS, SHOOT ME AN EMAIL AND I WILL ATTACH  IT TO THE POST WITH A LINK THAT GOES STRAIT TO YOUR BLOG!  IF YOU DON’T HAVE A BLOG JUST EMAIL IT TO ME AND I WILL PUT IT UP!!!!
Thanks to Martha Stewart crafts for sponsoring me with craft supplies!

Martha Stewart Countdown #61 Bottle-Cap Magnets

Well Well Well…. What shall we talk about today? I will show you step by step how to turn a dingy old bottle cap into a cute and chic magnet for your ice box. Some of the Ingredients you will need are:

1-inch circular craft punch
Craft glue
Bottle caps
Clear casting resin
Contact cement
Small magnets or thumbtacks
  
Some of the ingredients shown above~

If you don’t have a stamp to cut your circle you can use a quarter as a template.
When you find a picture you love get a quarter and place it on top of the image. Gently cut around the quarter with scissors or a razor blade. Either one works great.

Next step: You will place the peel n stick magnet on the bottom of each bottle cap.

Turn the bottle caps upside down now and we will prepare for the next step. You will take the pieces that you cut out of the magazines and glue them inside of the bottle cap.
You will take the picture you cut out of the magazine and squirt  glue onto the back of it. After you apply the glue you will simply place the piece of paper inside the bottle cap. Take your finger and press to make sure the paper is firmly touching the bottom of bottle cap.

Above is what they will look like with just the pictures in the bottle caps.
CUTE HUH~~

Next you will get your Polyurethane and take a spoonful of it and carefully pour it into the top of bottle cap. You want to fill it all the way to the top. Mine is a darker shade because I wanted them to look kinda old and antique. You can get clear if you want the images to show up more clearly.

Once poured and dried this is what they look like.

I posted the picture above to show you that if you have any air pockets after you fill the bottle caps up and you don’t pop them, this is what will happen. I actually like them more like this but it can be prevented~

Tadahhhh~~~ This is how they look when completed! They are so cute and it’s a great way to personalize as gifts! I know I would absolutely LOVE getting a couple of these for Christmas~~
Going to bed early for the first time in MONTHS… For real you will NOT see me creeping in a little bit.. Love each and every one of my jaderbugs!

Check out Martha’s original craft HERE and you can purchase Martha Stewart’s Encyclopedia of Crafts here!

CLICK HERE TO WATCH VIDEO
(me on the show!)
Click HERE to read all about it!!!
 IF YOU DECIDE TO DO ANY OF THE CRAFTS, SHOOT ME AN EMAIL AND I WILL ATTACH  IT TO THE POST WITH A LINK THAT GOES STRAIT TO YOUR BLOG!  IF YOU DON’T HAVE A BLOG JUST EMAIL IT TO ME AND I WILL PUT IT UP!!!!
Thanks to Martha Stewart crafts for sponsoring me with craft supplies!