Tag Archives: martha stewart crafts

Howdy Hoo! Howdy Who? It’s the big night tonight. The Oscar’s! I am sitting here watching them, live tweeting and blogging. Did I mention I ended up getting a Dr. Pepper ( I know, it’s full of sugar that will go to every inch of my body but oh well).  I am also having an important conversation with a Hershey’s easter bunny, we are talking privately in my mouth.  Let’s get on with this amazing and fun tutorial. I have a feeling you will love it.

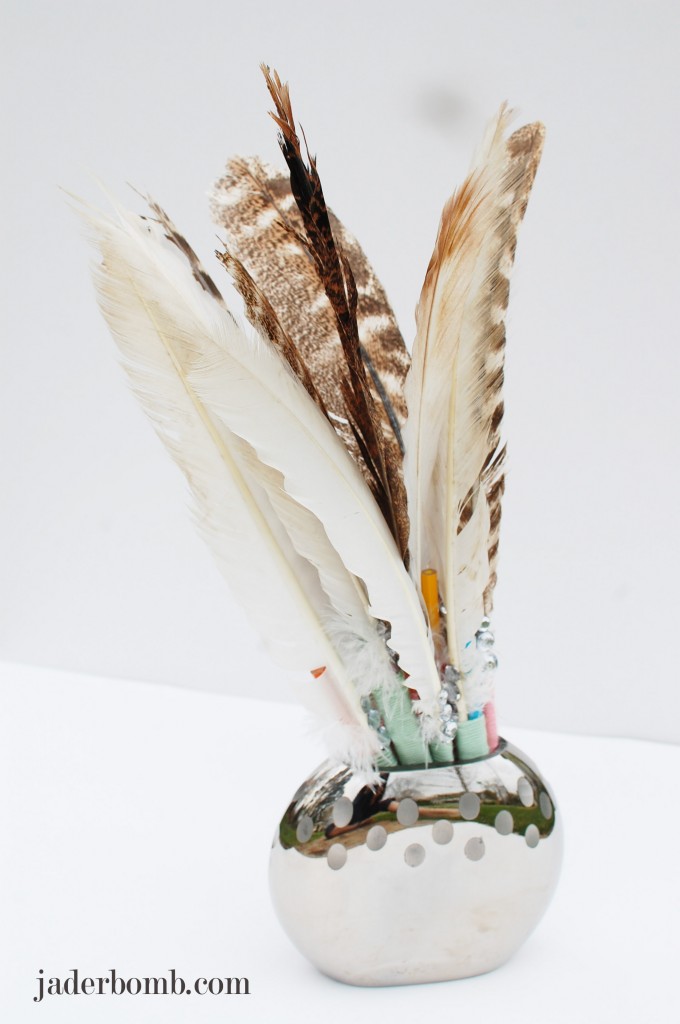
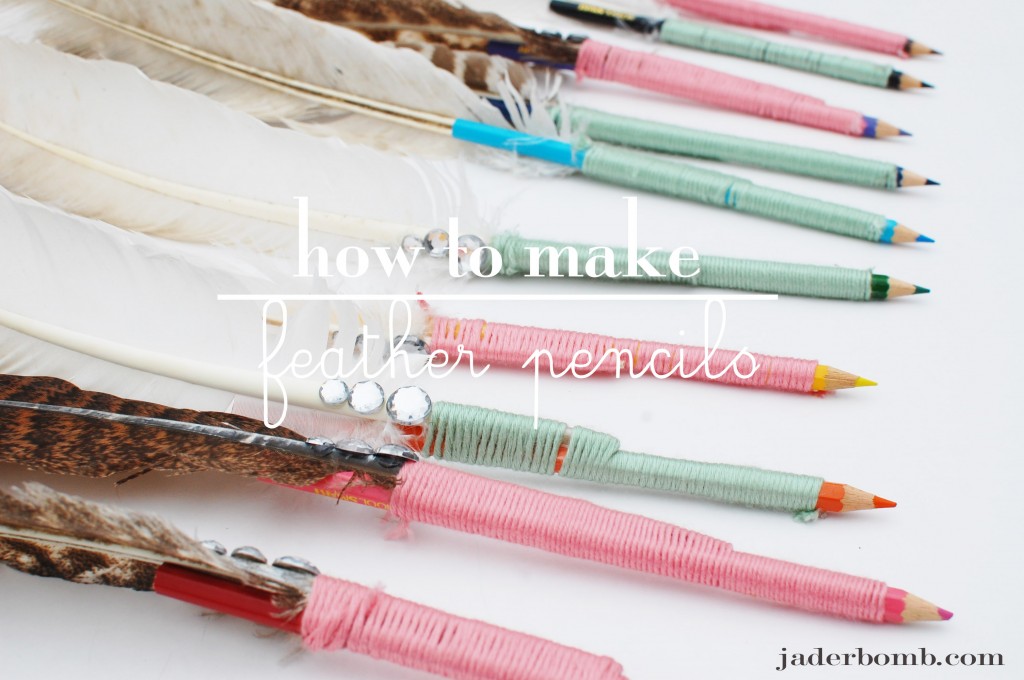
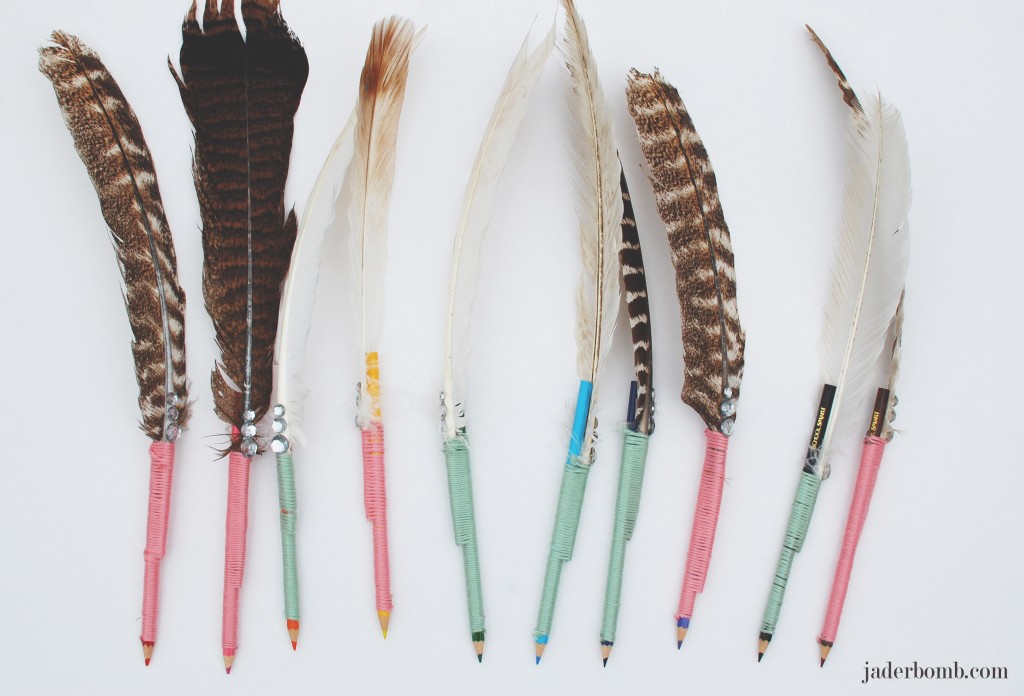
We will be making feather pencils, color pencils. I am honored to be a part of the 12 months of Martha and this is one of the 3 crafts I will be featuring this week using all Martha Stewart craft items. I am super giddy about it and I think you will too. Each month I will be sharing with you new items from the Martha Stewart crafts line that is brand spanking new.  Today I will be focusing on her yarn with Lion Brand .

You can find all of her products at Michael’s Arts and Crafts, Jo-Anns Fabrics & Crafts and Amazon.com.

how-to-make-feather-pencils-jaderbomb


jaderbomb

*Martha Stewart Yarn
(I am using Gerbera Daisy & Celery)
*Martha Stewart Scissors
*Martha Stewart glue gun
*Feathers
*Colored Pencils
*Jewels 
*Lotsa love 

Don’t forget to click on the links above to order all of the materials I used!


how-to-make-feather-pencils-jaderbombHow beautiful is this picture. Sometimes I get please just viewing my materials.

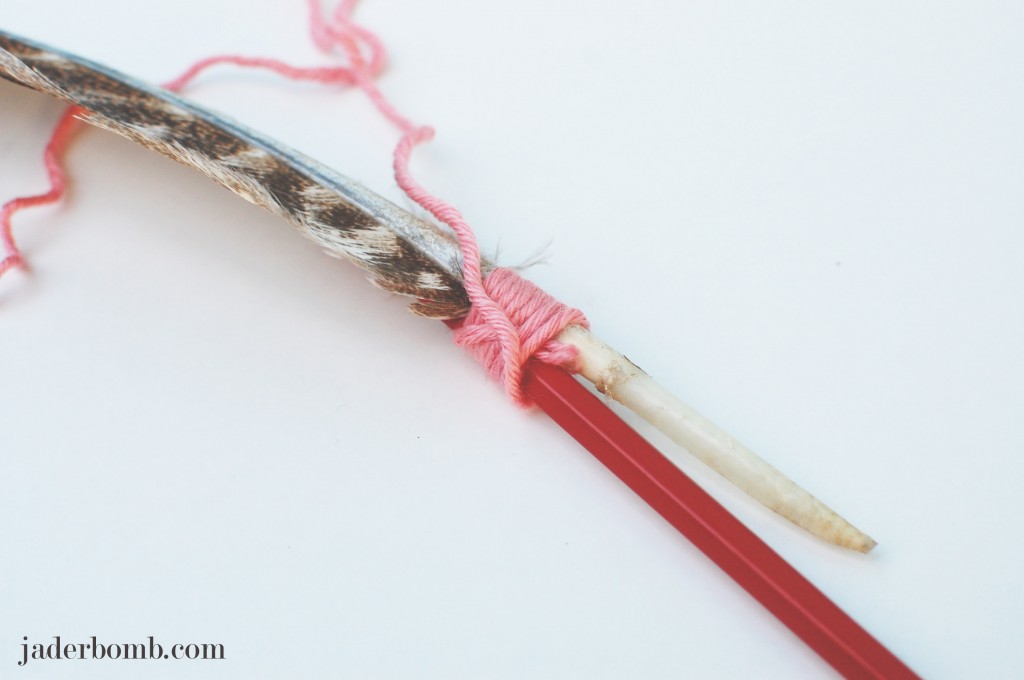
step-one-jaderbomb

how-to-make-feather-pencils-jaderbomb


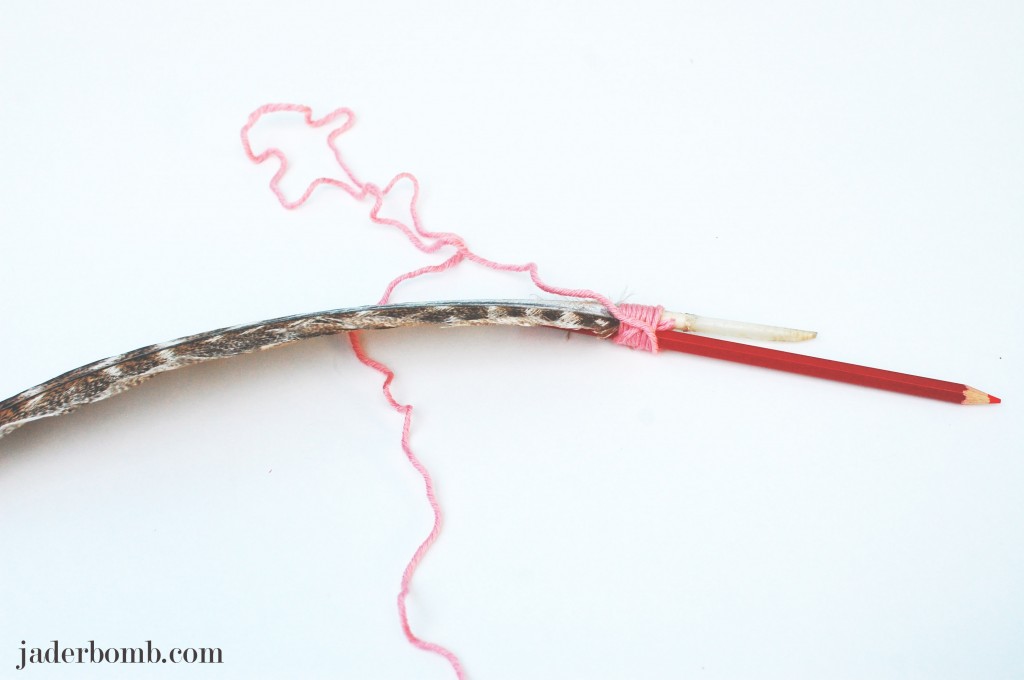
how-to-make-feather-pencils-jaderbomb


step-two-jaderbomb


how-to-make-feather-pencils-jaderbomb


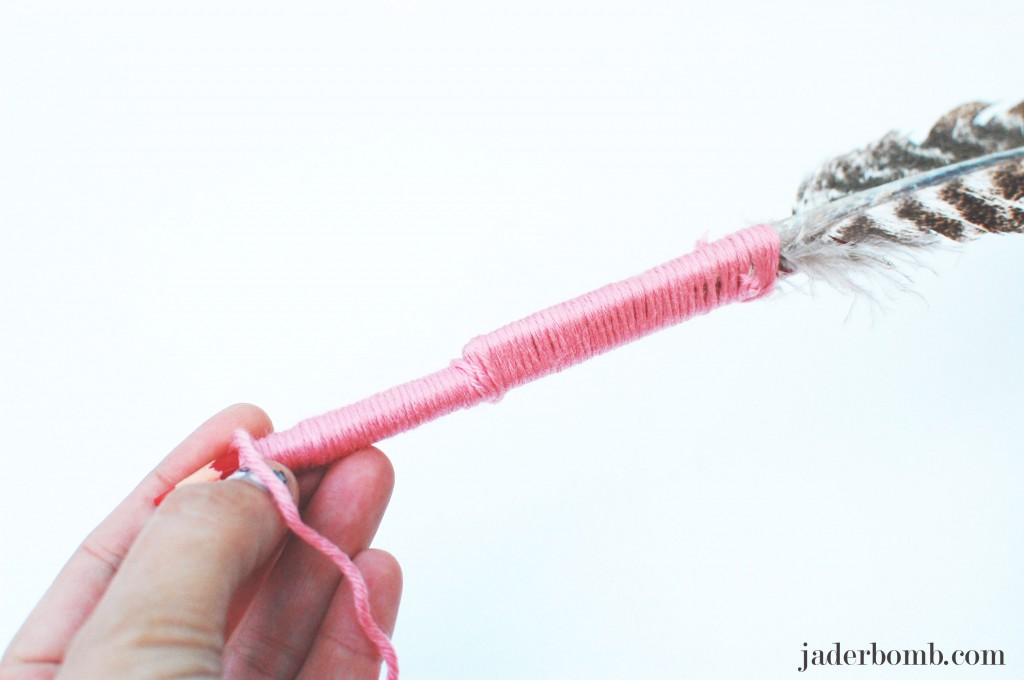
step oneMake sure when you get to the very bottom of the pencil you dab a little bit of hot glue to secure the end of the yarn. Once the glue is dry you can cut the yarn.


how-to-make-feather-pencils-jaderbomb


step one


how-to-make-feather-pencils-jaderbombI hope you enjoyed this tutorial! Make sure and check out all of Martha Stewart’s craft’s HERE. Check out other crafts being made by searching for #12monthsofmartha and #marthastewartcrafts on twitter.

See you in the next post!

jaderbomb

martha-stewart-jaderbomb-12-months-of-martha

Quote of the day:
No matter how many times you may spray paint, change wheels , clean , or customize a car to look different . It will always be the same. Same goes for people. Our appearances , actions and age may change .. But we will always be the same

Well what a day it has been already! Wait, it’s only 8:39 in the morning. Pfft. Does that ever happen to you? You wake up early and you have done more in the wee hours of the morning than a FULL day’s work. I actually love mornings like that because it makes for a great afternoon nap, hehe.

I couldn’t wait to show you this post because it was so much fun to make it. I love to spray paint EVERYTHING in my life. Depending in my “phase” I am going through. This is a little different than your normal spray painting. It’s “glass spray painting”. When I was sent this from Martha Stewart Crafts I was like… ERR MY GERRDDD, really! Just like your normal spray painting, it can leak and leave spots… only if you don’t practice before. It only took me about a minute before I figured out the pressure and how much comes out in one spray. I have not tried to OMBRE anything yet but I will, don’t cha worry.
Let’s get started!

You can click on the pictures to make them bigger if you like!

spray paint glass

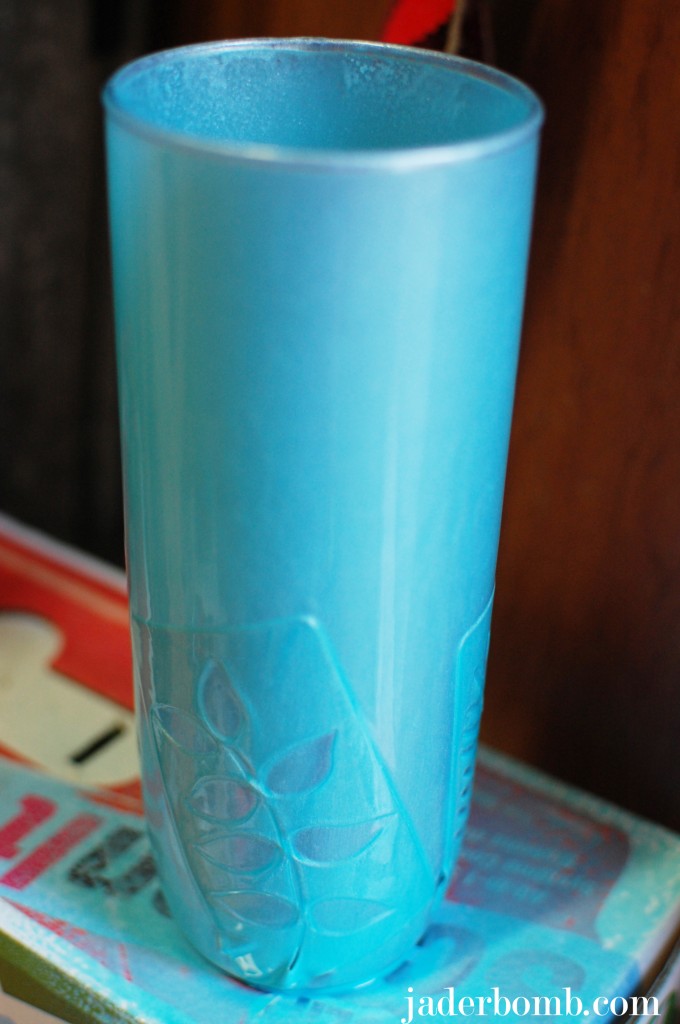
Up above is what we will be making today!

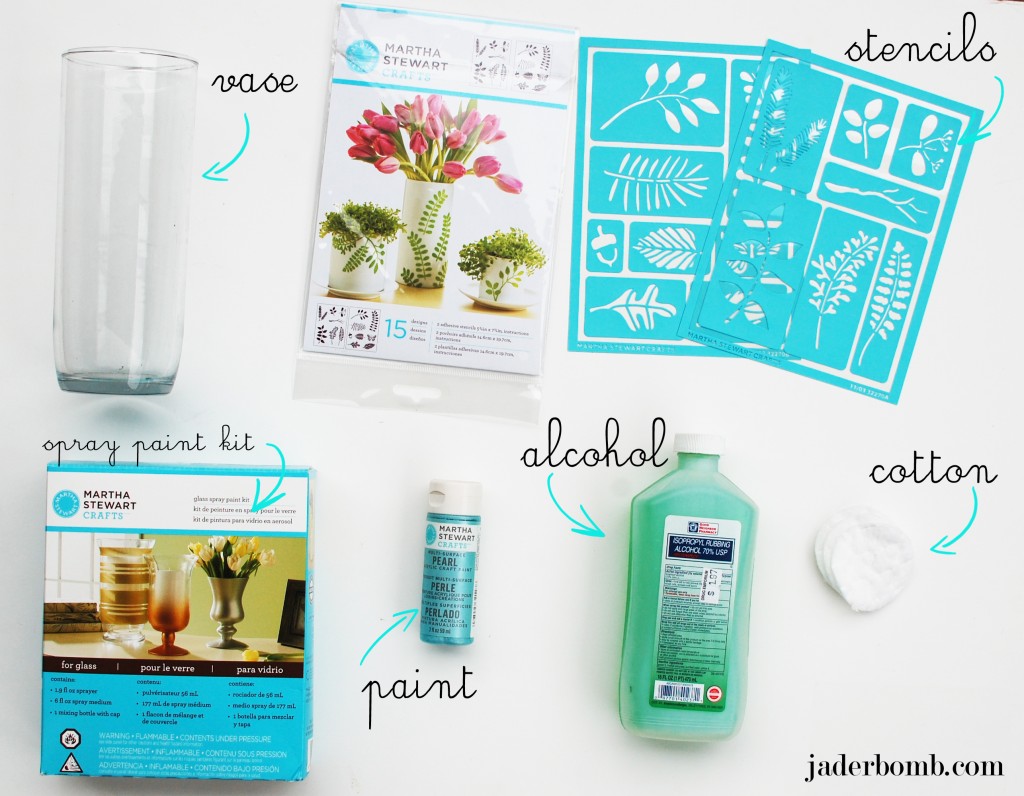
INGREDIENTS:

*Vase
*Martha Stewart Spray Paint Kit
* Alcohol
*Cotton
*Adhesive stencils from Martha Stewart, I used the one called LEAVES
*Martha Stewart Pearl Paint

FYI: You can purchase all of the materials from one spot by clicking on the links in the ingredients.  

spray_painted_vase_jaderbomb

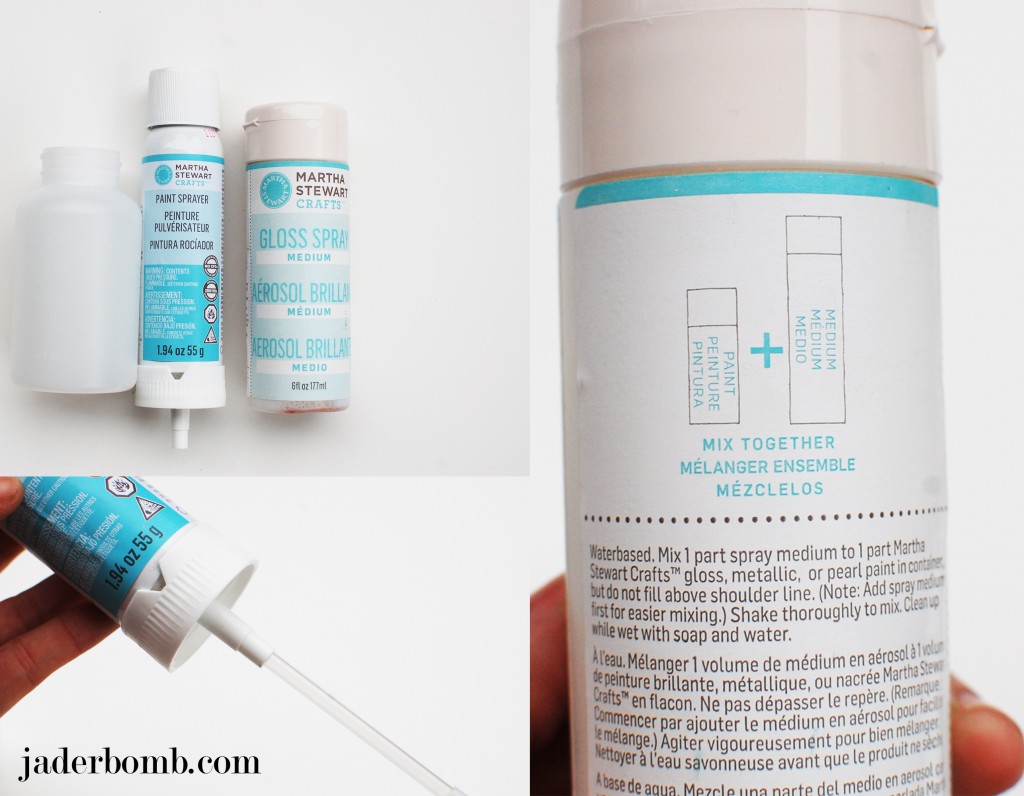
If you are painting on glass it’s important to use a gloss, metallic, or pearl paint. It works the best. Most of the other ingredients you may have floating around your house. Let’s get it started, y’all.

spray_painted_vase_jaderbomb

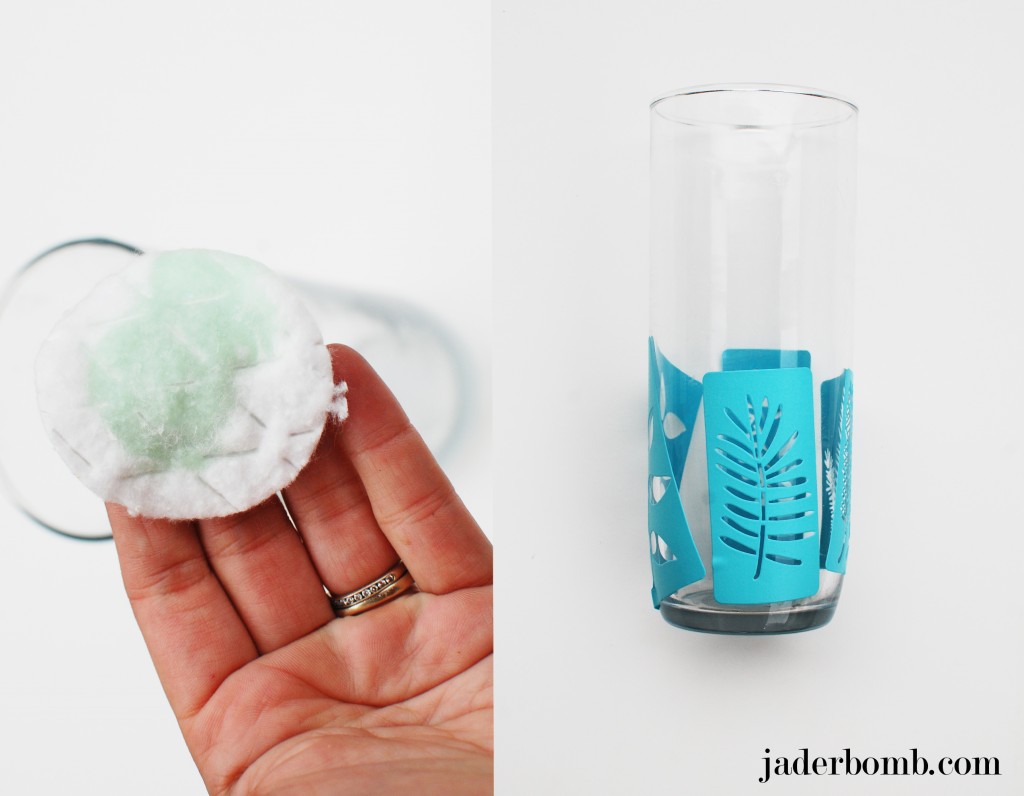
The first thing you will do is clean off your glass with alcohol and let it air dry. This will get off any oil residue that may be on the glass. Once it is completely dry stick your adhesive labels where you want them.

spray_painted_vase_jaderbomb

When you get your kit it will come with a few things. The first thing you will need to do is take the clear plastic tube and connect it to the bottom of the spray can. I put a picture above so you can visually see what I mean. Next we will mix our paint in the container. Notice on the back of the gloss spray medium it says to mix 1 part medium to 1 part gloss, metallic, or pearl paint. They have lines on the container so you can measure correctly. Lightly swirl the paint and medium (BEFORE) you attach but do NOT shake. You don’t want to create bubbles inside.

spray_painted_vase_jaderbomb

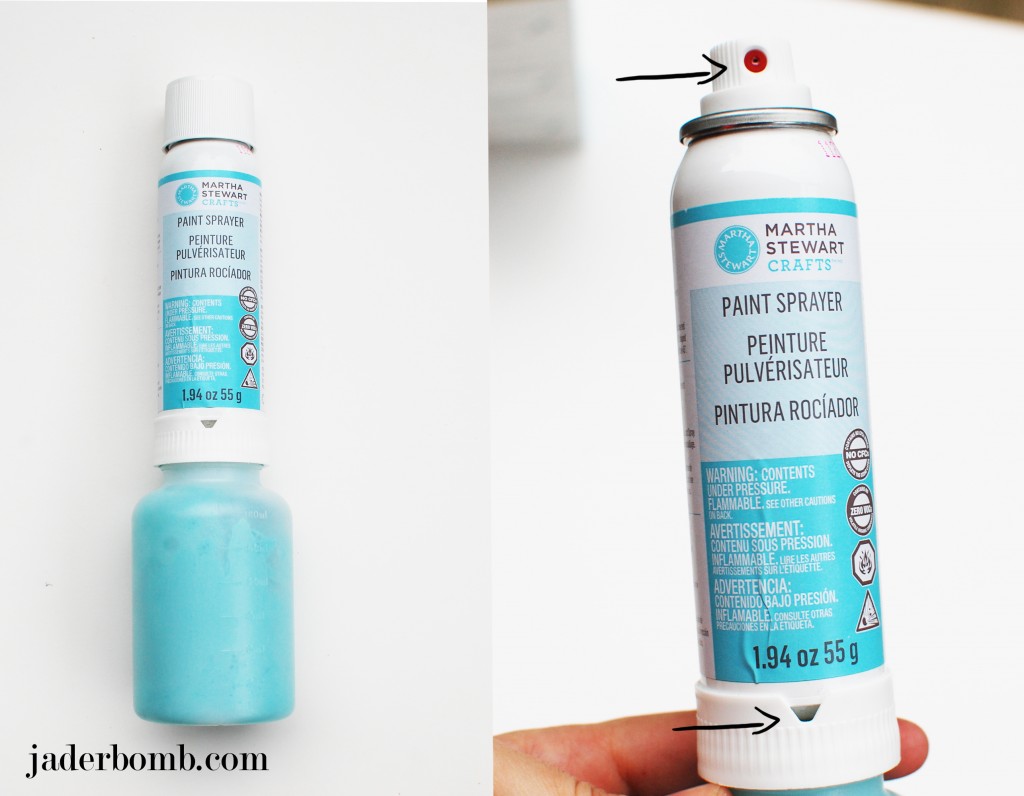
You will now just screw the container onto the spray can. The most IMPORTANT thing ever is to line up the  red nozzle with the little opening at the bottom of the can. If this is not lined up it will not spray.

spray_painted_vase_jaderbomb

Make sure you are in a well ventilated spot before you start spraying. You want to add a light coat and let it dry, repeat until you are happy with the look. I coated mine as much as I could. I didn’t want to see through the vase at all.  If you notice on my stencils they have the image that is cut out and around it it looks like a rectangle. The reason why I spray painted it this way is because I knew I wanted to see the water in some spots so I created a blocked print with the stencil.

spray_painted_vase_jaderbomb

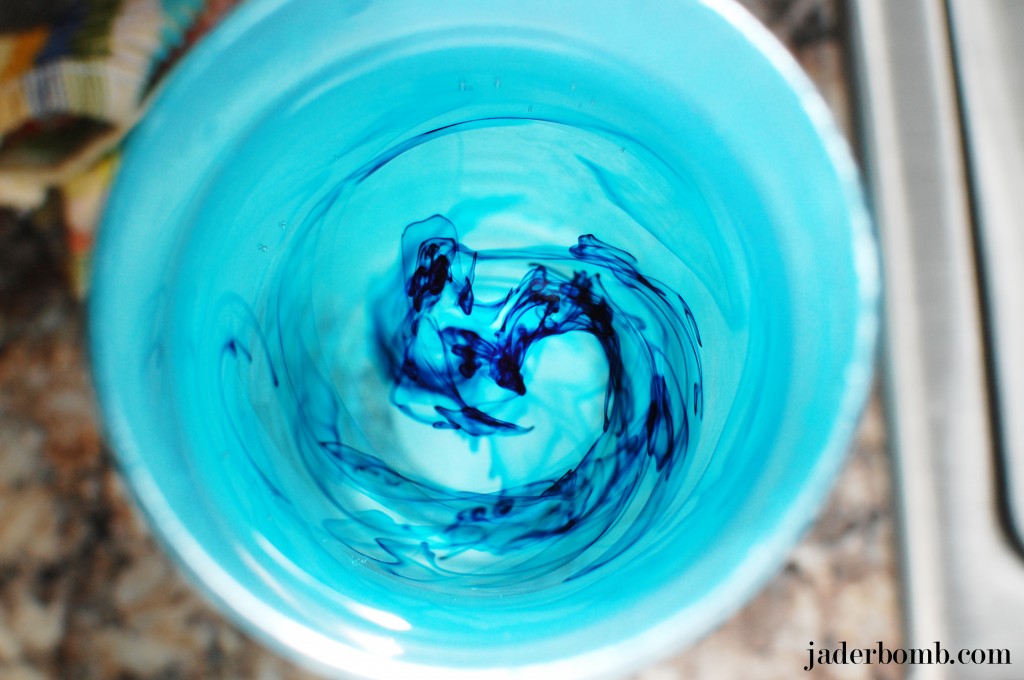
When I was done I added water, then a little food coloring ( to spice up my water) then added some pretty tulips. You can add any color you want which makes it super fun. If you stick this baby in a window you will just stare at it for about 16 minutes strait. Fa REEL!
Remember these tulips?

Well, I hope you enjoy this tutorial as much as I did! Huge glitterbomb hugs from me to you!

jaderbomb.com

Good day my little jaderbugs~!!!!
It is Sunday and I am super duper excited!!! I have had a great week and I have alot of crafts coming up that you will LOVE LOVE LOVE!!!! Fa Reel!!!
Can you believe WOMAN’S DAY magazine LIKED this craft on Pinterest!!! Check it our here!
This craft is SUPER fun and SURE to catch anyone’s eye!
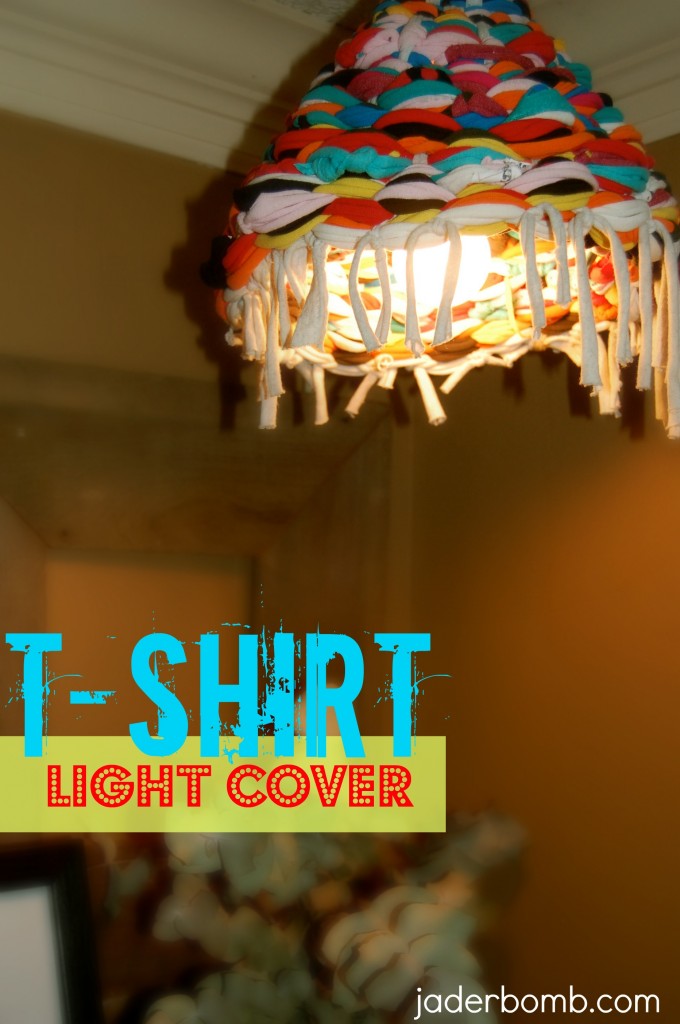
For the warp, cut 1-inch-wide loops from the bodies of one or two tees removing the hem and stopping at the sleeves.
You’ll need a total of 11 loops (to start off with). For the weft, cut at least 50 loops from the remaining shirts. Save the unused sleeves for the basket project.
-Stretch one warp loop over the hula hoop, as shown above in the second picture. Add and secure a second loop, perpendicular to the first (above, third picture).  Repeat, filling in the spaces, until all 11 loops are in place (above, fourth picture)
-Push together two warp loops at the top of the hula hoop. This creates an odd number (10) of warp spokes in your wheel, which allows the over-under pattern of the weft to alternate with each new row.
-Now that you have 10 loops grab an extra t-shirt loop wrap it around the double spoke and loop it back through itself. Begin weaving the t-shirt loop over and under the warp spokes, forming a tight spiral.
 Treat both parts of each warp spoke as a single unit, weaving over or under the two together. As you work, push the weft material (t-shirt) loop toward the center of the hoop and keep it just snug. If you pull the weft tight, the rug will develop lumps or bends. When you reach the end of the piece of weft, add a new loop by threading it through the end of the first and back through itself.
Keep repeating this process till you are happy with the size.
It might take a little practice until you get comfortable with it.
Remember, in order to get this “cone” shape you will need to make it tight. So when you are weaving over and under your original 10 loops make sure it’s snug as a bug.
It’s really more important that you make it snug when you first start till about halfway. When you are about halfway through it start making it looser and looser. This will form our SHAPE.
When you are done you will ut the warp spokes off the hoop one at a time and then tie them into a know. This will prevent out cover from unraveling. GOOD LUCK!!!

Wanna visit me? Come on!!!

ETSY,PINTEREST,FACBOOK,

GOOGLE+,TWEET ME

Happy FRIDAY Jaderbugs! Such a long week! But I wouldn’t change a second of every second. So you know I am always looking for ways to save money! I will go to the end of the earth and find the cheapest way. Which is what I did today (except I didn’t go to the ends of the earth today)… I just went in my craft closet!!! Your gonna flip when you see this craft, ONLY because these suckers are so expensive in the stores!

I always have an excuse for buying things that SMELL good. For about 3 years now me and seester would always send pictures back and forth of the “new” glade sprays. One of us was always SURE the “OTHER” didn’t know about it yet. The “other” one had already bought it. ((womp womp wompppp))

Things have somewhat changed for me in the last  6 months. For some strange reason I am worried about breathing in all of the chemicals in the sprays. Right? It’s like hey, we know you don’t do drugs but why don’t you spray this spray in your house about… um 50 times in one day because you can’t help yourself and we know you are COMPULSIVE and we promise you will become SO high from the “chemicals” you won’t know what’s REALLY going on. OK. So it worked.

Then I thought… why don’t I just start buying REAL flowers and have a natural smell OR use essential oils (natural)…. I mean let me just say this.  I realize I will sometimes buy things that are not OH SO GOOD for me to inhale (like my addiction to Bath and Body Works, Statin and Co. candles) but I at least TRY my hardest now.

Wouldn’t it be so nice if this was my backyard!
We could just walk outside and pick whatever flowers we wanted and “VOILA”…..OH Natureeeellllllll is in the HOUSEEE

Check out more of these fabulous flowers here.

I thought is was smart to make my own Reed Diffuser. Whatcha think! Let’s get started!

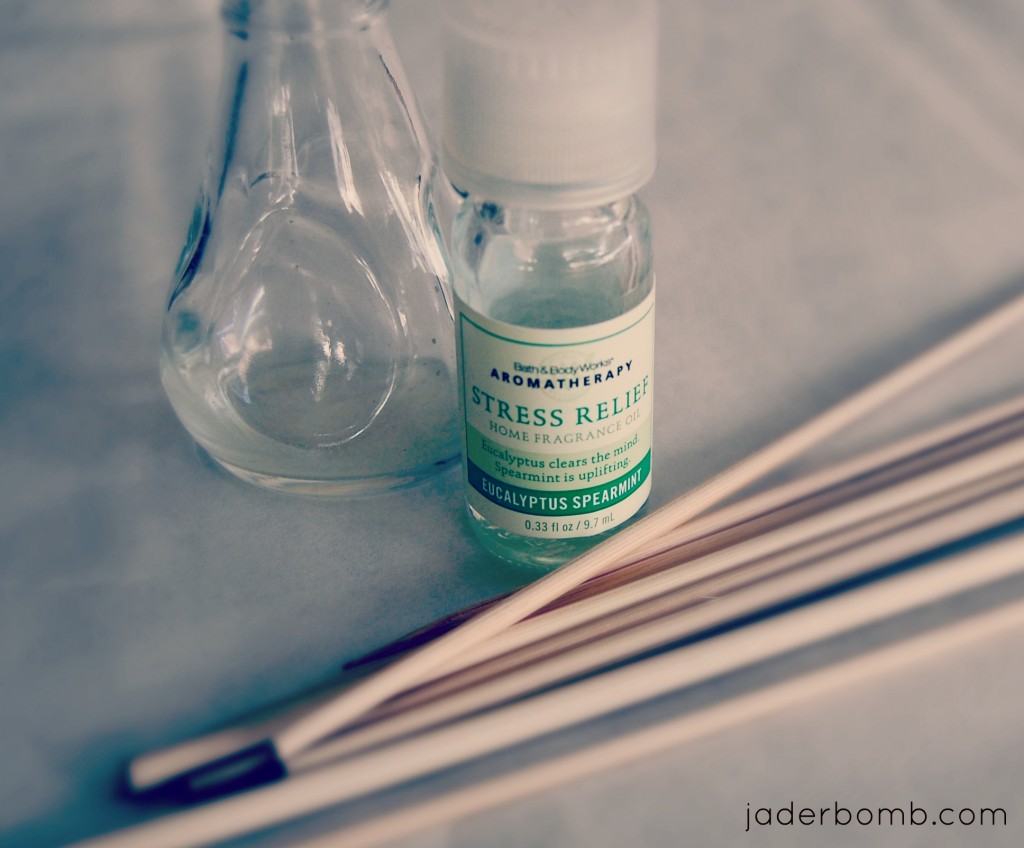
You will need some bamboo skewers, a small glass vase, water and whatever oil you want.

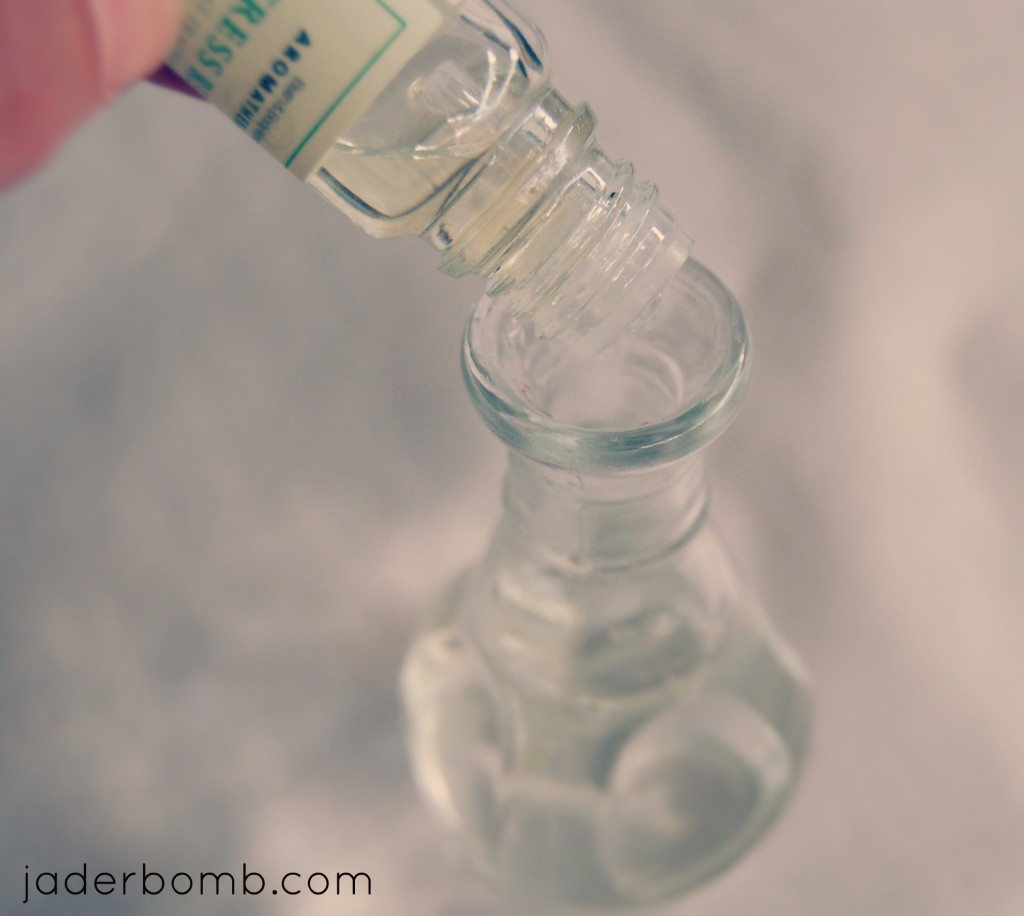
Pour some water in your glass vase, you want to fill it about 3/4 full. Add ass many drop of your oil as you want. I like to put ALOT!! {{{go figure}}}

Put your bamboo skewers in your vase and there ya have it! Your very own REED DIFFUSER! How simple was that!
I added a strip of fabric to BRIGHTEN up my diffuser. It smells so good people! Dont’ forget to turn your skewers upside down so the “oil filled side” sticks up. Just flip flop the skewers when you place your eyes on it!

I hope you have fun making YOUR OWN scents and dont’ forget to “SMELL THE FLOWERS”

Don’t forget about my giveaway I am doing on my blog right now. It is open until Sunday! Click here to sign up for the FREE Mother’s Day BUD VASE!  

Wanna visit me? Come on!!!
ETSY, PINTEREST,FACBOOK,GOOGLE+,TWEET ME


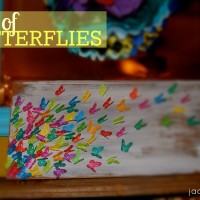
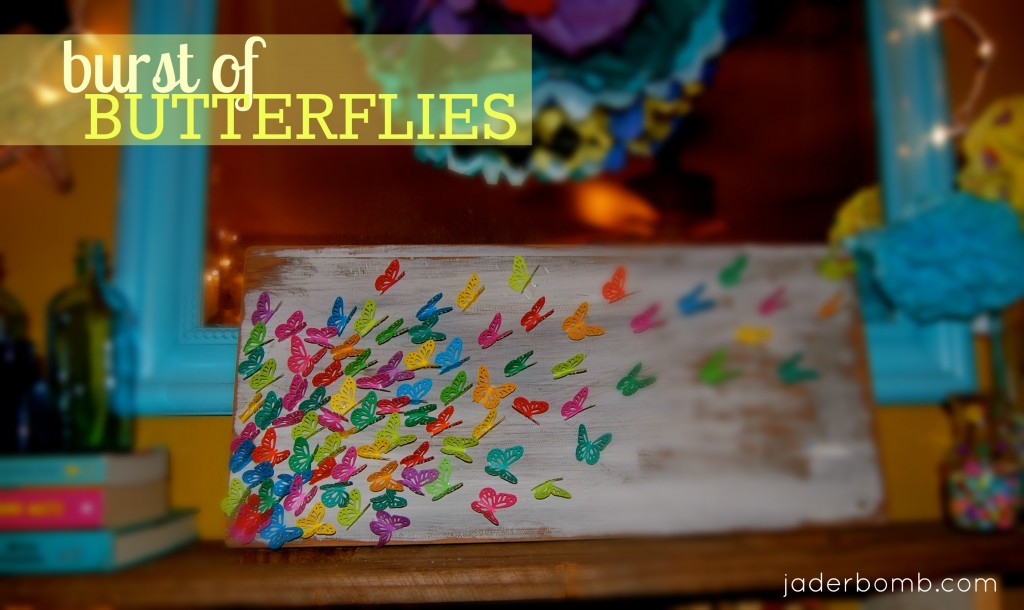
Burst of BUTTERFLIES TUTORIAL

Howdy roo Jaderbugs! It’s Saturday and I have so much stuff to do my brain is like
“oh my lawdddddd who do you think I am”…
and I am like…
“hellooo your my brain your supposed to work overtime”…..
and then out of anger my brain is like….
” well how bout this.. “I’m off for the night, good luck finding a new brain”
There you have it. It’s going to be that kind of day!

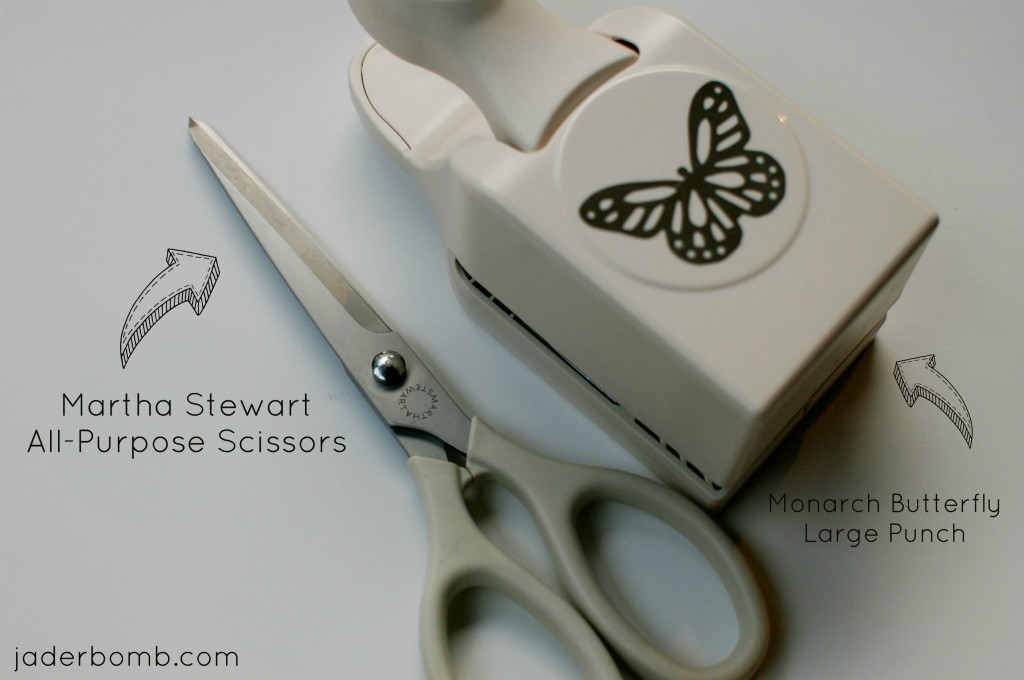
But lemme tell you about this tutorial. So you know I love “MARTHA STEWART” (((really Jaderbomb,we know))). All of her punches are fabulous. I swear they punch out PERFECTLY and you would think they would go bad after um, 500 punches but NO! I think it actually get’s better! It’s springtime and I thought it was the right time to do a butterfly craft! This would look great in a little girl’s room. There is something whimsical and magical about a butterfly. I always seem to “relate” to them.
{{real or fake}}

Let’s get started.

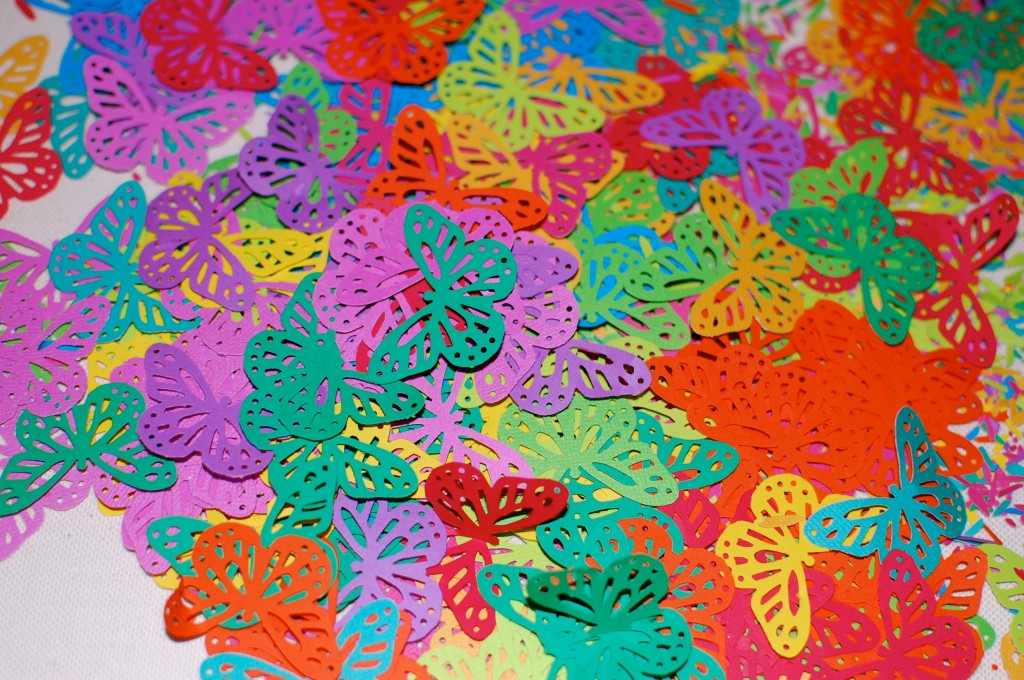
Monarch Butterfly Large Double Punch
Scissor All Purpose

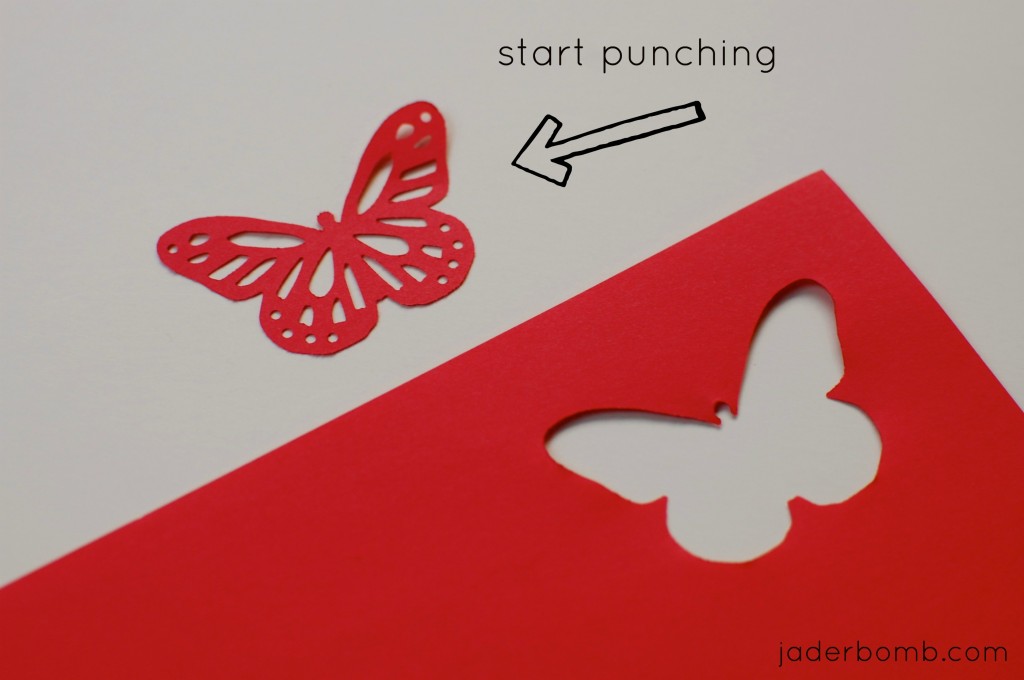
Do you see how perfect!!

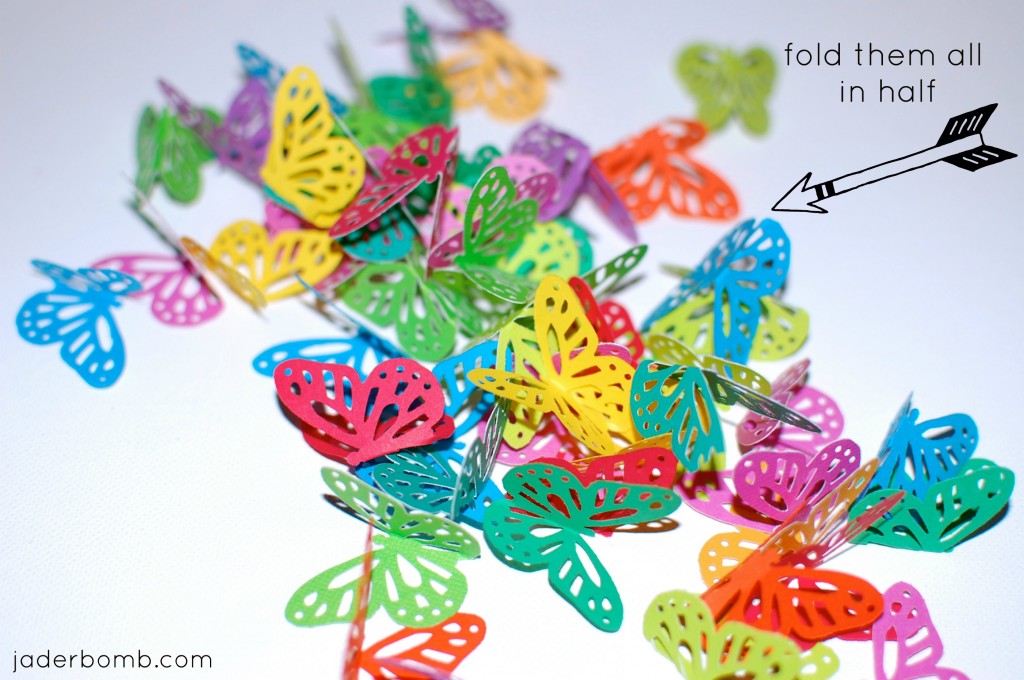
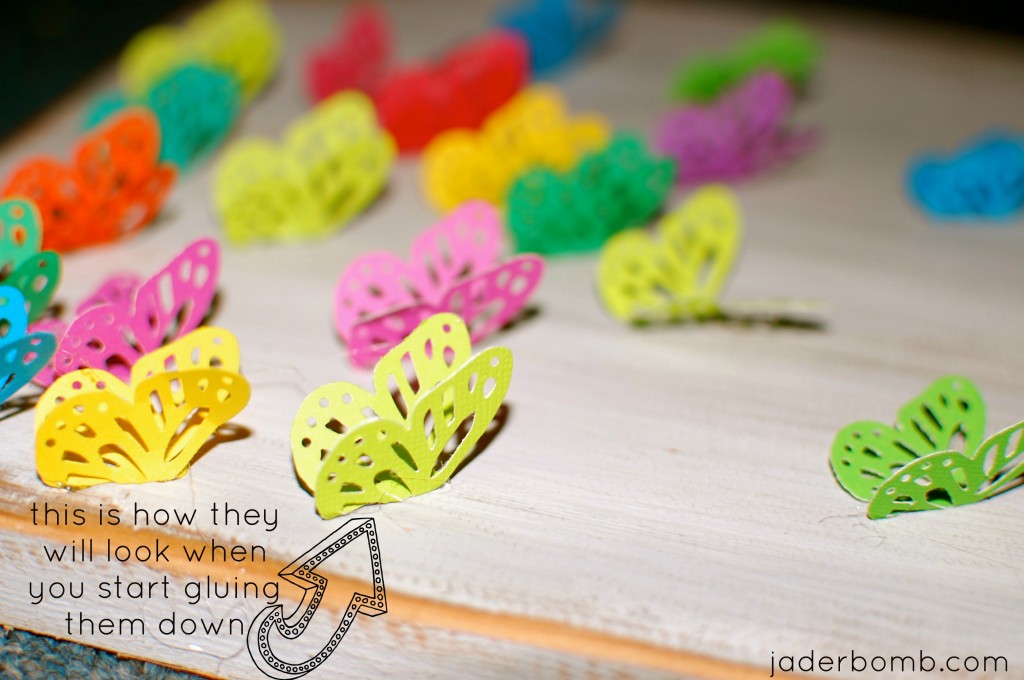
Once you get them all punched out you need to bend them all in half. This will make them look like they are flying!

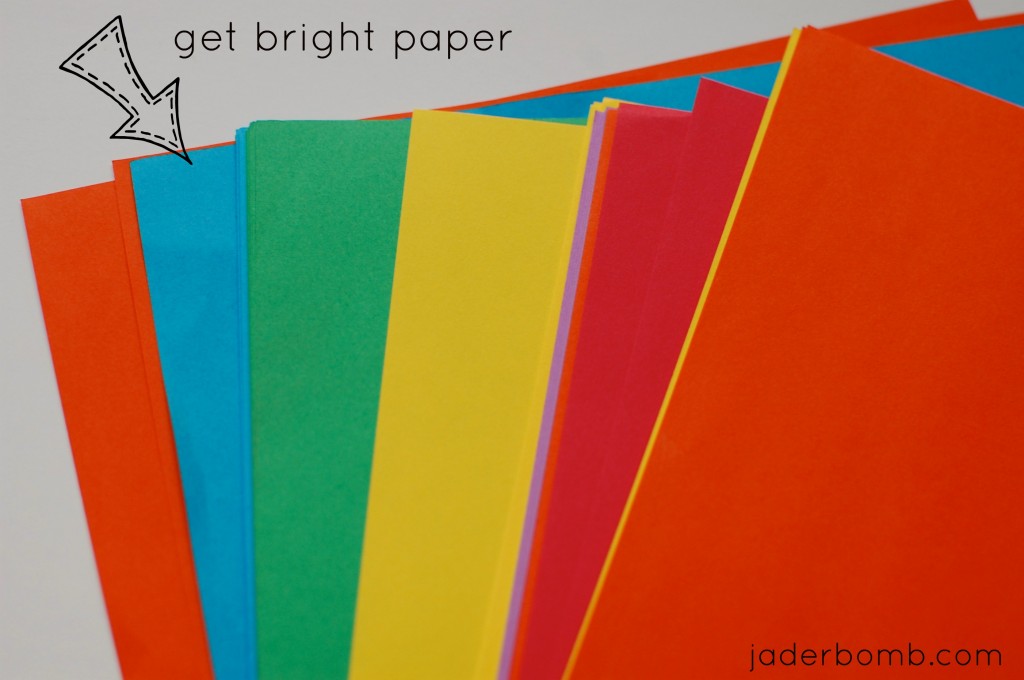
There you have it! You very own BURST of BUTTERFLIES!!!! The great thing about this project is that you can make all of the butterflies one certain color or you can use your favorite two colors. It’s all up to you! You can use glitter paper, paper with designs on them, or construction paper! This makes it very affordable.

 If you really want you can punch out of loose leaf paper and color them or use markers to add details! See, there are SO MANY things you can do with these magical babies!

Sending you butterflies from all over the world,

PINTEREST , TWEET ME, FACEBOOK MEH

Mirror Mirror on the WALL…..STRINGS OF MIRROR’S for your garden tutorial

Mirror Mirror on the Wall who’s the best blogger of them ALL…. {{{teeheheheh}}}

I just had to, I mean it was calling my name don’t cha think! I remember when I was a little girl singing that song standing on my little stool in the bathroom. I never had ANYONE talk back to me in the mirror except myself! (imagine that)

Maybe the mirror we are crafting with today will deliver the message! {{{fingers crossed people}}}

So, one day I was driving down the road and saw tons of reflections all over the ground!!! I was like…EYYYY get out of my EYEBALLS!!!!  I mean, I wasn’t sure If I wanted them gone because they were hurting my eyeballs or because I loved them so much! Who cares, I just knew I loved how pretty it looked!

Then I got a sneak peek at what was making all of this “wonderful-ness” happen. It was strings of “mirror’s” hanging from a tree. Right! I am totally cool with looking at myself in a mirror while pulling weeds. JS.
Let me remind you that the day this happened was about……10 years ago. Since then I have been making STRINGS OF MIRROR’S. Everyone that comes to our house LOVES them and wants me to make 25 billion of them for their house!! (hahaha)

I have them EVERYWHERE! It is the prettiest thing ever and I am sure you will love them also! It’s hard to get a good picture of them because they are always moving around (so sorry in advance). Let’s get started!
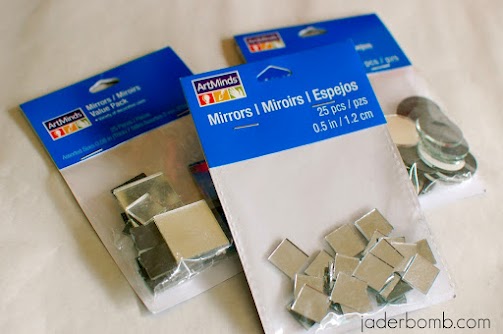
Each pack of these babies cost around $1.00. There’s 25 in each pack and that is PLENTY to make one string. I picked these up at Michael’s Art’s and Crafts.  {Be careful because sometimes there’s little shards of glass at the bottom of the bag, so maybe wear gloves to protect your hands}
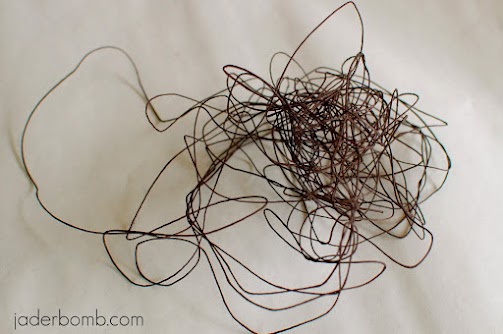
I used some random string I found in my studio. I am not sure the name brand but it is very thin and brown. I think I bought it from Wal-Mart in a pack of four colors. I think. What REALLY works the best is fishing string but I could not find any. However ANY string will work.

The first thing you will do is get your hot glue gun add a dab of glue to one mini mirror. Put the string in the middle of the glue then hurry and place another piece of mirror right on top. This will secure the mirror. You now have the first one done and the goal is to do the same thing down the string till you are out of little mirror’s.
OH, I used my Martha Stewart crafts glue gun and sticks. This really is the best glue gun ever!
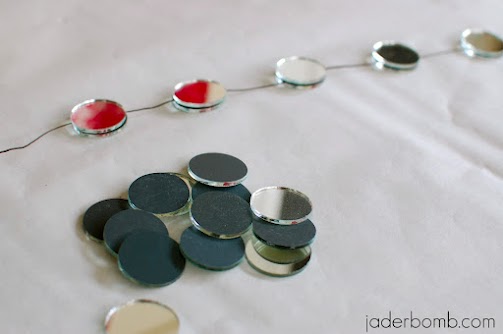
It’s coming together!!!! I mean you can “mirror mirror” all day long with these babies!

I tied the string around a key ring on one end and this makes it easy to hang with. You can totally use anything else but this is very secure! Or you can do like I did yesterday and HOT GLUE my string to the TREE because I ran out of key rings. YES, I HOT GLUED IT TO MY TREE.
((who does that?)

This is my little square pieces. It is much longer than this but it’s hard to tell in the picture. I tried to take a picture where you can see the whole thing but it made it hard to focus on the mirror’s.
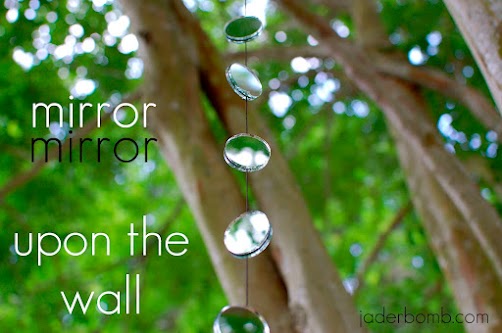
How pretty is this! It’s like a party in your eyes when you see them. Early in the morning when the sun is coming up there are a billion reflections all over my yard shining on my beautiful flowers and all over my house. I can’t even explain how pretty it is. Just wait till you see them going nuts when the sun is going down. It’s redonk-u-lous. I swear!

So if you know me then you know “sometimes” I forget to water my plants. I usually remember when I look at them and they are dead! (((hahahaha))). I swore this summer I would nurse my plants. So far it’s working. Here is some plant I have hanging outside. See I am doing a good job! Turns out I have a green thumb… so far.
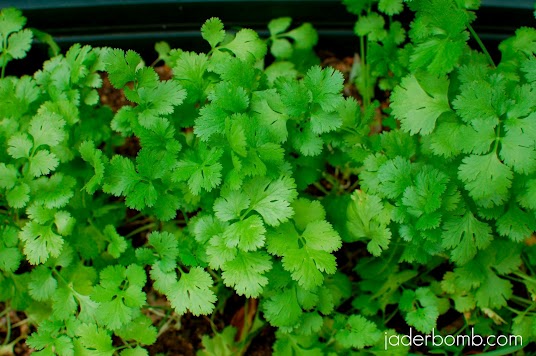
Check out my CILANTRO! It’s so pretty and FULL. I can’t wait to make homemade enchiladas with them!! ( recipe to c0me)
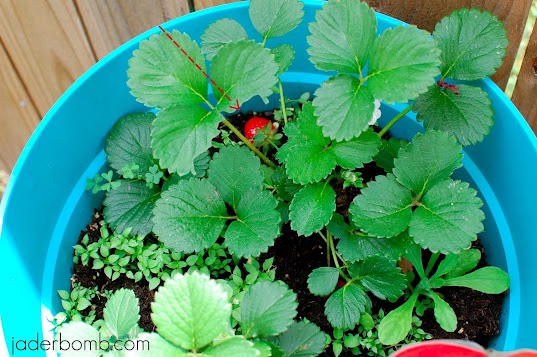
This  here is my ONE strawberry. I am sure someone out there will say “hey….this girl stinks at gardening with all her weeds in her strawberries”… You are right. They prolly don’t belong in there with the beautiful strawberries but don’t you remember me saying I usually kill things. These weeds do NOT bother me. Ya know, if I pull them they will prolly die. That is not gonna happen.
Well Jaderbugs, I hope you had fun coming to my house for a little while! Just close your eyes and picture TONS of mirror reflections hanging all over, fresh cilantro in the air, pretty red strawberries in a pot full of weeds, enigma playing, nagchampa flowing through the air and me serving you a glass of sweet tea. Yeah, I think I will close my eyes and pretend I am there with you.

See you later on!!