Tag Archives: plaid crafts

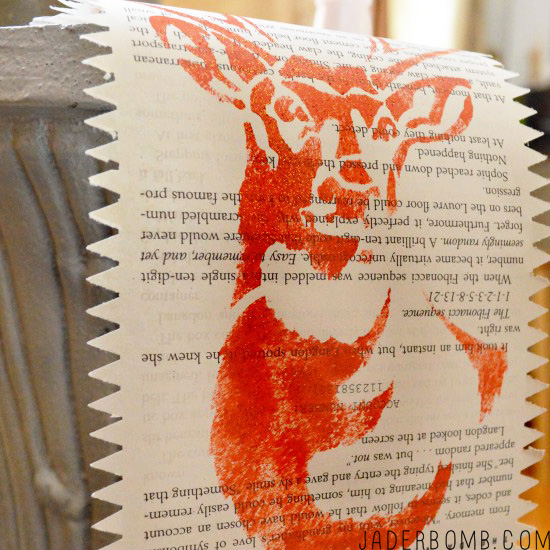
Today we are getting all urban country making a Stencil 1– Deer Stencil Table Liner using my best friend Ed Roth’s banging stencil line.

Check out these rainbow coasters I made using some of his stencils with Plaid! OH WAIT: Check out this ginormous yarn bombed deer that will stare at you till you are blue in the face. Literally.

Ed Roth Stencil 1_jaderbomb

Not only does he have the cutest face on the planet but he gives the best hugs in the world.

Now if you know me then you know I live in the South, specifically Louisiana which means everyone here loves a good deer in their life. I sometimes pretend I am living in New York with the sounds of horrific traffic in the background and the only chance I will see any deer is by using a stencil like this. I guess I’m not the kinda girl who likes to eat them or hang them on my wall as “decor” but more power to those that do. Today I am showing you how to use this stencil in a spectacular way. So put on your boots because we about to get COUNTRY, urban country that is. On another note check out this business that really is called “Urban Country”. It’s legit.


 Stencil1 has collaborated on DIY events with high-profile brands, like The Gap, Converse, Sharpie, and Etsy, to engage their customers and grow their base through interactive, creative, hands-on experience. Ed is an engaging host who knows his stuff and is equally comfortable in front of a crowd and a camera.
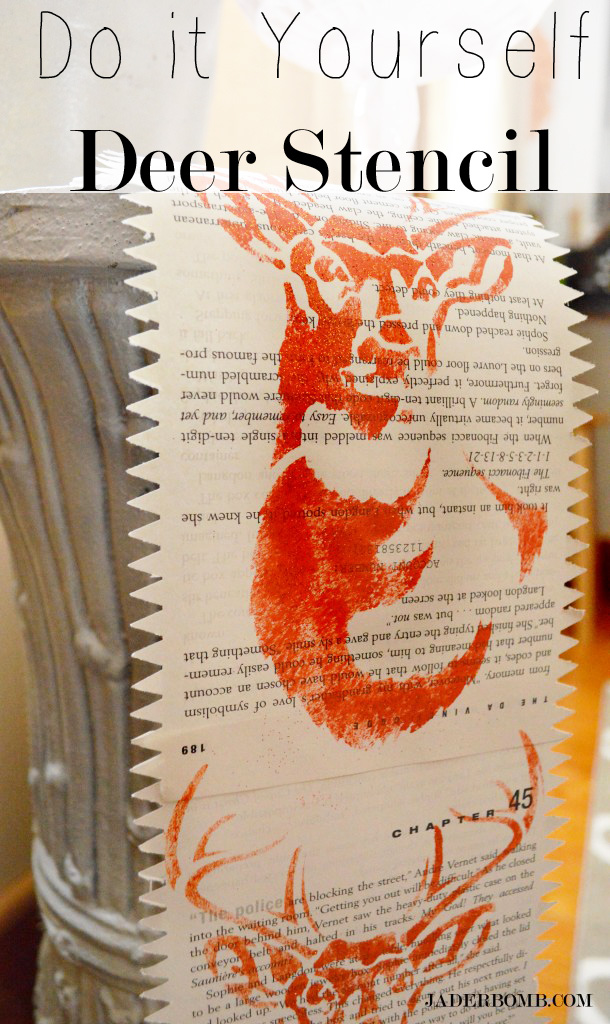
Stencil 1- Deer Stencil Table Liner

YOUWILLNEEDEd Roth Deer Stencil // Book // Craft Paint // Glitter // Craft Knife // Scissors // Tape // Pouncer // Fiskars Paper Punch
DSC_0015
Step ONE: 
Tear out a few pages from a book. You can use any book that you have laying around but for some reason I always crafts with pages from Twilight. I guess I am still a die hard fan. Yes. I still dream of turning into diamonds like Edward did. Go ahead, judge.

You can rip the pages out or use your crafting knife to get a nice fine line. If you don’t have one just grab your trusty pair of scissors.

Step TWO: Get your paper punch and punch those pages till they can’t be punched anymore. Notice I am only doing the sides of the sheet. It’s kinda like edging your hairline or your yard. I think. I don’t edge either of those so it’s just a guess.

Step THREE: Line the pages up on top of each other and tape them down on the back side.
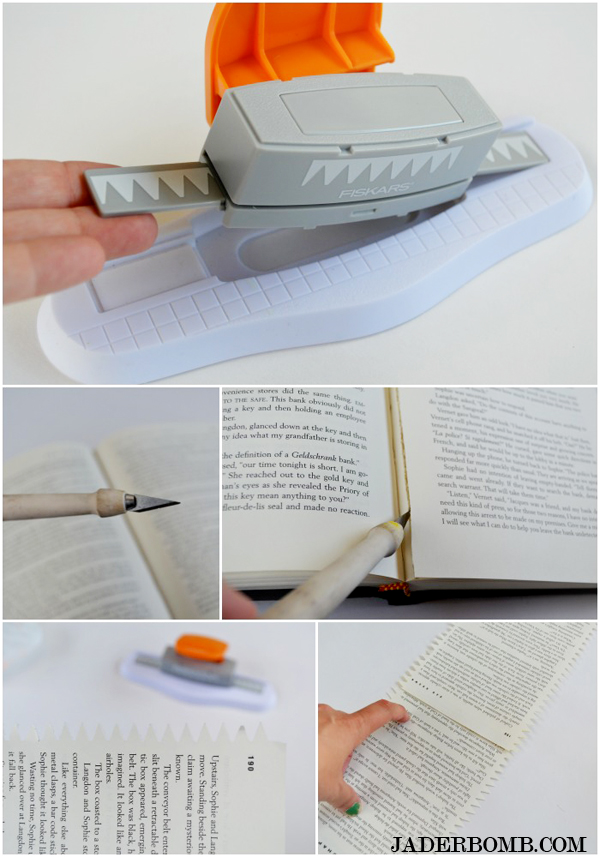
book page paper punch
Step FOUR: Grab your deer stencil and place it on the bottom of your “book sheet table liner”. Grab your dauber and pounce your little heart out with your color of choice.Continue doing this until your get to the end of your liner.  I liked the masculine look of orange or I just thought it’s was sorta “Urban Country” looking. While your paint is still wet sprinkle a little bit of glitter on top and let it dry till the cows come home. That is about 20 minutes.

Or if you are impatient like me you could blow dry that baby.
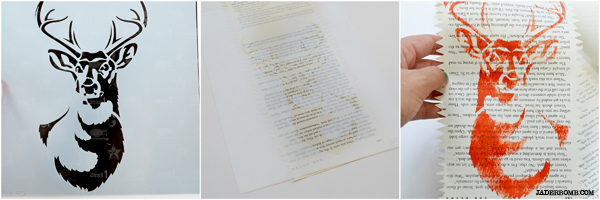
book page table runner deer head stencil

craftgawker1

Note cards are always fun to make which is why you have to see what I made on some precious rainbow cards!

Don’t forget to connect on social media! Make sure to use use the hashtag #JADERBOMB and you might see your stuff on Instagram or Twitter or Facebookor Pinterest.
HAVE A GLITTERY DAY! ♥, Jade

HASHTAG LOGO


Remember a while back when I told you about my bestie Ed Roth and his new product line coming out this year? I am so excited to show you an exclusive sneak peek of the new Stencil1 collection. I am pretty much in love with the entire collection and I am positive you will too! OH, and if you like rainbow things check out my rainbow crafts.
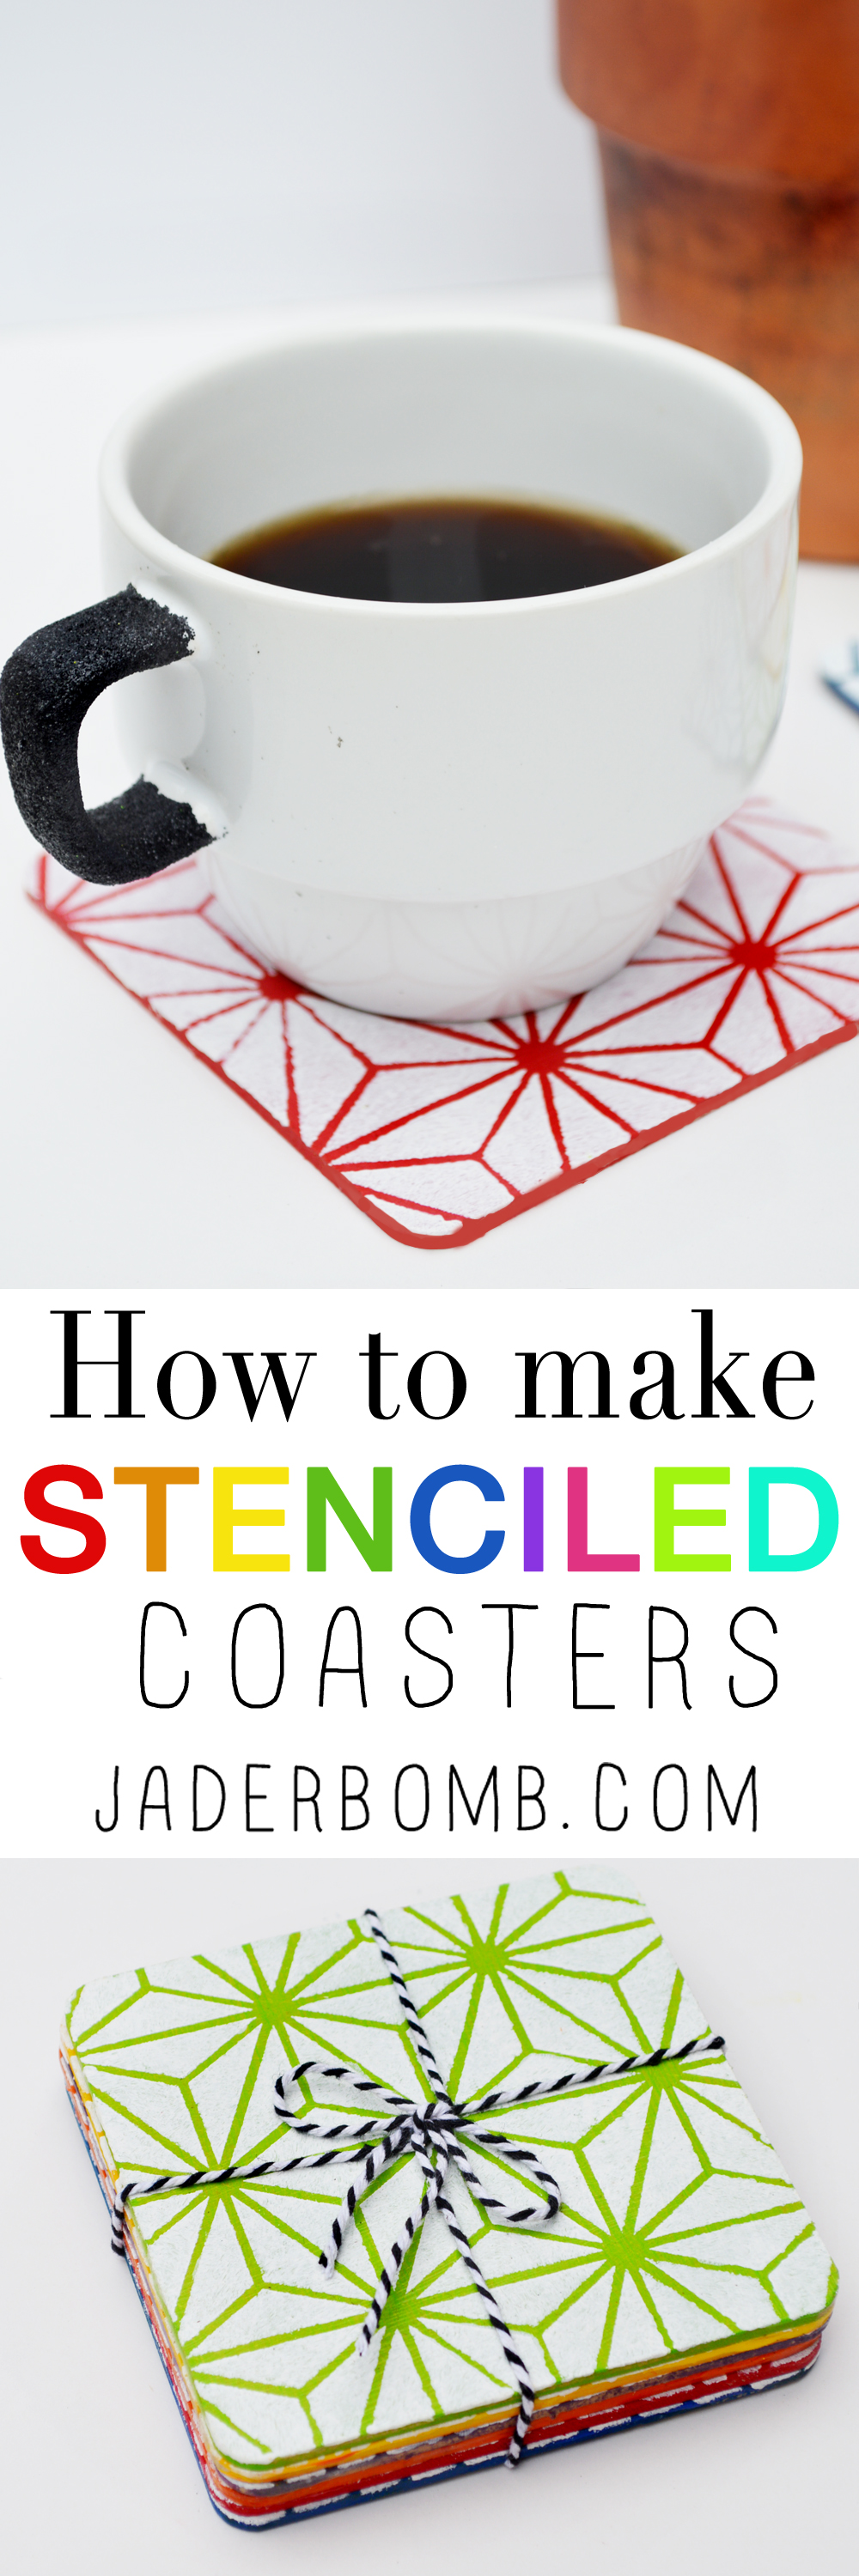
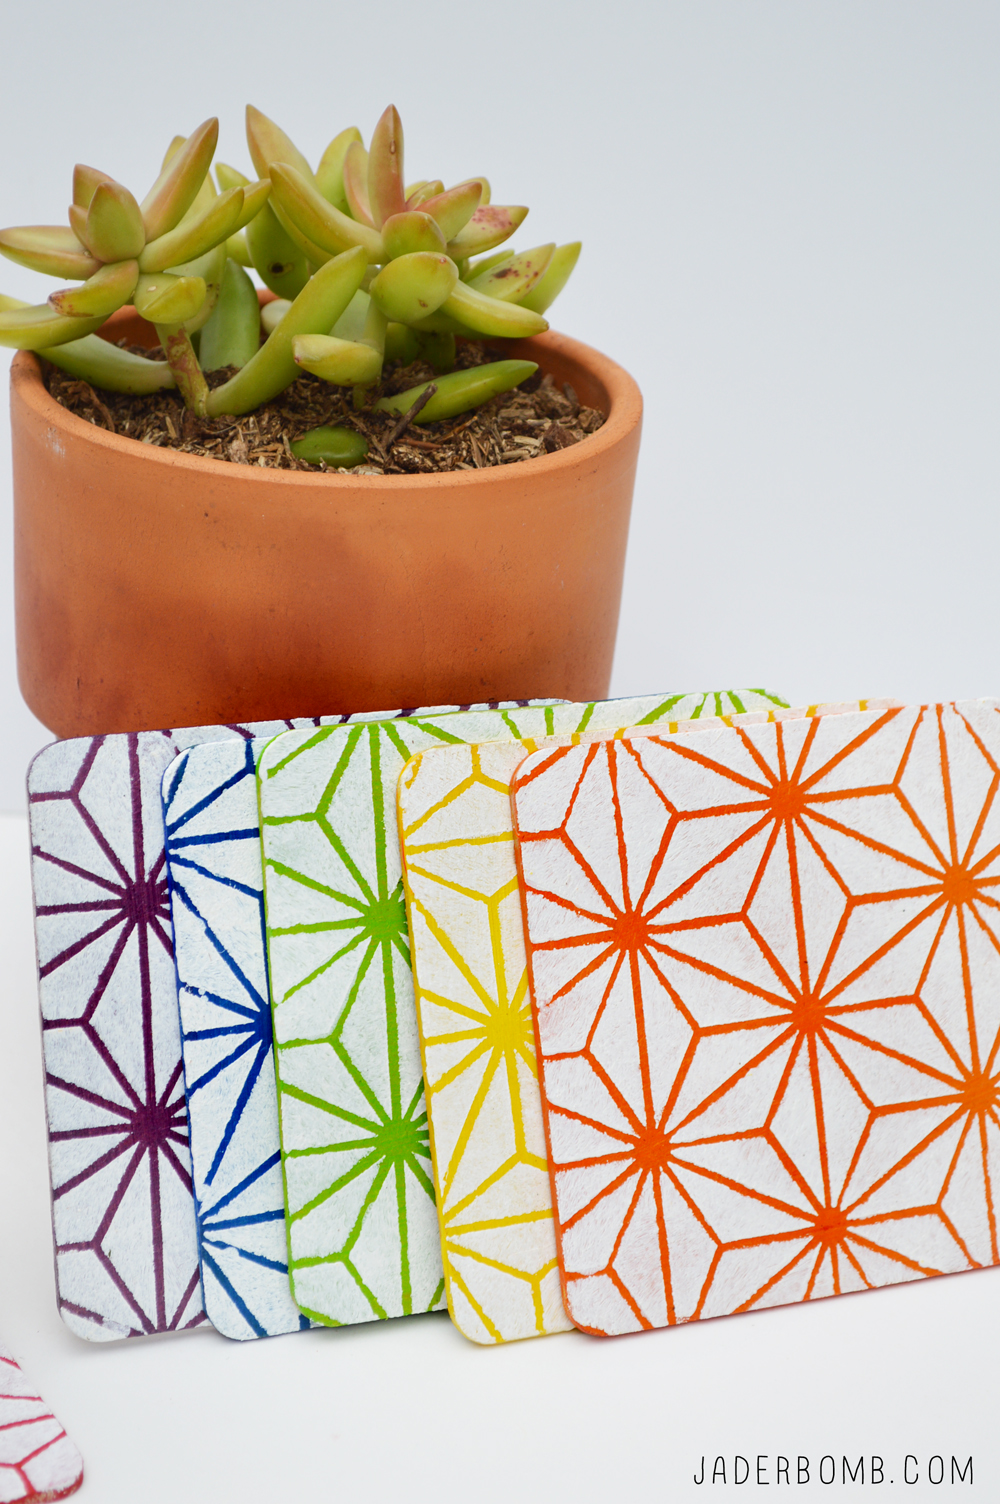
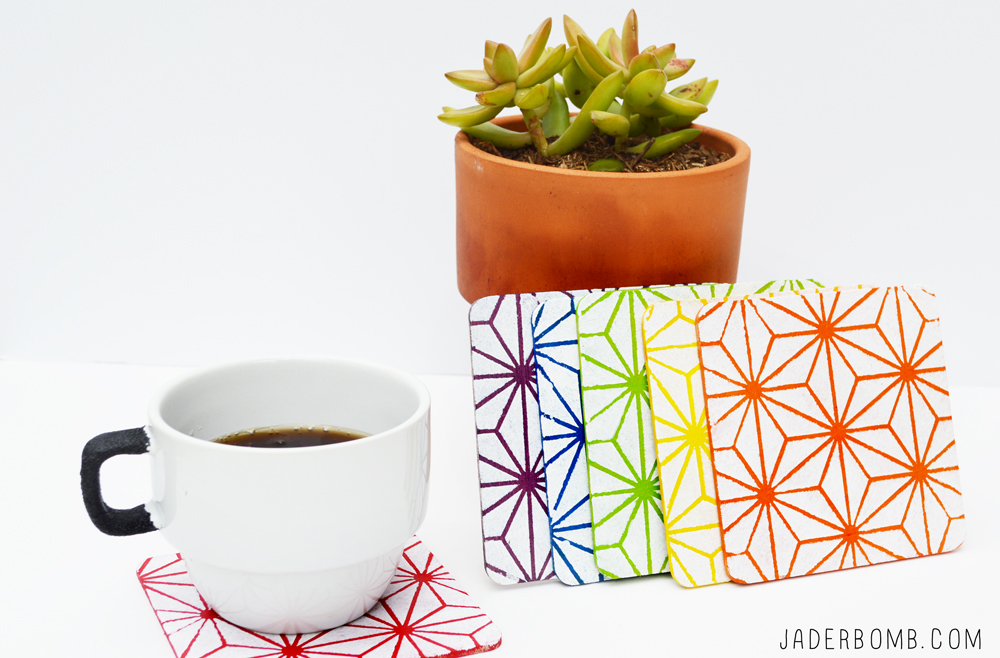
Today I will show you how to create your own stenciled coasters. These are super easy and so affordable you can make them for everyone you know!
Let’s get startedBIG PICTURE FOR SITE AND PINTEREST

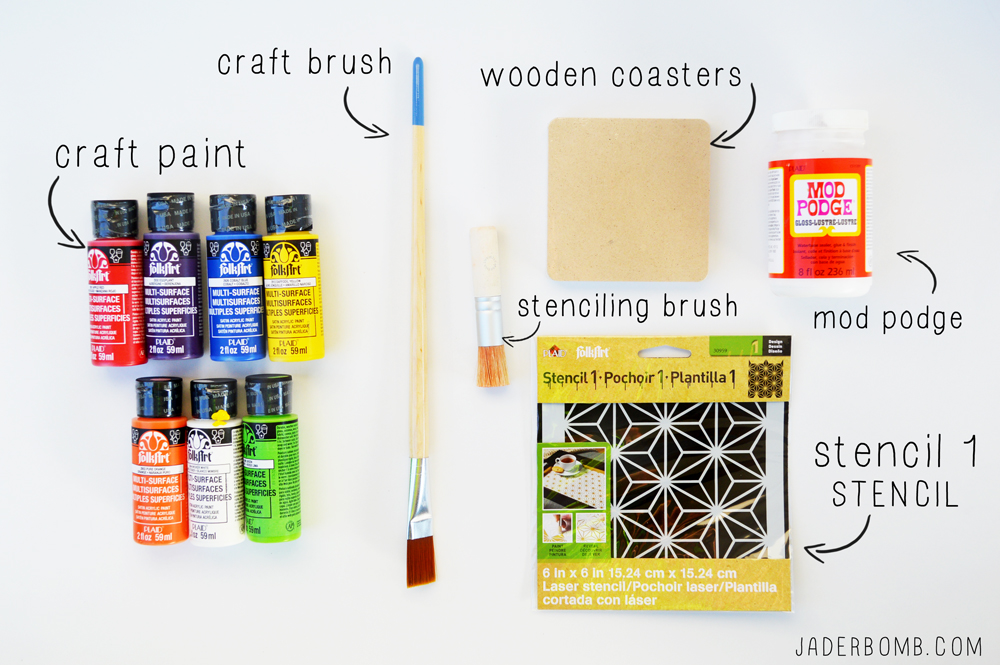
You will need:
Craft Paint | Craft Brush | Wooden Coasters | Mod Podge | Stenciling brush/ pouncer | Adhesive Spray |  Stencil 1 Stencil

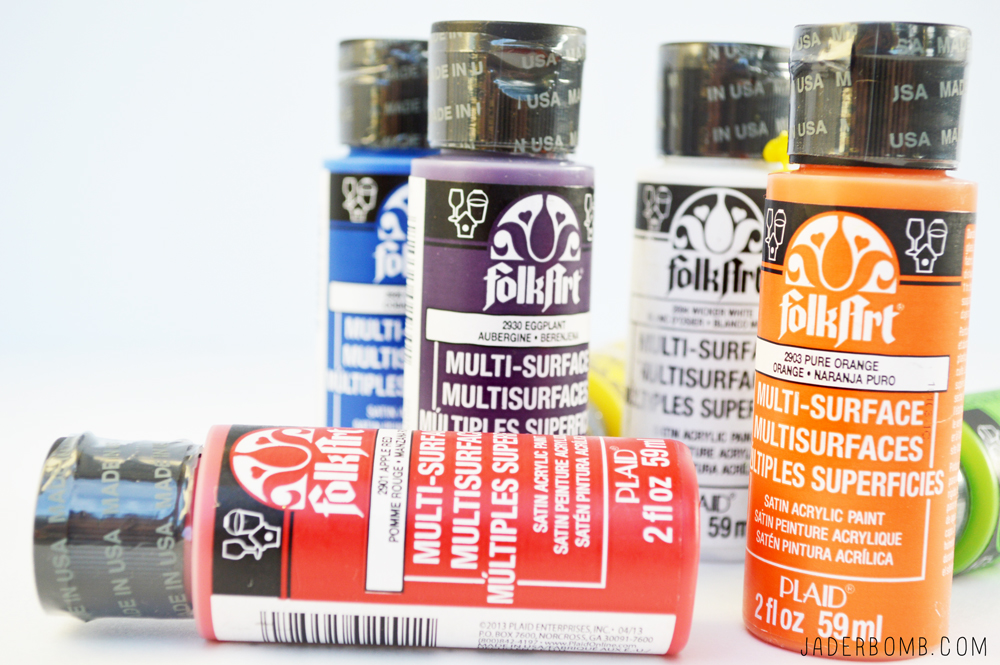
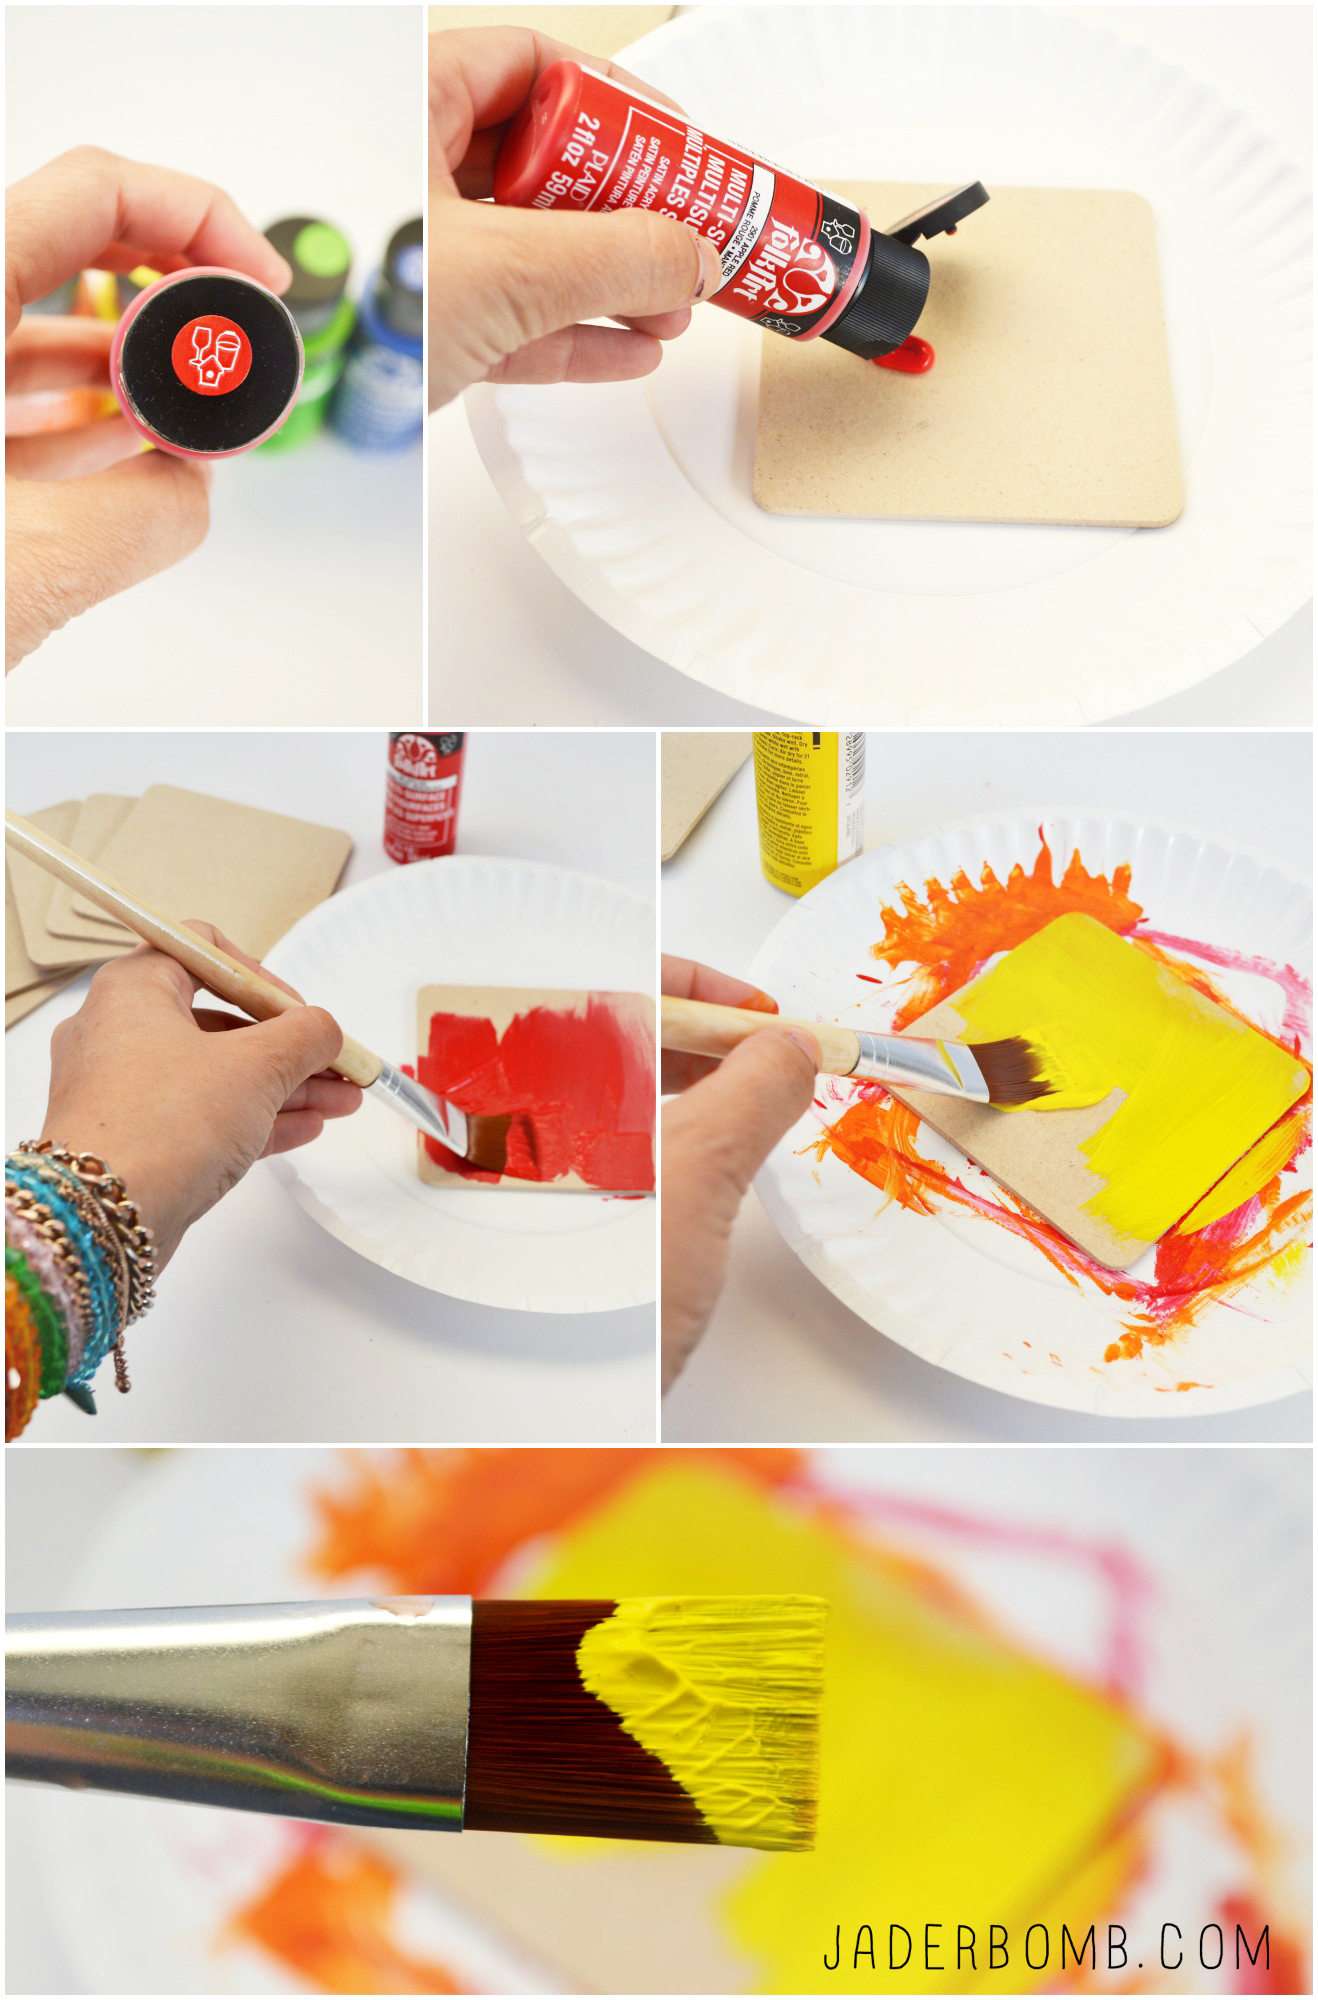
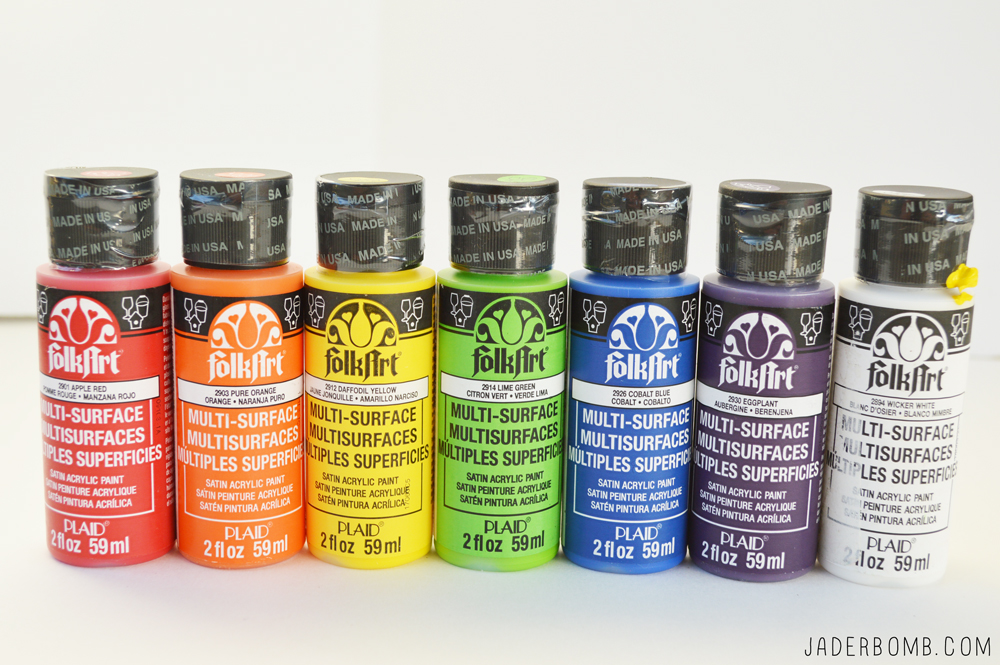
You can purchase all of these craft products from one spot by clicking on these affiliate links. STENCILCOASTERSI absolutely love all of the colors I am using from FolkArt! The colors are SO bright and bold and beautiful! The great news is this paint can be used for many things. Glass, wood, plastic and pretty much anything else!FOLK ART PAINTSTEP ONE:  The first thing you will do is place your wooden coaster on a clean surface. I like using paper plates for things like this. Squirt a little red paint on your wooden coaster and cover the entire coaster. When you are done with the first color move on to the next. painted wood diy Anything rainbow makes me super happy! RAINBOW CRAFTS
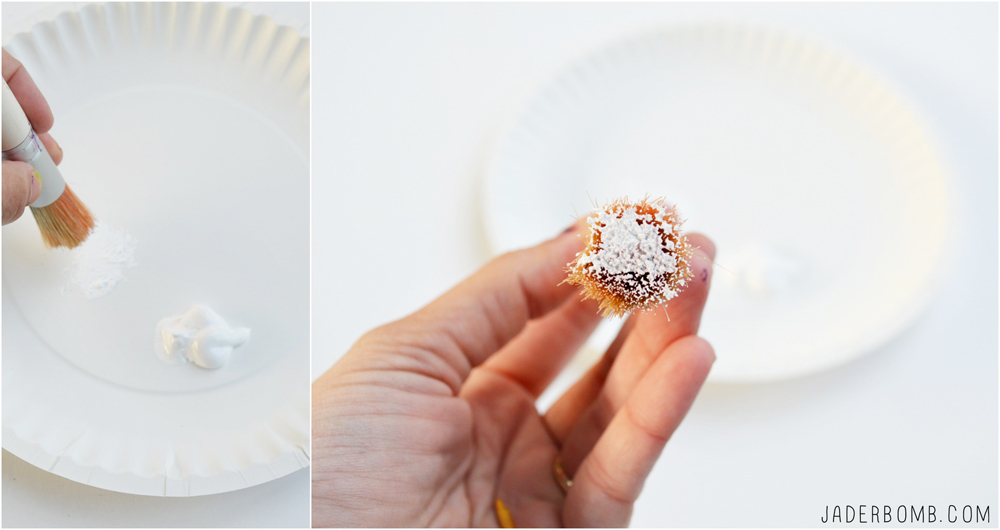
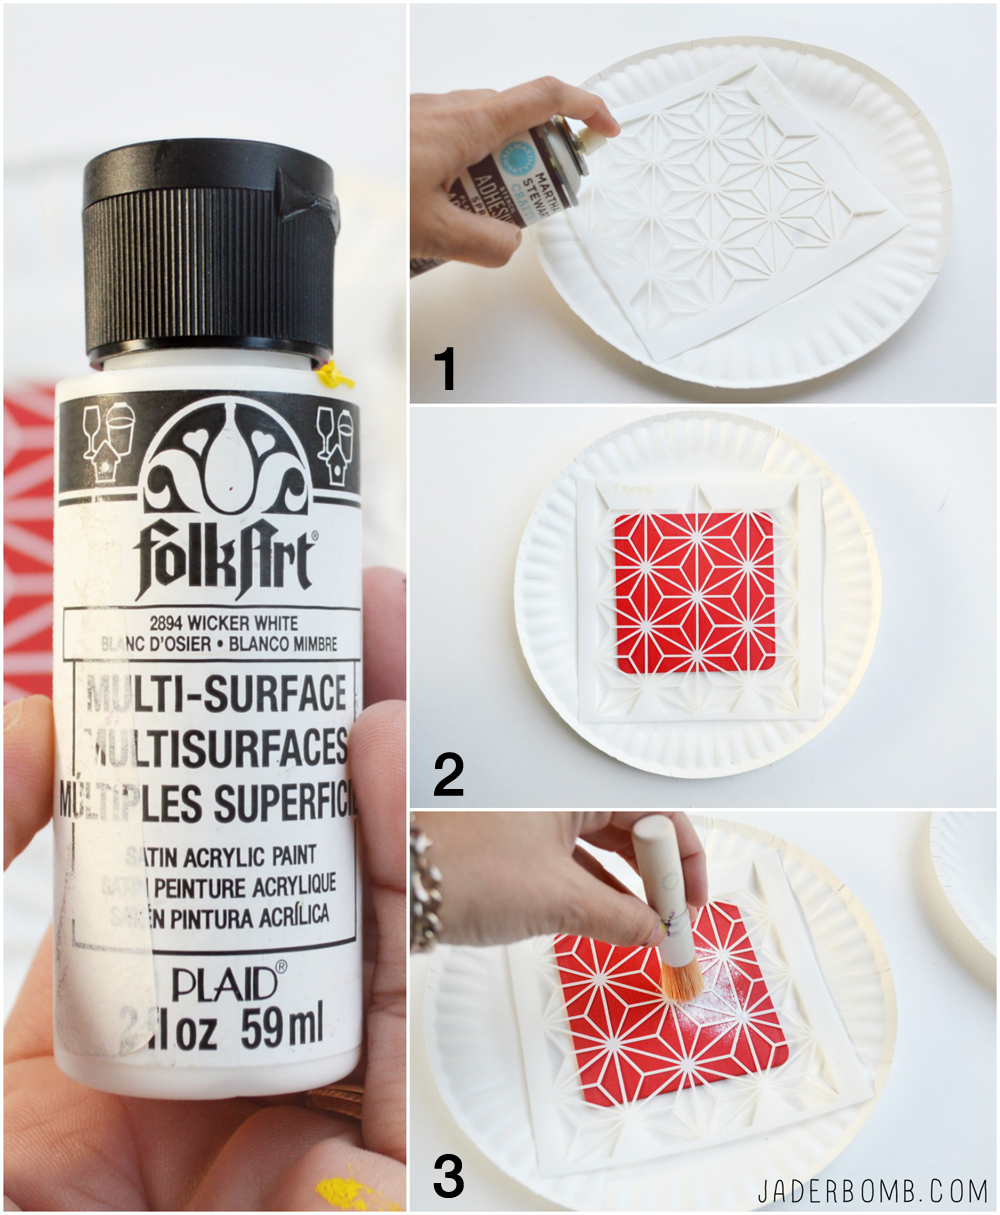
STEP TWO:  One all of your coasters are dry squirt some white paint on a paper plate. Grab your stenciling brush and put a little white paint on it.
how to stencil
STEP THREE:  I like to spray the back of my stencil with a spray adhesive to add a little stickiness to it. It will stick better to the wood but you do NOT have to use this.

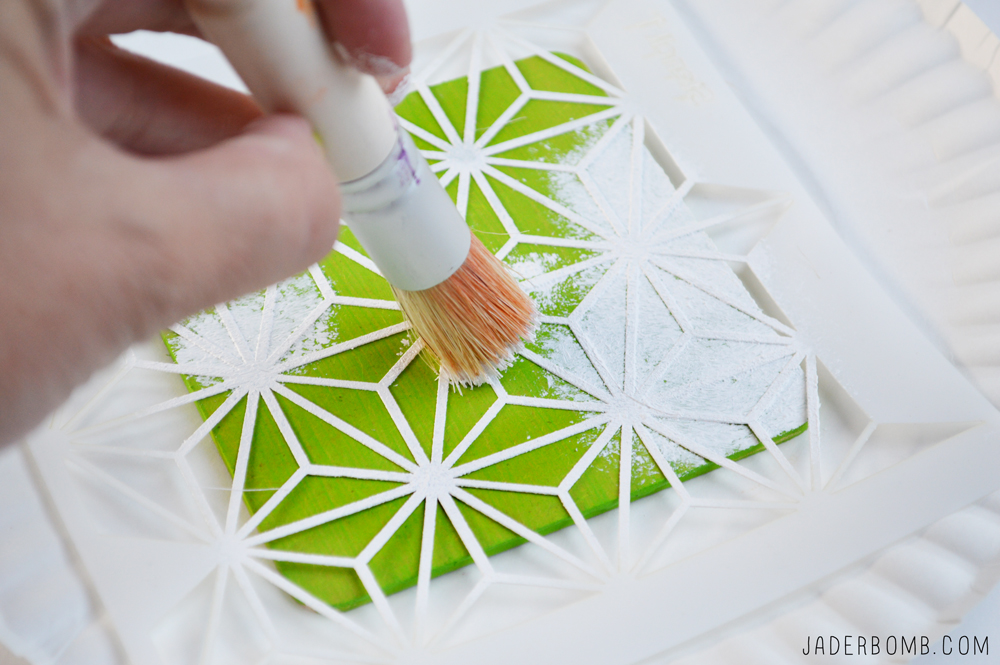
STEP FOUR:  Gently start pouncing your wooden coaster with the brush. Make sure you do it in an up and down motion. ed roth stencils
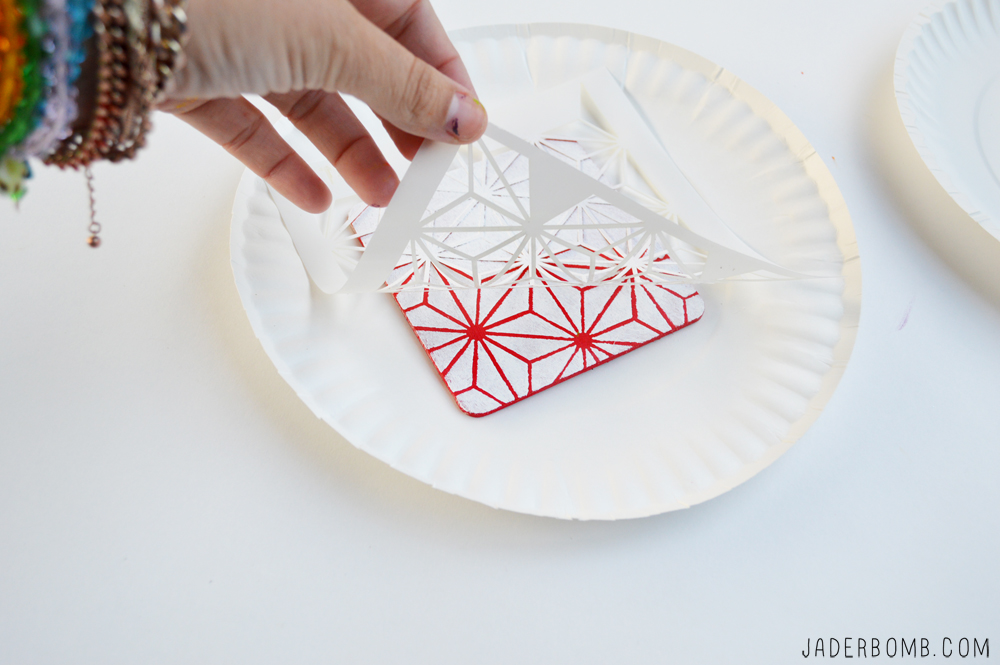
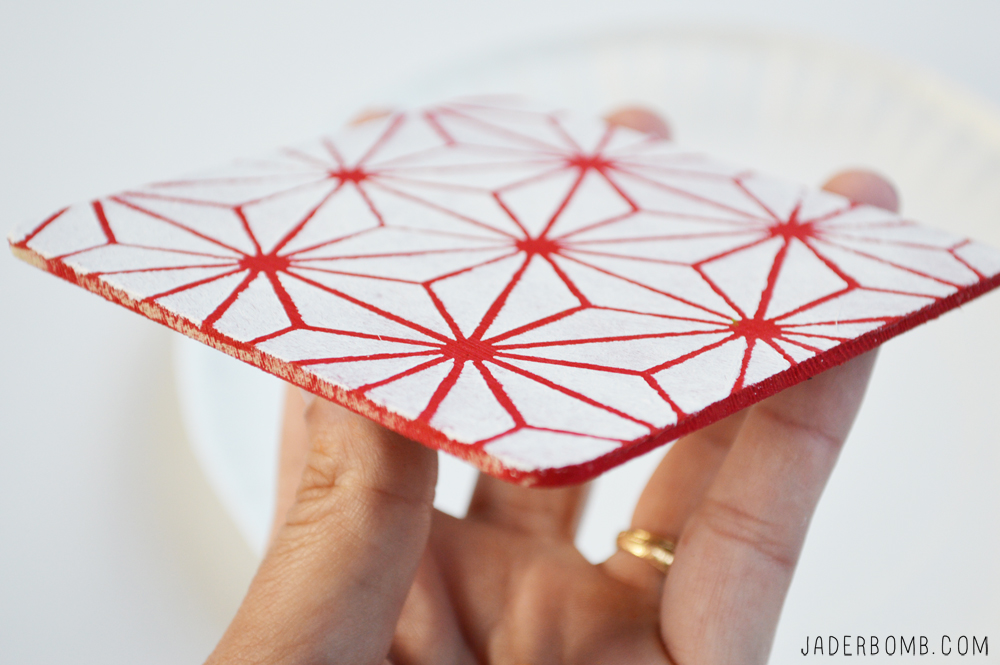
STEP FIVE: When you are done immediately peel off the stencil. You won’t believe your eyes when you see it!homemade crafts
STEP SIX:  Move onto your next color. learn to stencilstencil crafts
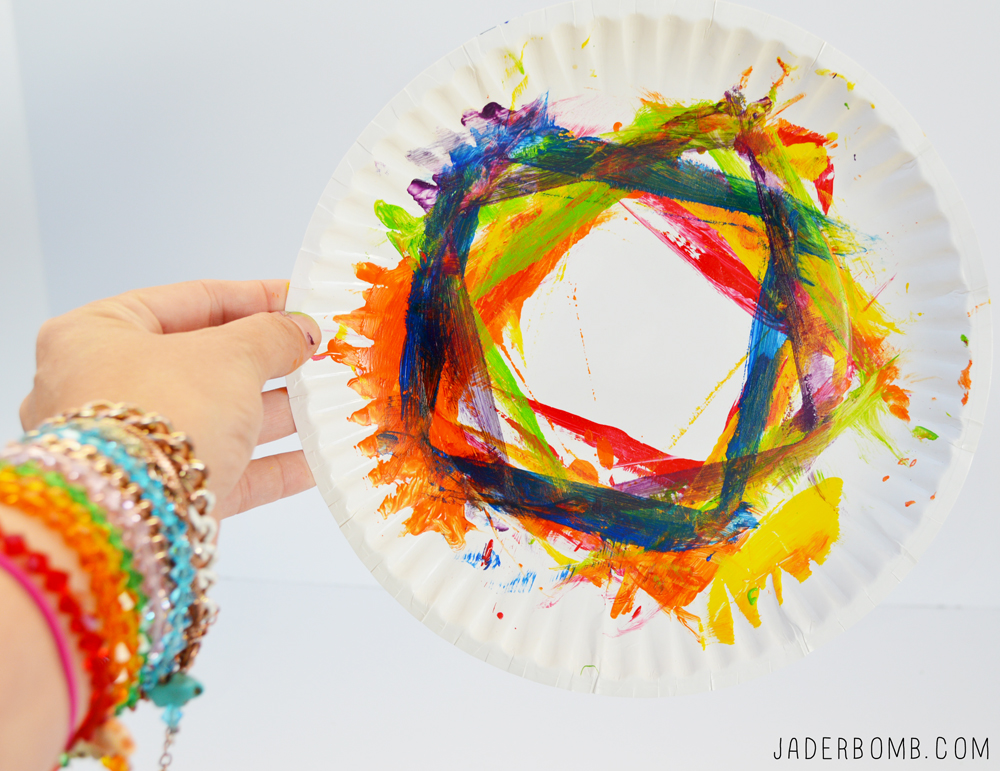
Are you in love with this! I like to recycle so I used the same plate for each color, yo! Don’t forget to touch up the sides when you are done. finger painting
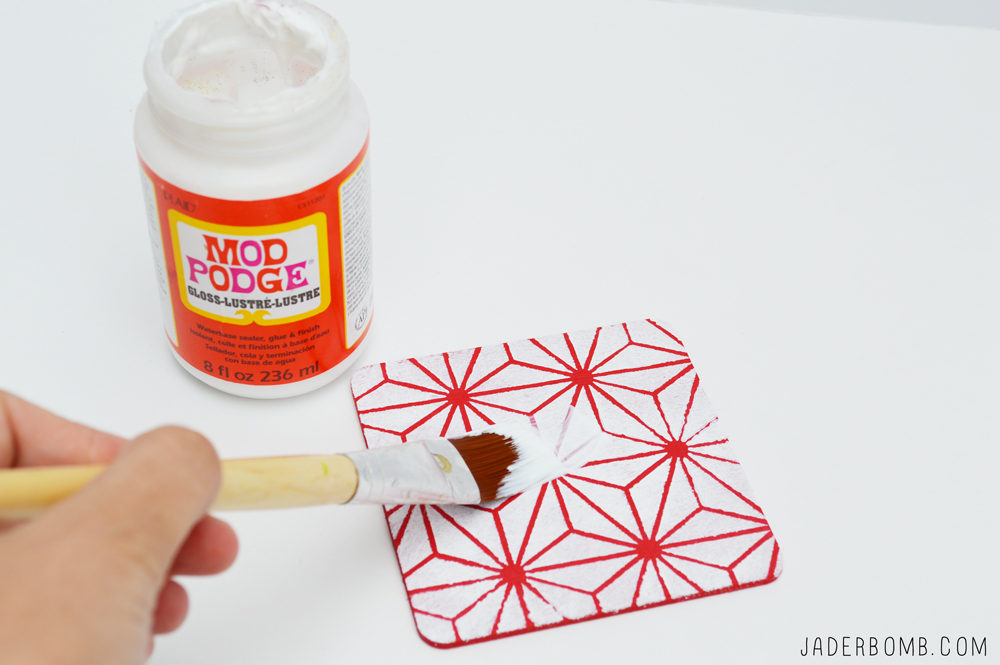
STEP SEVEN:  I like to seal everything with Mod Podge. mod podge diyHow beautiful are these coasters! I am so happy for my friend Ed and his creations! rainbow coasters
The great thing about these coasters is the pack was $1.00 and the paint is totally affordable also. The paint will last forever too! You can give these to someone as a gift or make them for yourself. diy coasters
I am not sure what I love more the coasters or the dang pictures of the coasters! Especially the picture below!!!!! Surely PIN – WORTHY!DSC_0231Check out his video for an intro to these amazing stencils, and stay tuned for more details! You can find these stencils at Jo-Ann Fabric and Craft Stores.  – See more at: http://www.plaidonline.com/blog/post/2014/03/13/Introducing-Ed-Roth-Stencil1-Collection1#sthash.MToMi0cT.dpuf

Don’t forget to connect on social media! Make sure to use use the hashtag #JADERBOMB on Instagram or Twitter or Facebook so I can keep track of all your awesome creations! HAVE A GLITTERY DAY!
♥, Jade
P.S. If you LOVE printables then check out my sitefollow where you can download hundreds of FREE printables!

DIY PHOTO CREDITPhotography: Jaderbomb// DIY tutorial by: Jaderbomb // Ceramic Cup: World Market // Font used: Mossy & Helvetica // Affiliate Links: Amazon I do get a percentage from the links you can order from so thanks!

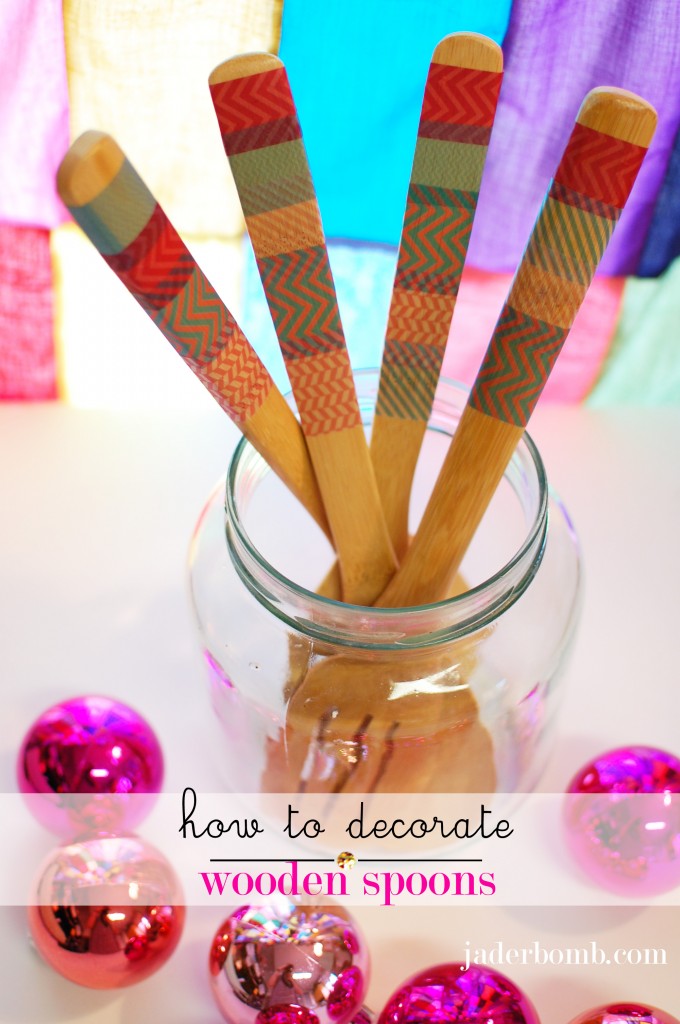
Today I will show you how to take a boring wooden spoon and give it a new life.  The wooden spoon has been around for a long time but if you want to spice up the decor in your kitchen and “display” your spoons then stick around! While attending CHA, the Craft and Hobby Association trade show this past weekend my friends at Craft Attitude gave me some of their amazing printable film sheets. If you have  not heard of these yet, then now is the time to get crazy. When you see just how these film sheets can do you will flip like a fish in a bowl of kool-aid.

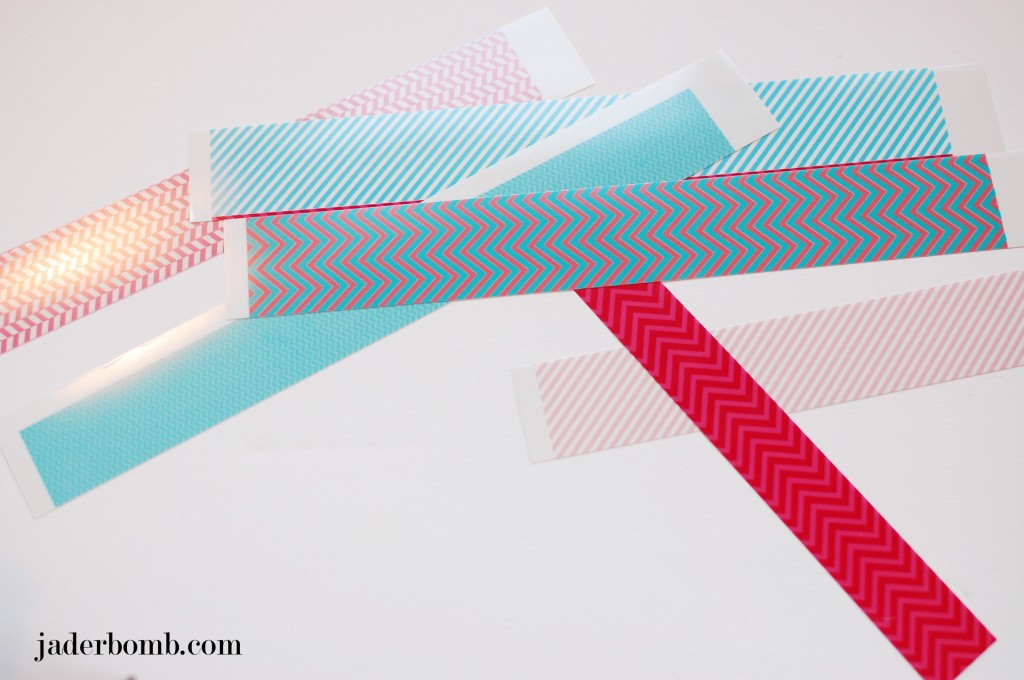
I had never used this product until now and I am still amazed at how much it can do! You can see below just how beautiful they turn out. It’s almost like making your own Washi Tape. I have so many ideas for this product and I can’t wait to start making them all.

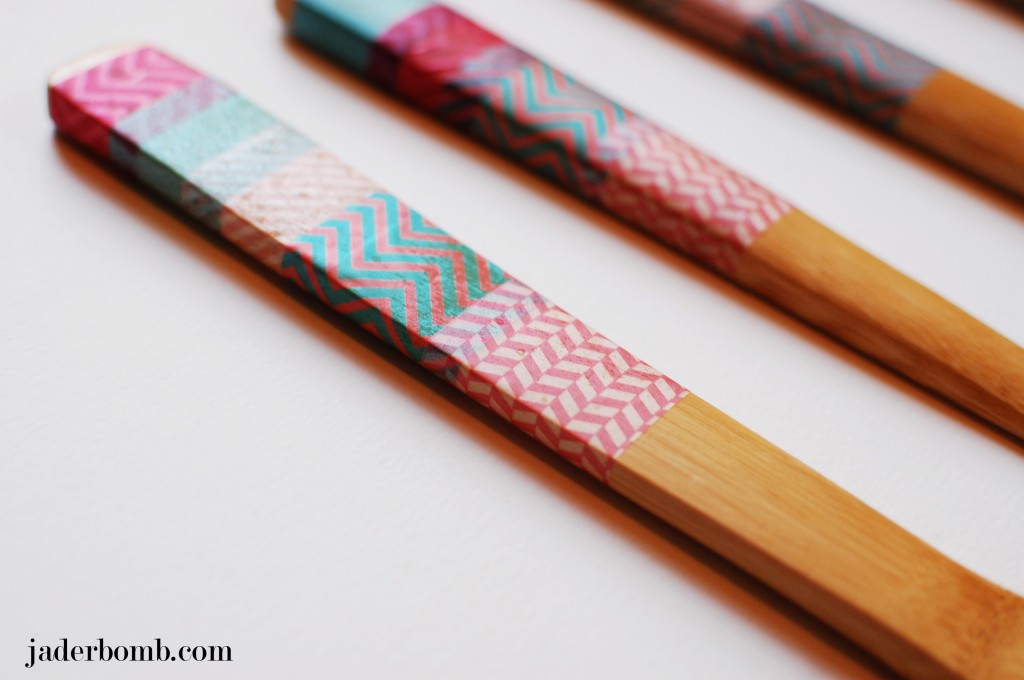
I overlapped my designs to give it a more modern look and I love how they are translucent enough to see the sheet behind it. So, when you lay one color over another it creates new FUN colors. You can decorate wooden spoons with any design you like, this is what I love about it!

How_to_decorate_wooden_spoons

jaderbomb

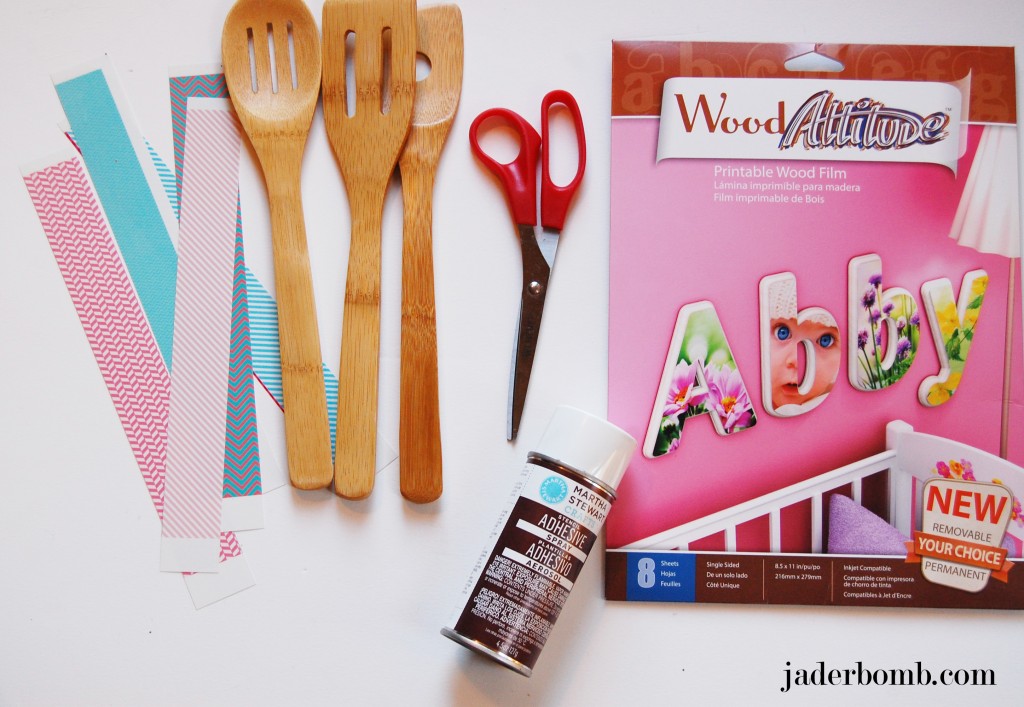
*Wooden spoons
*Wood Attitude
*Scissors
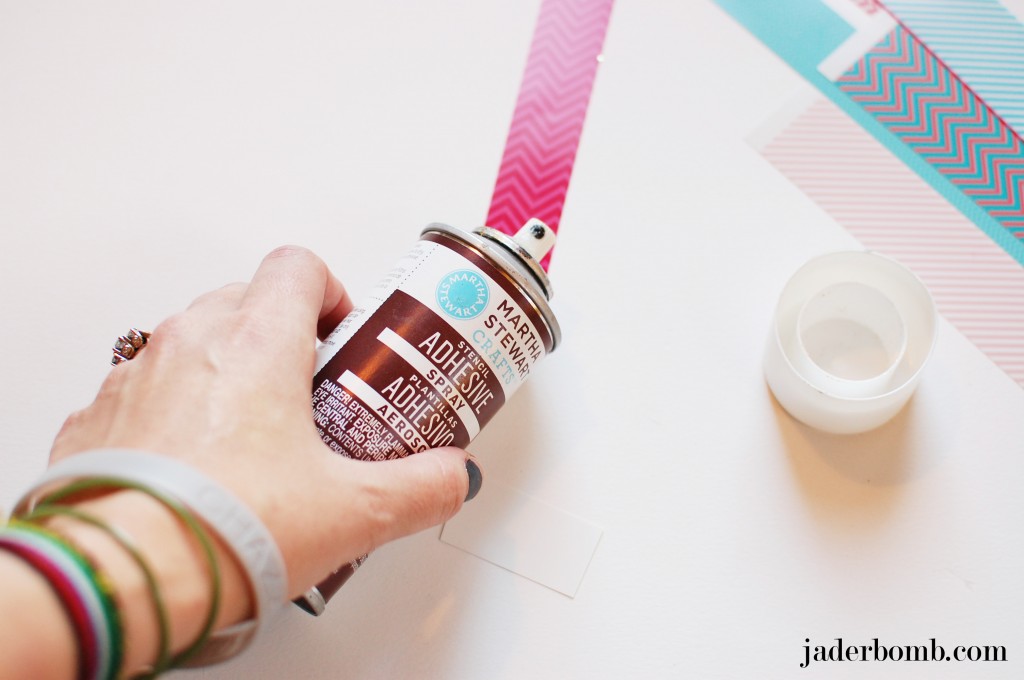
*Spray Adhesive
*Printer
( You can print ANY image onto this film. I just provided the print I used)

How_to_decorate_wooden_spoons

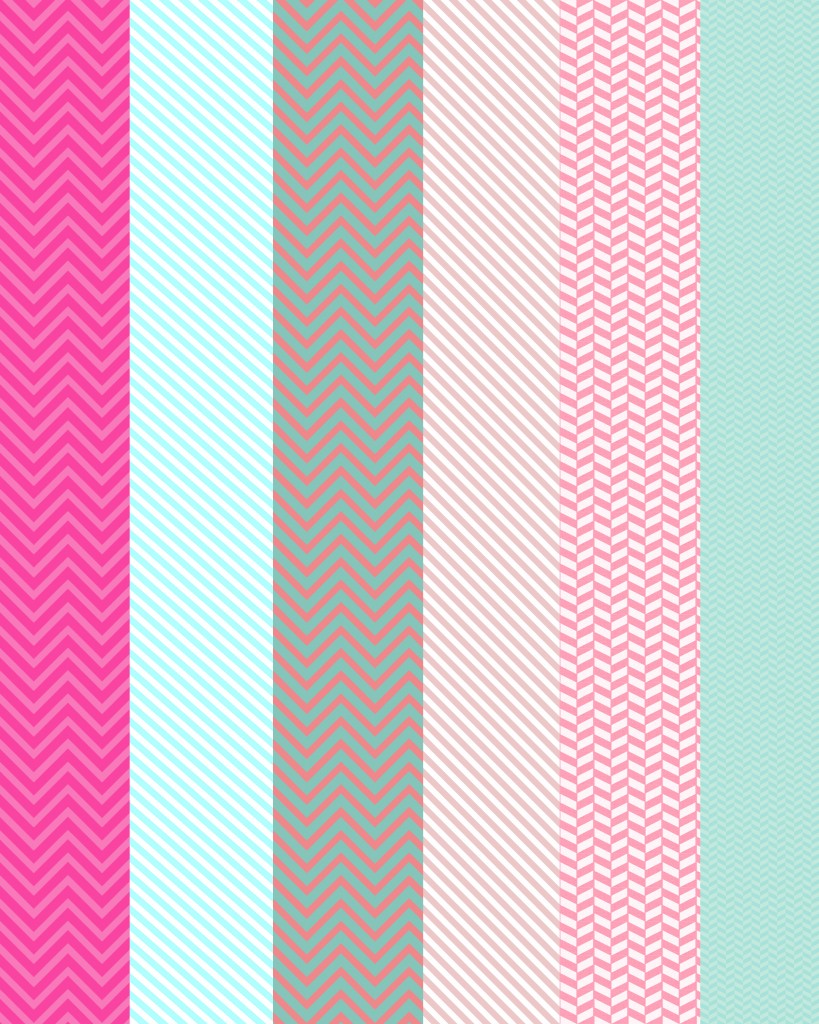
Below you can get the PDF I made for this project, unless you want to make your own paper. Let’s get started with the tutorial.

How_to_decorate_wooden_spoons

For the FULL pdf click HERE. I have enclosed a pdf for each color and one with each strip on it. ENJOY!


How_to_decorate_wooden_spoons
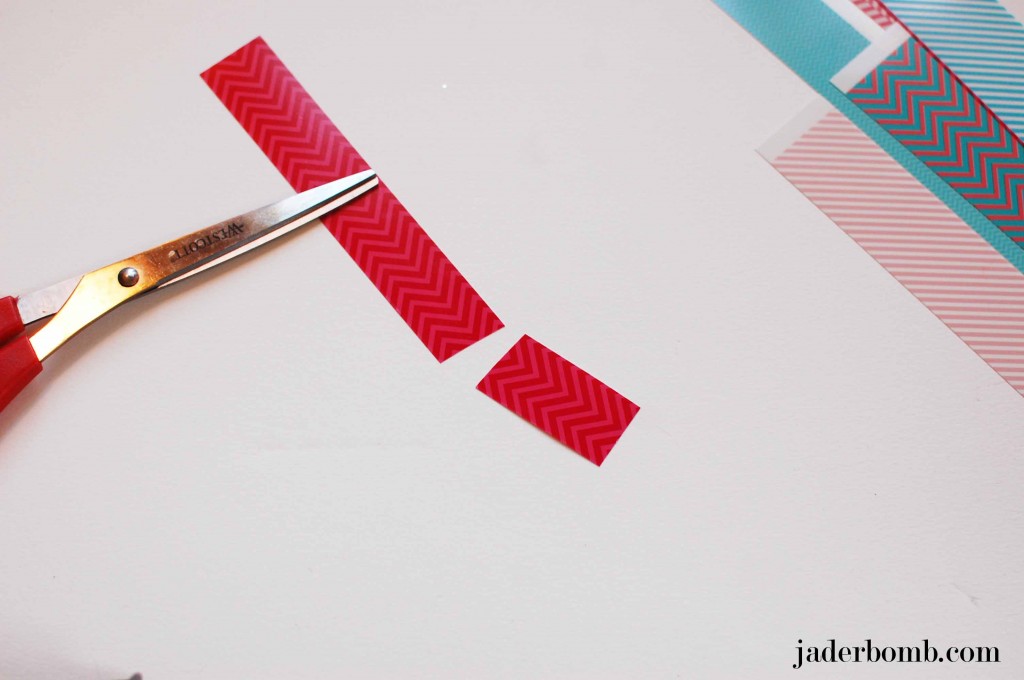
Cut your paper into strips.

How_to_decorate_wooden_spoons

Measure the paper around your spoon then cut the strip to the right size.

How_to_decorate_wooden_spoons

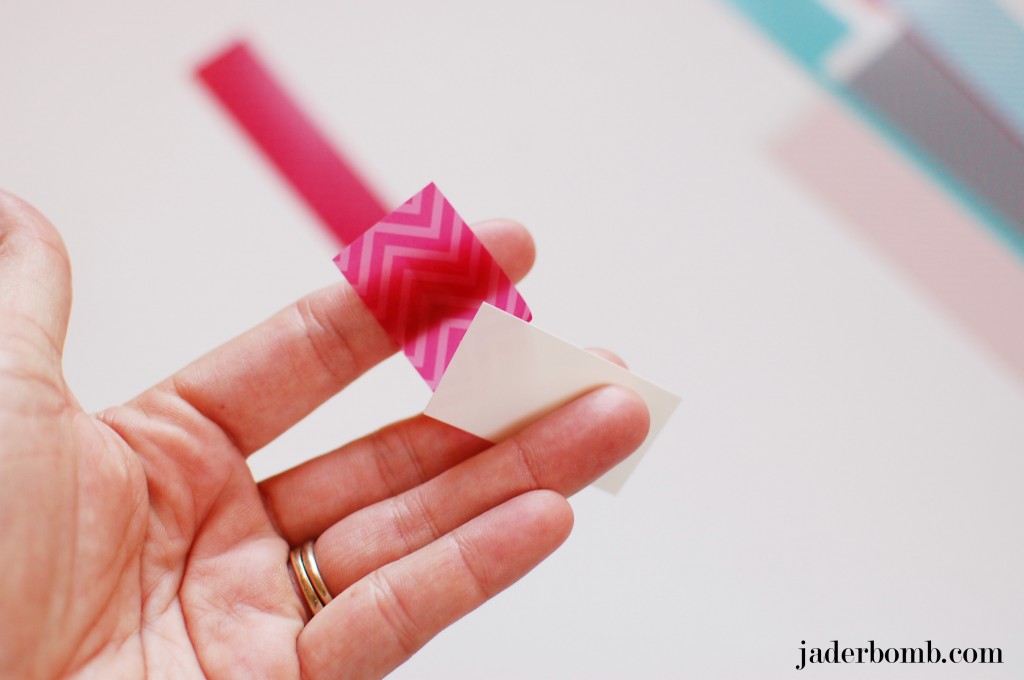
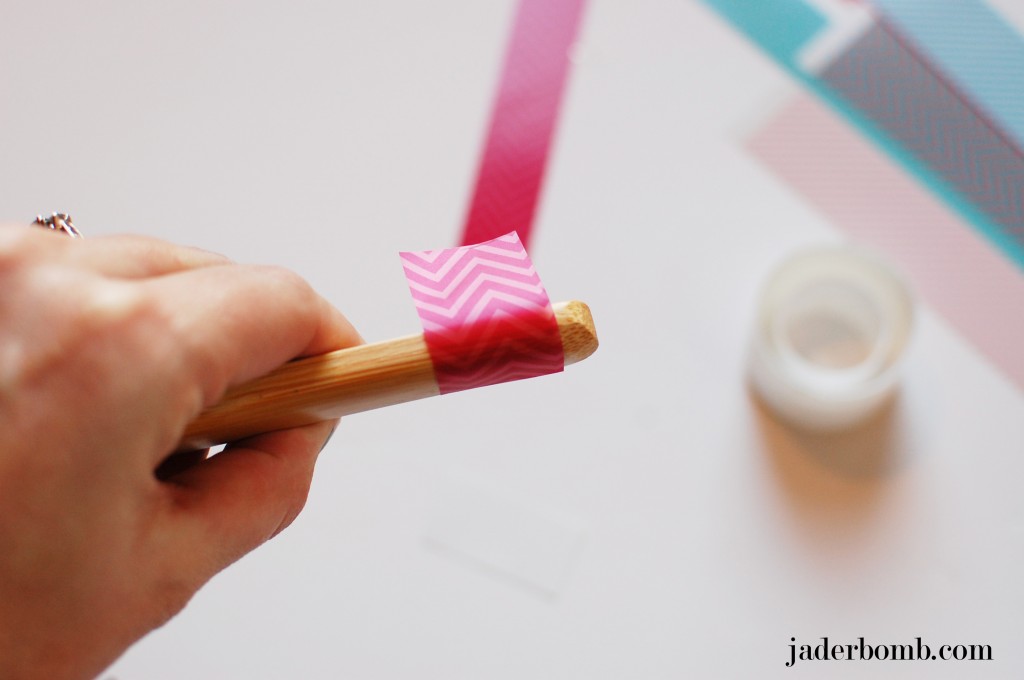
The top layer of paper will peel off really easily. Make sure you stick the shiny side down.

How_to_decorate_wooden_spoons

To make sure my strip really stayed in place I sprayed a little adhesive spray to the “not so shiny” side.

How_to_decorate_wooden_spoons

Slowly apply your printer film.

How_to_decorate_wooden_spoons

Have fun with it and get creative. Remember you can print any image out on this film.

Let me know in the comment section below if you like this product? Do you like crafting with wood? I’d love to know!

See you in the next post, Jaderbugs!
Don’t forget to make it a DIY KINDA DAY

jaderbomb

*I will be doing a FUN GIVEAWAY on Monday so make sure to come back!

*Check out my video that Craft Test Dummies  put up on their You Tube! Yes, it is unedited. HAHA

*Make sure to SUBSCRIBE to my You Tube channel so you can get all of my videos

* If you want to know what CHA is all about here are some blogger friends who can tell ya Craft Test Dummies and The V Spot.

*I will be sharing my experience at CHA this weekend so stay tuned!

Disclosure: I received some of the items in this post for free with hopes they get mentioned in my blog. All reviews are my honest opinion, 100%. 

Hey y’all!! Happy GOOD FRIDAY!!!
I am not quite sure how I am actually typing right now because I ate SO much crawfish today my fingers are FULL….I could just feel my stomach expanding as I slowly swallowed each and every yummy crawfish!

It’s almost Easter time and you know my motto “it’s never too late to get it done”… If you want to spice up some plastic eggs for your Easter table then get this craft done ASAP! Just don’t accidentally EAT one!!! ((haha))

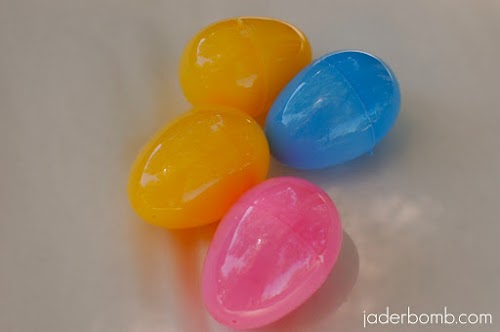
You want to start by getting some PERFECT PLASTIC  eggs. I think these babies are around 2 dollors a bag!

I used four main ingredients for this project.
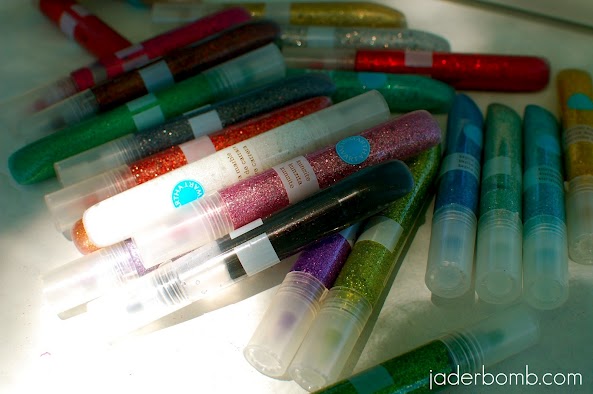
1.Mod Podge  (I get this from Michael’s Arts and Crafts) I brush the Mod Podge on the egg then sprinkle glitter so it dries on there!
2. Martha Stewart Glitter  (Just incase you have NEVER used this glitter now is the time! You will fall in love)
3.  Martha Stewart glitter glue set
4.  Martha Stewart brushes

These nuggets are amazing!

 I tell ya, these look so good I just want to take a bite out of one!

I hope everyone is STILL enjoying this wonderful FRIDAY night! Enjoy your “EASTER” weekend and come back tomorrow for MORE EASTER fun!

Giving you a BIG hug through the computer,

This post is brought to you Plaid’s Martha Stewart line of paint and stencils. I received product for this post. All opinions expressed are 100% mine. You can check out Plaid’s full Martha Stewart product line here

Homemade Laundry Soap Detergent

Well. I finally did it. About a year ago I remember seeing a blogger friend try a “similar” recipe and I though, “What, that can’t clean like the nice expensive ones do”… Then I lived my life for the next year buying my nice expensive laundry detergent. Certain it WAS the best after all. Then about 3 months ago I saw a random pin on making some! Still didn’t convince me. I was certain my GAIN was the best.  ((plus I don’t love change))

Then about 4 days ago mother in law made me some. I hesitated at first because of fear. The fear of actually “LIKING” it and abandoning my good ole GAIN. I smelled it and it smelled SOO good (even though my brain tried to convince me it wasn’t GAIN)…. Crazy but I am a total texture girl. I LOVED the way it looked and the texture it presented to me. OK. I am buckling at this point… Am I really thinking about trying this stuff….. I had to. It just sat there saying:

I’m CHEAPERRR
I’m prettierrrrr
I’m HOMEMADEEEE

So I put a batch of clothes washing and “tested” this stuff that keeps popping up in front of my eyes. I went about my business doing other chores until my nose sniffed some ridiculously  awesome smell. “There’s no way”, I said. BUT WAY! I secretly got super duper excited and after taking out my first batch I scattered through the dirty clothes to gather ANOTHER load! I kid you not.

So I sit here. Ready to share with you an amazing way to save SOOO much money (don’t worry I will break it down) by making your own laundry detergent.

Ingredients:

I got my BORAX from Wal-Mart. I got lucky because someone must have known I was coming and put ALL of the ingredients I needed right next to each other. Thanks Wal-Mart for making my life amazing! This box was about 3 bucks. The Borax cleans, disinfects and softens the water.

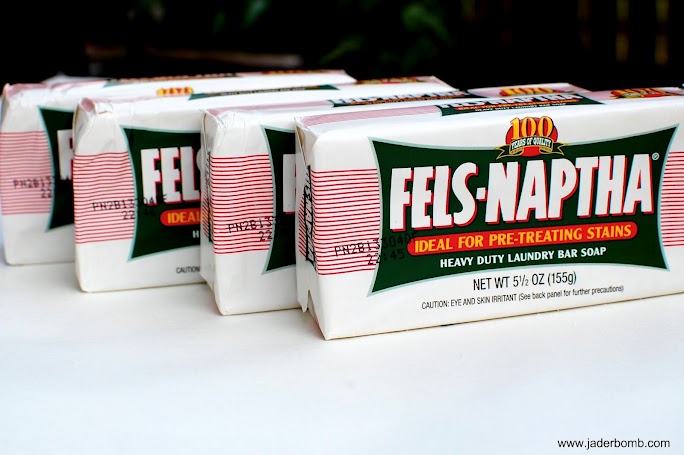
These babies were only .99 cents each! Epic deal. The Fels Naptha Soap is a heavy duty laundry soap bar & stain remover.

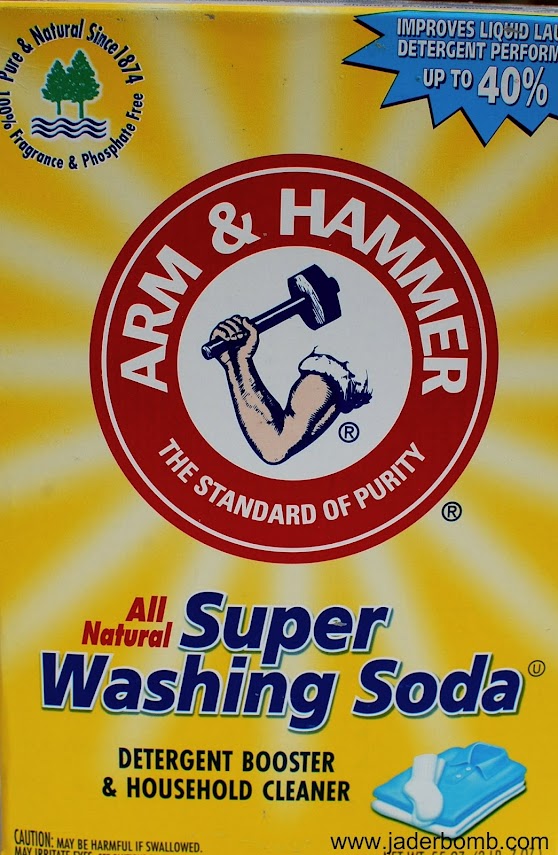
This was around 3.49 for the box. Still liking this!!! Arm & Hammer Washing Soda works on grease and neutralizes odors.

Mother in law told me she added this to enhance the smell so I figured I would try a little bit of it. I think she used another ingredient but I can’t remember what. Our recipes are not exactly the same but I am pretty sure they do the same job!! This was around 4.60 but well worth it.

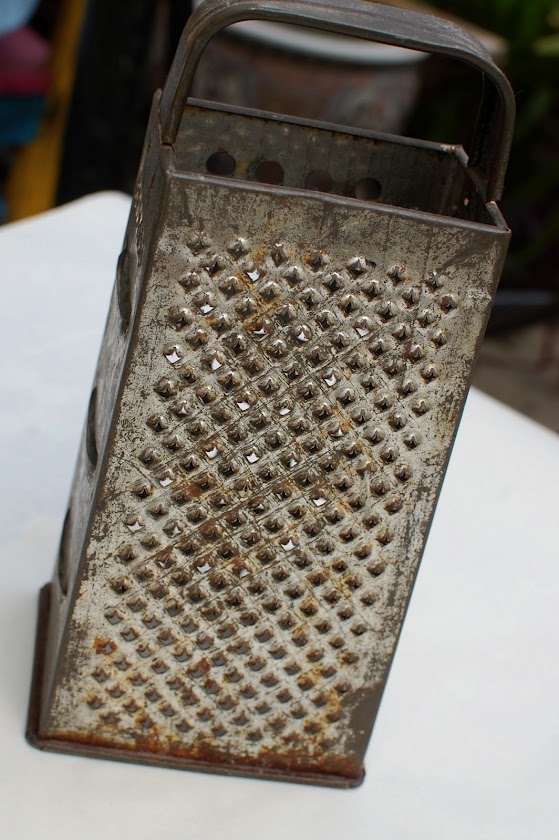
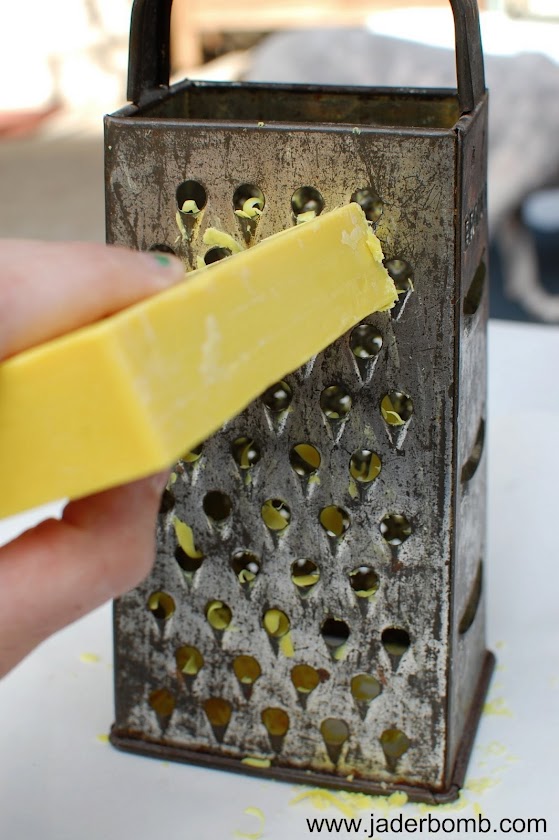
Get something you won’t use for cheese (((ever again))) hehe…I had an old grater so I figured I would add to everything else it has been through.

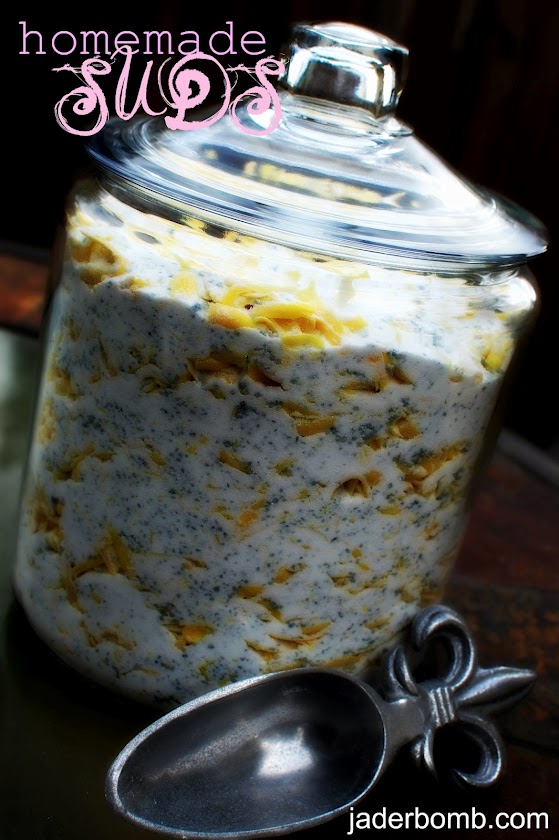
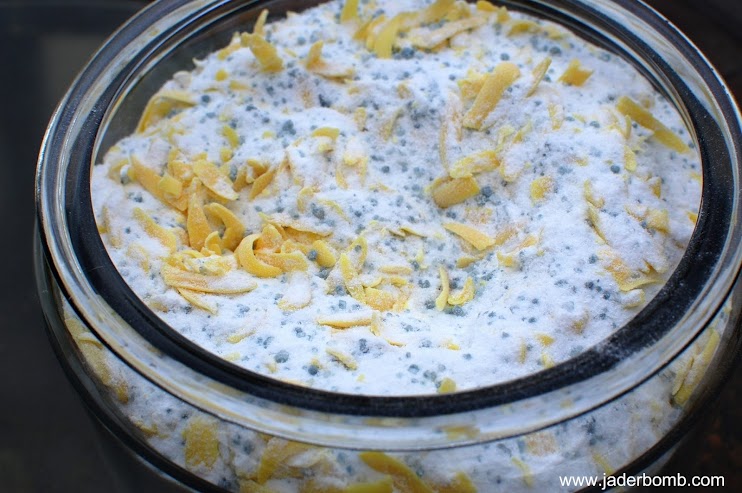
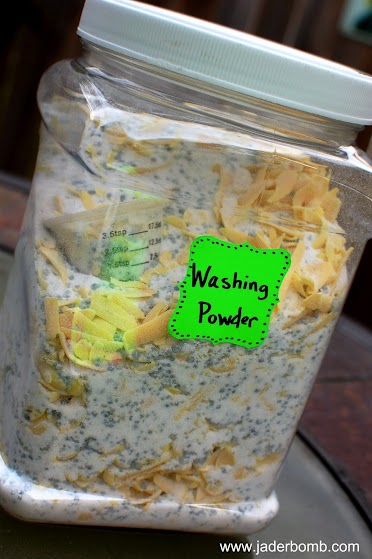
Start by grating your bars of soap. I will put the recipe at the bottom of this post but I grated 4 bars of soap and pouring in all of your ingredients  (recipe below) it will look like this!!!

So pretty right!!!

I made some for my dad and I had to think of something to put on it so he would ALWAYS know what it was!! (you know men, they never REALLY pay attention more than once)… So I grabbed some bright neon labels that I had.

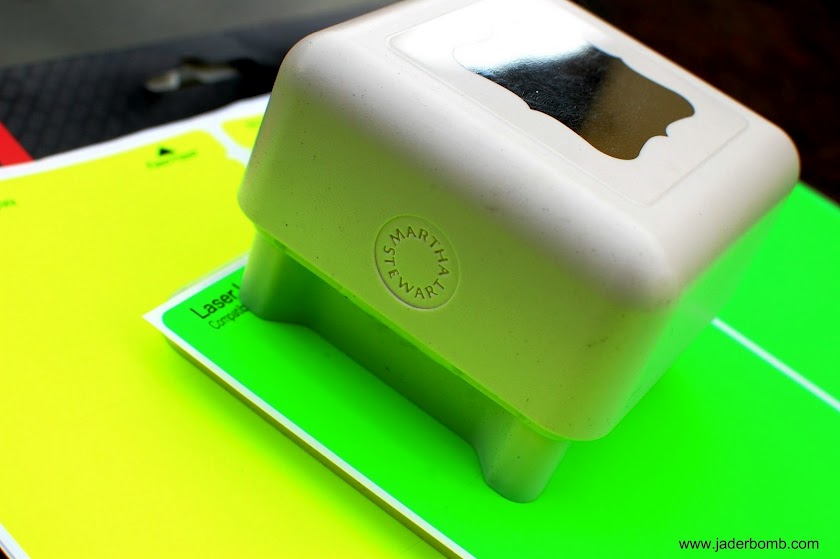
I grabbed one of my Martha Stewart punches and punched out a little sucker!

Just bright enough for him to ALWAYS see! (and not too girly)

If you follow the recipe below you will have enough laundry soap to wash 110 or 200 bad loads of laundry.  Trust me, I scooped the whole batch to figure this out! Let me explain my numbers.
The recipe calls for 2 tablespoons per batch HOWEVER if you are washing a small load or if you don’t have a big washing machine I recommend using 1 tablespoon
So if you use 2 tables spoons for every batch then you will get 110 loads out of it!
If you use 1 table spoon then you will have 200 batches…. AMAZING RIGHT.
If you are like me then you will have some batches that are big and some small but either way it’s amazing how much you have here! Plus it’s all good for ya and full of natural ingredients!
Total price to purchase all the items to make my own detergent was around 14 bucks.
 Homemade detergents do not have alot of  suds.   Don’t worry, this is normal and your clothes will still come out redokulousley clean.

Large Batch Recipe 

4 – Bars Fels Naptha Laundry Soap
1 box of  – Cups Mule Team Borax
1 box Cups Arm & Hammer Washing Soda
1 bottle of Purex Crystals

Grate soap using cheese grater. Combine all ingredients in a bowl and stir well. Place in sealed container or tub and measure out two tablespoons (or 1/8 cup) for each load. I put a medicine cup for my dads batch. Two scoops from that is 2 tablespoons. I know everyone has tons of those suckers laying around!

Smaller Batch Recipe

2 – Cups Laundry Soap Shavings
(you can get this easily from one bar)
1 – Cup Mule Team Borax
1 – Cup Arm & Hammer Washing Soda

Follow instructions for above recipe.

I sure hope you enjoyed this post and let me know how yours comes out!!

Sending you all sortsa good energy to wash every single piece of clothing in your house (like I did),

This post is brought to you Plaid’s Martha Stewart line of paint and stencils. I received product for this post. All opinions expressed are 100% mine. You can check out Plaid’s full Martha Stewart product line here

DIY: Mini Bunting for Cake or Flower Pot

Holy Moly Macadamia Nuts! I never knew I loved these nuts until my first trip to Hawaii! Those are the BEST little suckers ever. Thanks Kiyo and family for sending us the BEST chocolate covered macadamia nuts! That was the best thing we have EVER got in the mail!

{{thank goodness the mail man didn’t eat them}}}

 {teehehe}

If you are looking for that perfect last minute valentine’s gift I have just the thing for you. I personally love getting and giving greenery as a gift. It’s something that will last a long time if it’s cared for properly . 

You know I love flag bunting! I swear it’s the one thing that will make my toes tingle and my heart smile. Who woulda thunk it!

Let’s hurry along because it’s already nighty night time and you need to see this before the morning!!!

The ingredients you will need are:

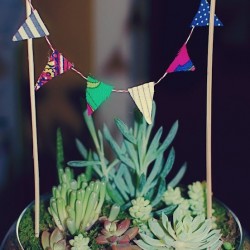
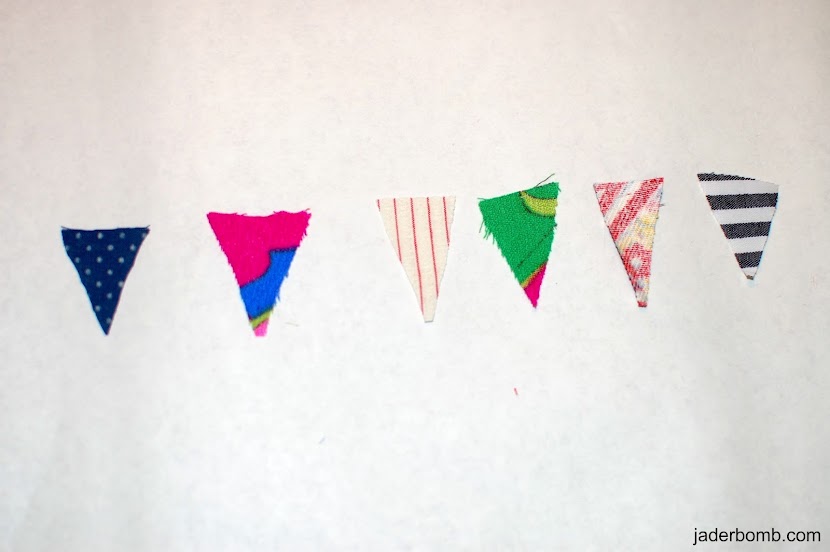
Martha Stewart glue gun, 2 wooden skewers, Martha Stewart all purpose scissors, Martha Stewart Baker’s twine, and some little triangles cut out of fabric. You can get all of the Martha Stewart products at Michael’s Art’s and Crafts.

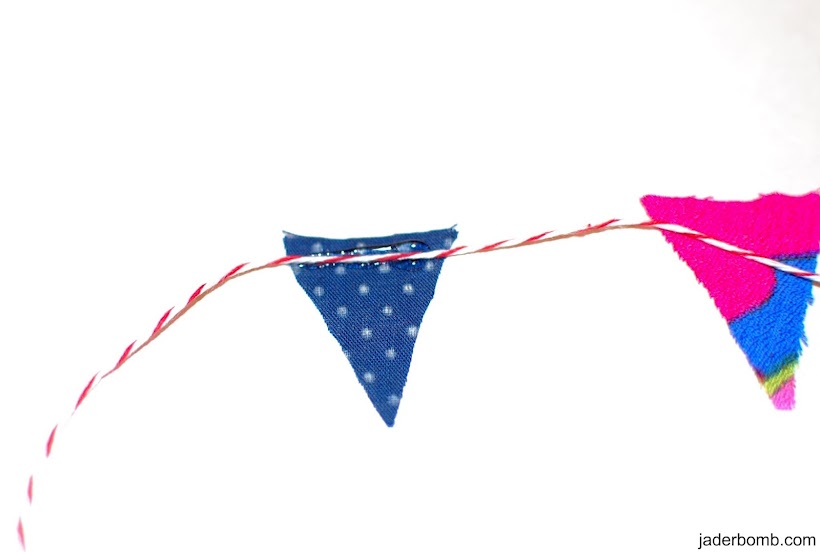
Start by laying out your flags they way you want them. Make sure to put the “good” side facing down so you can glue the twine to the back.

Add a little line of hot glue to the back of the flags. Gently press the twine into the hot glue before it dries.

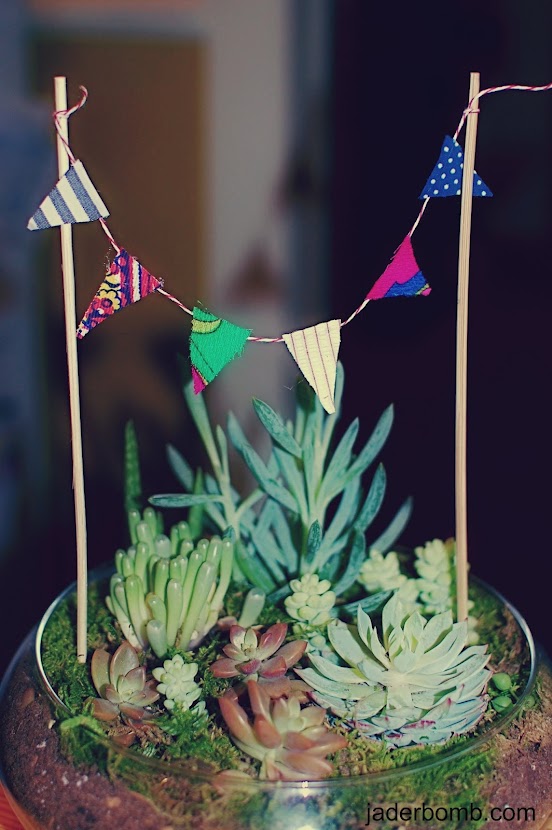
SERIOUSLY…. How cute is this!!! It’s super simple and definitely adds a whimsical, fun touch to any plant or cake. Have fun with this! This is totally a project you can afford to do for EACH holiday!!! Don’t you just love all of these succulents? I bought ALL of them at Home Depot!

In case you didn’t see my tutorial on how to make this fish bowl terrarium click HERE….

Stay tuned for a post on which plants give off good energy! You don’t want to miss it.

Gotta go finishing preparing for a fun filled Valentine’s DAY,

This post is brought to you Plaid’s Martha Stewart line of paint and stencils. I received product for this post. All opinions expressed are 100% mine. You can check out Plaid’s fullMartha Stewart product line here