The Simple Secret to Hand Painted Journals!
Happy Summertime y’all! Can’t believe it’s almost time for school to start! Is it just me or do you all feel like this summer has flew by like a bird chasing a worm, haha! Doesn’t the early bird get the worm?! I remember as a kid being so excited to start a new school year. Me and my mom would go to the local store and check everyday for the supply list to come out. Was I the only one excited about this little sheet of paper?
Now let’s fast forward a little because back when I was a little. Lisa Frank was in style, you know the “good ole days”… These day’s things just feel so generic and don’t get me wrong I love basic colors and styles however this day and age DIY is the way to go… There is nothing more meaningful than creating something yourself and sporting your own unique style.
Today I will show you an easy way to turn a basic journal into a work of ART ♥ 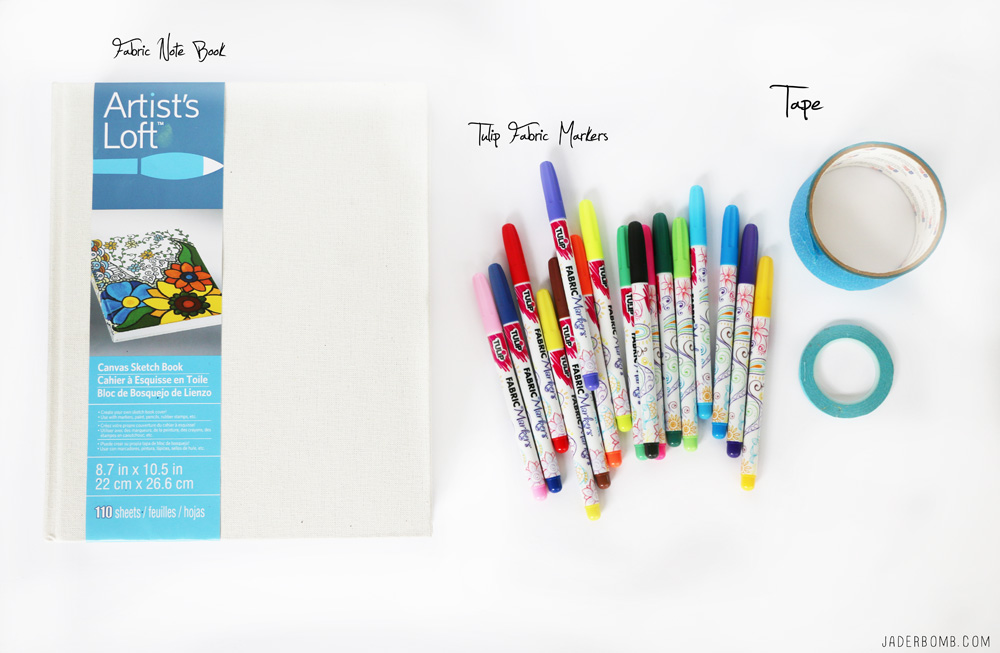

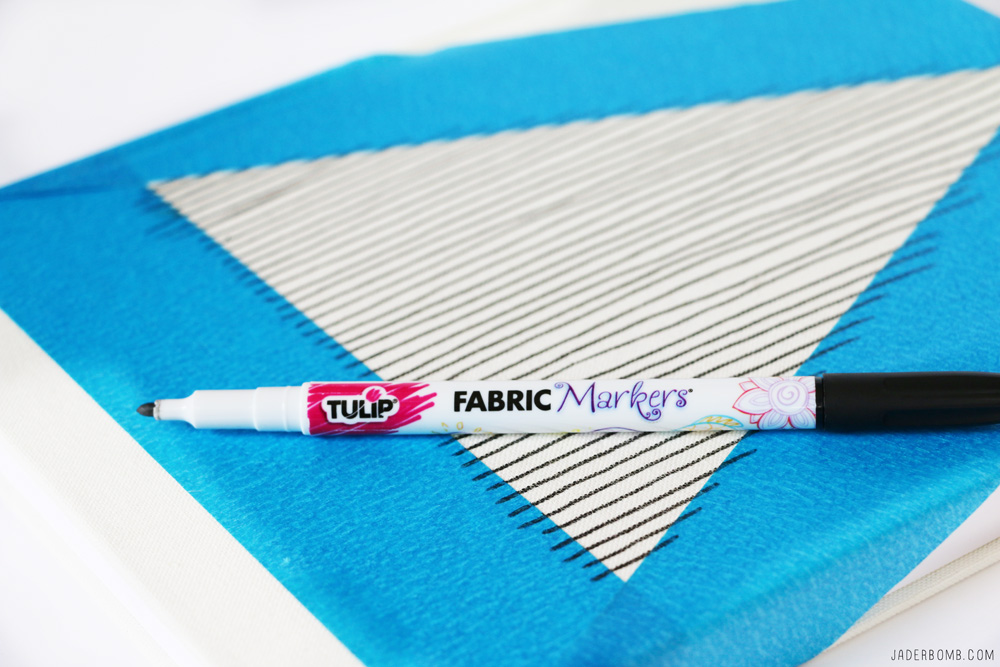
Blank Canvas Notebook | Tulip Fabric Markers | Painters Tape
You can order all of these products from Michaels by clicking on the links above!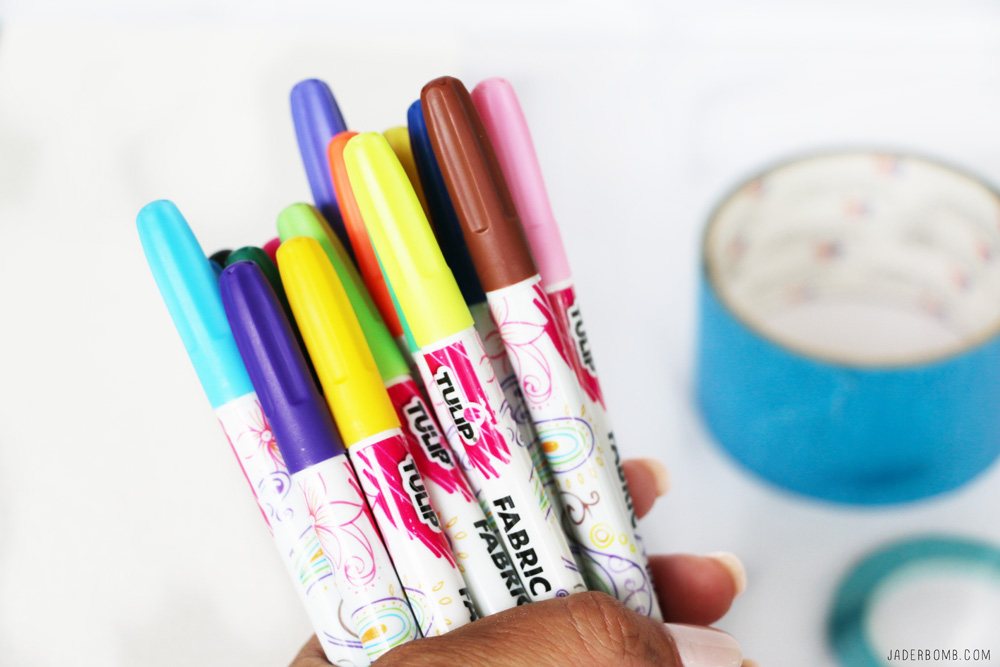 If you know anything about what I love then you already know how much I LOVE Tulip fabric markers. You can use these on so many different products and create amazing designs. Check out other things I created HERE. Let’s also talk about how wonderful the color selection is! I mean, there is like four different shades of each color! Swoon 101!
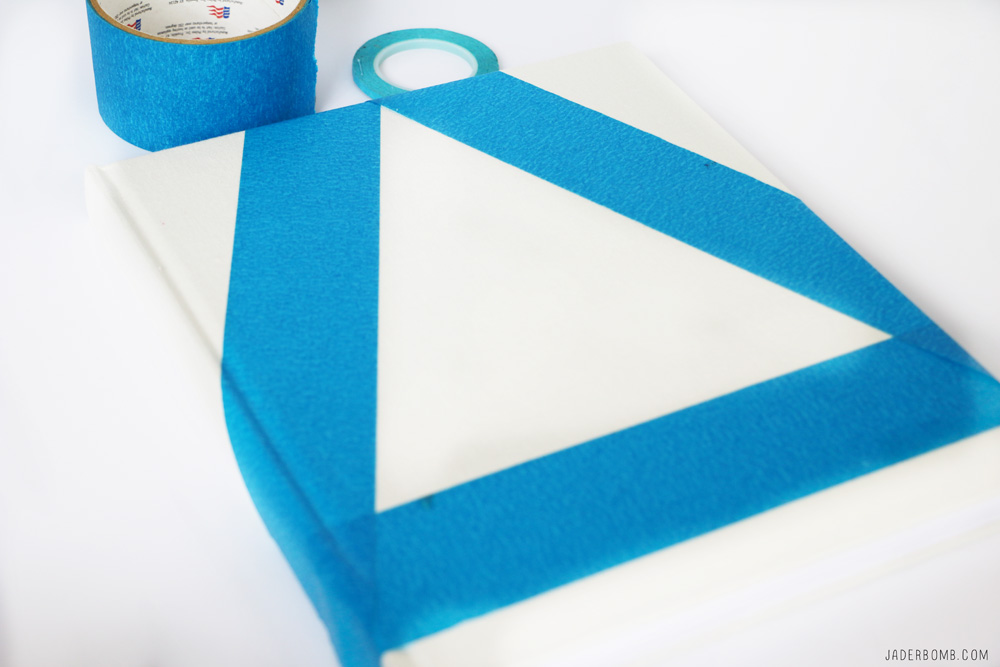
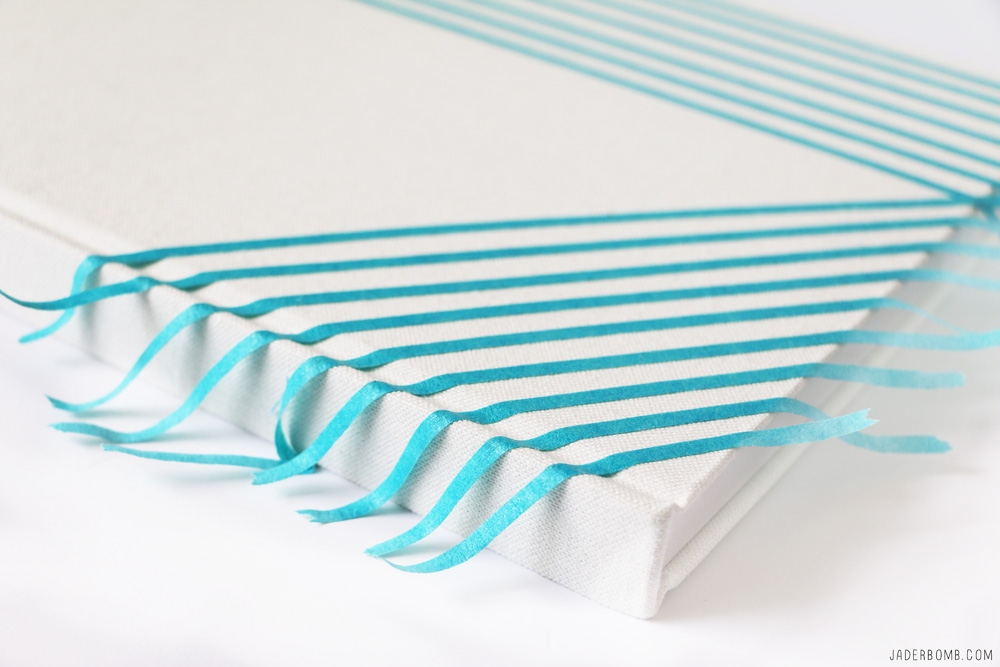
Step One: Make sure your canvas journal is completely clean then use the painters tape to create your design. I am sticking to geometric designs for this post. Sometimes less chaos is better believe it or not!
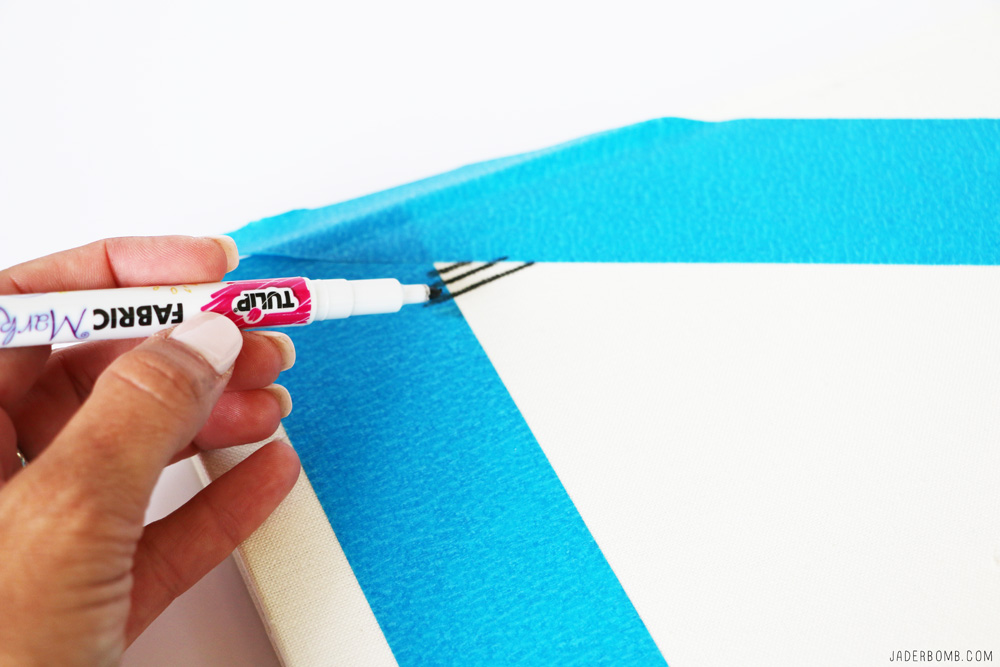
Step Two: Get the fabric marker color you want and go to town! I am doing lines for all of my journals because I think it’s very modern, clean and crisp. I love that these would also look amazing on your dining room table stacked with other books.
Step Three: Admire what you just created! Insert huge laugh right about now!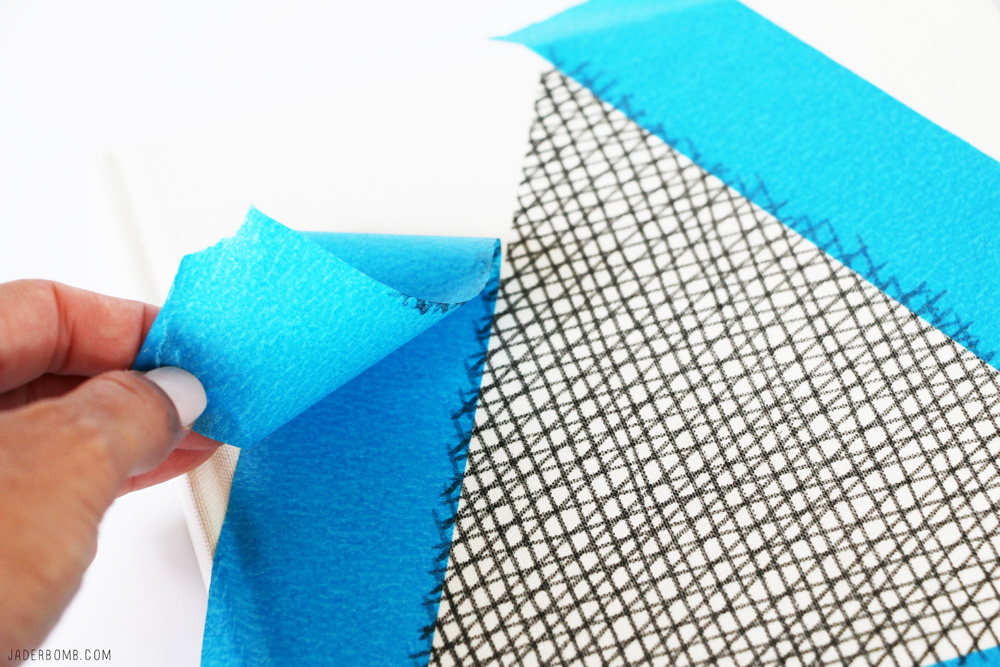
Step Four: After letting your markers dry into the canvas for about 10-15 minutes gently peel off your tape. If you are using painters tape it will peel off really easy! What are you left with? Well, beautiful crisp lines that will make your heart pound for days!
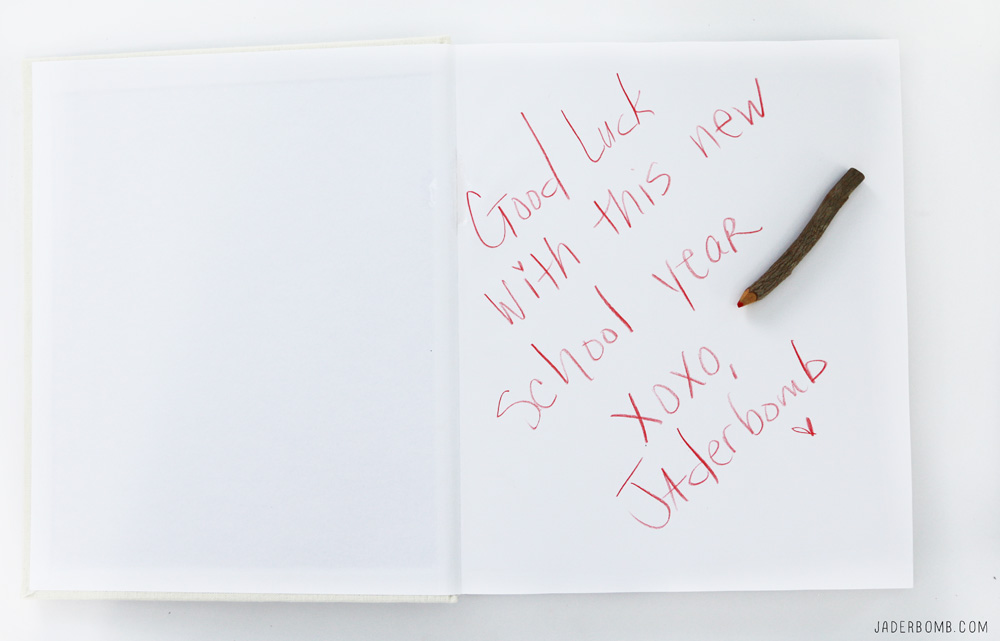
The great thing about this project is you can give a journal with a pack of fabric markers to someone as a gift and they can create something special that they will remember forever. 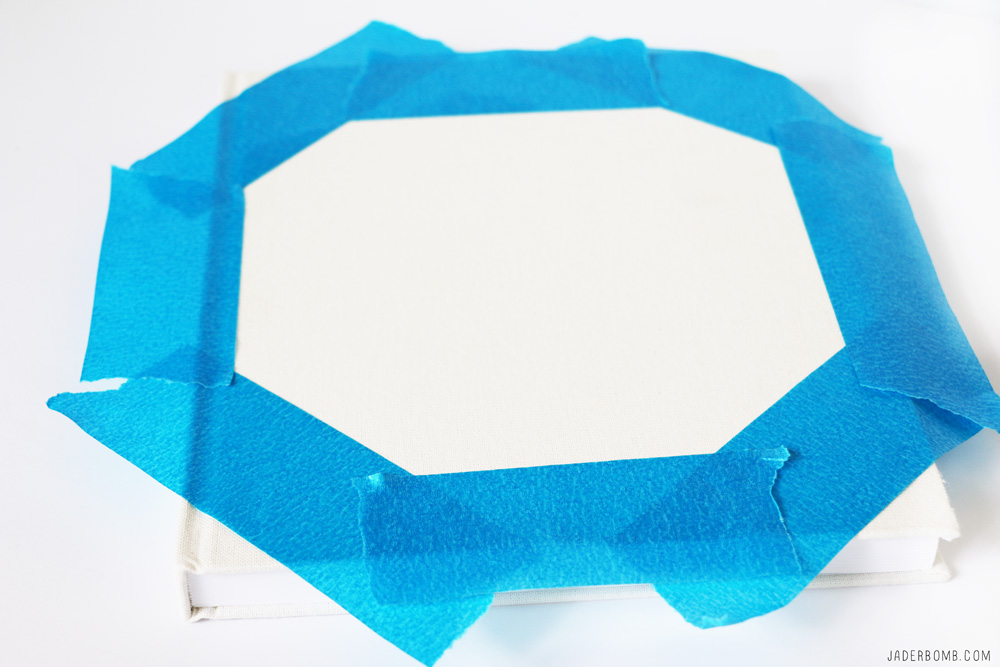
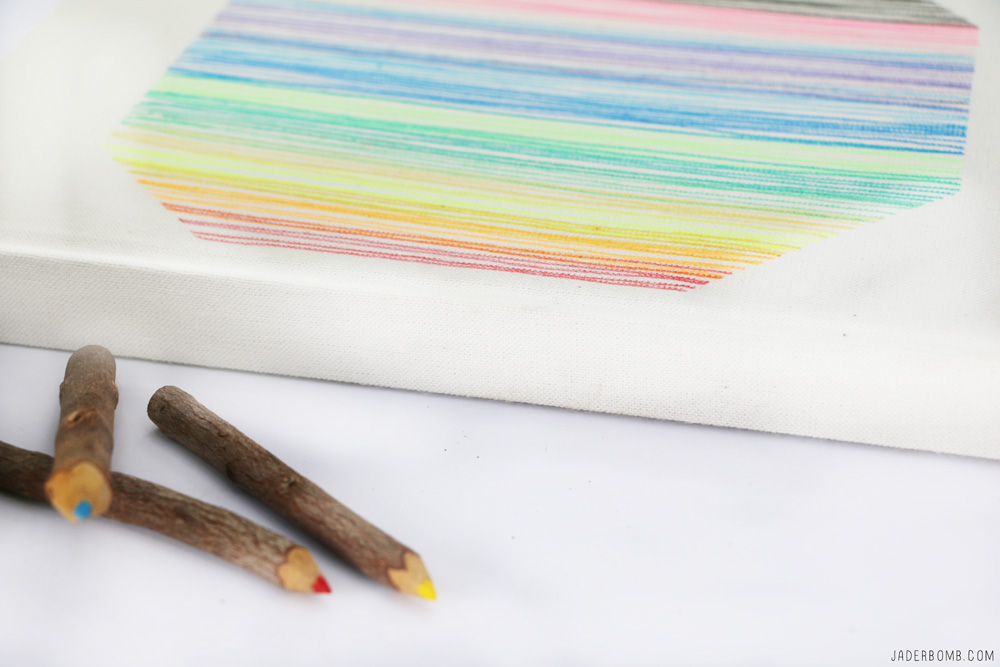
I am repeating the same steps but doing a different design! What’s great is you can even overlay designs with the tape. It’s the best project to show off your creativity. 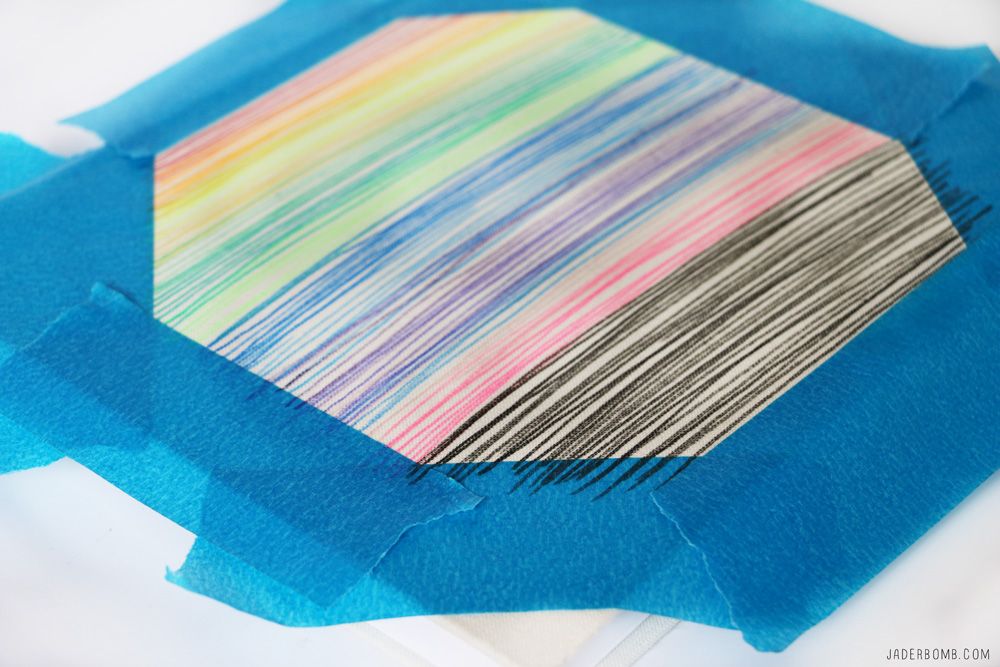
I am totally digging all of these wonderful colors! For me when I see bright colors it just instantly makes me feel better inside and I am sure it will do the same for you!

There are so many different things you can do with a blank canvas… If you want you can write your favorite quote on it or you can freehand a special drawing, the possibilities are endless!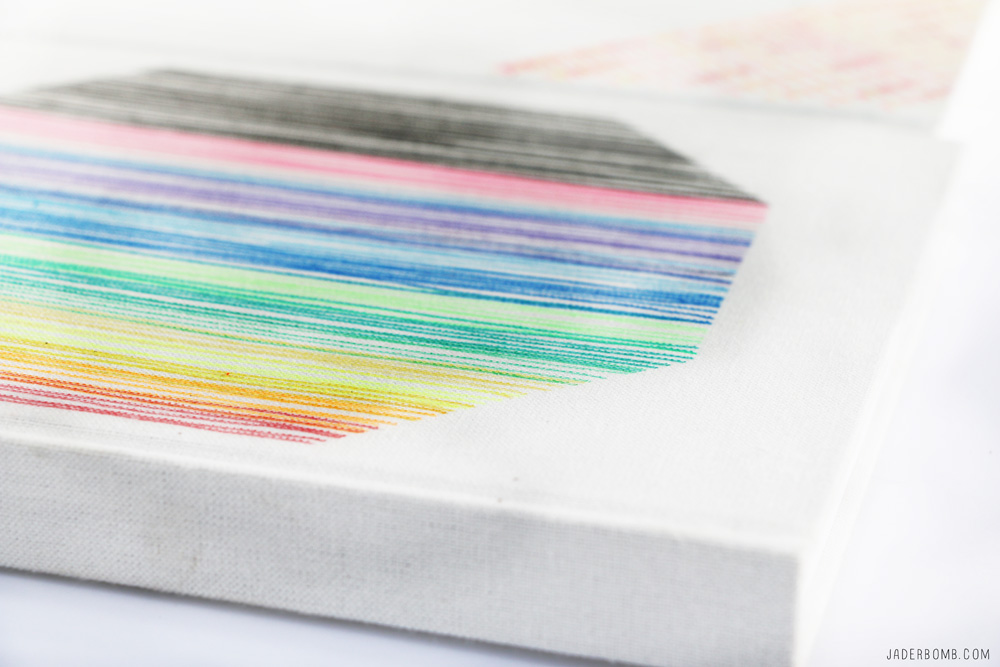
I even used some very thin tape to get a different look. Mix and match with thin tape and thick tape it’s all up to you!
If you notice below I drew lines completely over the tape to create one long line only because I know when I remove the tape I will have a white line where my tape is. 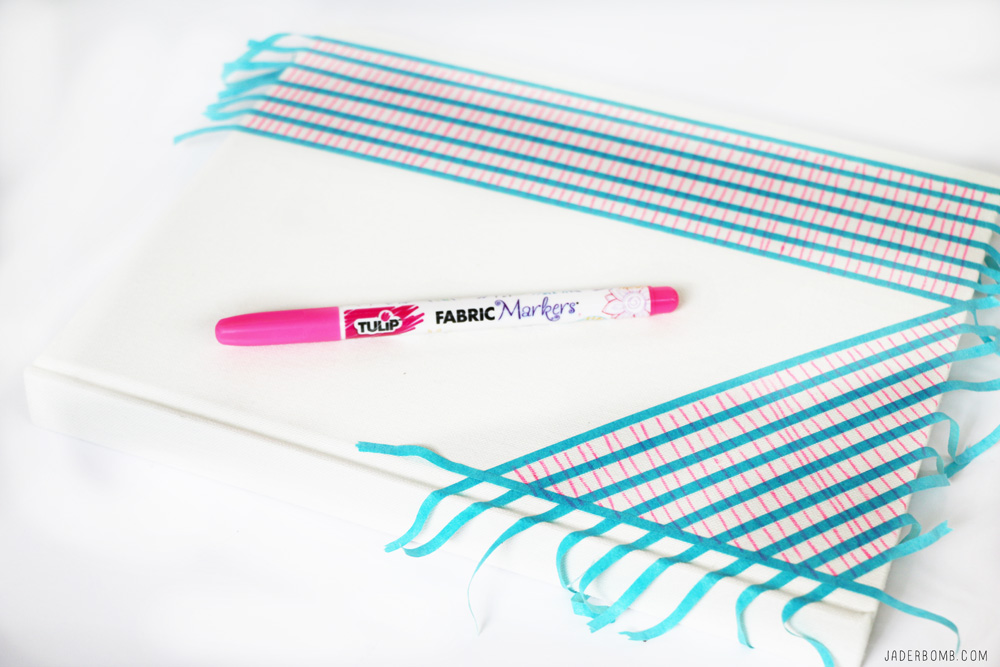
Don’t forget to mix and match your colors because they blend really nicely together. 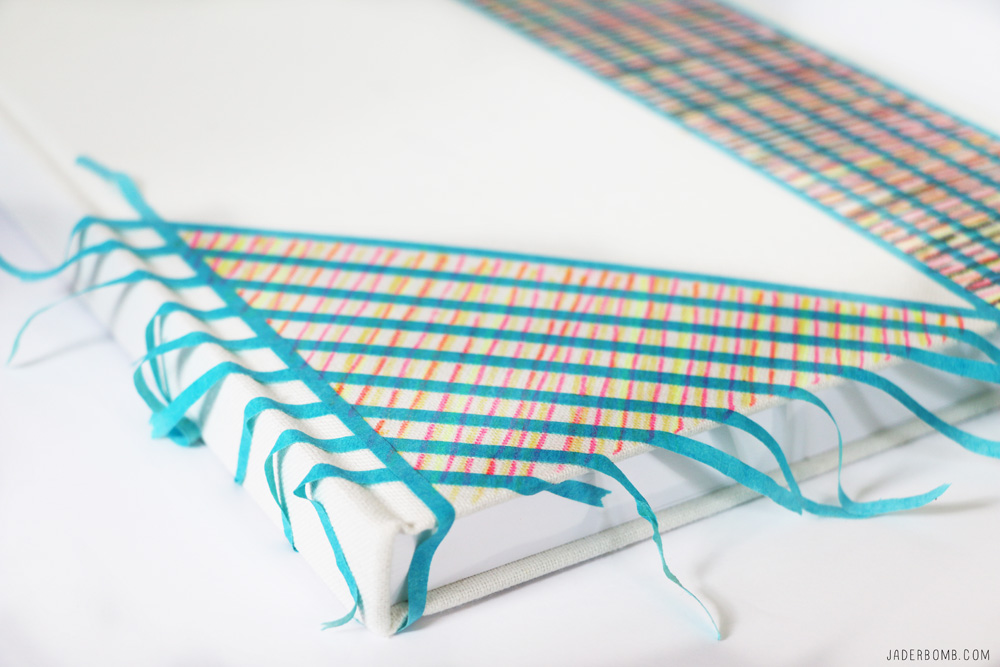
When I tell you pulling this tape off in the end is my favorite part… It’s like heaven to my fingers. Not even joking!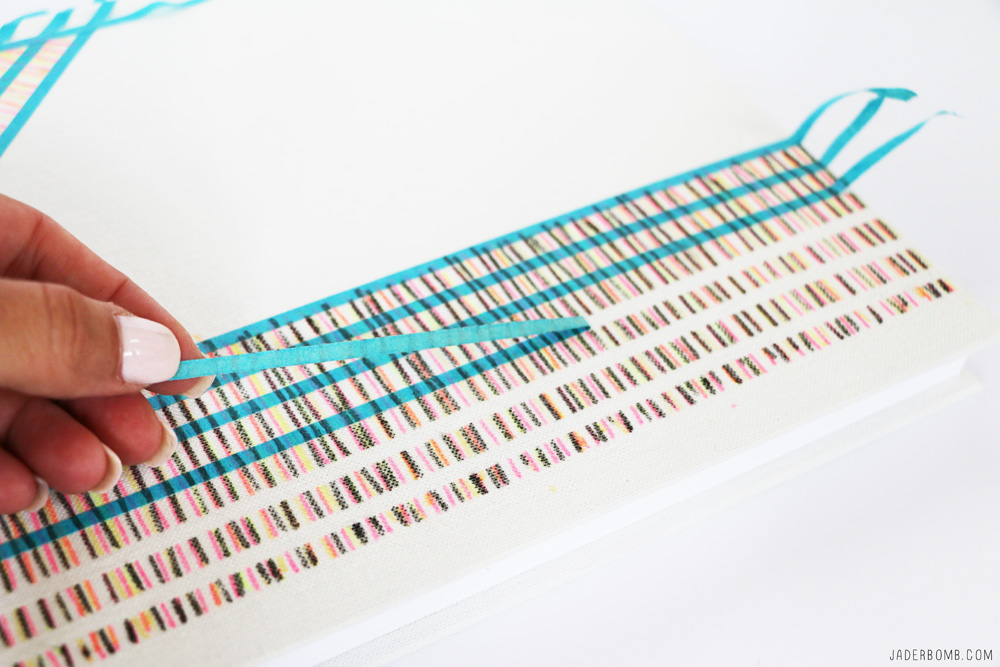
l like to use black as a accent color! It just adds a little BANG to the colors. 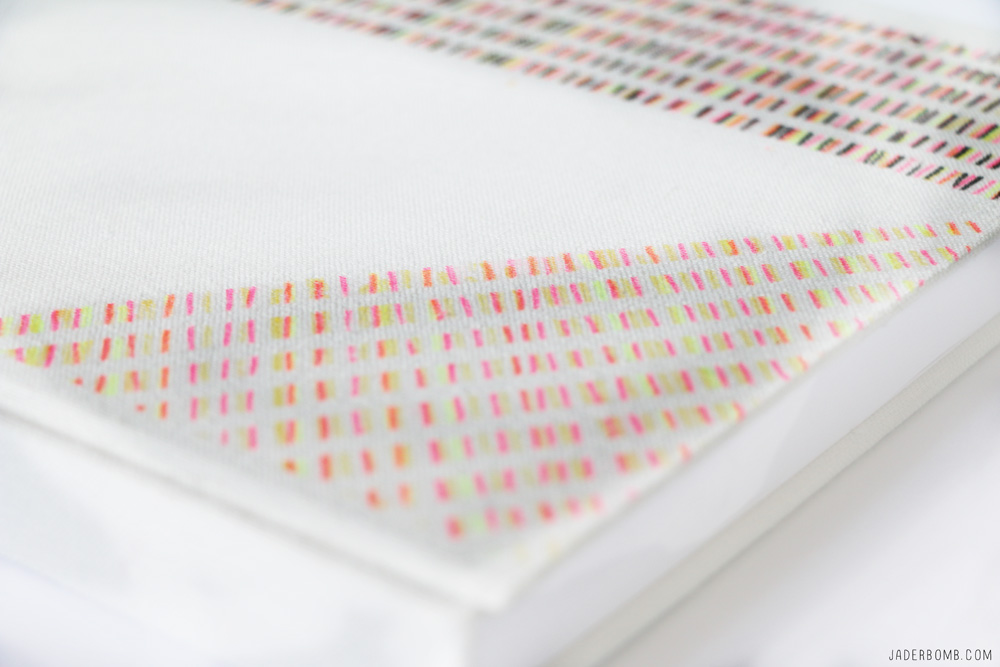
With over 800 new styles of craft paint, Michaels has more paints for more surfaces! Check out some of their new finishes including ultra-metallic & watercolor and get started on your next DIY!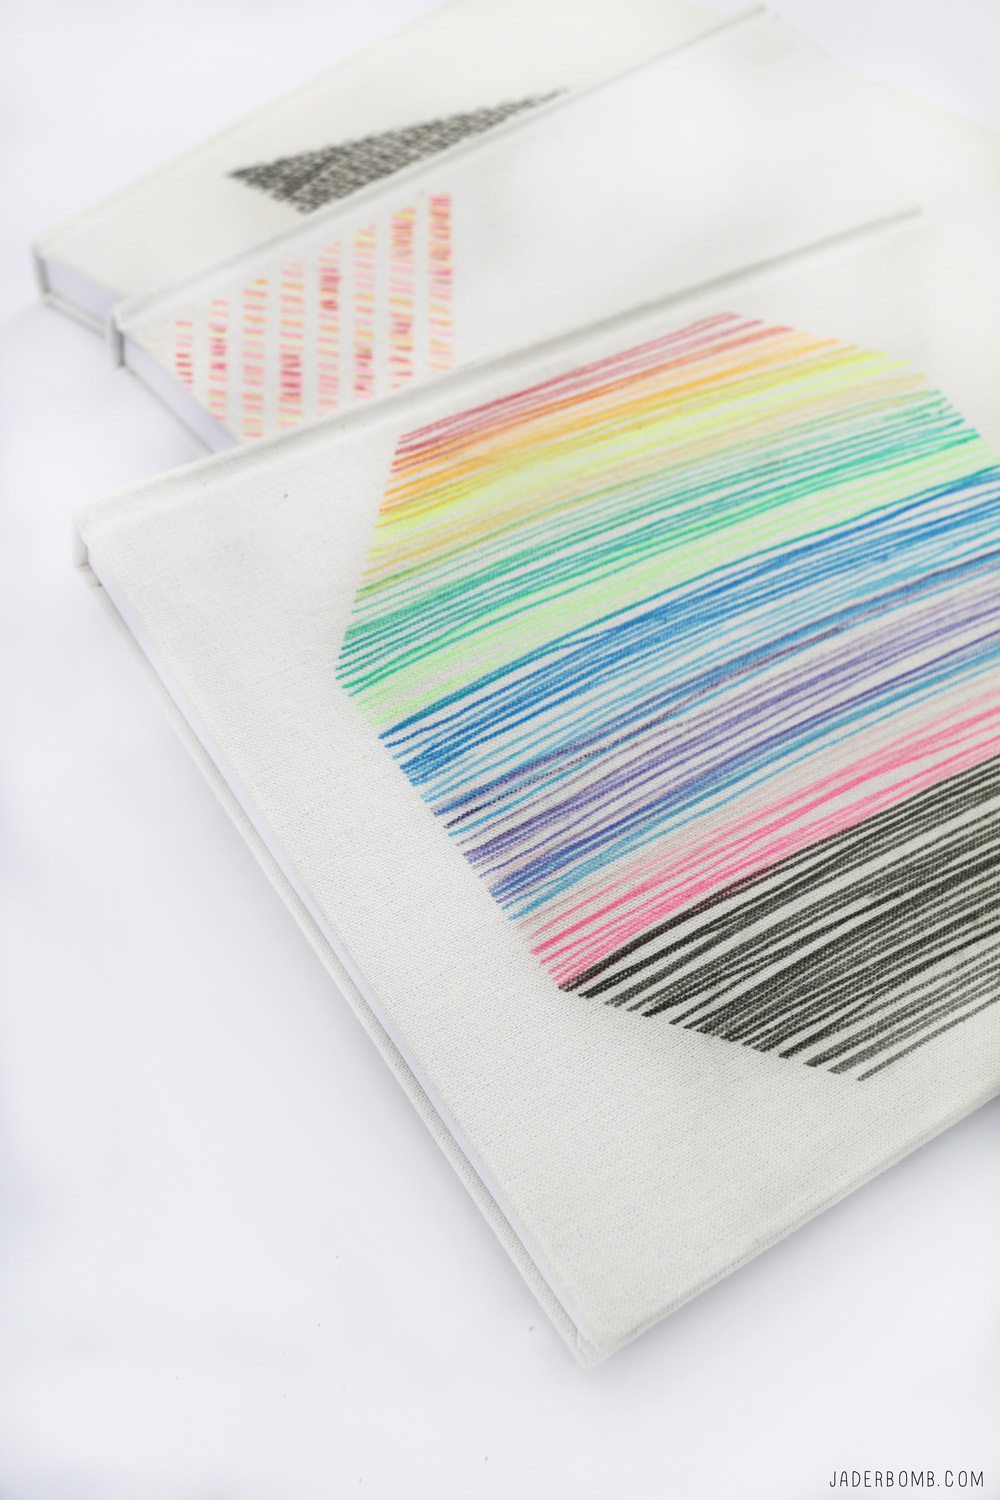
Remember my Fairy Gardens I made? Click HERE to see them, trust me you don’t want to miss them! I have these babies all over my house and they just bring me so much peace and happiness. 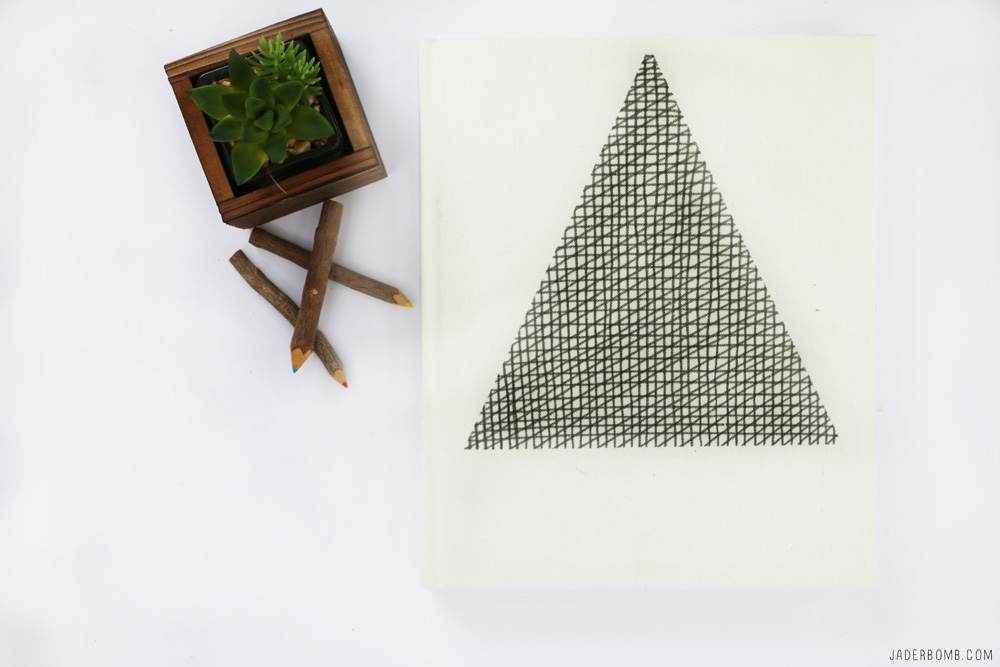
 I hope you enjoyed this project because I sure had fun making it! Sheesh I already gave away two of my journals… Wonder what I should do with the last one! Maybe I will keep it for myself! Hugs from my computer to yours, I LOVE YOU!
Looking for even more inspiration? Make sure you visit Michaels’ blog, The Glue String, to see the rest of the Michaels Makers’ DIY projects!
![]() Don’t forget to follow me on all of my social media channels because I love all of you to pieces!!!!
Don’t forget to follow me on all of my social media channels because I love all of you to pieces!!!!
FACEBOOK | INSTAGRAM | TWITTER | PINTEREST