Quote of the Day: TOMORROW IS ANOTHER DAY -American Proverb
Hey Jaderbugs! I am so excited to share today’s tutorial with you because it’s that time of year to put them to good use. This tutorial is for a live google chat that I will be doing today with Karen from The Graphics Fairy and Gina from The Shabby Creek Cottage. I will be streaming the Google chat LIVE so make sure and come back later! If you want to read a little more about what us three musketeers are up to click HERE.
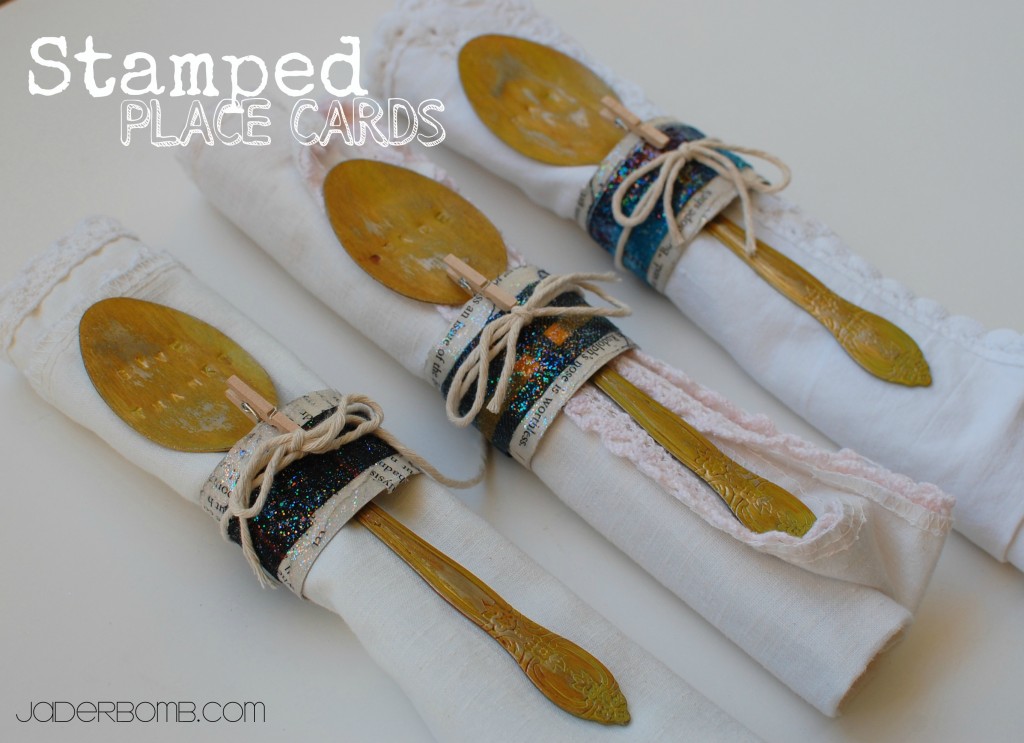
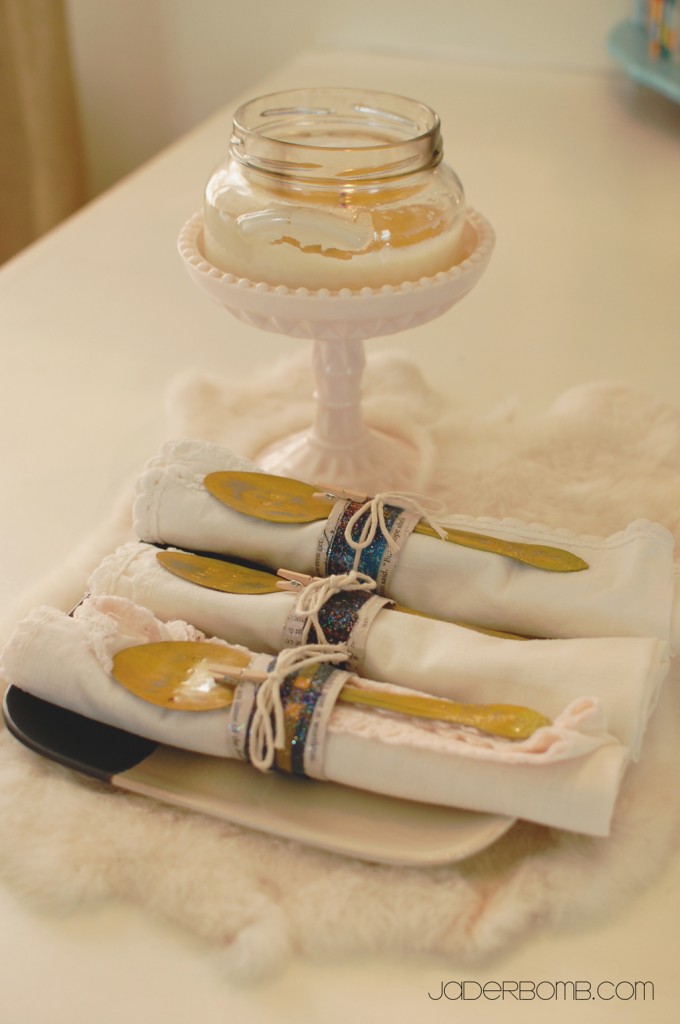
Today we will be making this:
Let’s get started
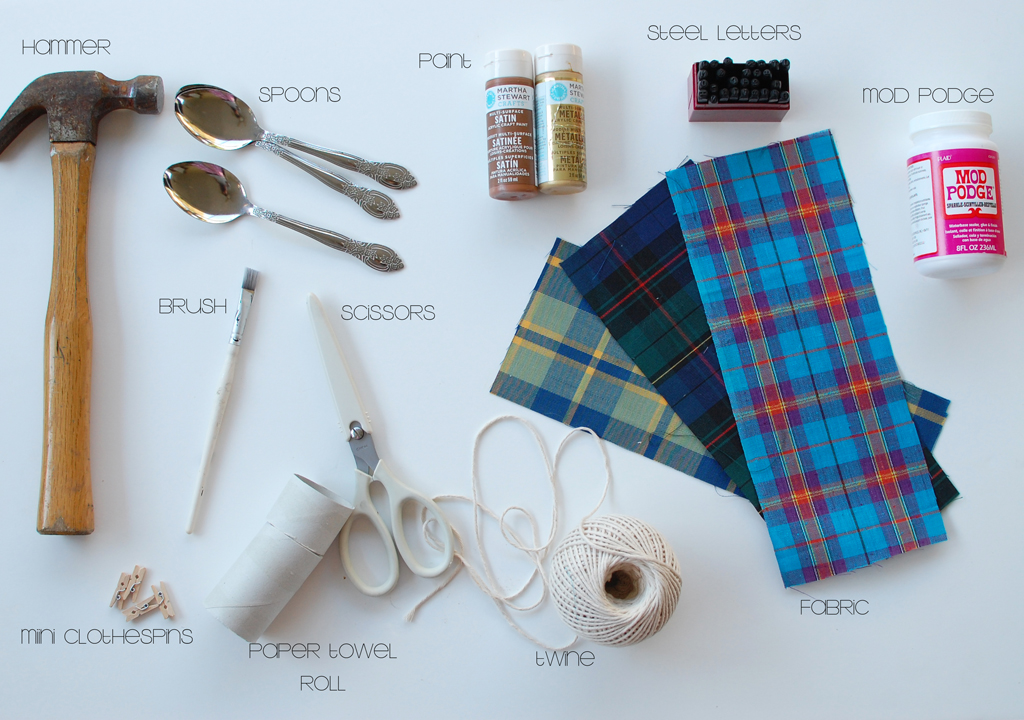
INGREDIENTS:
*Hammer
*Spoons
*Paint
*Steel Letters
*Sparkle Mod Podge
*Fabric
*Scissors
*Brush
*Twine
*Mini Clothespins
If you need any of these items just click the work and it will take you to a link to purchase them.
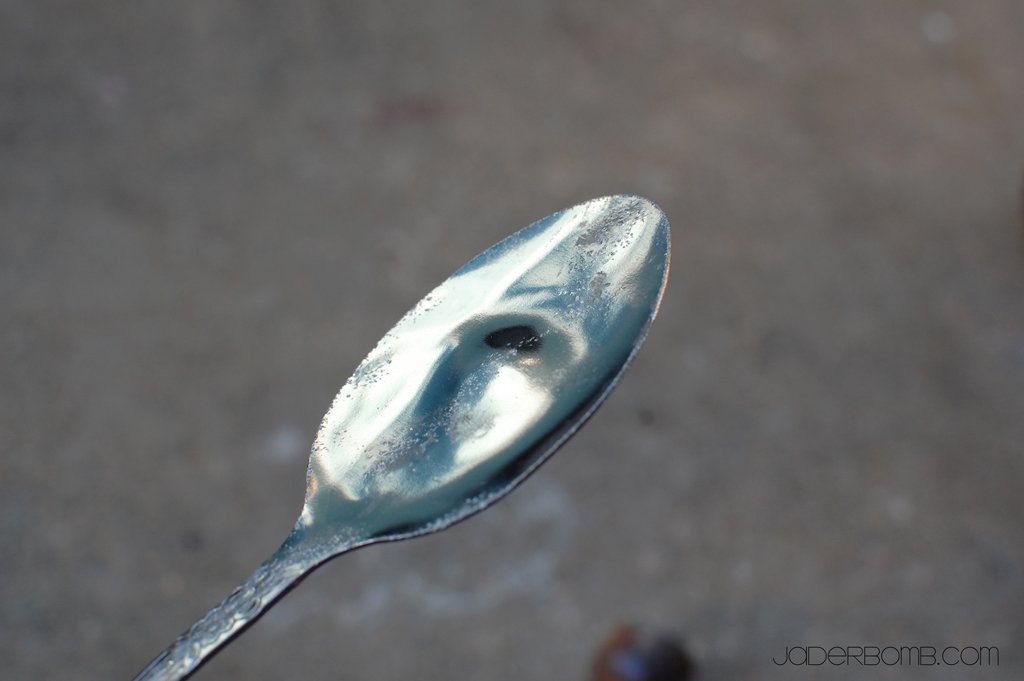
The first thing you will do is lay your spoon down onto concrete. I like to use concrete because when you hit the spoon with the hammer you get little indention’s from the cement onto the spoon. Trust me this will work in your favor later. I hit a few times with the spoon faced own and then flip it over and repeat the exact thing. It kinda is a stress reliever, haha!
This is what it will start to look like once you start hitting it. The goal is to get it completely flat.
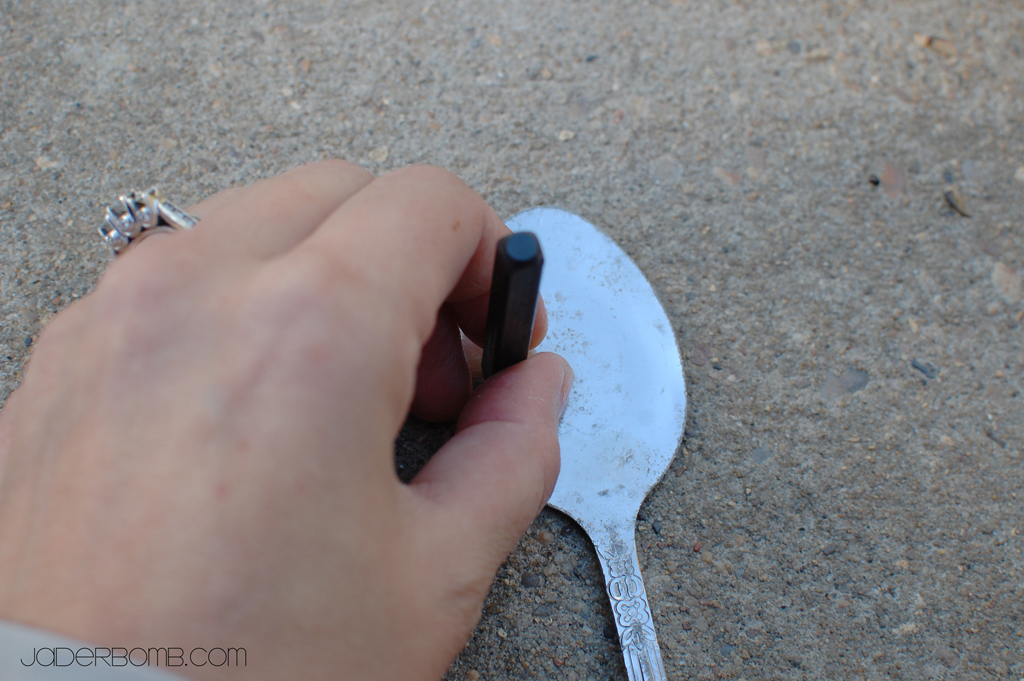
Once your spoon is flattened out you will grab your steel letters. You can get these at most hardware stores and they are NOT expensive. Maybe 15 bucks or less. Make sure your letter is facing the right direction, position the stamp on the spoon and hit the top real hard with the hammer. I hold it really tight so I can hit it about 2-3 times. This just imprints the letter better but you don’t have to do this.
Since we are doing Thanksgiving Place Cards you can now personalize each spoon with a person’s name, nick name or the party name. You can do whatever you want at this point. Fun right!
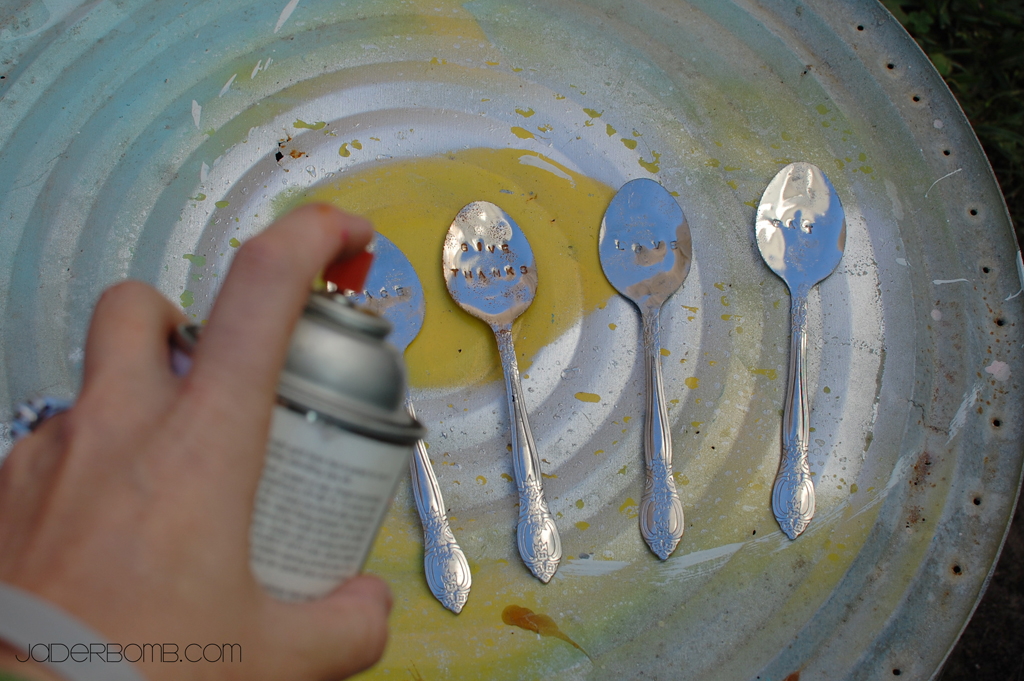
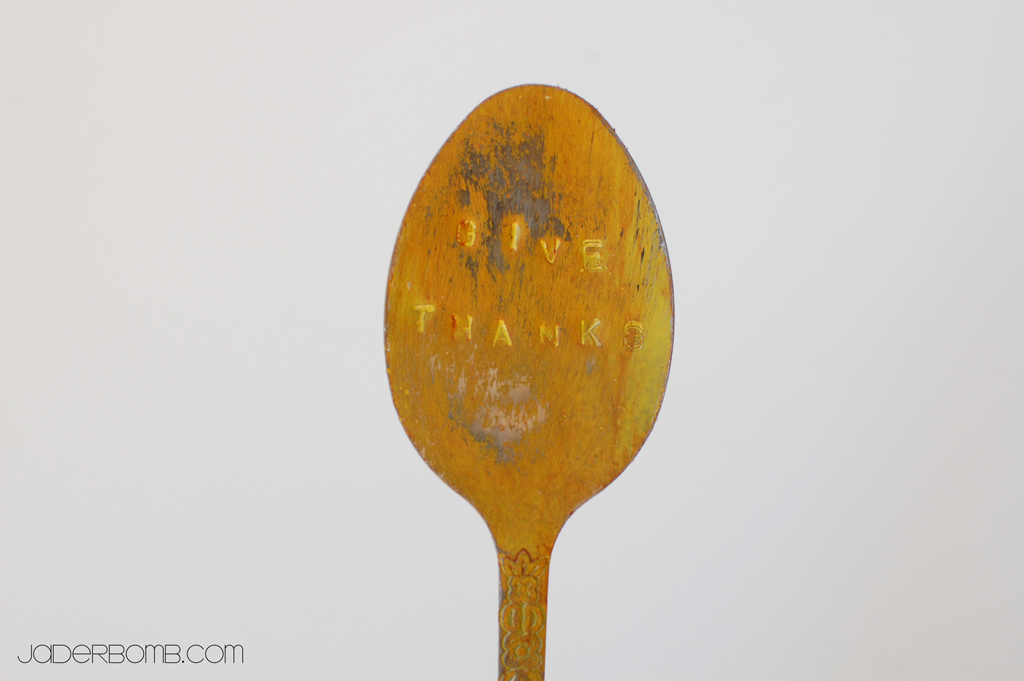
After you stamp them take them to a spot that is well ventilated. Grab whatever spray paint color you want and we will spray these babies. If you notice one of these looks like we antiqued it already. The reason why I am showing you this right now is because you might actually like the way it looks at this stage. If you want to know how I got the antique look on the the “Give Thanks” spoon scroll down a bit and you can see how I did it .
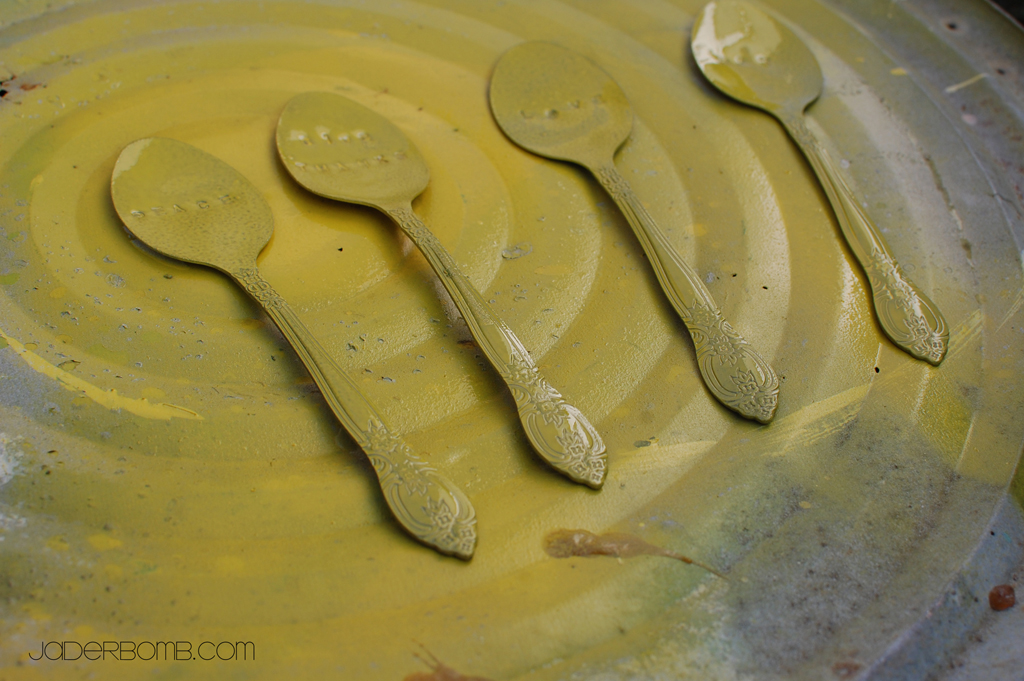
If you are spray painting them this is what they will look like with a quick coat on them. I don’t like to cover them 100% only because I will be rubbing some of the paint off. When it’s thicker it will be a litter harder to remove and it usually peels when it’s too thick.
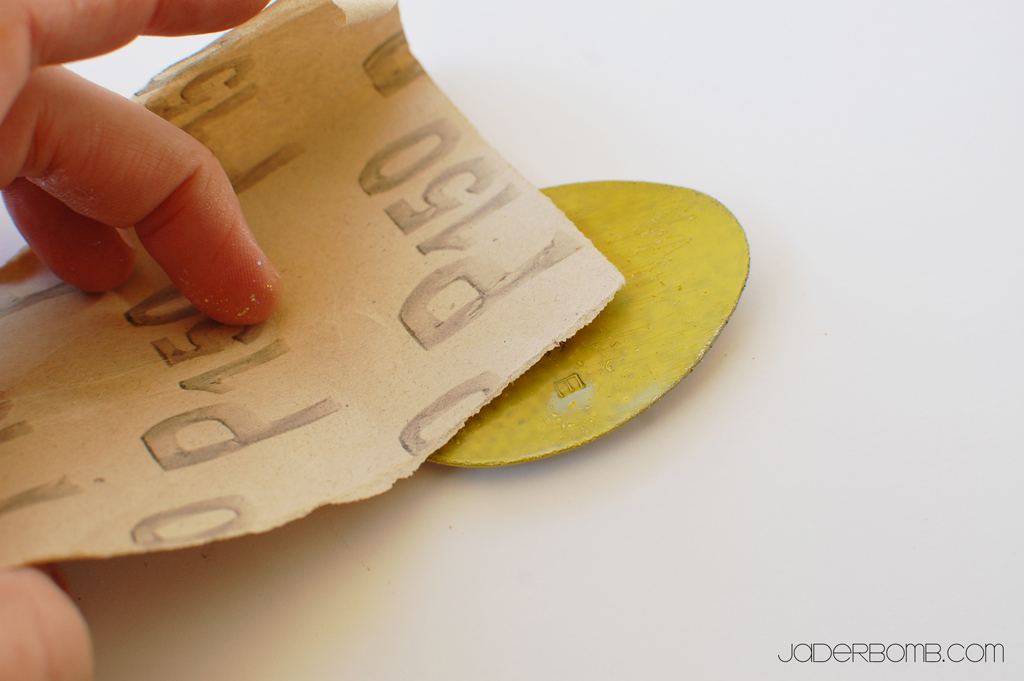
After you spray them you will let them sit for maybe 10-15 minutes. It just depends on how thick your paint is. If it’s not thick it will take 5 min to dry. Grab a little piece of sand paper and lightly rub the surface. I usually rub a little harder in some spots to remove more. When we age the spoons this will look great!
This is what they should look like after you rub them with sand paper. I honestly don’t know the number of the sand paper I used because it’s all I had. If it’s really course you will rub a little softer.
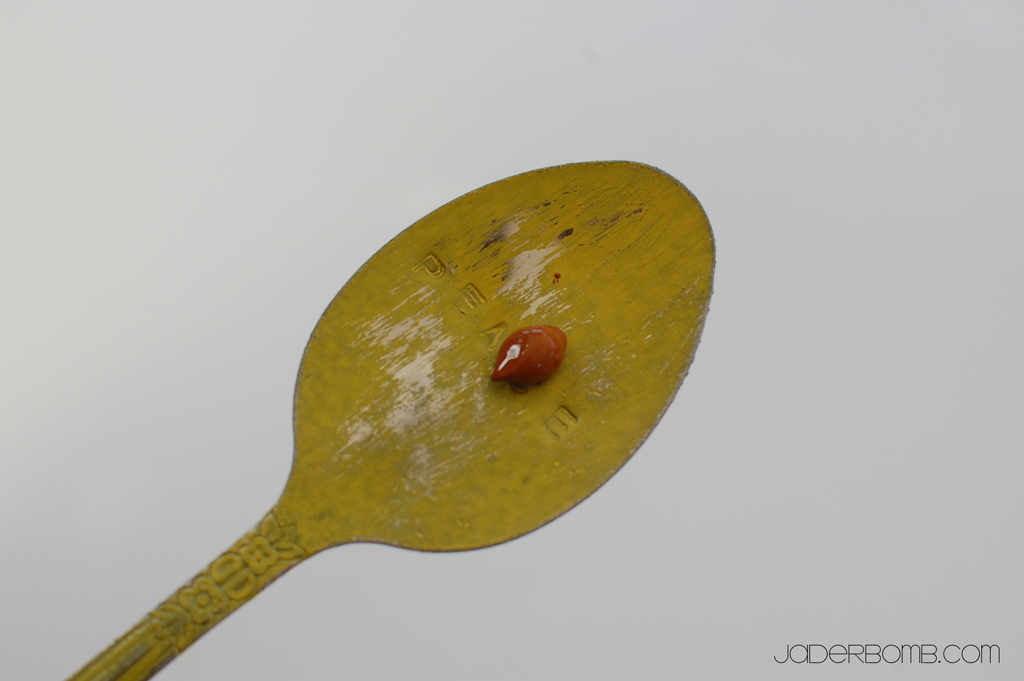
Next we will squirt a little drop of brown paint onto our spoon . Grab a paper town and start rubbing this brown all over the spoon. At first it will look like it’s covering the whole spoon but just keep rubbing until you are happy with the darkness or lightness of the color. You want to make sure you get the paint in the letters though. This is what gave that antique look in the spoon I showed you earlier. The good news is, if you rub too much of the brown off you can always add more.
You also don’t have to use BROWN. Just make sure it’s a darker color than your spoon color. I like brown’s and black’s because it ages them.
This is what my spoons looked like after I applied the brown paint. I put a little gold paint on top which you can’t really see unless you are looking at it in person.
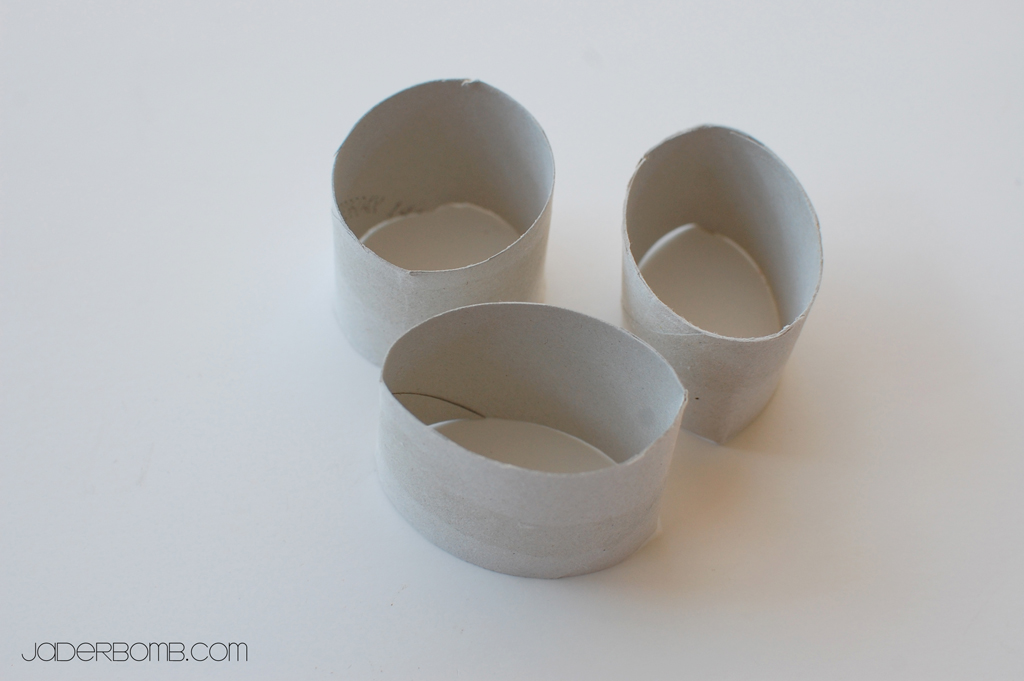
Next we will get the cardboard roll from our paper towel roll and cut them like I did below.
Grab a sheet of paper with words on it. You can get this from an old book, a new book, newspaper, magazine or a letter.
Tear pieces of it and start putting it on with your Mod Podge. If you have never used Mod Podge it will go on opaque but when it dries it will be translucent. That is my favorite thing about Mod Podge. I am using the SPARKLE one today to add a little flavor to these babies.
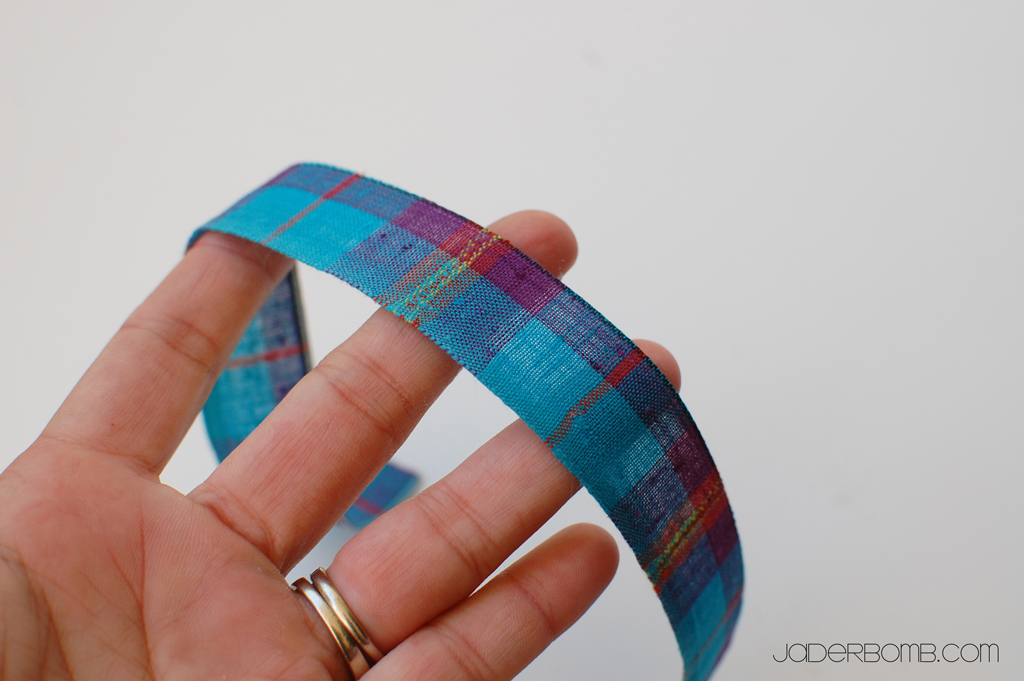
Grab your fabric and cut a few strips like this.
The width should be smaller than the piece of cardboard. Start applying your fabric with your Sparkle Mod Podge.
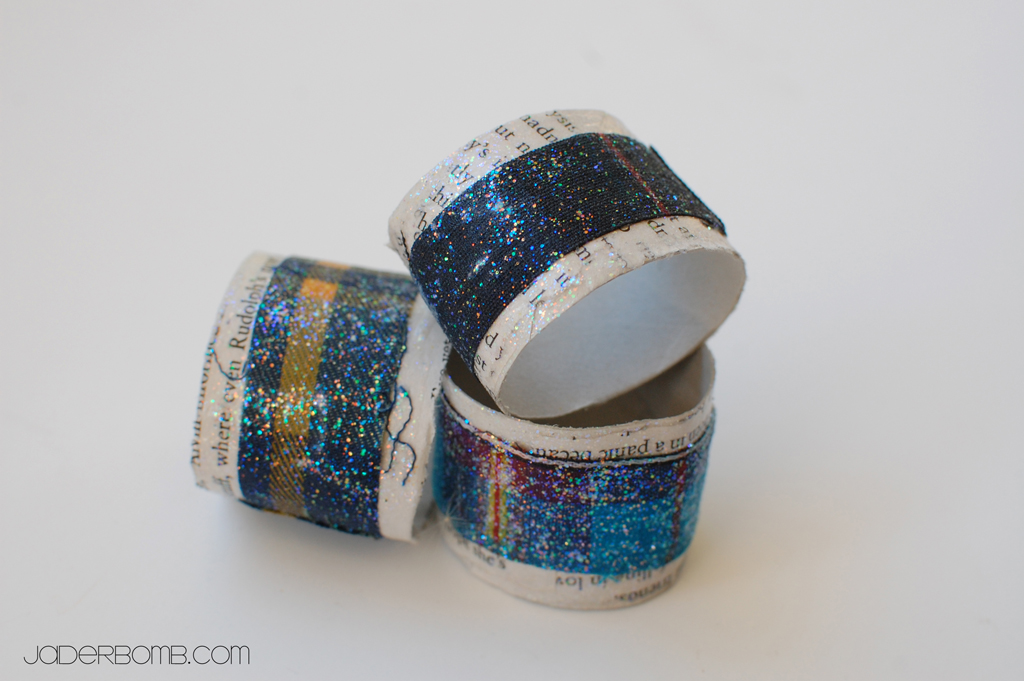
The other good thing about Mod Podge is when it dries it kinda stiffens your surface which in our case today is nice! Below is what they will look like when they are completely dry. Pretayyyy ayy!
Get a little piece of your rope, twine, or whatever string you are using. Tie it around the middle and make a small bow.
That’s it everyone! It’s that simple. What I really love about this craft is when your guests leave they can take the spoon with them as a keepsake.
See you in the next post with glitter and glue sticks,

