Tag Archives: 100 days of Martha Stewart

Martha Stewart Countdown #56 Twine Dispenser

If you ever found twine, rope, string or yarn scattered all over the place then you NEED to see this craft!!! I have so much twine all over my studio it’s CUH-RAZY!! The best part is you can make them any size! SO MUCH FUN!

You will need: wire, needle nose pliers and whatever your filling these babies with!

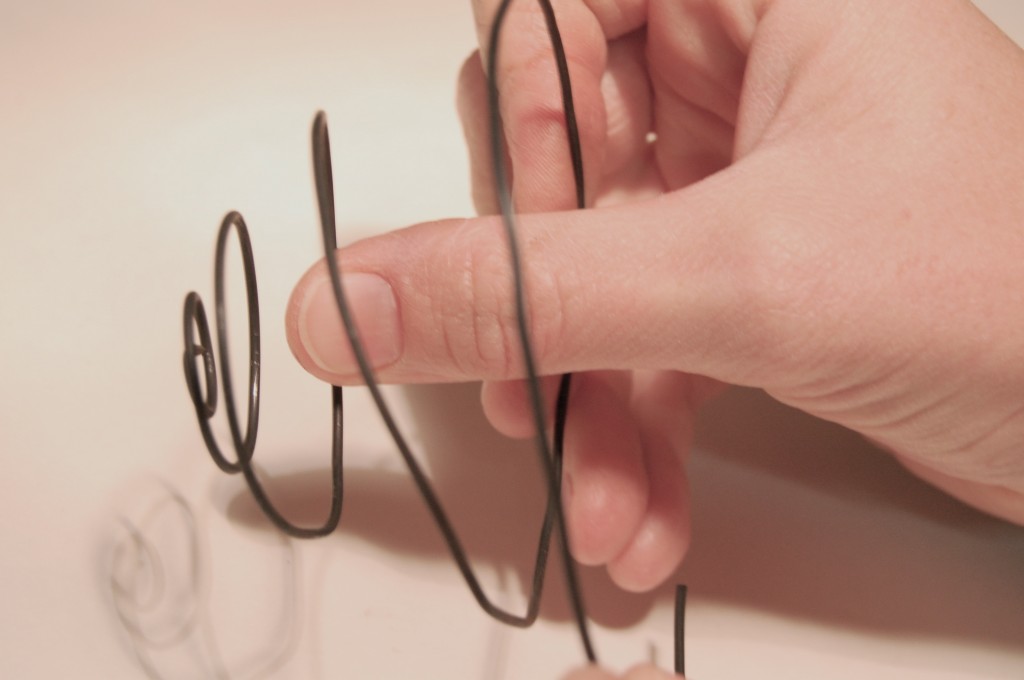
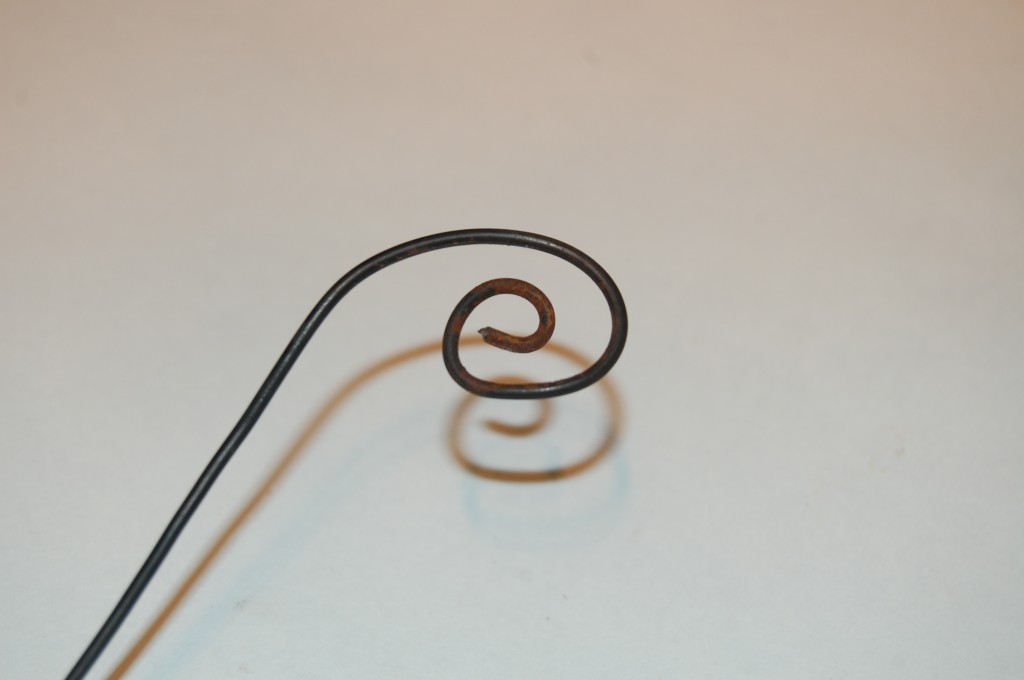
You want to start by cutting a piece of wire (about 18″). You will cut 2 pieces. If you want you can use a smaller or larger piece depending on how much twine you are putting inside. Curl one end of the wire.

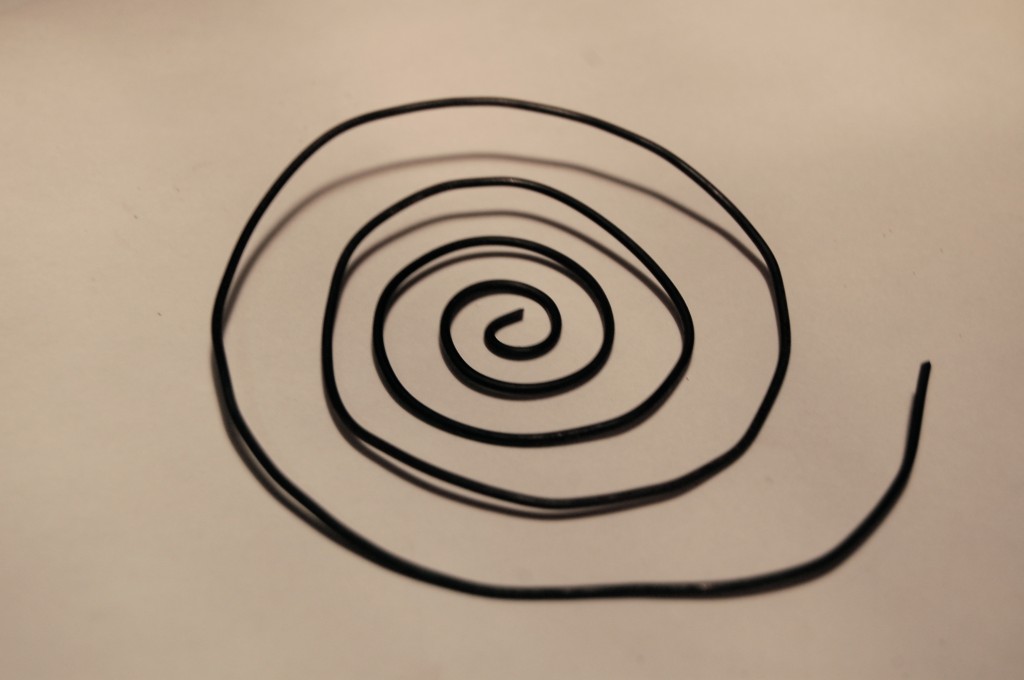
Keep curling…

Till you get a big ole coil!

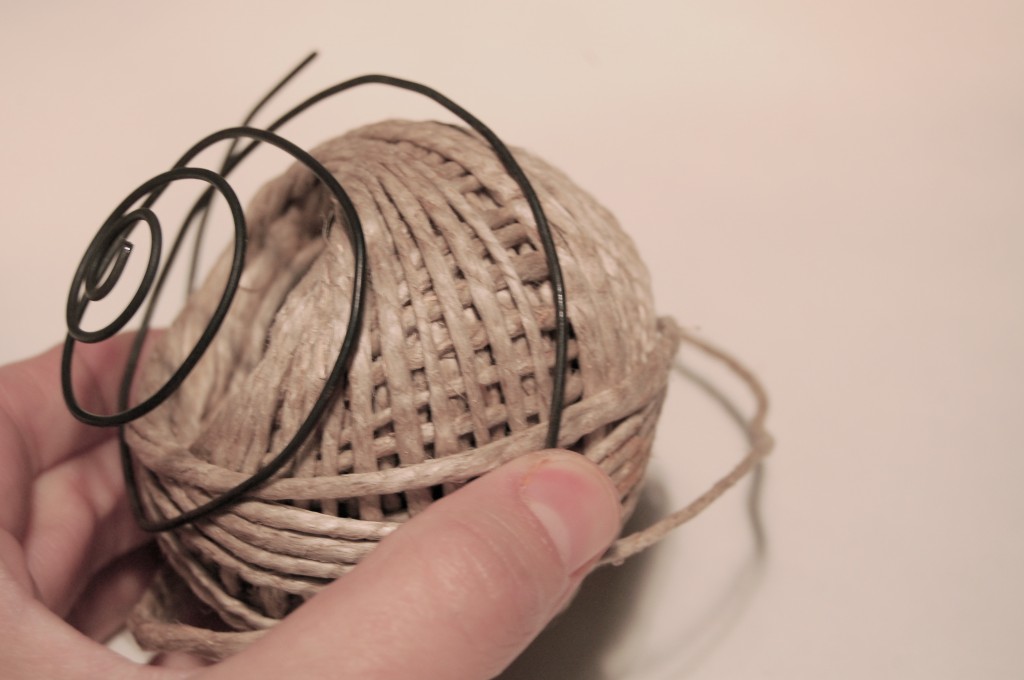
When you are done curling you want to push OUT the inside.

Then put your twine inside. Now is the time to get your second piece and repeat the steps. When you are done put it on the other end and it will enclose the twine.

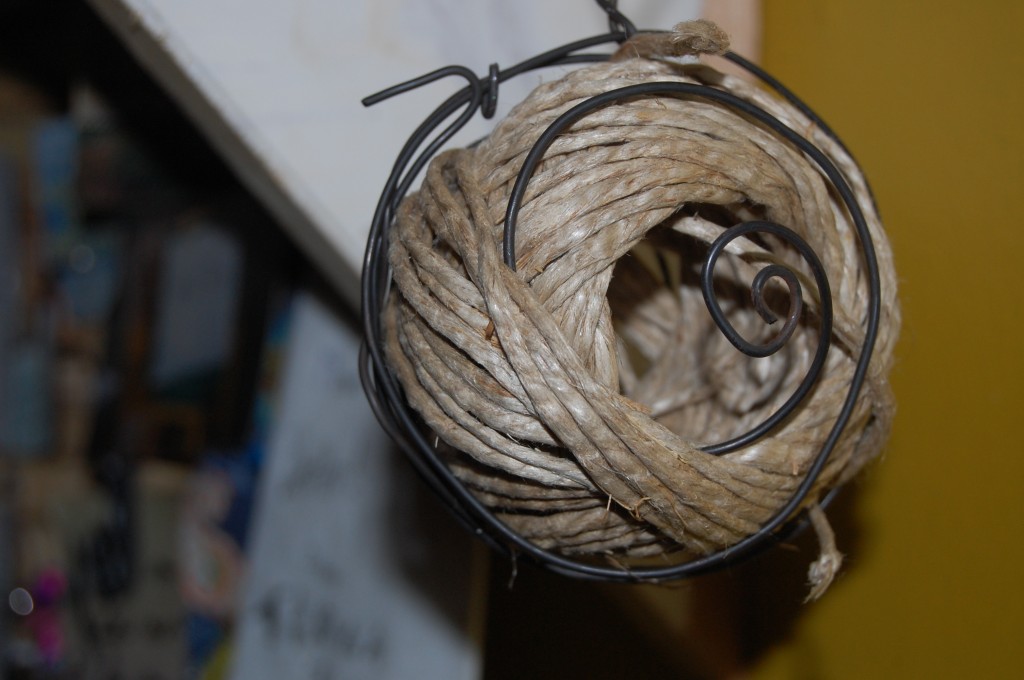
This is what you will get! HOW AWESOME! I hung it up in my kitchen so it is ALWAYS available to me!

Now I am really going to bed, jaderbomb

Check out Martha’s original craft HERE

(me on the show!)
Just in case you are not aware of my countdown I am doing right now you can click HERE to read all about it!!!
Make sure you click on the Martha countdown tab on my blog to see the crafts I have already done!
And I will put a link on my website which is www.jaderbomb.com!!!!
AND IF YOU DECIDE TO DO ANY OF THE CRAFTS, SHOOT ME AN EMAIL AND I WILL ATTACH  IT TO THE POST WITH A LINK THAT GOES STRAIT TO YOUR BLOG!  IF YOU DON’T HAVE A BLOG JUST EMAIL IT TO ME AND I WILL PUT IT UP!!!!
Thanks to Martha Stewart crafts for sponsoring me with craft supplies!

Martha Stewart Countdown #55 Origami Nesting Boxes

Howdy Jader-roo’s! I hope you enjoy this craft because I think this will save you lot’s and lot’s of MOOLAHHH!! These boxes are so pretty, but they take some patience to create.
I will explain the directions I used and I will also put at the bottom the way to do it if you DON’T have a Martha Stewart scoring board. (which btw is a MUST if you love to craft). I swear, I didn’t realize how much I “needed” one of these babies until I got one!

All you will need is a scoring board, paper trimmer, double stick tape and lot’s of love! If you don’t have a scoring board you can follow these directions.

OH! Here is my friend FIGGY! He made a video on how to make this. Sometimes two is better than one! Figgy works for Martha and he is something else ((all good though))

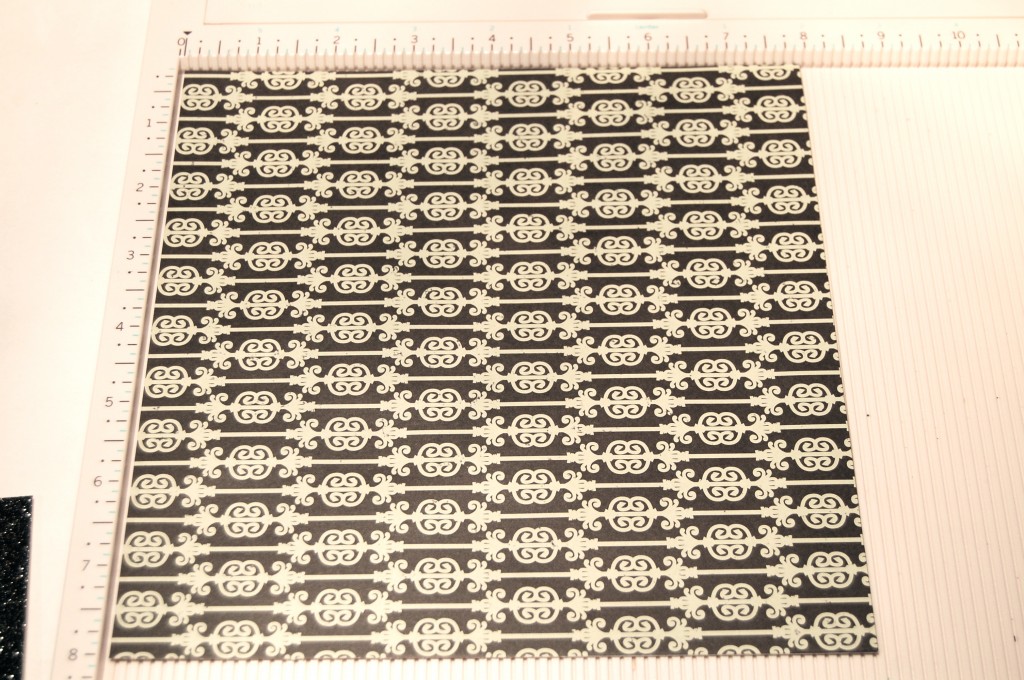
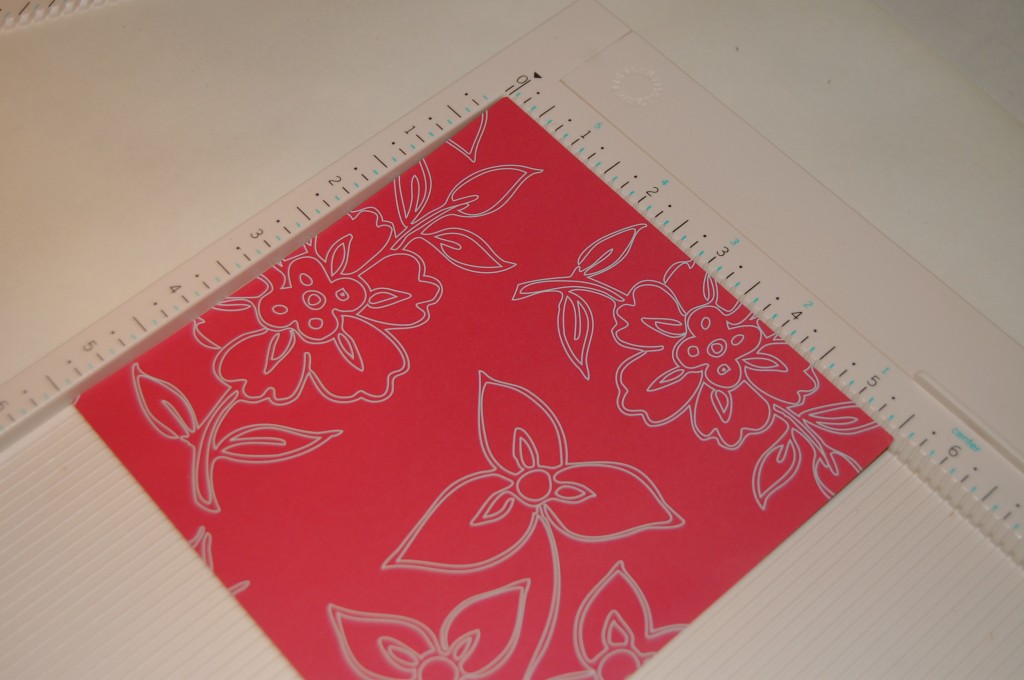
I start off with a 7 x 7 sheet of paper.

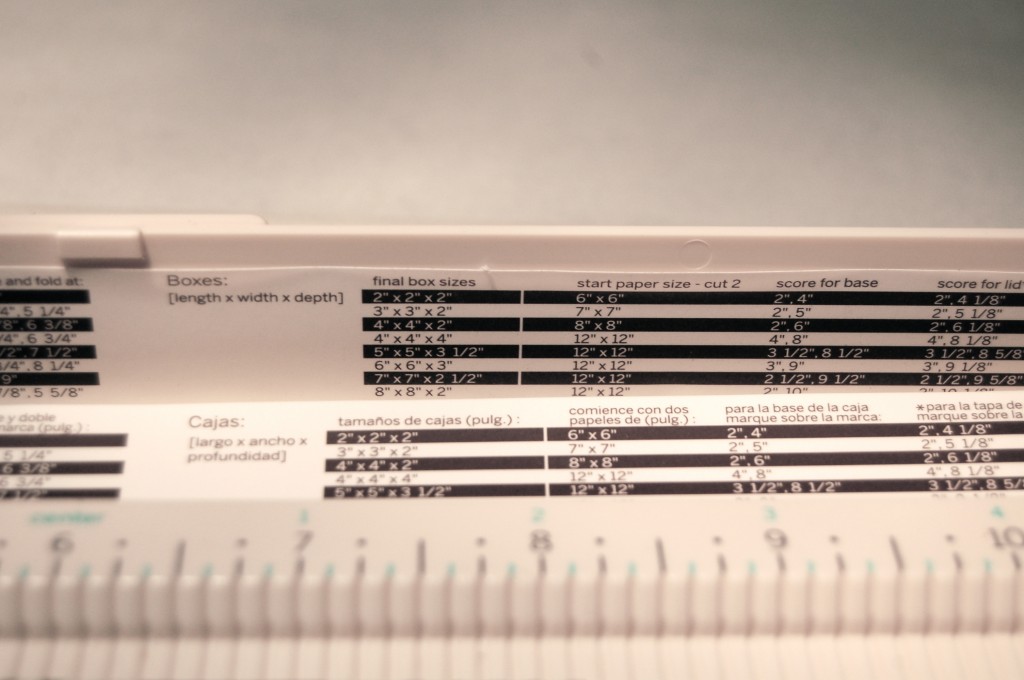
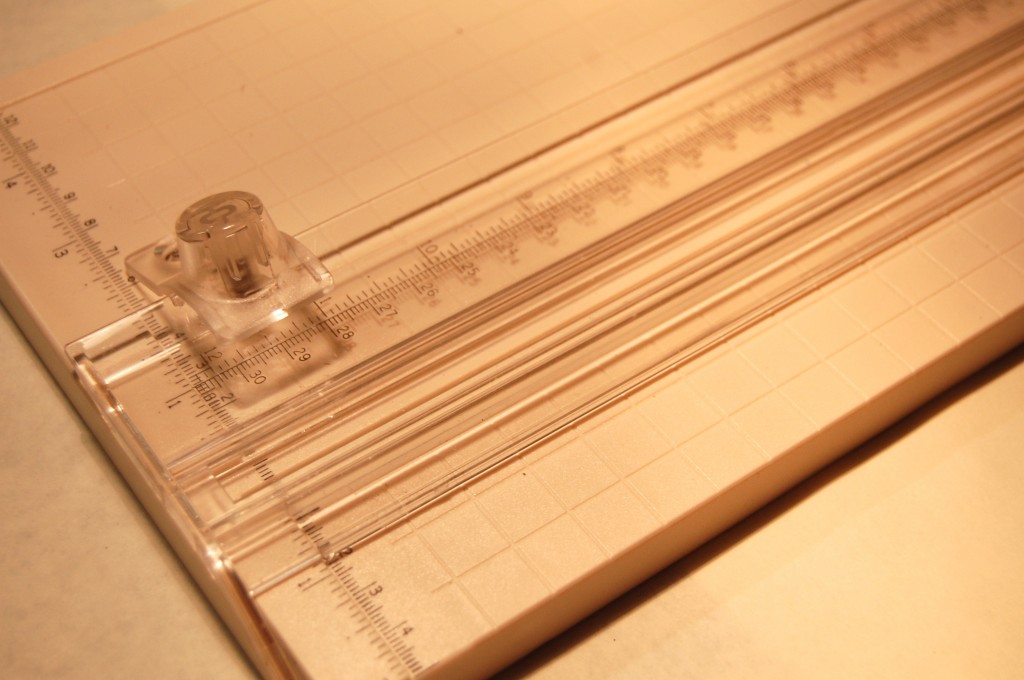
As you can see on the scoring board they have a “cheat sheet” for you to follow! Lemme tell you this baby is handy!

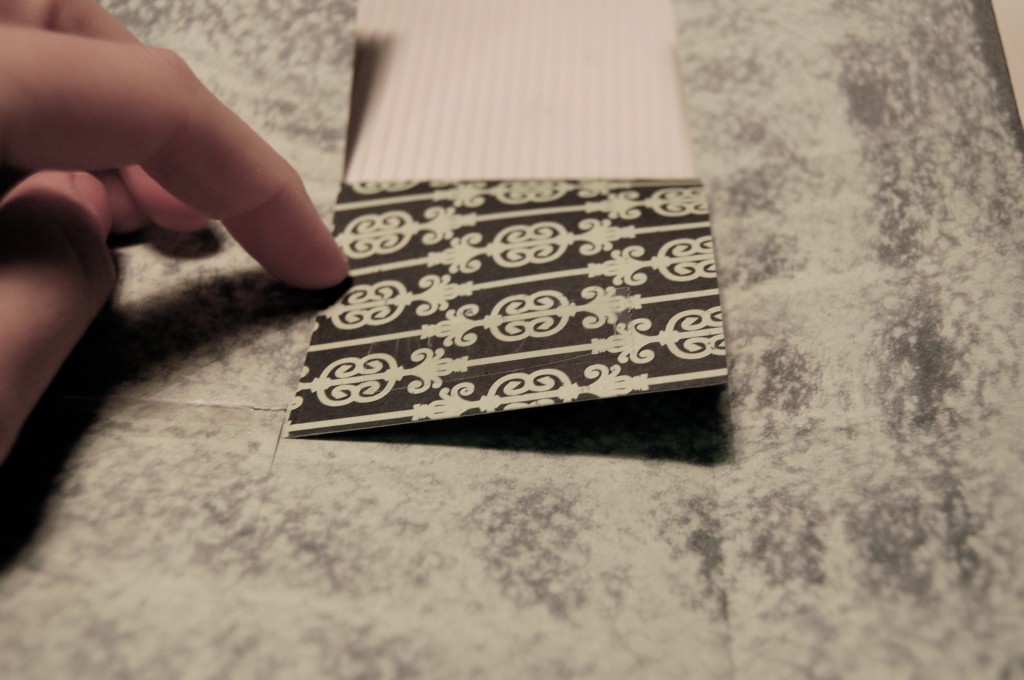
After you score you paper to the correct measurements they you will fold the middle flap down like so…

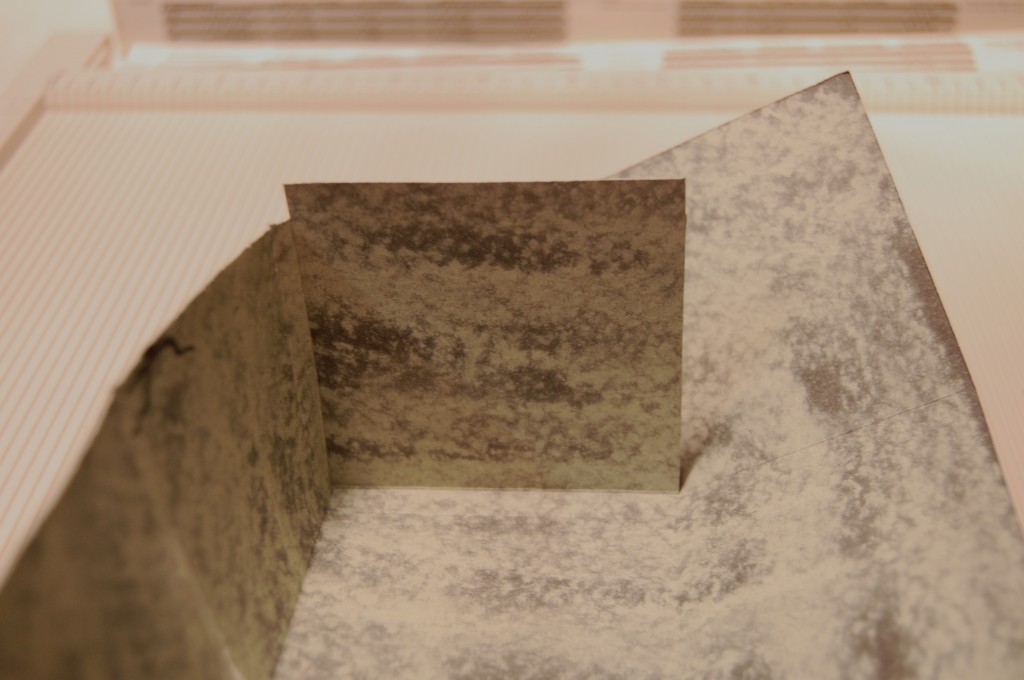
Next you will take your double stick tape and start folding the outside flaps inward. Kinda like we did when we made the envelopes!

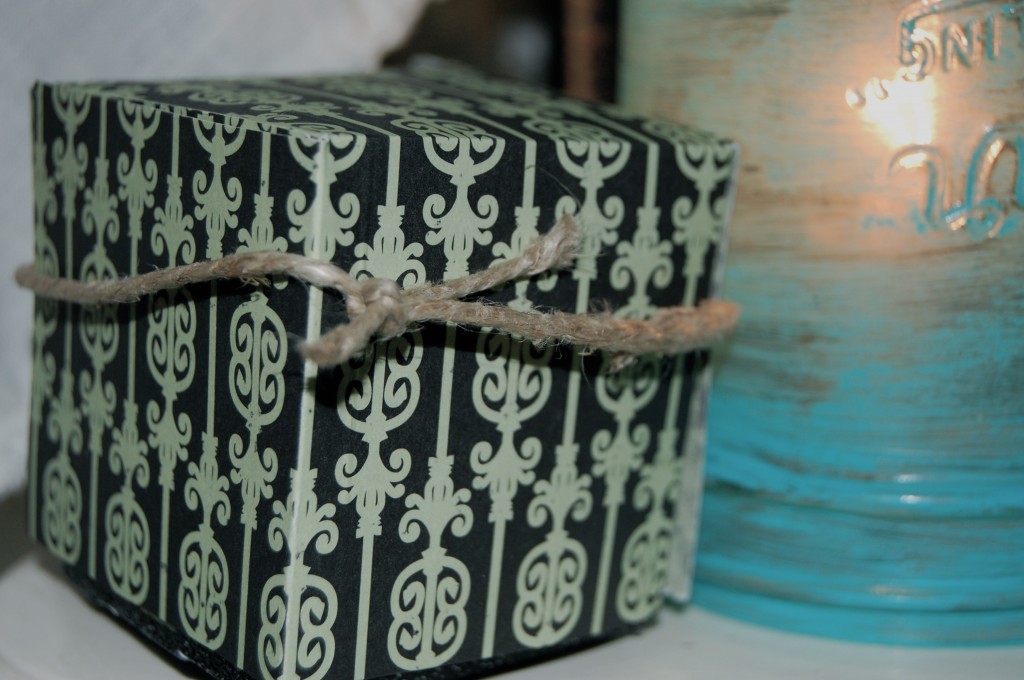
Tadahhhhh!!! It’s my very own gift box! I am so excited that for Christmas I can use paper I already have and make boxes with my own two hands! {{I wish I had 8 hands}}

Check out Martha’s original craft HERE

(me on the show!)
Just in case you are not aware of my countdown I am doing right now you can click HERE to read all about it!!!
Make sure you click on the Martha countdown tab on my blog to see the crafts I have already done!
And I will put a link on my website which is www.jaderbomb.com!!!!
AND IF YOU DECIDE TO DO ANY OF THE CRAFTS, SHOOT ME AN EMAIL AND I WILL ATTACH  IT TO THE POST WITH A LINK THAT GOES STRAIT TO YOUR BLOG!  IF YOU DON’T HAVE A BLOG JUST EMAIL IT TO ME AND I WILL PUT IT UP!!!!
Thanks to Martha Stewart crafts for sponsoring me with craft supplies!

Martha Stewart Countdown #54 Making Custom Envelopes

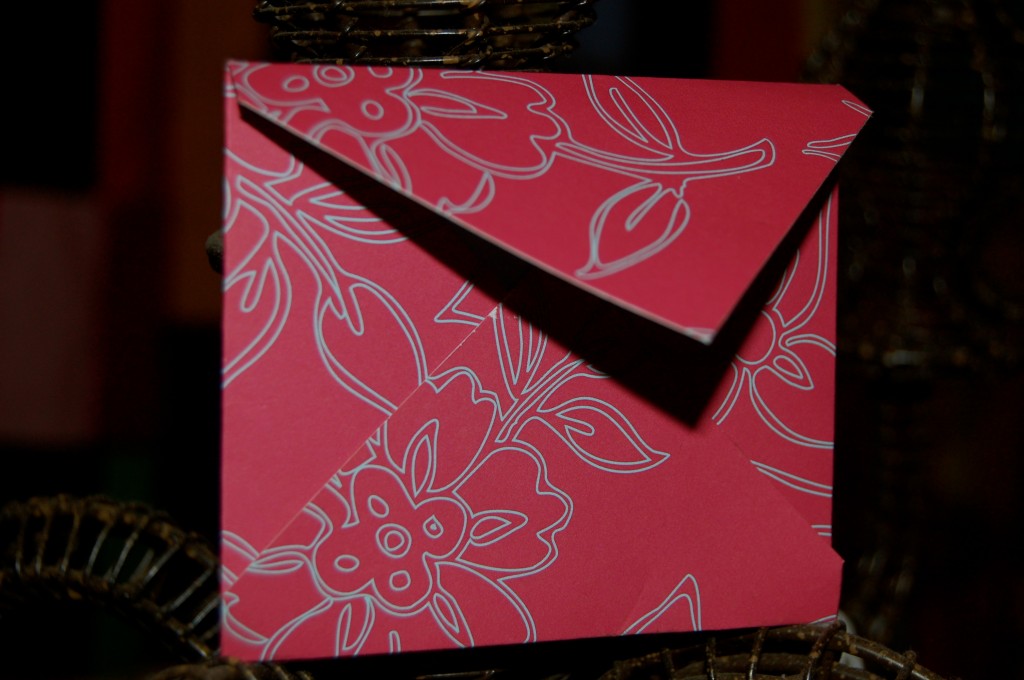
Can you believe in the early part of the 19th century, letters were not mailed in envelopes. Instead, they were folded and the addresses placed on the outside of the sheet. A homemade card certainly calls for an envelope that’s equally as special. It’s easy to create one that’s customized to the size and shape of your card. Plus if you have something “special” to mail you can design your OWN unique envelope. Let me tell you THESE BABIES ARE EASIER THAN I THOUGHT!

Tools and Materials
Paper or card stock
Card
Triangle or ruler
Bone folder and Scoring Board
Scissors or Paper Trimmer
Glue stick or double stick tape

If you don’t have a scoring board you can click on the link HERE to see the directions on how to make with with just a ruler and pencil {pretty much}.

http://www.youtube.com/user/MarthaStewartCrafts#p/u/7/8GWCaXNKe2s

I recommend using a paper trimmer to get your paper to it’s exact measurement.

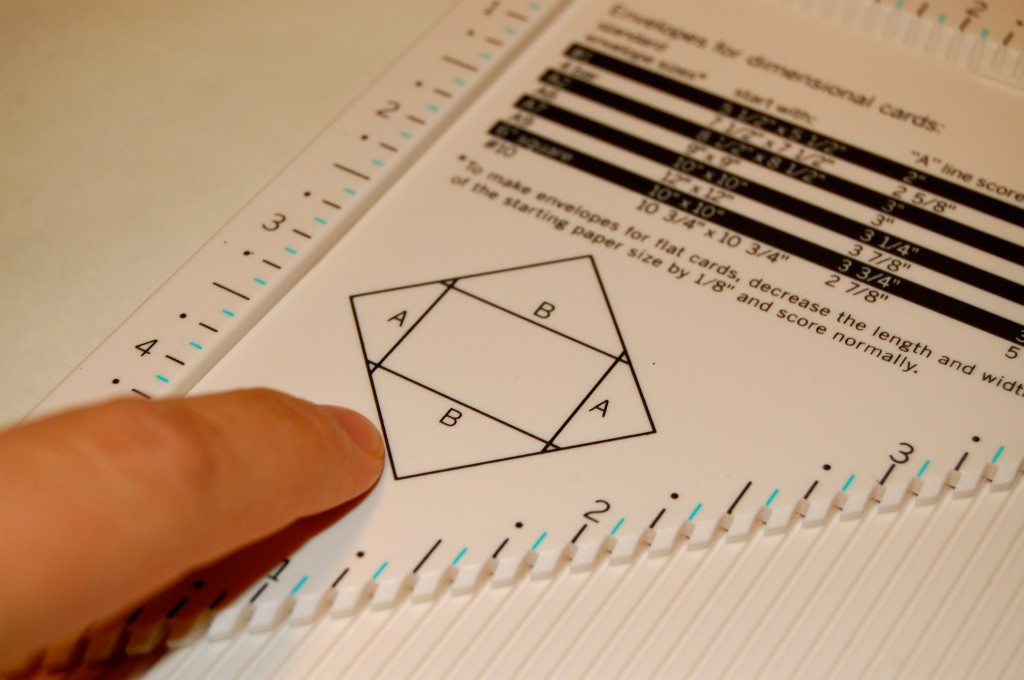
You can use the scoring board to check your measurements when you are done.

What’s really cool is the scoring board comes with this little device that allows you to make any size card. It’s very easy to understand!

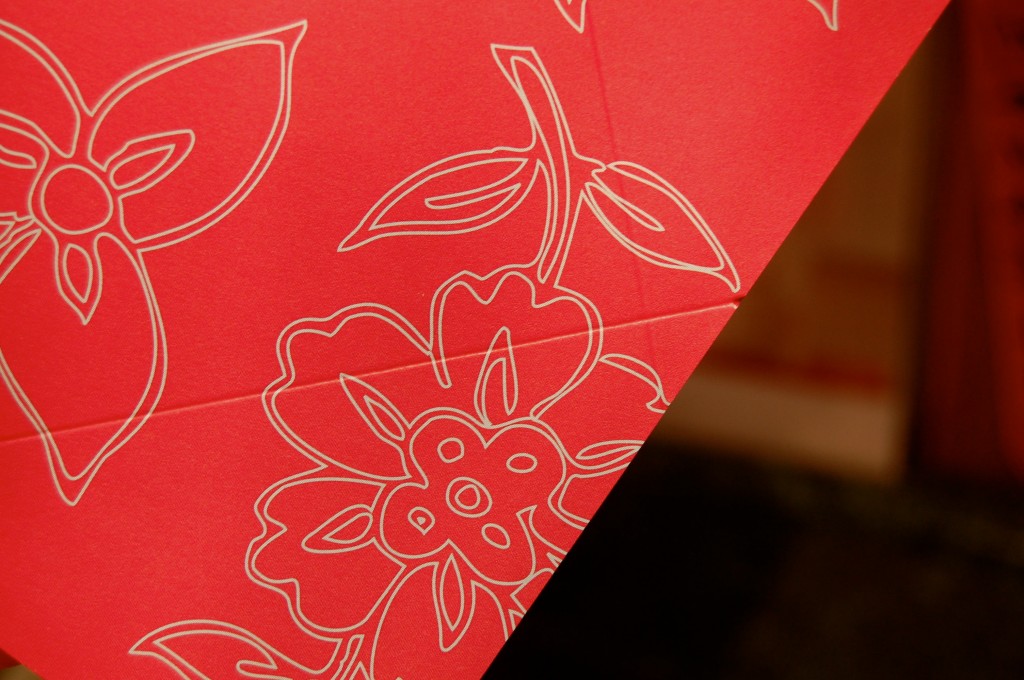
This is what it should look like after you scored the paper! FYI don’t press too hard because it will CUT the paper!

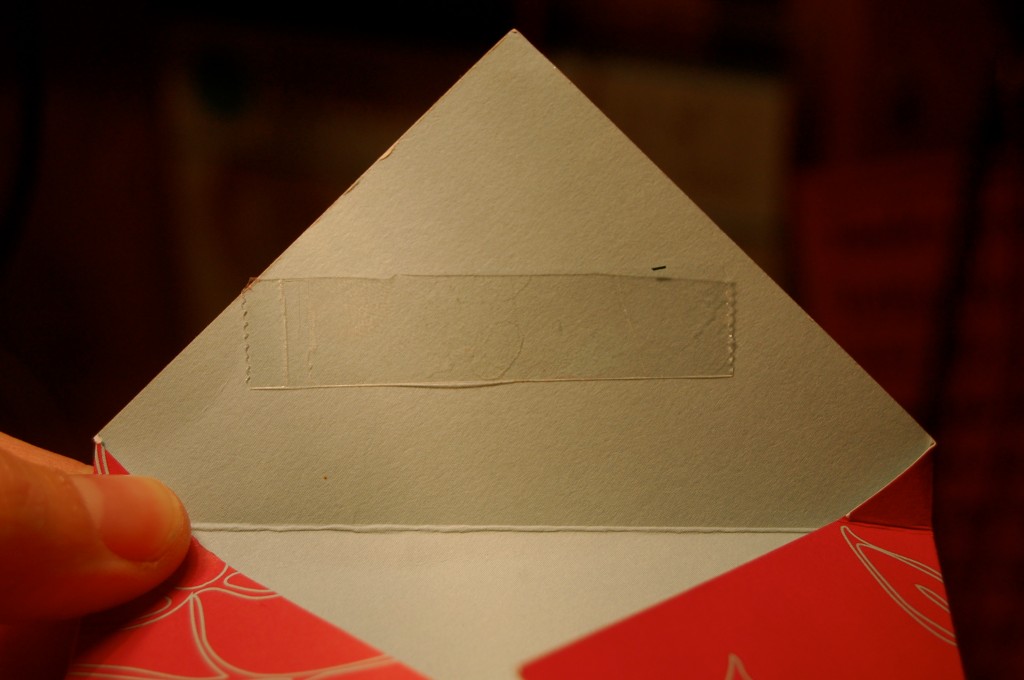
Use double stick tape because it’s the easiest thing for this part!

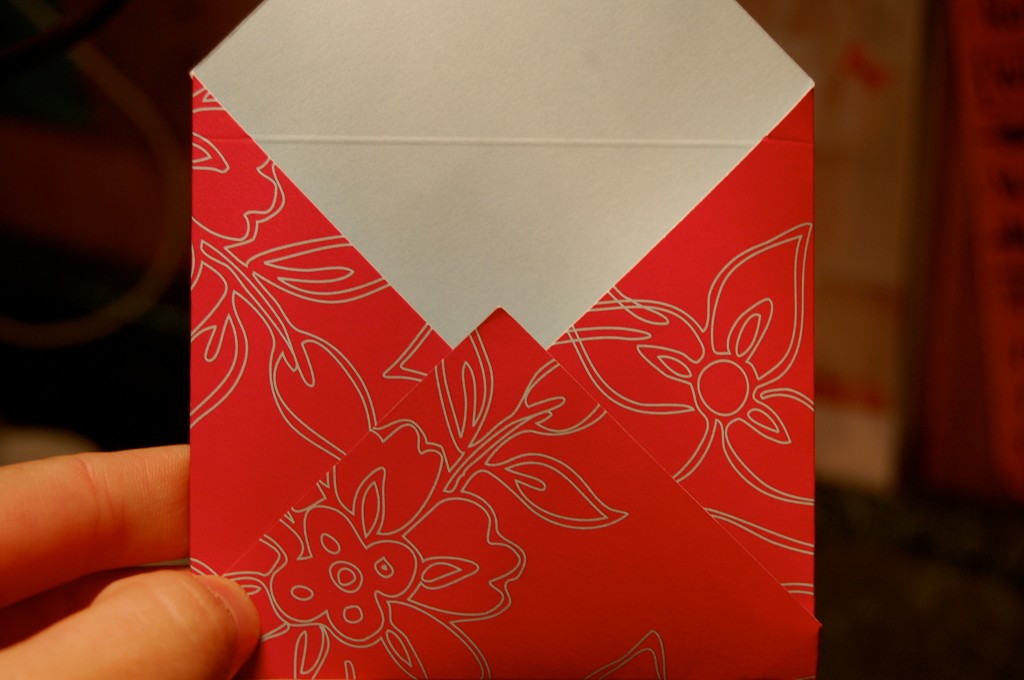
You will notice that all we are doing is folding the triangles over each other!

Bet you had NO idea that you could make your very own envelope! Hope you have fun making tons and tons of these babies…

Wishing I had super powers for the next 5 days, Jaderbomb

Check out Martha’s original craft HERE

(me on the show!)
Just in case you are not aware of my countdown I am doing right now you can click HERE to read all about it!!!
Make sure you click on the Martha countdown tab on my blog to see the crafts I have already done!
And I will put a link on my website which is www.jaderbomb.com!!!!
AND IF YOU DECIDE TO DO ANY OF THE CRAFTS, SHOOT ME AN EMAIL AND I WILL ATTACH  IT TO THE POST WITH A LINK THAT GOES STRAIT TO YOUR BLOG!  IF YOU DON’T HAVE A BLOG JUST EMAIL IT TO ME AND I WILL PUT IT UP!!!!
Thanks to Martha Stewart crafts for sponsoring me with craft supplies!


Martha Stewart Countdown #52 Glittered Pop-Up Place Cards

Sheesh! It’s almost “Good Morning” right! I promise this is my last craft today. I will totally indulge in The Real Housewives when I am done with this. They won me over just like Sister Wives did. I am staring at this screen and my eyes keep going out of focus. What can I say! I was off today and got ALOT done. I better type up this craft before my eyes go night night on the computer again… FINE you won. It’s morning, or afternoon to you…So I fell asleep last night (the many perks of being a blogger)…

Realized I never got to post this daggum post . Hope you have not been waiting by your computer too long for my next craft! Love all of you Jaderbugs!

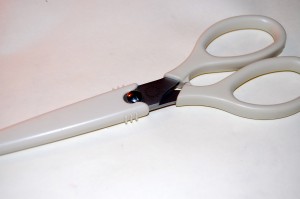
Martha Stewart Scissor, All-Purpose

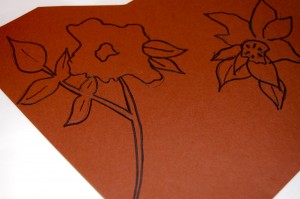
You can download the template online or sketch out your own (I found it was easier to do this)

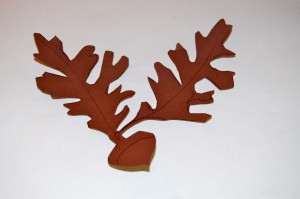
This is what it will look like when you are finished cutting it out!

To make my card I used the Martha Stewart Scoring Score Board

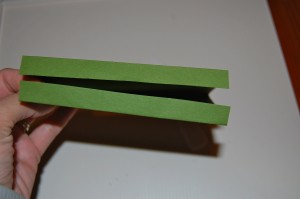
After you make your card fold the ends like this…It will help it to stand better by itself.

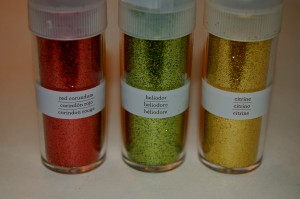
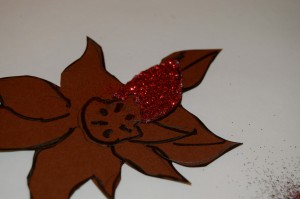
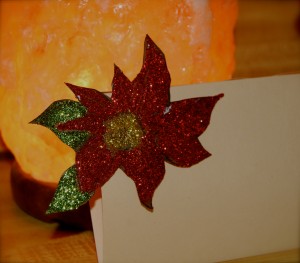
These are the colors I used for the poinsettia…You can get the glitter here.

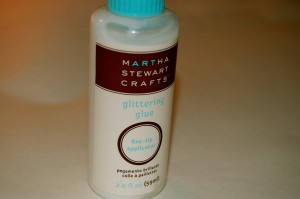
This glitter glue is so consistent! A must have!

I think everyone in the world loves glitter. When I started to glitter this baby it started coming to life!

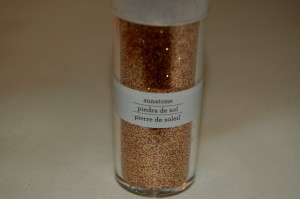
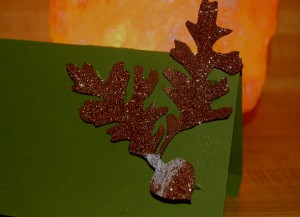
I used sunstone for the acorn leaf. 24 Pack of glitter

I’m not having a dinner party nor am I hosting anything special!

But boy do I wish I was! Don’t forget animals can’t eat Poinsettia so keep them away from they cute mouths!

Ready to jump in my bright pink snuggie already, jaderbomb

Below is all the templates that you can print out! You could really be creative and draw your own design!

Acorn Clip Art 1
Acorn Clip Art 2
Acorn Clip Art 3
Flower Clip Art 1
Flower Clip Art 2
Flower Clip Art 3
Bird Clip Art

Check out Martha’s original craft HERE

(me on the show!)
Just in case you are not aware of my countdown I am doing right now you can click HERE to read all about it!!!
Make sure you click on the Martha countdown tab on my blog to see the crafts I have already done!
And I will put a link on my website which is www.jaderbomb.com!!!!
AND IF YOU DECIDE TO DO ANY OF THE CRAFTS, SHOOT ME AN EMAIL AND I WILL ATTACH  IT TO THE POST WITH A LINK THAT GOES STRAIT TO YOUR BLOG!  IF YOU DON’T HAVE A BLOG JUST EMAIL IT TO ME AND I WILL PUT IT UP!!!!
Thanks to Martha Stewart crafts for sponsoring me with craft supplies!

Martha Stewart Countdown #51 Gumdrop Pops

Howdy Jaderbugs! I can’t believe today is almost over with. Where does time go and who gave them permission to take it so quickly…I just want to warn you before doing this craft! You will be cutting and rolling pieces of gum drops the entire time and I suggest putting a wet wash cloth by you unless you plan on licking your fingers the entire time {{like I did}}…..Then you will be pouncing off of the walls! So let’s get started {{i feel like a real live gum drop people}}….
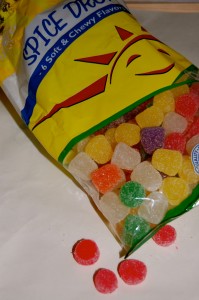
I used some plain ole spice drops. I really forgot how much these suckers stick to your teeth…I think that is why our parents told us they were bad for our teeth {{duhhh now I know why}}…
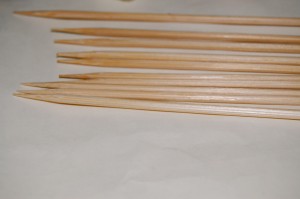
Grab some skewers! These babies will hold the spice drops!
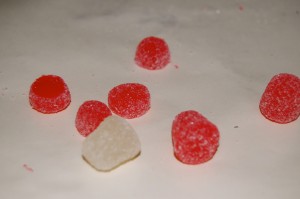
I used a razor blade to cut the spice drops. These suckers are hard to cut!
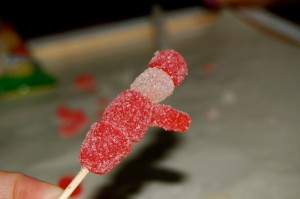
I don’t know about you but I WISH I had enough time to make hundreds of these and hand them out to my neighbors…. Obvisouly this one is not done.. Well, technically it “could” have been done but someone could have “ate” his parts… Were gonna go with NOT DONE.  I listed the directions for each design below for you!

For Santa
Use top half of 1 small gumdrop for hat. Trim 2 oblong candies for arms. Use candy-coated seeds for buttons and pom-pom. Poke candy where facial features will go with a skewer; use sticky tip to pick up and place nonpareils for eyes and nose.

For Tree
Use 1 flattened gumdrop for base of tree. Use 1 small gumdrop for trunk. Cut sides from 1 gumdrop; press sides around top of stick, for treetop. Flatten 1 gumdrop; using an aspic cutter, cut out star. Insert sprinkles for lights.

For Snowman
Trim top of head; top with 1 candy wafer and half of 1 small gumdrop for hat. Using a skewer (see “For Santa”), place nonpareils for eyes, mouth, and buttons. Insert sprinkle for nose.

For Mushroom
Use 1 small gumdrop for stem. Use sequin sprinkles for dots.
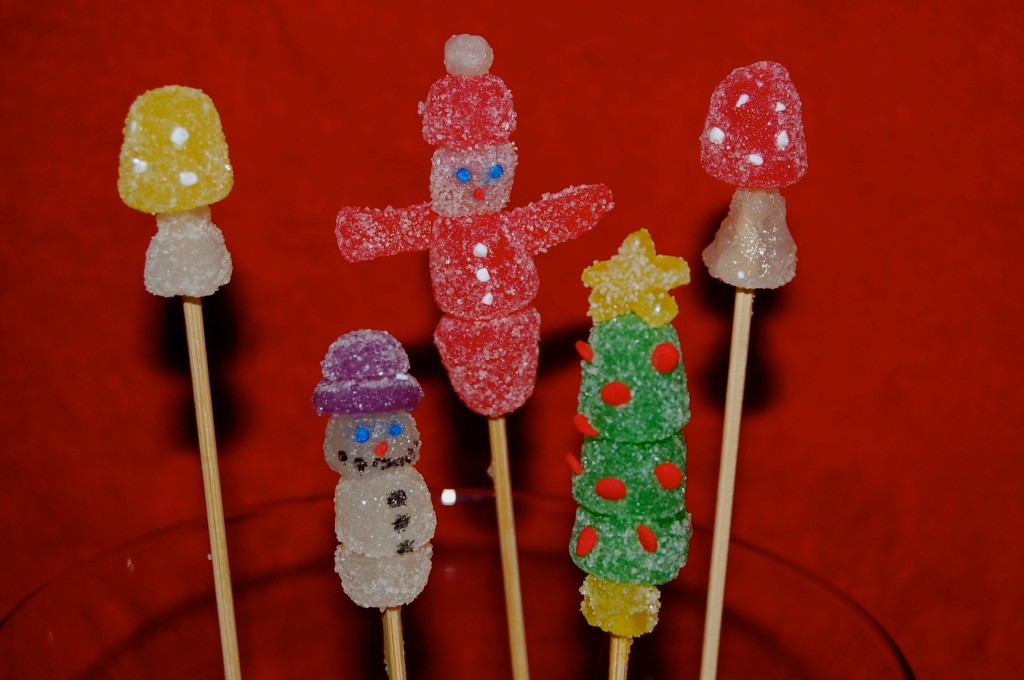
You can’t tell me you didn’t feel good when you first looked at these honeysuckles. I felt good when I ate one… JS

Trying to come down off of this sugar rush, jaderbomb

Check out Martha’s original craft HERE

(me on the show!)
Just in case you are not aware of my countdown I am doing right now you can click HERE to read all about it!!!
Make sure you click on the Martha countdown tab on my blog to see the crafts I have already done!
And I will put a link on my website which is www.jaderbomb.com!!!!
AND IF YOU DECIDE TO DO ANY OF THE CRAFTS, SHOOT ME AN EMAIL AND I WILL ATTACH  IT TO THE POST WITH A LINK THAT GOES STRAIT TO YOUR BLOG!  IF YOU DON’T HAVE A BLOG JUST EMAIL IT TO ME AND I WILL PUT IT UP!!!!
Thanks to Martha Stewart crafts for sponsoring me with craft supplies!
You might also like:

Martha Stewart Countdown #49 Tinsel Snowflakes

Ya know. Everyone loves snowflakes! I know I do! When I was a little bitty baby girl I remember sitting in my room trying to fold paper and cut in certain spots to make them. Never turned out like I wanted. I think it’s time I try again. Maybe that will be in another post! But today we are making affordable fun crafts to add to your Christmas tree! Martha Stewart even has the template for you to use!

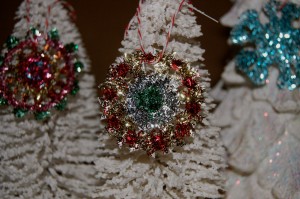
Tinsel isn’t just for sprinkling on an evergreen tree. Try creating this sparkling ornament to brighten any room.This tinsel glitter is so amazing. It totally reminds me of vintage crafts. You just don’t see tinsel anymore! But Martha Stewart is bringing it back {to the bottom of the map}…

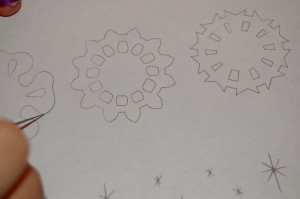
Using a utility knife, cut out the snowflake shape. From this  template.

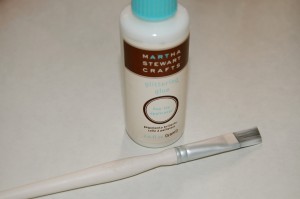
 Using a medium paintbrush, coat one side of shape with craft glue or use the tip of the glitter glue.

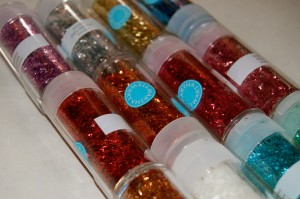
I used Martha Stewart’s tinsel glitter.

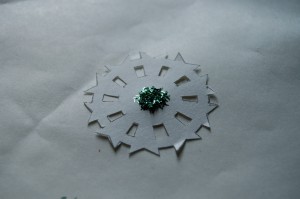
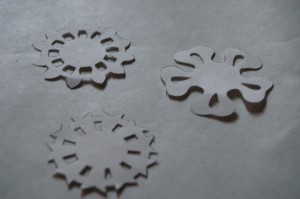
This is what they should look like after you cut them out.

Sprinkle with tinsel glitter. Let glue dry; shake off excess glitter. It’s already looking crazy pretty RIGHT!

Listen! I wanna design a snowflake line. I would make the best ornaments ever! Of course I would use tinsel glitter {{teehee}}
I want to eat one. They just look like something that would feel so good in my belly right now!
It’s little baby decorations  I swear I can’t type all of these blogs fast enough to show you everything I want at one time! Guess that means you will have to come back!!!

Brain fried from crafting so much, jaderbomb

Check out Martha’s original craft HERE

(me on the show!)
Just in case you are not aware of my countdown I am doing right now you can click HERE to read all about it!!!
Make sure you click on the Martha countdown tab on my blog to see the crafts I have already done!
And I will put a link on my website which is www.jaderbomb.com!!!!
AND IF YOU DECIDE TO DO ANY OF THE CRAFTS, SHOOT ME AN EMAIL AND I WILL ATTACH  IT TO THE POST WITH A LINK THAT GOES STRAIT TO YOUR BLOG!  IF YOU DON’T HAVE A BLOG JUST EMAIL IT TO ME AND I WILL PUT IT UP!!!!
Thanks to Martha Stewart crafts for sponsoring me with craft supplies!