Tag Archives: Christmas Crafts

DIY- Pet-Silhouette Tote Bag

Keep your pet — or at least his image — at hand all the time, and show everyone just how cute he is. Adorn a bag with a silhouette of his profile. Ultra suede fabric doesn’t fray, so it’s simple to work with, and twill tape, used for the collar and leash, is easy to shape. If you want to use different fabric you absolutely can!

I love my baby girl Ceaux Ceaux! You know she has a blog! You should check it out. She does LOT’S of fun things!!
Grab a bag you want to use

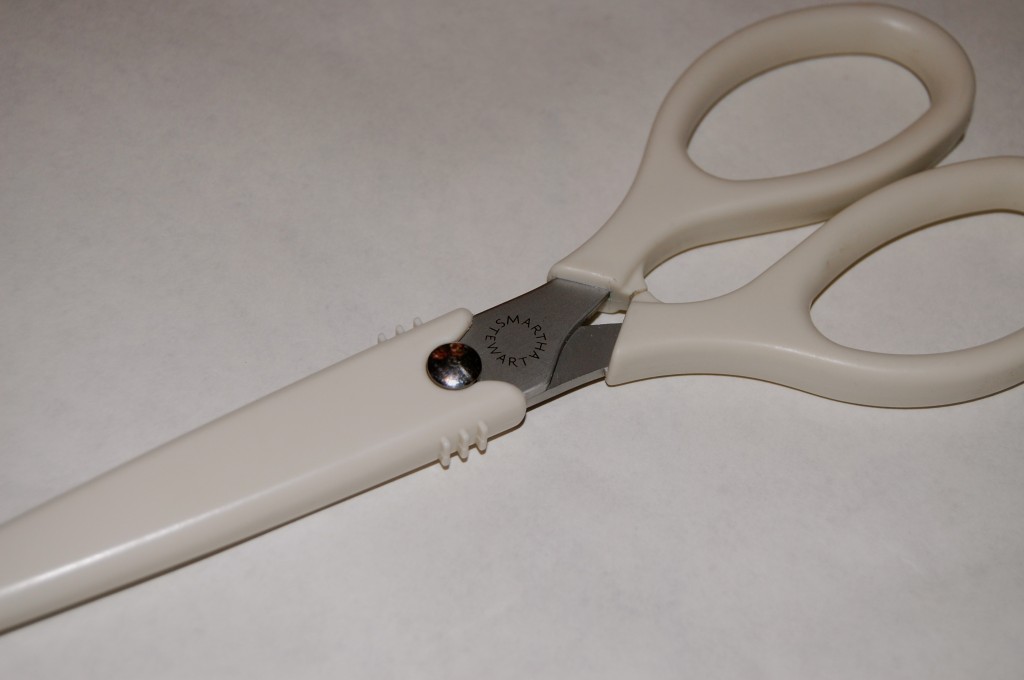
I love Martha Stewart’s all purpose scissors! They cut flawlessly!
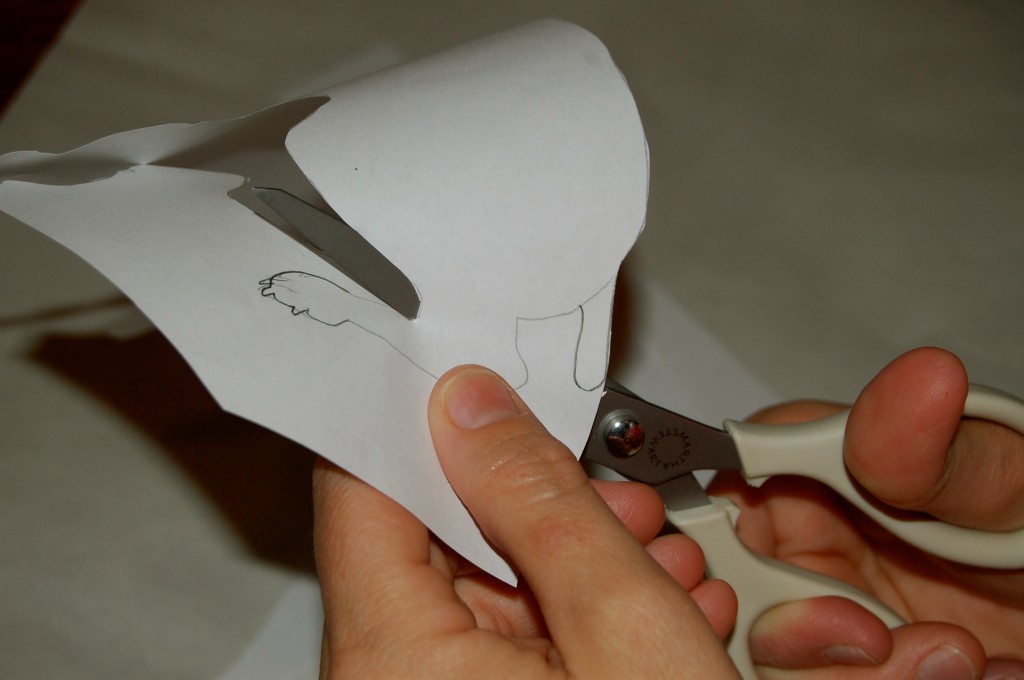
Photocopy picture, enlarging so that dog is about two-thirds the height of the bag; cut out along dog’s outline. I drew my baby girl instead of printing a picture! But it works the same way!
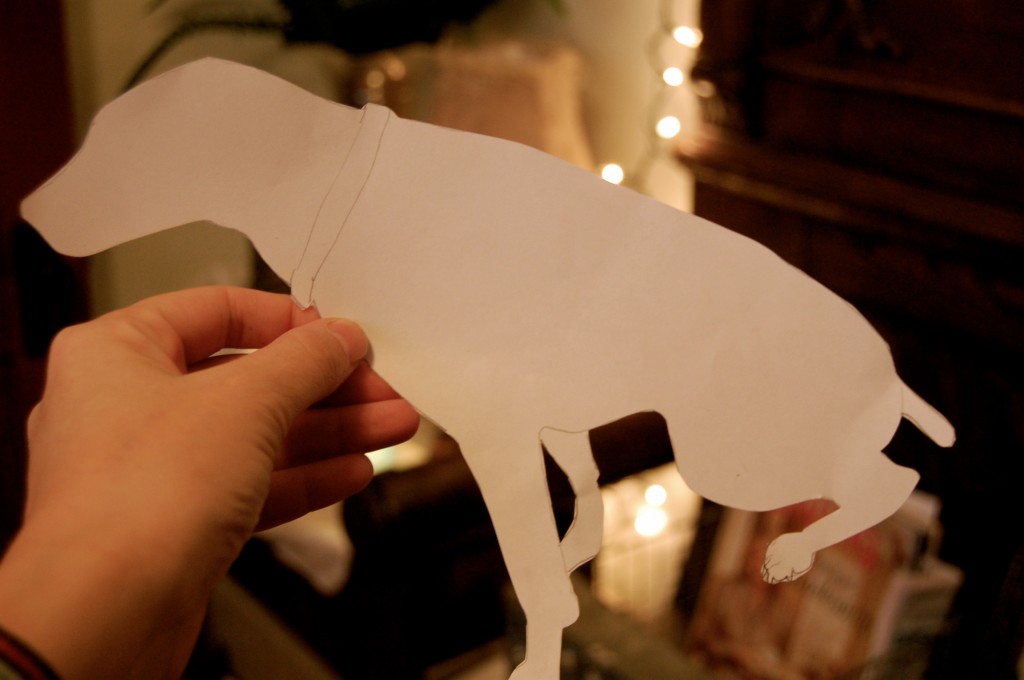
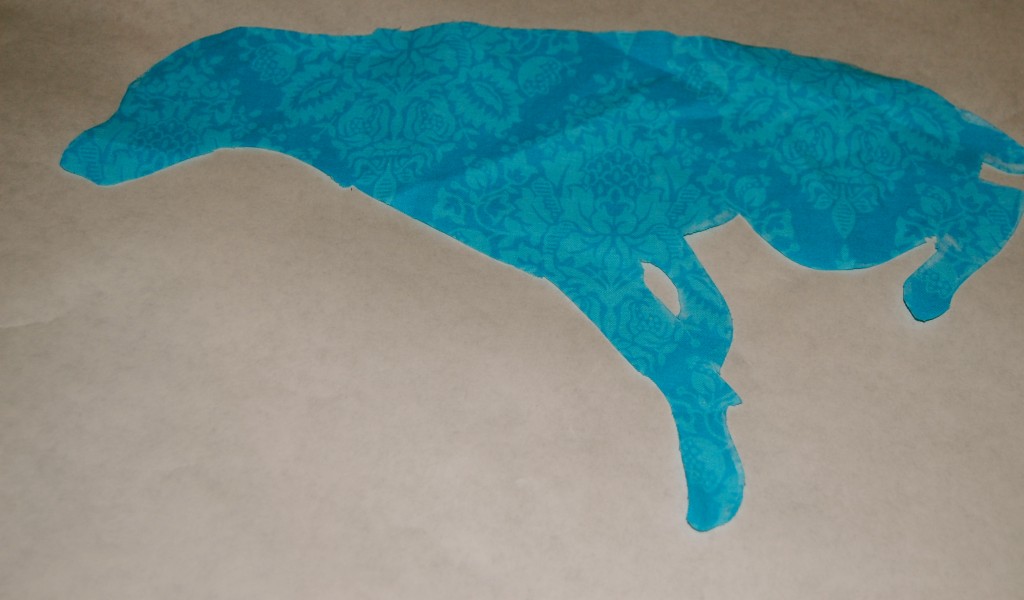
This is what your image should look like when you are done cutting it out. My baby girl’s nub is so cute!
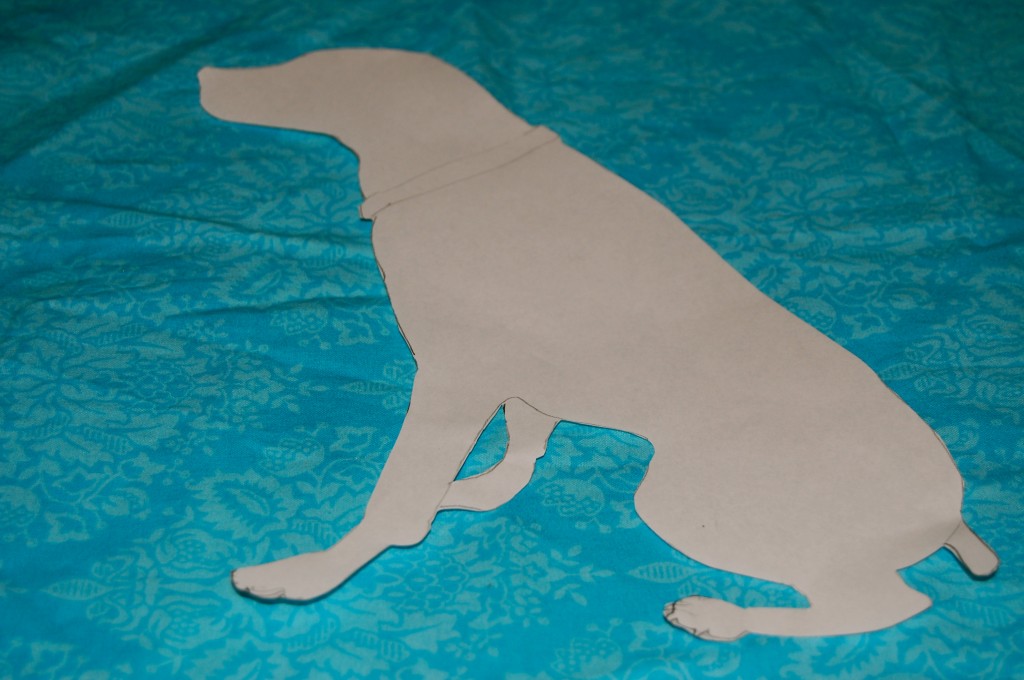
Lay photo cutout, face up, on front of fabric, and trace with fabric pen.
Ceaux Ceaux is all cut out!!!

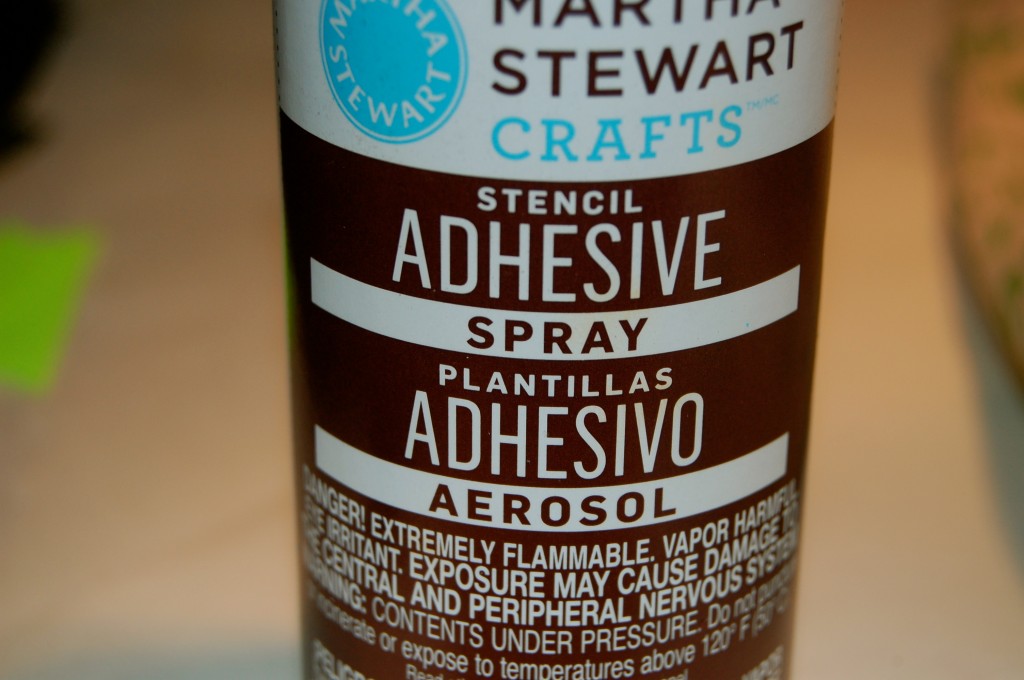
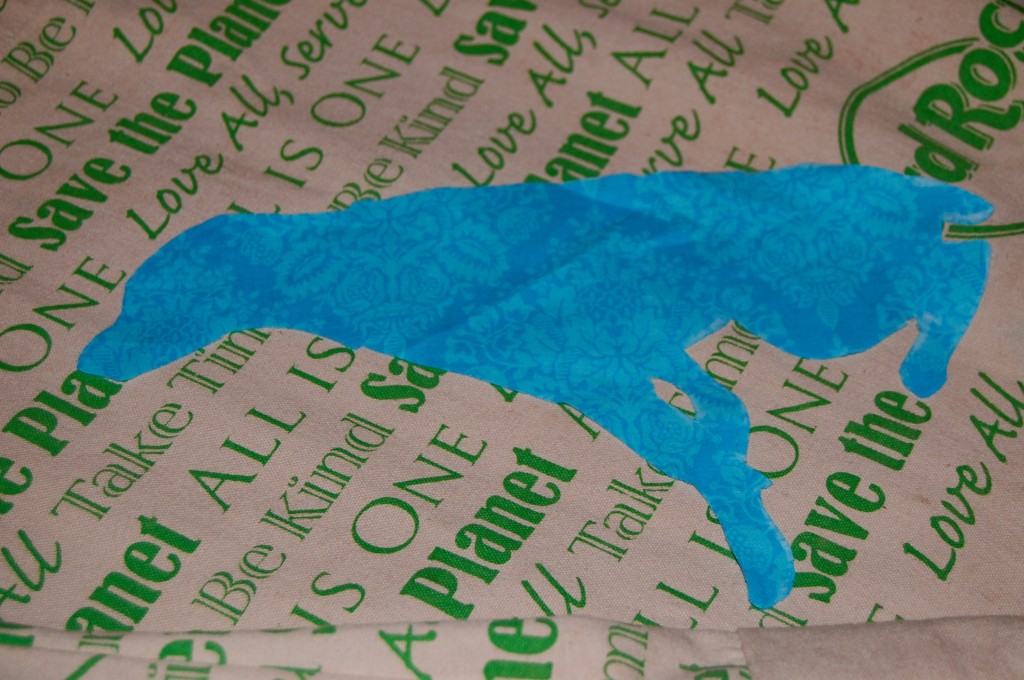
I used this stencil adhesive for the dog. I coated the back side with this spray and then stuck it where I wanted it on the bag. This stuff is magic!
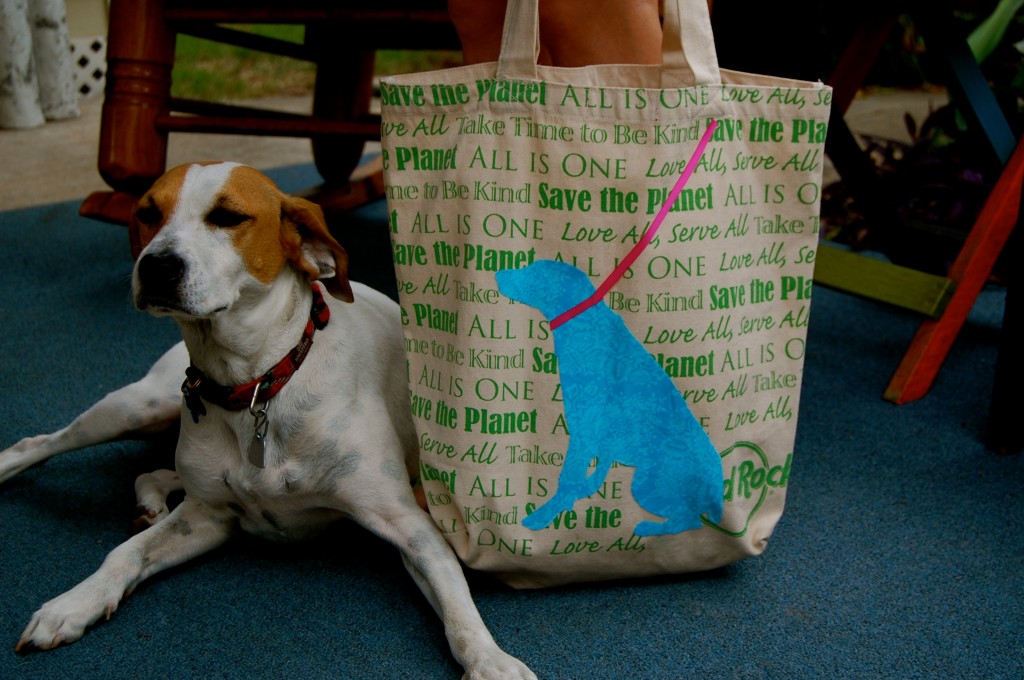
This is where I stuck her!

Does it look like her? HAHA! She wasn’t too happy about me stepping on “HER” outdoor rug. She kinda looked at me like “guh get of my rug with that ugly bag”…But Martha loved it so whatever CO!

Black bags under my eyes and won’t go away with concealer, jaderbomb

Check out Martha’s original craft HERE and you can purchase Martha Stewart’s Encyclopedia of Crafts here!

CLICK HERE TO WATCH VIDEO

(me on the show!)
Click HERE to read all about it!!!
 IF YOU DECIDE TO DO ANY OF THE CRAFTS, SHOOT ME AN EMAIL AND I WILL ATTACH  IT TO THE POST WITH A LINK THAT GOES STRAIT TO YOUR BLOG!  IF YOU DON’T HAVE A BLOG JUST EMAIL IT TO ME AND I WILL PUT IT UP!!!!
Thanks to Martha Stewart crafts for sponsoring me with craft supplies!

How to Make Sequin-Wrapped Beads and Foam Balls

This craft is really easy and really fun. You can give these as gifts or you can make them for yourself (not at all saying that would make you selfish, to keep them ALL to yourself because they are that cute). You could give them to others for Christmas each year and start a nice little tradition ( or you can keep them ALL to yourself 🙂 HAHA

INGREDIENTS:

~ Styrofoam Balls

~ Sequins

~Hooks (to hang them with)

~Strait Pins

~thanks P for being my hand model


First thing you will do is arrange your sequins on the strait pin according to your taste. I decided to use red, green and gold!

I figured I would do the original Christmas colors, or at-least what makes me feel all warm and cozy inside~


After you attach your sequins, you will gently stick it into the styrofoam ball.

 Remember, you do NOT have to stick them into the ball in a certain order, unless you want to.

When the ball is finished you will get out your hooks and stick it where you want. You might have to remove ONE sequined pin to give the hook it’s own special home!

 See BELOW…You can either screw it in or just push it in, either way works. You just want to remember to be gentle because if you put it in the ball and you take it out to redo it, it will not stay. So I guess what I am saying is you have ONE and only ONE try with this.. or your gonna melt when you go into the sun….:)

 See just how beautiful these little balls of fire are!!! I personally would LOVE to get some like this for Christmas! Wouldn’t you?!?!?!?!

(Maybe I will keep just this one)


 You can also add other things that interest you. I LOVE gold!!

As you can see below, I used some gold tacks to put the letter “j” in my ball.


I wanted to add this one in here to show you that you can JUST use glitter if you want to.

First thing you will do is spray the entire ball with spray adhesive. Then just sprinkle whatever color glitter you like. I used baby blue and brown. When I was done I added a little splash by sticking pins with a yellow tip in it.

 So are you already in your car going get your ingredients!!! I can’t wait to see what you create:)

Seriously cleaning my studio all over again (haha), jaderbomb

 Check out Martha’s original craft HERE and you can purchase Martha Stewart’s Encyclopedia of Crafts here!
CLICK HERE TO WATCH VIDEO

(me on the show!)
Click HERE to read all about it!!!
 IF YOU DECIDE TO DO ANY OF THE CRAFTS, SHOOT ME AN EMAIL AND I WILL ATTACH  IT TO THE POST WITH A LINK THAT GOES STRAIT TO YOUR BLOG!  IF YOU DON’T HAVE A BLOG JUST EMAIL IT TO ME AND I WILL PUT IT UP!!!!
Thanks to Martha Stewart crafts for sponsoring me with craft supplies!

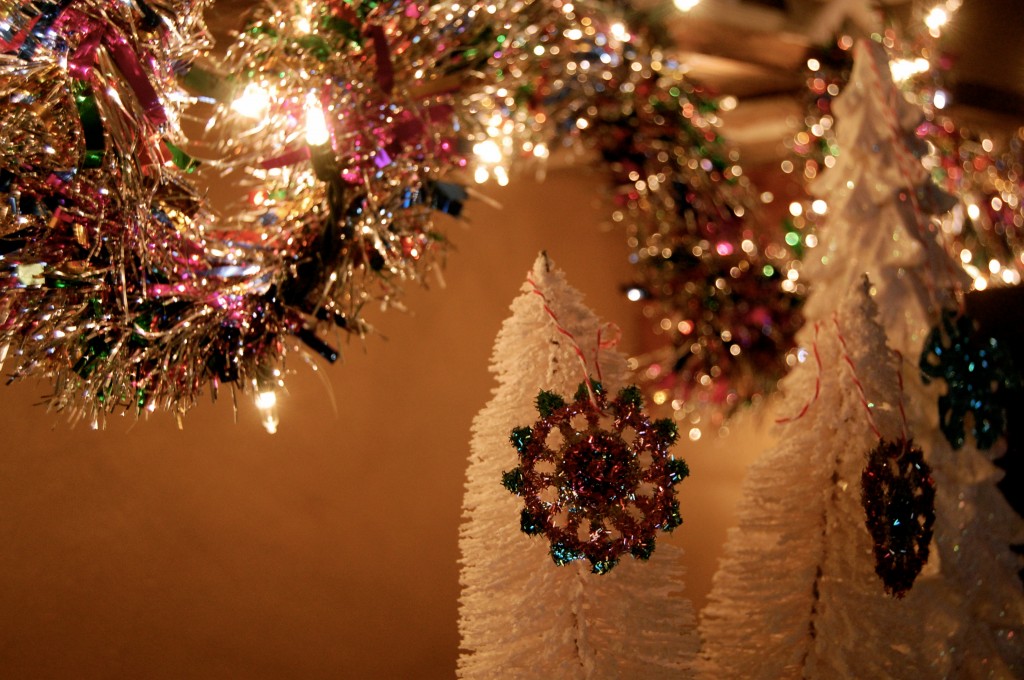
Tinsel Light Garland

 I have ALWAYS loved tinsel. It makes me smile and it makes me smile…

Create a simple garland for the holiday season with this Good Thing from Hannah Milman, executive editorial director of crafts at Martha Stewart Living.

Tools and Materials: Christmas lights and Garland

I grabbed some silver tinsel and wrapped bright colored pieces of tinsel around it…

After I added my colorful details I wrapped it securely around a string of Christmas lights.

6 days left of my countdown then you will get 100% jaderbomb crafts back, jaderbomb

Check out Martha’s original craft HERE and you can purchase Martha Stewart’s Encyclopedia of Crafts here!
CLICK HERE TO WATCH VIDEO

(me on the show!)
Click HERE to read all about it!!!
 IF YOU DECIDE TO DO ANY OF THE CRAFTS, SHOOT ME AN EMAIL AND I WILL ATTACH  IT TO THE POST WITH A LINK THAT GOES STRAIT TO YOUR BLOG!  IF YOU DON’T HAVE A BLOG JUST EMAIL IT TO ME AND I WILL PUT IT UP!!!!
Thanks to Martha Stewart crafts for sponsoring me with craft supplies!

Ribbon Star Ornaments

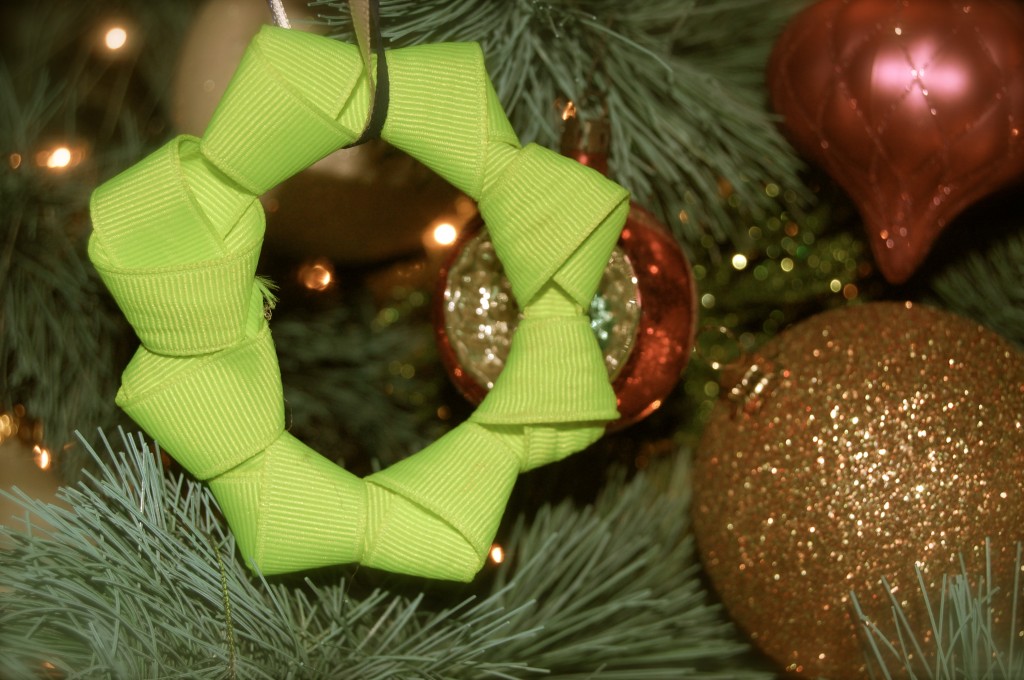
Up the elegance of this year’s Christmas tree with beautiful celestial ornaments like these hand-tied ribbon stars. If you wanna spice up your tree or your gift bags then you have to do this craft! When I tell you this sucker is so easy your kids could do it and make a ba-jillion of them! 

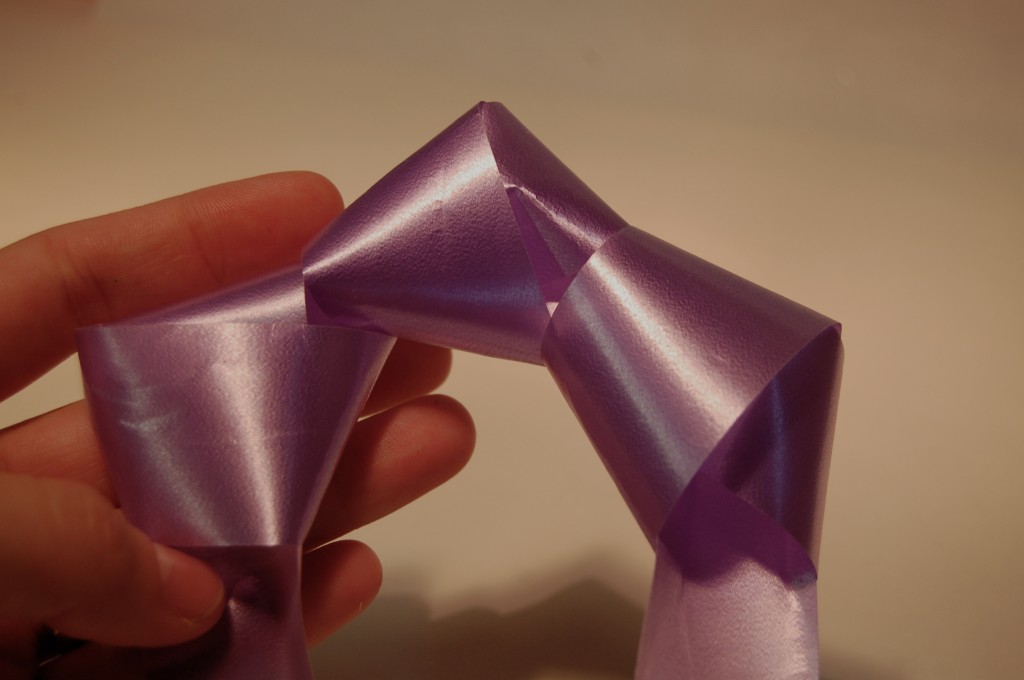
The secret to making these simple stars: Tie all the knots in the same direction.

Grab some ribbon…

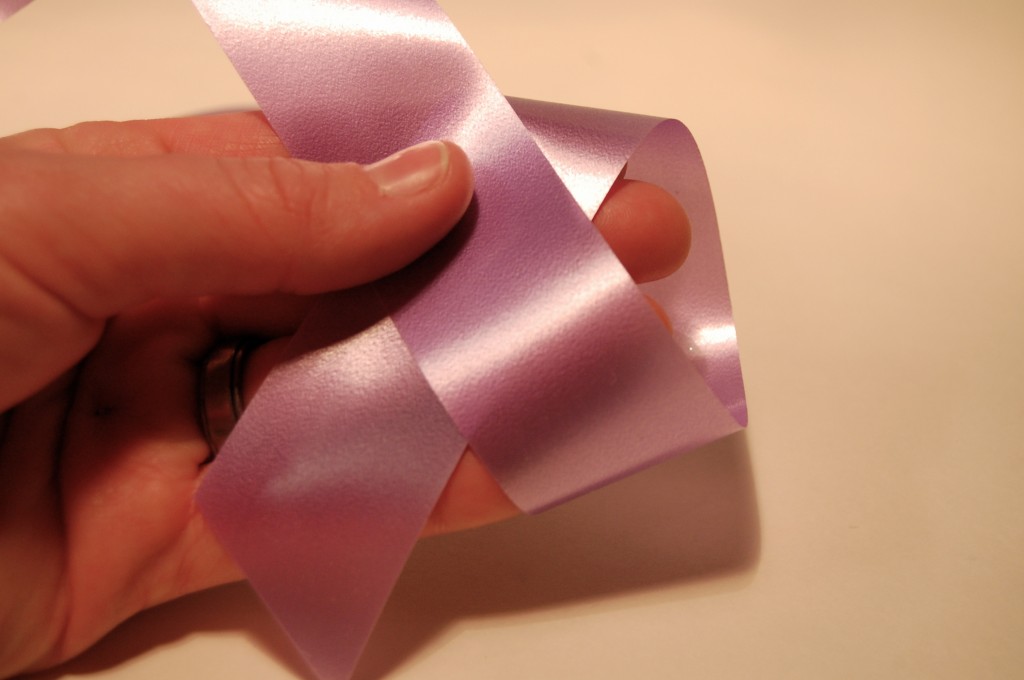
Do the same movements you would do if you were making a knot…

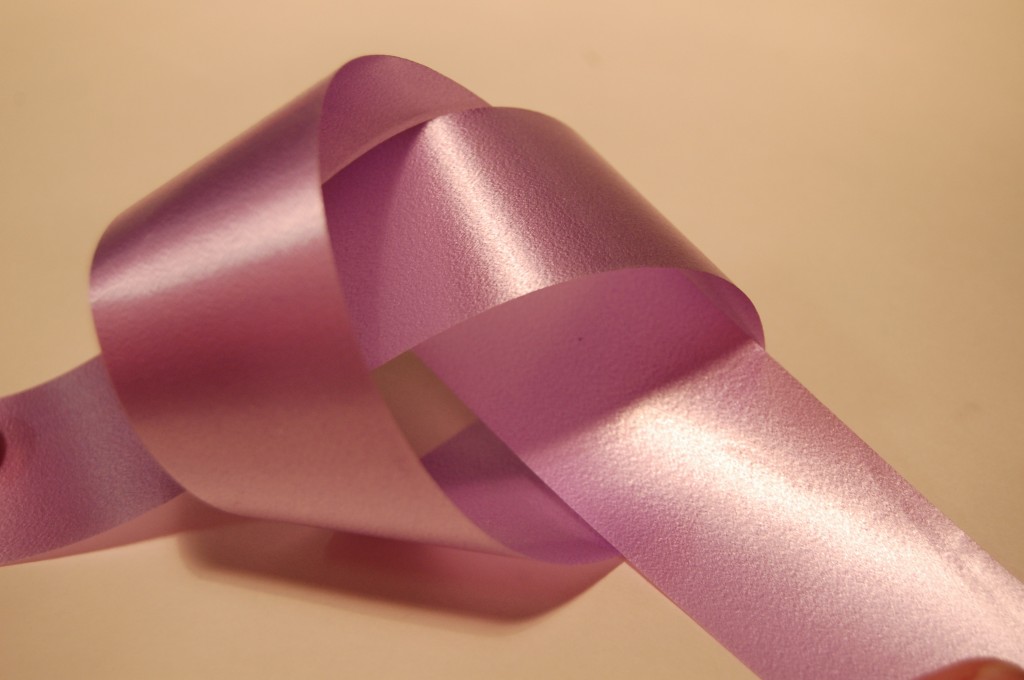
See this is how it will look…

Repeat 5 times, adjusting each new knot so its bottom left touches the bottom right of the previous. Trim ribbon ends…

This is the one I made with bright yellow ribbon. I hope you enjoyed this crafteroo!!!

Twisting and shouting on this crafty Sunday (not sooo sunny), Jaderbomb

Don’t forget about my GIVEAWAY here!!

Check out Martha’s original craft HERE and you can purchase Martha Stewart’s Encyclopedia of Crafts here!
CLICK HERE TO WATCH VIDEO

(me on the show!)
Click HERE to read all about it!!!
 IF YOU DECIDE TO DO ANY OF THE CRAFTS, SHOOT ME AN EMAIL AND I WILL ATTACH  IT TO THE POST WITH A LINK THAT GOES STRAIT TO YOUR BLOG!  IF YOU DON’T HAVE A BLOG JUST EMAIL IT TO ME AND I WILL PUT IT UP!!!!
Thanks to Martha Stewart crafts for sponsoring me with craft supplies!

Shimmering Stacked Trees

 Happy (whatever day it is) Jaderbugs! I am in love with using paper this holiday season. I hope you love this craft as much as I do! This shimmering stacked tree will add a festive — and eco-friendly — touch to your home this holiday season. These magnificent trees can also be stacked using any leftover aluminum foil, felt, or crepe paper. {I used an old magazine)

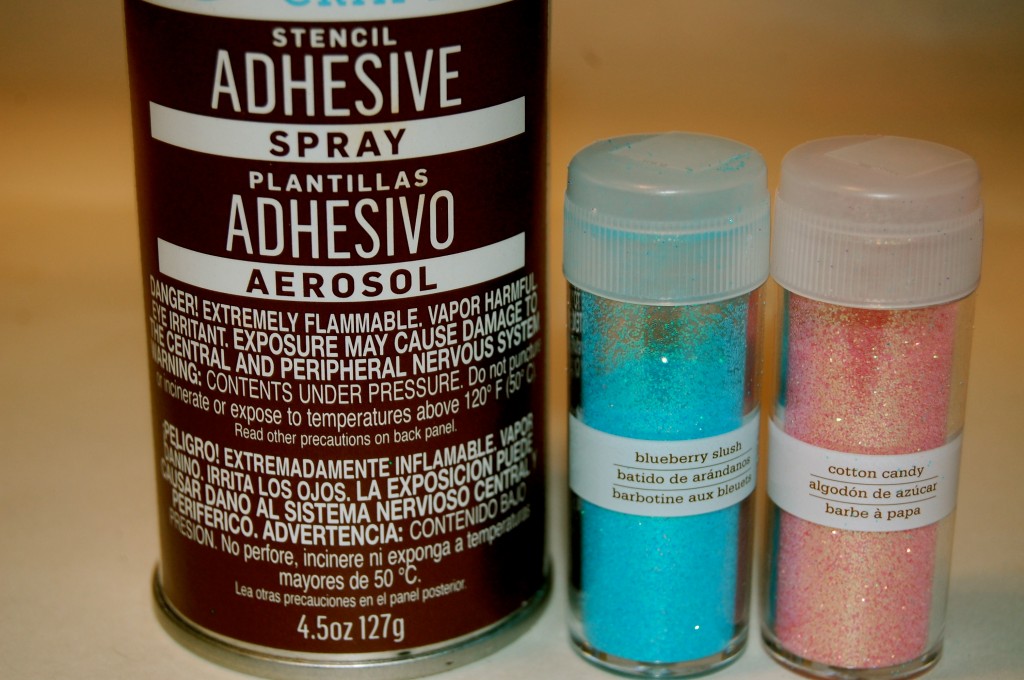
I used a piece of wood, skewer, scissors, spray adhesive and glitter. Yep, that’s it!

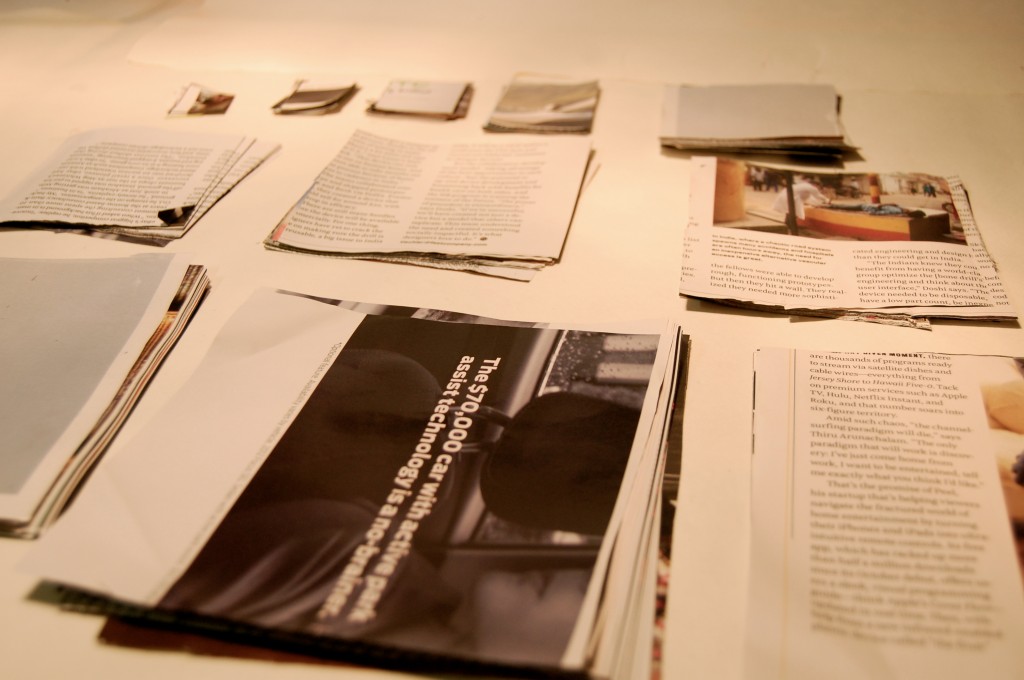
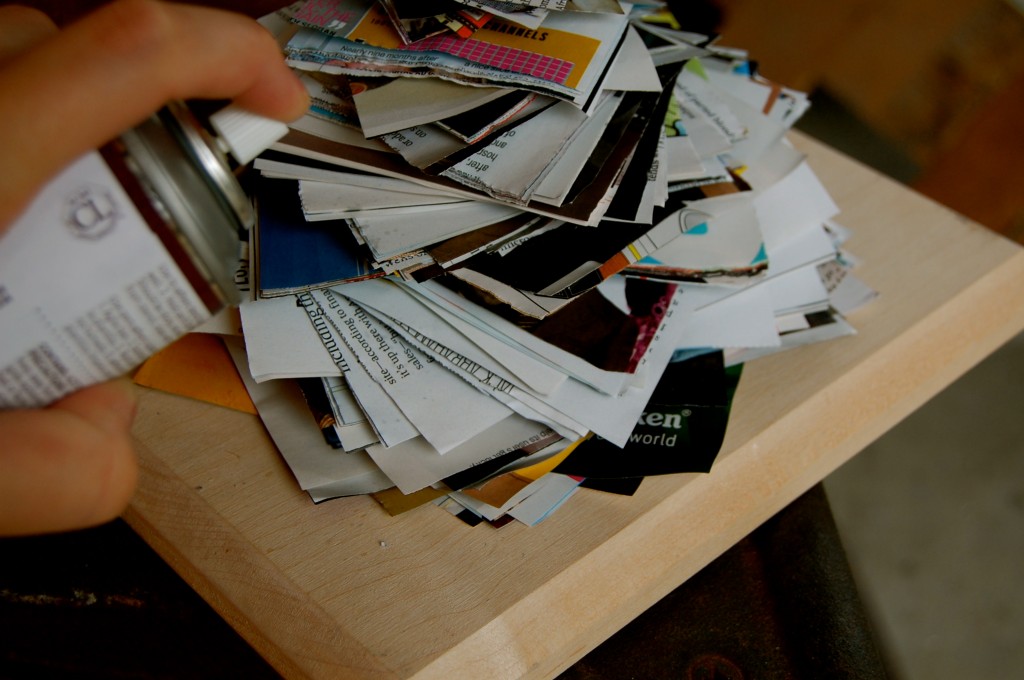
Grab some magazines and cut out:

 -6 by 6 inches
-5 1/2 by 5 1/2 inches
-5 by 5 inches
-4 1/2 by 4 1/2 inches
-4 by 4 inches
-3 1/2 by 3 1/2 inches
-3 by 3 inches
-2 1/2 by 2 1/2 inches
-2 by 2 inches
-1 1/2 by 1/2 inch

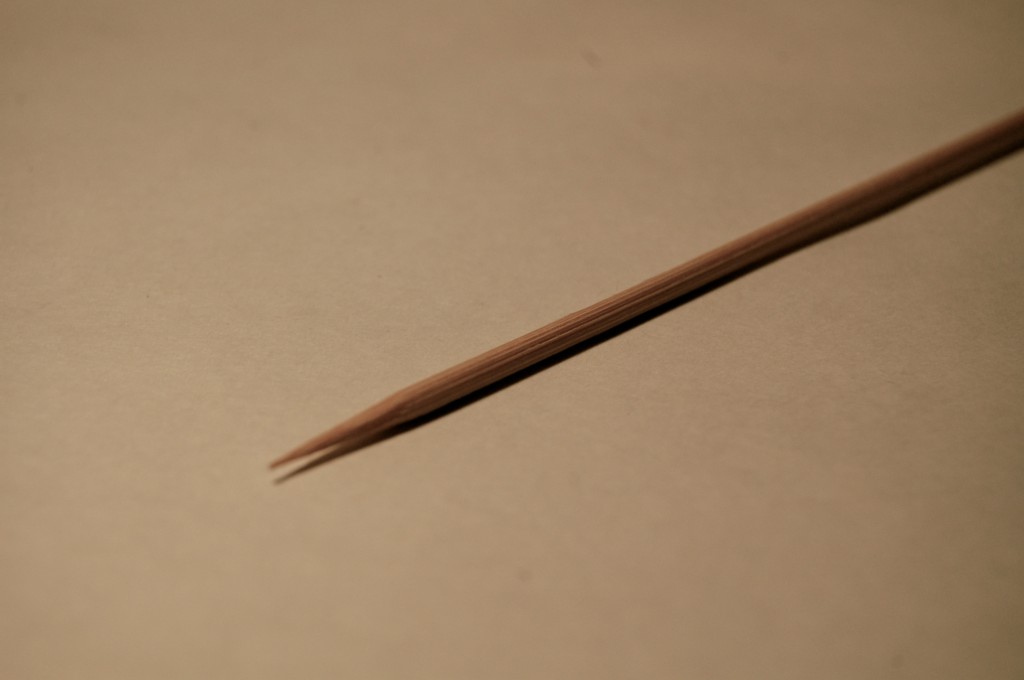
Get a skewer or whatever you want to stick the paper on.

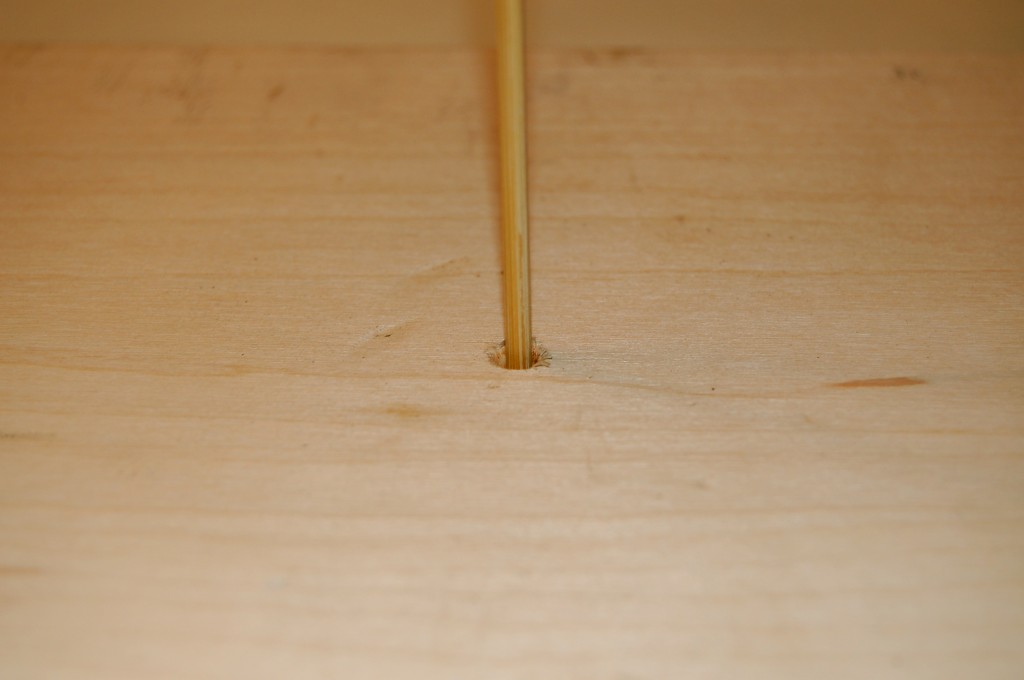
I drilled a hold into my wood so it woud be sturdy.

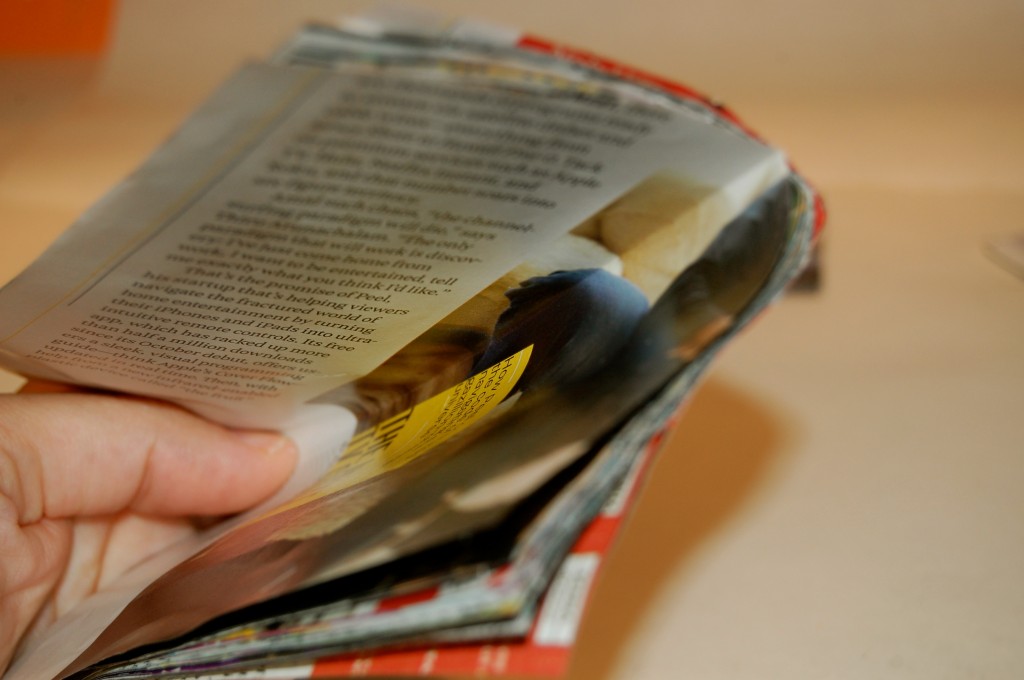
After I cut all of my pieces out I folded them into fours so I can see where my center is.

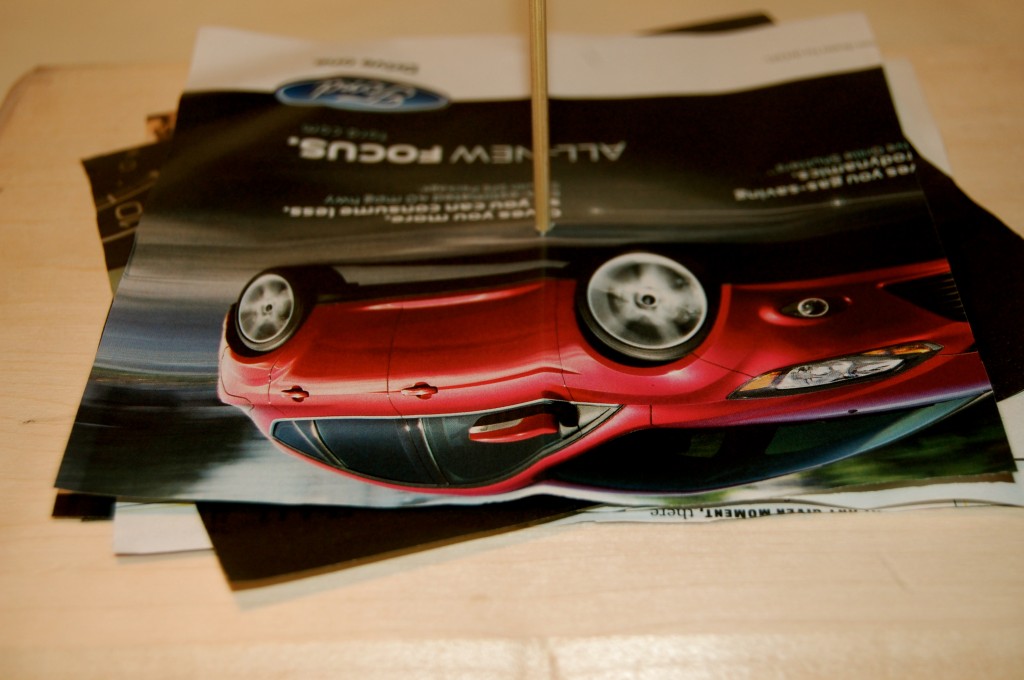
Then start sliding them onto the wood!

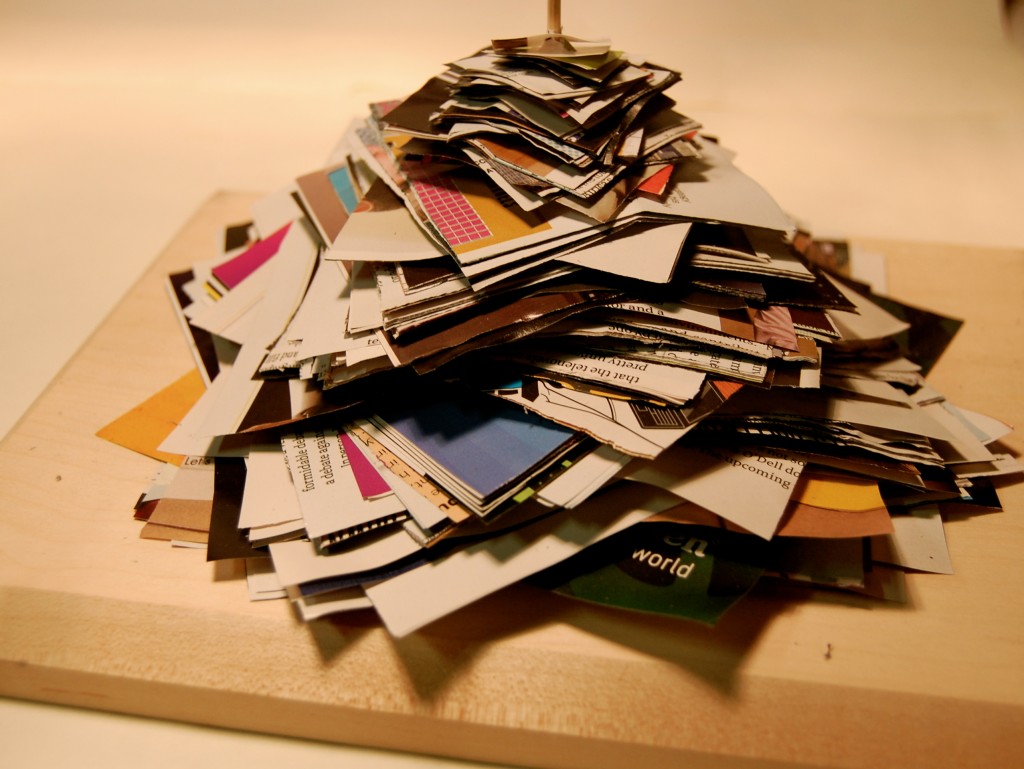
When you are done it should start to look like this!

I used adhesive spray, and glitter.

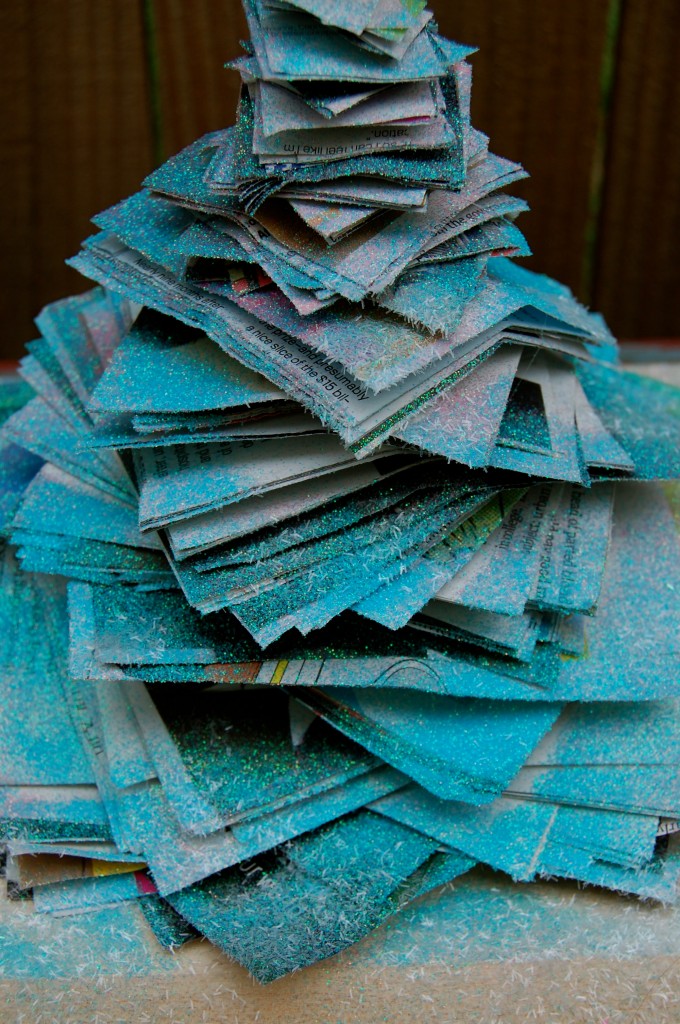
After you finish stacking spray a good amount of adhesive spray onto the tree.

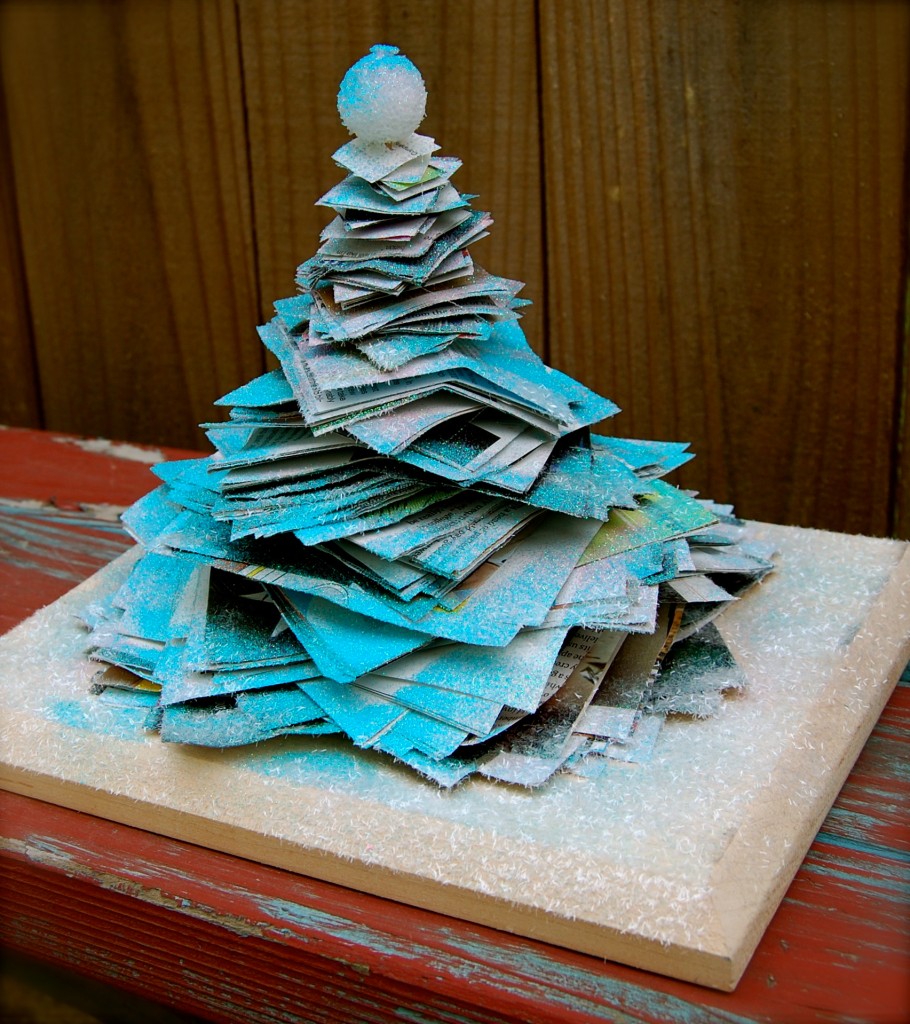
I really just had fun with this sucker! I wanted it to look like a cotton candy Christmas tree…

And it does!!! It looks prettier in person I tell ya! Remember the magazine tree I did here? I hope you have fun doing this!

Going pick up glitter in my studio, jaderbomb

Check out Martha’s original craft HERE and you can purchase Martha Stewart’s Encyclopedia of Crafts here!

CLICK HERE TO WATCH VIDEO

(me on the show!)
Click HERE to read all about it!!!
 IF YOU DECIDE TO DO ANY OF THE CRAFTS, SHOOT ME AN EMAIL AND I WILL ATTACH  IT TO THE POST WITH A LINK THAT GOES STRAIT TO YOUR BLOG!  IF YOU DON’T HAVE A BLOG JUST EMAIL IT TO ME AND I WILL PUT IT UP!!!!
Thanks to Martha Stewart crafts for sponsoring me with craft supplies!

DIY: Star Biscuits

Good morning jaderbugs! It’s almost 3 am and I wanted to share this with you before I went to bed! I want to start off by saying how GOOD it feels to write DIY in front of my title. You know it’s been almost 100 days since I did original “jaderbomb” things. I wouldn’t change anything but I can’t lie and say that I don’t miss ME! {{haha}}. Enjoy this little craft with dough. It thought it was so cute! We did this the other morning and little one loved it!

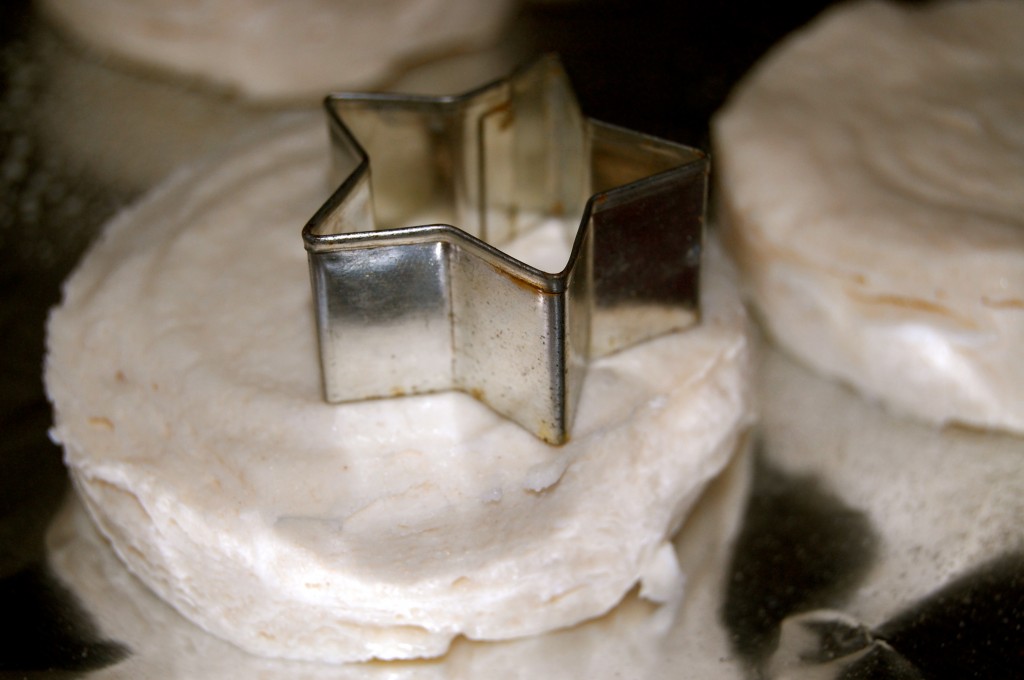
Sorry if my cookie cutter looks “rusty” HAHA! I swear it’s clean. We will call it VINTAGE…{it really is old though}}
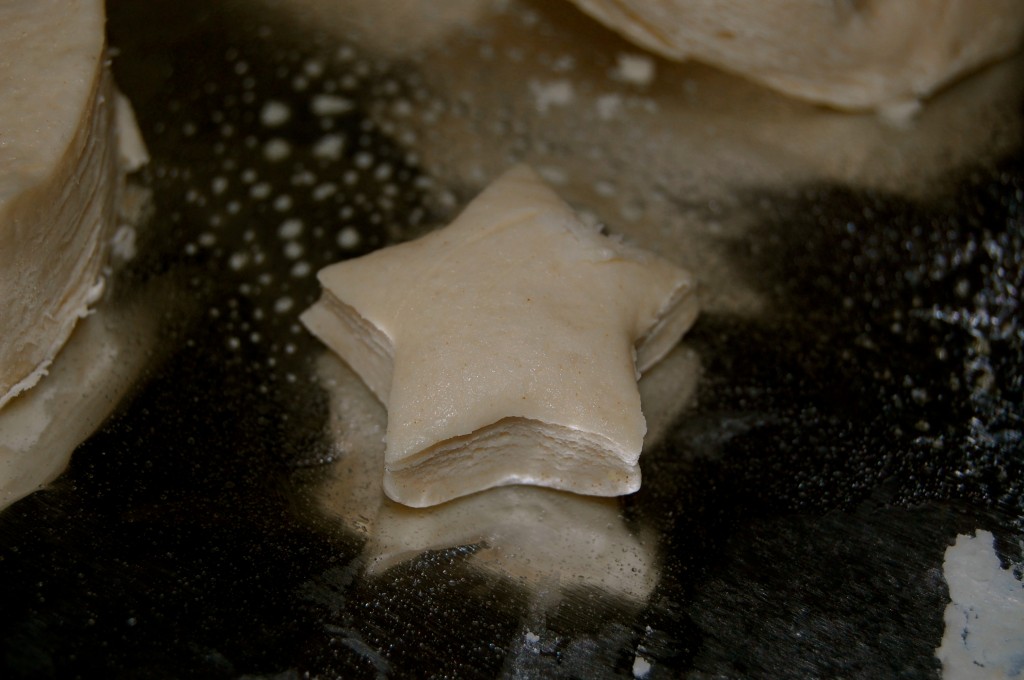
After you cut them out place them on a lined baking sheet. I spray pam so make sure those suckers don’t stick!

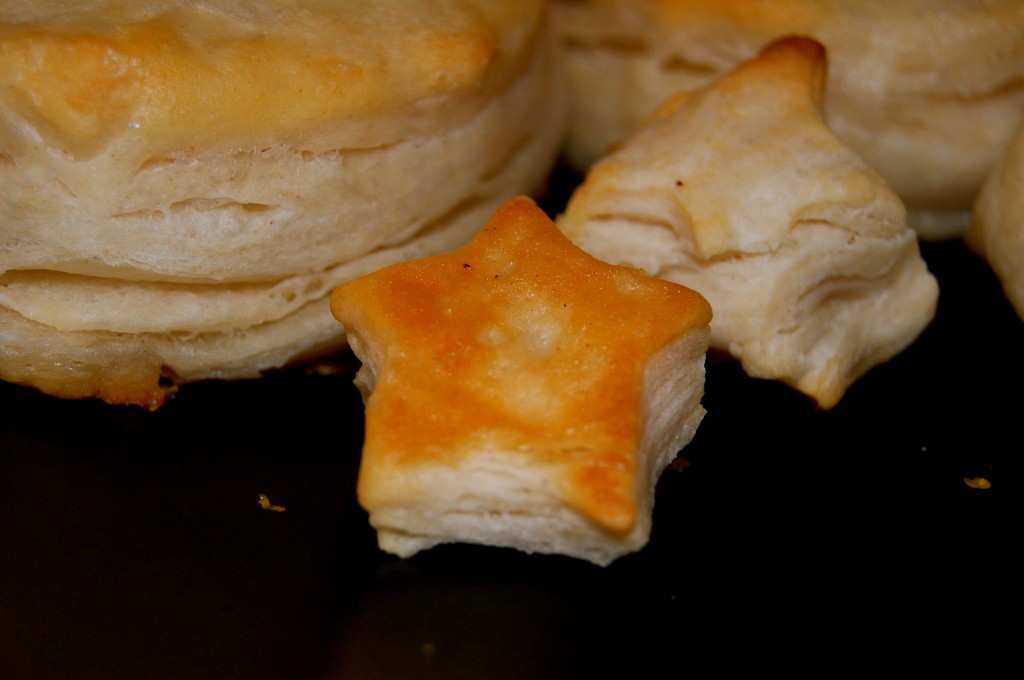
This is what you will get! How cute! I thought you would be able to add this to your list of “things to do that are fun this holiday season thanks to jaderbomb” list.

Going to dreamland, jaderbomb

Don’t forget aout my GIVEAWAY! Click below to enter!