Tag Archives: christmas ornaments

Homemade Pom-Poms

The other day I was totally in the mood to make a video! Since my old you tube channel got deleted (thanks nessie) I had to start ALLLL over. I can’t believe I lost all of my old tutorial videos. I haven’t really had time to do videos since I have been blogging {{alot}} lately. This video I made is so funny! I made it in the middle of the night and it’s just my hands doing the work!

Don’t forget to listen for the sleep deprived, crazy singing, a.d.d voice in the background! ( I have a feeling you won’t miss it).

It is just so much fun to make pom pom’s and I always make them! Martha uses a tool in her tutorial but I am using my lil ole hands. HOWEVER, I will be posting the video today and will link it up in here for the tutorial using the tool she is using!

Enjoy JADERBUGS!

Opera singing on my mind, jaderbomb

Check out Martha’s original craft HERE and you can purchase Martha Stewart’s Encyclopedia of Crafts here!

CLICK HERE TO WATCH VIDEO

(me on the show!)
Click HERE to read all about it!!!
 IF YOU DECIDE TO DO ANY OF THE CRAFTS, SHOOT ME AN EMAIL AND I WILL ATTACH  IT TO THE POST WITH A LINK THAT GOES STRAIT TO YOUR BLOG!  IF YOU DON’T HAVE A BLOG JUST EMAIL IT TO ME AND I WILL PUT IT UP!!!!
Thanks to Martha Stewart crafts for sponsoring me with craft supplies!

How to Make Sequin-Wrapped Beads and Foam Balls

This craft is really easy and really fun. You can give these as gifts or you can make them for yourself (not at all saying that would make you selfish, to keep them ALL to yourself because they are that cute). You could give them to others for Christmas each year and start a nice little tradition ( or you can keep them ALL to yourself 🙂 HAHA

INGREDIENTS:

~ Styrofoam Balls

~ Sequins

~Hooks (to hang them with)

~Strait Pins

~thanks P for being my hand model


First thing you will do is arrange your sequins on the strait pin according to your taste. I decided to use red, green and gold!

I figured I would do the original Christmas colors, or at-least what makes me feel all warm and cozy inside~


After you attach your sequins, you will gently stick it into the styrofoam ball.

 Remember, you do NOT have to stick them into the ball in a certain order, unless you want to.

When the ball is finished you will get out your hooks and stick it where you want. You might have to remove ONE sequined pin to give the hook it’s own special home!

 See BELOW…You can either screw it in or just push it in, either way works. You just want to remember to be gentle because if you put it in the ball and you take it out to redo it, it will not stay. So I guess what I am saying is you have ONE and only ONE try with this.. or your gonna melt when you go into the sun….:)

 See just how beautiful these little balls of fire are!!! I personally would LOVE to get some like this for Christmas! Wouldn’t you?!?!?!?!

(Maybe I will keep just this one)


 You can also add other things that interest you. I LOVE gold!!

As you can see below, I used some gold tacks to put the letter “j” in my ball.


I wanted to add this one in here to show you that you can JUST use glitter if you want to.

First thing you will do is spray the entire ball with spray adhesive. Then just sprinkle whatever color glitter you like. I used baby blue and brown. When I was done I added a little splash by sticking pins with a yellow tip in it.

 So are you already in your car going get your ingredients!!! I can’t wait to see what you create:)

Seriously cleaning my studio all over again (haha), jaderbomb

 Check out Martha’s original craft HERE and you can purchase Martha Stewart’s Encyclopedia of Crafts here!

CLICK HERE TO WATCH VIDEO

(me on the show!)
Click HERE to read all about it!!!
 IF YOU DECIDE TO DO ANY OF THE CRAFTS, SHOOT ME AN EMAIL AND I WILL ATTACH  IT TO THE POST WITH A LINK THAT GOES STRAIT TO YOUR BLOG!  IF YOU DON’T HAVE A BLOG JUST EMAIL IT TO ME AND I WILL PUT IT UP!!!!
Thanks to Martha Stewart crafts for sponsoring me with craft supplies!

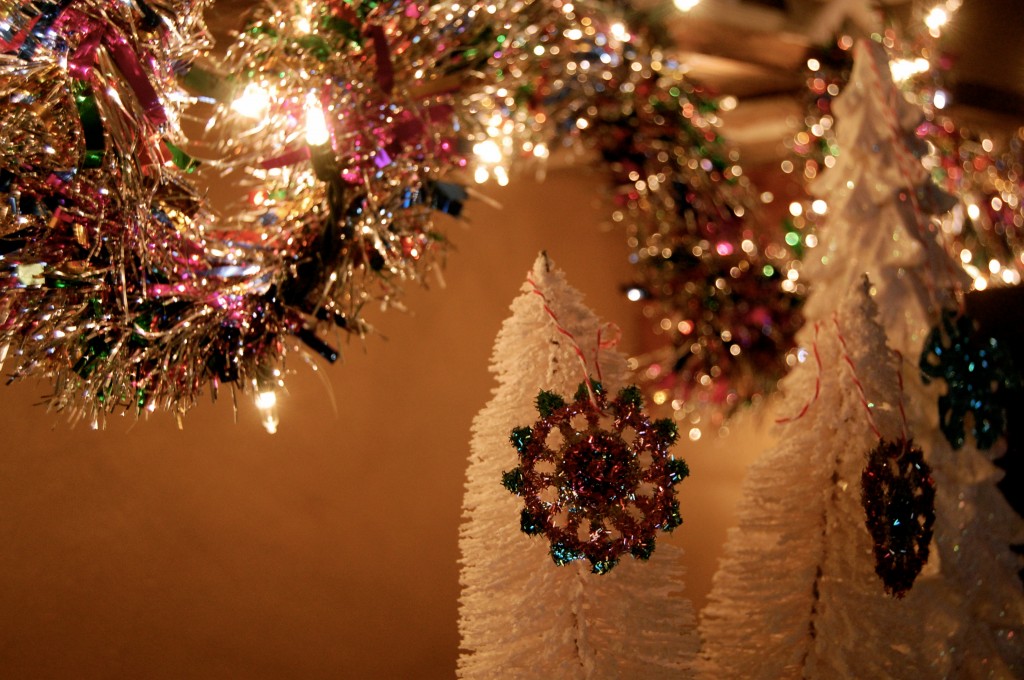
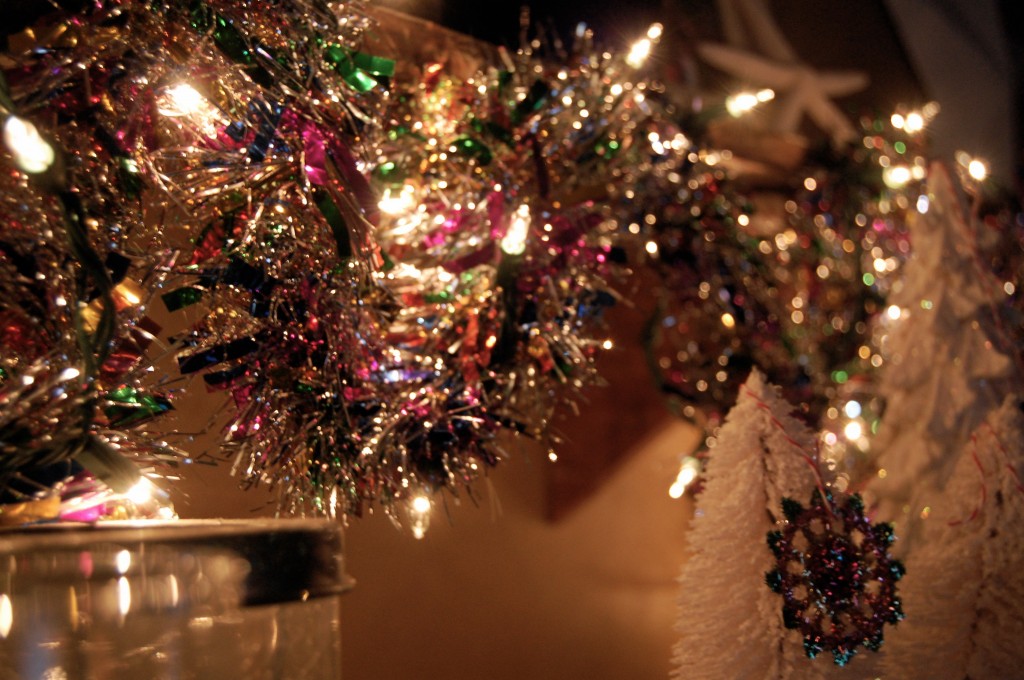
Tinsel Light Garland

 I have ALWAYS loved tinsel. It makes me smile and it makes me smile…

Create a simple garland for the holiday season with this Good Thing from Hannah Milman, executive editorial director of crafts at Martha Stewart Living.

Tools and Materials: Christmas lights and Garland

I grabbed some silver tinsel and wrapped bright colored pieces of tinsel around it…

After I added my colorful details I wrapped it securely around a string of Christmas lights.

6 days left of my countdown then you will get 100% jaderbomb crafts back, jaderbomb

Check out Martha’s original craft HERE and you can purchase Martha Stewart’s Encyclopedia of Crafts here!

CLICK HERE TO WATCH VIDEO

(me on the show!)
Click HERE to read all about it!!!
 IF YOU DECIDE TO DO ANY OF THE CRAFTS, SHOOT ME AN EMAIL AND I WILL ATTACH  IT TO THE POST WITH A LINK THAT GOES STRAIT TO YOUR BLOG!  IF YOU DON’T HAVE A BLOG JUST EMAIL IT TO ME AND I WILL PUT IT UP!!!!
Thanks to Martha Stewart crafts for sponsoring me with craft supplies!

Ribbon Star Ornaments

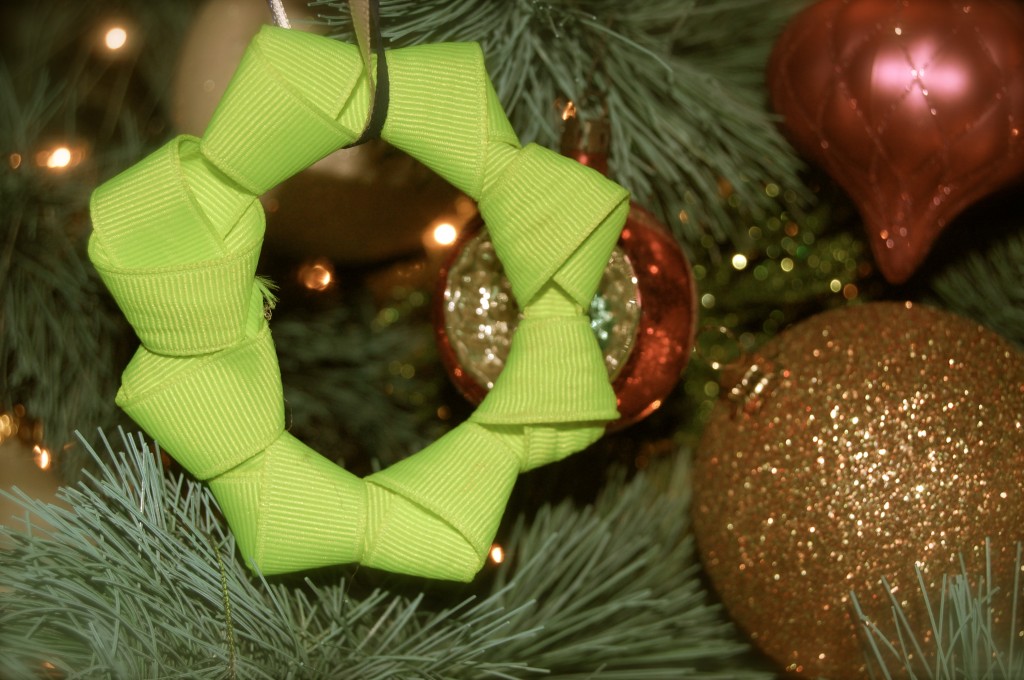
Up the elegance of this year’s Christmas tree with beautiful celestial ornaments like these hand-tied ribbon stars. If you wanna spice up your tree or your gift bags then you have to do this craft! When I tell you this sucker is so easy your kids could do it and make a ba-jillion of them! 

The secret to making these simple stars: Tie all the knots in the same direction.

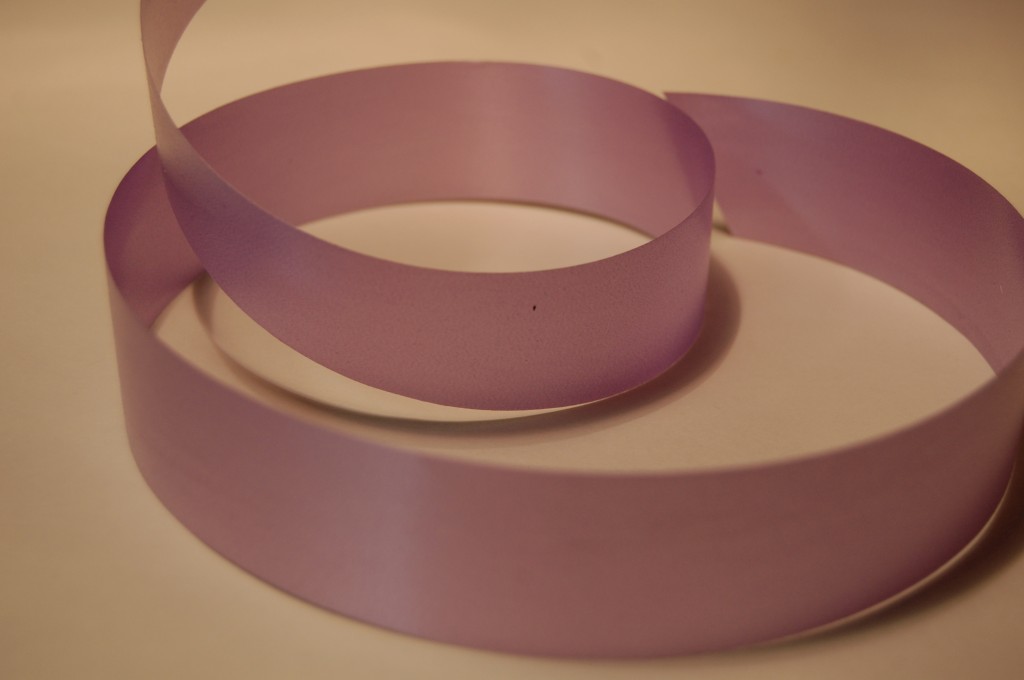
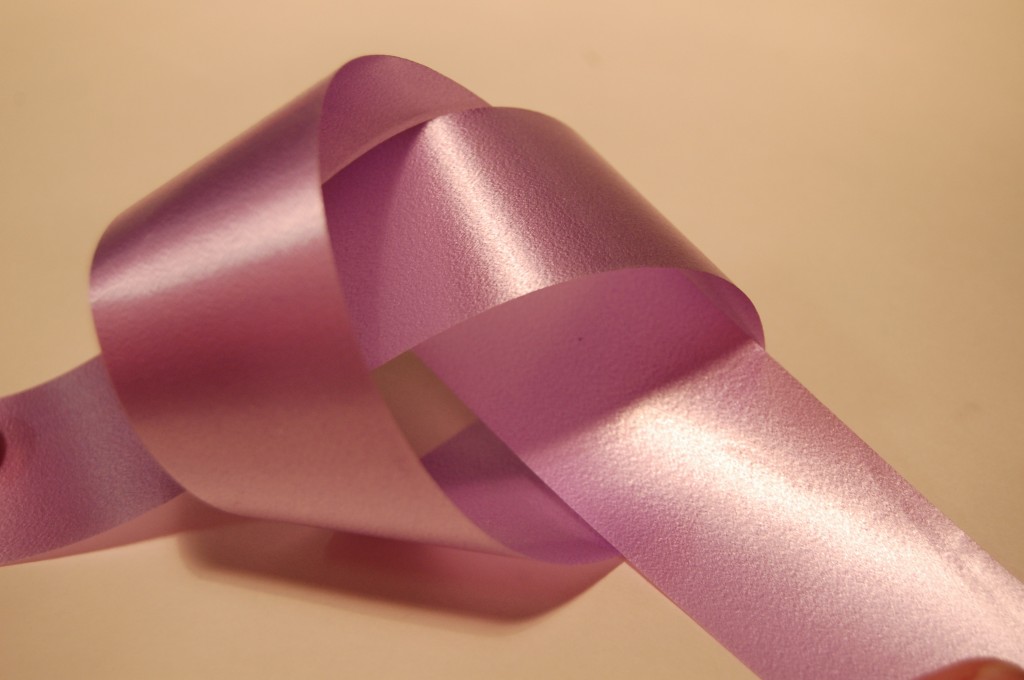
Grab some ribbon…

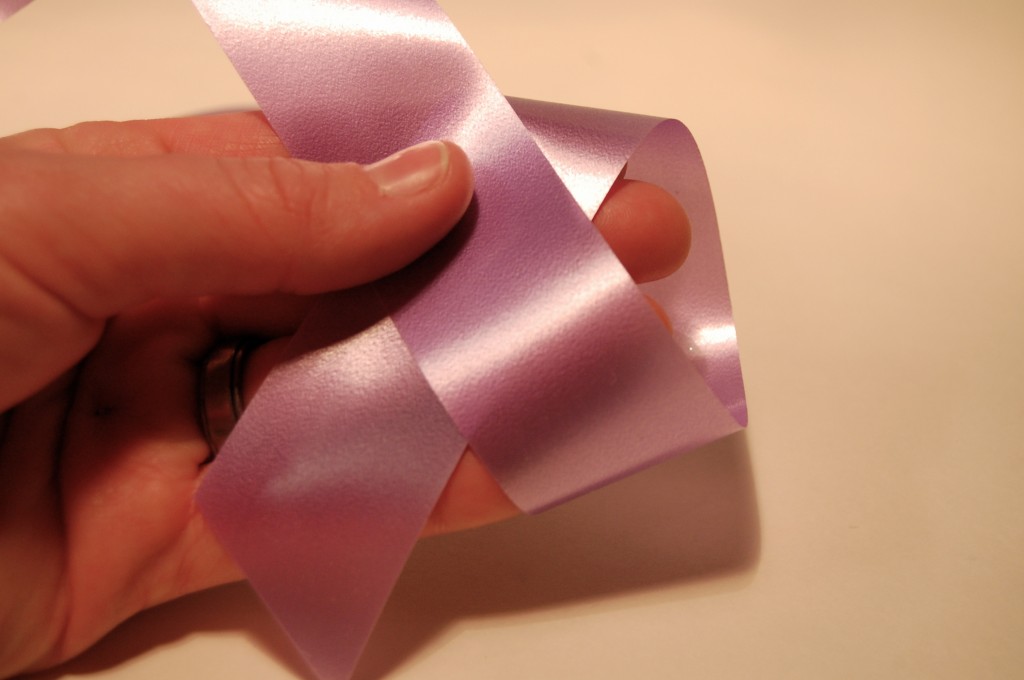
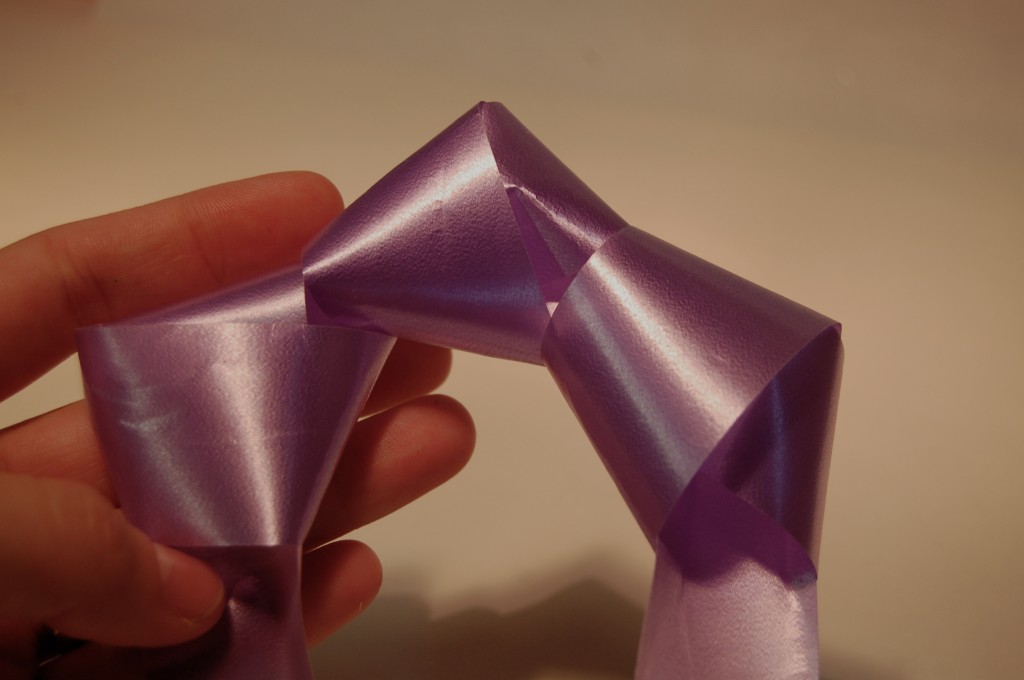
Do the same movements you would do if you were making a knot…

See this is how it will look…

Repeat 5 times, adjusting each new knot so its bottom left touches the bottom right of the previous. Trim ribbon ends…

This is the one I made with bright yellow ribbon. I hope you enjoyed this crafteroo!!!

Twisting and shouting on this crafty Sunday (not sooo sunny), Jaderbomb

Don’t forget about my GIVEAWAY here!!

Check out Martha’s original craft HERE and you can purchase Martha Stewart’s Encyclopedia of Crafts here!

CLICK HERE TO WATCH VIDEO

(me on the show!)
Click HERE to read all about it!!!
 IF YOU DECIDE TO DO ANY OF THE CRAFTS, SHOOT ME AN EMAIL AND I WILL ATTACH  IT TO THE POST WITH A LINK THAT GOES STRAIT TO YOUR BLOG!  IF YOU DON’T HAVE A BLOG JUST EMAIL IT TO ME AND I WILL PUT IT UP!!!!
Thanks to Martha Stewart crafts for sponsoring me with craft supplies!

Shimmering Stacked Trees

 Happy (whatever day it is) Jaderbugs! I am in love with using paper this holiday season. I hope you love this craft as much as I do! This shimmering stacked tree will add a festive — and eco-friendly — touch to your home this holiday season. These magnificent trees can also be stacked using any leftover aluminum foil, felt, or crepe paper. {I used an old magazine)

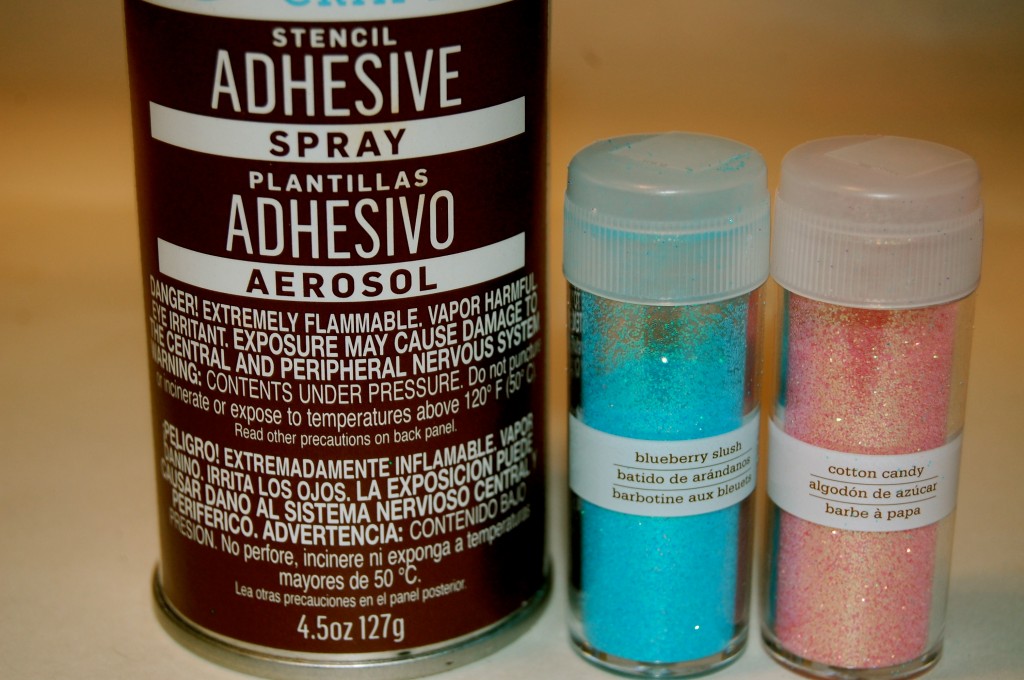
I used a piece of wood, skewer, scissors, spray adhesive and glitter. Yep, that’s it!

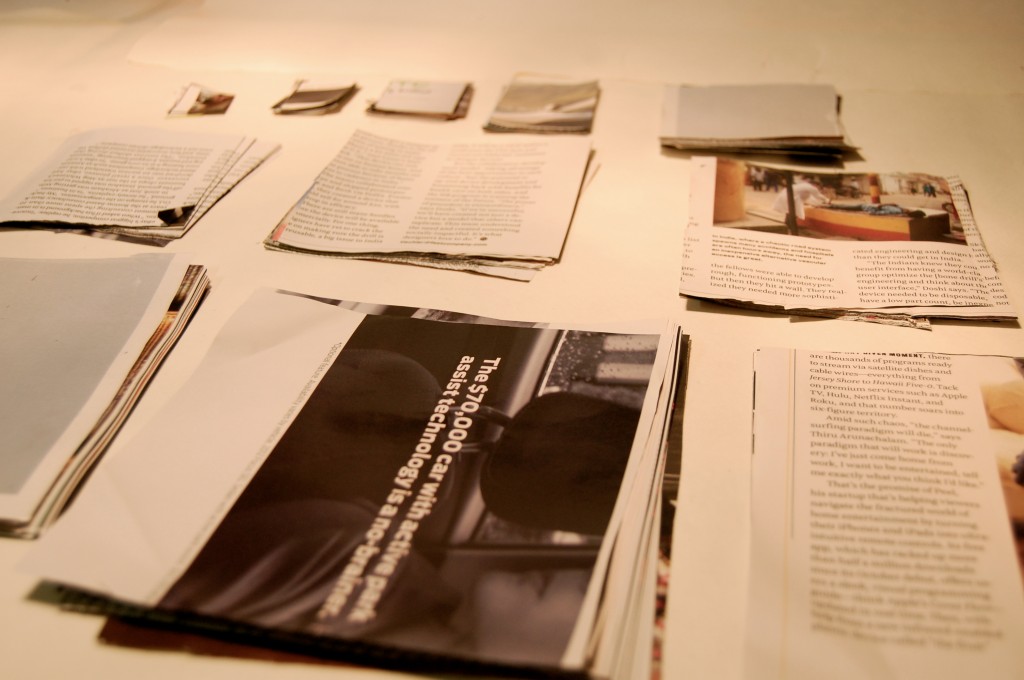
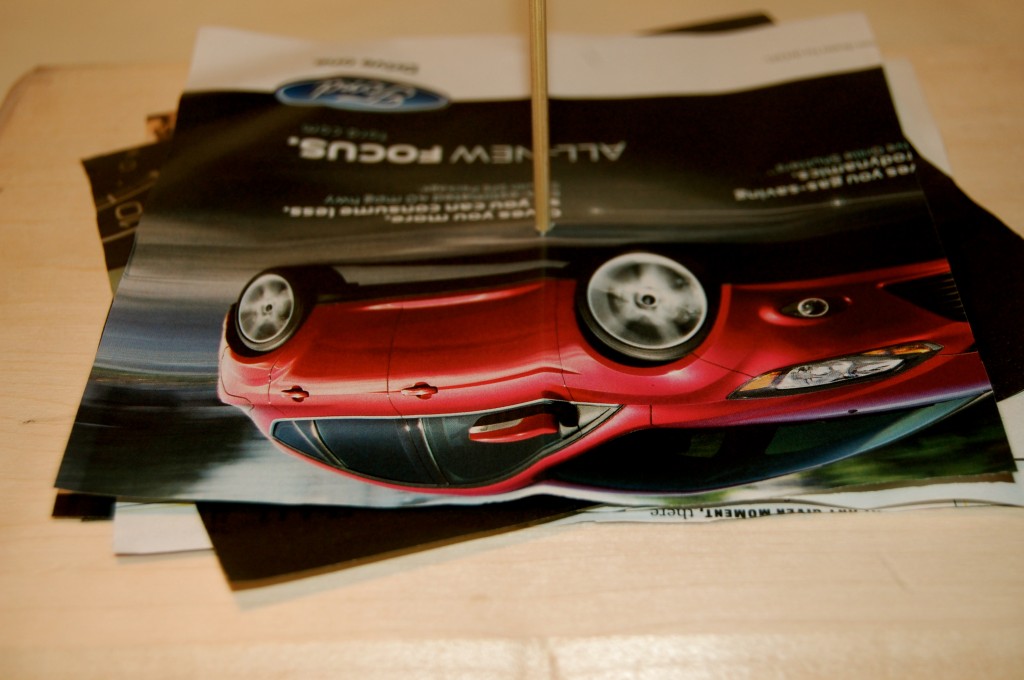
Grab some magazines and cut out:

 -6 by 6 inches
-5 1/2 by 5 1/2 inches
-5 by 5 inches
-4 1/2 by 4 1/2 inches
-4 by 4 inches
-3 1/2 by 3 1/2 inches
-3 by 3 inches
-2 1/2 by 2 1/2 inches
-2 by 2 inches
-1 1/2 by 1/2 inch

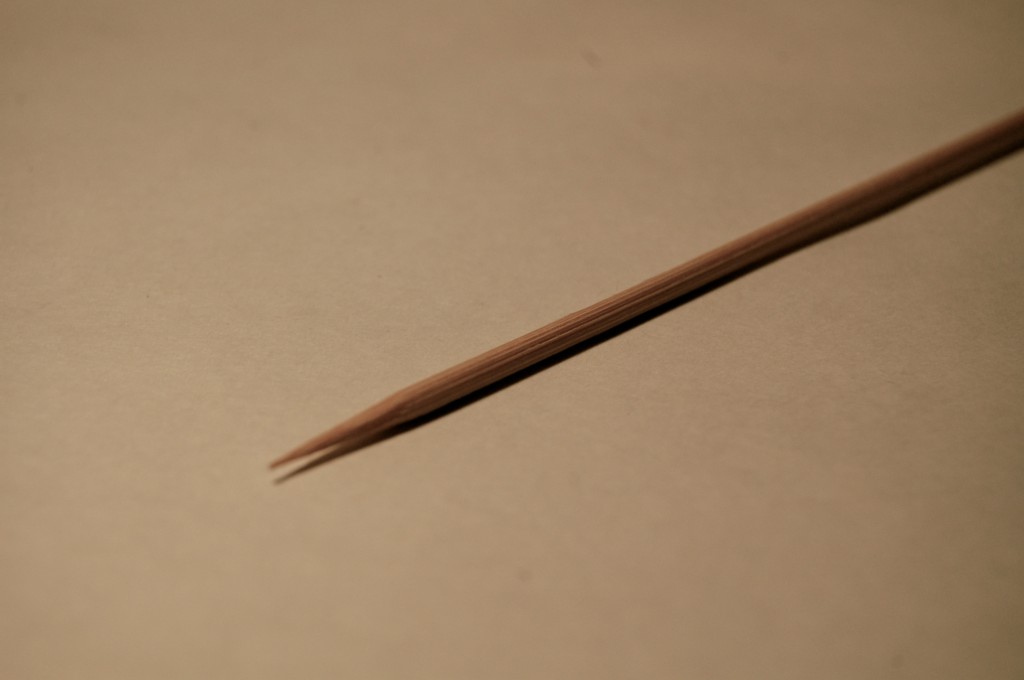
Get a skewer or whatever you want to stick the paper on.

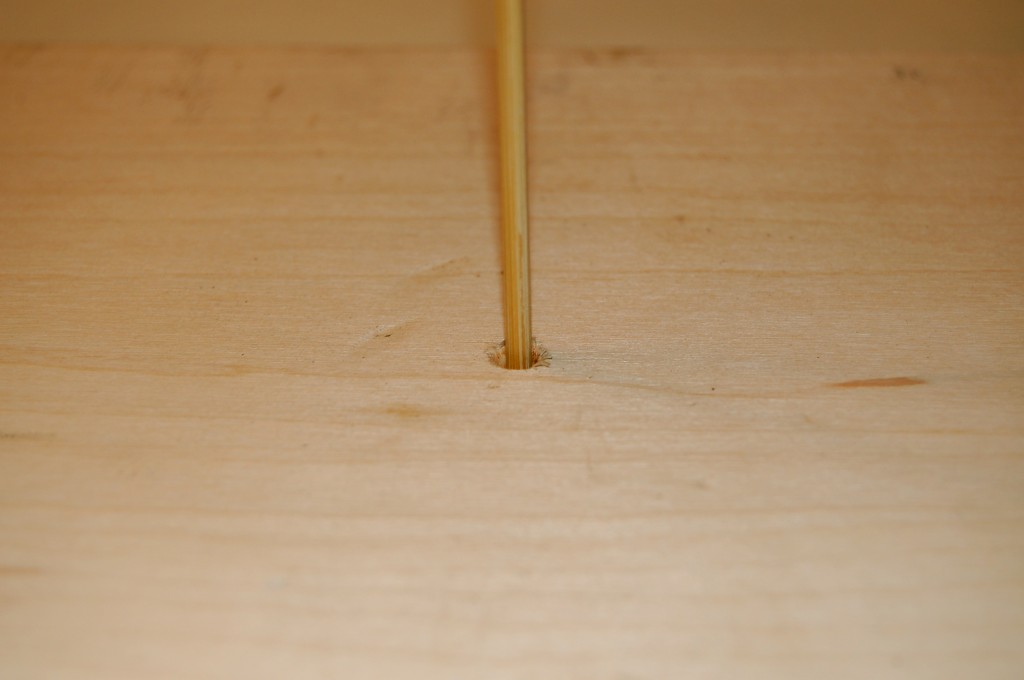
I drilled a hold into my wood so it woud be sturdy.

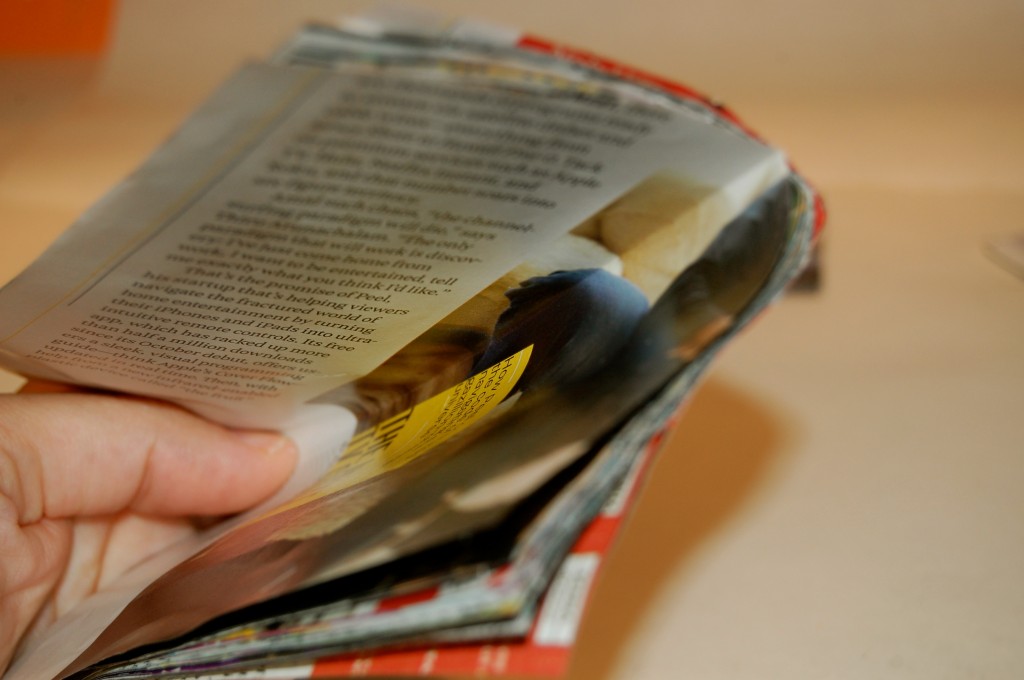
After I cut all of my pieces out I folded them into fours so I can see where my center is.

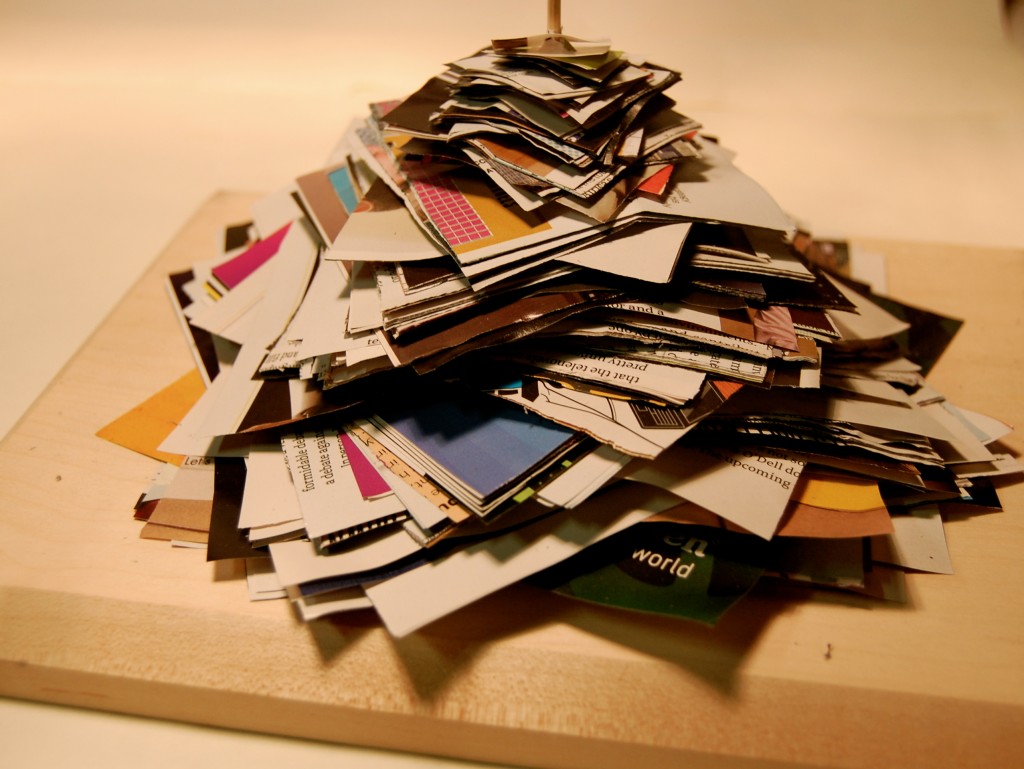
Then start sliding them onto the wood!

When you are done it should start to look like this!

I used adhesive spray, and glitter.

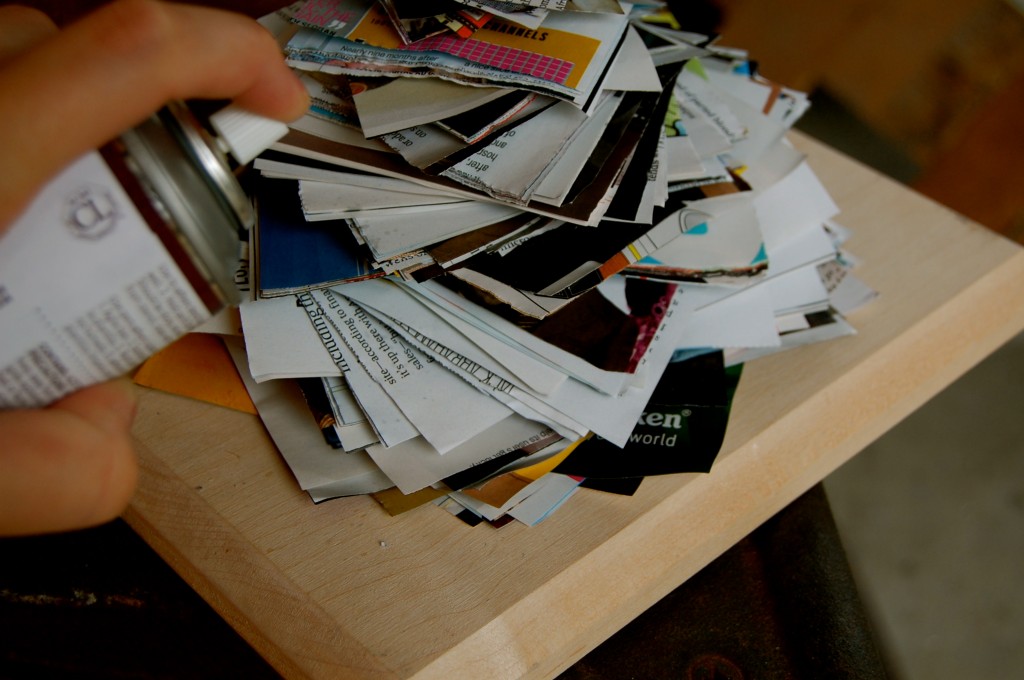
After you finish stacking spray a good amount of adhesive spray onto the tree.

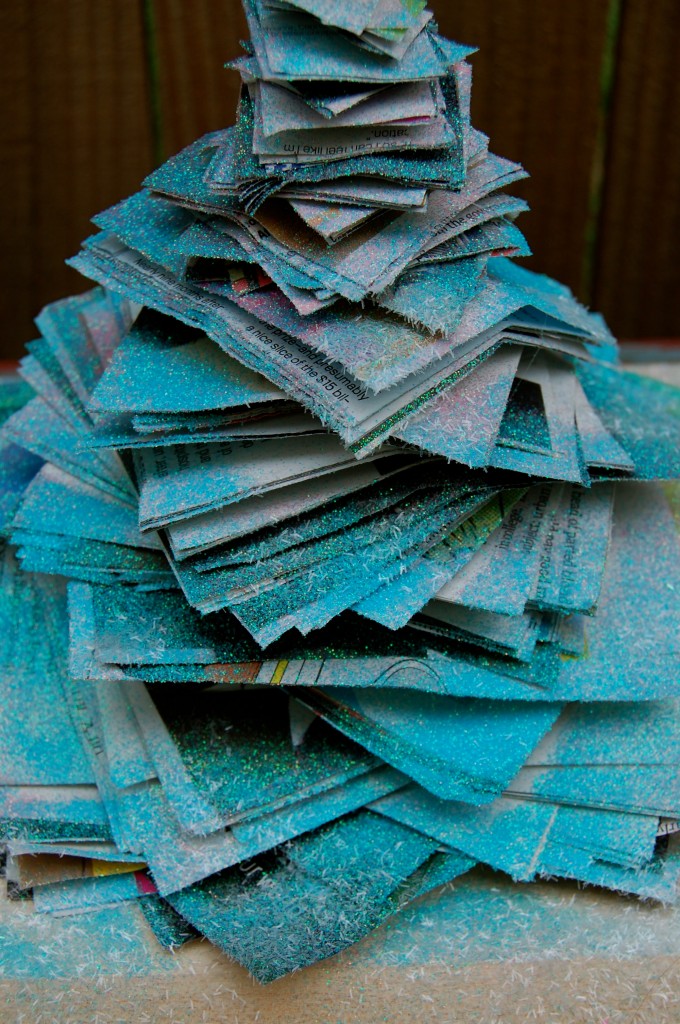
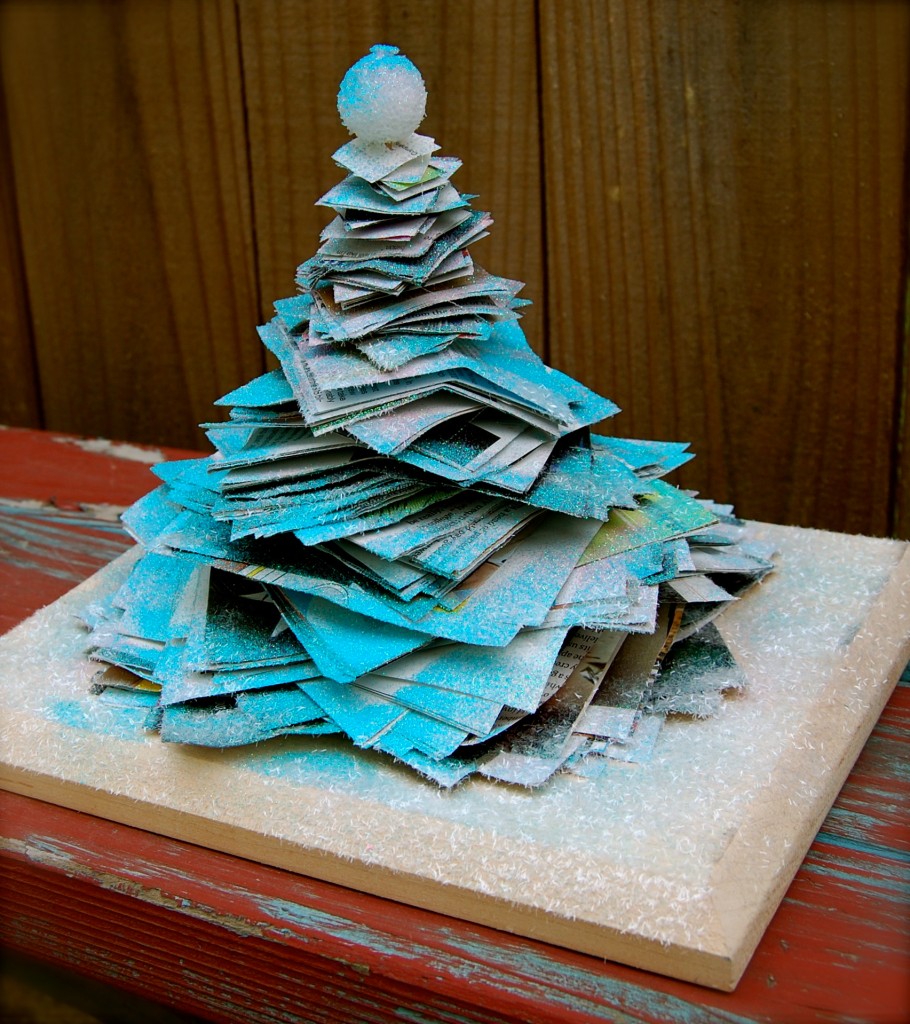
I really just had fun with this sucker! I wanted it to look like a cotton candy Christmas tree…

And it does!!! It looks prettier in person I tell ya! Remember the magazine tree I did here? I hope you have fun doing this!

Going pick up glitter in my studio, jaderbomb

Check out Martha’s original craft HERE and you can purchase Martha Stewart’s Encyclopedia of Crafts here!

CLICK HERE TO WATCH VIDEO

(me on the show!)
Click HERE to read all about it!!!
 IF YOU DECIDE TO DO ANY OF THE CRAFTS, SHOOT ME AN EMAIL AND I WILL ATTACH  IT TO THE POST WITH A LINK THAT GOES STRAIT TO YOUR BLOG!  IF YOU DON’T HAVE A BLOG JUST EMAIL IT TO ME AND I WILL PUT IT UP!!!!
Thanks to Martha Stewart crafts for sponsoring me with craft supplies!

Flag Streamers

 Seriously! Nothing pulls a party together like a motif and a vibrant palette. We can’t forget about paper flags! I love putting these babies up for parties. I have even seen some people do them for weddings and baby showers. I promise, you can find something to use these for! Here is the template for the flag. Oh, and the thing I like best about these paper flags is the fact that you can throw them away when you are done. {{or save them}}………Just throwing that out there for ya!

Material you will need: Paper, Scissors and Twine.
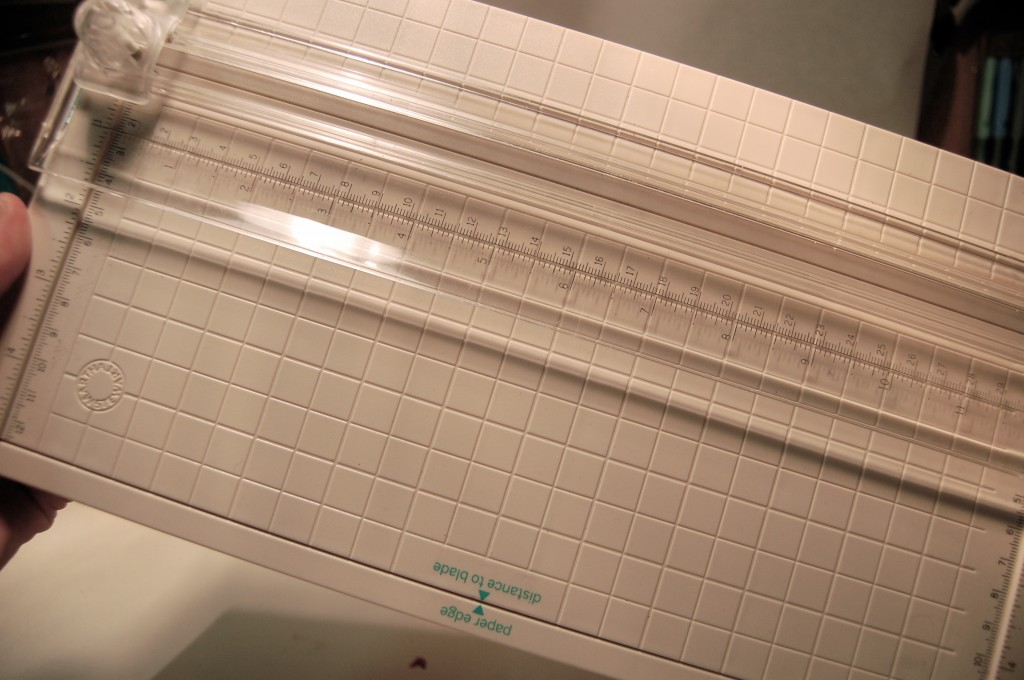
You want to get your handy dandy Martha Stewart scoring board. I LOVE THIS PIECE OF PLASTIC!!

After you cut out your template (which I listed above) trace it onto whatever paper you want to use. I wanted a original “red and green” flag!
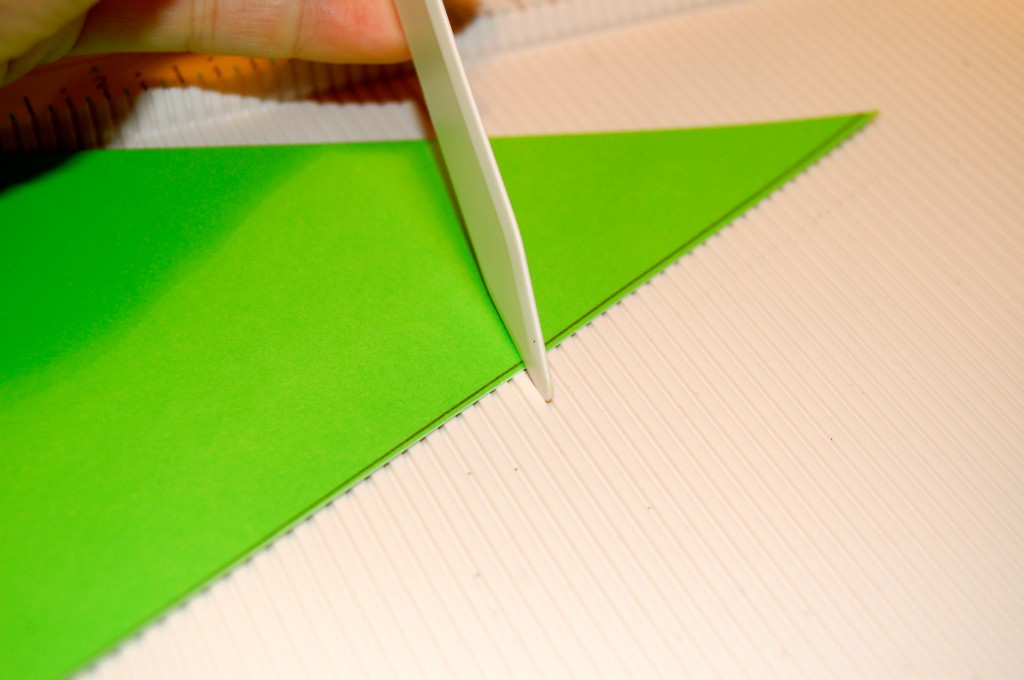
After you cut out the flag take a couple and make lines in them using the scoring board. I didn’t follow a certain pattern I just kinda put lines wherever I felt like it.
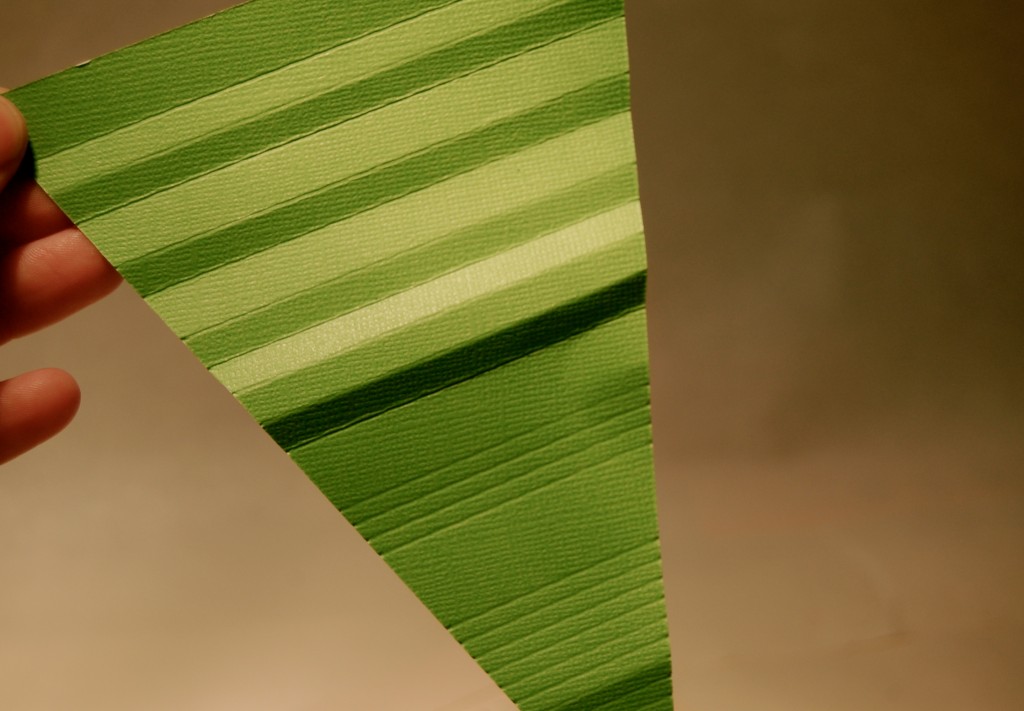
As you can see I didn’t follow a certain pattern. Jaderbomb doesn’t use patterns. HAHA
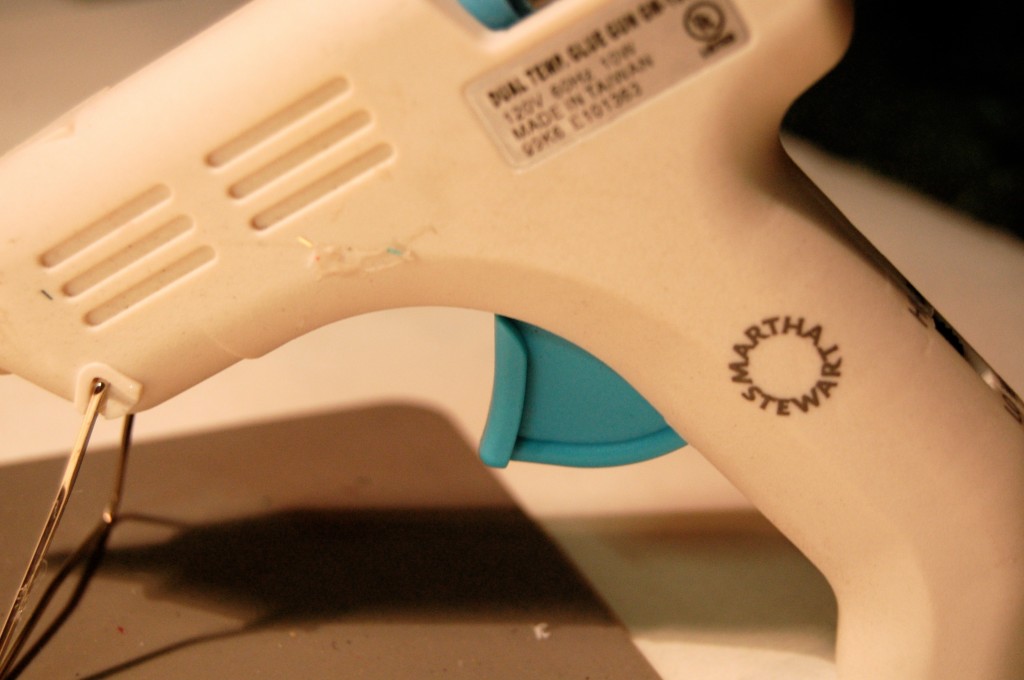
Get your glue gun. I used my dual temperatured one from Martha Stewart because, well….this is why {{ the dual-temperature glue gun allows you to change the setting to fit your materials. Switch it on high for a stronger bond that is best used with wood, plastic, metal, ceramics, magnets, leather, and fabric. Set it to low for more delicate materials such as lace, foil, ribbon, floral foam and lightweight fabric, or paper}} NOW DO YOU SEE HOW AWESOME THIS BABY IS… MIGHT PUT THIS IN MY NEXT GIVEAWAY!
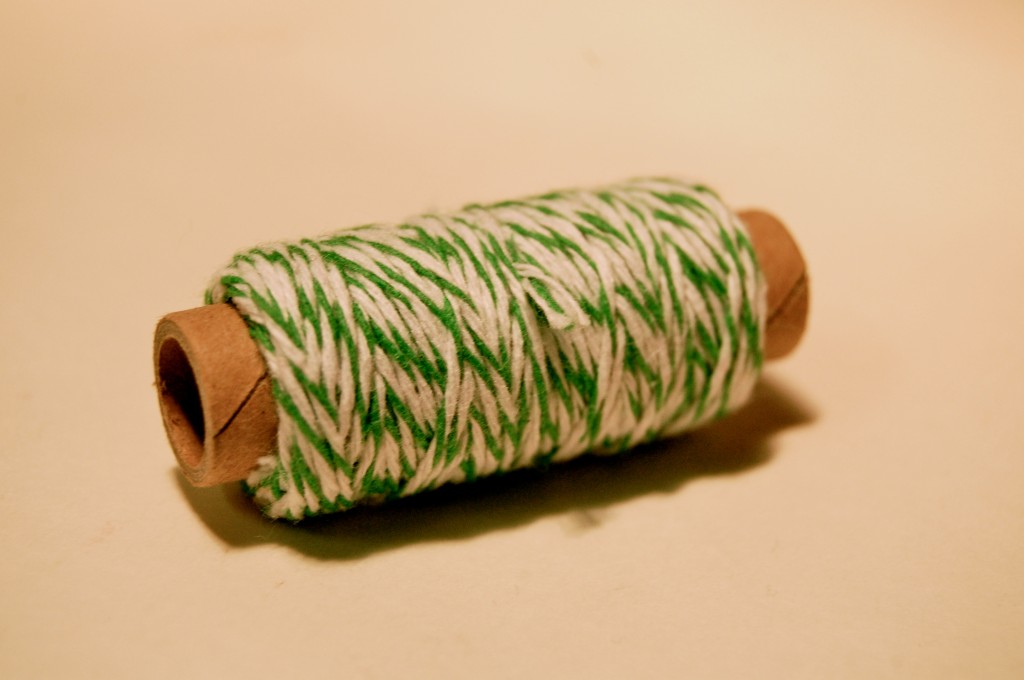
I love this bakers twine.
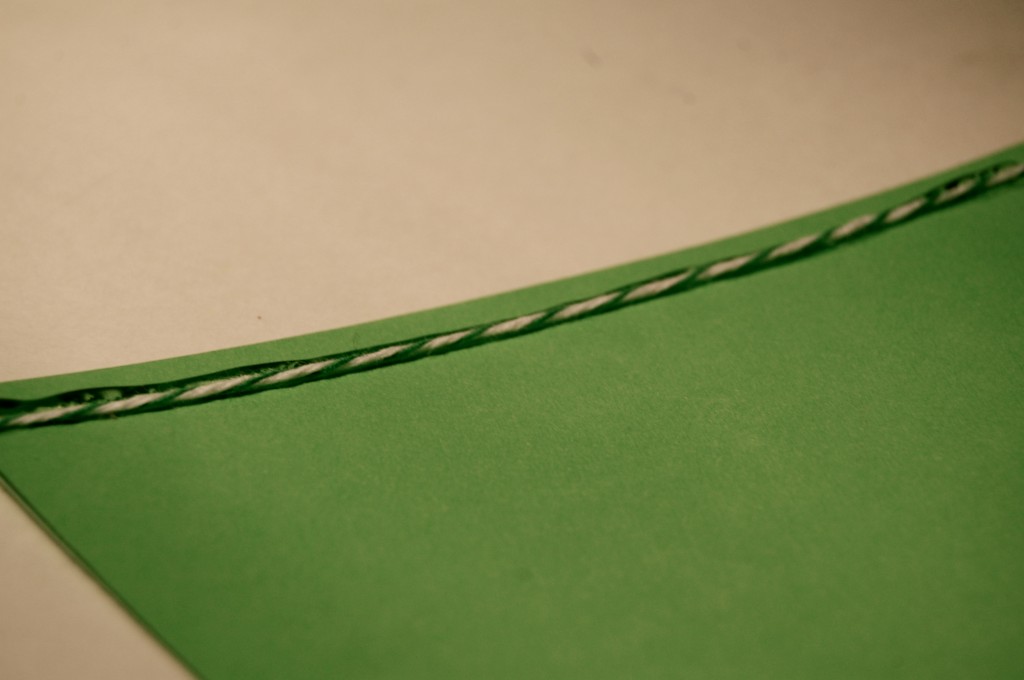
Place a bead of glue on the top of your flag and quickly put your twine on top of it.
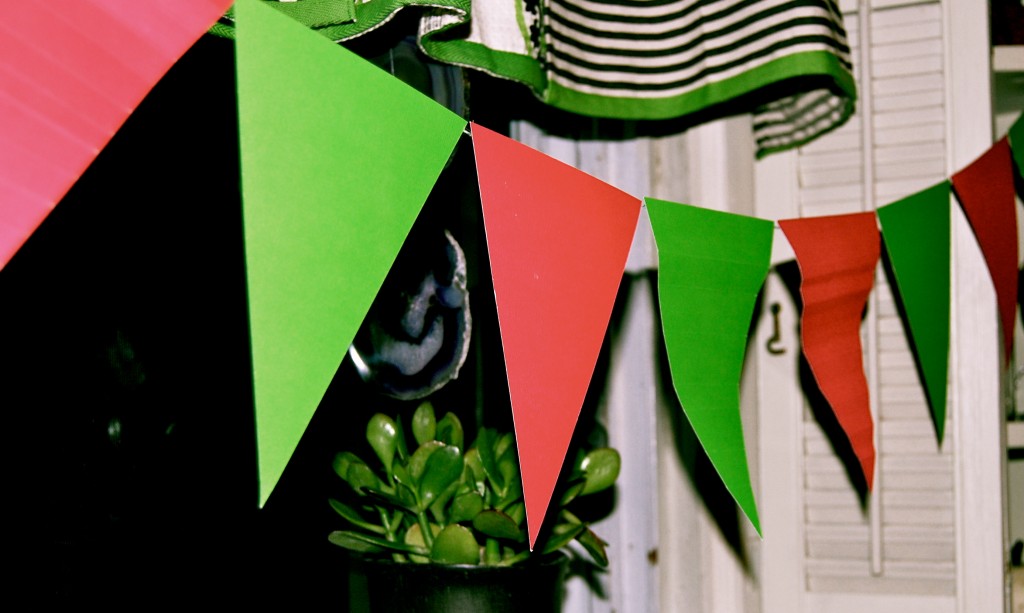
This is what your end result is {{{yayyyy}}} I LOVE FLAGS! My world I live in is one big party so I am always dressed to the occasion. Have fun with this. You could totally put glitter all over these babies, or stickers, or layers of different colors of flags on top of each other. Yayyyy I wanna make more just talking about it!!!
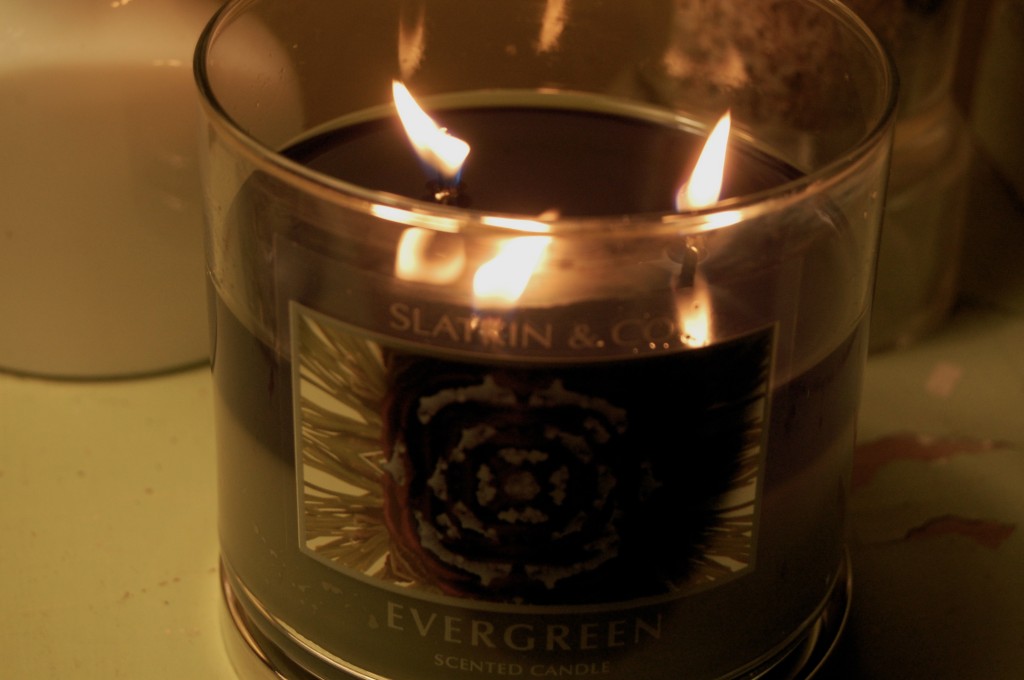
Wanted to share with you the candle burning in my house right now. YOU have to get this one because it smells SOOOO good! I have many more to try out so stay tuned for my thoughts on them! You can order one HERE! AND THEY ARE 2 FR 25$ RIGHT NOW!

House smelling like a wonderful forest in winter, jaderbomb

Check out Martha’s original craft HERE and you can purchase Martha Stewart’s Encyclopedia of Crafts here!

CLICK HERE TO WATCH VIDEO

(me on the show!)
Click HERE to read all about it!!!
 IF YOU DECIDE TO DO ANY OF THE CRAFTS, SHOOT ME AN EMAIL AND I WILL ATTACH  IT TO THE POST WITH A LINK THAT GOES STRAIT TO YOUR BLOG!  IF YOU DON’T HAVE A BLOG JUST EMAIL IT TO ME AND I WILL PUT IT UP!!!!
Thanks to Martha Stewart crafts for sponsoring me with craft supplies!