Tag Archives: glittered

Make a Sequined Pumpkin

What is the first thing that comes to my mind when I think about sequins? Well of course I think of my freshmen homecoming dress.

Let me tell you that thing was blinged out! I will post a picture at the bottom of this post for you to see, don’t judge… TeeHee

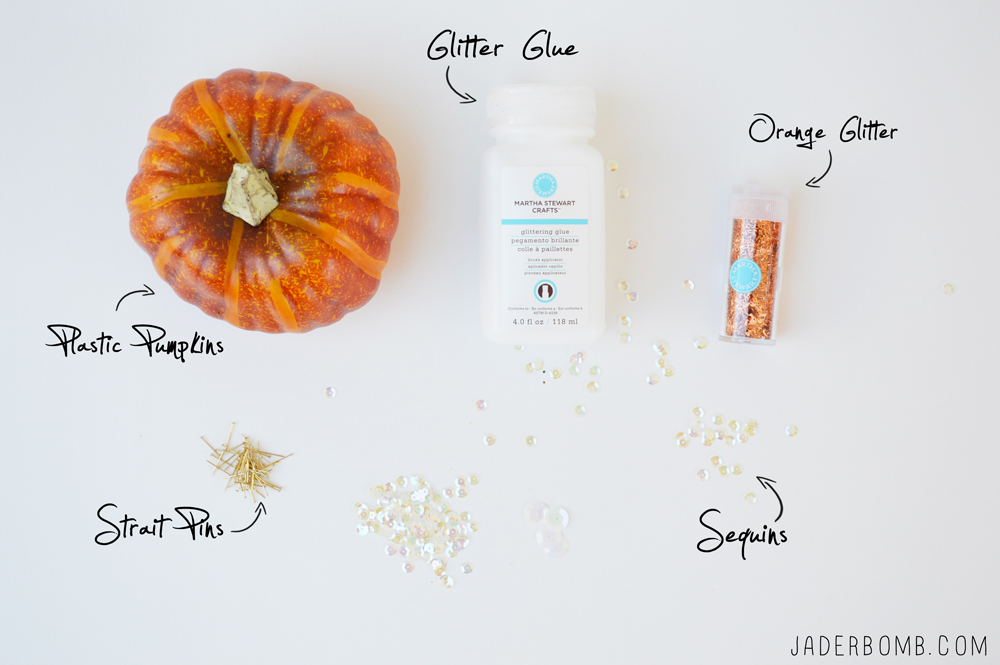
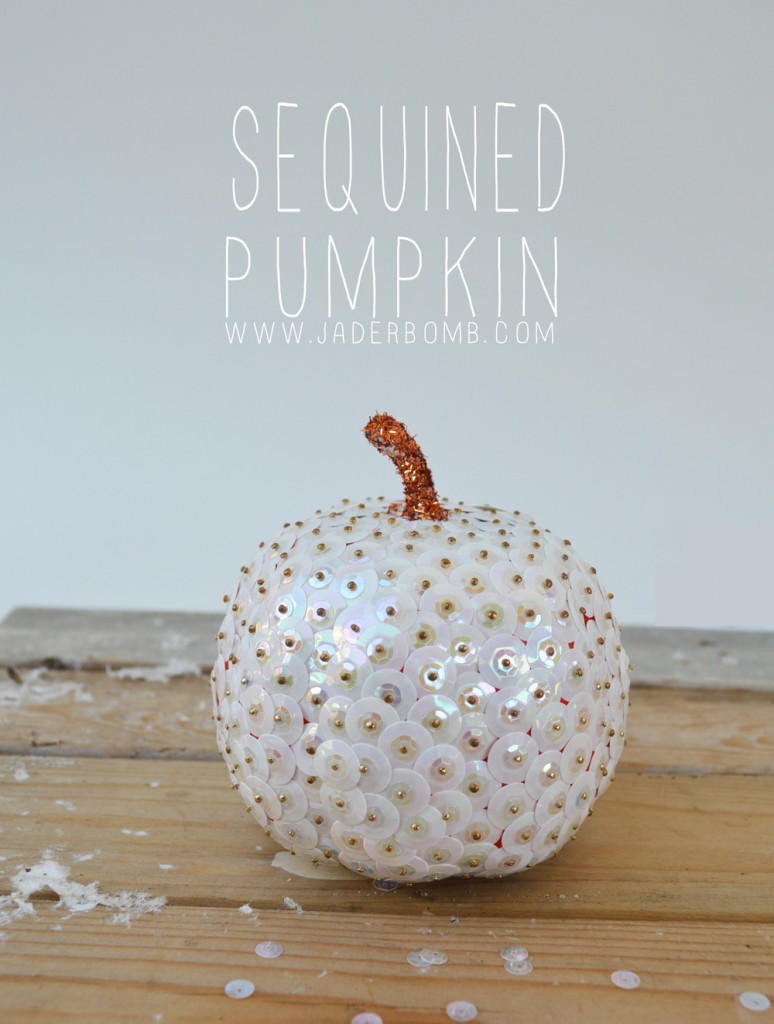
Today I will show you how to make a Sequined Pumpkin.

YOUWILLNEED*Plastic Pumpkin
*Glitter Glue 
*Orange Glitter
*Head Pins
*Sequins (small and large)

If you don’t have any of the supplies I used in today’s post you can click on the links to purchase any of them!
Sequined Pumpkin Supplies

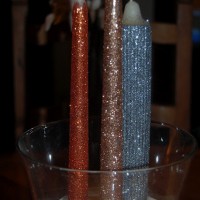
How gorgeous are these sequins! I used the same iridescent color but in two sizes. It looks good when there is a small one in front of the big one.

Sequined Pumpkin
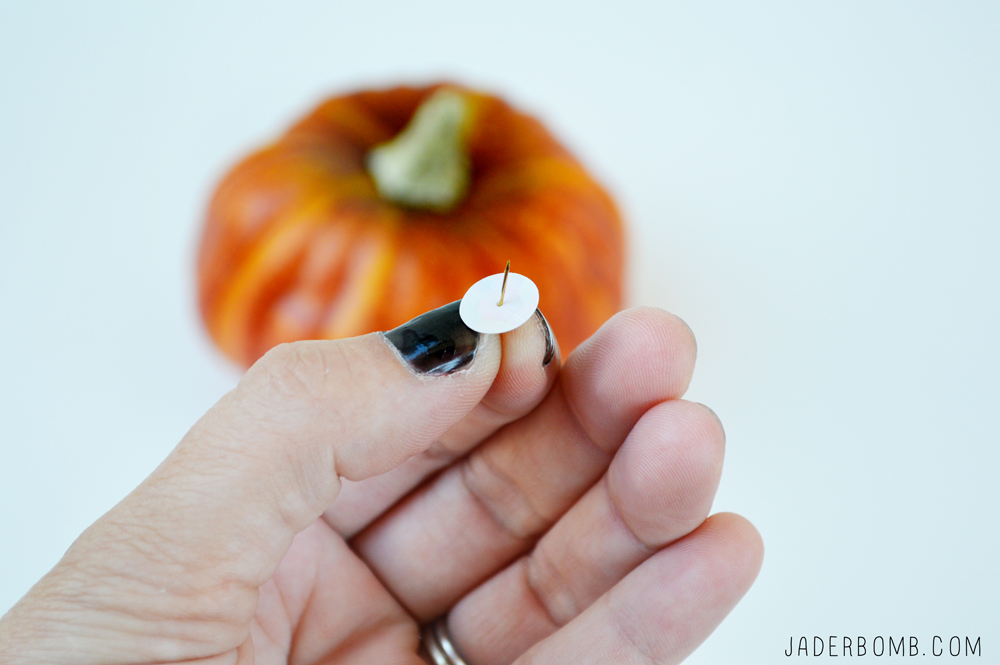
I am using gold head pins. I like the gold because it adds some color to the sequins and dresses up everything.

The first thing you will do is place a small sequin on the pin then the large one right on top of that one.

Sequined Pumpkin how to Start placing them in your pumpkin starting the very top.

Sequined Pumpkin tutorial

This is what it will look like once you have completely finished it. It’s so pretty I could eat it. Well not really but you get my point! Sequined Pumpkin

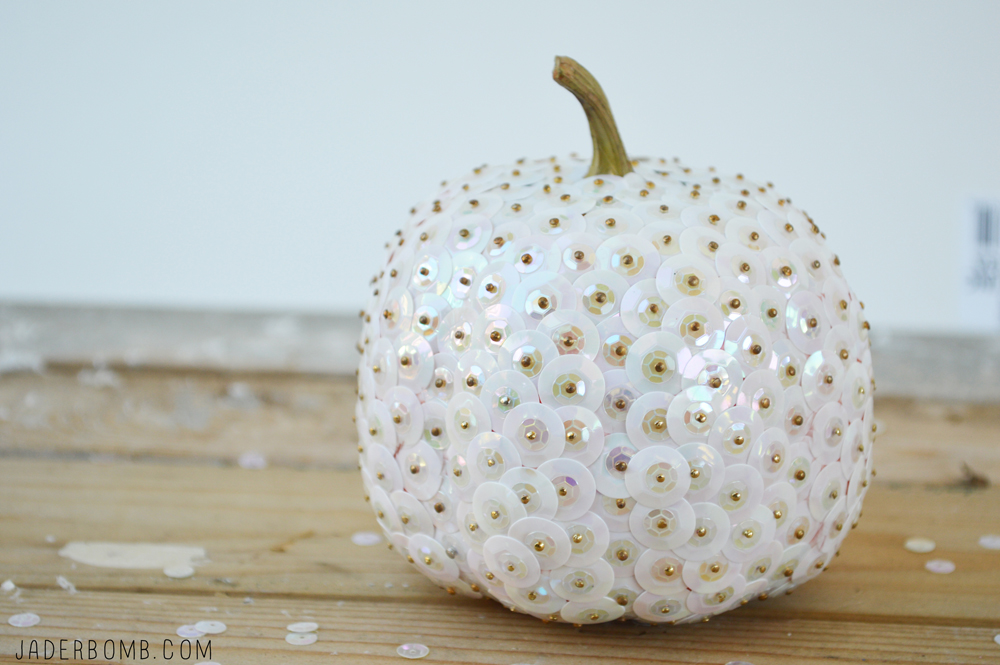
If you want to bedazzle it some more grab some glitter glue. If you don’t have glitter glue you can use any glue you have. Glitter Glue

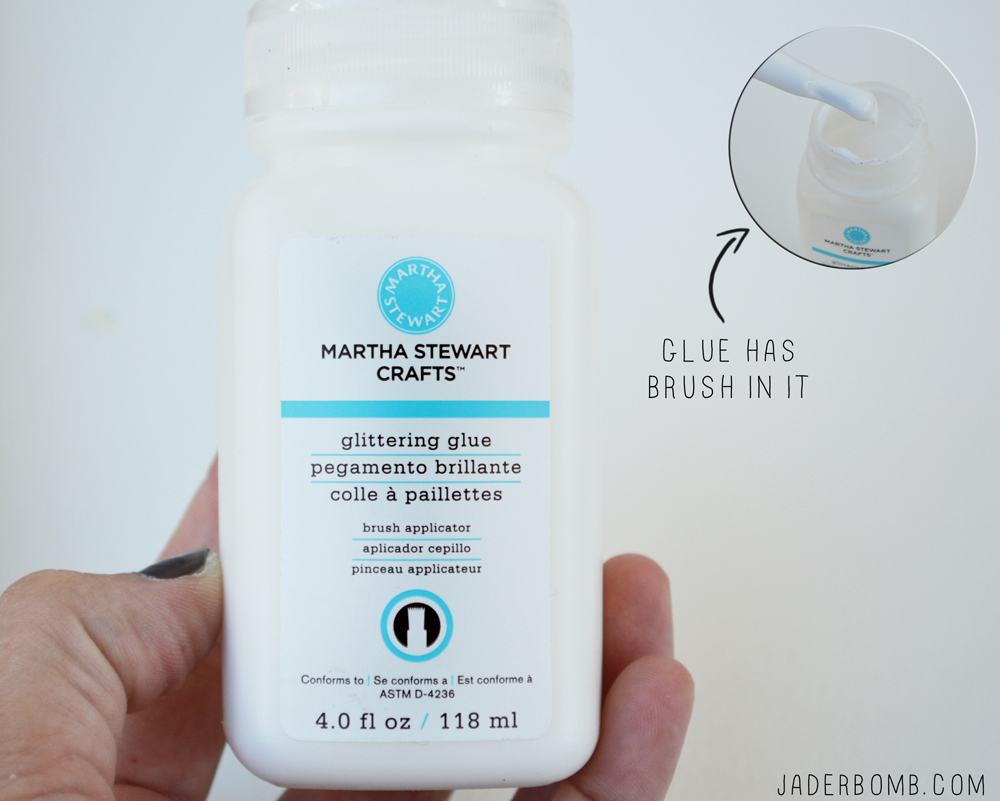
Coat the stem with glue then sprinkle with glitter. I used orange but you can use any color that you want. DIY Sequined Pumpkin

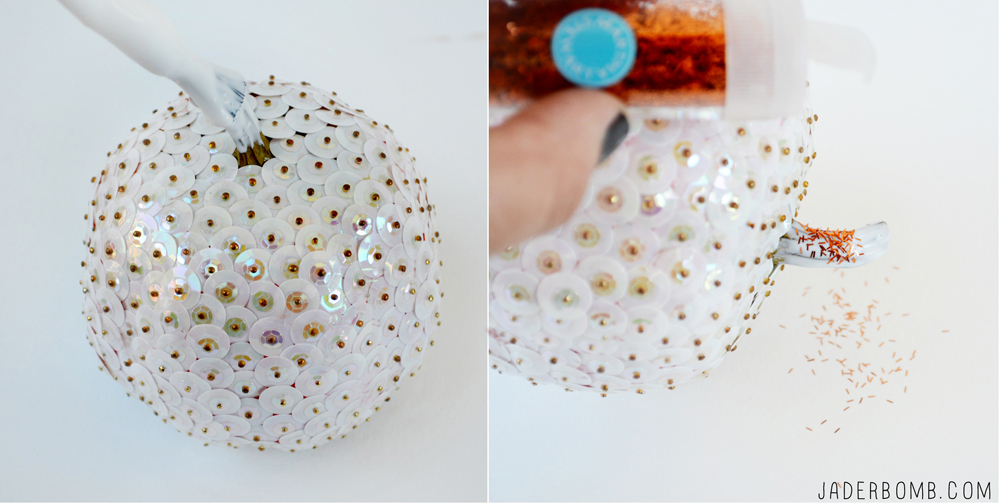
It’s really that simple. The good news is we still have Thanksgiving to decorate for and you could make some gold and brown ones. I will warn you that they are very time consuming however they are worth it in the end.

When you are saving them up after the holiday’s make sure to place each one in a single ziplok bag so they don’t get dingy.
Sequined Pumpkin

HERE IS THE LOVELY DRESS! Yes that me in the red dress with my bro and seester! 402676_3167671267390_30998326_n

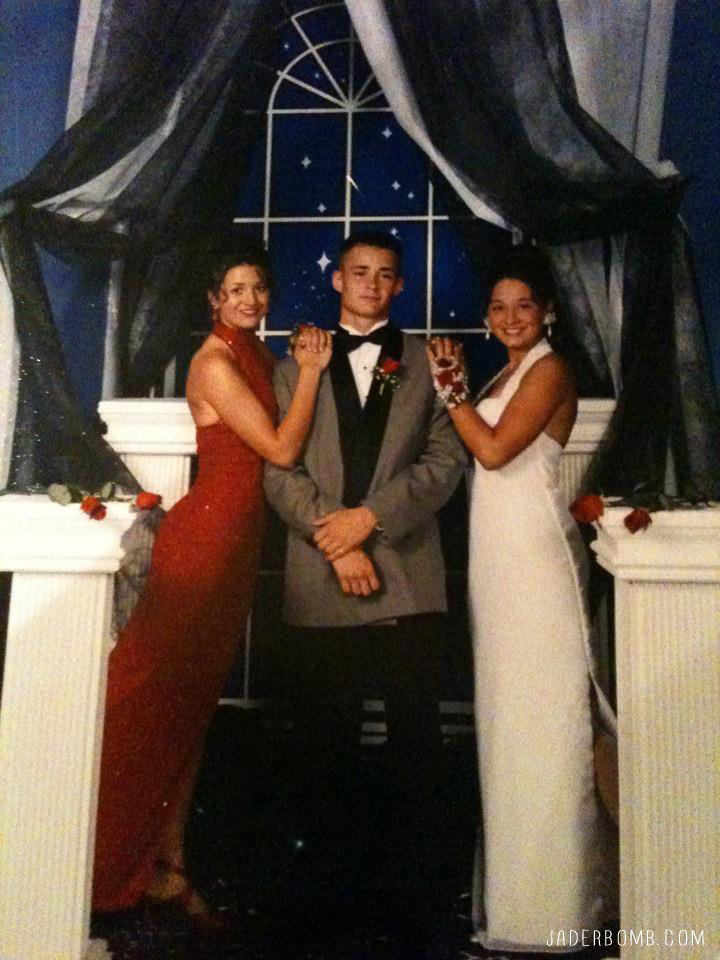
I hope you enjoyed this tutorial! See you in the next post!

in other news

*Check out my latest post on The Graphics Fairy
*Starting NOVEMBER 1st, I will be the featured PINNER for FAVE CRAFTS! I will share the direct link on my FACEBOOK and TWITTER!
*I will be in the upcoming issue of GREEN CRAFTS magazine! It comes out November 1st at craft stores. For sure Hobby Lobby!

First thing I am wondering is if everyone survived “Cyber Monday”. I am pretty much done with Christmas shopping,well except for all of the “things” I will find from now until then. Which I hate to say could totally start to pile up. I have this thing where we always buy one nice gift but other little ones also. There is something about watching a person open a present. Do you experience that too?

The other day when I went “BLACK” friday shopping I instagramed this picture. The funniest part is when It went on facebook someone responded to it and said they knew where I was at. So, I was at Joann’s.  They had some major deals going on and they still do so click on the link I just put to shop online. I accidentally ran across these HUGE letters and I though “Wow I could totally decorate with these for Christmas and also keep them up all year after Christmas”. I bought them. The large one is normally $9.99 but was on sale for around $4.00. The small one normally is around $5.00 but for it for $2 something. I am telling you it’s a great deal. It’s always fun to think out side of the box when it comes to Christmas decor. With all of the decorations out all over it get’s overwhelming somethings and you can’t think. That’s why I am here!

Let’s get started.

INGREDIENTS: 

*Cardboard Letters
*Mod Podge
*Craft Brush
*Glitter
*Krylon Sealer 

You can purchase all of the item’s by clicking on the links under ingredients.

These are all of the things you will need to make your home all warm and cozy. Did I mention that you can totally buy letter’s of someone’s name, do this to them and give them as a Christmas present. Everyone loves something that has their name, initials or favorite sayings on them. At least in Louisiana they do!

HaHa

 The first thing you will do is coat the top of your letter with Mod Podge. Keep in mind this dries fairy quick so you don’t want to coat the entire letter then glitter. I do a little piece glitter, shake off glitter then move to a spot away from the one I just did. So it’s a little bit of going all over the letter but eventually it all will be coated with awesome glitter!

This is about the size I do at one time. I used the “original” glitter. I don’t know if there is an original but you know what I mean. Not all that new FINE, THIN glitter but the large gold flakes. These always bring me back to being a kid so I thought hey, let’s go there for Christmas. What I love most about this project is you can get so creative with it. You don’t have to use gold. You can use whatever color your home decor is or if you are giving it as a gift you can make it that person’s favorite color.

 When you are completely done you can coat the entire thing with Mod Podge or spray with this sealer. I used the sealer but they both work the same. You can get this from any craft store. 

 Make sure you spray this OUTSIDE!

 This my Jaderbugs is what you will get.  A mantle full of awesomeness. If you didn’t see my tutorial on how I made these tinsel trees you can click HERE to see them. Yesterday I posted how to make a garland with Cotton Balls and it exploded on Pinterest. Click HERE to see how I did it!

I hope you enjoyed this tutorial, make sure to come back tomorrow to see some easy DIY Christmas decor.

Don’t forget to make it a DIY kinda day,

Facebook Twitter Gplus Pinterest YouTube E-mail RSS

Glitter Candles Tutorial

Monday, Monday gotta wake up it’s Mondayyyyy {{singing in my “Friday, Friday}} voice. I have to say I think it is pretty obvious that I LOVE glitter. I have ALWAYS loved glitter but it’s on a whole new level now! I have an addictive personality {go figure} and when I find something that makes my heart beat “really” fast I tend to involve it WAY TOO MUCH in my daily life.  There is only one problem. I somehow glitter everything my little eyes come across now. Maybe it’s the glitter. Yeah, it’s the glitter. I have always used “eh, OK” glitter but I have to be honest, Martha Stewart’s glitter is so powerful. It covers better than my flat sheet covers me at night (and I don’t even have a flat sheet). Now that’s coverage.
You know what I love the most about this craft? The fact that no matter what holiday is coming around you can decorate with candles and glitter. It’s absolutely affordable and believe me when I tell you this! I can’t wait to make bright, bold colors for Christmas! We can’t forget about Easter! Those pastels will be so beautimus.
{{and LENORE, you were RIGHT!!!}}
Let’s get to the craft of the day!

p.s.  These are the three colors that I used for my {{Fall/Halloween}} candles
p.s. Simply coat your candles with mod podge then sprinkle with glitter! Look how pretty they come out!
p.s. I just stuck them in sand and there you have it! How cute! Just think of every holiday you can use these babies for!

Sending you white sand to remind you of the best day ever on the beach,
jaderbomb


(me on the show!)

Just in case you are not aware of my countdown I am doing right now you can click HERE to read all about it!!!


Thanks to Martha Stewart crafts for sponsoring me with craft supplies!