Tag Archives: How to decorate with Christmas decorations

Tinsel Light Garland

 I have ALWAYS loved tinsel. It makes me smile and it makes me smile…

Create a simple garland for the holiday season with this Good Thing from Hannah Milman, executive editorial director of crafts at Martha Stewart Living.

Tools and Materials: Christmas lights and Garland

I grabbed some silver tinsel and wrapped bright colored pieces of tinsel around it…

After I added my colorful details I wrapped it securely around a string of Christmas lights.

6 days left of my countdown then you will get 100% jaderbomb crafts back, jaderbomb

Check out Martha’s original craft HERE and you can purchase Martha Stewart’s Encyclopedia of Crafts here!

CLICK HERE TO WATCH VIDEO

(me on the show!)
Click HERE to read all about it!!!
 IF YOU DECIDE TO DO ANY OF THE CRAFTS, SHOOT ME AN EMAIL AND I WILL ATTACH  IT TO THE POST WITH A LINK THAT GOES STRAIT TO YOUR BLOG!  IF YOU DON’T HAVE A BLOG JUST EMAIL IT TO ME AND I WILL PUT IT UP!!!!
Thanks to Martha Stewart crafts for sponsoring me with craft supplies!

Ribbon Star Ornaments

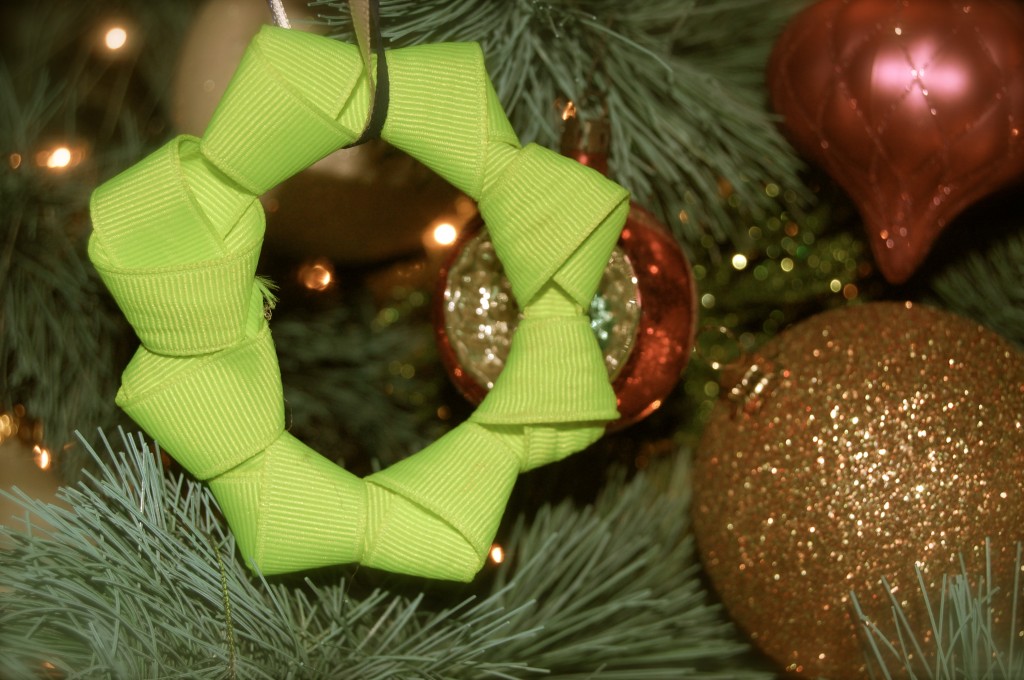
Up the elegance of this year’s Christmas tree with beautiful celestial ornaments like these hand-tied ribbon stars. If you wanna spice up your tree or your gift bags then you have to do this craft! When I tell you this sucker is so easy your kids could do it and make a ba-jillion of them! 

The secret to making these simple stars: Tie all the knots in the same direction.

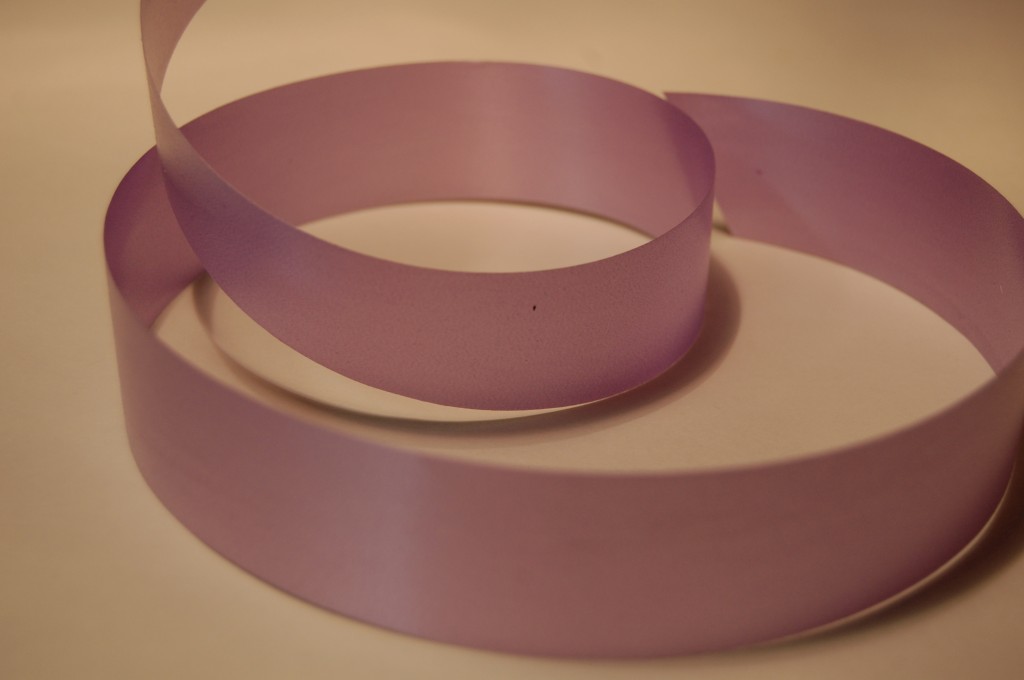
Grab some ribbon…

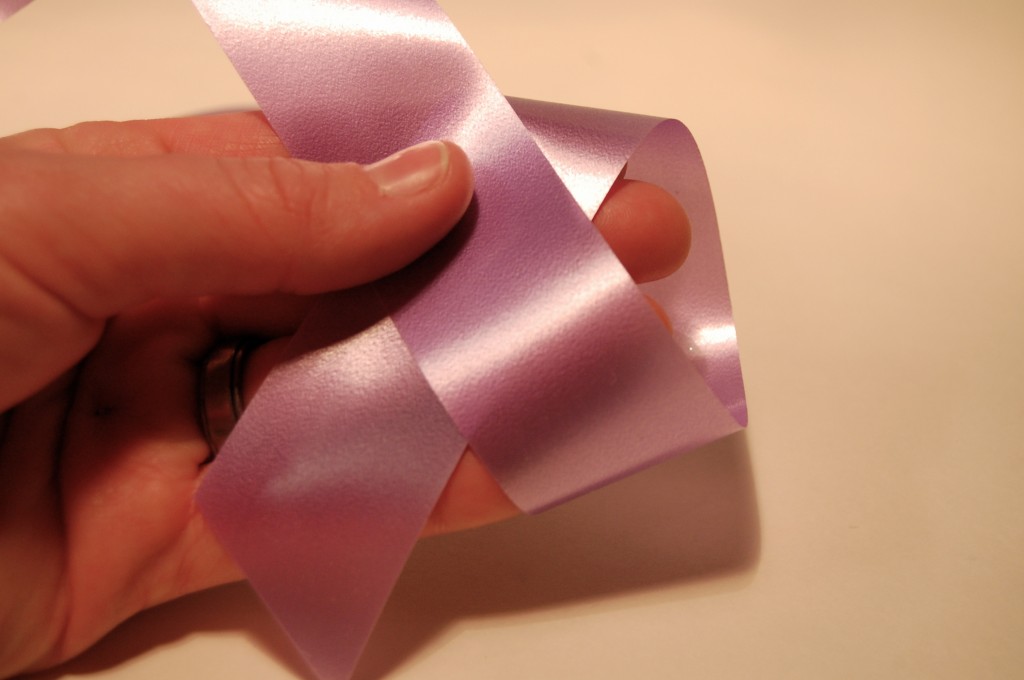
Do the same movements you would do if you were making a knot…

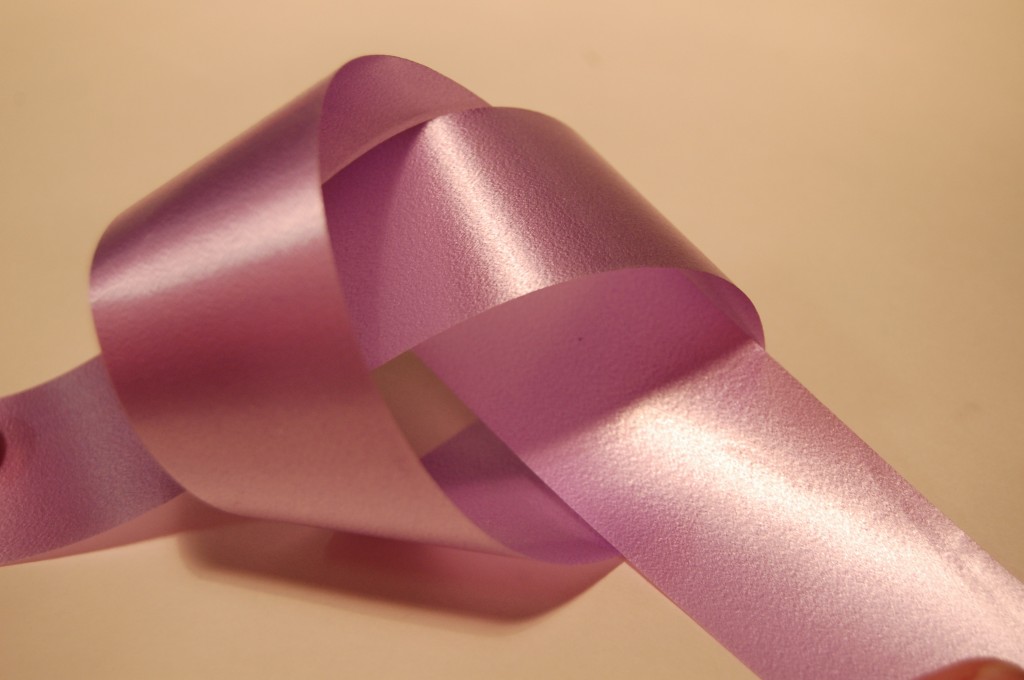
See this is how it will look…

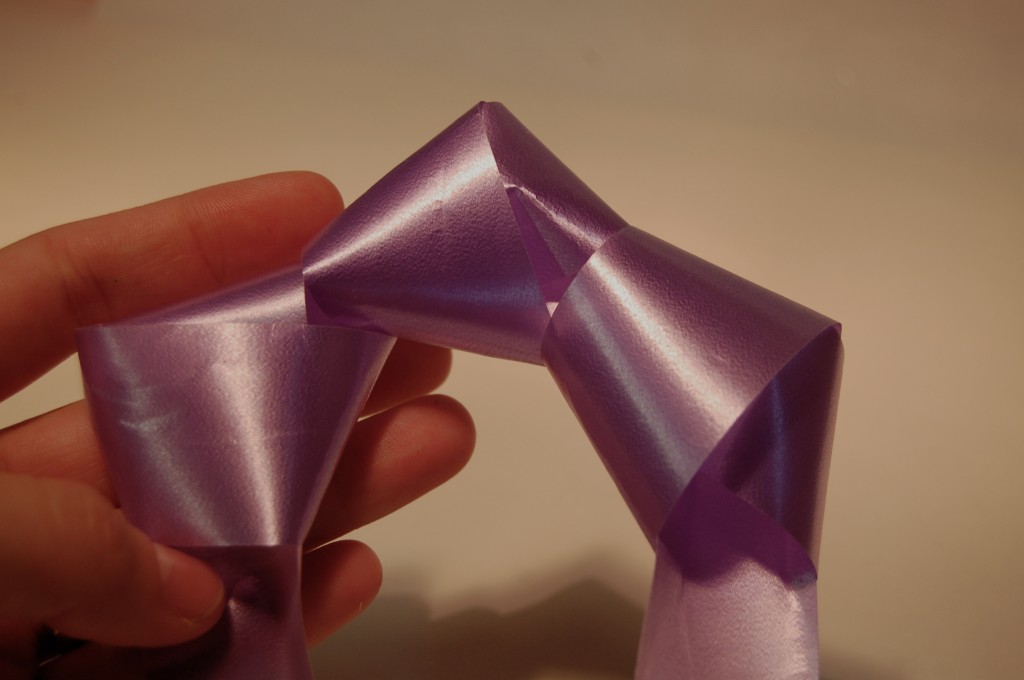
Repeat 5 times, adjusting each new knot so its bottom left touches the bottom right of the previous. Trim ribbon ends…

This is the one I made with bright yellow ribbon. I hope you enjoyed this crafteroo!!!

Twisting and shouting on this crafty Sunday (not sooo sunny), Jaderbomb

Don’t forget about my GIVEAWAY here!!

Check out Martha’s original craft HERE and you can purchase Martha Stewart’s Encyclopedia of Crafts here!

CLICK HERE TO WATCH VIDEO

(me on the show!)
Click HERE to read all about it!!!
 IF YOU DECIDE TO DO ANY OF THE CRAFTS, SHOOT ME AN EMAIL AND I WILL ATTACH  IT TO THE POST WITH A LINK THAT GOES STRAIT TO YOUR BLOG!  IF YOU DON’T HAVE A BLOG JUST EMAIL IT TO ME AND I WILL PUT IT UP!!!!
Thanks to Martha Stewart crafts for sponsoring me with craft supplies!

Shimmering Stacked Trees

 Happy (whatever day it is) Jaderbugs! I am in love with using paper this holiday season. I hope you love this craft as much as I do! This shimmering stacked tree will add a festive — and eco-friendly — touch to your home this holiday season. These magnificent trees can also be stacked using any leftover aluminum foil, felt, or crepe paper. {I used an old magazine)

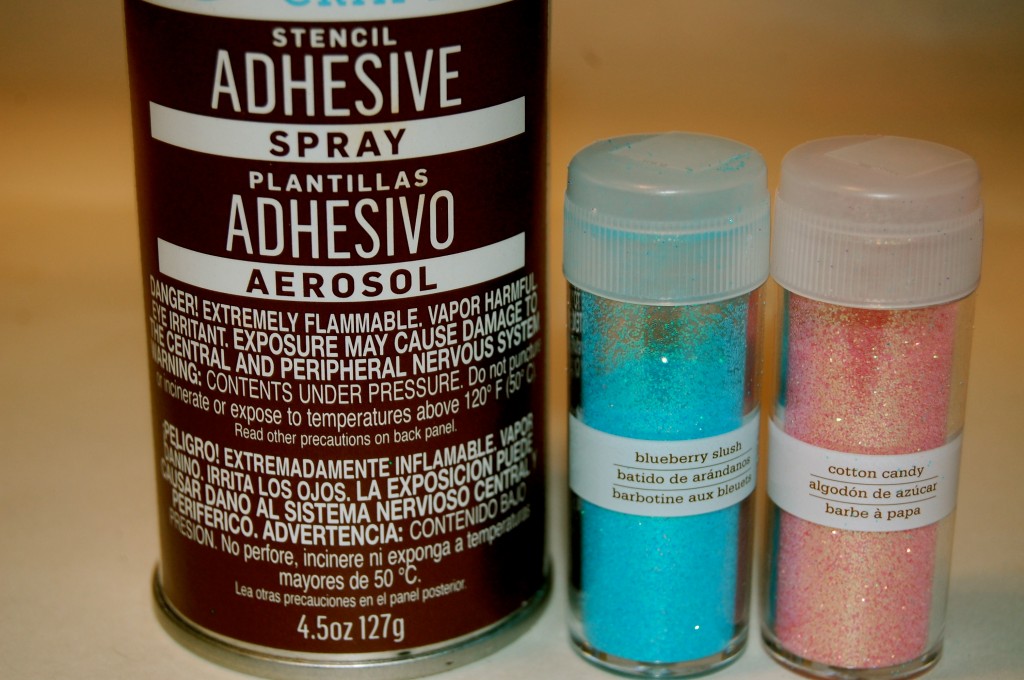
I used a piece of wood, skewer, scissors, spray adhesive and glitter. Yep, that’s it!

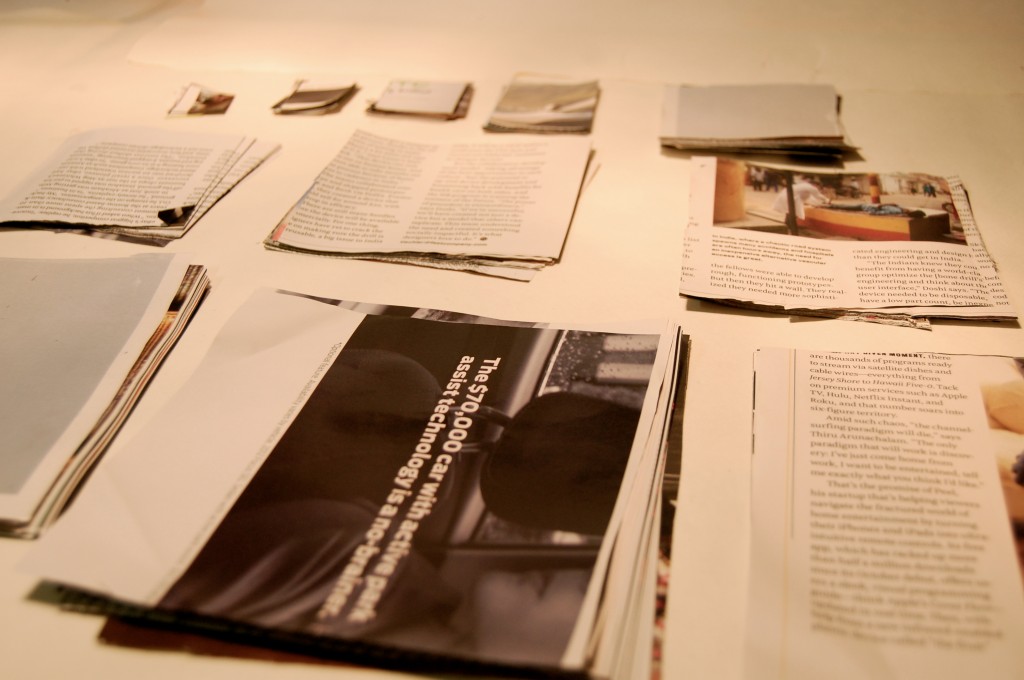
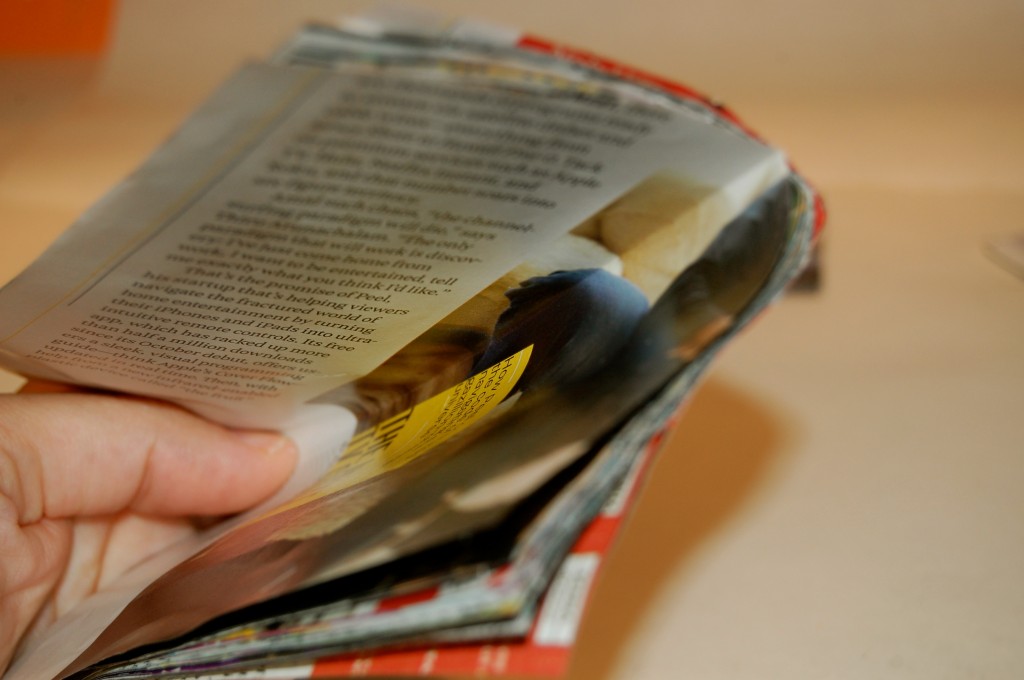
Grab some magazines and cut out:

 -6 by 6 inches
-5 1/2 by 5 1/2 inches
-5 by 5 inches
-4 1/2 by 4 1/2 inches
-4 by 4 inches
-3 1/2 by 3 1/2 inches
-3 by 3 inches
-2 1/2 by 2 1/2 inches
-2 by 2 inches
-1 1/2 by 1/2 inch

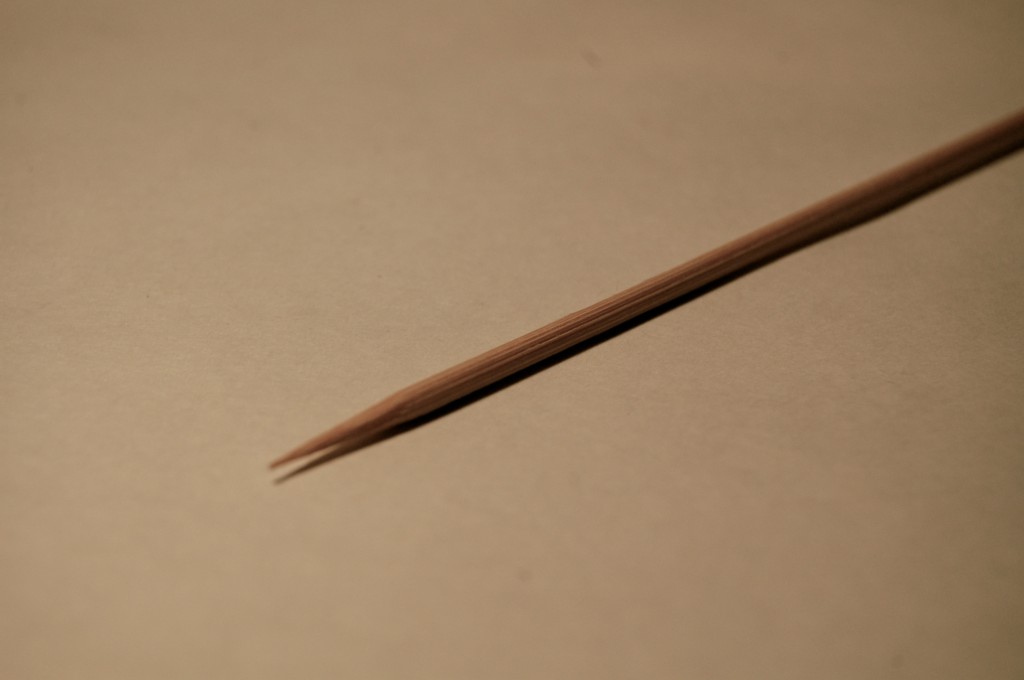
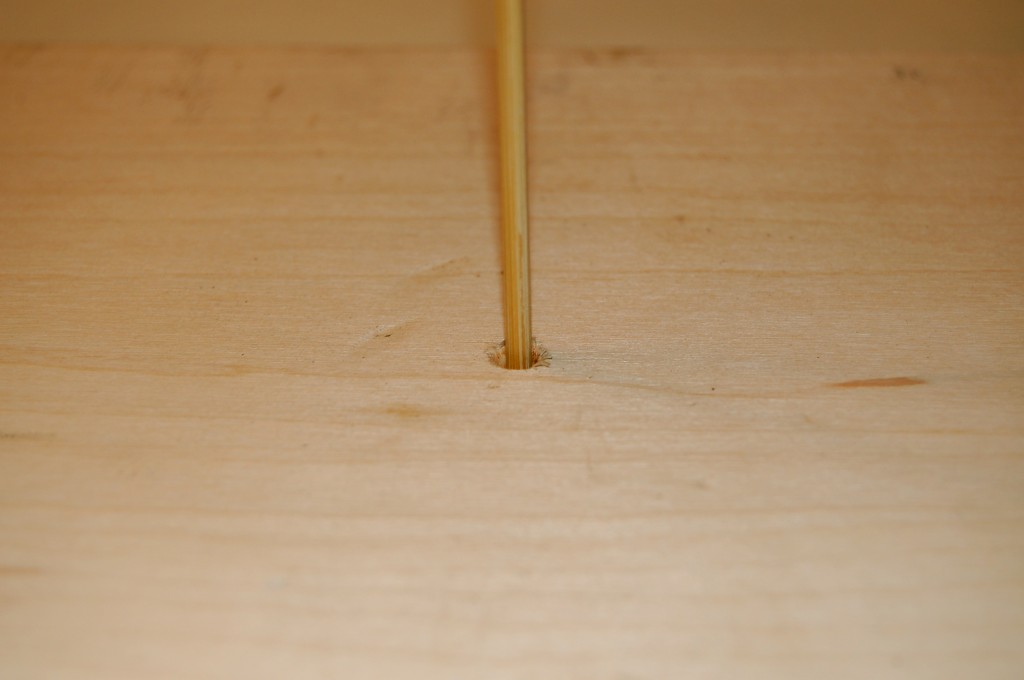
Get a skewer or whatever you want to stick the paper on.

I drilled a hold into my wood so it woud be sturdy.

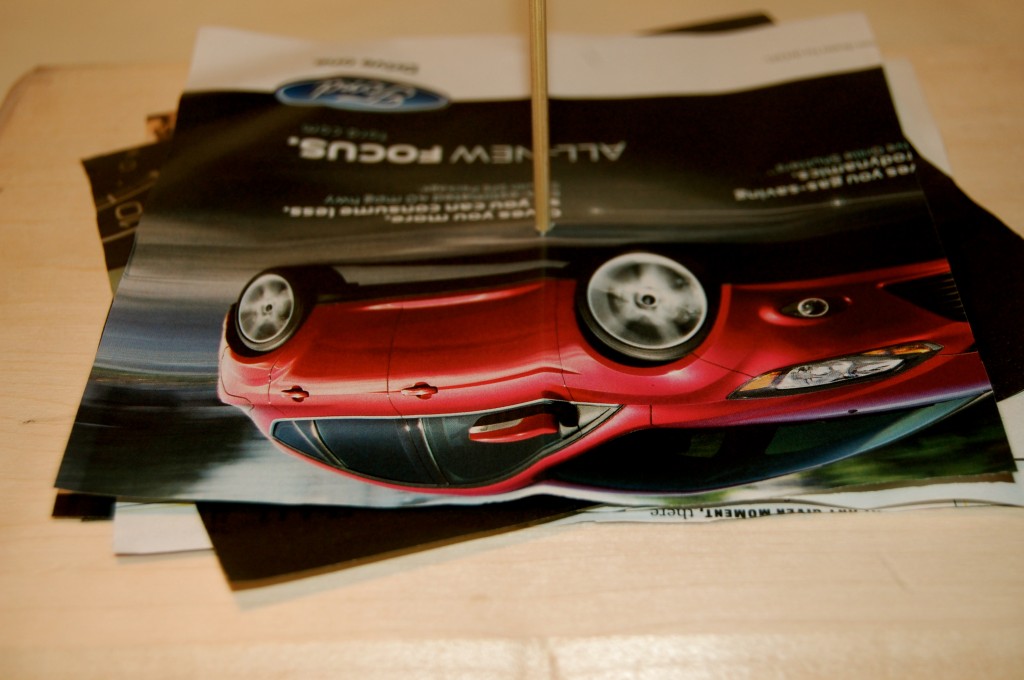
After I cut all of my pieces out I folded them into fours so I can see where my center is.

Then start sliding them onto the wood!

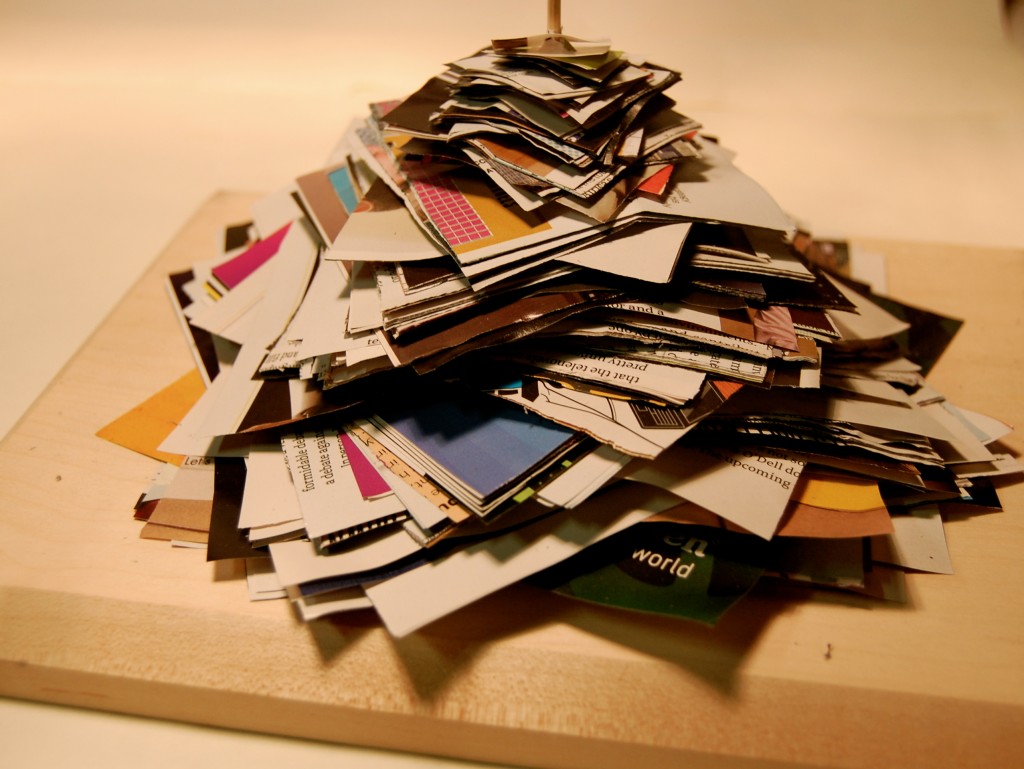
When you are done it should start to look like this!

I used adhesive spray, and glitter.

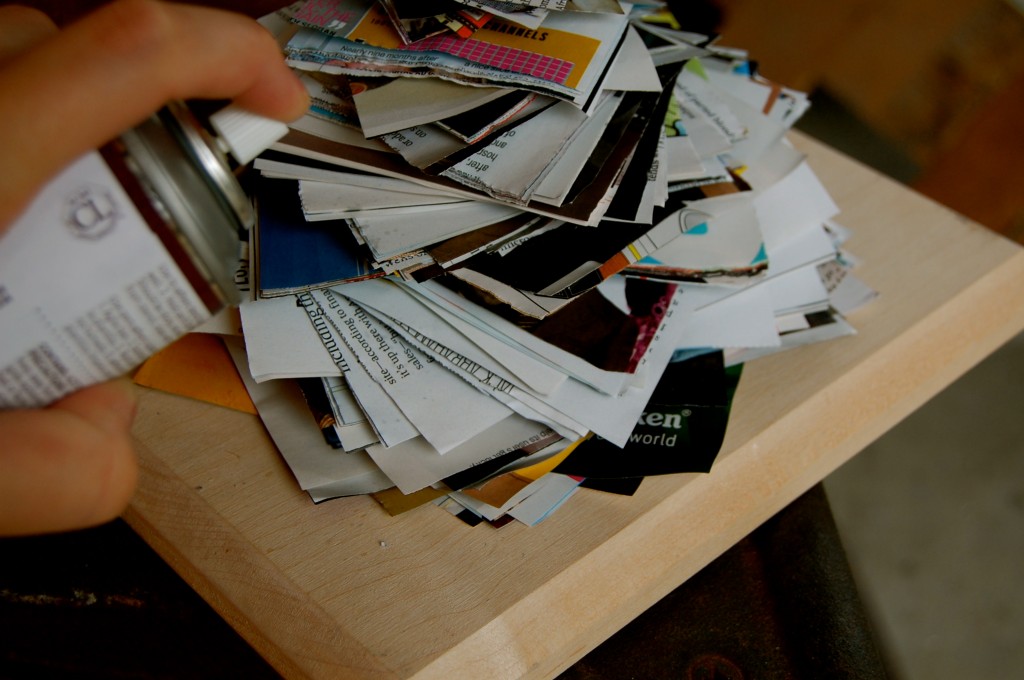
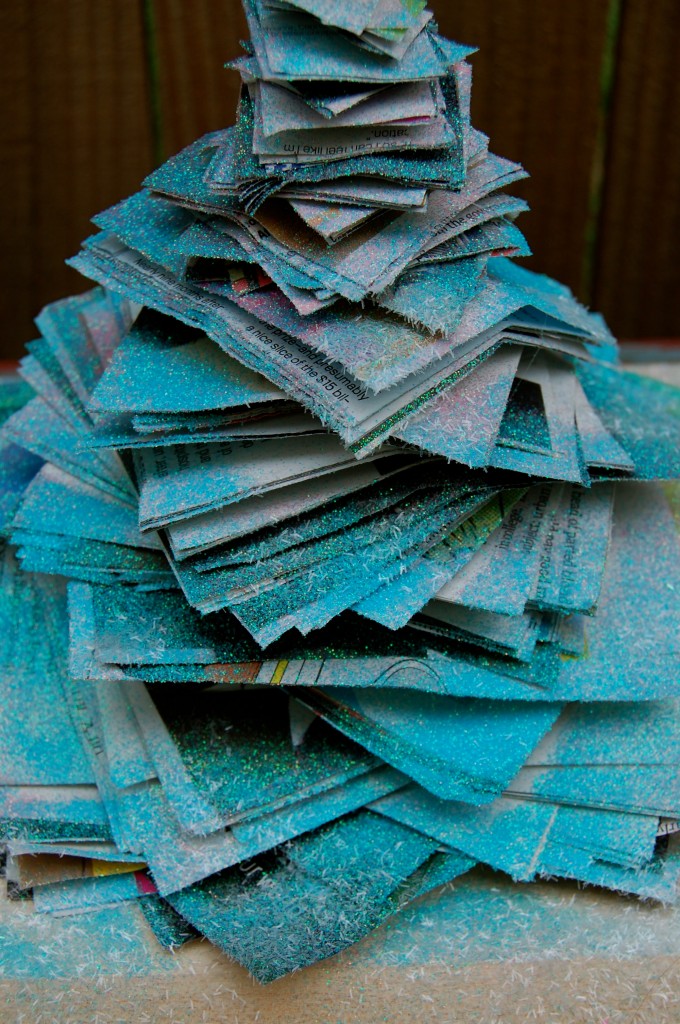
After you finish stacking spray a good amount of adhesive spray onto the tree.

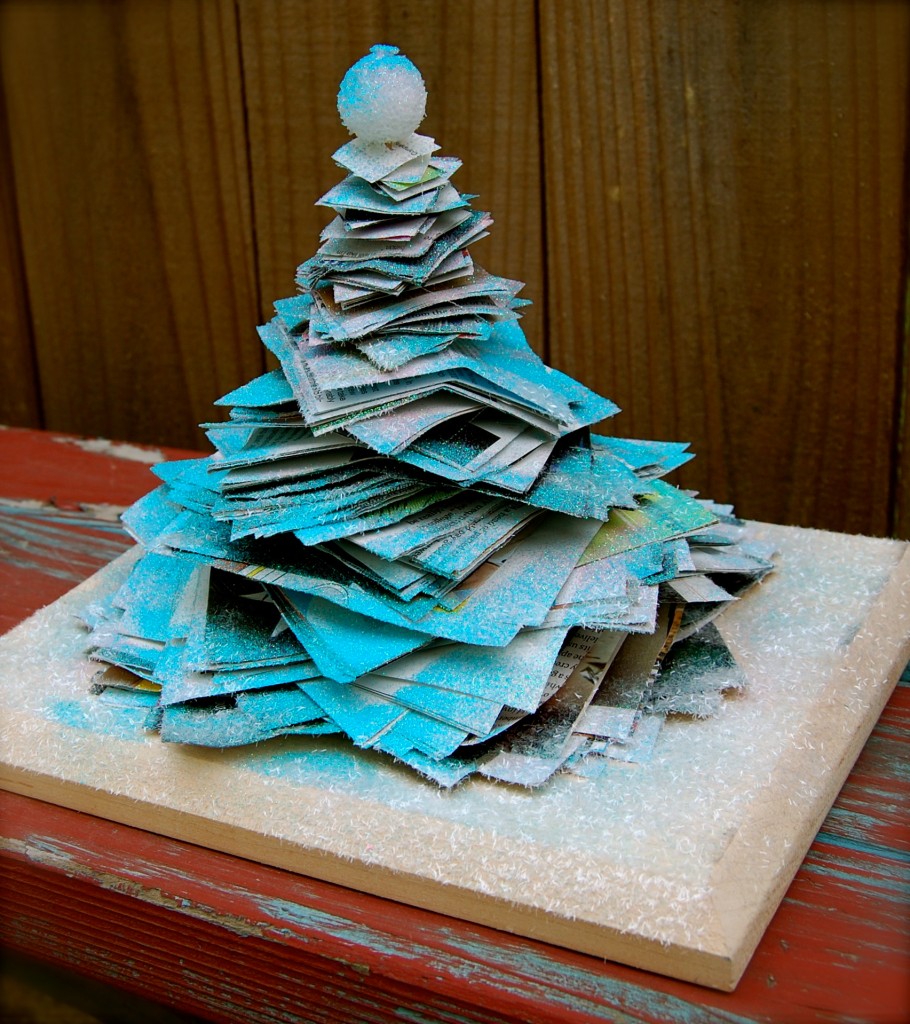
I really just had fun with this sucker! I wanted it to look like a cotton candy Christmas tree…

And it does!!! It looks prettier in person I tell ya! Remember the magazine tree I did here? I hope you have fun doing this!

Going pick up glitter in my studio, jaderbomb

Check out Martha’s original craft HERE and you can purchase Martha Stewart’s Encyclopedia of Crafts here!

CLICK HERE TO WATCH VIDEO

(me on the show!)
Click HERE to read all about it!!!
 IF YOU DECIDE TO DO ANY OF THE CRAFTS, SHOOT ME AN EMAIL AND I WILL ATTACH  IT TO THE POST WITH A LINK THAT GOES STRAIT TO YOUR BLOG!  IF YOU DON’T HAVE A BLOG JUST EMAIL IT TO ME AND I WILL PUT IT UP!!!!
Thanks to Martha Stewart crafts for sponsoring me with craft supplies!

Flag Streamers

 Seriously! Nothing pulls a party together like a motif and a vibrant palette. We can’t forget about paper flags! I love putting these babies up for parties. I have even seen some people do them for weddings and baby showers. I promise, you can find something to use these for! Here is the template for the flag. Oh, and the thing I like best about these paper flags is the fact that you can throw them away when you are done. {{or save them}}………Just throwing that out there for ya!

Material you will need: Paper, Scissors and Twine.
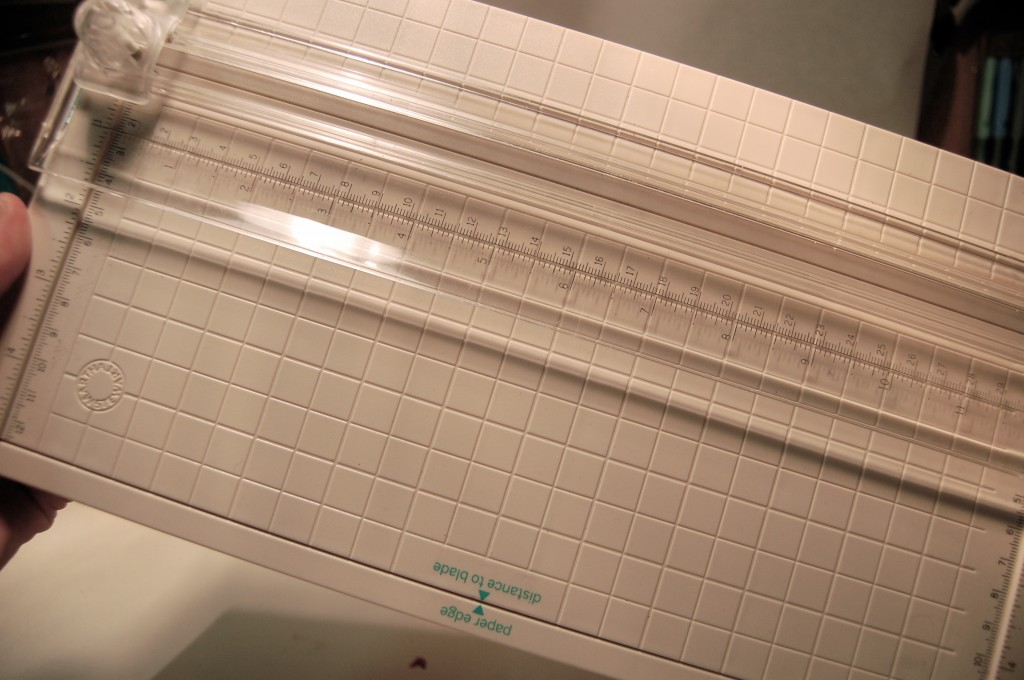
You want to get your handy dandy Martha Stewart scoring board. I LOVE THIS PIECE OF PLASTIC!!

After you cut out your template (which I listed above) trace it onto whatever paper you want to use. I wanted a original “red and green” flag!
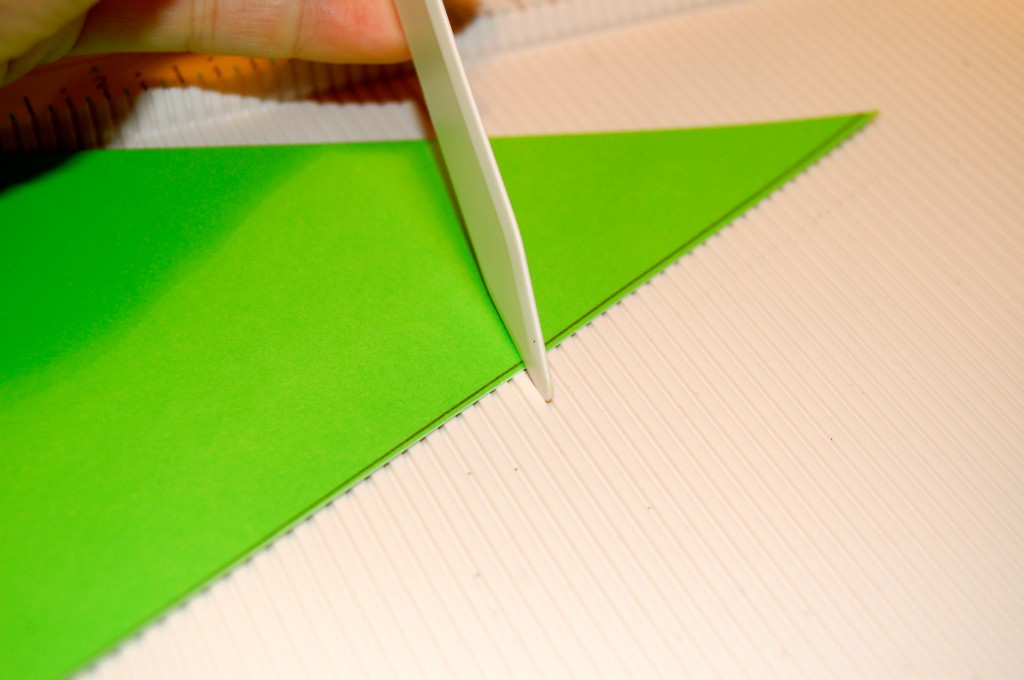
After you cut out the flag take a couple and make lines in them using the scoring board. I didn’t follow a certain pattern I just kinda put lines wherever I felt like it.
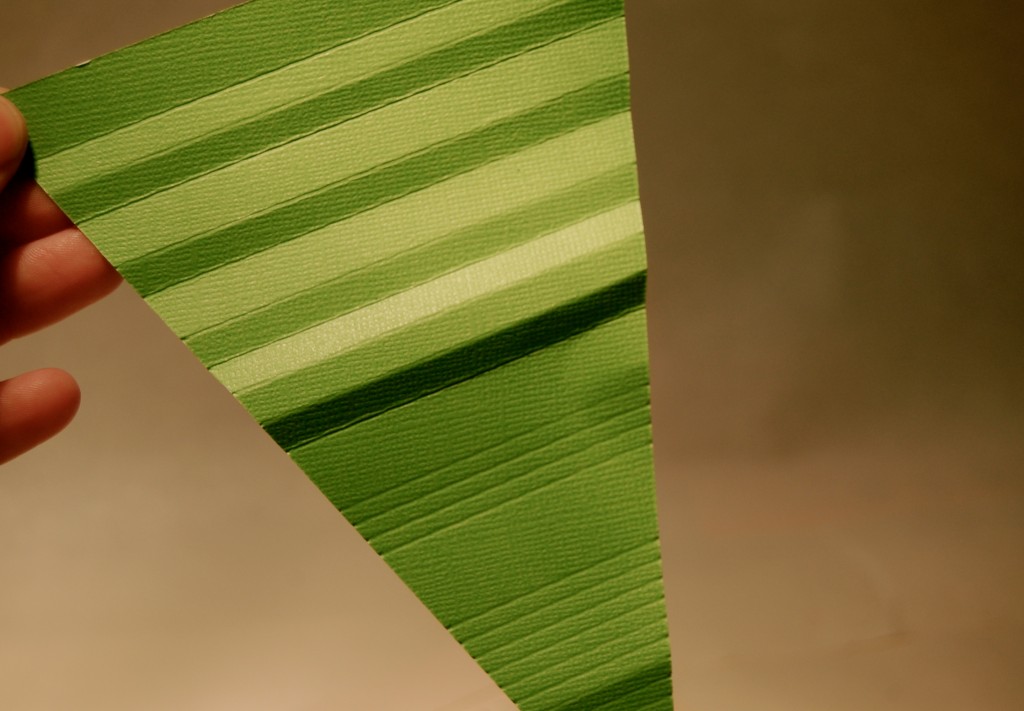
As you can see I didn’t follow a certain pattern. Jaderbomb doesn’t use patterns. HAHA
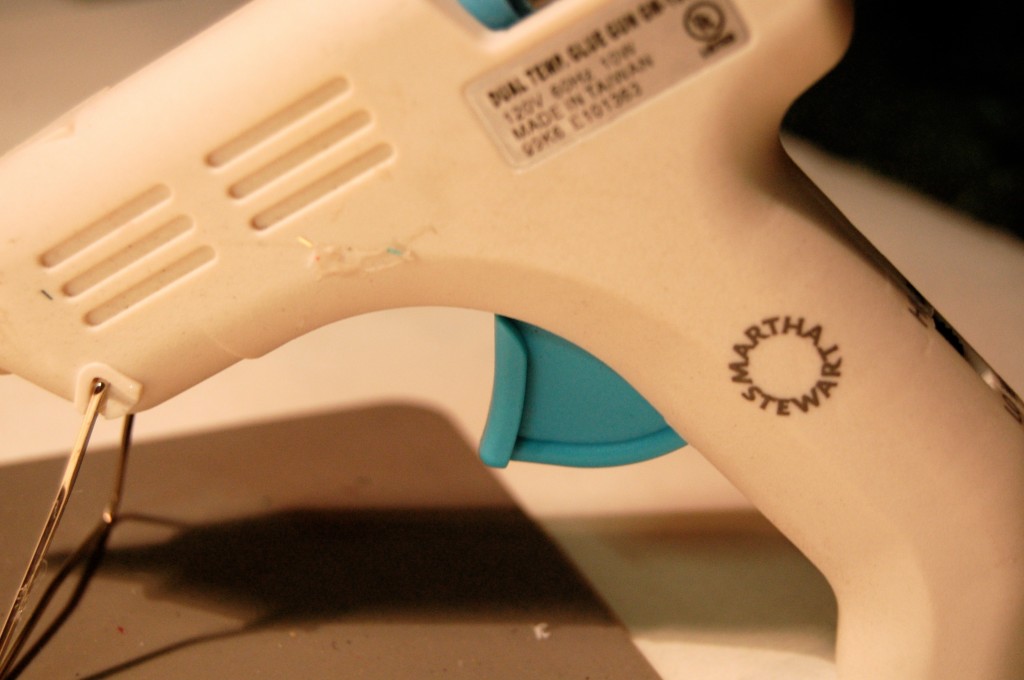
Get your glue gun. I used my dual temperatured one from Martha Stewart because, well….this is why {{ the dual-temperature glue gun allows you to change the setting to fit your materials. Switch it on high for a stronger bond that is best used with wood, plastic, metal, ceramics, magnets, leather, and fabric. Set it to low for more delicate materials such as lace, foil, ribbon, floral foam and lightweight fabric, or paper}} NOW DO YOU SEE HOW AWESOME THIS BABY IS… MIGHT PUT THIS IN MY NEXT GIVEAWAY!
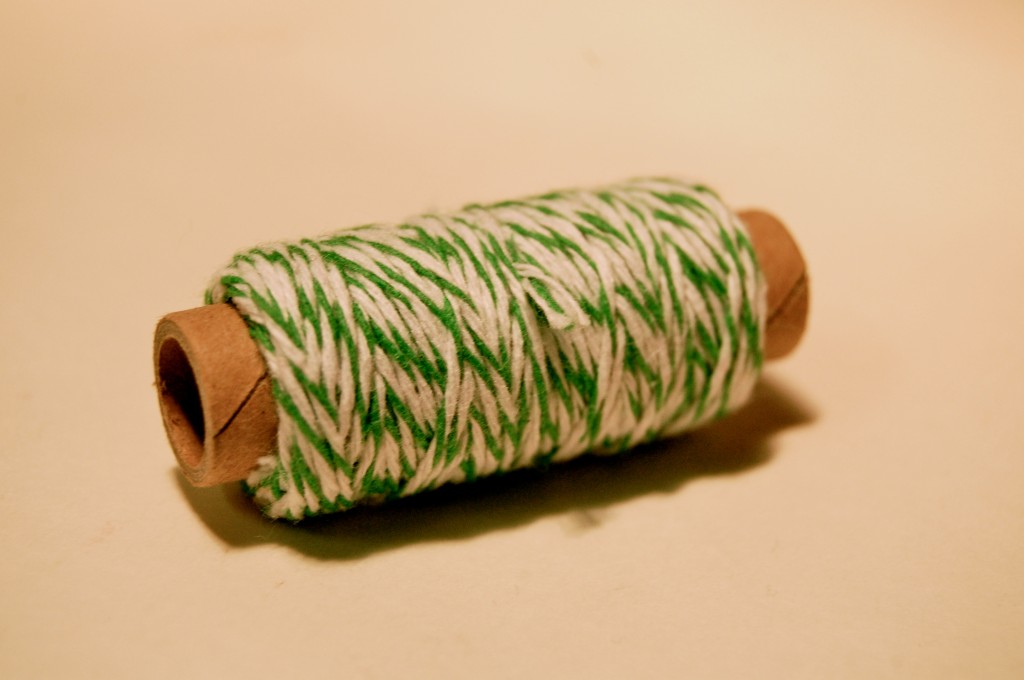
I love this bakers twine.
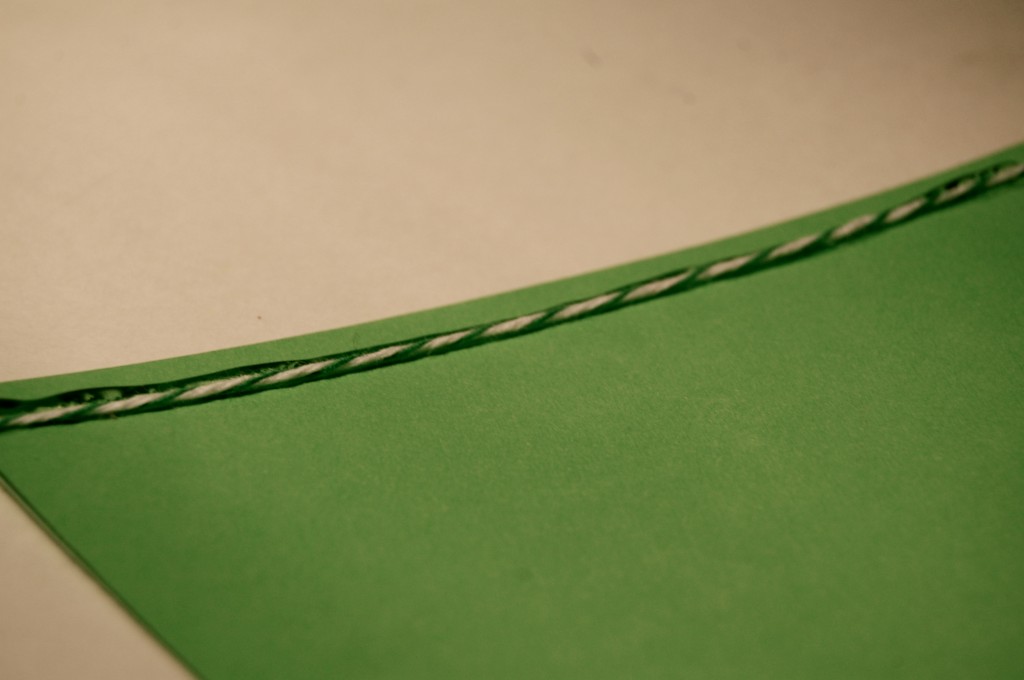
Place a bead of glue on the top of your flag and quickly put your twine on top of it.
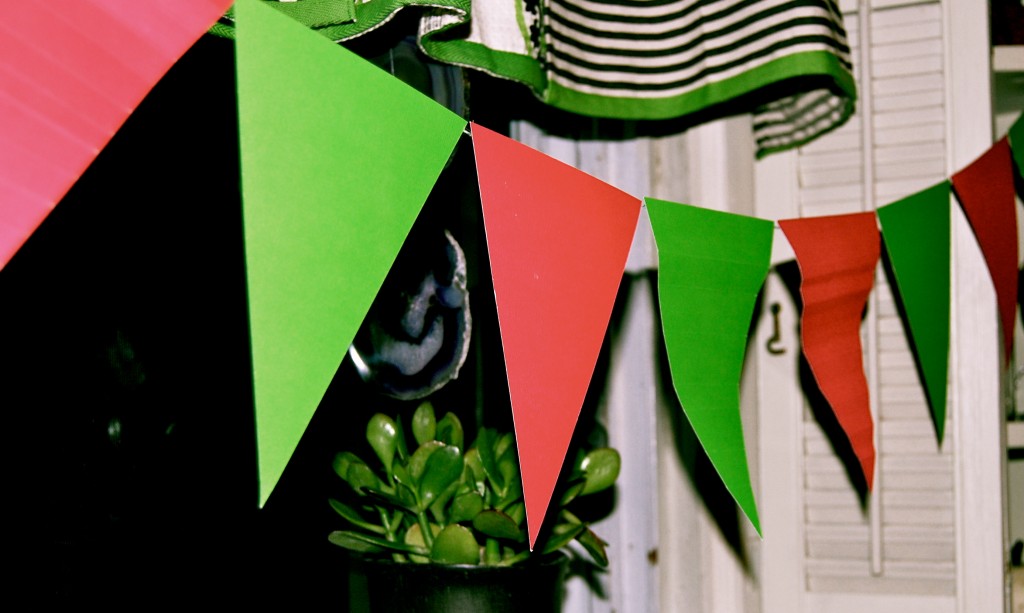
This is what your end result is {{{yayyyy}}} I LOVE FLAGS! My world I live in is one big party so I am always dressed to the occasion. Have fun with this. You could totally put glitter all over these babies, or stickers, or layers of different colors of flags on top of each other. Yayyyy I wanna make more just talking about it!!!
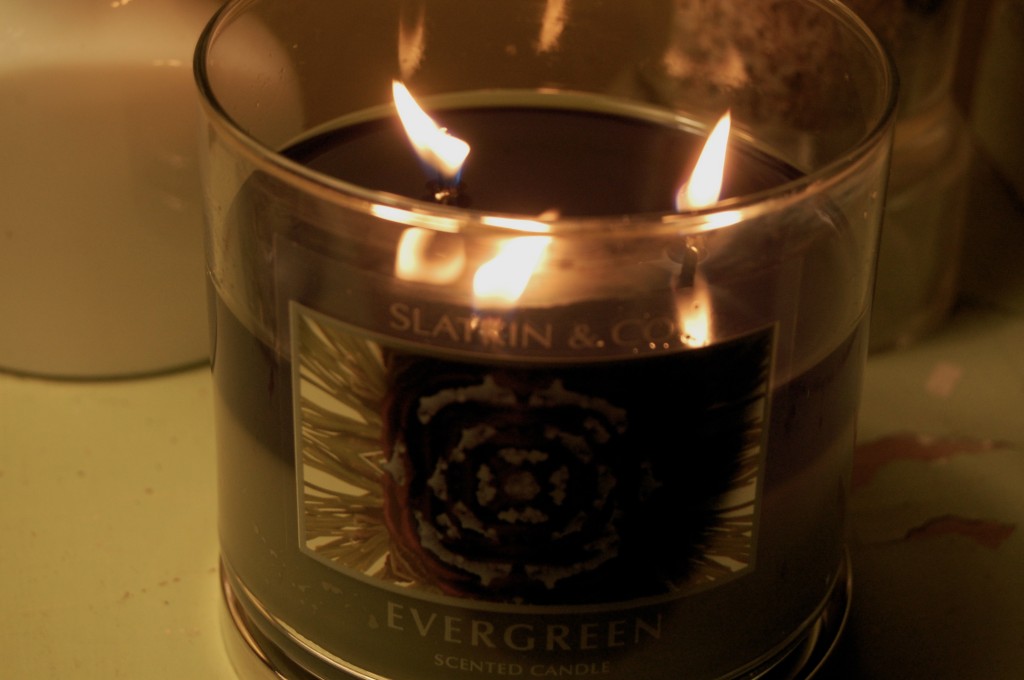
Wanted to share with you the candle burning in my house right now. YOU have to get this one because it smells SOOOO good! I have many more to try out so stay tuned for my thoughts on them! You can order one HERE! AND THEY ARE 2 FR 25$ RIGHT NOW!

House smelling like a wonderful forest in winter, jaderbomb

Check out Martha’s original craft HERE and you can purchase Martha Stewart’s Encyclopedia of Crafts here!

CLICK HERE TO WATCH VIDEO

(me on the show!)
Click HERE to read all about it!!!
 IF YOU DECIDE TO DO ANY OF THE CRAFTS, SHOOT ME AN EMAIL AND I WILL ATTACH  IT TO THE POST WITH A LINK THAT GOES STRAIT TO YOUR BLOG!  IF YOU DON’T HAVE A BLOG JUST EMAIL IT TO ME AND I WILL PUT IT UP!!!!
Thanks to Martha Stewart crafts for sponsoring me with craft supplies!

Champagne-Bottle Wrap

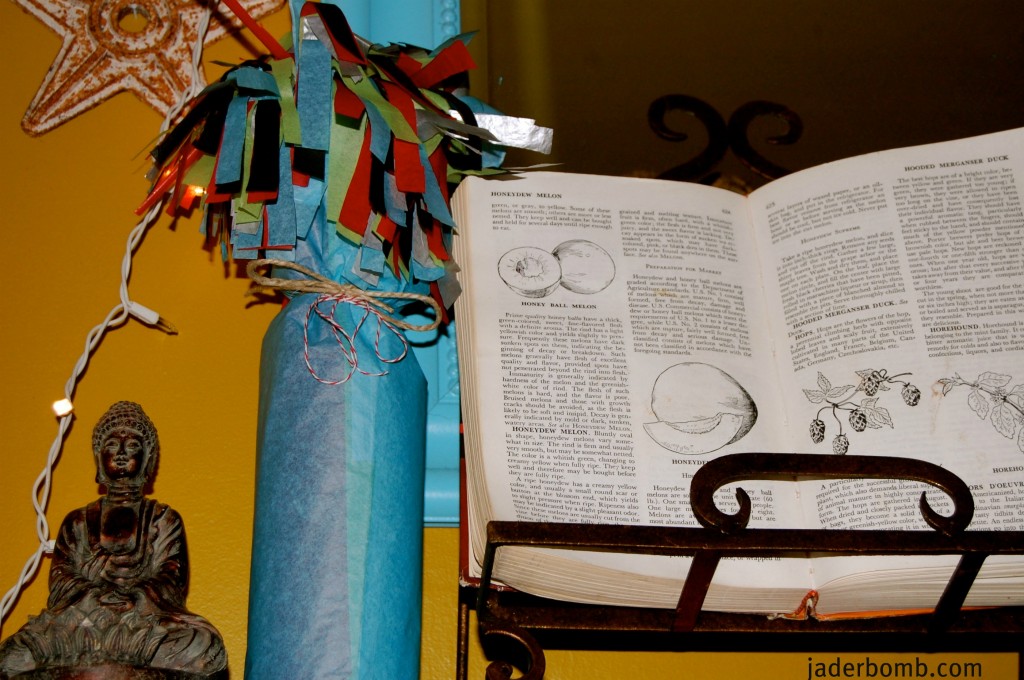
 If you are looking to give someone a bottle of wine but can’t quite find the right “bag” to put it in then you need to start scrolling down! This wine bottle cover is absolutely adorable! It has just enough “POP” to it and boy would I love to get this! I actually wrapped mine around an empty bottle and I love the way it looks just by itself on the shelf!

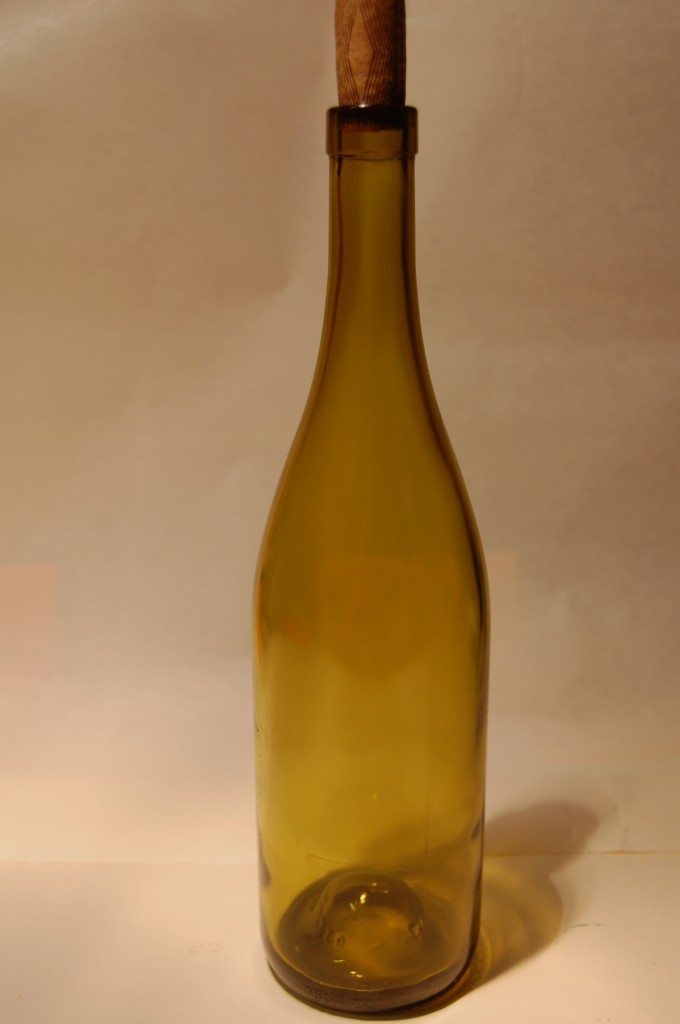
You will need a wine bottle, any size will work. You can even do this to glasses or any container!!!

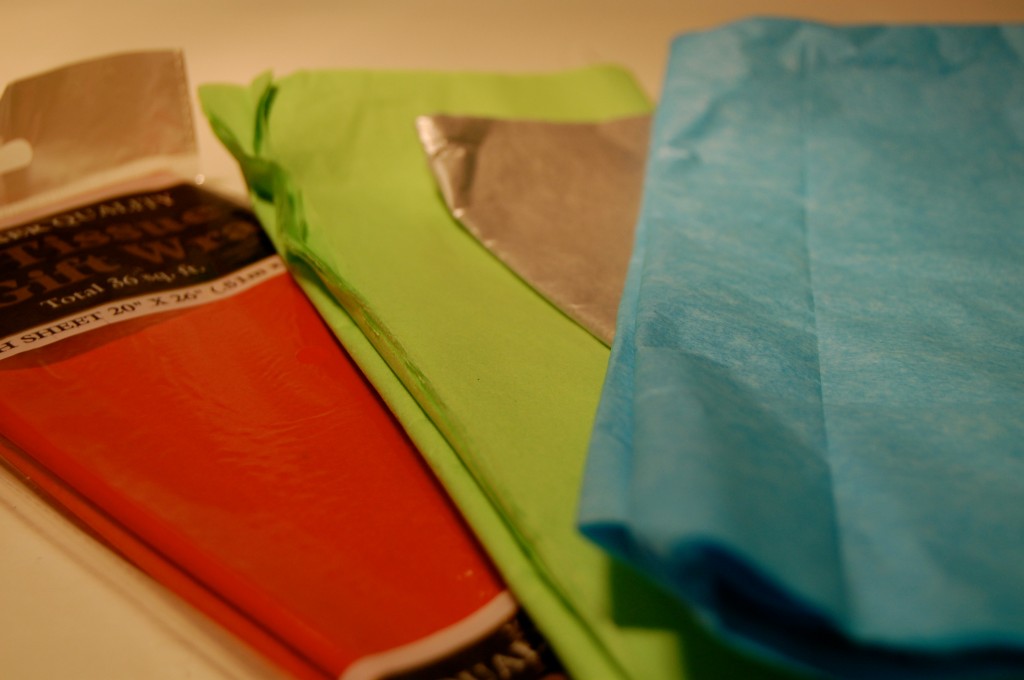
Tissue Paper

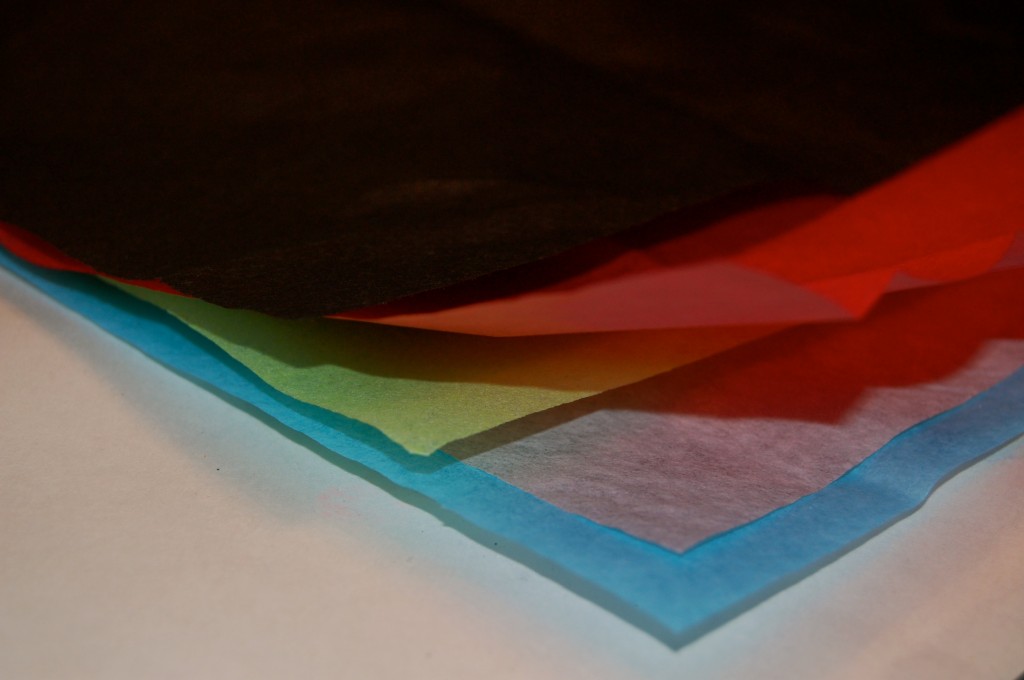
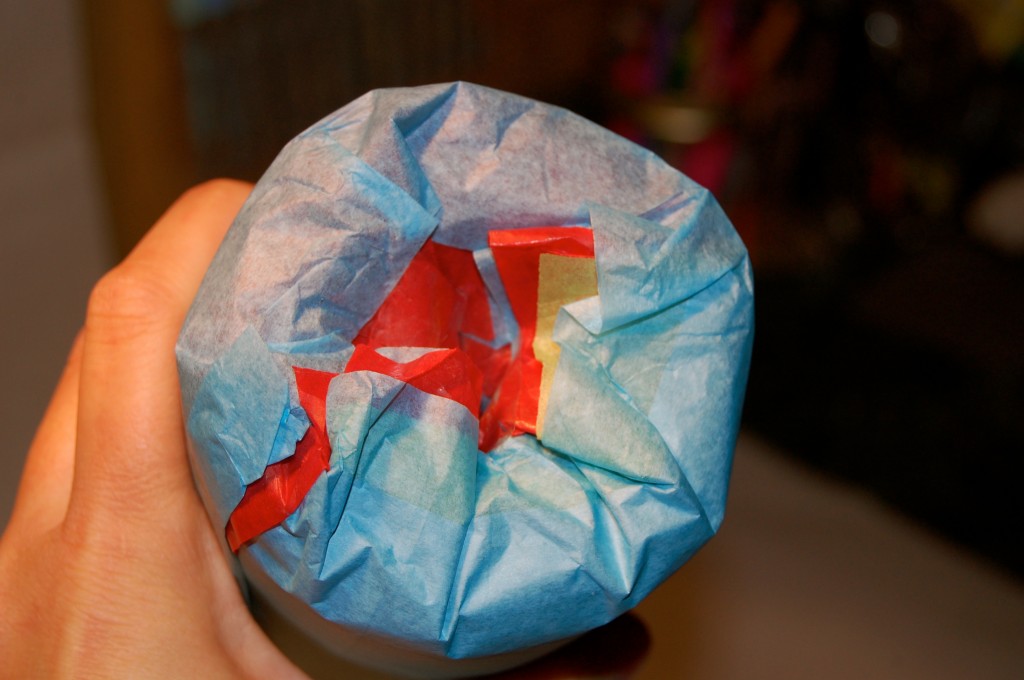
Place a champagne bottle on 5 sheets of tissue with the cork 5 inches from one edge.

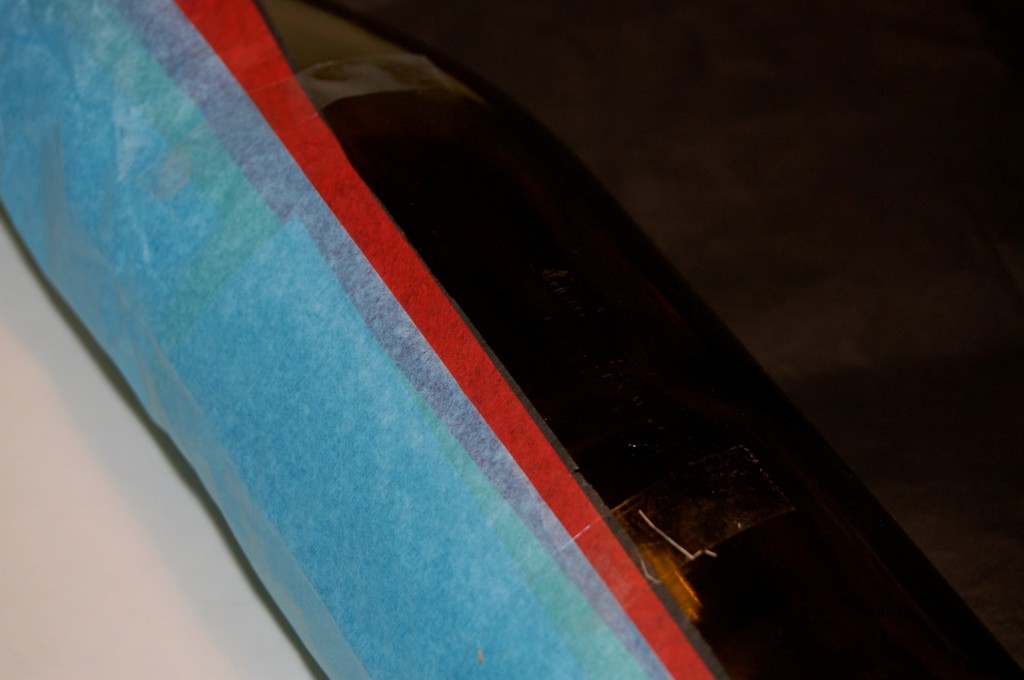
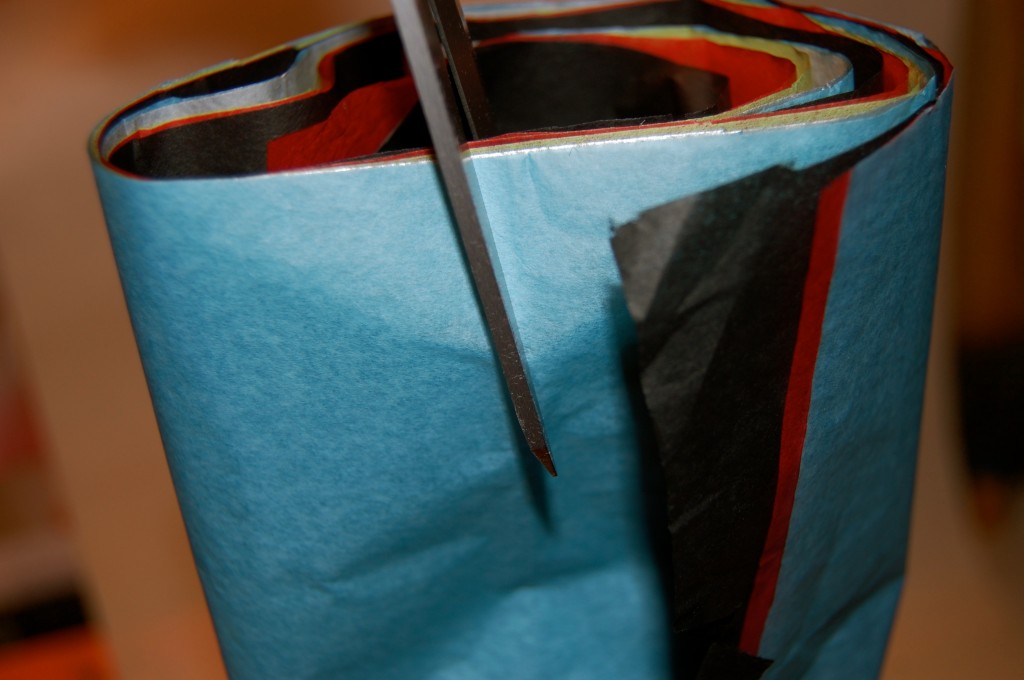
Tape tissue to the center of the bottle, roll up, and tape down the free edge of the tissue.

Just tuck in the bottom or tape it down.

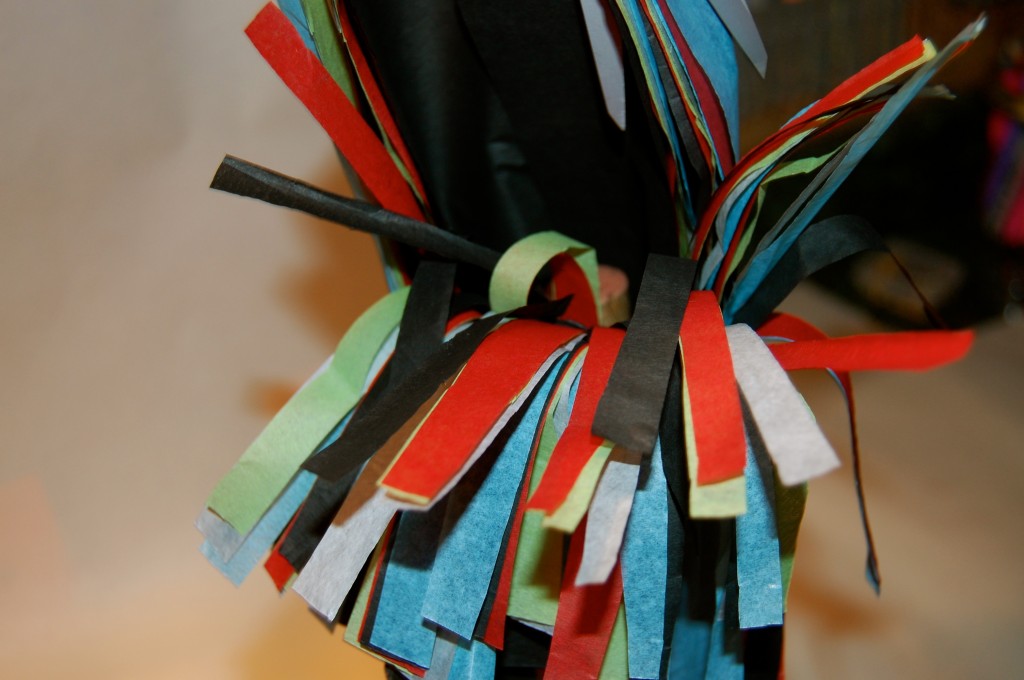
Tie a cord around the bottle’s neck, and cut paper into strips above it. Add ribbon, and attach a card.

How different is this sucker!

I think the one thing I love the most about this craft is that you can do different colors and then the pom pom at the top turns out simply AMAZING!

Your tired friend, jaderbomb

Check out Martha’s original craft HERE and you can purchase Martha Stewart’s Encyclopedia of Crafts here!

CLICK HERE TO WATCH VIDEO

(me on the show!)
Click HERE to read all about it!!!
 IF YOU DECIDE TO DO ANY OF THE CRAFTS, SHOOT ME AN EMAIL AND I WILL ATTACH  IT TO THE POST WITH A LINK THAT GOES STRAIT TO YOUR BLOG!  IF YOU DON’T HAVE A BLOG JUST EMAIL IT TO ME AND I WILL PUT IT UP!!!!

Thanks to Martha Stewart crafts for sponsoring me with craft supplies!

Petit Collage

 I totally fell in love with this craft once I started doing it. Sometimes I wonder if I am the only person who thinks of THOUSANDS of other things you can do while trying to finish one thing… haha (I think they listed that as ADDDDDDDD)

It’s ok cause this ADD is getting me to LOT’S of places! You can make this craft for a just about anything! I promise jaderbugs that when this countdown is over (in 9 day’s) I will start posting ALOT of JADERBOMB crafts that have been put on the back burner. Boy do I have a lot to show you!

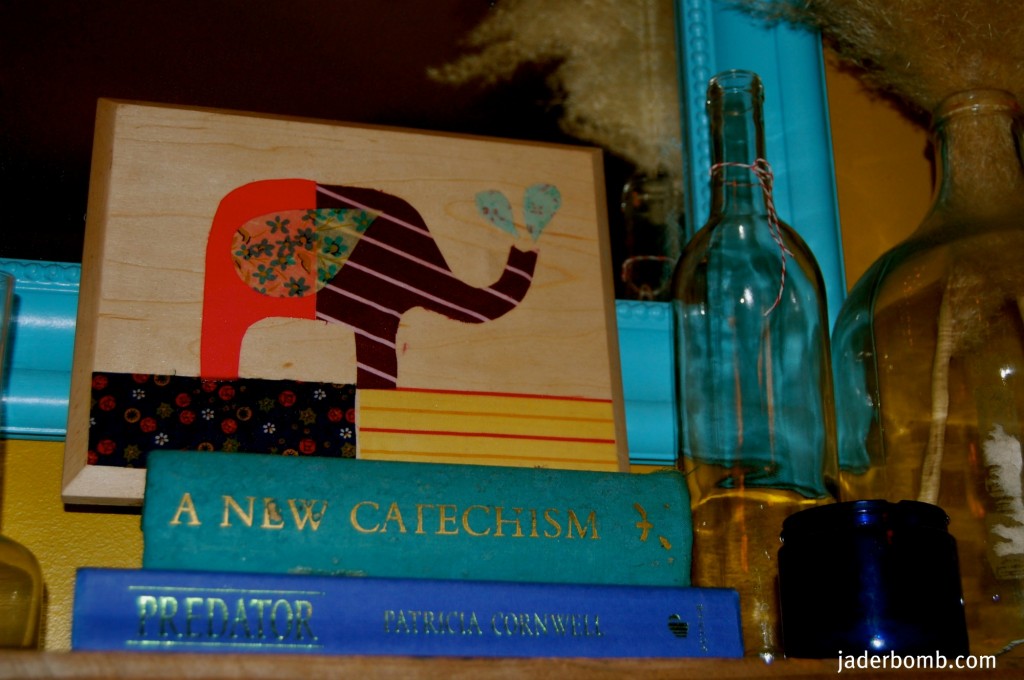
This adorable animal collage has a charming vintage twist and is perfect for a child’s bedroom or playroom.

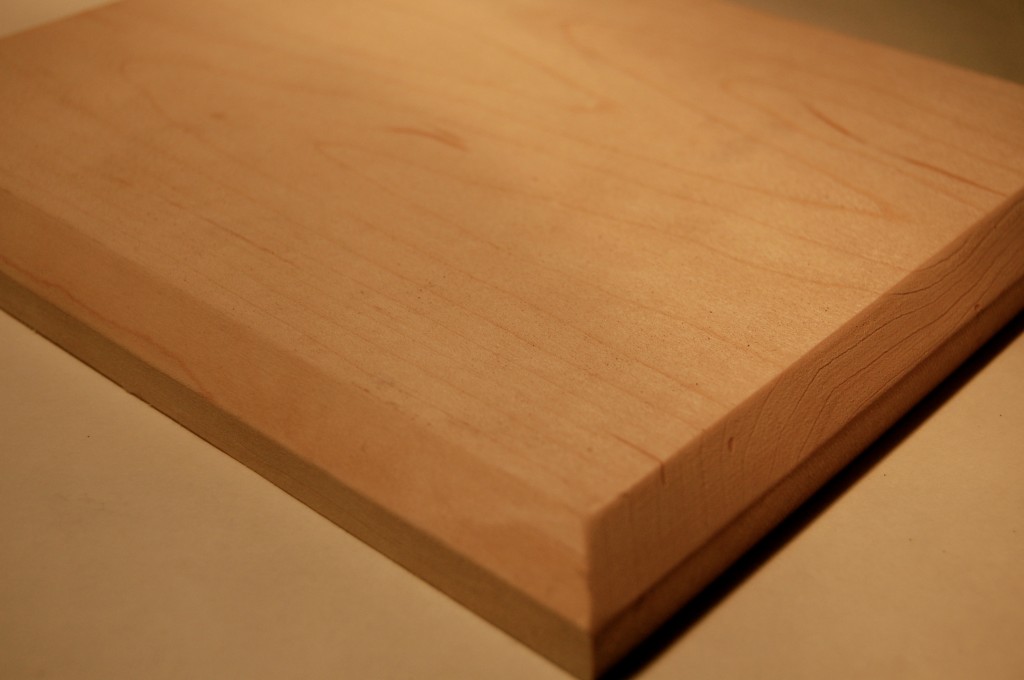
Tools and Materials
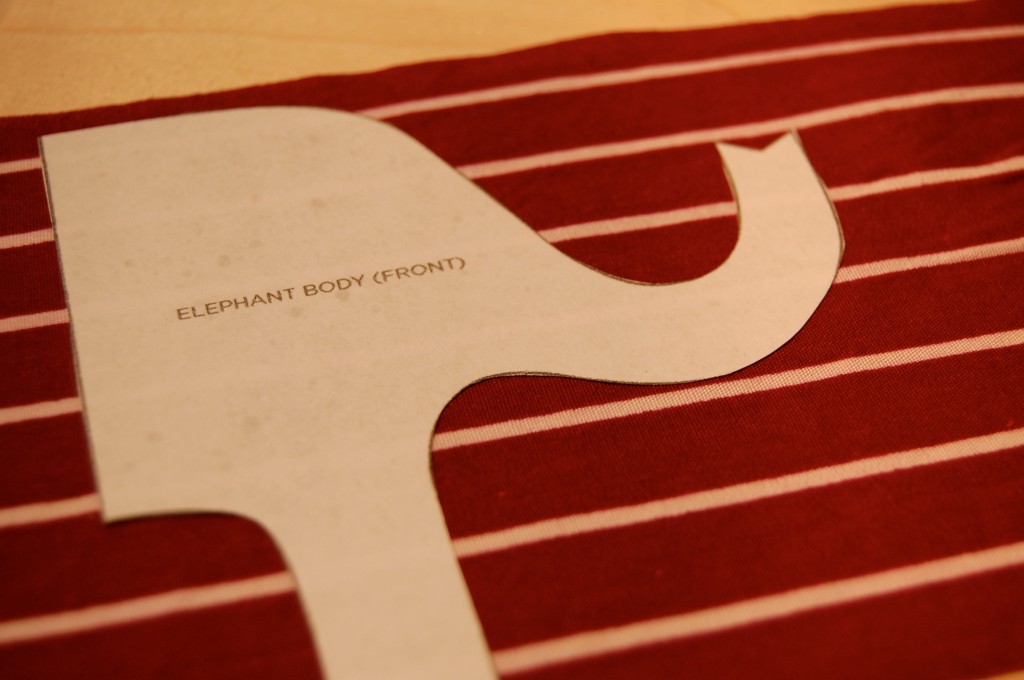
Owl or elephant template
Scissors
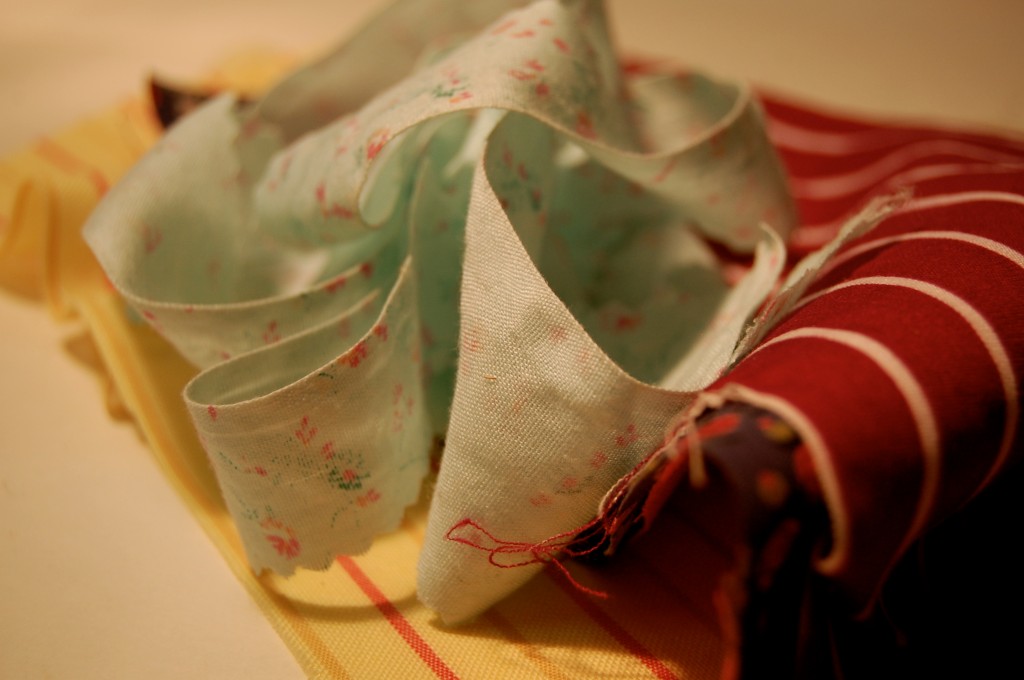
Assorted papers such as maps, bills, wrapping paper, book pages, wallpaper swatches, fabric,etc.
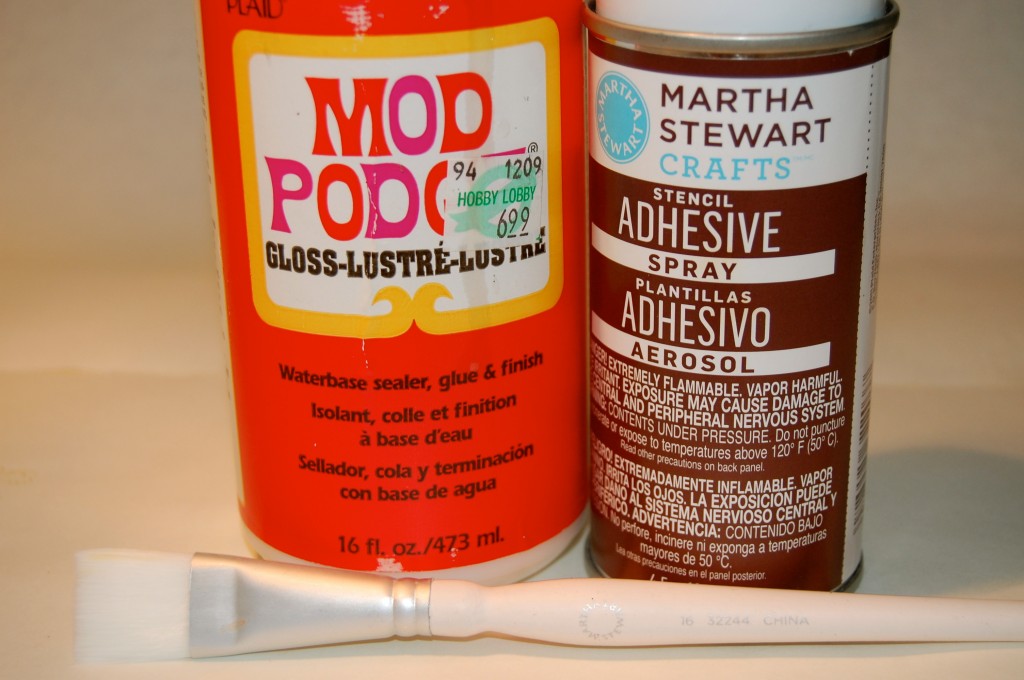
Mod Podge
Paint brush
Pushpin

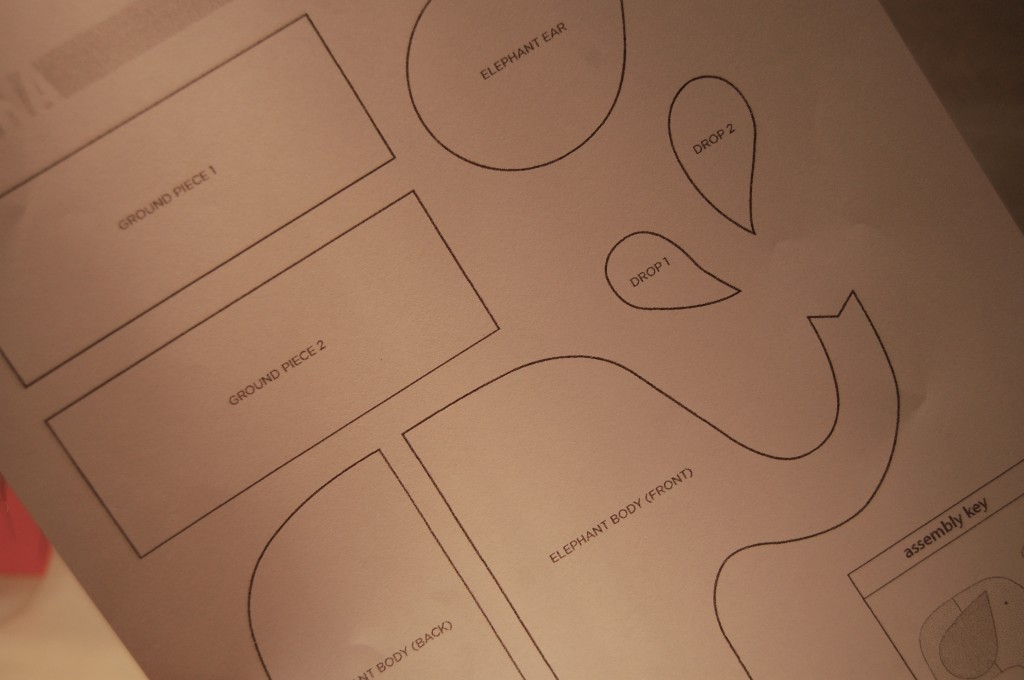
Template is listed above for you.

Clip each template shape to a piece of decorative paper and cut out along lines.

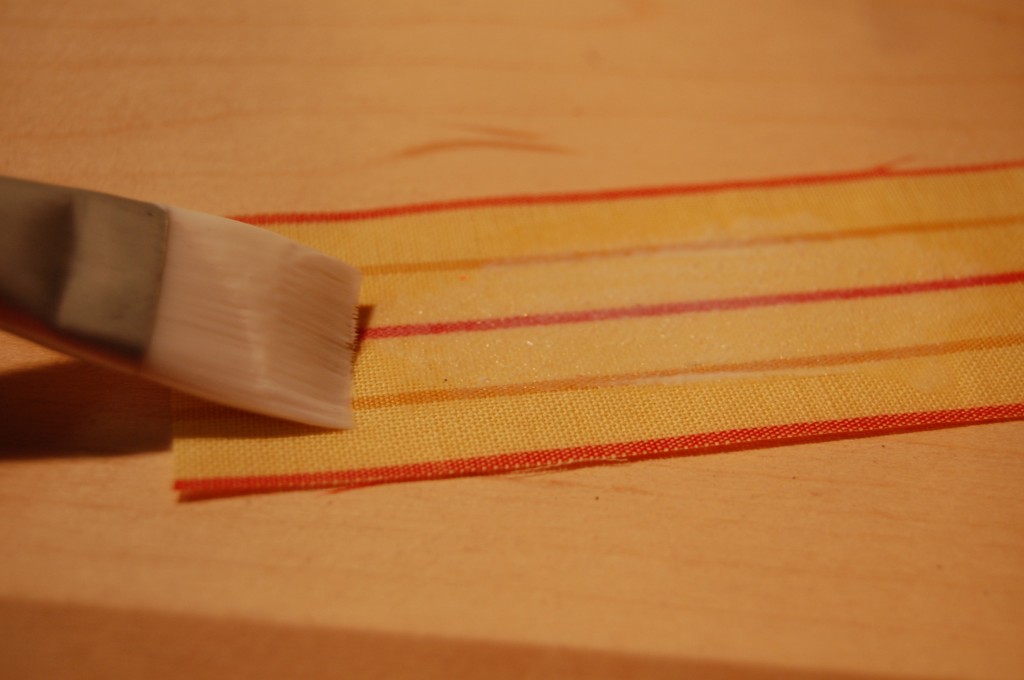
Using the assembly key as a guide, adhere shapes to art board with Mod Podge, being sure to brush Mod Podge under and over the paper. Tip: To remove air bubbles, pierce with a pushpin and smooth.

Set aside until dry to the touch, and then finish with two additional coats of Mod Podge.

Hoping you get full of Mod Podge and enjoy every second of it, Jaderbomb

Here is the elephant template I used. Check out the designer of this template and craft at Petit Collage.com!

Check out Martha’s original craft HERE and you can purchase Martha Stewart’s Encyclopedia of Crafts here!

CLICK HERE TO WATCH VIDEO

(me on the show!)
Click HERE to read all about it!!!
 IF YOU DECIDE TO DO ANY OF THE CRAFTS, SHOOT ME AN EMAIL AND I WILL ATTACH  IT TO THE POST WITH A LINK THAT GOES STRAIT TO YOUR BLOG!  IF YOU DON’T HAVE A BLOG JUST EMAIL IT TO ME AND I WILL PUT IT UP!!!!

Thanks to Martha Stewart crafts for sponsoring me with craft supplies!