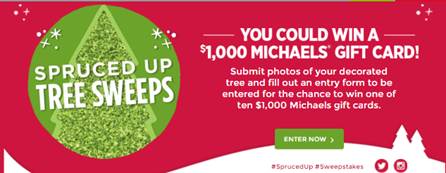
WANT TO WIN $1000? All you have to do is upload a picture of your decorated tree on Michaels.com/sprucedup for the chance to win a $1,000 Michaels Gift Card!
The contest lasts until November 28 so feel free to share with your family and friends. You can see some of the current entries scrolling on the entry page!
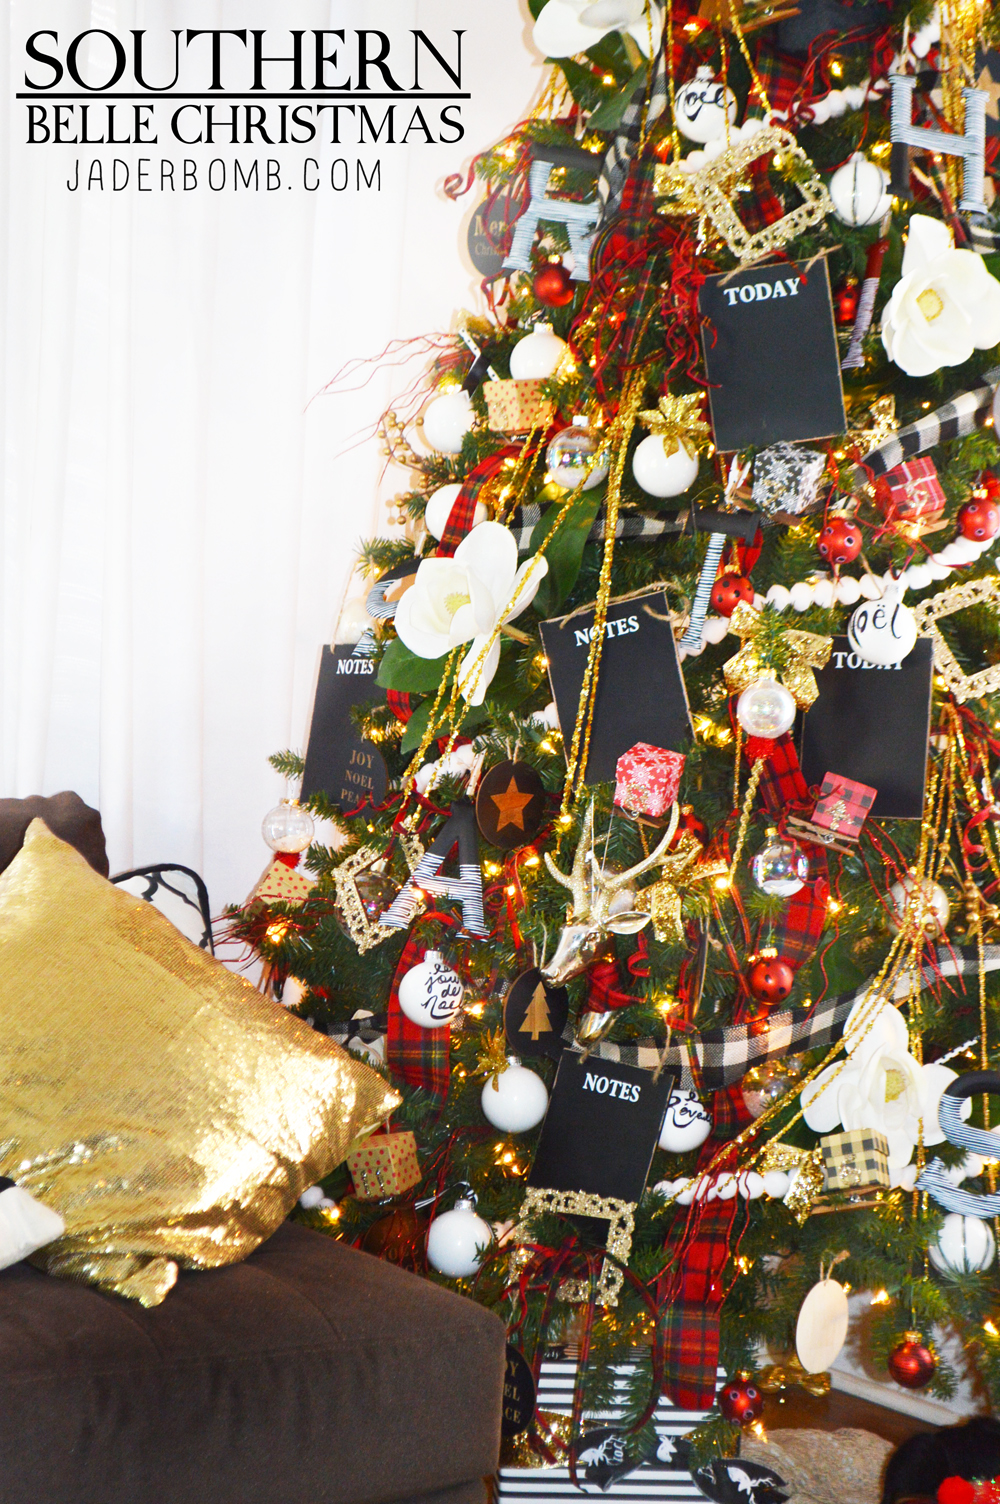
Howdy Friends! I can’t believe it’s already November and Christmas is right around the corner. Seriously I feel like the older I get the faster things happen. I want to tell you something that you might not know about me… I LOVE Christmas so much that I am not even mad that I had to put my tree up in November. I have a small confession to make, I had my tree up in the middle of October. I know some might think that is a bit early but I wanted to take my time decorating my tree and I am very pleased with the way it turned out. If you didn’t see my Dream tree last year click HERE to check it out. This year I wanted to use a theme that I typically wouldn’t use. I love bright whimsical colors but something inside of me wanted a classic Christmas tree! The Dream Tree Challenge is something a lot of people look forward to seeing and trust me all of the Michael’s Makers can deliver trees on point!
This year we were sent a 7.5′ Pre-Lit Hartford Tree and I was very pleased with it. Once you pull apart the branches it is beautiful and full of white lights. From now until November 14 you can get FREE SHIPPING on all Christmas trees that are 6ft or taller on Michaels.com!!! I recommend this tree and on top of it you can get it for a great price!
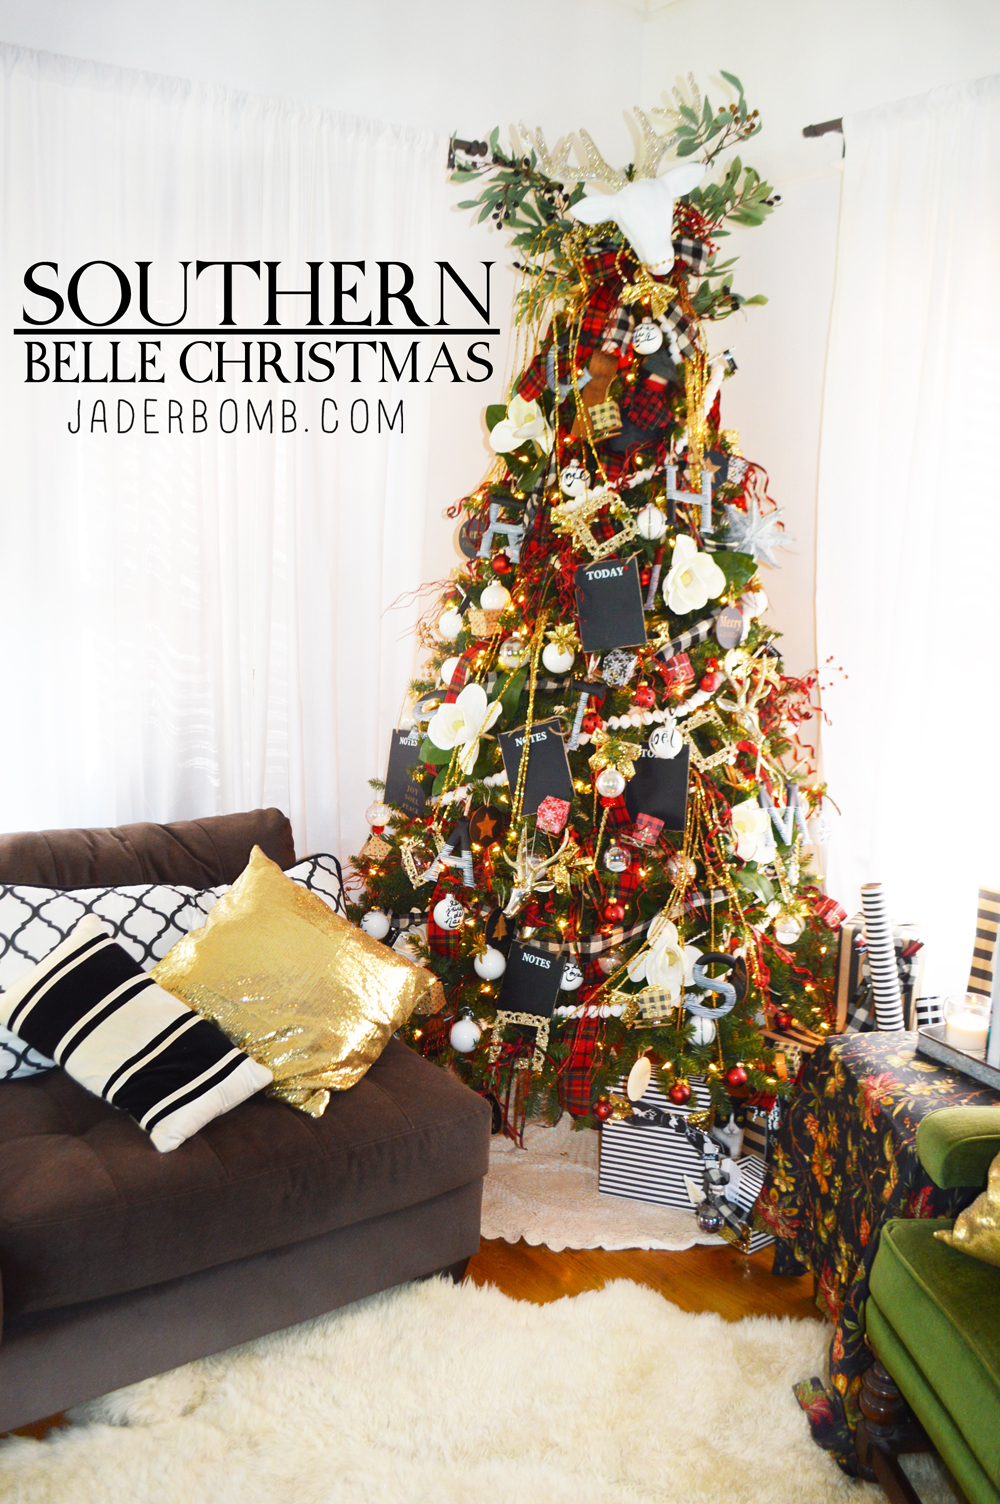
This year I wanted a tree that represented the state I live in, Louisiana. How did I achieve this look? Well it’s easy I added elements that I felt represented a good ole Southern Belle! I added olive branches, gorgeous magnolia’s, glass glitter on frames, plaid ribbon, cotton balls and ton’s of other surprises.
Now I believe the key to a great looking tree is filling that baby up with ton’s of decor. I like to add chunky items in it along with small trinkets. Go big or go home, hehe!
The first thing I recommend before decorating your tree is checking all of your lights! The worst thing that could happen is you decorate your entire tree then plug it in and some lights are out. Right!!!!
If you have never decorated a tree before I suggest putting all of your ribbon up first. You want the ribbon to look like it’s part of the tree and that would be hard to do if you add your ornaments first. 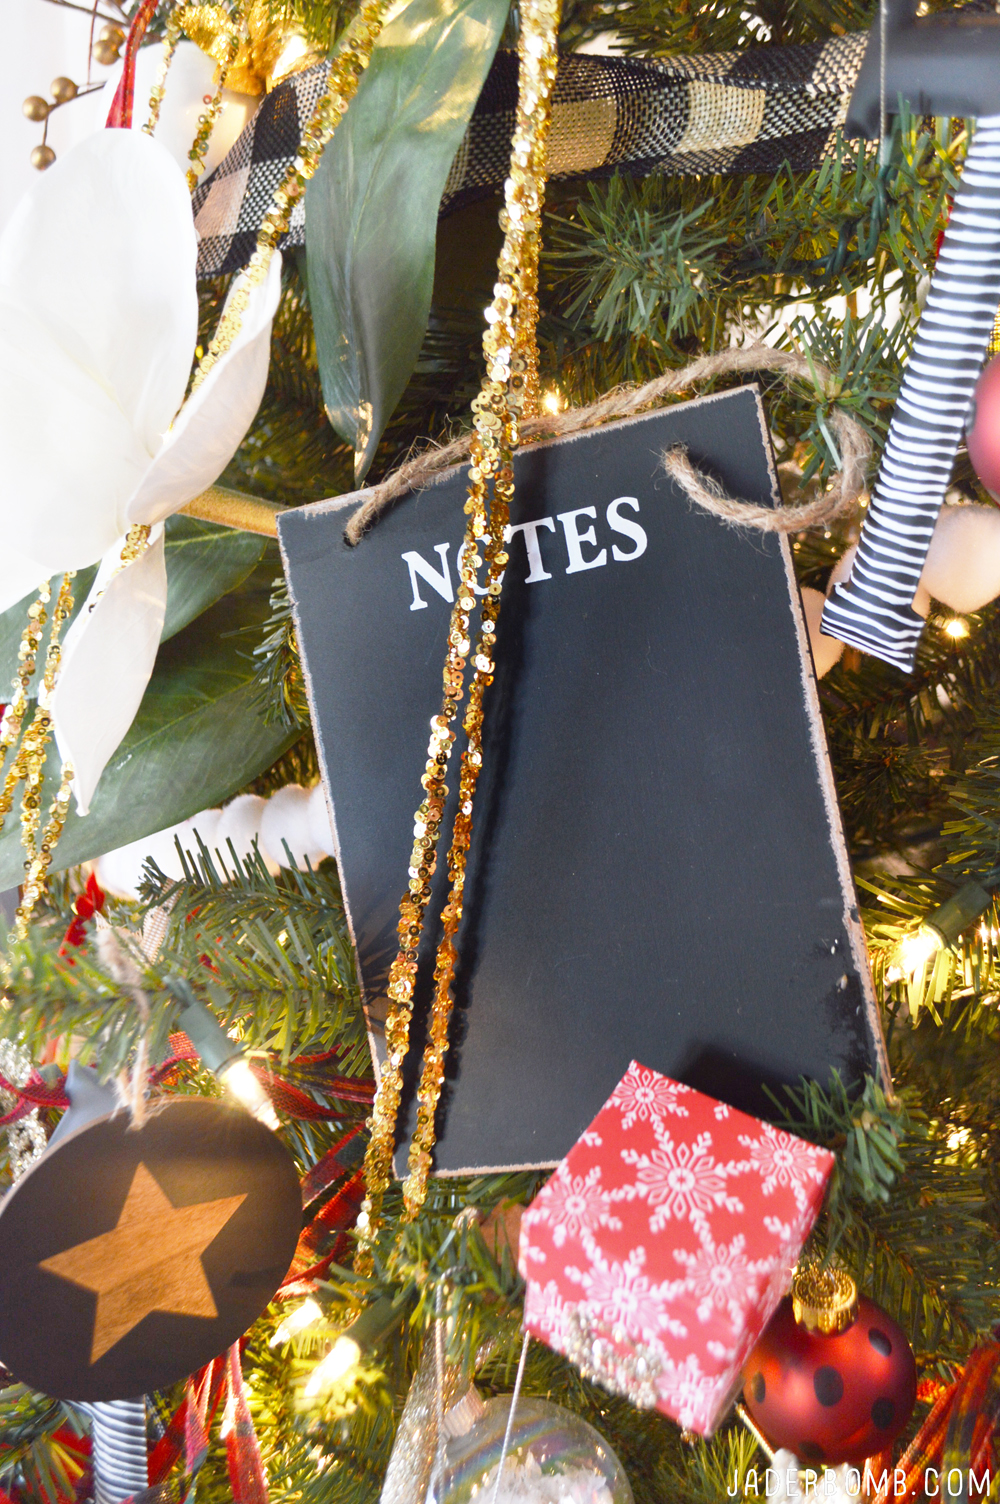
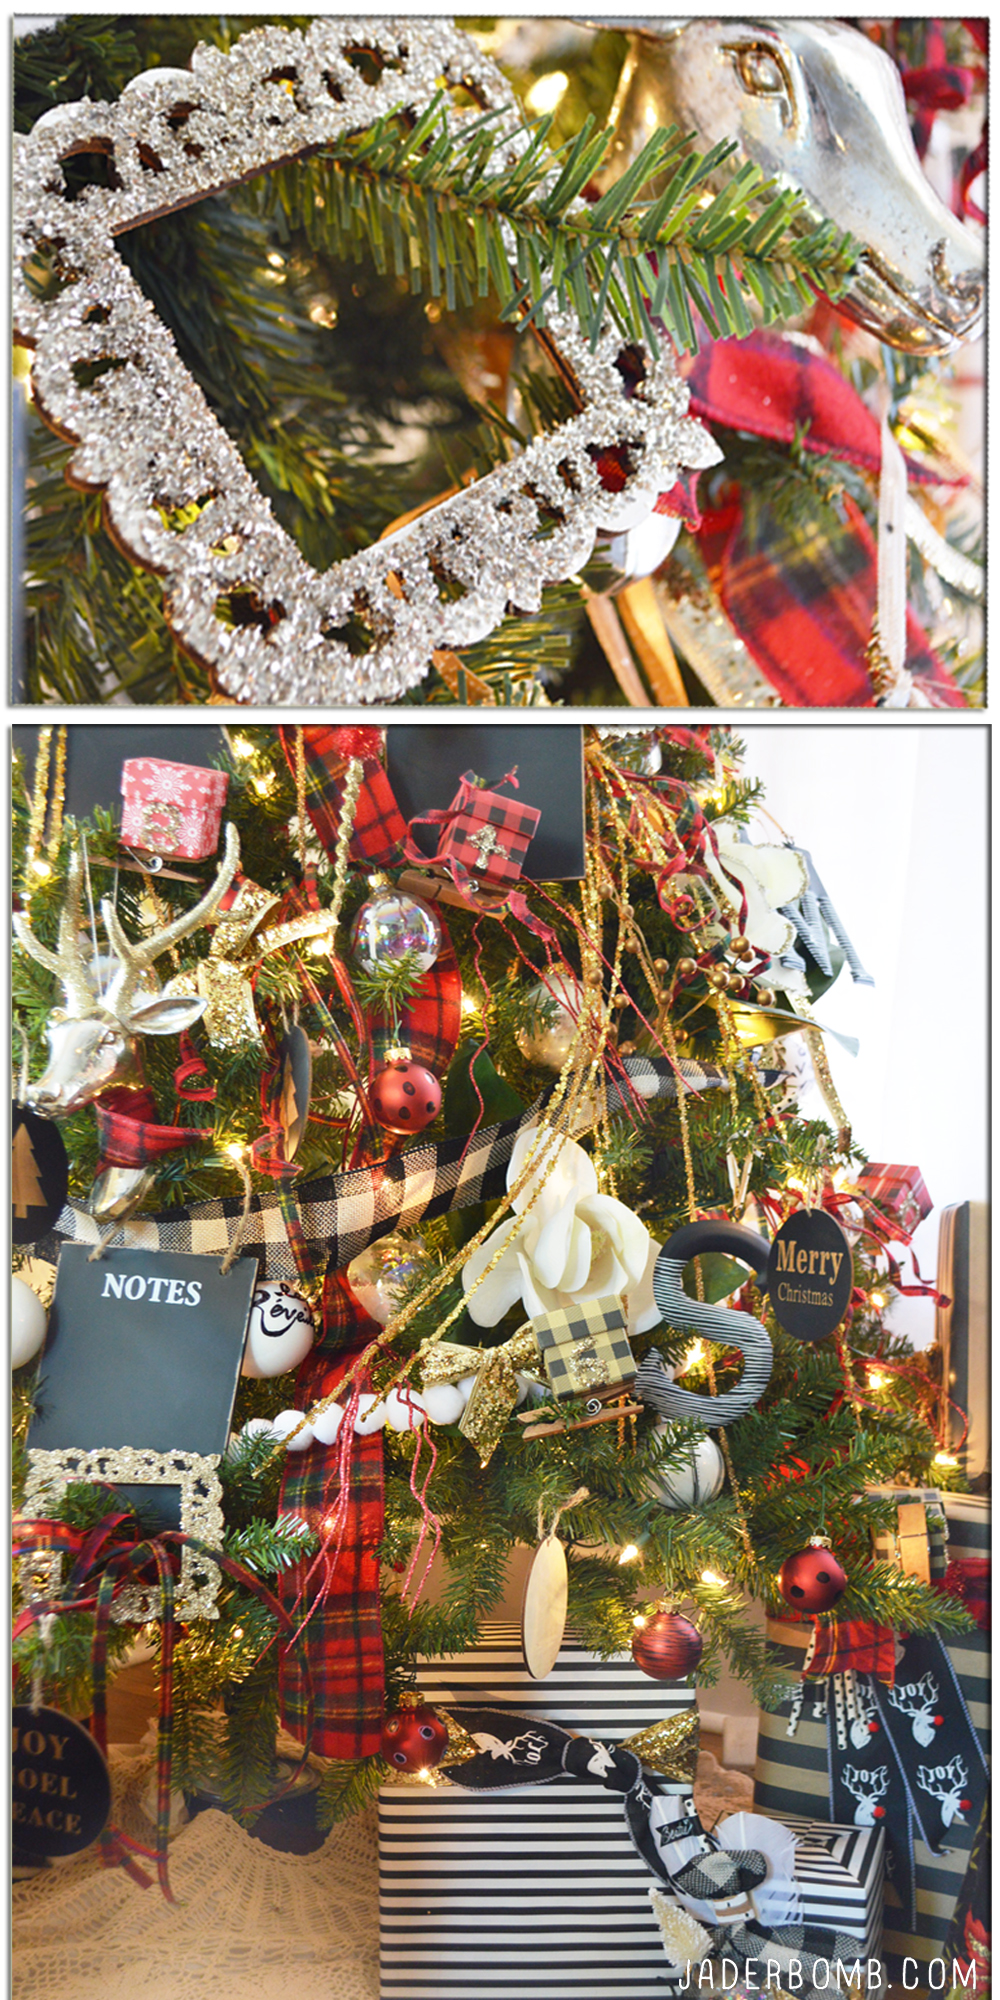
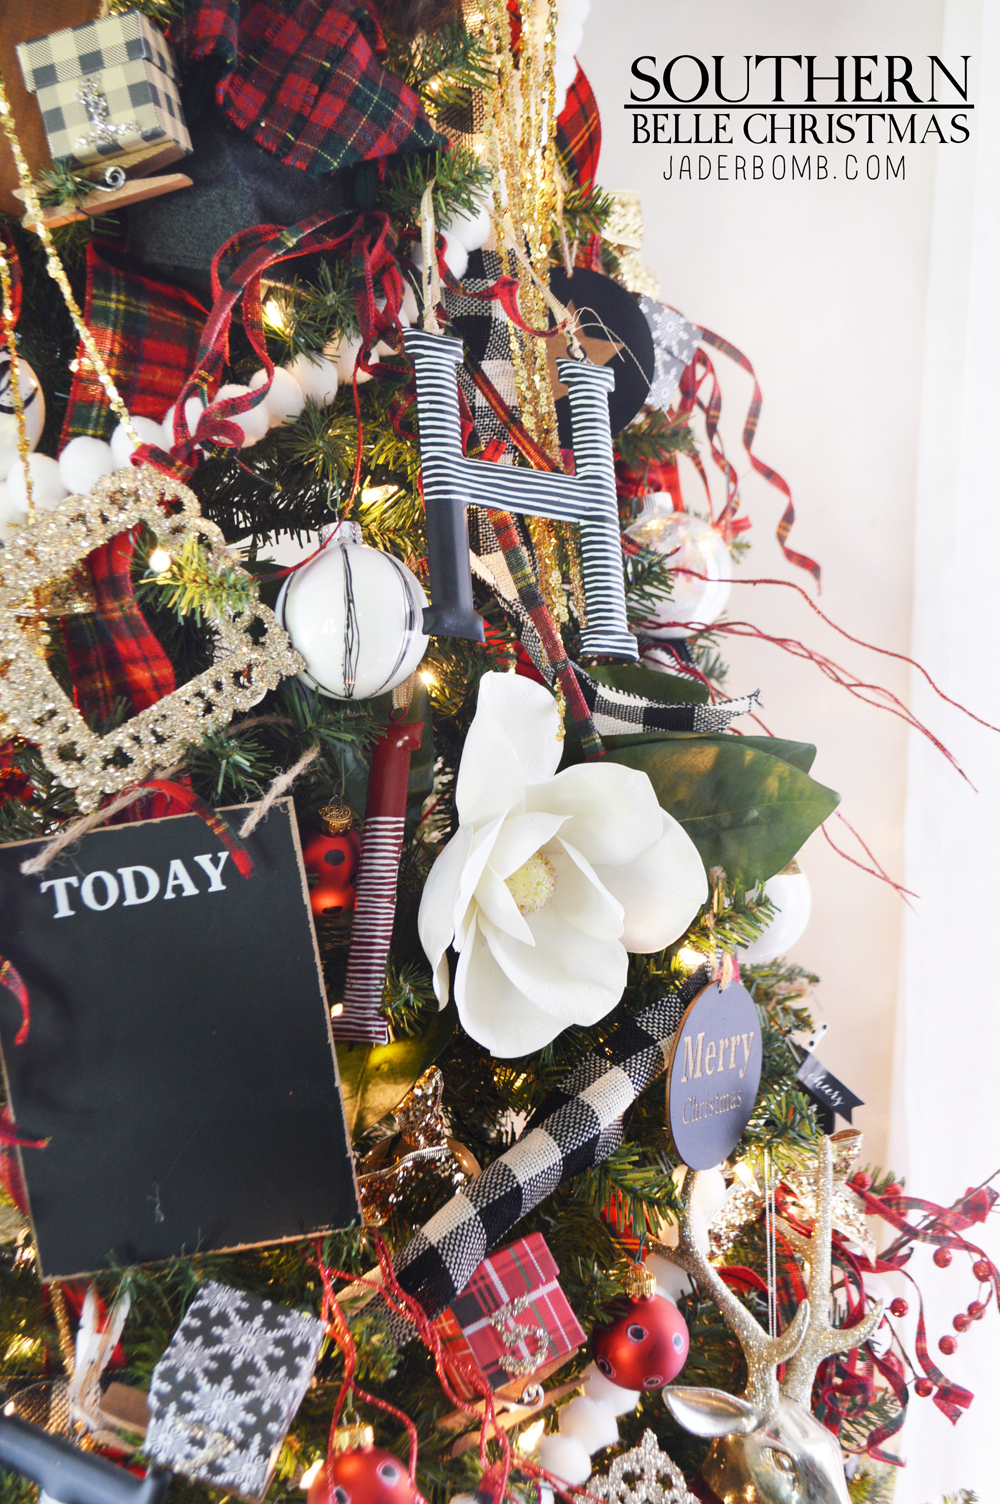
I love the idea of putting chalk boards in my tree so you and your family can write notes on them. You can use these from Michaels or make your own.
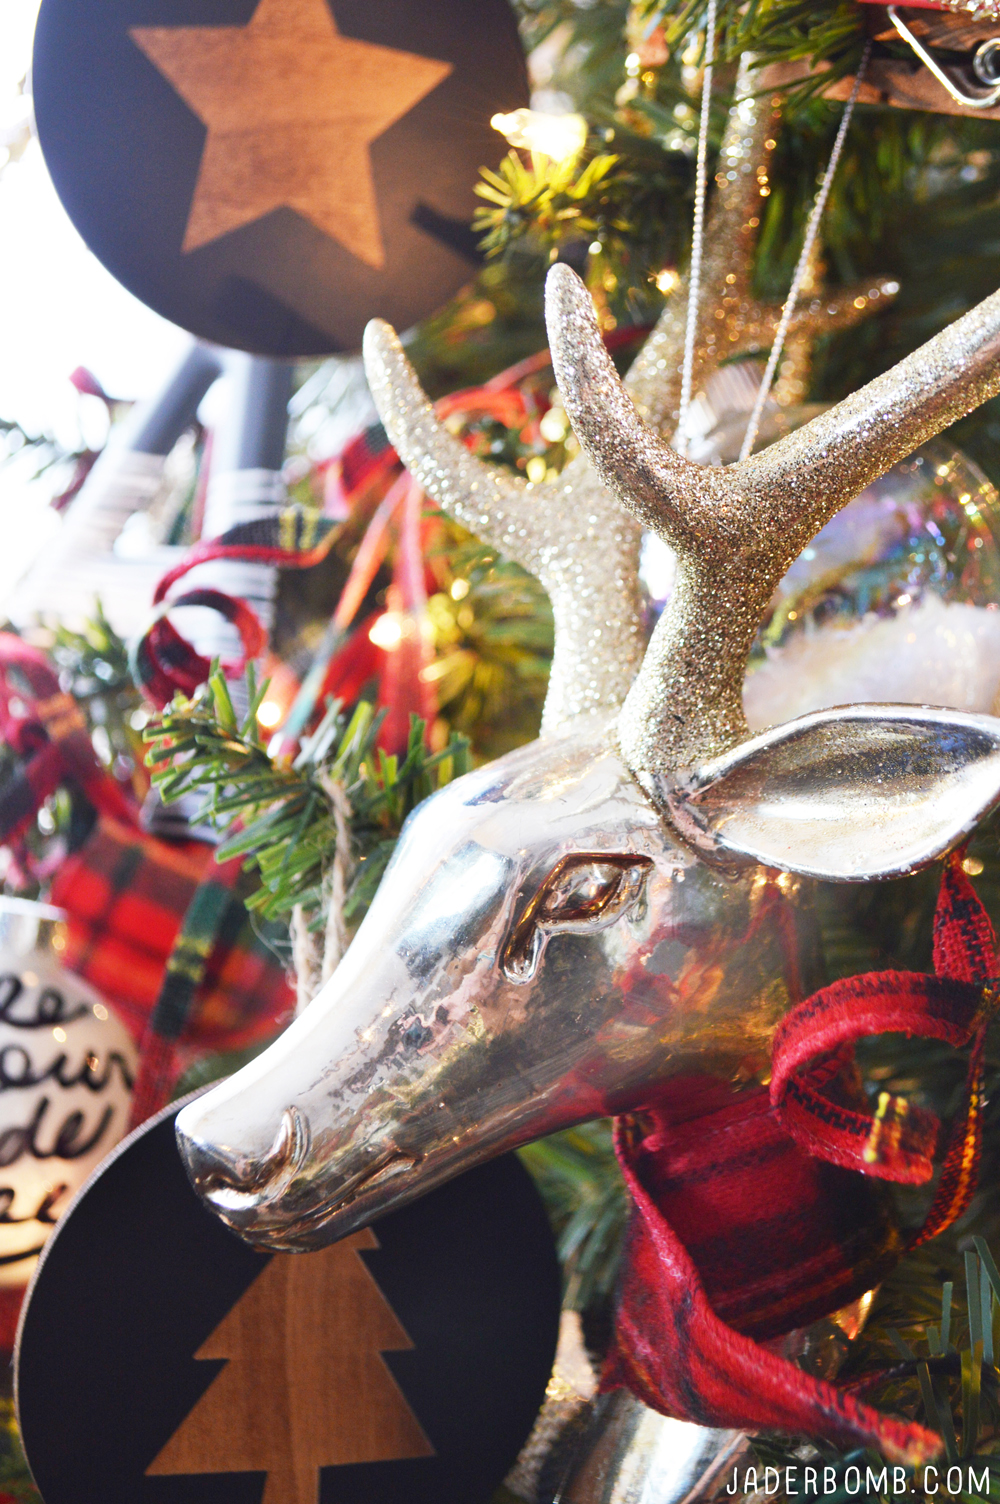
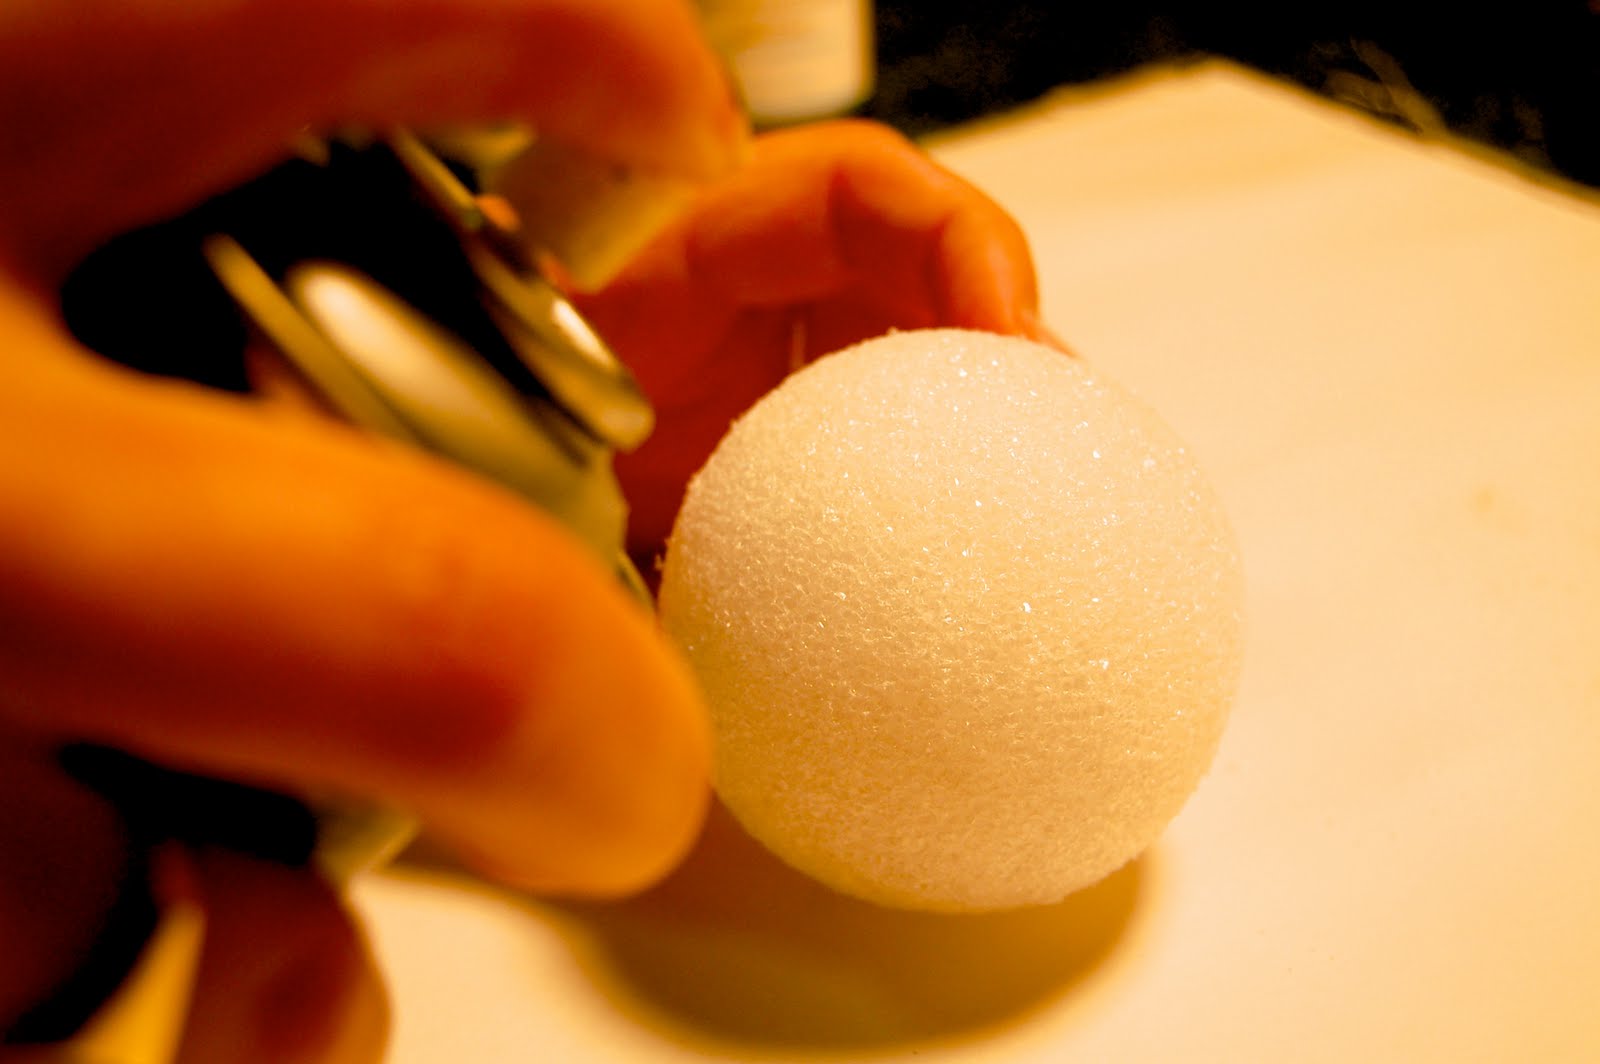
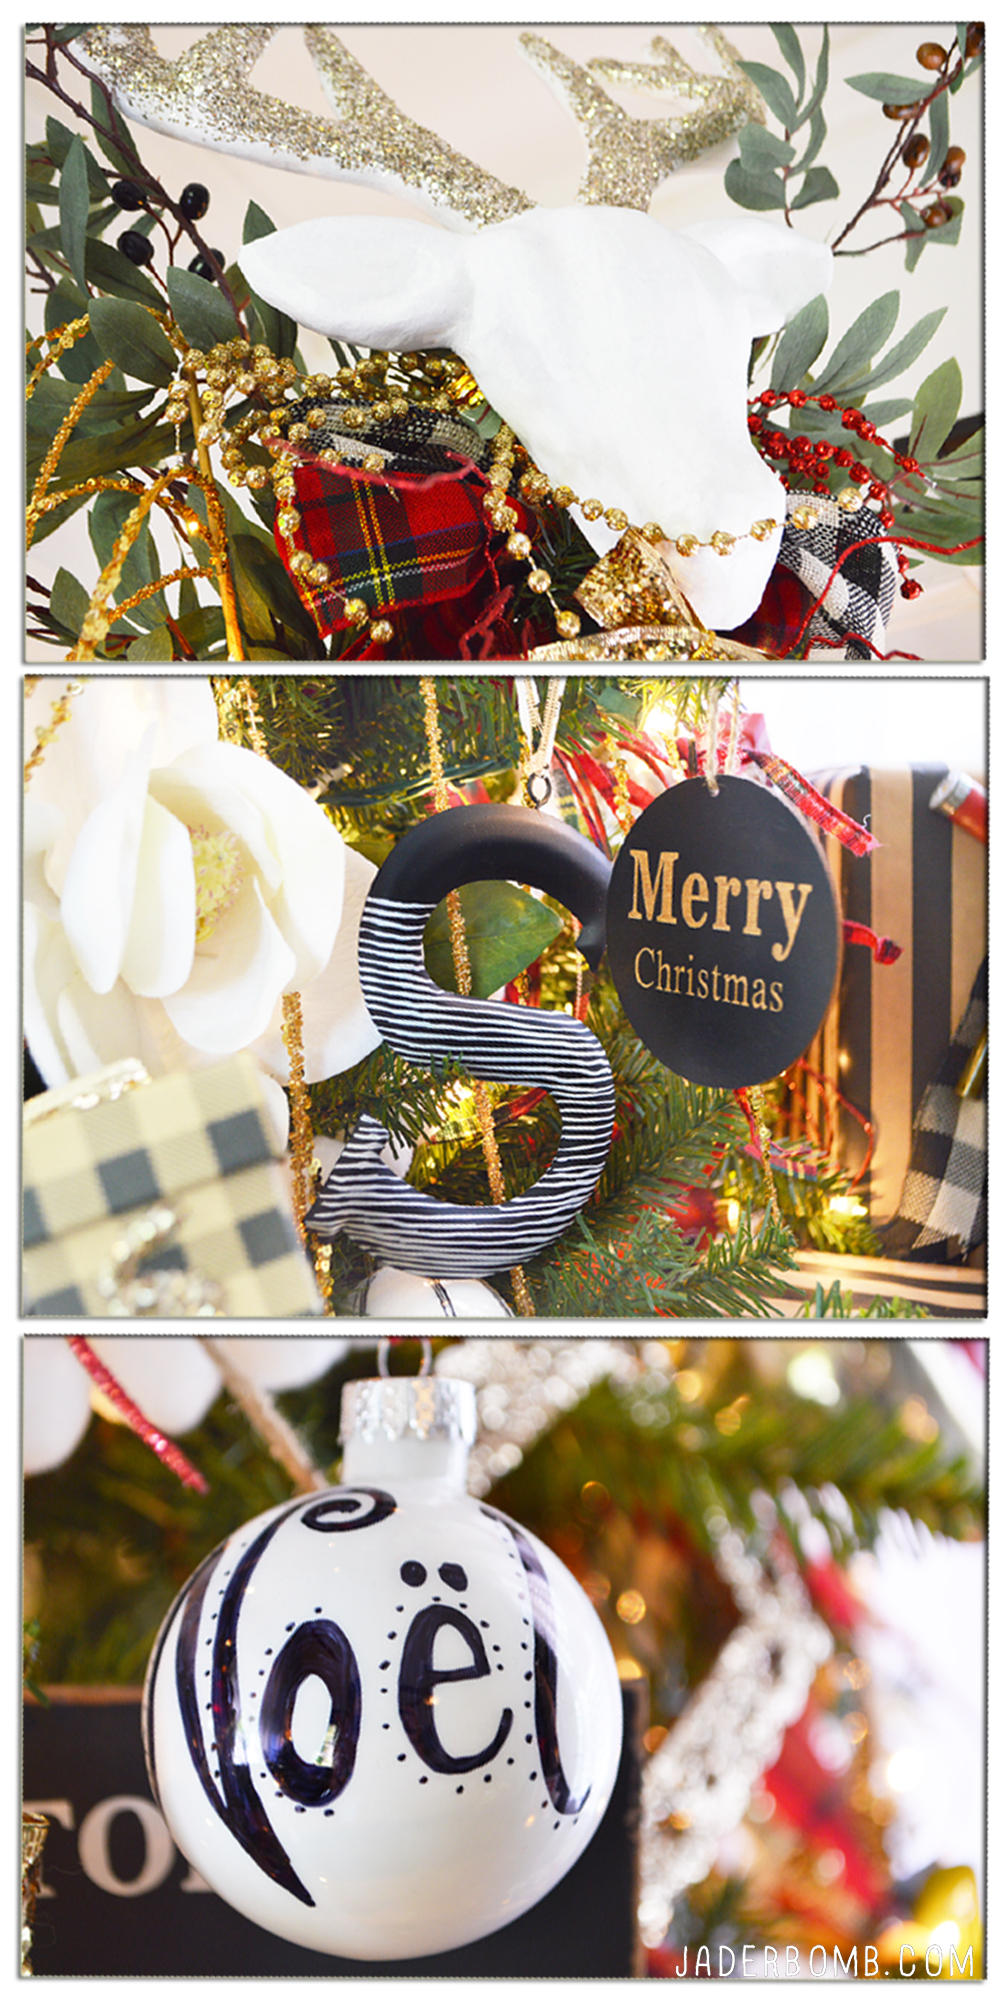
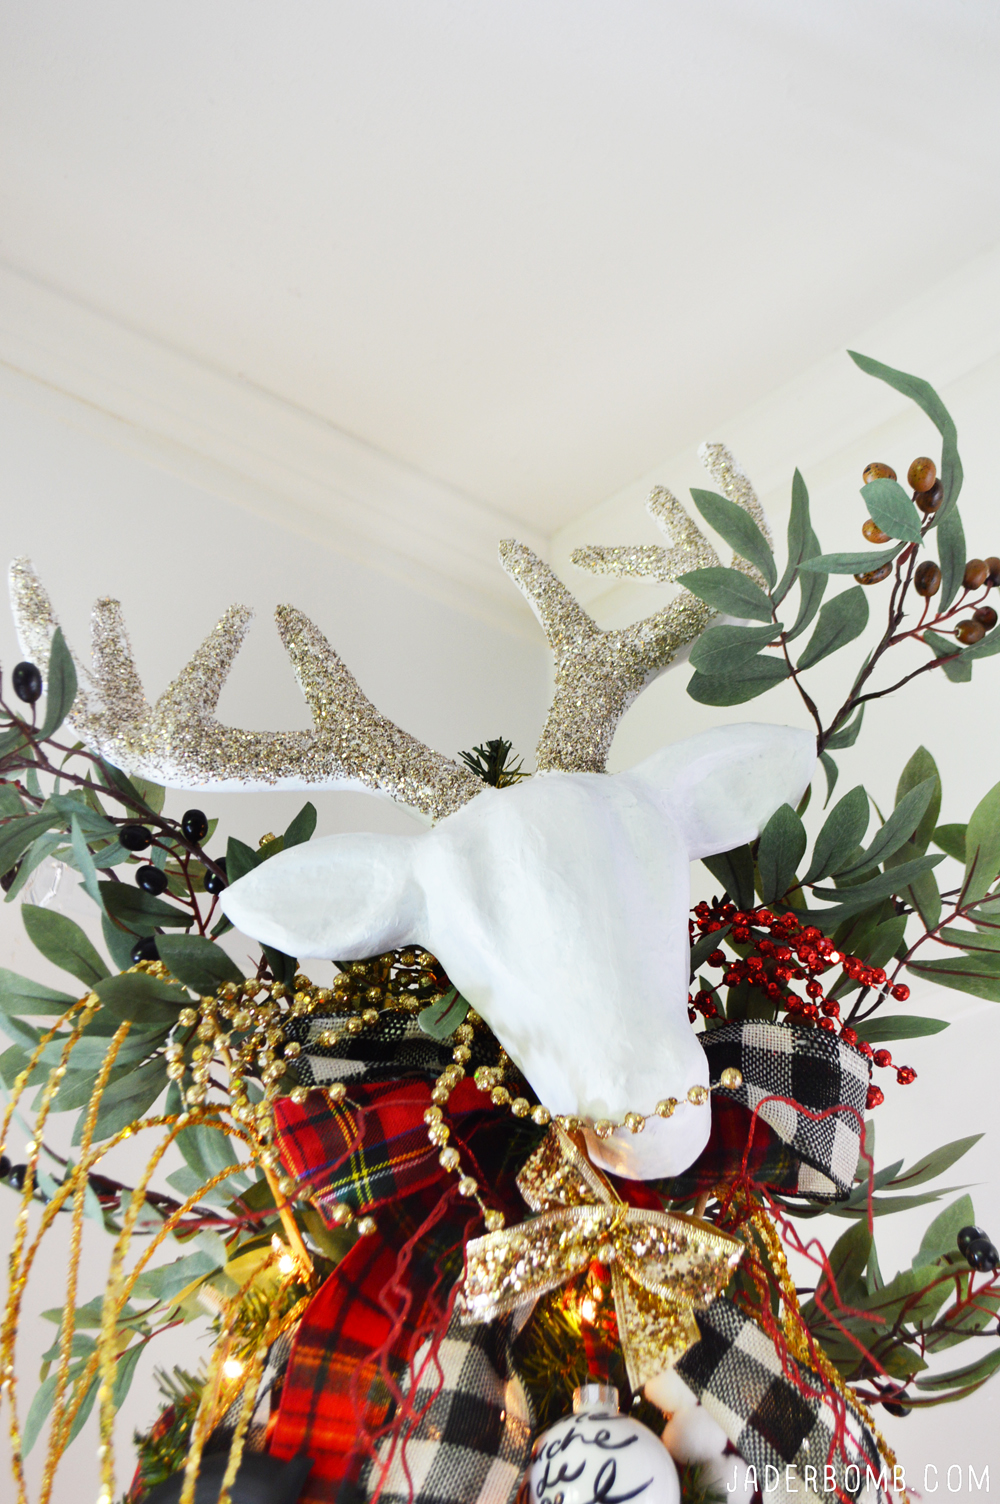
I fell in love with these glittered deer heads and when I saw them I knew they needed to be nestled in my tree. I used this one on the top of my tree. It’s cardboard but all I did was add white paint all over it then sprinkled glass glitter on the antlers.
TIP: Sprinkle the glass glitter on the antlers when the paint is still wet, it’s much easier that way.
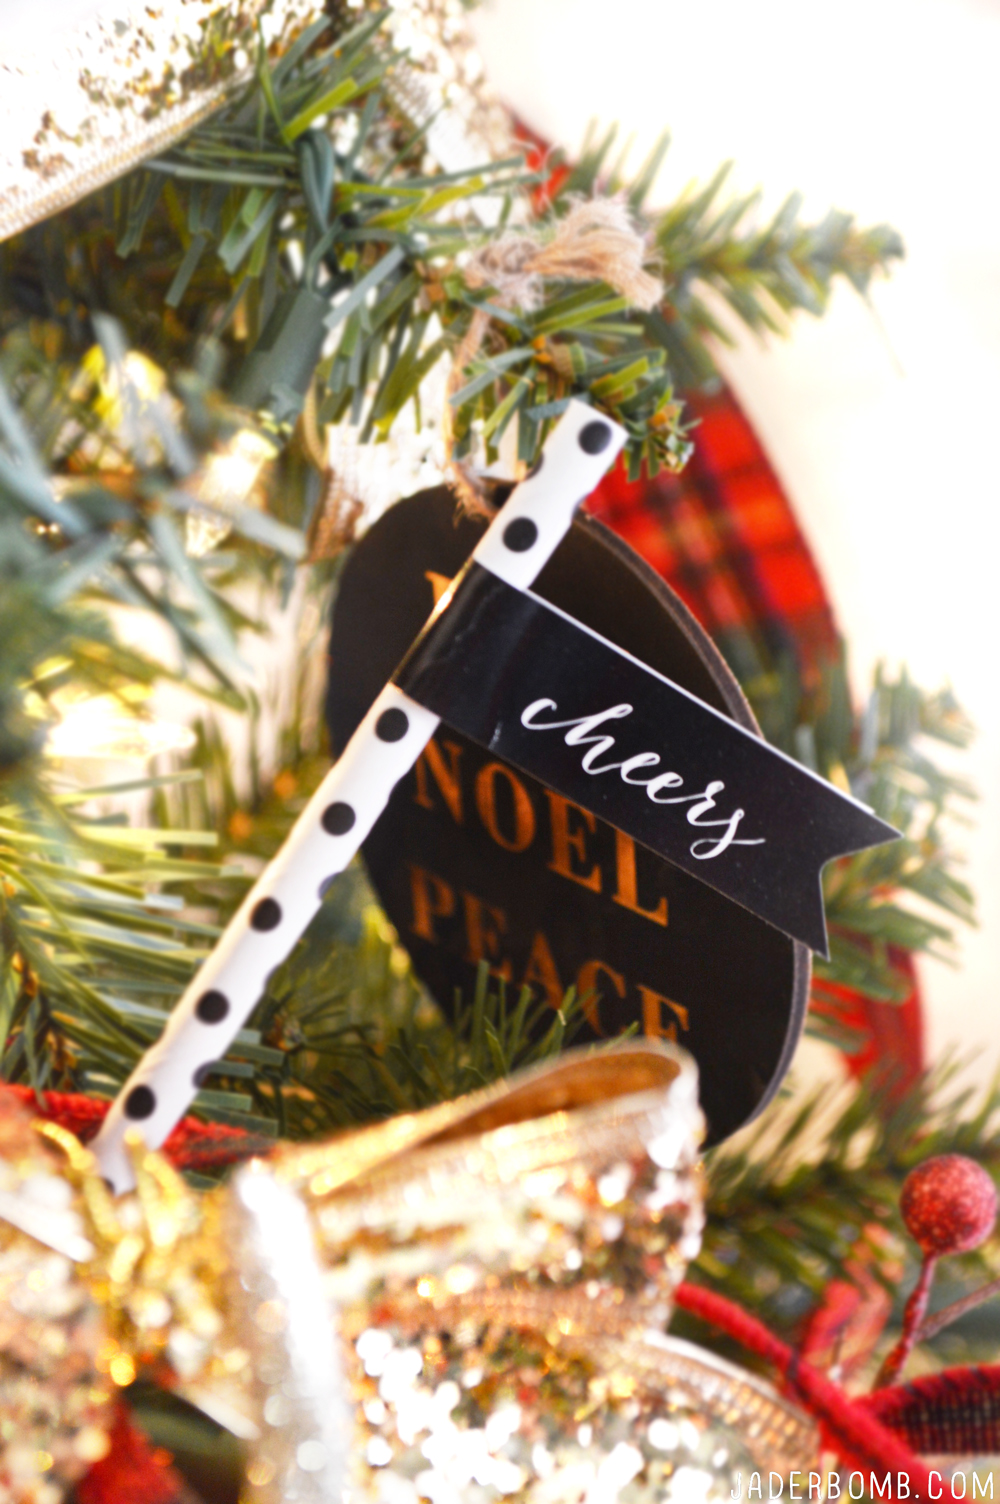
I added some fun elements in my tree like the paper straws below. You can order them here. I added stickers to the top of them that say “cheers”.
When you are ready just stick them all over your tree.
I used this beautiful plaid ribbon all over my tree. I felt it added the perfect amount of color and it made it feel very Southern!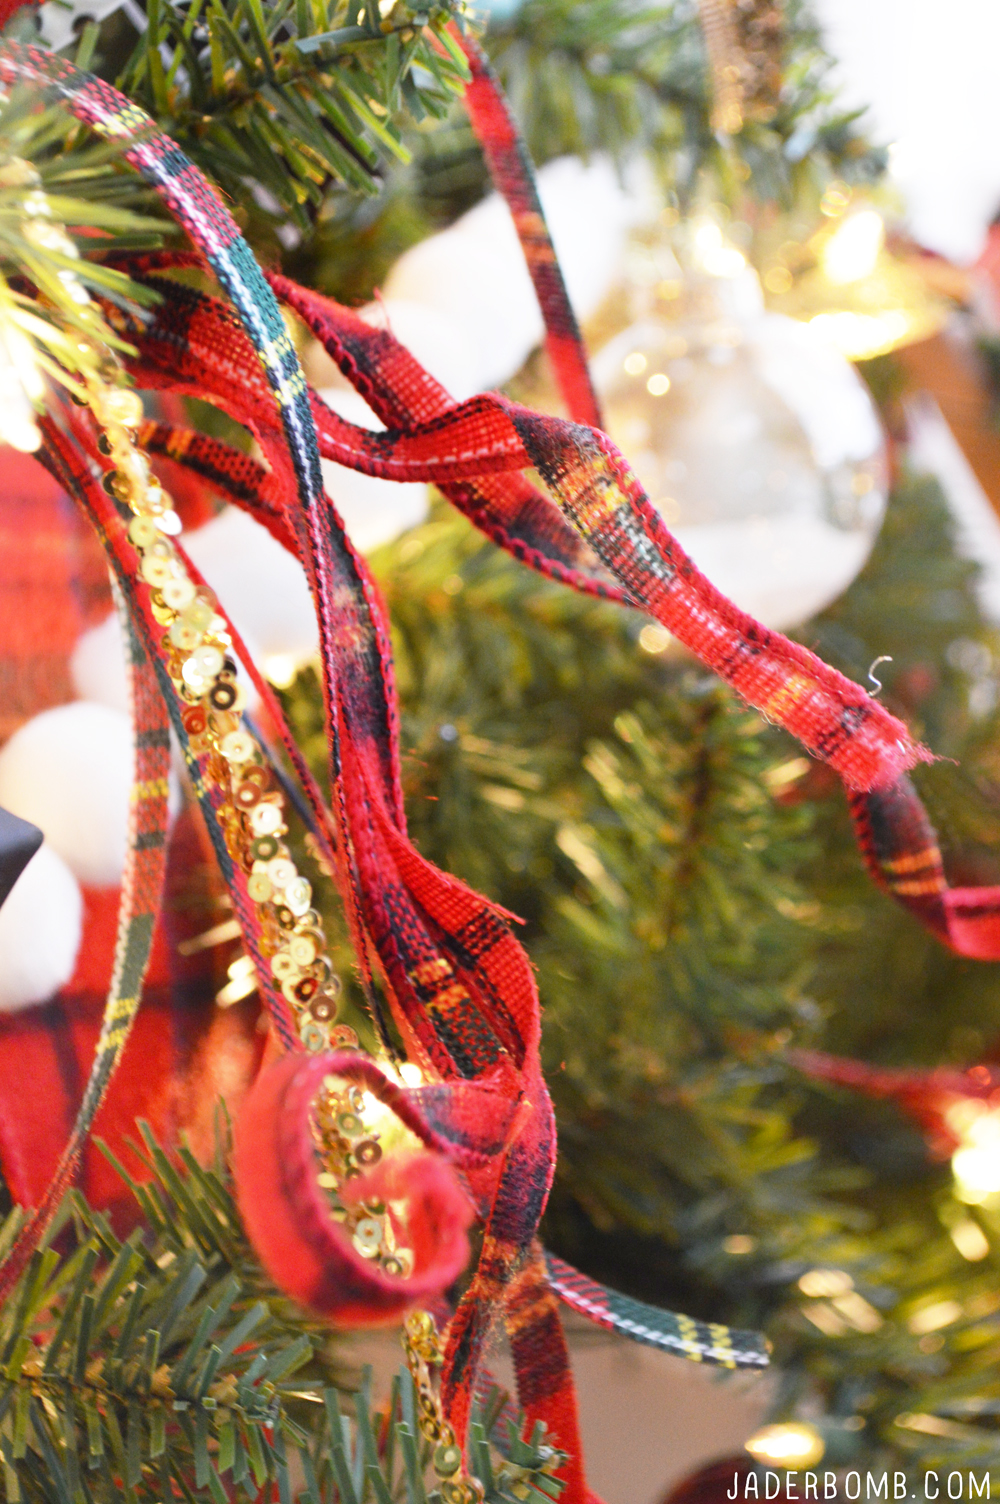
To make these bouquets of ribbon I cut my ribbon into strips then put a bunch together. You can tie the ends with wire then stick them all over your tree. This trick is good for filling holes in your tree!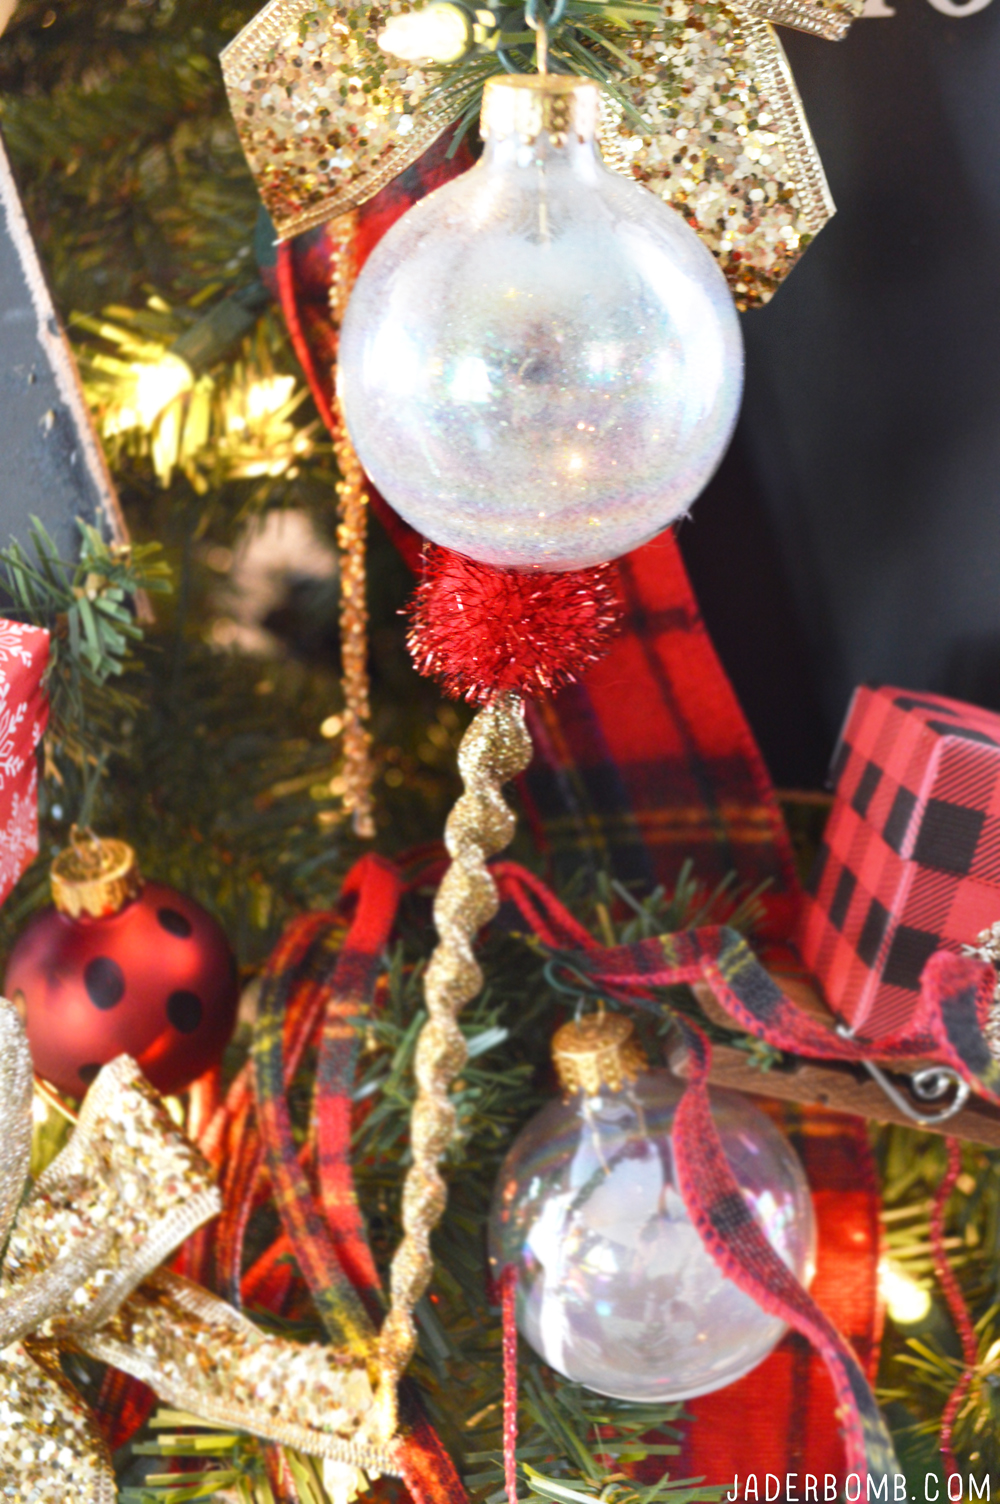
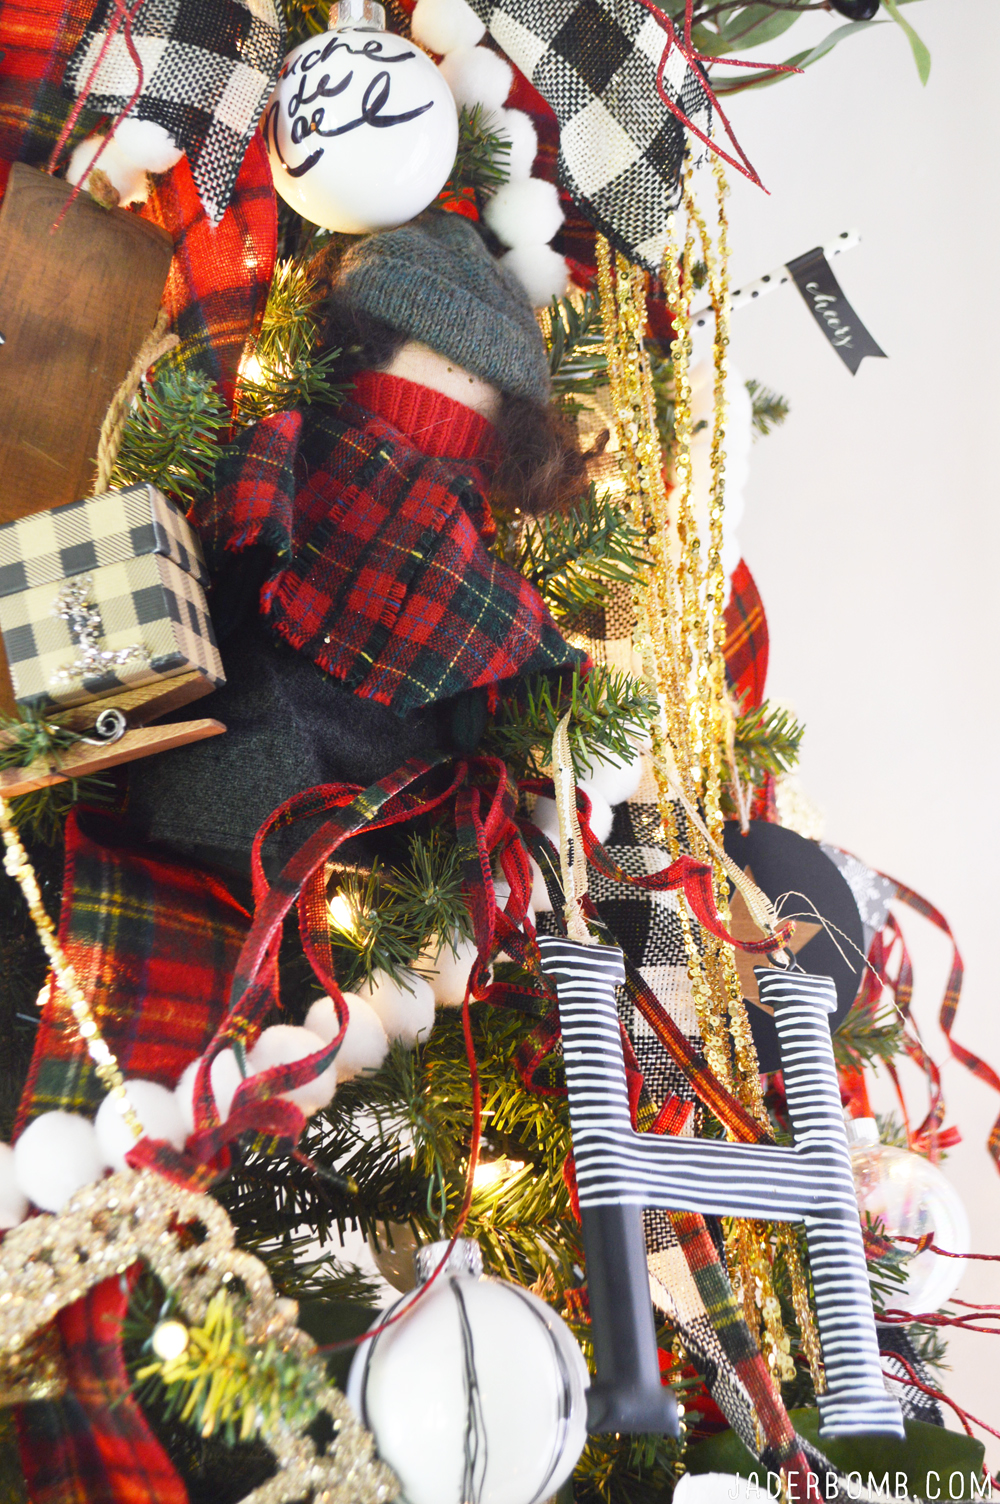
I purchased these black metal letters in the dollar bin and simply added white lines on them with a paint pen. Voila!  I added a ton of Magnolia flowers in my tree. I wanted this flower to be the one thing that popped when you first looked at the tree. Let me tell you it POPS!
 I added white balls with french sayings written on them. Since I couldn’t find them already made I simply wrote on them with a sharpie marker. I love how they look mixed in with all of the other decorations.
White balls are hard to find but Michaels has them ready for all of us DIY’ERS! 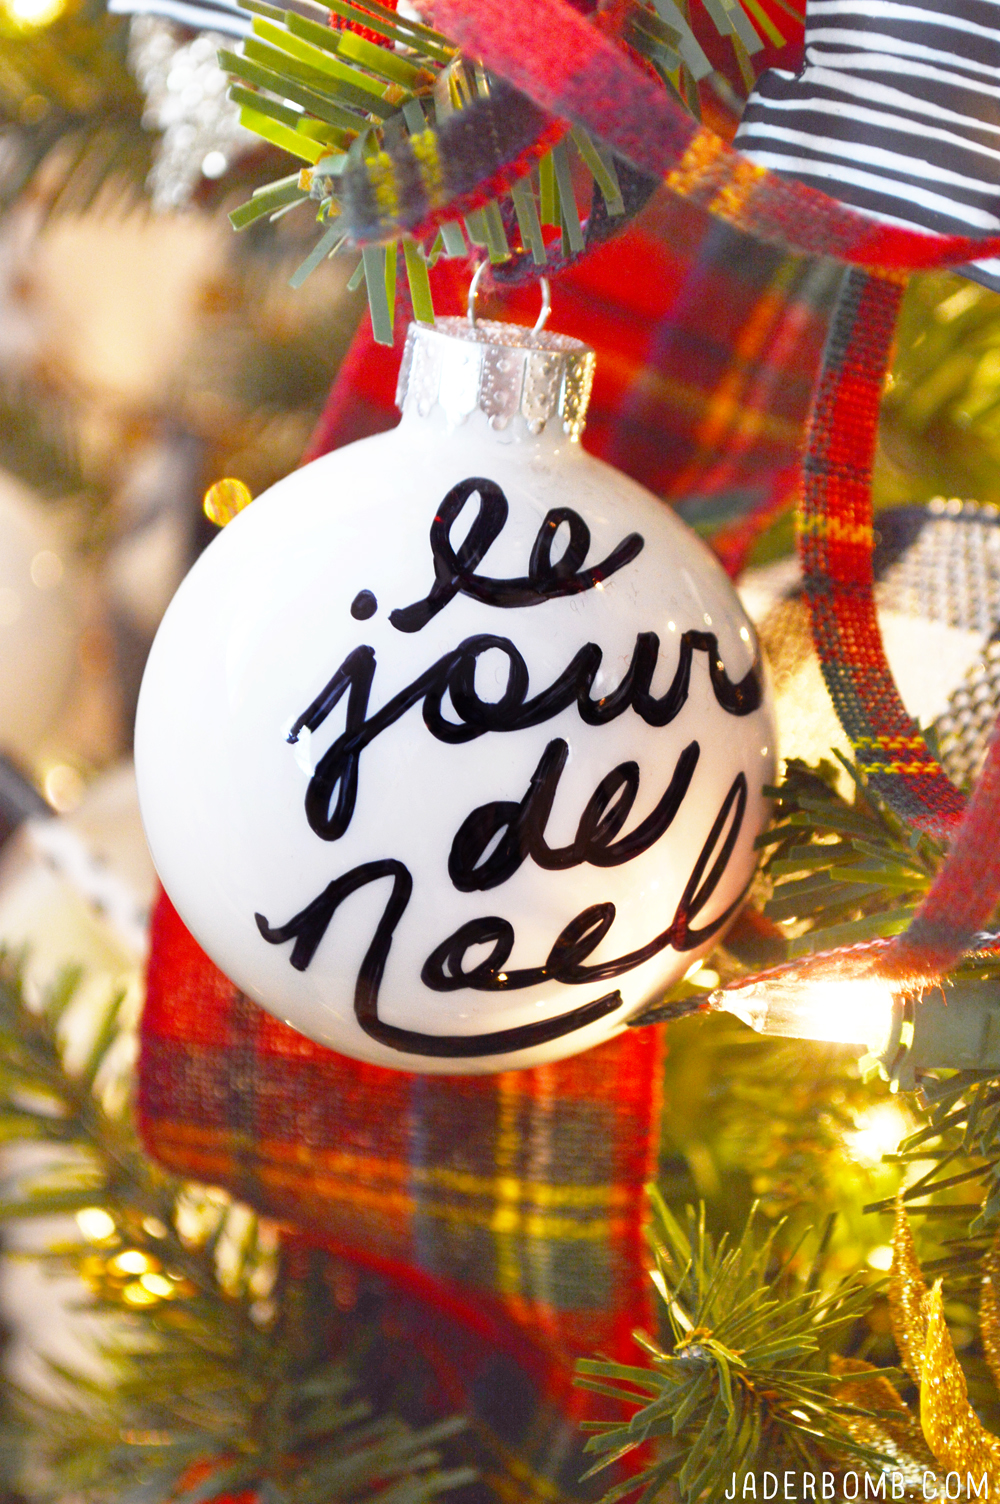
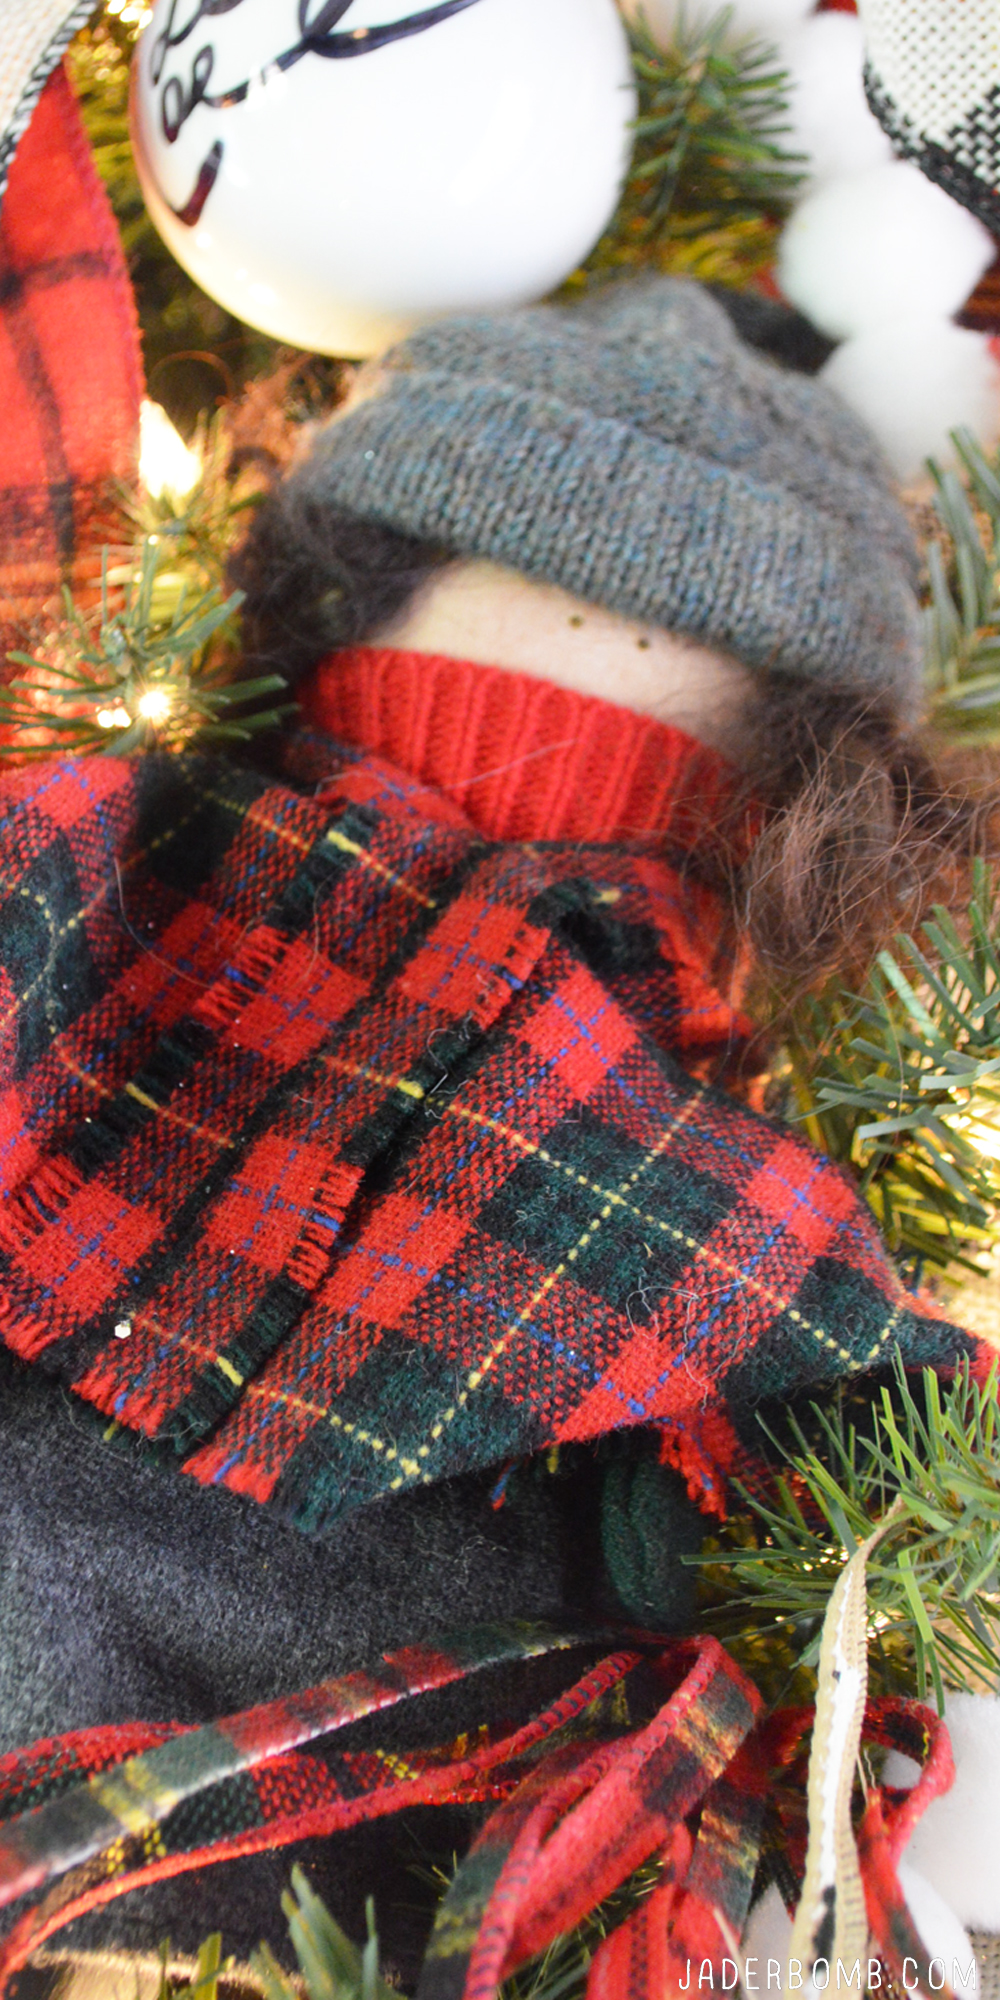
I added 12 plaid boxes in my tree to put little gifts in for my family. We will do this countdown the 12 days before Christmas. Hopefully your kids won’t open all of them, haha!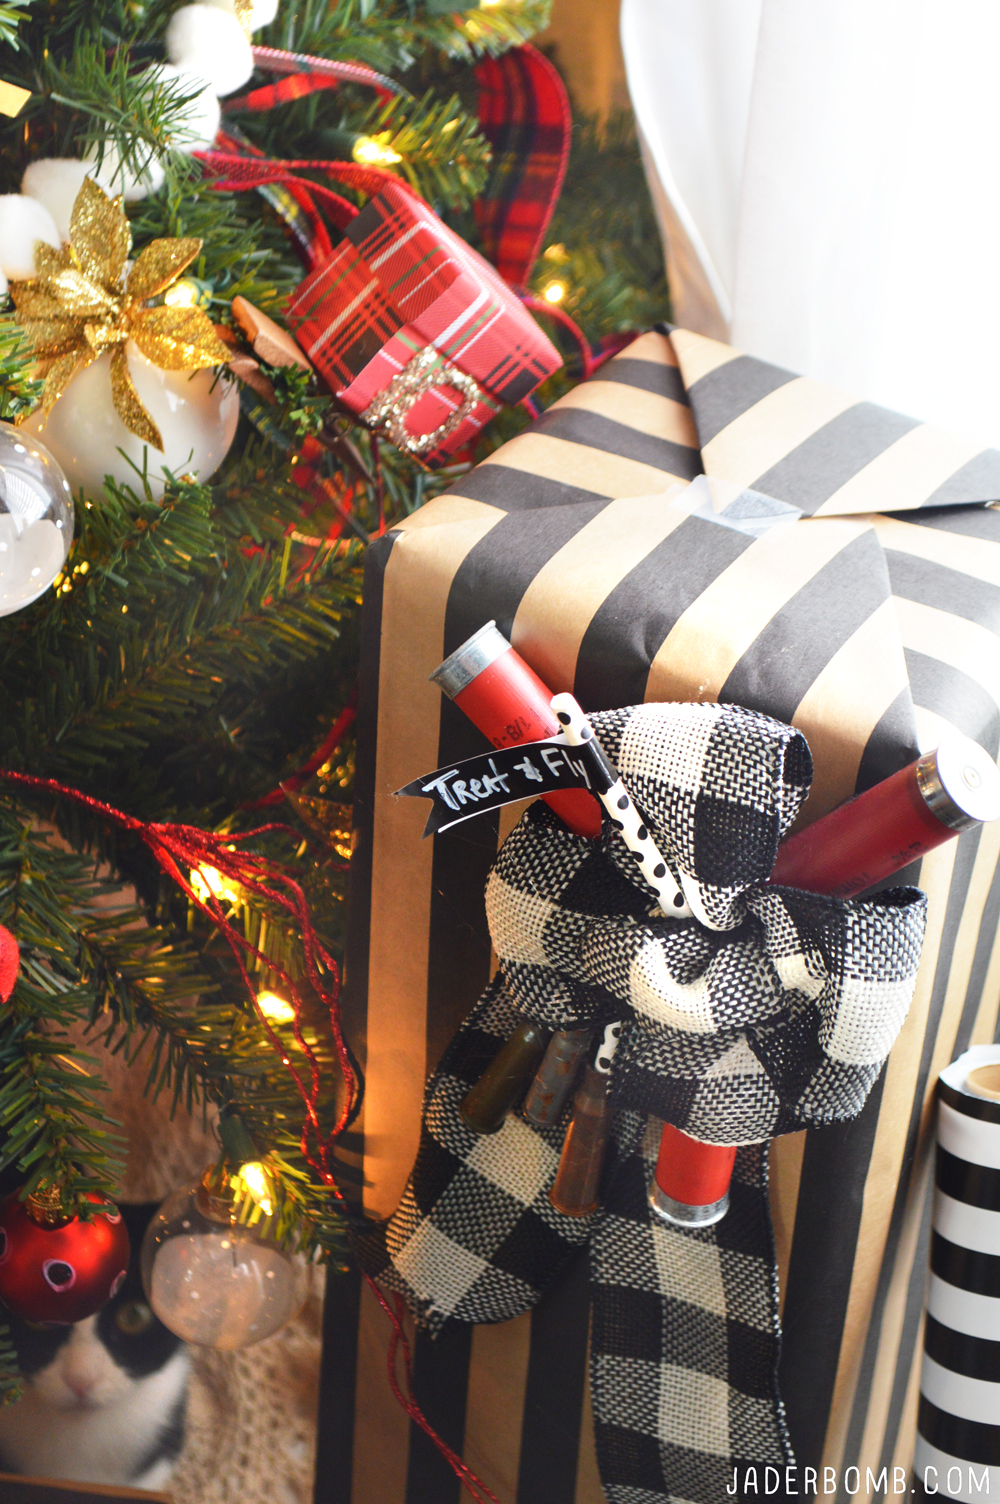 Don’t be afraid to add big elements in your tree like cute stuffed dolls. You will be surprised at how they add flavor to your tree.
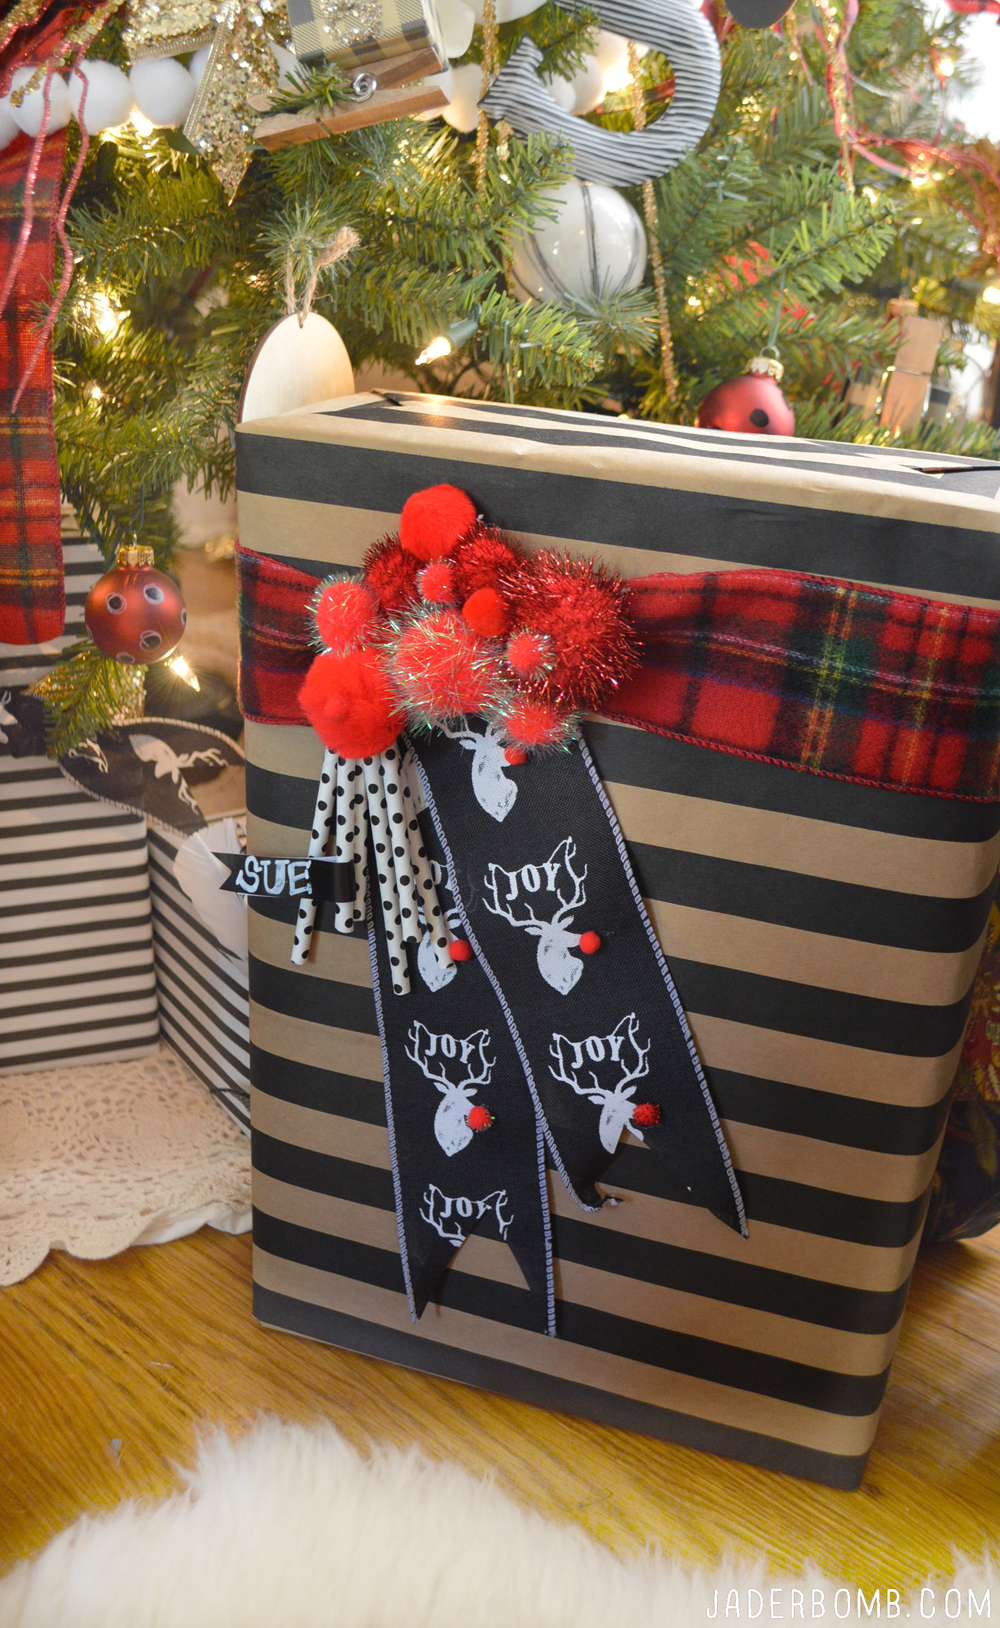
 I love decorating my gifts as much as I love decorating my tree. I believe it’s important to shower your presents with ton’s of love! Of course I have presents bought already so I just had to wrap them up and put them under our tree.
 I love the simplicity of empty frames in a tree. It adds depth while also looking elegant. Bathe the wooden frame with Mod Podge then sprinkle gold glass glitter on them.
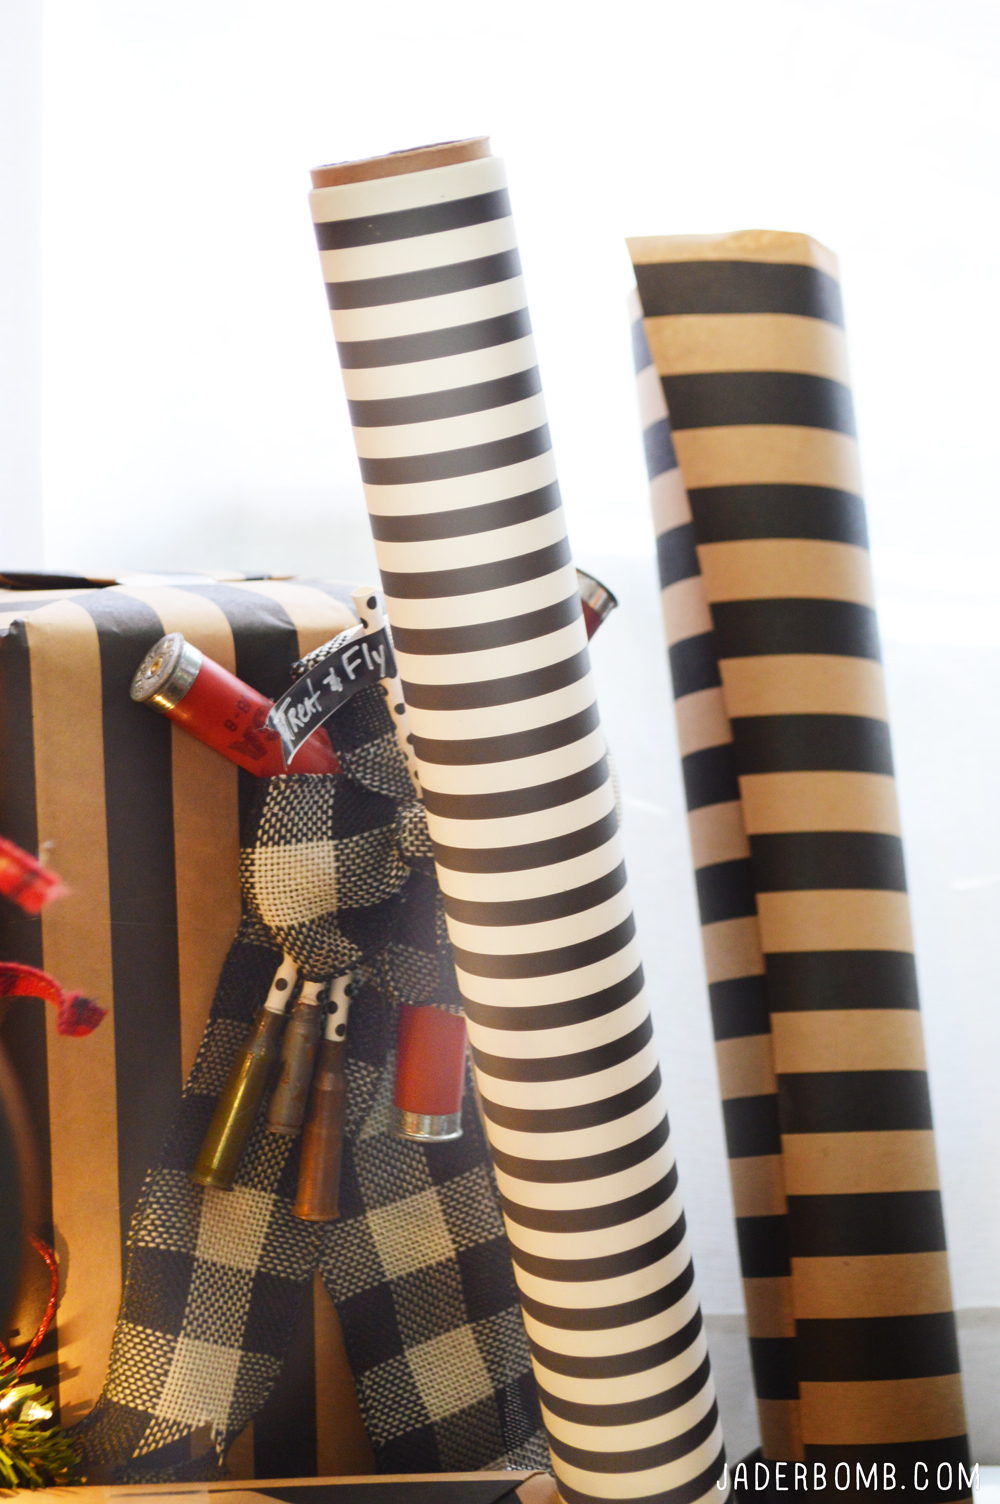
 I love that Michaels has striped paper, believe it or not, it’s hard to find. I always buy 20 or more rolls of black and white paper because I use this all year long for gifts. You can purchase them here and here.
Last but surely not least is Hannah our cat. I think she loves the tree more than us! Let’s just say I am glad she was on the ground when I was taking these pictures and not IN THE TREE like she normally is. I mean, it is her first Christmas so I will let her slide. 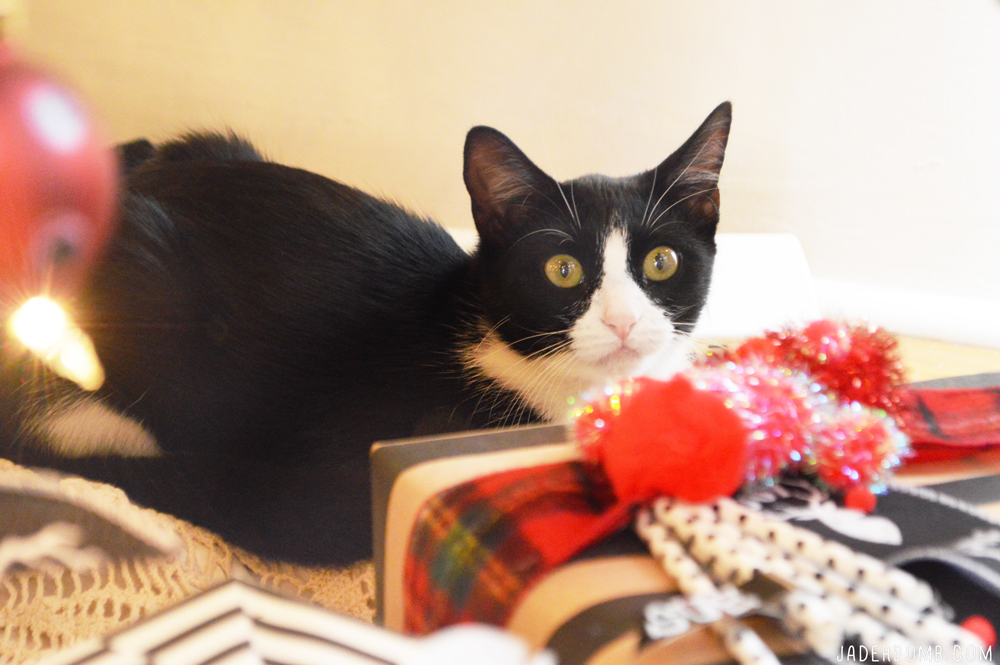
Big Huge Hugs to you all! See you in the next post! Make sure to check out all of my Michaels Makers projects here!
 Inspired to start decorating your own tree? Make sure you visit Michaels’ blog, The Glue String, to see the other 49 Michaels Makers’ dream holiday trees that were created this year. If you’re just getting started on your holiday decor, you can also check out some of the ornament projects and tutorials available on Michaels.com.
Check out all of the other Dream Trees! You will not regret it…