Happy Monday Funday Jaderbugs! I know. You are probably wondering how is it even possible to be so excited at the beginning of each blog post. Is it real? Am I REALLY that excited to write this post for you. YES! There are a few things in life that actually make me instantly smile, this is one!
I could not wait to post this today because I have been talking about doing this for so long now! I’ve tweeted about it, researched it and it’s finally going down.
I know we all see these amazing pictures on pinterest of the “perfect” stripes and the “perfect” decorations. Shoot’s I have even overheard people talking about doing this but they want to wait until they have all the right furniture and decorations to go with this look. My question to you is…
WHY WAIT!
Enjoy your black and white stripes now! After all, you might “think” your walls are not ready for it but I am sure they are screaming inside for them. After hearing my walls scream for a few months I figured it was finally their moment to shine.
You will need :
 Paint
 Painter's tape
 Laser Level
 Pencil
 Ladder
 Painting Brush
 Lot's of Love
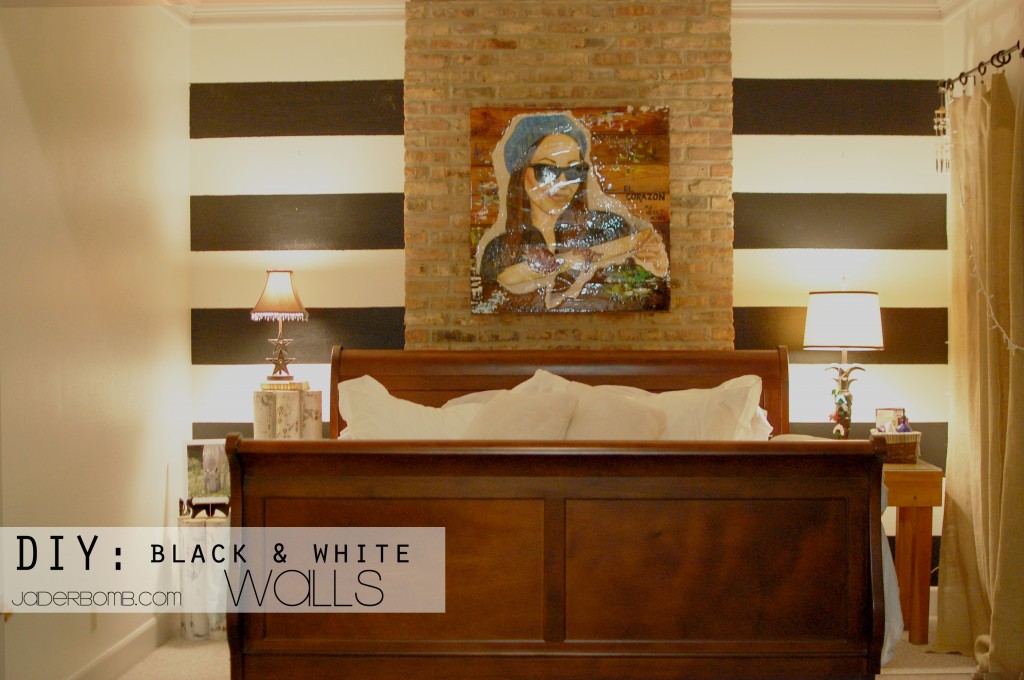
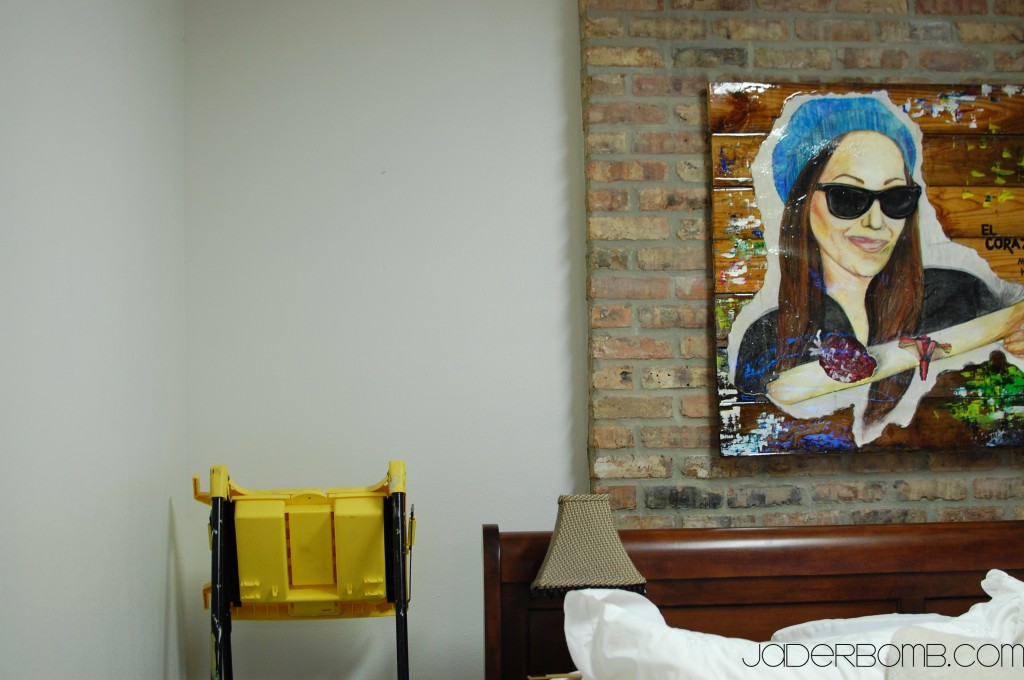
See how bare our walls are! In case you are wondering about that picture over our bed. Yes. It’s a picture of ME! A really big one. I wish you could see it up close because I drew it with pastels, laminated it, built the wood background, painted a little bit on the wood, wrote a little bit on it and then coated it with RESIN. Did I mention Ashy helped with the building the wood background? Let’s just say she did that part.
Amazing right.
Plus, Ashy insisted on putting it over the bed. She said it looked beautiful, how sweet. I can’t lie it is weird looking at myself over the bed. Now that I am thinking of it, I have a few self portraits in our room. (haha)
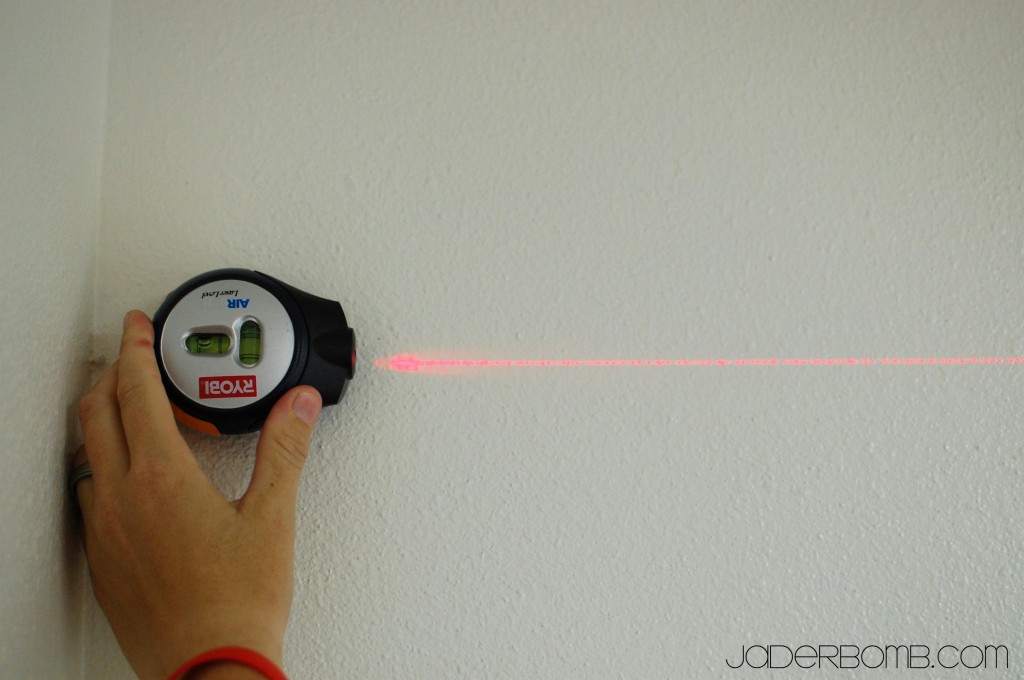
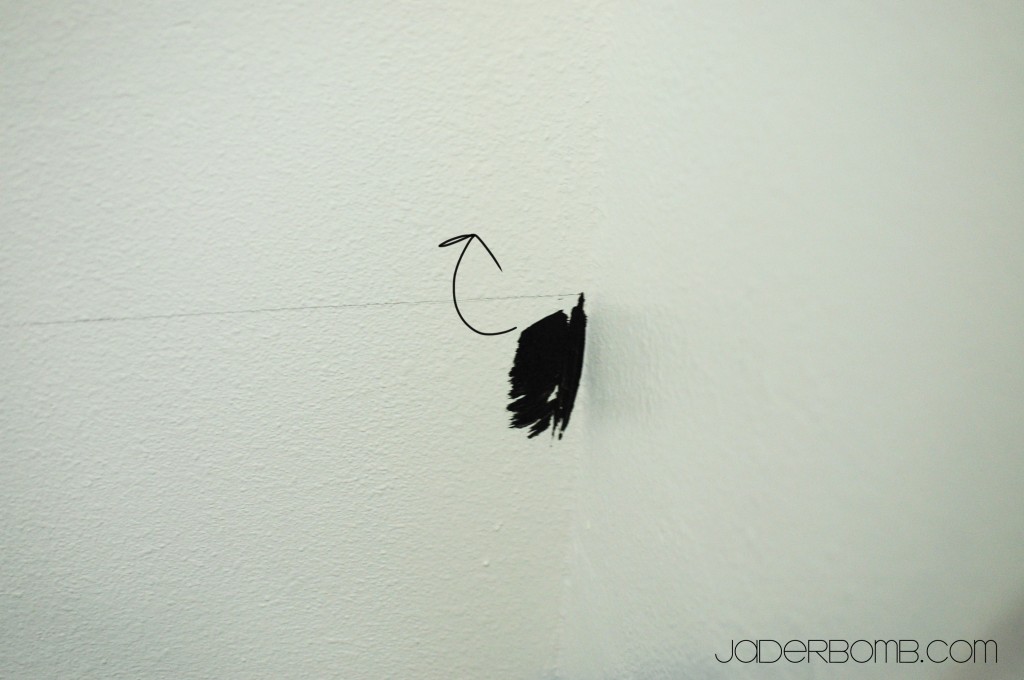
Ashy started by using this laser level to draw the lines onto the walls.
Bestie’s mom got her this and she is in love with it. So far my best piece of advice is to get one of these. Especially if you want strait lines. I don’t think they are expensive.
The cool thing is you can see if it’s level and it suctions onto the wall so you can actually draw or tape up the line (incase you are doing alone). I’m not one for power tools but HELLOOO suction cup baby!
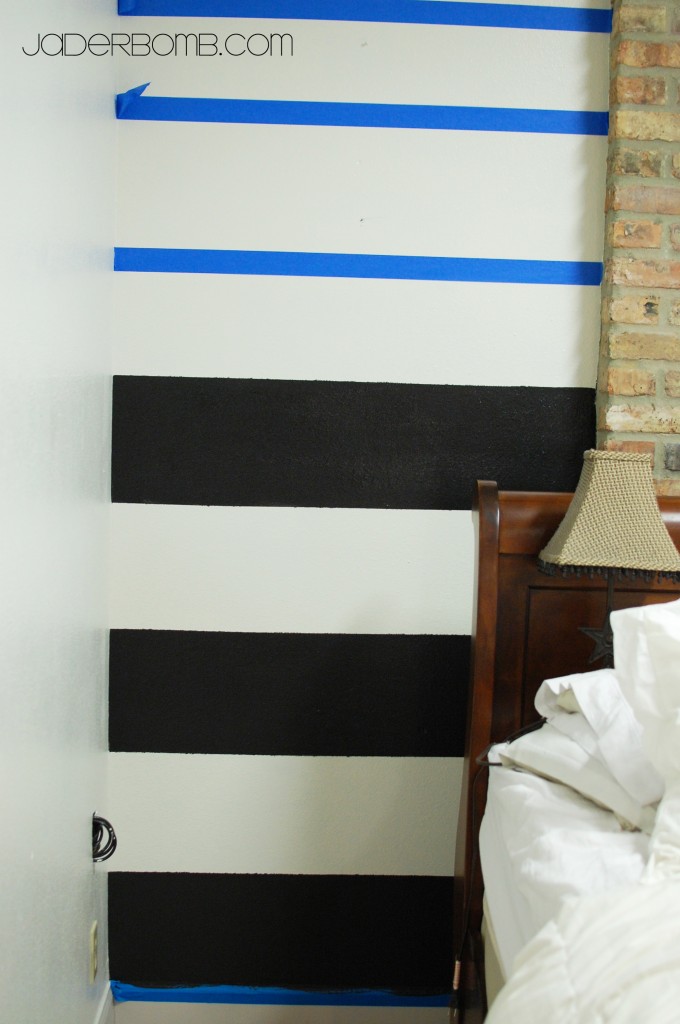
Now, this is the tricky part. The tape. You want to measure the wall you are painting from top to bottom. K. Then you can start playing around with numbers. You will divide the width of the stripes by the total length of the wall. The number you get when you do this will be the amount of stripes you will have on that wall. Remember, your stripes might be smaller or bigger than mine. It just depends on how many stripes you want. If you want a lot of stripes then the width of them will be very small. I like chunky ones, they make me smile…
For example my wall was 105″. My stripes were 10.5″. So I divided that and it gave me the number 10. This is including the white and black stripes. It’s actually pretty easy once you start playing with the numbers!
Oh and when you first put your tape up, it will look visually cray cray to to you! Your gonna be like. whoa!
Which one is which? Where do I paint? I’m confused! These are not right! If you see the picture above with the arrows pointing to the tape, this is what I mean. I just looks smaller but the width is from the edges I put the arrow on. Got it?
If you need help or have questions just email me and I can help ya, jade@jaderbomb.com.
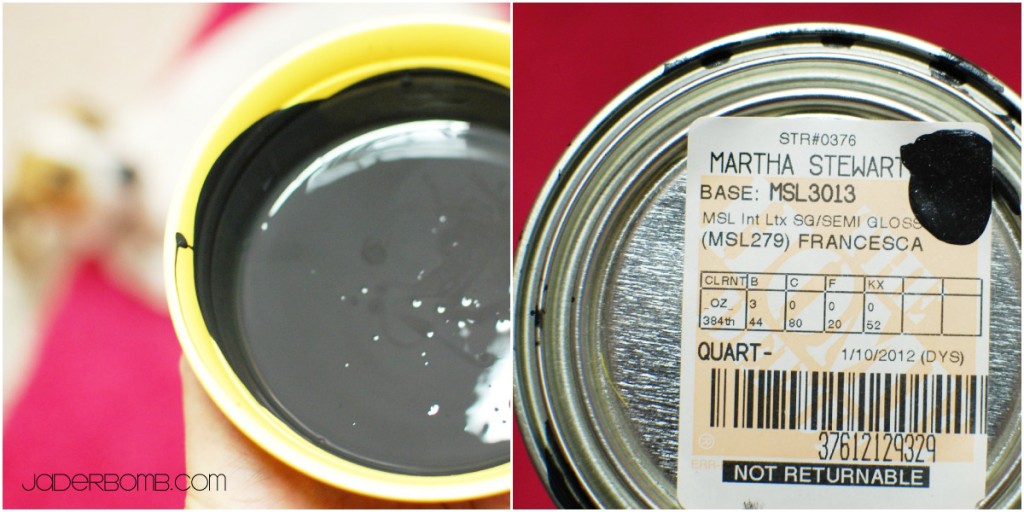
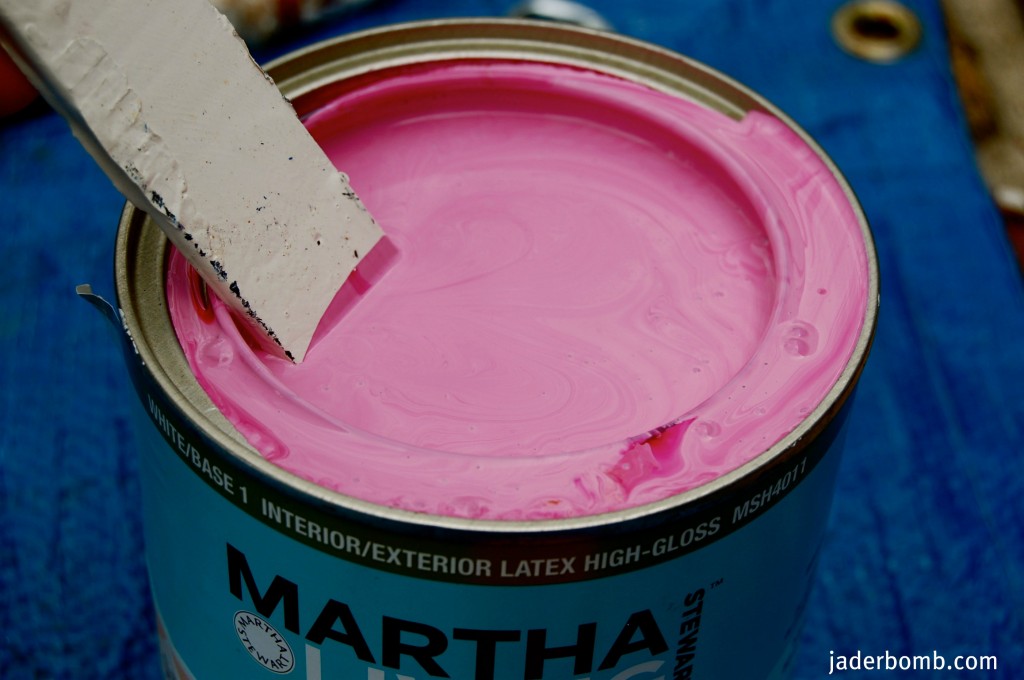
You know I am using Martha Stewart paint. This line is discontinued but I still have some that they sent me! What can I say. It’s a product I trust.
Don’t you just love the name of this color. Francesca.
That’s one of her dog’s incase you didn’t know. Check our Francesca’s blog here.
I took this picture just so you can get a visual of what it will look like when you peel the tape off. If you have some paint that sneaks out under the tape just touch it up when it’s dry. Are you in love yet!
If you are like me then you will get super excited at some point. I did this boo boo. I was so excited to see the end result I just started painting. Thanks ADD for doing this! HAHA
I want to put “STRIPES” on every wall now! I told Ashy this and she just looked at me. But she did say it came out good and she loved it. Just think about it. You don’t need dark stripes all of the time.
Dark grey wall+Shade lighter gray stripes
Pretty pink wall+lighter pink stripes
You getting my drift Jaderbugs! I really look’s classy… If you do this project please post pictures on my Facebook wall so I can check it out! You never know! I might just feature ya on the Jaderbomb blog.
Before I sign out I wanted to quickly share with you this amazing book coming out August 21, 2010. I will be doing a review this week on it so stay tuned! You know who’s book this is right…
STEPHEN BROWN
He is s judge on Craft Wars! You have to check out his website because it’s AMAZING!
See ya in the next post!

