Tag Archives: Jade

Quote of the day:
“No problem of human destiny is beyond human means.”-John F. Kennedy

As I sit here with a hot cup of cocoa I am enjoying thinking back on our Christmas. Even though it’s over I will not be sad because we had a great Christmas (season). Sometimes life get’s so chaotic that you forget to enjoy the MIDDLE. You know those moments when you are so focused on the end getting here that you totally miss out on what happens in between. I’m sure just like everyone else reading this there are some things that you wish were a little different or wished for things to happen in a different way but why stress over things that are not worth stressing over! I wanted to share with you a few things that put a smile on my face this season.

How to grow a tulip

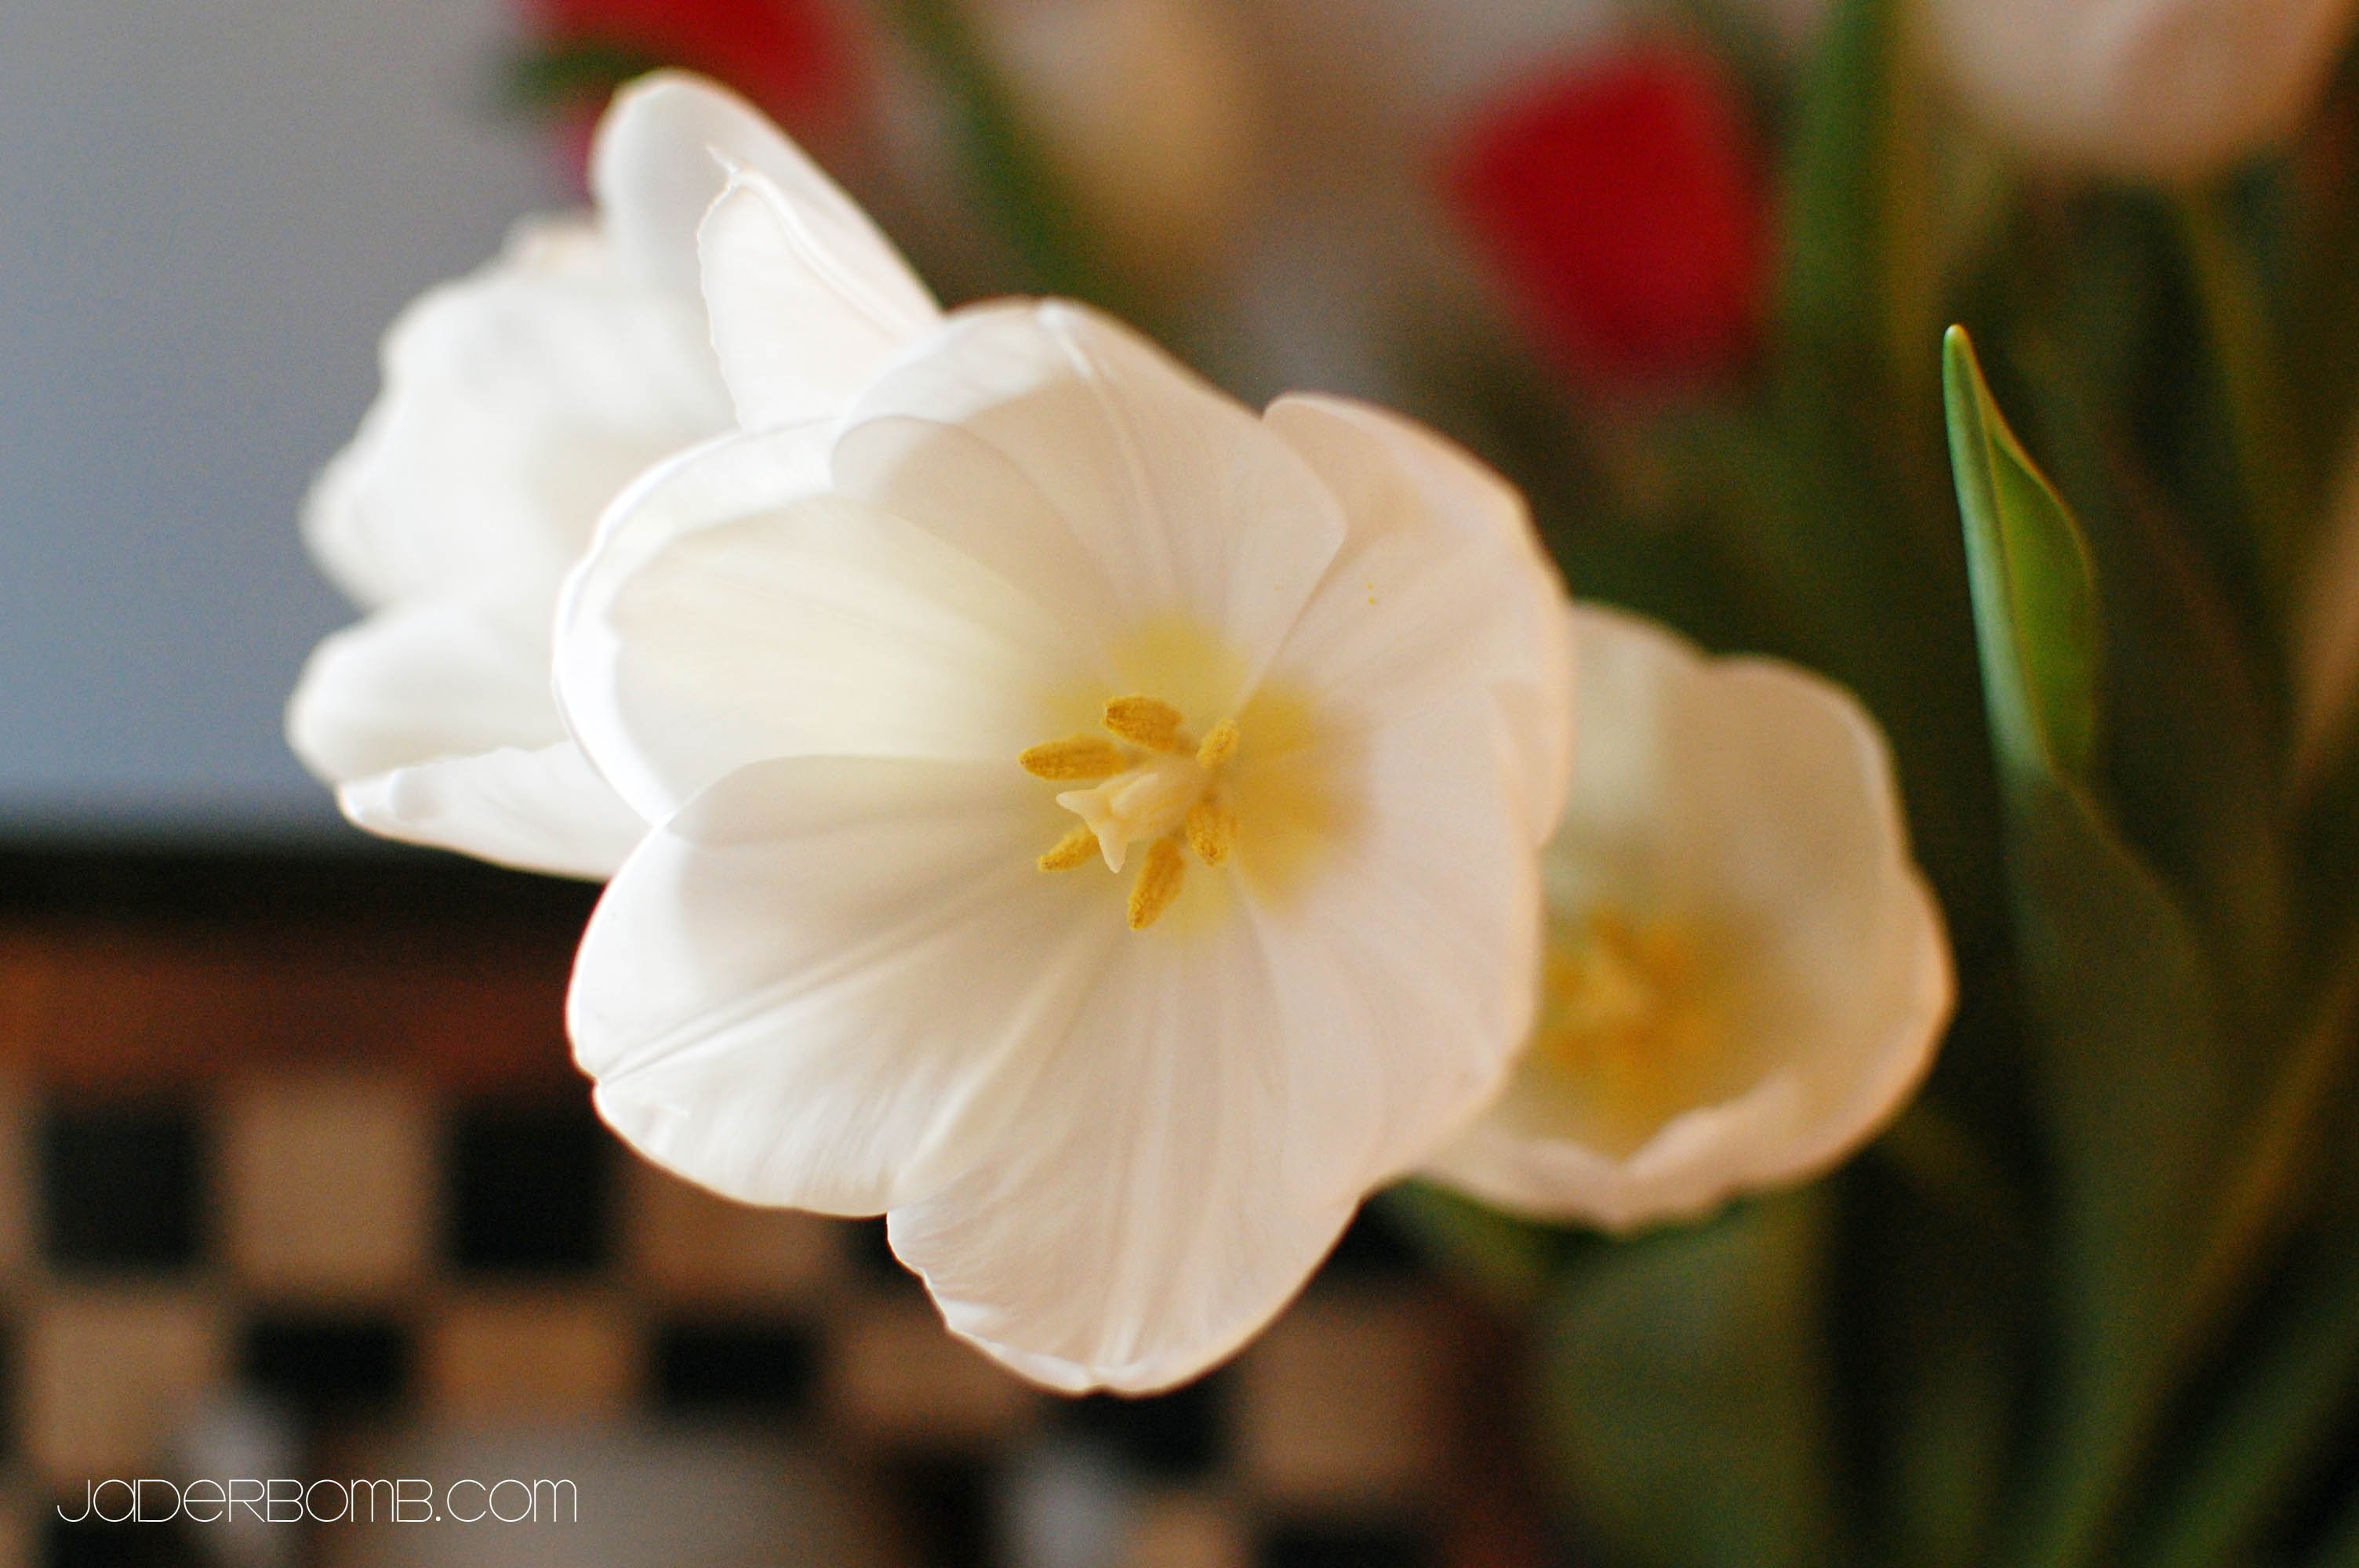
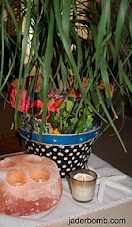
One of our good friends Reno sent us a HUGE box full of flowers last week. I have to say it was so fun when we went to our front door to find a HUGE box there. I was like “what what”.  I had to share a close up of one of the tulips. They are still so pretty. It was a mix of red and white. I wish they lasted forever because they make me smile so much. Thanks Reno, we love you. 

Tips on making a Gingerbread House

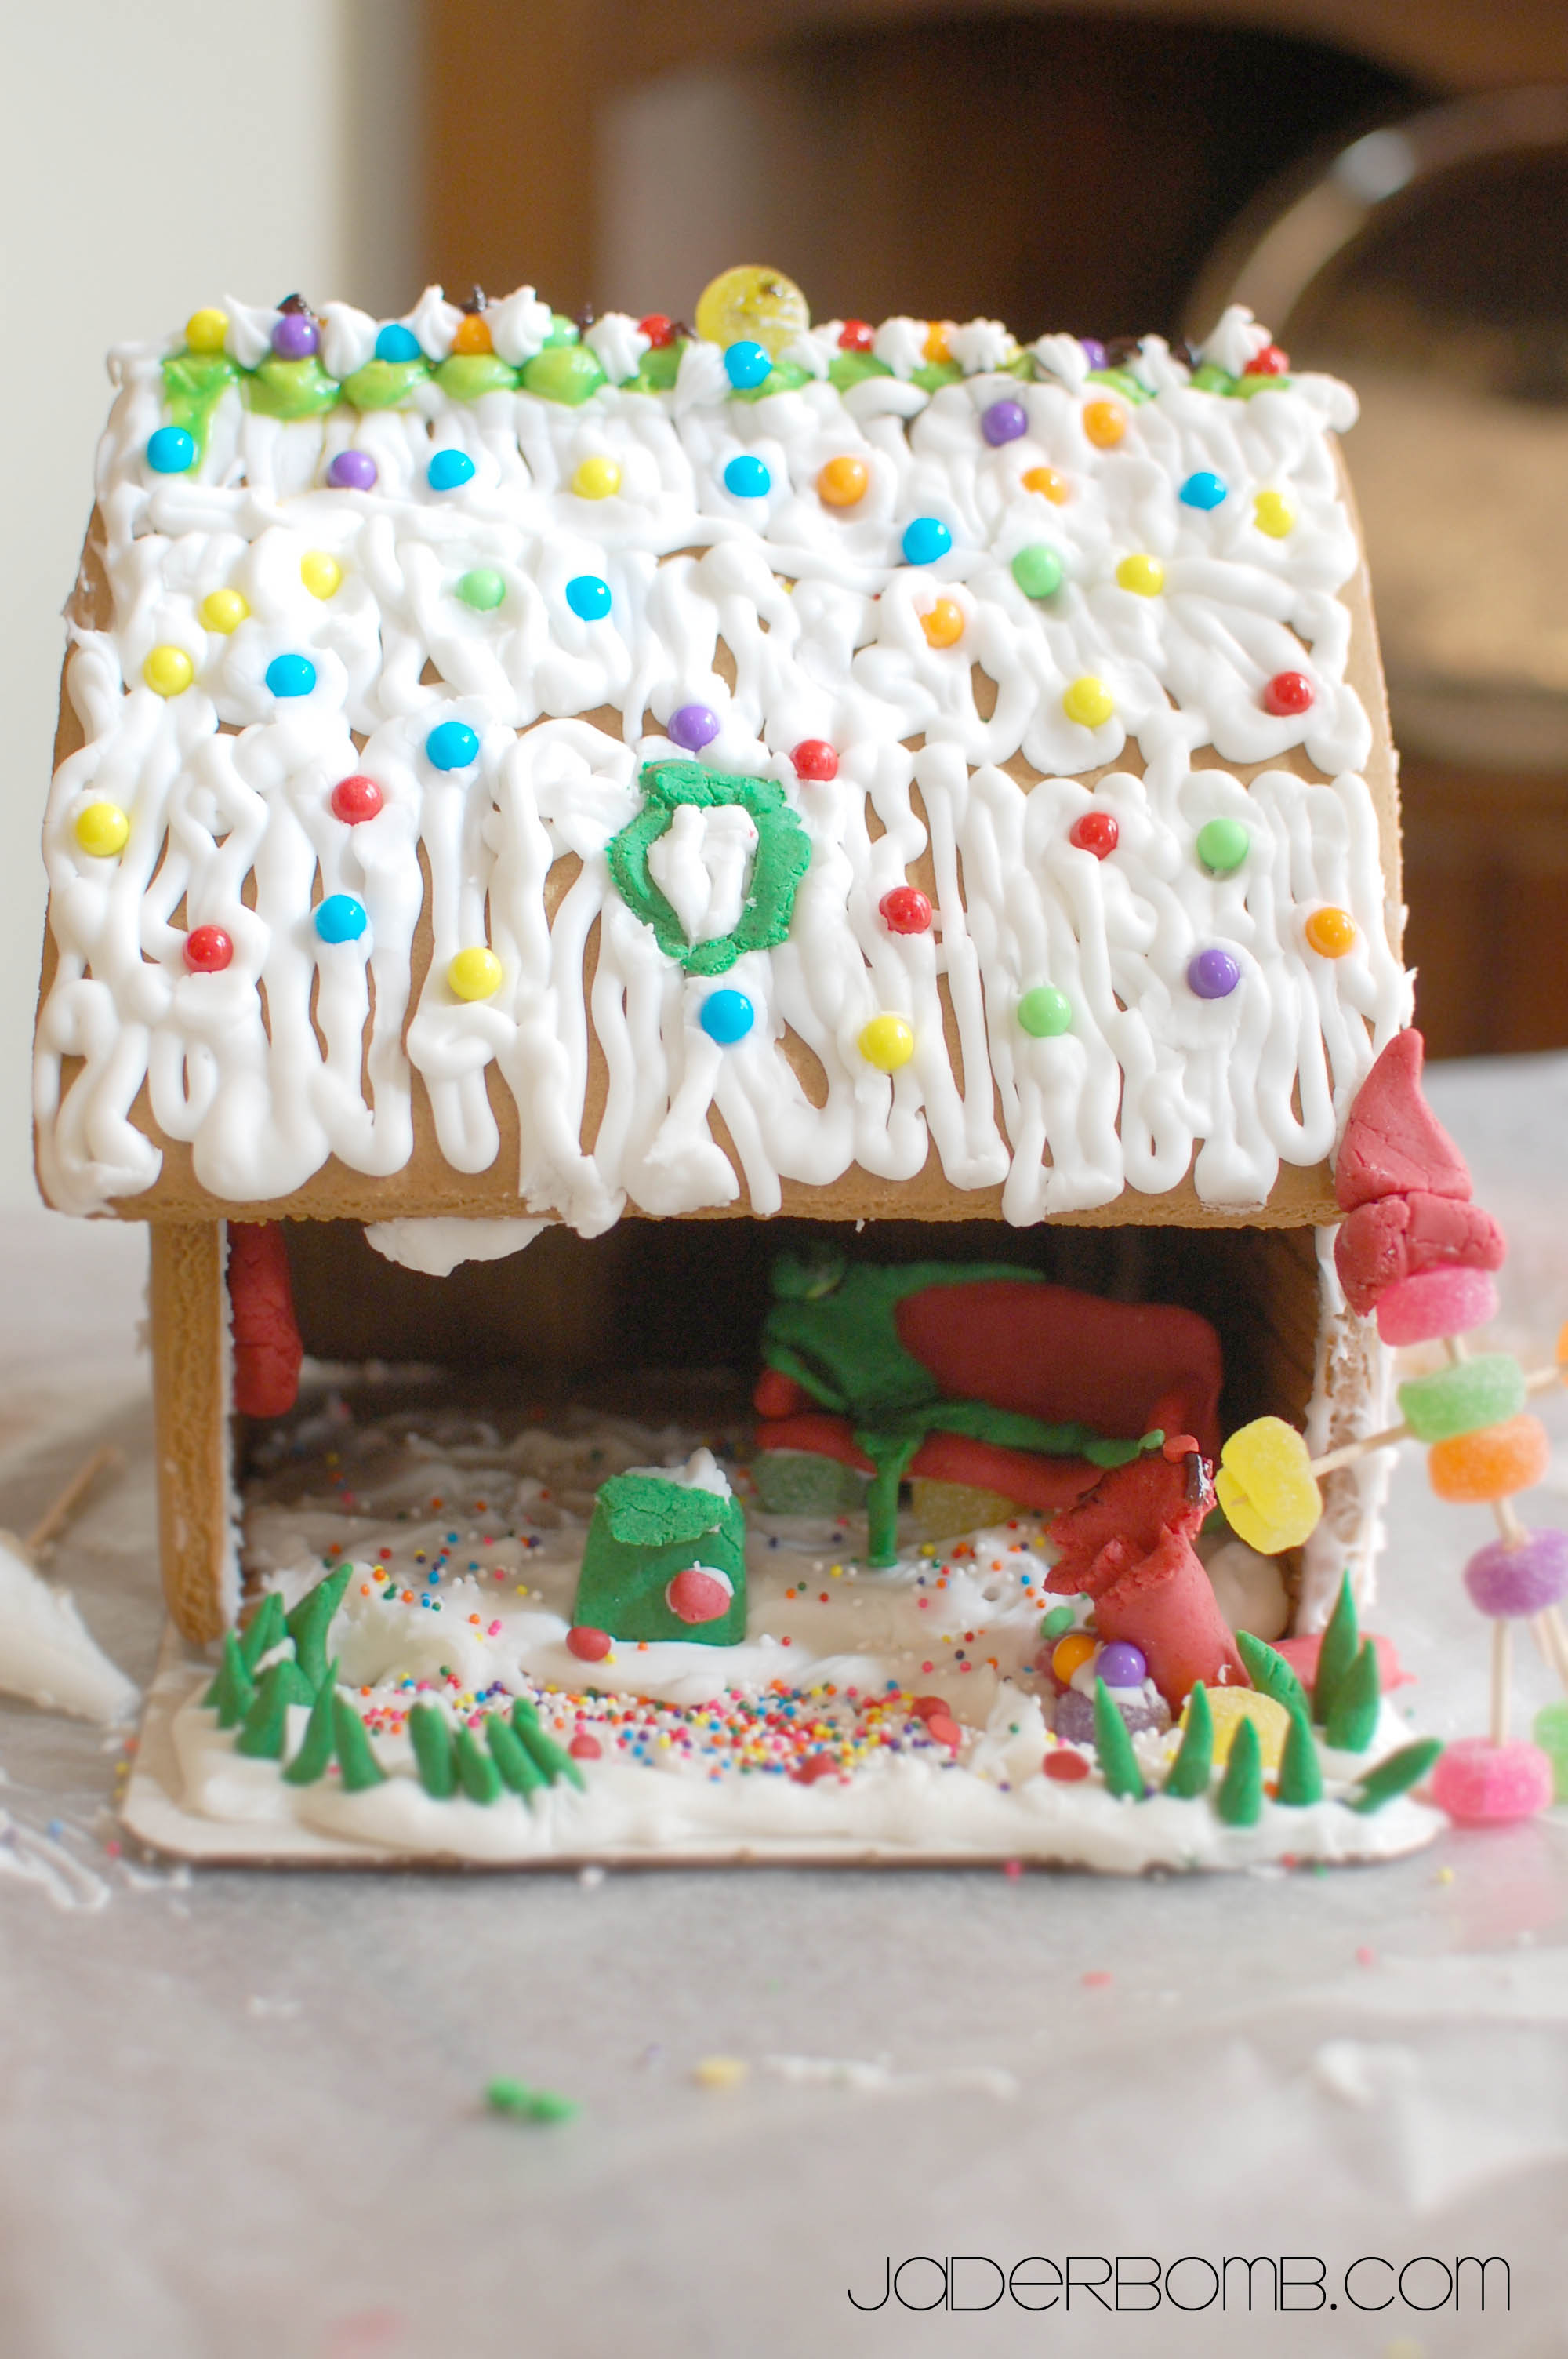
The next thing that was super awesome this year was our gingerbread house. We do one every year but this year we really outdid ourselves. A few years ago Ash bought me a cookie cutter set to make your own homemade gingerbread house and can you believe we have never used it? It’s like I forget every year! Next year we will use it “fo sho”. Wanna know why? Cause the ones you buy in the store will break yo teeth! How do you like Ash’s little person on a couch. I think it’s so cute. Lil one went crazy with icing on the house! 

How to decorate a christmas tree

I am so sad. Today we took down our beautiful tree. This year we put up 3 trees but this one was my favorite. Click HERE to see before and after of our tree. This month I was featured on Yahoo!Homes AND they featured two of my DIY tutorials. Click HERE to check out the article. I really loved the wrapping paper that looked like an old newspaper so much that I made sure to keep some after the presents were open. Stay tuned for a tutorial with it this week! 

Teal and White Decor

Last thing I am MOST excited about is this little beauty that I actually bought last night at Target. I went to check out the things on clearance and as we were leaving Lil one said “Mom!, check this out. It’s totally you”… I wasn’t sure if I wanted to cry just because he “know’s” me so well or cry because he is so thoughtful. If you are wondering if I bought it, YEP! I pretty much fell in love with it as soon as I saw it. 

Teal and White Decor

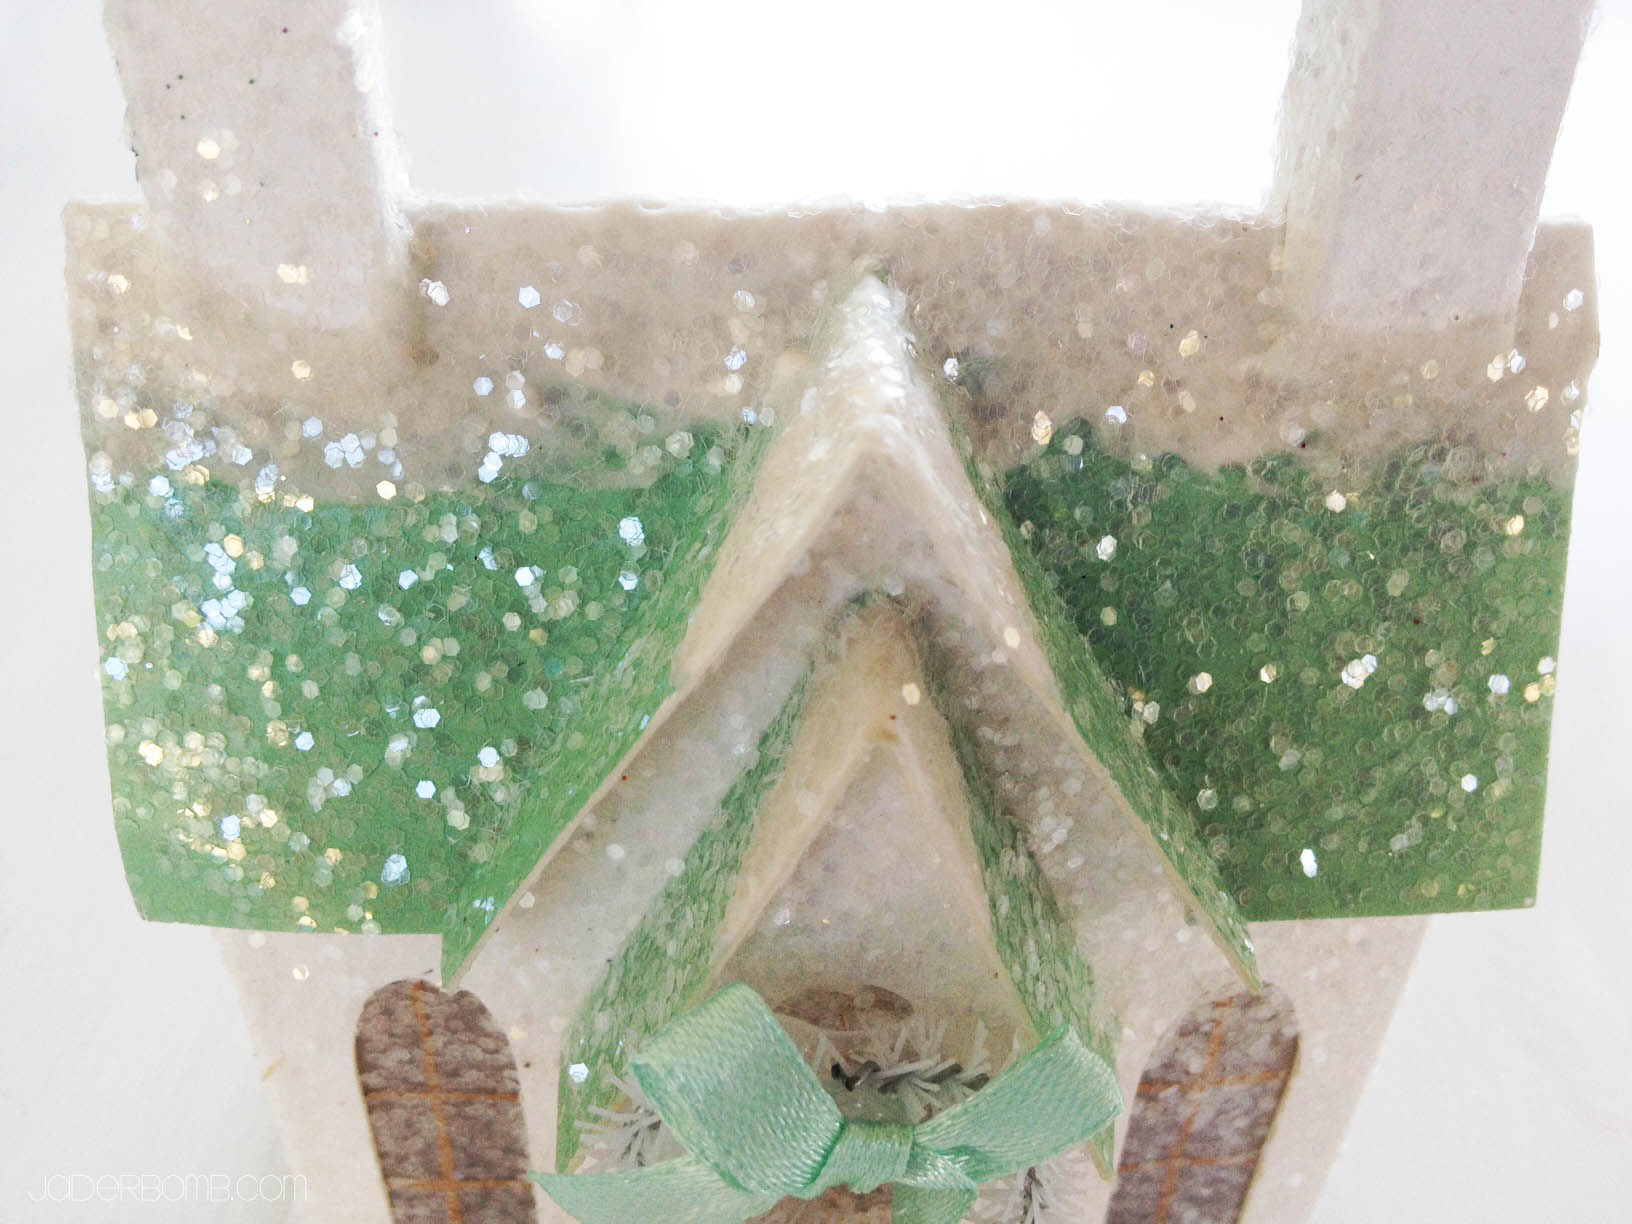
I actually decided that next year my “Christmas Decor” will be based around this little beauty. I am not sure of the name brand because it didn’t have it on the actual house. There was only ONE so I’m sorry! I will try to find out. I can’t wait to have a glistening candy land next year! 

I hope you enjoyed a little view into my Christmas! So excited to share some BIG news with you but I have to wait a little longer! (eeekk I hate waiting to share fun things, and this is FUN)

Stay tuned for some funny funn fun DIY tutorials in the next few days. If you are wondering where I have been for the last few day’s I kinda took off just to enjoy my family! But I am back and FULL O’ GAS! 

See ya in the next post!
craftFacebook Twitter Gplus Pinterest YouTube E-mail RSS

I think the world needs to see, hear or do this. I will sorta call this a little project/game. It surely makes you stop and smell the roses (or camera buttons).

A blogger friend started this and I think it’s magnificent. It’s called Photo a Day. You guessed it, it’s exactly what it means. Each day you are to take a picture of whatever the description is for that day and post it on instagram. If you are not familiar with Instagram you can find it in your App section on your phone.

You ask: Why do I do this every day? How do I have or find the time to do this? How do I remember? The best thing I can tell you is this. Yes, somedays you might forget but after the first week you will start to remember. I find the time just like I do everything else in my life. My life is busy and hectic, but all for the right reasons. I do this because it forces me to STOP. Take a look around ME. Take a PICTURE. Then file it in my MEMORY. You might start noticing things that you would have passed by any other day.

You start seeing the beauty in things that are simple, like the texture on something or the colors in a certain picture.

So, FATMUMSLIM does a new one every month. I will post my month of June below and I will also put the new list for July up. Save it to your phone so you won’t forget where to find it. Do it! I promise it will bring happiness to your life. Share your pictures daily with your Twitter or Facebook friends. I can guarantee they will appreciate them!

Share with the world, at least in my case that is what I am doing. It feels good to release and not care who sees them! I need to start getting used to that! hahaha

Here is the new JULY list: Make sure when you share your pictures you use the hashtag #photoadayjuly

 Enjoy my June #photoadayjune

Don’t forget to come back in the morning! I will have a FUN new post up! I will give you a hint. BLACK AND WHITE!
Find me here too!

Happy Happy Happy Tirdsday…. (teehee) just joking! I have to tell ya, the creative juices have been working in overtime lately! I can’t seem to produce things as fast as they pass through my head. I am like, “head, stop it”, “where were you with all of these ideas 2 months ago”…. OH, I know I was kinda focused on my Martha Stewart  project. Do you remember that! If not check it out HERE.  It was such a massive project but at last, I finished it. I wanna say I passed with flying colors. {{fist pumping}}. I think Martha approved, hehe.

I went to Walmart the other day and got this awesome “Dr. Seuss ” looking plant. You know what I am talking about right? The Ponytail Palm. I found this cool site that gives you a little more information on it.  It is really “cartooooonie” looking which makes me really happy!

Let’s see what else is new…. OH Google friends is shutting down soon so if you were one of my followers on there you will have to find a new way to follow me. You can find me on Google+, or sign up for my RSS feed ( which means anytime I post something it will be sent to your email).  Either way is a great way to stay in touch! Of course you can find me on my facebook and twitter, and that is all on my website! 

Ok! I am ready to share this fun and random craft with ya!  OH I am sorta doing a MOD PODGE “paper” review because I have been having this one and never used it! I always use the gloss and sparkle one. This was a chance for me to finally try it out. Plus I wanted to see just how good the “paper one” worked on “fabric”. SO FAR SO GOOD!!!

Ingredients you will need are: fabric, scissors, hot glue gun, mod podge terra cotta pot, twine and a creative brain for 10 minutes! Don’t forget to check out my friends website! MOD PODGE ROCKS! It is SUPER fun and I am sure you will find a ton of things to do on it ! She is like the MOD PODGE queen… (at least in my eyes)

First thing we will do is grab our pot. I said “terra cotta” but you can really use ANY pot you have. I got this one at Wal-Mart for like…3 bucks!

So I know I said this was a new “Mod Podge” that I was reviewing but you might wonder why it’s FULL of blue paint. Well, because it has been living in my studio for quite some time and it has seen a few falls and spills near it! HAHA. Of course I am using my Martha Stewart brush! I have done MANY reviews on this product and let me tell you it is worth every penny! Did you know Mod Podge comes in tons of different ways. Here are a few!

I went in my fabric closet and found some fun colors that looked great next to each other. Personally I think black and white go with ANYTHING!

I had these little “jewel” stickers. I think they are made for scrap booking but I figured I would try them in a different way. I know you will love the end result! Oh, you can get some of these little babies at Michaels Art’s and Crafts!

Don’t forget to grab your hot glue gun and a pair of  “good” scissors. I used this glue gun and these scissors. Personally I like them the most and I have tried MANY before these landed in my hands! They were heaven sent! (thanks Martha) haha!

Start by cutting your fabric into strips and mod podge each one down. One at a time. It’s easy if you brush on top of your pot with the mod podge then place your strip down. Once it is down put a GOOD coat on top of it. Don’t worry if it looks really white, all Mod Podge dries CLEAR!

P.S. If you are using a fabric that has a print on it keep the strips next to each other so it “sorta” lines up when it’s all down.

This is what it will look like when you are done with the bottom. You want to do the bottom THEN the top. See, I told you it dries crazy clear! So pretty, right!

After you do the complete bottom, and it dries then you can start the top. Don’t worry, if they don’t match perfectly in the middle. We will be putting a strip of fabric there.

This is what it will look like full of Mod Podge and NO strip separating the two.

Look how pretty the top looks!! It’s crazy how this excites me! (craft geek)…After your top dries you will put a strip (whatever color or design you choose) in the middle to cover where they meet up. Use the same procedure.

Next thing we have to do is hot glue down our twine along the edges of the center strip. Be careful not to burn your fingers!!!

If you notice in the MIDDLE of the strip I hot glued the sticker jewels to it. It just adds that PERFECT touch to it!

And this my Jaderbugs is the final result. Our Pony Tail tree finally has a cute little home, for now. (haha) Don’t worry if you have little hot glue strings hanging out ALL over your pot. Once your fabric is COMPLETELY dry you can just rub it off. Obviously I took these pictures WAY before it was dry! HAHA

I hope everyone is dreaming of memories of their favorite pony tail they rocked at some point in time,


After searching high and low through my attic looking for a VALENTINES day wreath I finally came to the conclusion that:

a) I never had one

b) I just can’t find it, or 

c) I threw it away

I really don’t feel like going to the store to buy any because, 

a) I am too lazy today

b) I have enough things around my house to make one AND

c) I like homemade things much much more than store bough.

I know, even though you buy it in the store “someoneeeee” made it but it’s way different when you make it with your own two hands!!! I started thinking of different things to make it with and then I opened up my HUGE closet full of FABRIC! It all came to me then!

Strips of fabric tied to a wire wreath. I feel like it will be “homemade” enough and super cute! Not sure if you would consider it shabby chic valentiney or country chic! Let’s just say it’s “VALENTABBYCHIC“…. {{teehehe}}

I hope everyone is had a great weekend, don’t forget it’s almost SUPER BOWL time. Are you throwing a party? We are having a HUGE party and I can’t wait to show you all of my decorations! Ya know, I don’t even really like football (slap in the mouth right about nowwww). Can you believe that? I just like everything else that comes along with it!

Come on, let’s get to crafting!!!

Fabric Wreath Inspiration Board

 Grab some fabric that reminds you of  “valentine’s day”. You can use reds, pinks, whites and black too!!!

I got this metal round skeleton wreath at Michaels Arts and Crafts. It was in some crazy section but maybe someone just misplaced it and I came to save it!

Get your Martha Stewart scissors! These suckers seriously, CUT EVERYTHING. I am sure I shouldn’t be cutting all of the things I cut with them but hey….you live once 🙂 Plus they are from her. I want to use them 24-7

Cut your fabric into strips like this!!! I didn’t measure the strips I just cut! Some are thick and some are thin!!!

Start wrapping your strips around the wire. OVER AND OVER!!!! Until it’s fullllll!!!


I ABSOLUTELY LOVE THE WAY IT CAME OUT! Isn’t it so “valentabbychic“!!!! I hope you have fun making this craft and have fun cutting all of those strips!!!!! {{boy lemme tell you it get’s boringggg}}!  

Sending you RED, WHITE and PINK hugs, 


Paint Chip Canvas TUTORIAL

Hey Jaderbugs!!! I can’t believe I forgot to click “publish” yesterday after I wrote this!

I wanted to make you something that is FUN and EXCITING for Valentine’s day. I am always drawn into paint samples at any store I go into. I can think of a MILLION things to do with them and I never seem to have enough time! Sometimes I find paint samples that I absolutely can’t choose from, because I love the entire thing. That is why I came up with this fun craft! Why not make your own LIFE SIZE paint samples. You know, the kind where you can “pick” your own colors and “pick” your own names! I had so much fun making this and it would be a great gift to anyone! It is a great and cheap way to add lot’s of decor to a space and you can have tons of them for different holidays!

Some of the things I used to make this craft are:

1.  Martha Stewart Crafts™ Basic Brush Set – 5pc

2.  Martha Stewart Crafts™ Paint

3.  Artist’s Loft™ 2 Pack Value Canvas   

The colors I used for this project are : Pink Carnation, Raspberry Ice, Fruit Punch, Turquoise, Surf and Sea Lavender. They are all from the Martha Stewart line.

I hope you enjoyed the quick show I made you! If you want to see the tutorials on two of the crafts in the picture above here are the links!!! Enjoy!!!

1. Wine Cork Board

2.  Champagne-Bottle Wrap


Stay tuned I will be posting a tutorial on how to make a “head” to put on your wall. You will have to come back to see what kind of HEAD I am talking about!!!!

Sending you lots of paint chip colored canvases,

I absolutely KNOW it’s been quite some time since I really enjoyed a craft like I did this one! It was just so much fun! The process of watching the hot glue create hairy strands in the air just makes me smile from ear to ear. I love when a hot glue gun creates those little “strands” that are finer than the finest hair you could imagine.

I wanted to show you a way to take something as simple as a beaded necklace and turn it into a parade of gold pearls, in

NO TIME AT ALL!

Are you ready? Let’s go!

The most important tool you will need is this hot glue gun. It’s very important that you have a GOOD glue gun for this craft. Did you know that a high-temperature glue gun is best used with wood, plastic, metal, ceramics, magnets, leather, paper, fabric and other porous and non-porous materials? Cool to know huh!!!

* Martha Stewart Crafts Glue Gun And Sticks 

I don’t know about you but I love Mardi Gras! I love the colors, the activities and all of the yummy food! The next thing you will need is beads! It really does NOT matter if you use Mardi Gras colors because in the end we are going to be spray painting them. If you don’t have ANY access to beads I will put a link below if you need to order some.

* Order BEADS HERE

Grab some scissors! These are my Fav-O-Rit ones ever!

* Martha Stewart Scissor, All-Purpose

I had this really old shade that I decided would be PERFECT for this! I already had it painted gold with some beads on the bottom but you can use ANY lamp shade you have laying around!

Cut your bead in half with your scissors. If you don’t have the kind I am using ANY kind will do!

You will glue the beads completely around the lamp shade like this!!! Start on one end and add them one by one until you get to the top like the above picture!

This is what it will look like when you are done! How fun is this! I almost wanted to keep it like this in honor of Mardi Gras! If you are NOT familiar with Mardi Gras click the link below!

* Mardi Gras 2012 

Grab some Metallic gold spray paint! I purchased it from Home Depot!

This is ALMOST done!


This my Jaderbugs is the final look! I wanted to create a “simple” yet elegant lamp shade! Put a little tulle bow on the top and voila! I have TONS’S of different lamp shades to switch out as my mood’s switch! It’s pretty fun, you should try it! Let me know if you like this craft! Don’t forget to post pictures on my Facebook page of your results!

Full of gold paint and happy about it,

* Check out this Mardi Gras craft!!!   *Wanna PIN me? 

 *Facebook me-yuh!  *Tweet meeeee