Author Archives: jaderbombllc

About jaderbombllc

I am a Southern DIY blogger and Designer known for fearlessly conquering anything and everything do-it-yourself. I aim to create unique designs by working through my thoughts, dreams, emotions, and tons of glitter! I believe in doing things that make my heart flutter and smile, and I live by my motto, “Life is simple and so should your style.” To learn more about me, visit jaderbomb.com or email me at jade@jaderbomb.com. You can also visit my Etsy shop at jaderbomb.etsy.com. Make sure to check out my FREE PRINTABLES site www.freeprettyprintables.com My biggest accomplishment thus far is being a guest on the Martha Stewart show, yes she smells good. I love my dog Ceaux Ceaux, pens,the smell of Christmas, GOLD, Dr. Pepper and blogging. BTW: I bleed glitter, all shades.

Hey y’all!! Happy GOOD FRIDAY!!!
I am not quite sure how I am actually typing right now because I ate SO much crawfish today my fingers are FULL….I could just feel my stomach expanding as I slowly swallowed each and every yummy crawfish!

It’s almost Easter time and you know my motto “it’s never too late to get it done”… If you want to spice up some plastic eggs for your Easter table then get this craft done ASAP! Just don’t accidentally EAT one!!! ((haha))
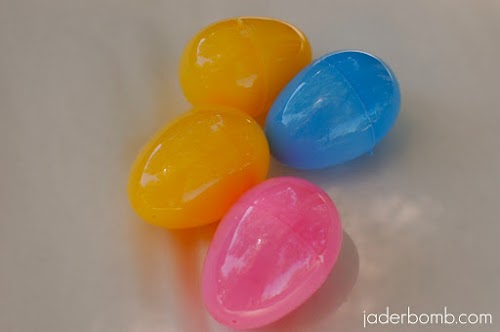
You want to start by getting some PERFECT PLASTIC  eggs. I think these babies are around 2 dollors a bag!

I used four main ingredients for this project.
1.Mod Podge  (I get this from Michael’s Arts and Crafts) I brush the Mod Podge on the egg then sprinkle glitter so it dries on there!
2. Martha Stewart Glitter  (Just incase you have NEVER used this glitter now is the time! You will fall in love)
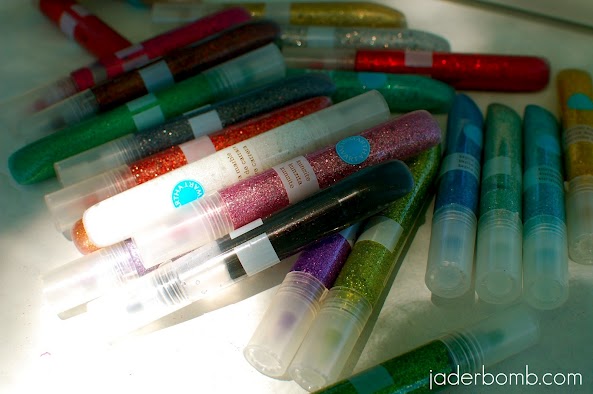
3.  Martha Stewart glitter glue set
4.  Martha Stewart brushes

These nuggets are amazing!

 I tell ya, these look so good I just want to take a bite out of one!

I hope everyone is STILL enjoying this wonderful FRIDAY night! Enjoy your “EASTER” weekend and come back tomorrow for MORE EASTER fun!

Giving you a BIG hug through the computer,

This post is brought to you Plaid’s Martha Stewart line of paint and stencils. I received product for this post. All opinions expressed are 100% mine. You can check out Plaid’s full Martha Stewart product line here

It’s Thursday night! You know almost midnight… typical time for me to start this blogging thang! Tonight my post will be super duper short because I ACCIDENTALLY deleted all of my pictures!… You know, the “step by step” pictures…WHAT THA!!!!! Who does that? Me!!!!  ((guess I should take sleeping medicine and go STRAIT to bed, right) paaahahh

 The good news is I “accidentally” saved ONE picture!!! What are the odd’s of that!

I hope you enjoy the craft because it is really easy and different than just dipping it in some colored water!
It’s the perfect craft to make if you are last minute like me!!! ENJOY

See how cute they are! Did I mention simple!!!
1.Get some fabric or paper that you are happy with.
2. Cut them into squares.
3. Draw some triangles, long thin triangles that would resemble a “blade of grass” on your material.
4. Make sure you use get sharp scissors or your edges will not be crisp. You know I am how much I love my Martha Stewart’s all purpose scissors. They work WONDERS on any material.
5. When you have enough triangles cut grab your Mod Podge. We will apply these strips of fabric paper one at a time using our ModPodge! This is another product that I could NOT live without.

I hope you are your family have a wonderful GOOD FRIDAY!!!!
Until next time,

I love love love each and everyone of you!!

This post is brought to you Plaid’s Martha Stewart line of paint and stencils. I received product for this post. All opinions expressed are 100% mine. You can check out Plaid’s full Martha Stewart product line here

Let’s make your eye’s SMILE

Simple. Bright.Happy.

This is the BEST scarf EVER!

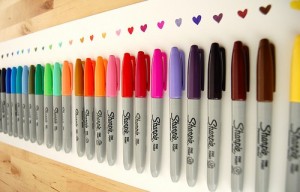
Slap some velcro on the back of a sharpie and there you have it, the perfect “artwork”

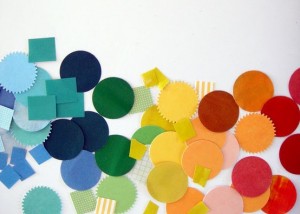
 Why buy confetti when you can MAKE it! Use your Martha Stewart craft punches to make your life easy!

There is nothing like glass in a bright window! You know I love my BRIGHT glass! It just makes me happy. That simple.

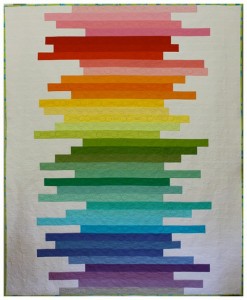
You know you would totally put this bad boy on your bed. the.best.quilt.eva.

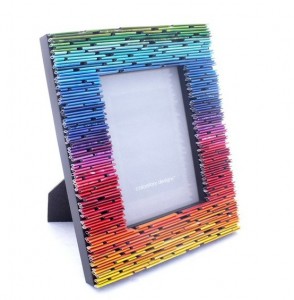
Everyone has TON’S of old magazines laying around. Roll up some pieces and glue them down on a frame.
VOILA

Yes. I love paper. Bright paper. Fun paper. Chevron print paper. Just think how awesome your confetti would be with these suckers!!!

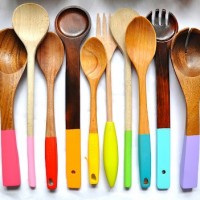
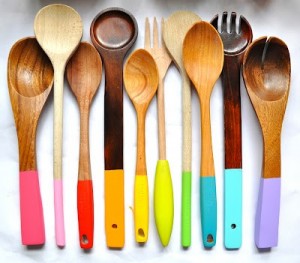
Why keep your wooden spoons HIDDEN in a FONKY drawer! Dip them babies in your favorite color paint and cooking will never be the same!

I hope I made you smile a little more today.
I hope I make you smile tomorrow.
and the next day….

EASTER Tissue Paper POM POM’S-Tutorial

Happy Saturday Jaderbugs! I could not wait to show you this fun and quick tutorial. I am sure you remember my “Tissue Paper Pom Pom’s” that were featured on Martha Stewart, right? If not click on the links I just provided and check um out! You will be shocked to find out just how easy they are. If you have a huge space that you need to dress up these are the perfect thing for it!
Here are some examples:

Tissue Paper Pom-Poms How-To
Homemade Pom Pom’s  

Pom Pom car decoration

Here is a little info on what kind of tissue paper to use (click on the link): Tissue Paper

Now I wanted to make something quick to decorate a mantle with and why not make “mini” tissue paper pom pom’s. I thought it was the easiest thing to use for decoration. On the flip side, it’s super affordable. A pack of tissue paper might cost $1.50 and usually comes with like…about 13 sheets of tissue paper in it. For the small pom pom’s I used one sheet for each one. For the bigs ones, I used about 12 sheets for each one.
 I just had to get these two packs of tissue paper. I thought they were perfect for Easter and SOOOO adorable.

First thing you want to do is take one sheet of paper. Fold it in half and cut at the seam. Do this 3 more times. It’s always good to use a good pair of “sharp” scissors so the paper cuts instantly. I love my Martha Stewart Multi Purpose Scissors.

After you finish the step before this you will take the little stack of tissue paper and fold it like an accordion. You can make the folds big or small, your preference. I like doing big ones because it makes it easier to open them up in the end.

Next you will take some wire of your choice {{ I like to use floral wire}} and wrap it around the center just like this. Make sure you leave a long piece so you can stick it in a bottle.

Here is one of my mantle’s I decorated. See the tissue balls to the right!!!! Remember, to make these you only need ONE sheet per ball.  To make the BIG one you need 12 sheets. Make sure you click on my tutorial I put at the top of the post to see step by step how I did the big ones!

Here is a little something I added to spruce up my mantle. I love CONFETTI!!!! I bought this bag from Wal-Mart and it was only .97 cent’s!!!!

Just grab all of the little clear jars or bottles you can find and fill um up girls!!! You can even use clear wine bottles!!!! Anything to show off these babies!!!

I hope you have a blast doing this craft! Enjoy the rest of your weekend Jaderbugs!!!

Items in this post is brought to you Plaid’s Martha Stewart line of paint, stencils and craft products . I received product for this post. All opinions expressed are 100% mine. You can check out Plaid’s full Martha Stewart product line here


Have you ever started the summer out saying “hey, I wanna do this” or “I wanna do that”….

Well Jaderbugs today is your lucky day! I love doing things with my family that are special and memorable. Sometimes the Summertime can get hectic with going here and going there…. Vacations….(yeah, cause that’s bad).

It’s always nice to have a “check”list of things right? Every single day I have to write out a list of things that I need to do. Maybe my brain is full and that is why it has a hard time remembering things. (teehehe)

I saw something similar to this and decided to make my own. Figured I would Jaderbomb it! What cha think!

It will print as an 8×10.

Click HERE to download:

copyrightjaderbomb100dayspdf

Wait till you see how I am displaying it! Follow up post to come!

Hoping you get to check off every single one of these babies,

Paper Butterflies Tutorial


I am sitting here eating cool ranch doritos and watching Dog the Bounty Hunter. LEMME tell you how nice this is! I forgot what life was like without reality television. Remember the Cosby’s… Seinfeld… I still love those shows!

{{ Oh wait, what about Roseanne!! I LOVED that show growing up }}

I can’t wait to share with you fun and exciting EASTER crafts the rest of this week! It’s time to decorate and I will be your assistant ((wink wink))

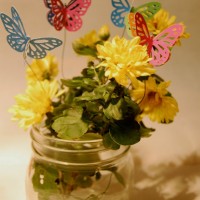
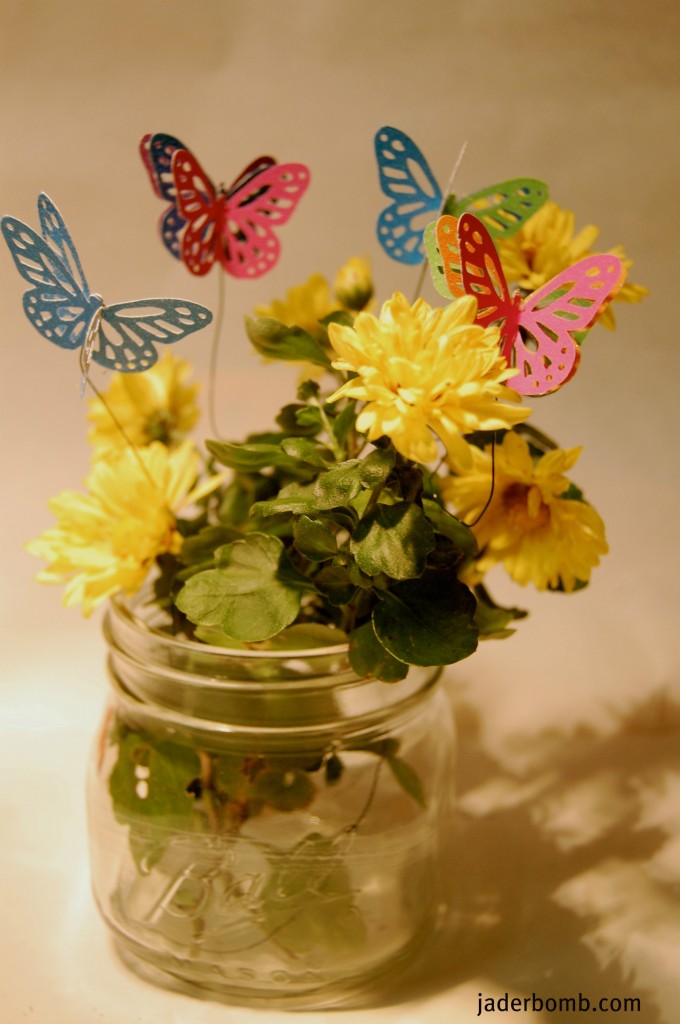
I could not wait to share this craft with you because it’s perfect for EASTER and SPRING. I mean, if you LOVE butterflies then you will keep these suckers up year round! It is absolutely the easiest craft ever and you will have a blast doing it!

Let’s get started Jaderbugs

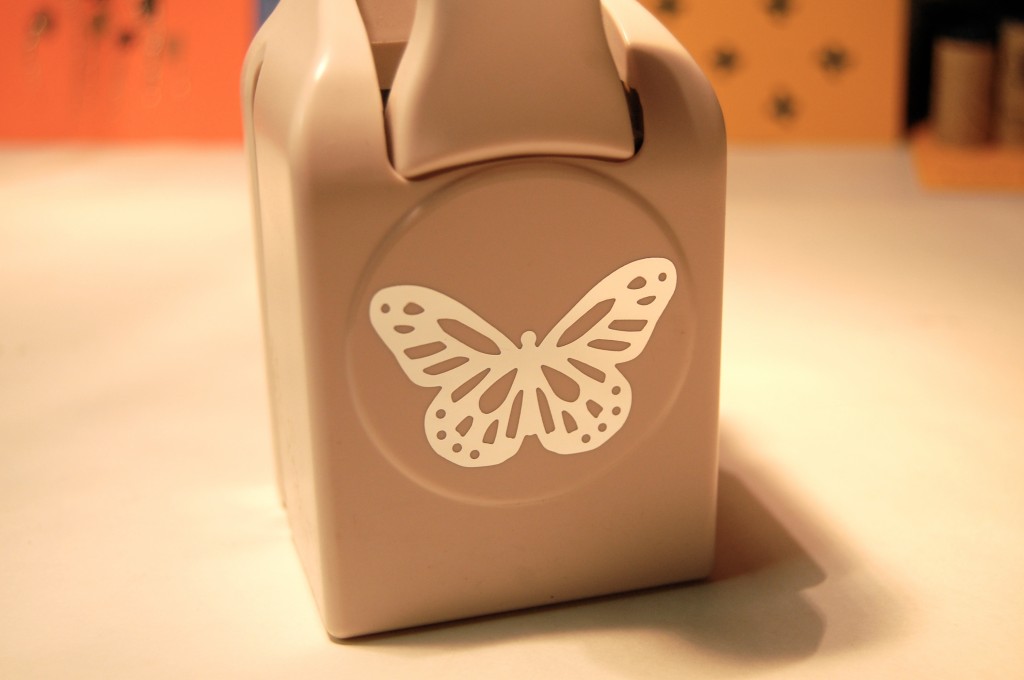
Get a Monarch Butterfly Punch. You can order one or get it at Michaels Arts and Crafts.

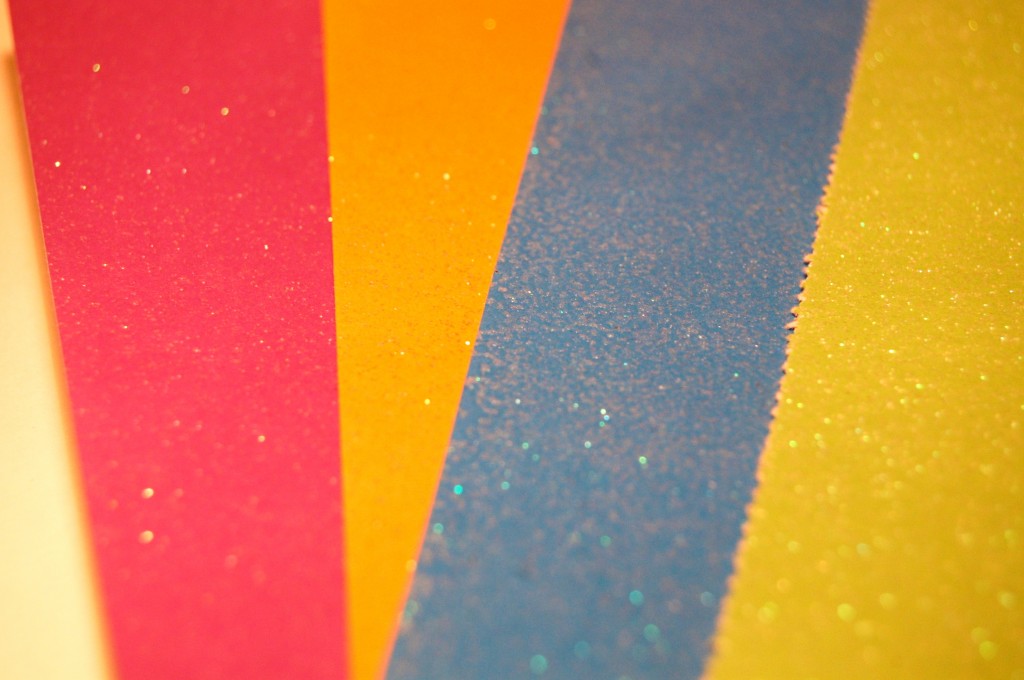
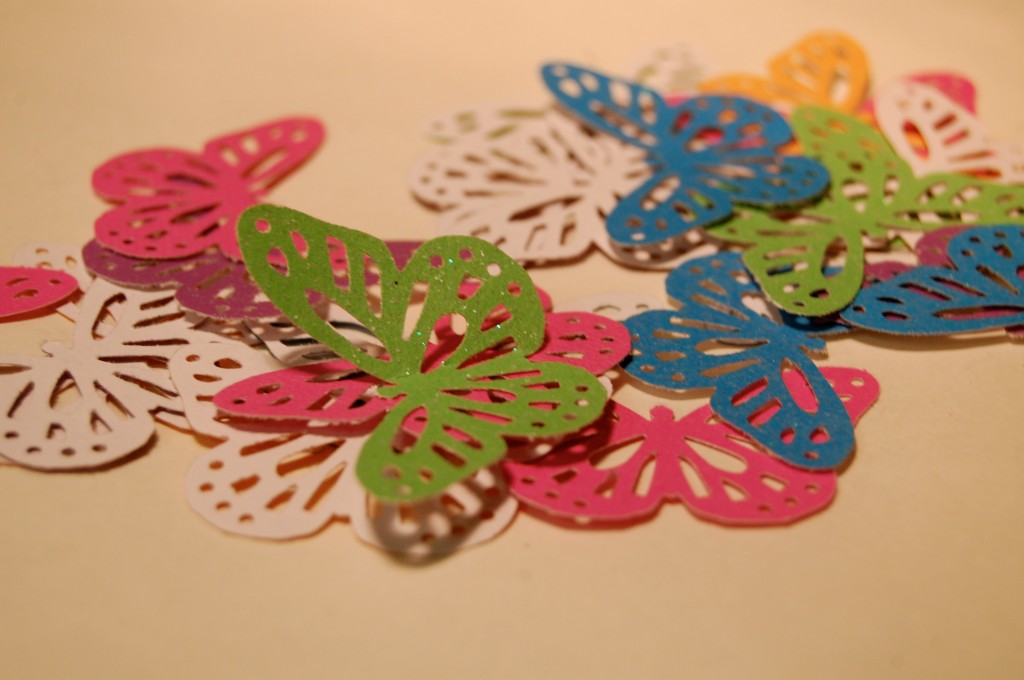
Grab some scrap book paper and get to punching!

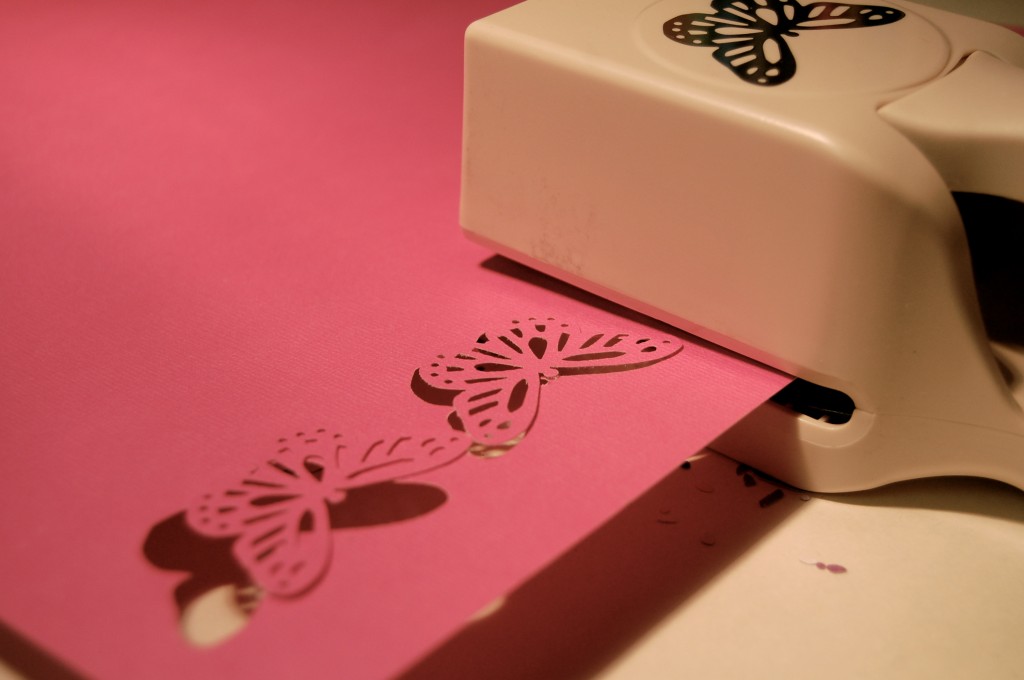
Place your paper in the slit and give it one good punch. You barely have to press it. It really works so easily!

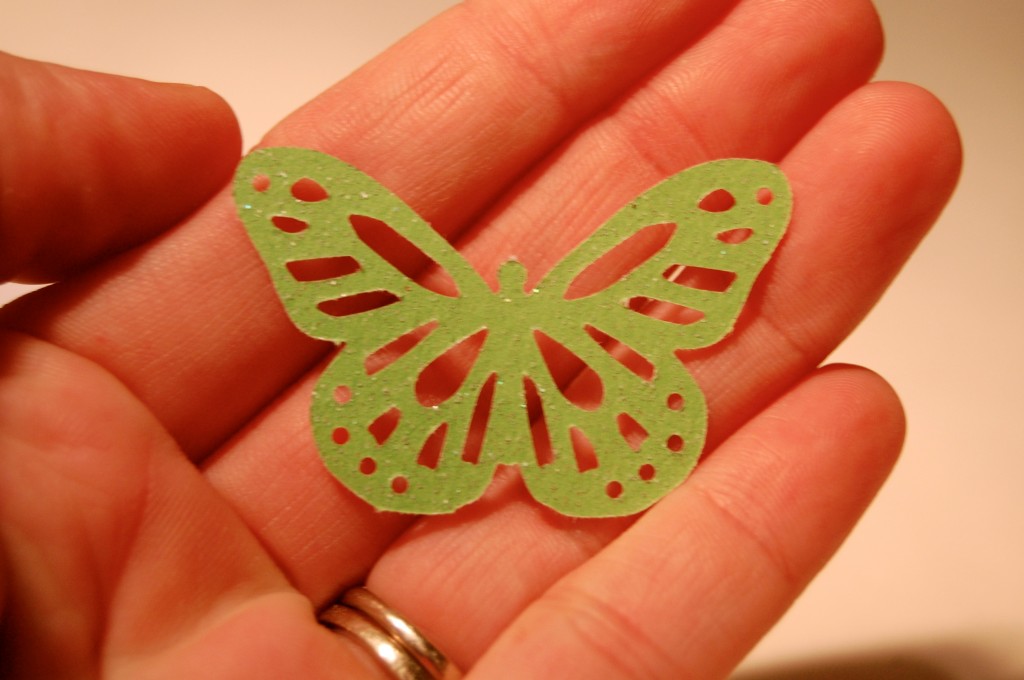
How pretty is this!

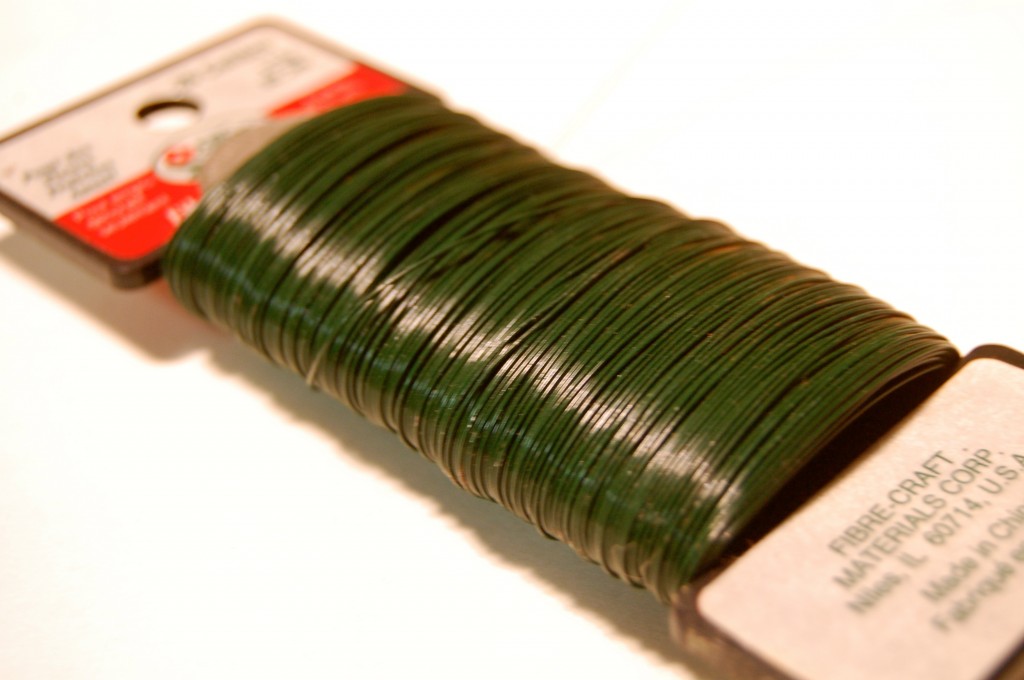
I am using floral wire which you can get at your local craft store.

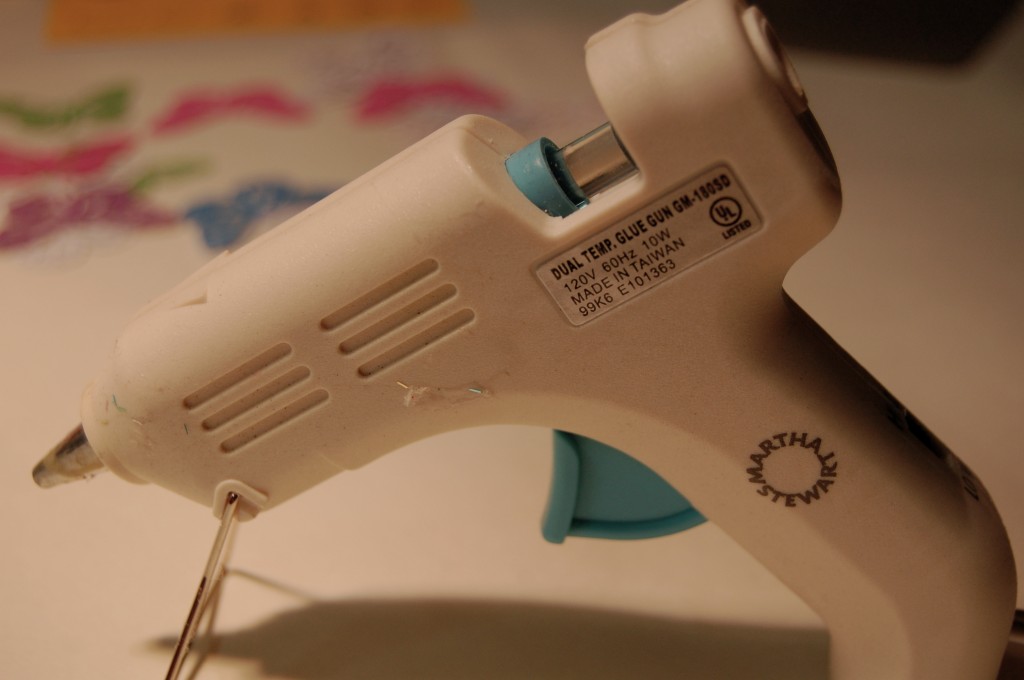
Get your handy dandy glue gun! This glue gun has dual temperature  so it’s really cool to work with! A must have for your “wish” list!

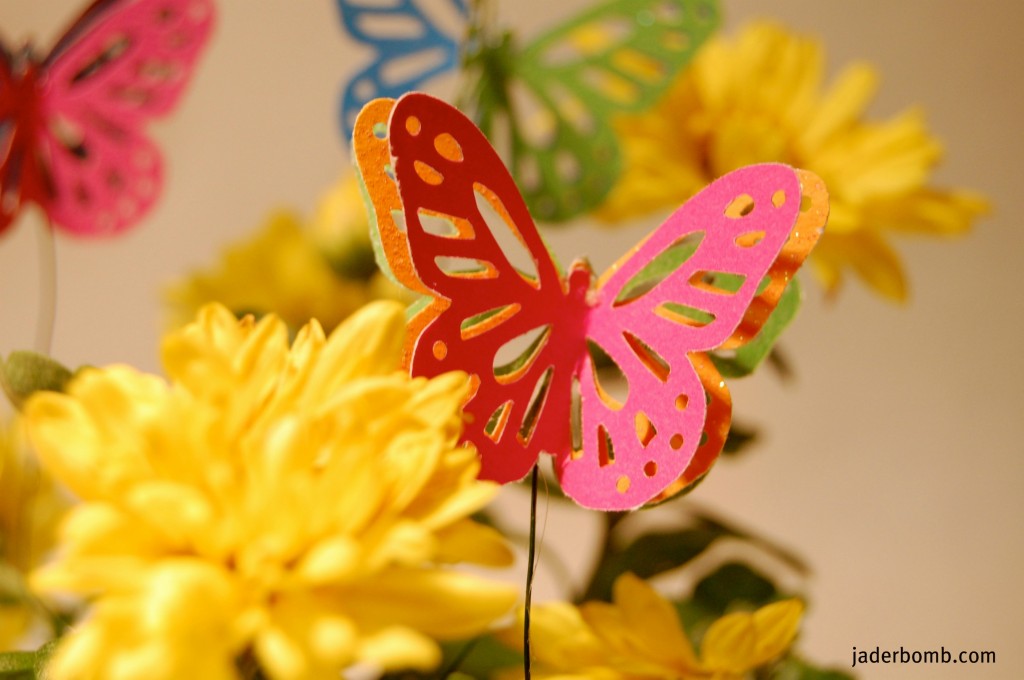
They come out FLAWLESS!

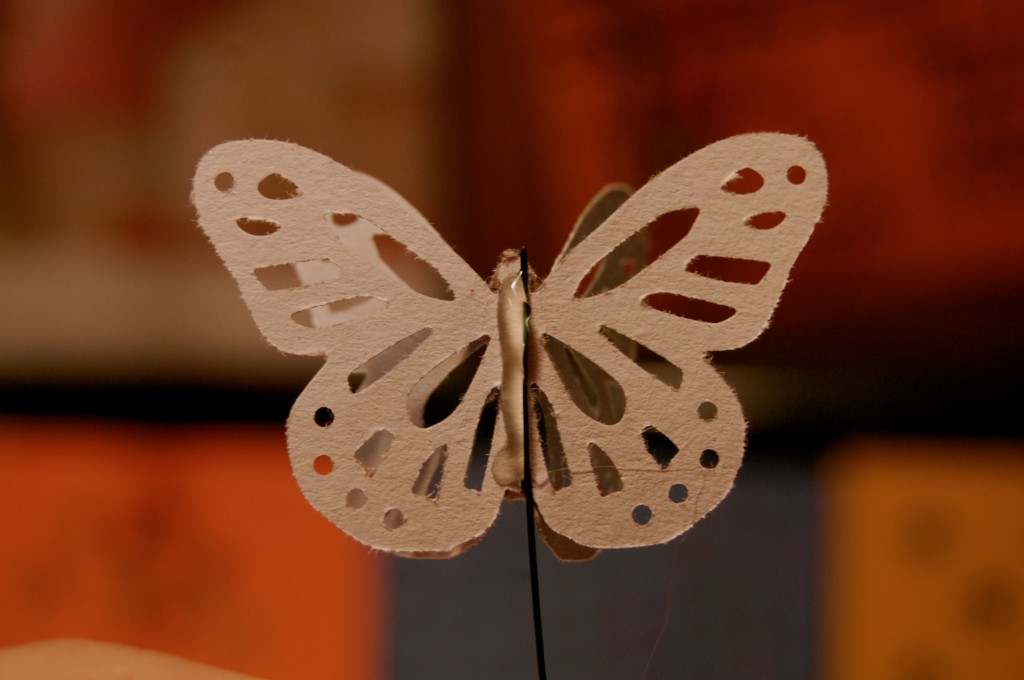
After you punch your butterfly out put a line of hot glue along the back of it then place a piece of your floral wire in the glue.

I like to glue two or three butterflies on top of each other. It adds a whimsical touch. Make sure if you do this you separate the butterflies.

 Sending you butterflies to make your world brighter,

This post is brought to you Plaid’s Martha Stewart line of paint and stencils. I received product for this post. All opinions expressed are 100% mine. You can check out Plaid’s full Martha Stewart product line here