Tag Archives: home

Happy Monday! Today will be all about Beautiful Vintage Bottles! I hope you had a great weekend! Sometimes the weekends go by so quickly, don’t they? Hopefully you have ton’s of glass bottles hanging around because this craft is addicting. There is something about transforming a plain bottle into a little work of art. Vintage decor always has a spot in my ever beating heart. Maybe it’s how delicate vintage things look. Plus it has a story. Unlike something you would buy off of the shelf. Which is why I am doing this craft because not everyone has “access” to all things vintage.

INGREDIENTS:  

Click any of the links to purchase these items:

Martha Stewart Paint
Bottle Caps
Martha Stewart Bakers Twine
Martha Stewart Stencil  
Food Coloring
Sequins
Silk Acrylic Glazes
Glass Bottles
Mod Podge Sparkle
Mod Podge Dimensional Magic
Martha Stewart brushes
Lace string
Buttons
Martha Stewart Foam Pouncer 

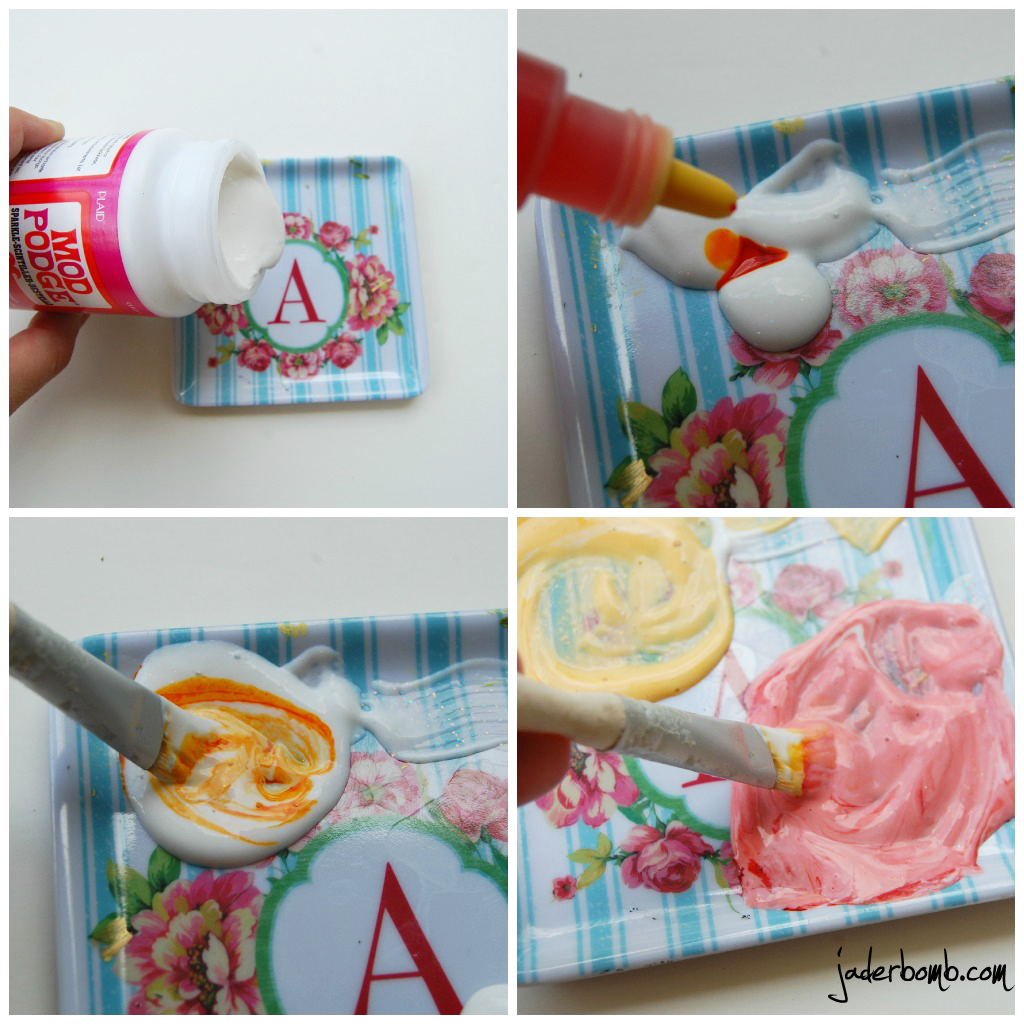
First thing you will do is mix some Mod Podge sparkle with a little bit of food coloring. Let me tell you that you only need a few drops. You don’t want it to be super dark . We want it to dry translucent.

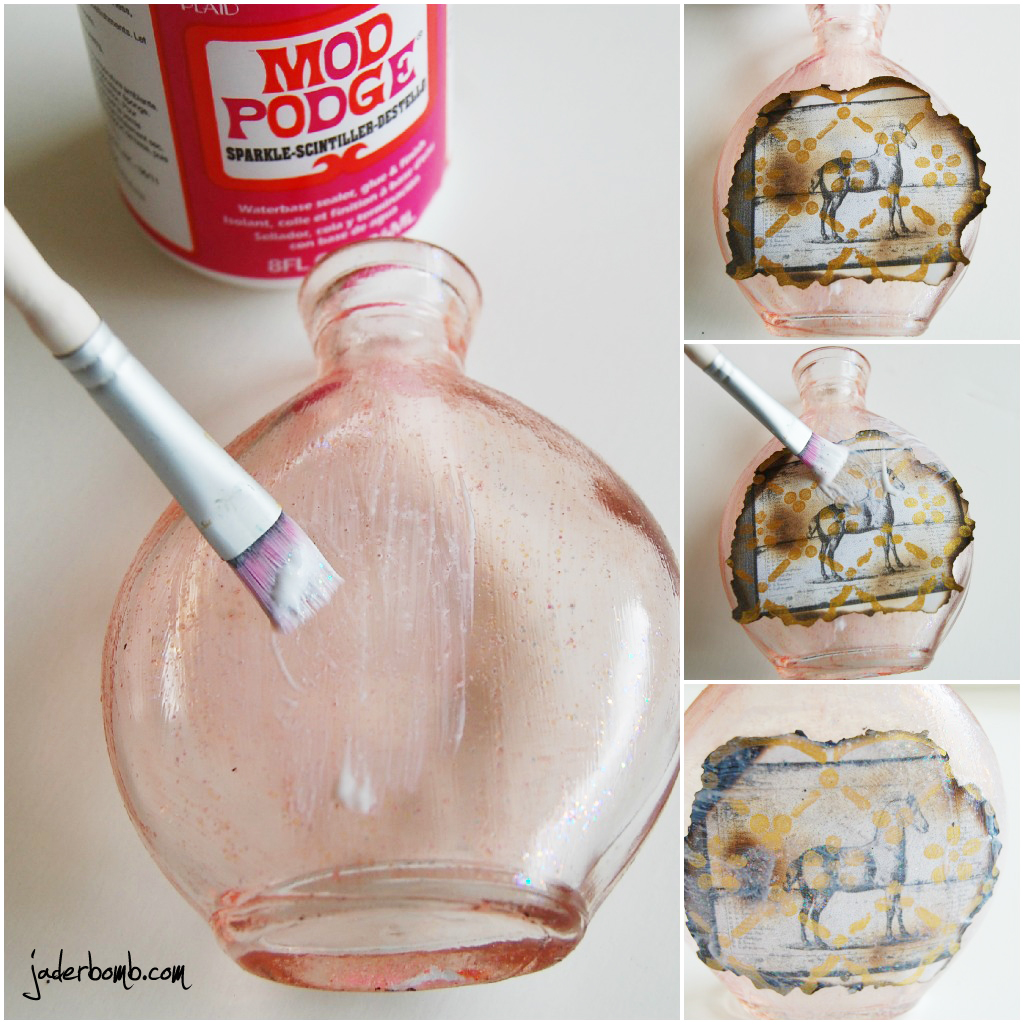
When you are done mixing start brushing your Mod Podge on. Seriously when I paint glass I always get super excited inside! It’s like WOW! How come I didn’t know about this years ago. (fist pumping)

You might have to put 2 layers. It just depends on how dark your mix was. I always set it in the sun right after I paint the glass. It dries really quick.

Now I will tell you about my good friends RIDICULOUSLY amazing site. I am sure you heard of her…

The Graphics Fairy. Boom. Pow. Wow. That is what you will feel when you get to her site. You might just get glued to the puter for a bit longer than you had planned. I swear. I experience it all of the time, haha.

Once you have the images you want it’s time to “dress” them up! I am using these amazing silk acrylic glazes. Do you remember when I used them in this post? I am using the glazes as a resist which means when I put any other paint on top of the glaze it won’t stick to the glaze. This is a really cool technique because you can create a lot of dimension in your art. I am using Olive Vine for this image. Find the wreath with Bee in it here.

What I did first was take my stencil and put it around my image. Lightly pounce your glaze onto the stencil.

With the next image I used a butterfly stencil inside of my graphics fairy image. I repeated the previous step. For this color I mixed some Olive Vine with Ice. It made such a pretty color!

For the Horse I thought this stencil would be interesting to use. The solar gold is AMAZEBALLS!

Once you finish doing all of your stenciling you will get some acrylic paint and put a light coat on top of your entire image. Don’t worry about the edges being perfect because we will be doing something in a minute with them. After you apply the paint quickly rub with a paper towel. You will notice the glaze will pop through the paint. Sometimes if I find the acrylic paint is too thick I will add a pinch of water to thin it out. I actually suggest doing this!

I love pink and green together…
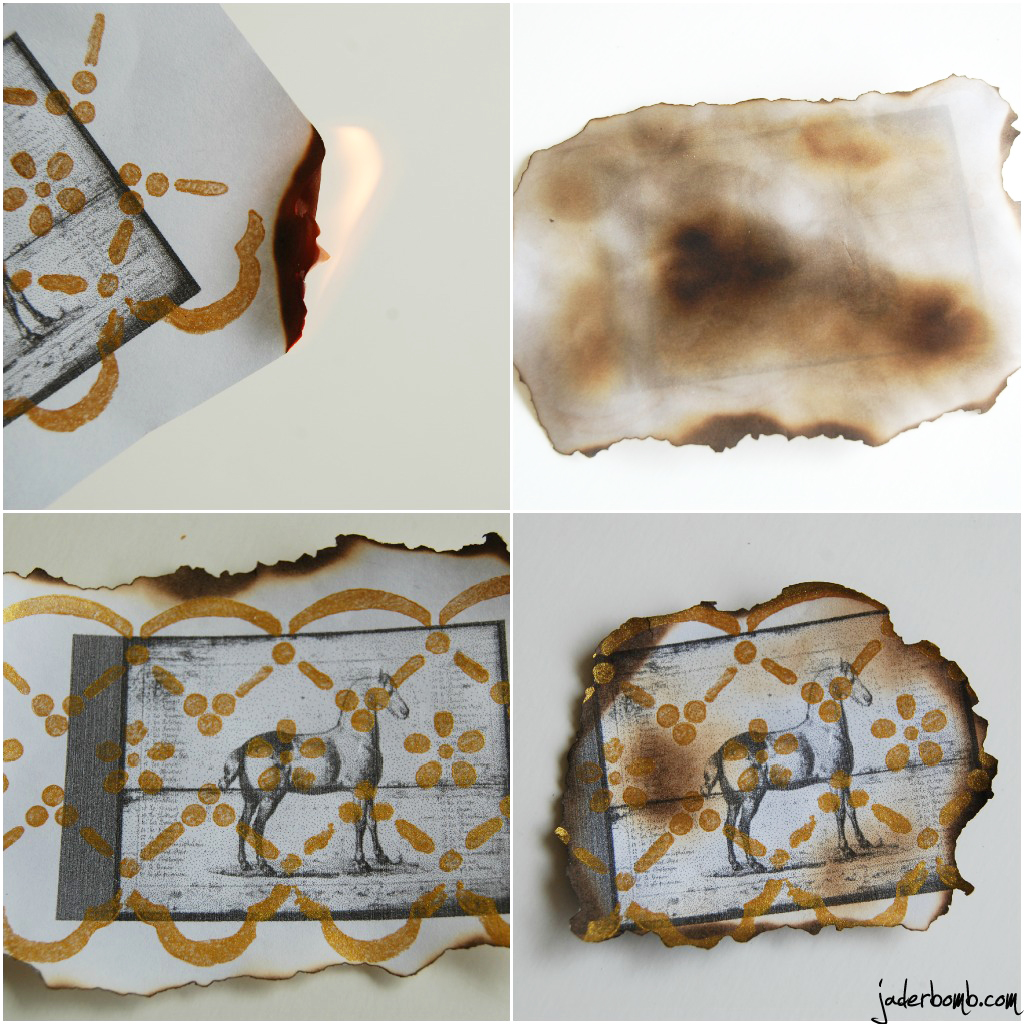
After you are done with your painting and everything is dry we will start the BURNING. I always love when I get to play with fire. Don’t ya! I light it for a second then quickly blow it out. I like this process because it doesn’t burn to much at one time.

When you are done burning and happy with the size it’s time to MOD PODGE!!!! I wanted to make my bottles “shine” so I used the Mod Podge Sparkle. If you have not used this one yet… Get ready because it’s so pretty you might actually try to taste it…(no, I didn’t do this haha)

When you have all of your images on the bottles and they are dry we will start to decorate them. If you notice in my “ingredients” there are things there that I didn’t actually use. I just wanted to give you some ideas of things you CAN use to decorate with. Sometimes it helps to actually see it then your brain will say.. “ey, I like that”.

This lace actually has a sticky side so you can peel and stick. It’s that easy! I wrapped some baker’s twine around the neck of one to add a cute touch to it.

If you are wondering WHY the bottle to the left is missing it’s butterfly, it’s because when I tried burning the underneath of the paper I was talking to someone and guess what… I burned right through the paper. Do you see that brown spot on the horse picture? This is what happens if you put the flame “under” the image for a FEW seconds. It makes it look a little old (unless you burn it through and through). I just grabbed another image from the Graphics Fairy and placed it on top. This project is also fun because you might realize when you are almost done that you want to add another layer to your bottle. Which is ALWAYS good!

Be careful that you don’t drop any bottles on the ground while transporting them. (yes I broke one)

You might find yourself doing the same craft over again…

Well Jaderbugs, I hope you enjoyed this craft as much as I did!  Don’t forget to follow me here (below).


(p.s. before you read this. I wrote it last night, but fell asleep typing)

Happy hump day Jaderbugs. I always feel weird saying that but I also can’t help it. Right?!
This post is gonna be sorta short and sweet (like candy) because I had a full day and I am just getting to my computer! I sorta love day’s like this. You know, those day’s where ALOT get’s done.

Lately I have been “slowing” down a little bit. I can’t lie to you. That is very hard for a person like me as I am sure it is for many of you too! I like to go, go, go. You know how that is right? We tell ourselves there is “never” enough time in the day. What we are doing is telling the UNIVERSE there isn’t enough time and they are giving us exactly that. As a blogger it is sometimes hard to pry my fingers away from ONE of our computers. It’s my job. I have been putting my phone down after 6 pm until EVERYONE is asleep in the house. Then I let my fingers get back to work. Try it! It feels good!

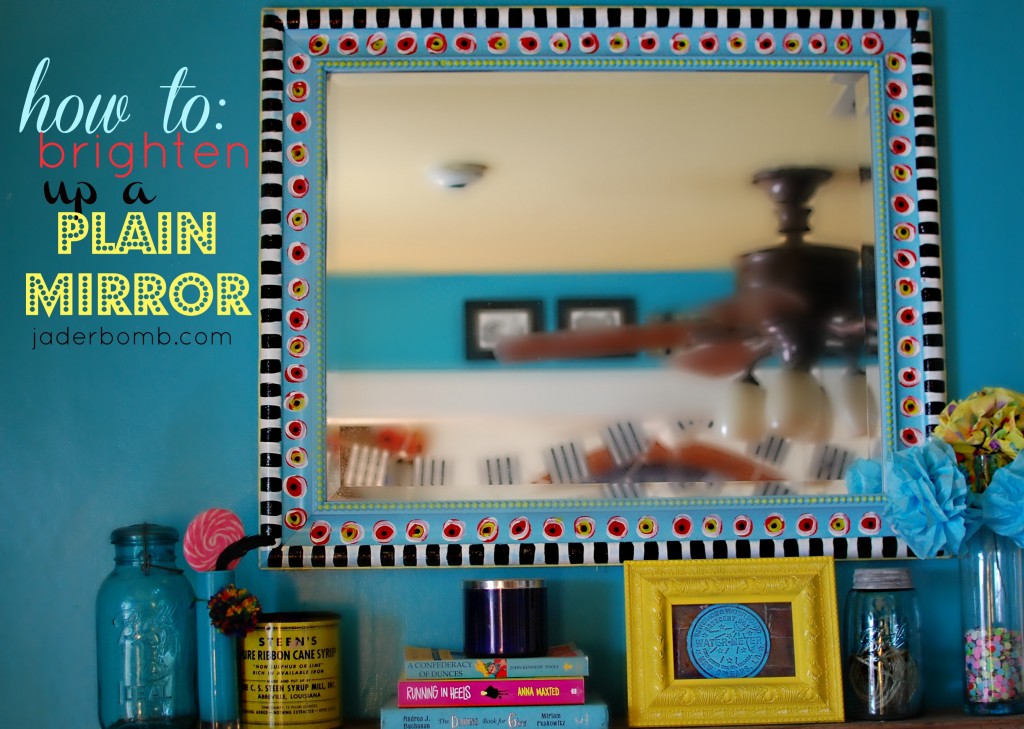
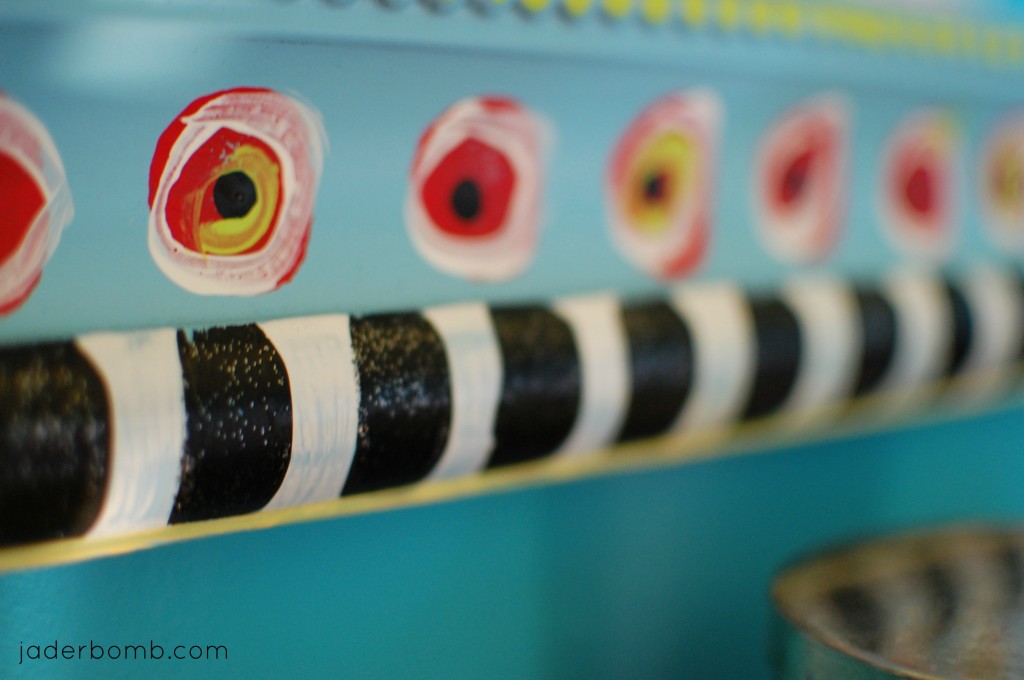
I had so much fun with this mirror. A while back it was white and I painted it this color to spruce it up. I felt it needed just a little bit more! All I did was use paint, brushes, and sponge stamps. You can do whatever colors you like because after all, it’s gonna be your creation…

If you wanna see more of me find me here:

Make sure and send me any pictures you have of your updated WHATEVER!! (hehe)
You never know, I just might feature you on the Jaderbomb blog.

Happy Saturday Jaderbugs! I slept SOOOO good and my coffee is SOOOO good right now! I have a few new things lined up to post  but none are 100% complete! So I thought this would be the best time to post a few crafts from last summer. A little old school for ya this morning!

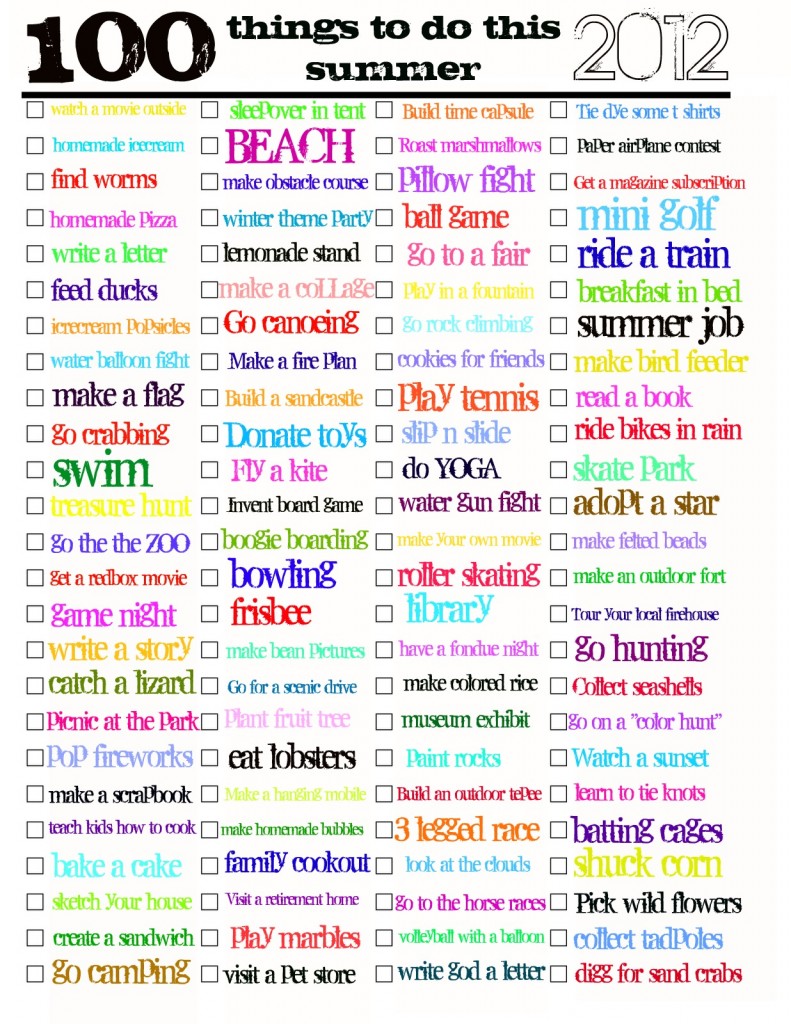
This is NOT from last summer but I want you to get it if you have not yet! It’s the greatest checkoff list ever. Put this up on your fridge and watch in excitement as your little kids get to check off things your family does together! You could even have a 100 day’s of Summer journal! Write a little bit about each thing you check off!

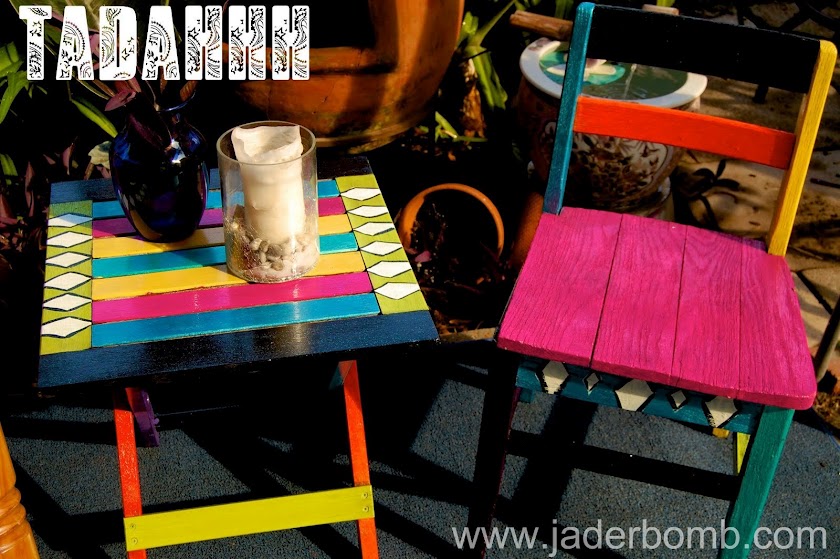
Have some old furniture lying around? Does it look old and frumpy? I’ve got the solution! Get over to your local craft store, or Walmart and get some .99 bottles of acrylic paint! Watch the magic happen!

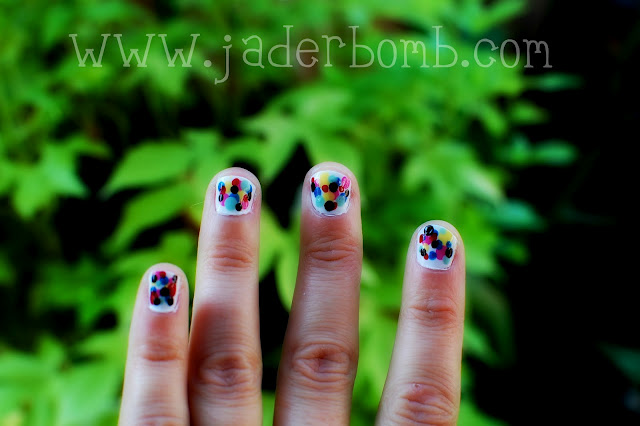
Remember the movie UP? I do! It is prolly my favorite! What a fun way to brighten up your day! Paint your nails like balloons. Every time you look down you will think of the movie and it will put a smile on your face!

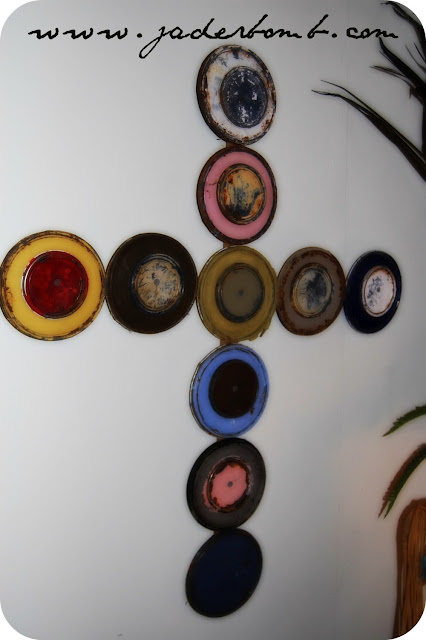
If you are like me then you might have TON’S of paint cans laying around. No worries! Check out what I created!

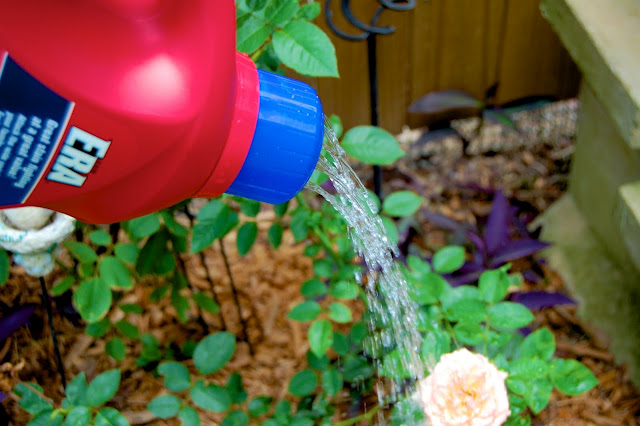
Want to reuse your old Era or Gain bottle? Check out this fun craft that I made!

I hope you enjoyed me bringing back a few crafts I did a WHOLE year ago! Happy Weekend Jaderbugs!

I posted a picture about 1 week ago on Instagram, Facebook and Twitter of me cutting glass using just string. I got LOT’S of requests for a tutorial on how I DID THIS! So here it is. FINALLY! You will be able to learn how to cut glass.

WARNING: YOU WILL START CUTTING EVERYTHING YOU CAN LAY YOUR EYES ON

I want to warn you. When I first started doing this I got VERY frustrated because I could not get it to break the way I wanted. Be patient when trying to master this because after all, we are cutting with string and polish remover. Not the typical way to cut glass. I promise you though, when you “get it” you will “get it”. Let’s get started Jaderbugs!!!

INGREDIENTS:

It’s best to triple your yarn because it will burn longer!

Soak it GOOD! This is VERY important!

I like to tie my yarn where I want my glass to “cut” then quickly pour polish remover over the string again. I also slightly pour a little over the glass also!

Get a big bowl with ice and water ready. You will be dunking your glass in this. It has to be COLD so make sure to put enough ice! Also make sure your bowl is big enough! It needs to be deep enough to dunk where your string is!

VERY IMPORTANT! Make sure when you light this that it is not right over your bowl of polish remover! (trust me, I did this and everything got engulfed in flames).. hahah I like to light it over my water!

Slowly turn your bottle. Try not to do this where it’s windy because you want your string to stay lit or it will not work. The slower you go the better it is, but it has to constantly turn.

You can’t let the flame go OUT then dunk it in the ice water. You will notice after little while your flame getting lower and lower. Remember in the beginning I said you will be practicing a lot. It may take you a few times before you get it right. When the flame is “ALMOST” out dunk it in the ice water. You will hear a cracking noise. THIS MEANS YOUR GLASS IS CUT… If you mess up and your glass did NOT cut, take the string off and apply a new one. You can’t use the same string twice.

YAY!!! Look how amazing! It’s like a RAD experiment going on in your back yard. Wait, it’s not LIKE.. IT IS


I reallly hope you enjoyed this tutorial because I had ALOT of requests for it! Make sure and wear gloves or eye protection if you want to “really” be safe. Obviously, I am not safe. I like to play with fire. Dang Southern girls! Comment below and let me know how you like this craft or share your experience with us! You can fine me here also:

FACEBOOK  PINTEREST  GOOGLE+  TWITTER  


PEACE, LOVE, DIY

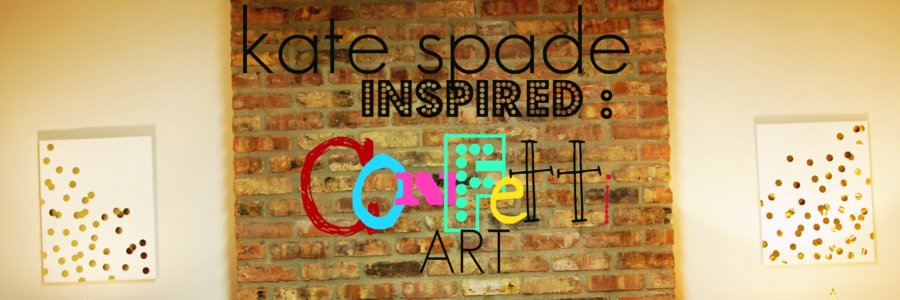
DIY: Kate Spade inspired CONFETTI CANVAS

So the other day I started looking online for a new iphone case. I wanted a really bright, shiny gold one. You know, like the real “gaudy” gold!!! {{teehee}}

In the process I ran across this:

 I fell in LOVE right away. While staring off into space deciding if I wanted this one  or if I wanted a COMPLETE gold one I noticed a big sheet of gold shiny paper just sitting there. I totally forgot I bought it and I though it would be cool to make some art using the gold paper. How cool would it be to have a BIG oversized Kate Spade Iphone case!! Wanna see what I decided to do!

Is it not so pretty!! Let’s make it now!

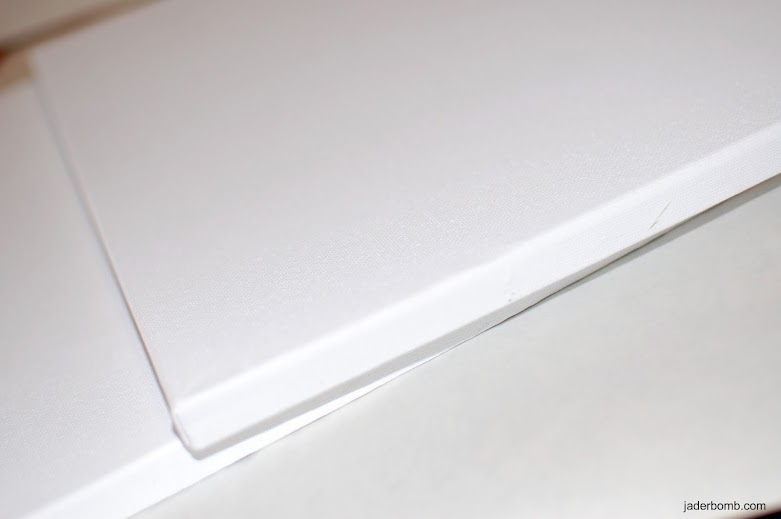
Get canvases. I got mine from Hobby Lobby.

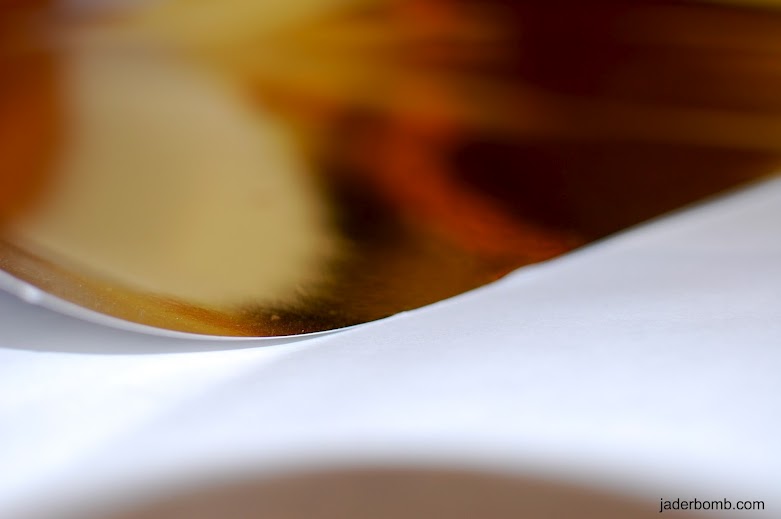
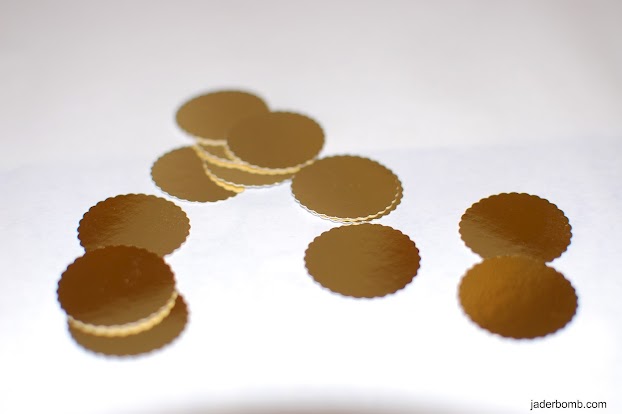
This shiny sheet of gold paper is from Hobby Lobby. I am not sure of the name but it’s where are the project paper is. I think it was around 5 bucks for a sheet but the sheet is large!!!!

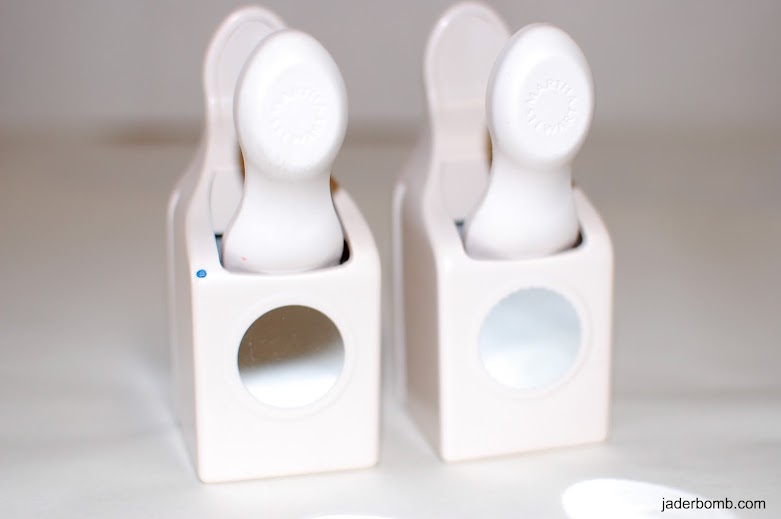
I used my Martha Stewart punches and you can get them at Michael’s Art’s and Crafts.

1-inch Craft Punch
Pointed Circle 1in Punch

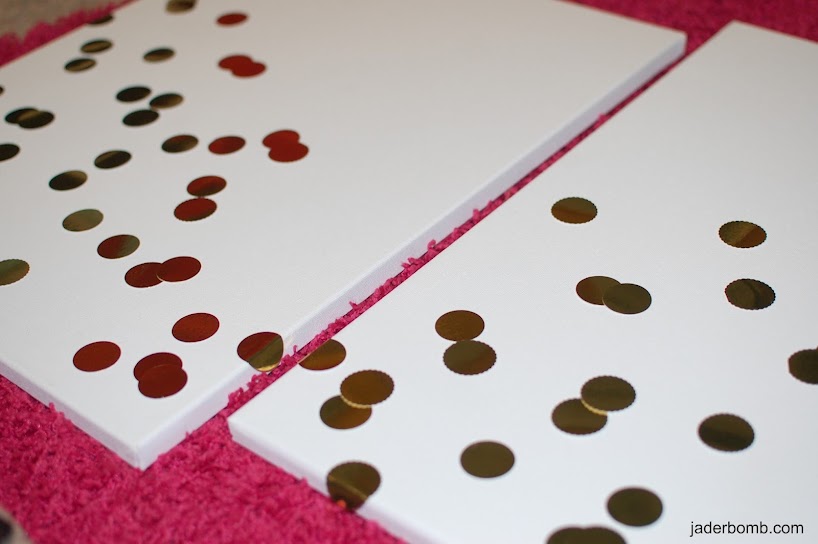
Get your hot glue gun and start glueing them down where you like them. I used Martha’s dual temperature glue gun.

Jaderbugs! This is what it will look like. I had a blast doing this.. If only I could find a gold confetti bed spread!
Happy Mardi Gras!!!
Sending you gold confetti and money to buy everything Kate Spade,

Howdy Hoe Jaderbugs!!! It’s 2012 and I am so excited that I am healthy, happy and hibernating…..it’s sorta cold I tell ya! I got some leopard slippers for Christmas so I actually have a legit “excuse” to wear them. Living in the South you don’t really wear slippers for warmth. Christmas was uh-mazing. I got to spend a lot of time with seester and that is always a bu-last! It’s kind of bitter sweet getting to see her and then parting from her and my babies (god children). If only they didn’t live like…. a BILLION miles away.

We did have a blast though. We did a FUN photo shoot and let me tell ya they are HAWT. I’ll post a few of her that I have edited for you to see her. SHE IS A GEM! So beautiful! 

cheese lights 

Enough about me, how has your TUESDAY been?  I hope it has gone a little smoother than mine.  Thank GOD (for real)  I am still happy as ever! Just wait till you see the craft I am posting today.  It will surely  make you smile!

                                                I am using Burlap and a plain white sheet
                        Honestly, I didn’t measure because in this case it really didn’t matter.

But depending on how big your curtain rod is, that will determine how big you need to make the fold.

                                                   See! Nothing perfect. Just Shabby Chic is all.
                You want to make sure this measurement is pretty accurate because you will notice it.

Just sew the end  that is not finished (burlap) to the white sheet. Then fold over and iron.


How’s it coming!!!!

P.S.  How cute for real!!! I also made some fabric flags just for Valentines Day.
     P.S. Just a little something extra for you. These were totally NOT planned but well worth it!

They are under my sink.

Cutsie Pootsie!

I hope you totally enjoyed this craft! I actually made these curtains over a year ago but wanted to “re-share” them with you! I figured valentines day is near and and they were just delicate enough for this holiday! 

Enjoying my night eating turkey bacon and watching cupcake wars,