Tag Archives: martha stewart

Sequin Ball Earrings

Get festive in a flash by donning a pair of homemade sequin ball earrings.

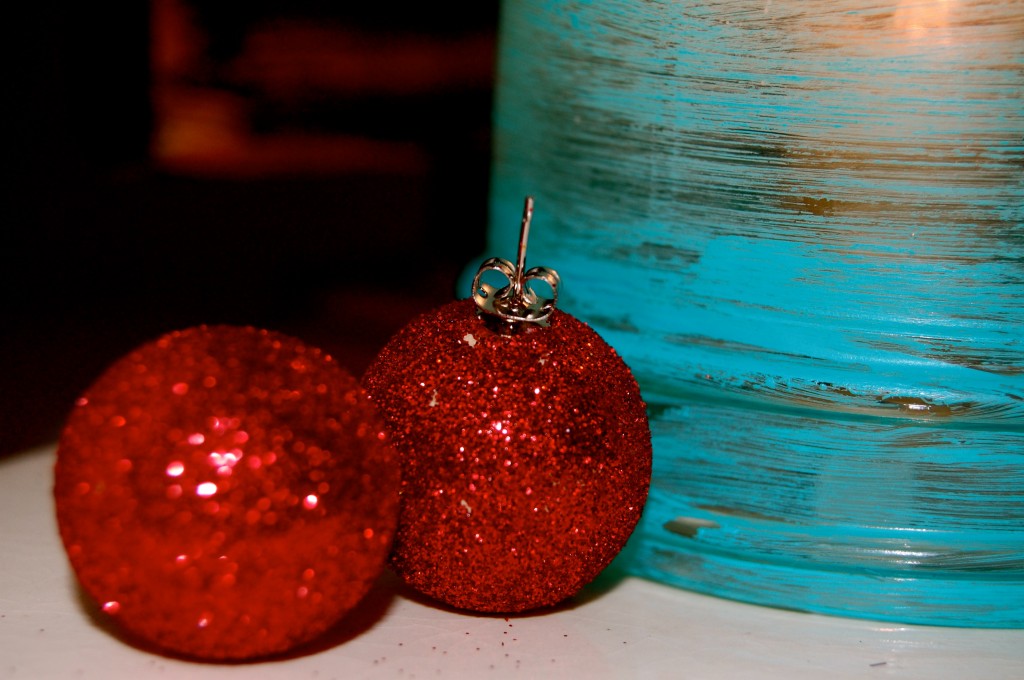
Sequin-wrapped wooden beads are attached to stud posts and chains from a jewelry-supply store. The only thing different than using sequins is using Martha Stewart’s fabulous GLITTER!!!

I figured I would jaderbomb the earrings plus glitter is much prettier than sequins…ahhh this red glitter makes my heart beat really fast!!!
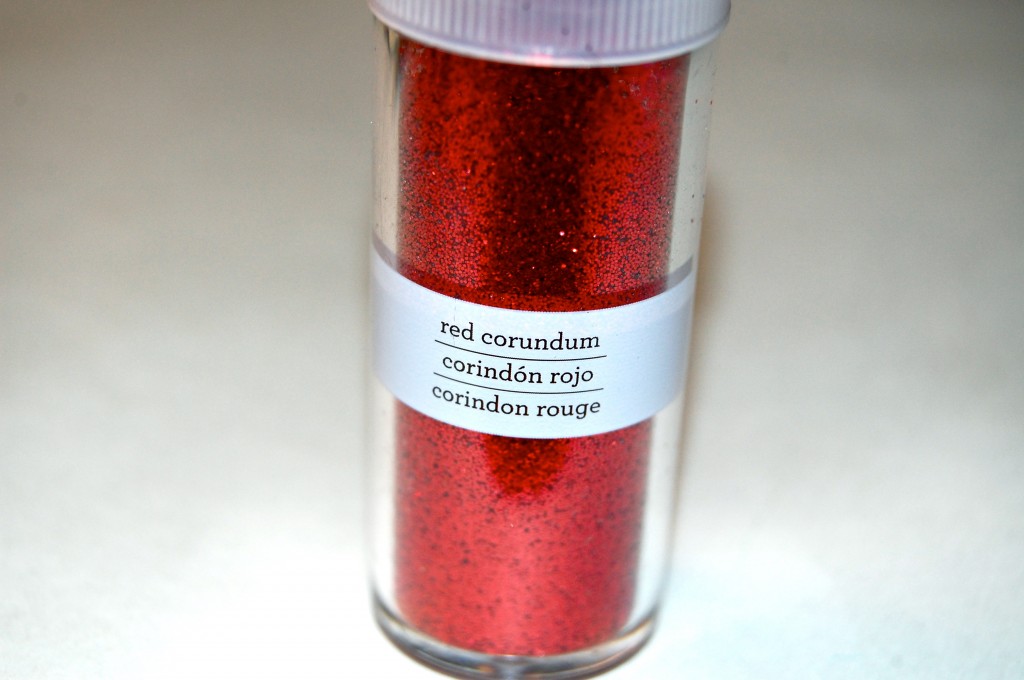
Get some glitter HERE

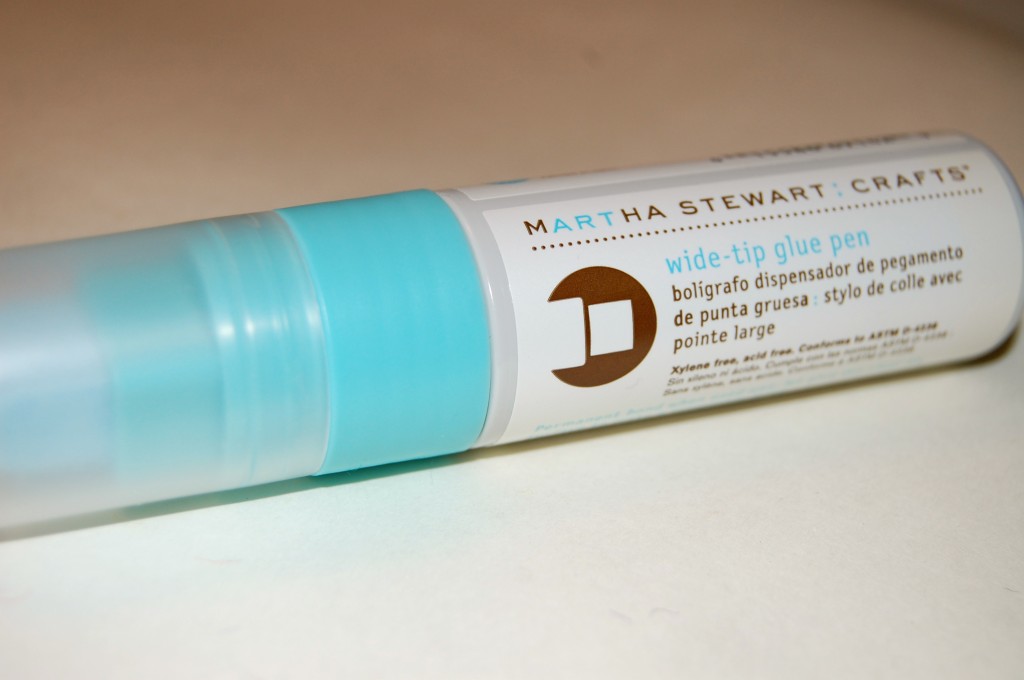
I used this awesome Martha Stewart wide tip glue pen. This is so cool. When the glue comes to the tip it is BLUE!!
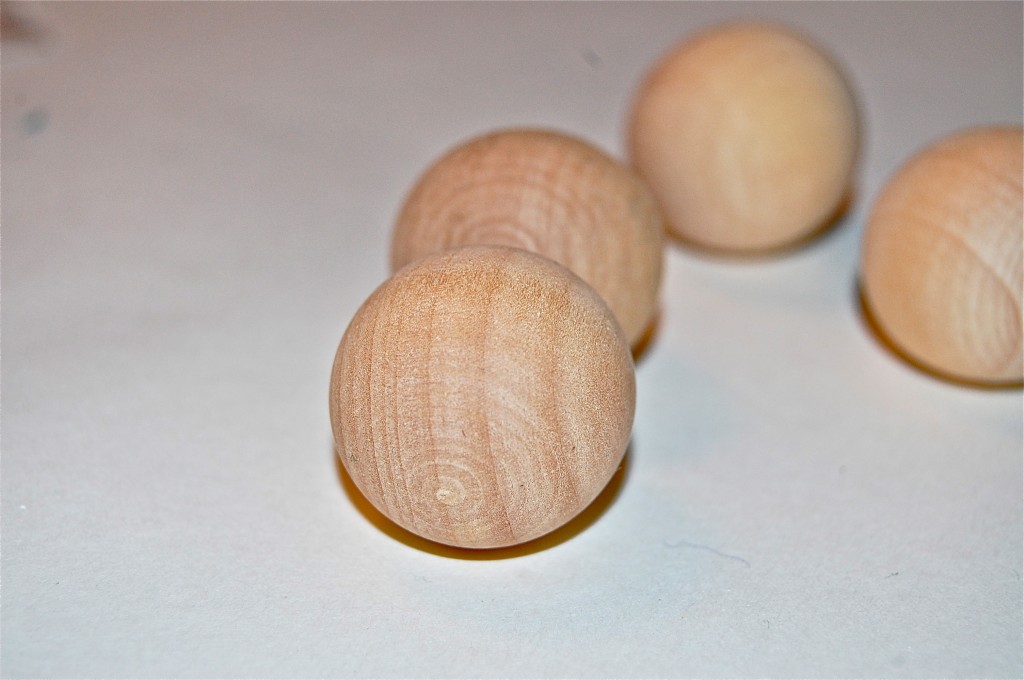
Get some wooden balls. I got these from Michaels Art’s and Craft’s. They were like…1.00 for a pack of 4.
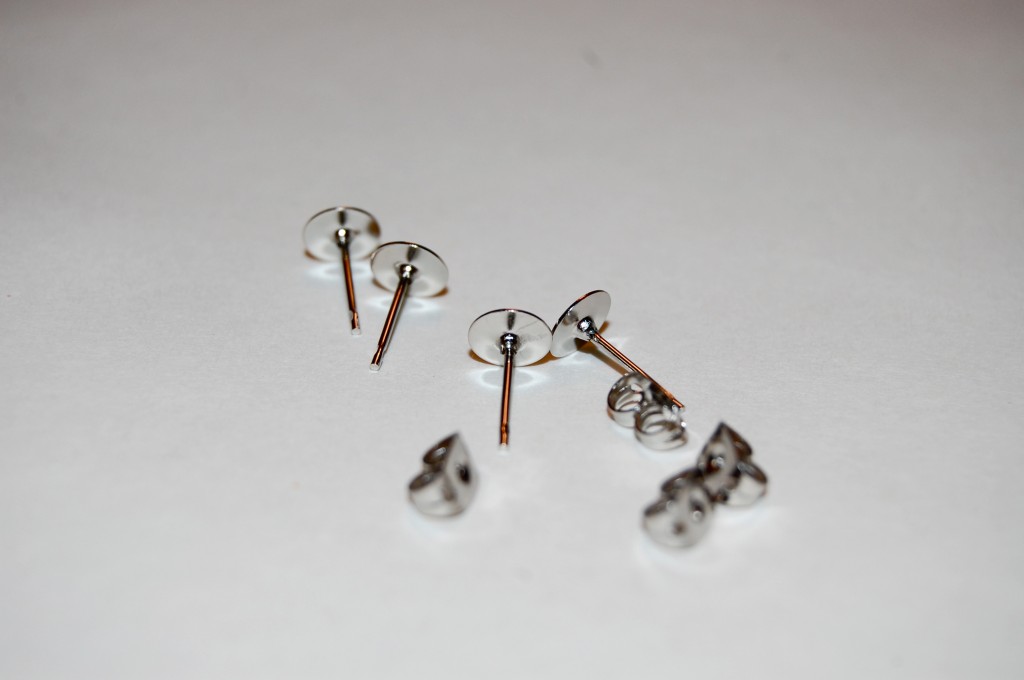
Grab some earring findings from your local craft store.
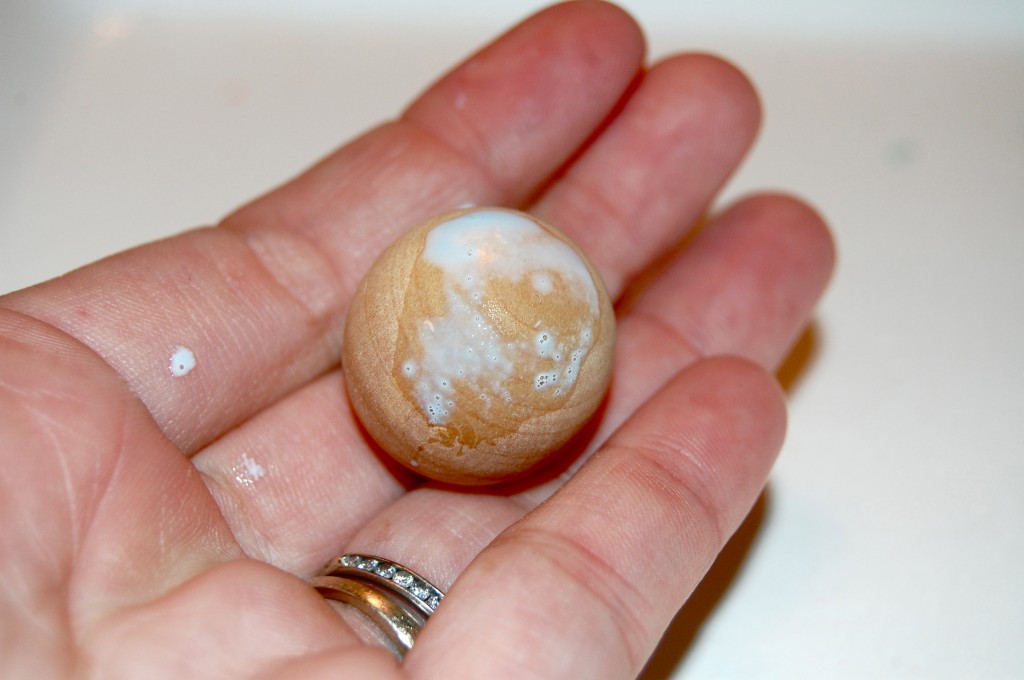
Coat your wooden ball with the BLUE glue!!!
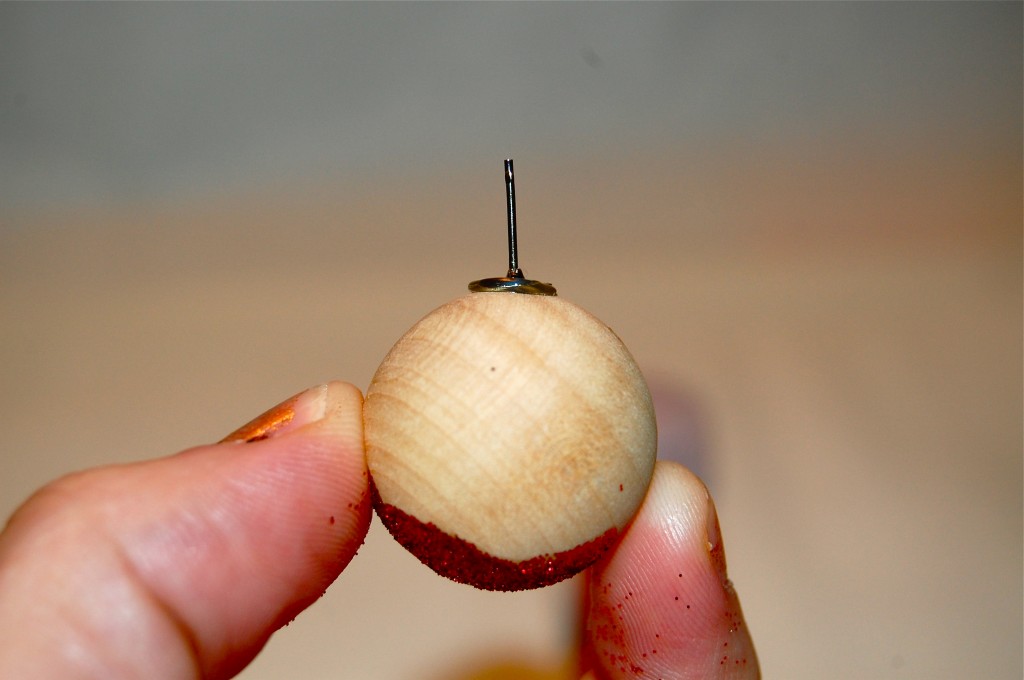
Oh wait! Get your hot glue gun and put this little sucker on it! (or you can use super glue)
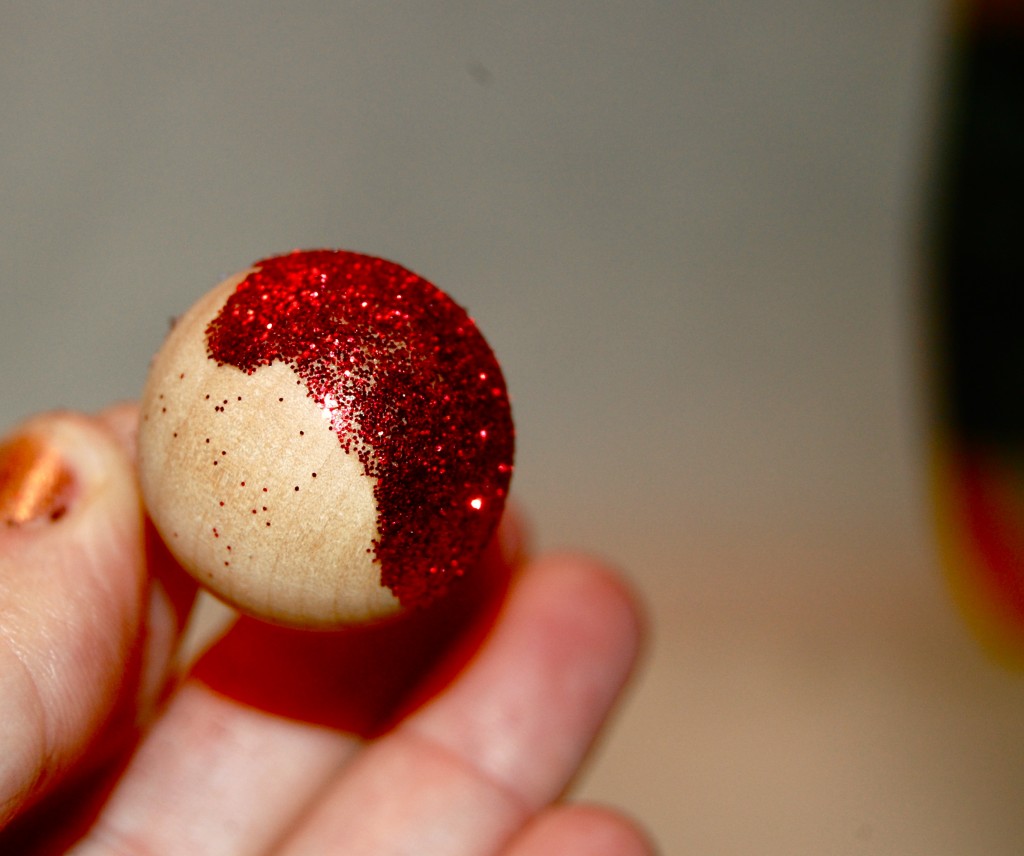
These babies are coming together!!

These babies are SO FANCY!!!

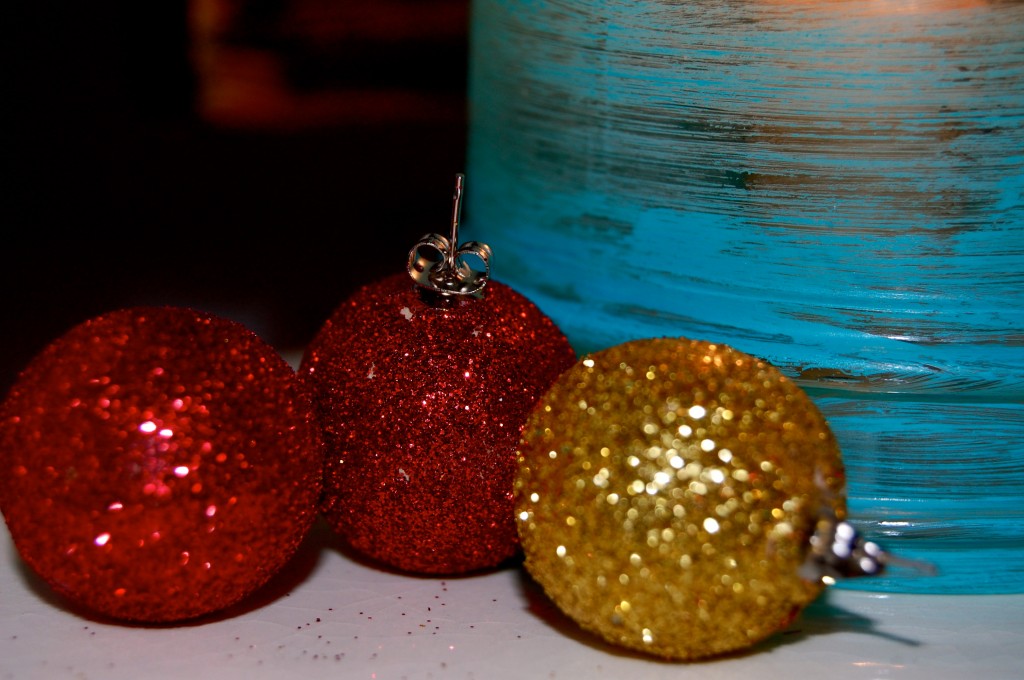
Oh if you know me then you know I wear two different earrings at a time! Not sure why but I do. I am giving the red ones to my friend Jess (sorry if your reading this haha) because yesterday she said she LOVED the red glitter.. and I made a gold one for my left ear lobe… Not sure what I will match it up with yet.

FULL OF GLITTER

Check out Martha’s original craft HERE and you can purchase Martha Stewart’s Encyclopedia of Crafts here!

CLICK HERE TO WATCH VIDEO

(me on the show!)
Click HERE to read all about it!!!
 IF YOU DECIDE TO DO ANY OF THE CRAFTS, SHOOT ME AN EMAIL AND I WILL ATTACH  IT TO THE POST WITH A LINK THAT GOES STRAIT TO YOUR BLOG!  IF YOU DON’T HAVE A BLOG JUST EMAIL IT TO ME AND I WILL PUT IT UP!!!!
Thanks to Martha Stewart crafts for sponsoring me with craft supplies!

Dot-Punched Stationery

Give everyday — and inexpensive — note cards and envelopes some flair by trimming the edges with a decorative rotary cutter or using Martha Stewart’s paper punches…(which by the way are MAGNIFICENT)…

Let’s get started Jaderbugs!

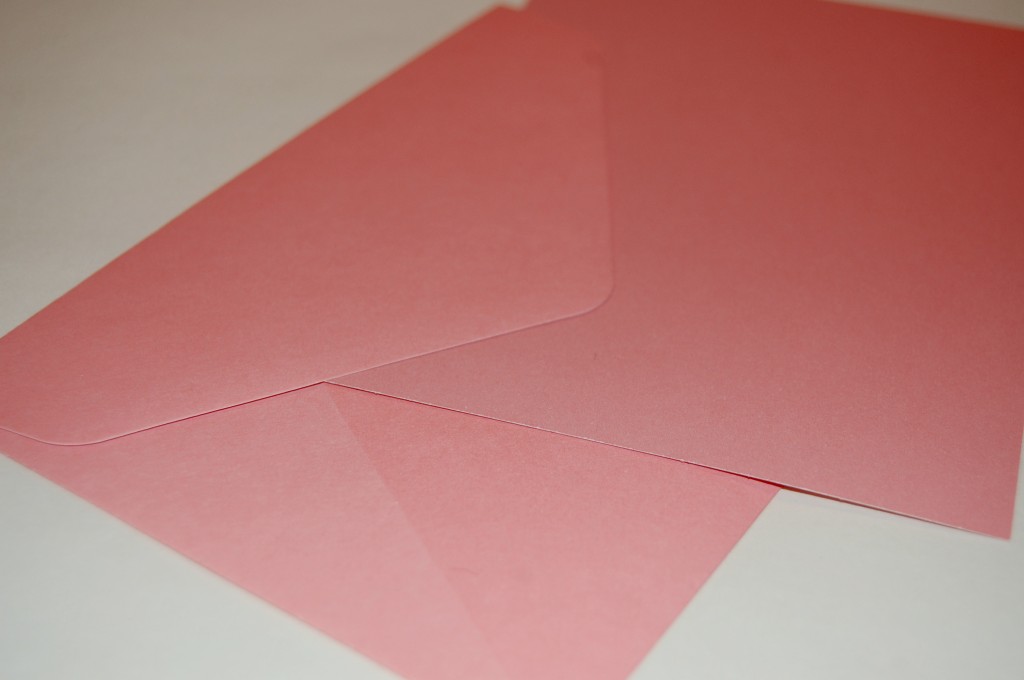
Get some note cards…

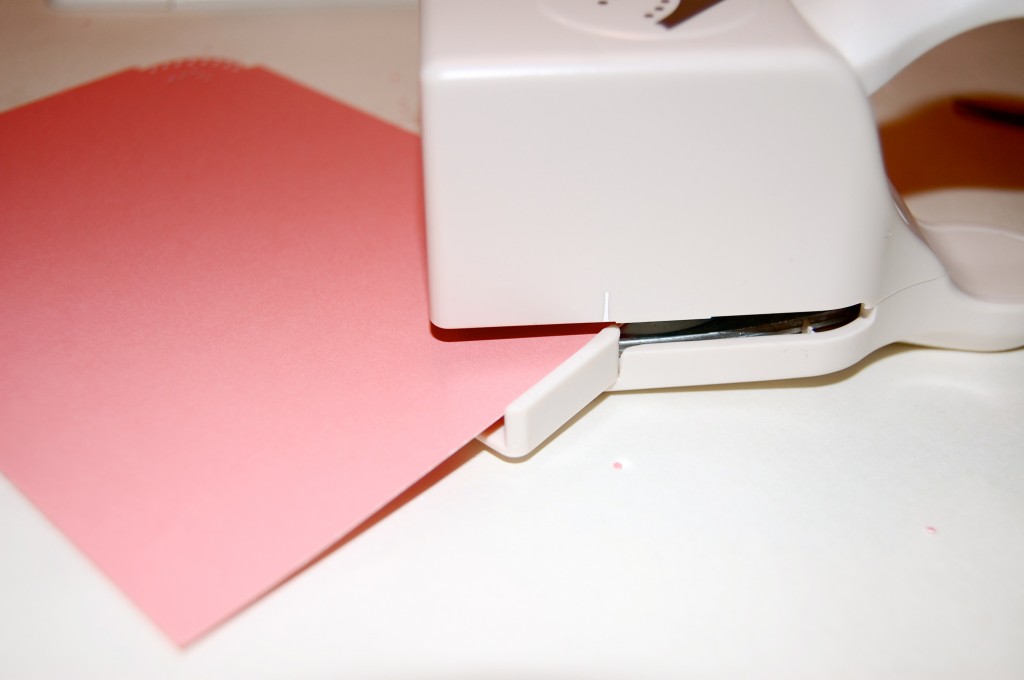
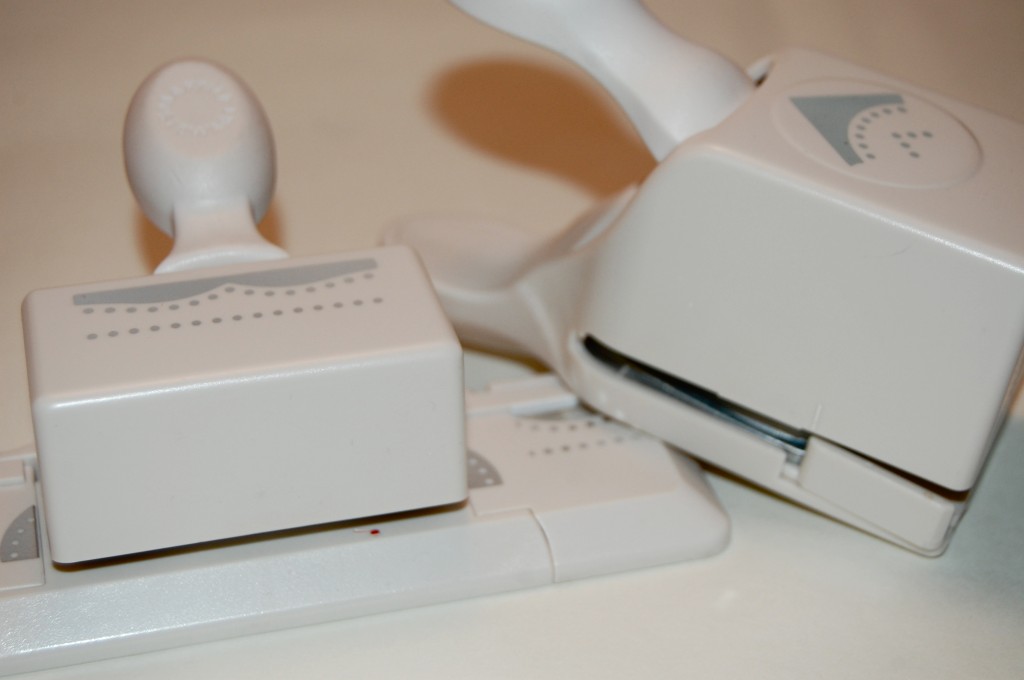
I am using Martha Stewart’s paper puncher...Did I tell you how these babies work? LIKE MAGIC!

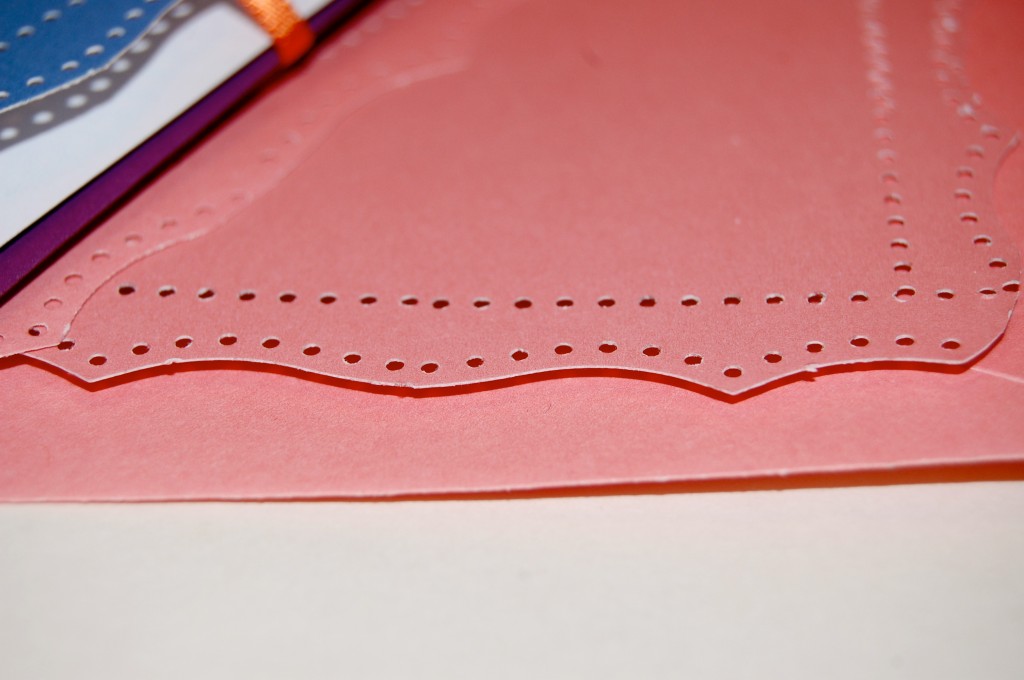
The set I am using comes with 2 punches in a pack. One for he edges and one for the corners. This makes it so handy to use all around a page!

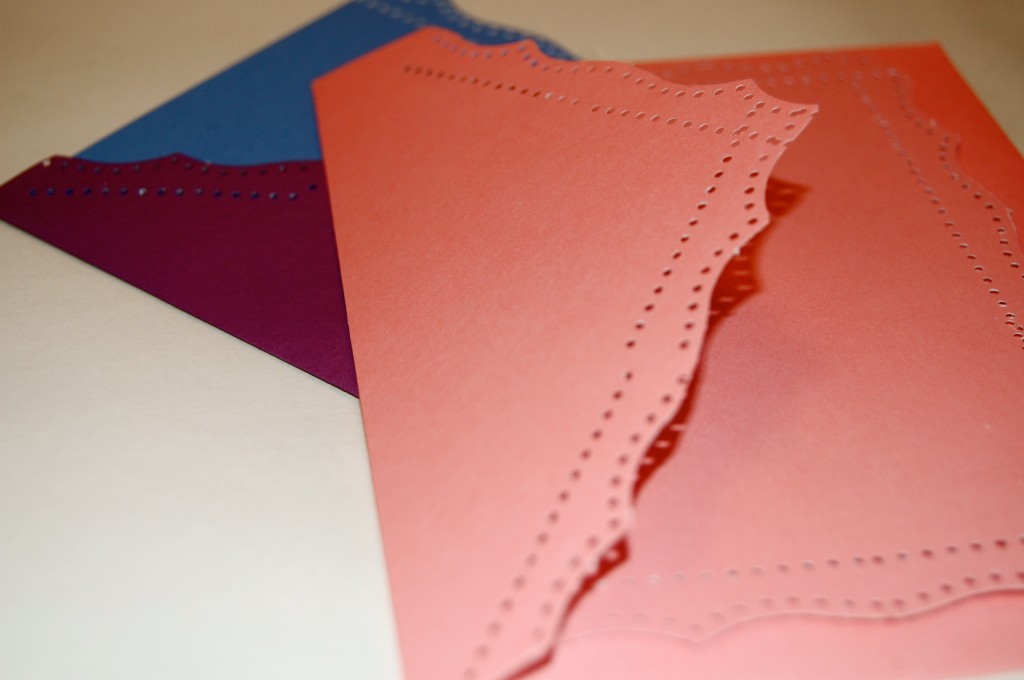
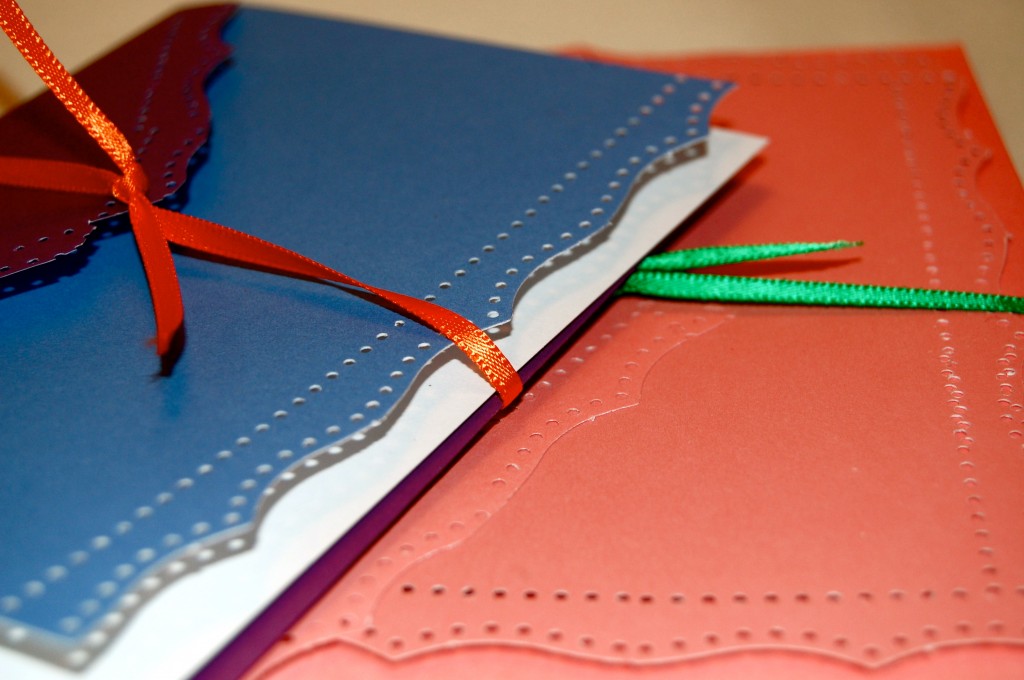
This is your outcome jaderbugs!

Nothing much dot love…

Secure them with a piece of ribbon and BAM!!I hope you enjoyed this Jaderbugs! Just think how you loved ones will feel getting this baby in the mail!

Getting in the holiday spirit by painting my nails red and pink,

Check out Martha’s original craft HERE and you can purchase Martha Stewart’s Encyclopedia of Crafts here!
CLICK HERE TO WATCH VIDEO

(me on the show!)

Click HERE to read all about it!!!
 IF YOU DECIDE TO DO ANY OF THE CRAFTS, SHOOT ME AN EMAIL AND I WILL ATTACH  IT TO THE POST WITH A LINK THAT GOES STRAIT TO YOUR BLOG!  IF YOU DON’T HAVE A BLOG JUST EMAIL IT TO ME AND I WILL PUT IT UP!!!!

Thanks to Martha Stewart crafts for sponsoring me with craft supplies!


Bottle Beauty

GOOD MORNING JADERBUGS!!!

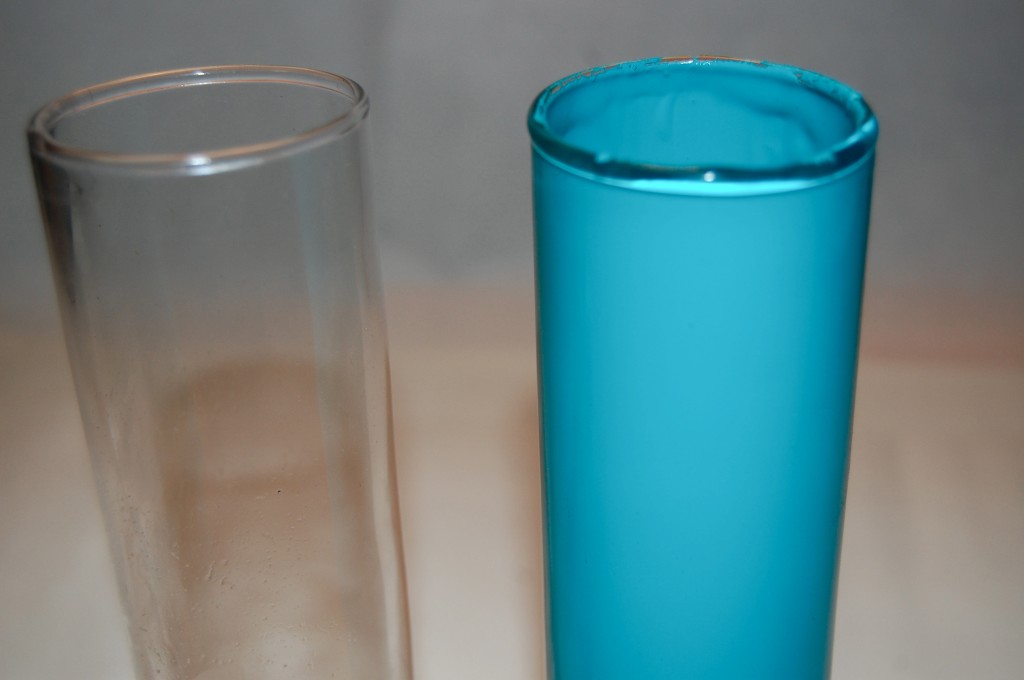
I hope you love this craft because I am ADDICTED to it. I want to “paint” everything clear that I see.  Transform everyday vessels into elegant vases by coating their interiors with glass enamel. Any container will do — buy up old bottles at a flea market or try kitchen cast-offs, such as jam jars. We used white enamel, which yielded different shades of green depending on the tint of the glass.

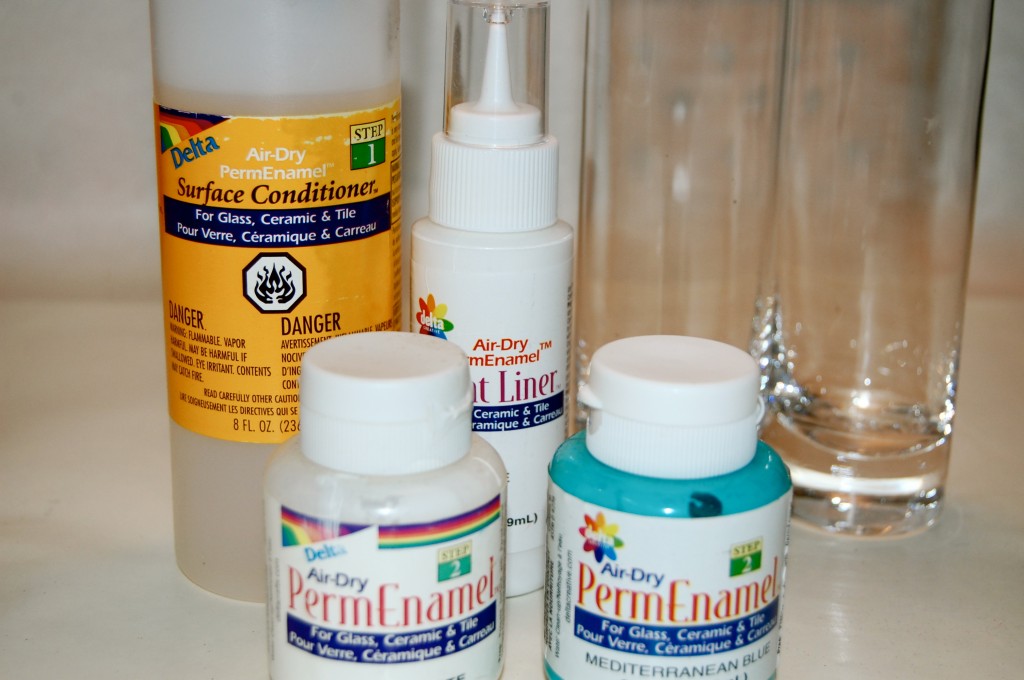
I got all of my products at Michaels arts and crafts store. If you don’t have one locally you can go to Delta Creative and order some! 

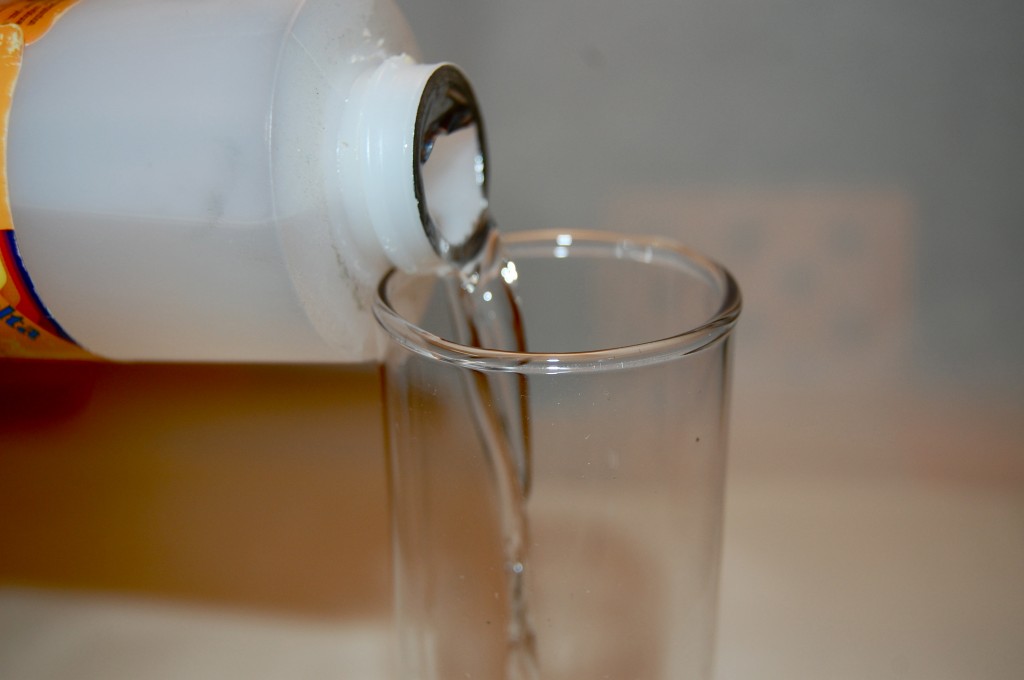
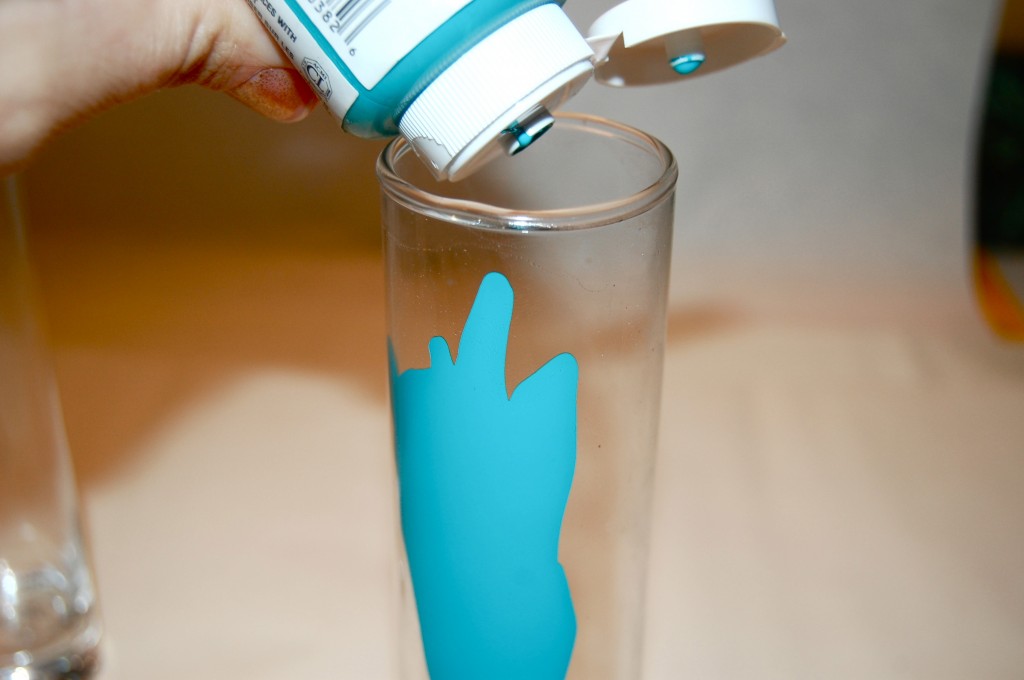
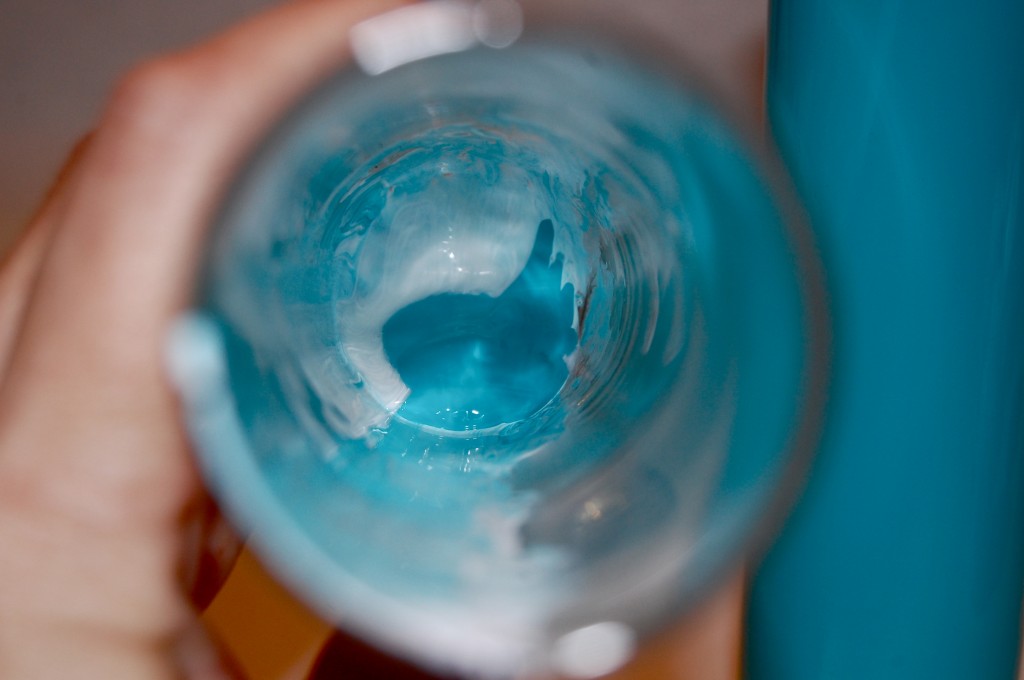
Wash the bottle inside and out with soapy water; let dry. Pour in a small amount of the paint’s surface conditioner, which primes the glass for the enamel. Swirl to coat fully, then pour out excess.

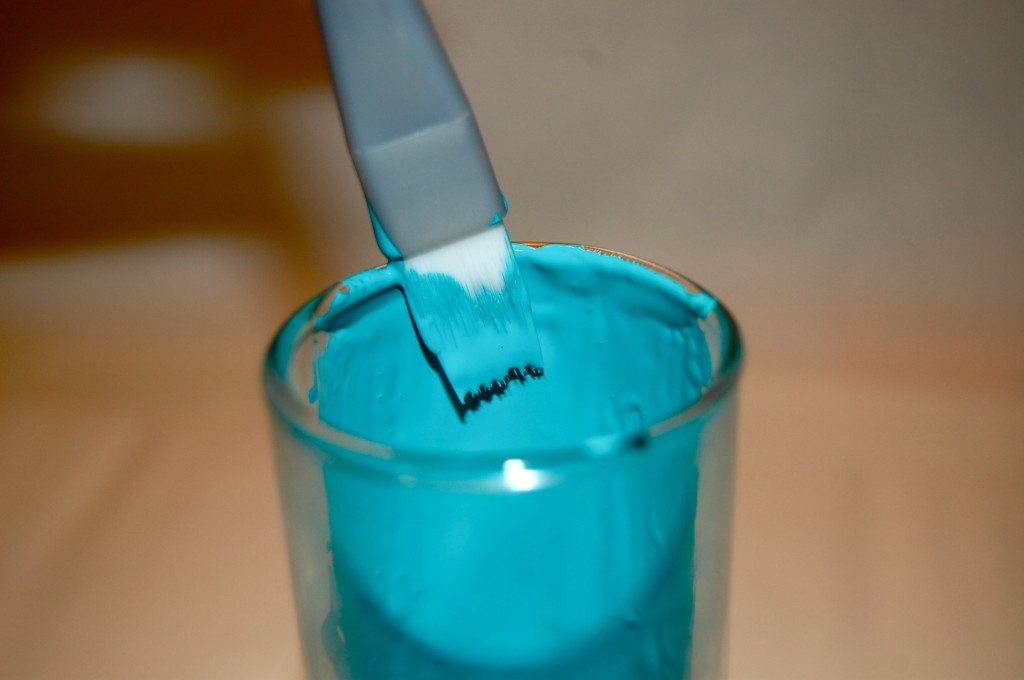
Stand bottle upright, and dry for an hour. Pour in enough enamel to easily coat the inside. Swirl, and return excess to container for reuse.

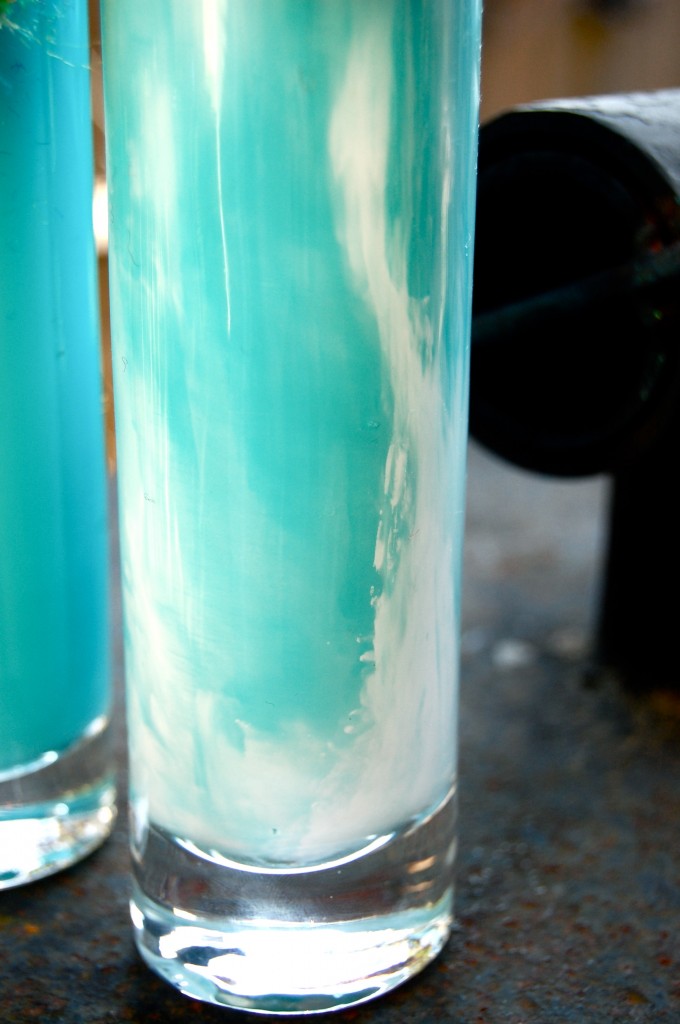
This is so pretty! Make sure you coat it good so you don’t have streaks.

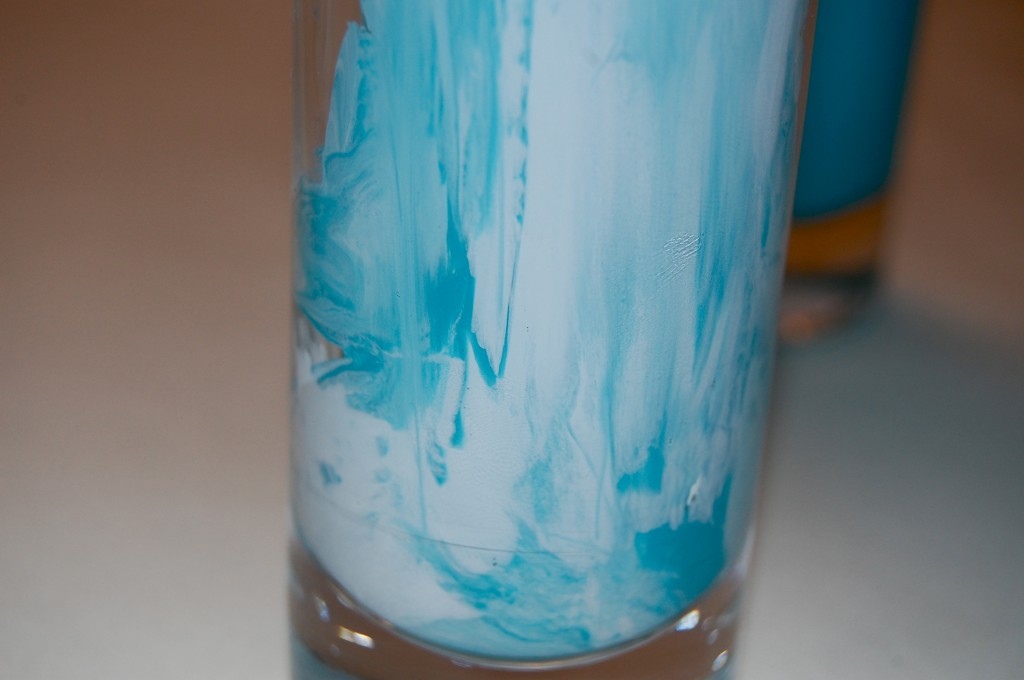
I mixed a little white and blue to get this effect! So pretty!!

All I did was pout the 2 colors in the container and started painting the inside.

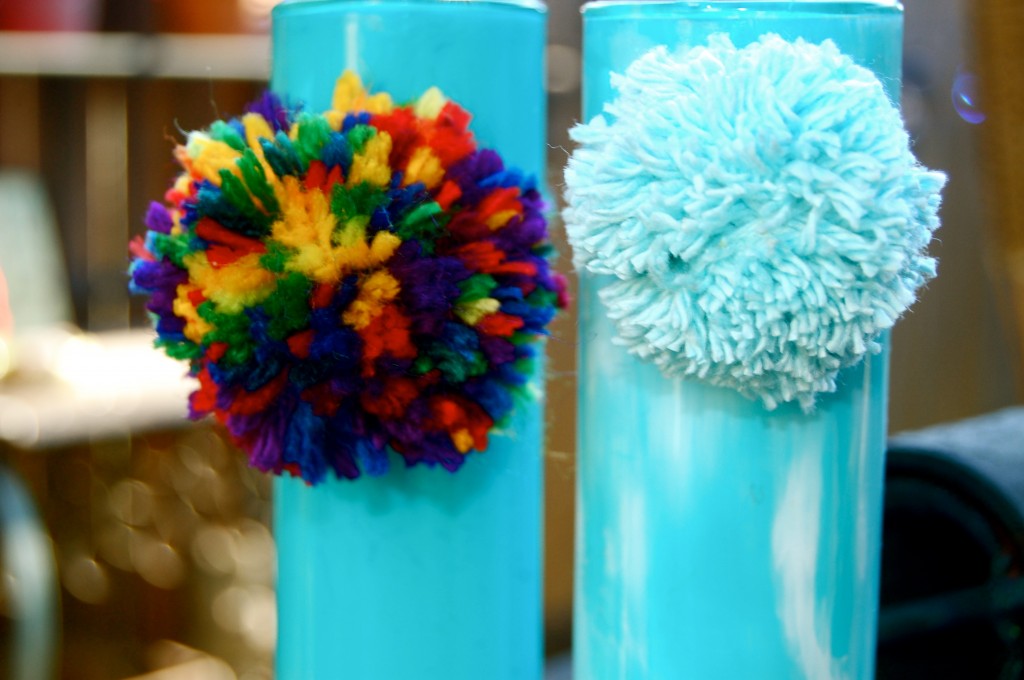
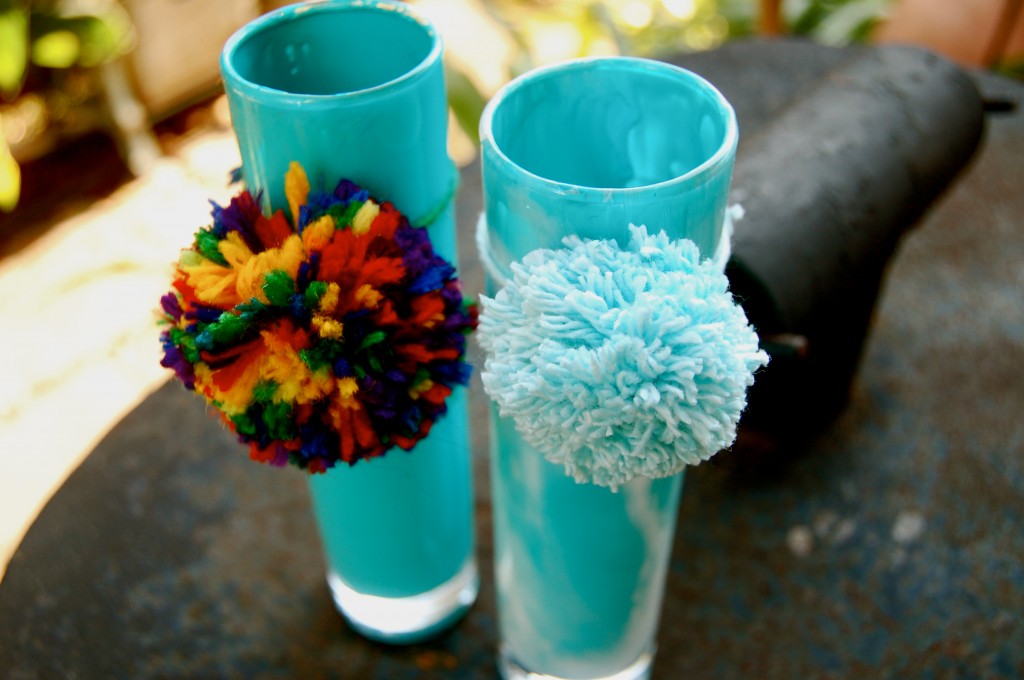
I dressed them up with my homemade pom poms! Did you see my post on how to make them? Check it out HERE!

See how fun these suckers look! I hope you have fun making some! OH! Check out my video I made on “How to Paint on Glass”… I did this a while ago so forgive if it’s cheezy. haha

OVERWHELMED with everything I have to do but I will feel better when it’s bedtime,

Check out Martha’s original craft HERE and you can purchase Martha Stewart’s Encyclopedia of Crafts here!

CLICK HERE TO WATCH VIDEO

(me on the show!)
Click HERE to read all about it!!!
 IF YOU DECIDE TO DO ANY OF THE CRAFTS, SHOOT ME AN EMAIL AND I WILL ATTACH  IT TO THE POST WITH A LINK THAT GOES STRAIT TO YOUR BLOG!  IF YOU DON’T HAVE A BLOG JUST EMAIL IT TO ME AND I WILL PUT IT UP!!!!
Thanks to Martha Stewart crafts for sponsoring me with craft supplies!

Glitter Bird Centerpiece

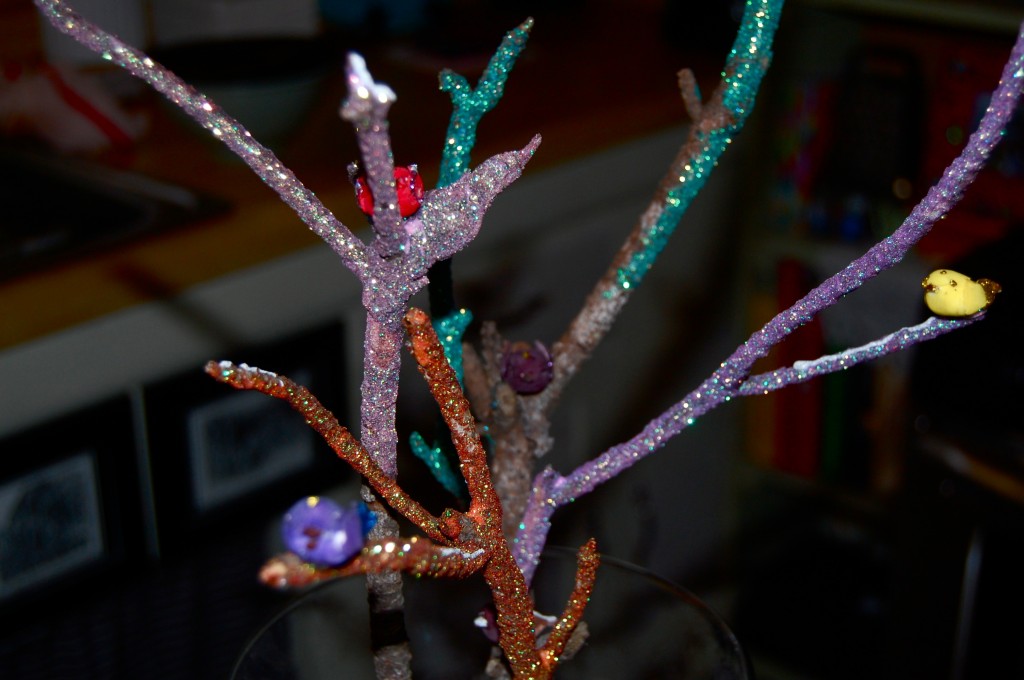
Jaderbugs! I am serious when I tell you this is a craft you can display all year long. The only thing you would have to do is change the colors of glitter for each occasion! This craft was so relaxing and I could totally do this ALL day! Let’s go! Just think you could do purple/gold for LSU, red/white for UL, purple/gold/green for Mardi Gras…or whatever holiday’s you might celebrate.

Tools and Materials
Small craft brush
Feathered birds
White glue
Glitter in various textures and hues
Thin lametta tinsel
Branch

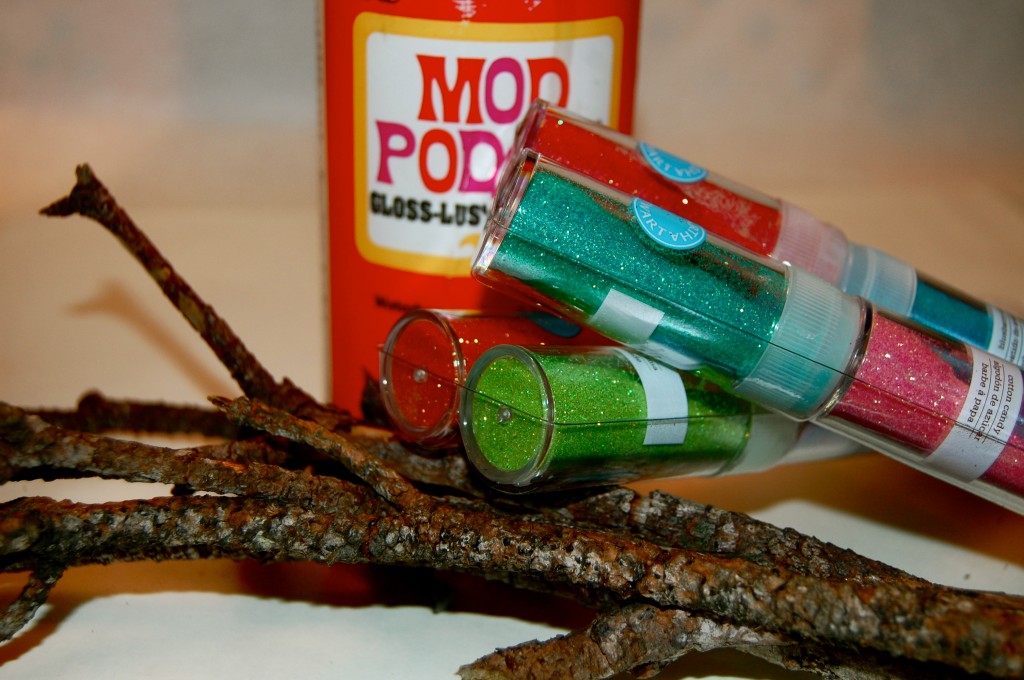
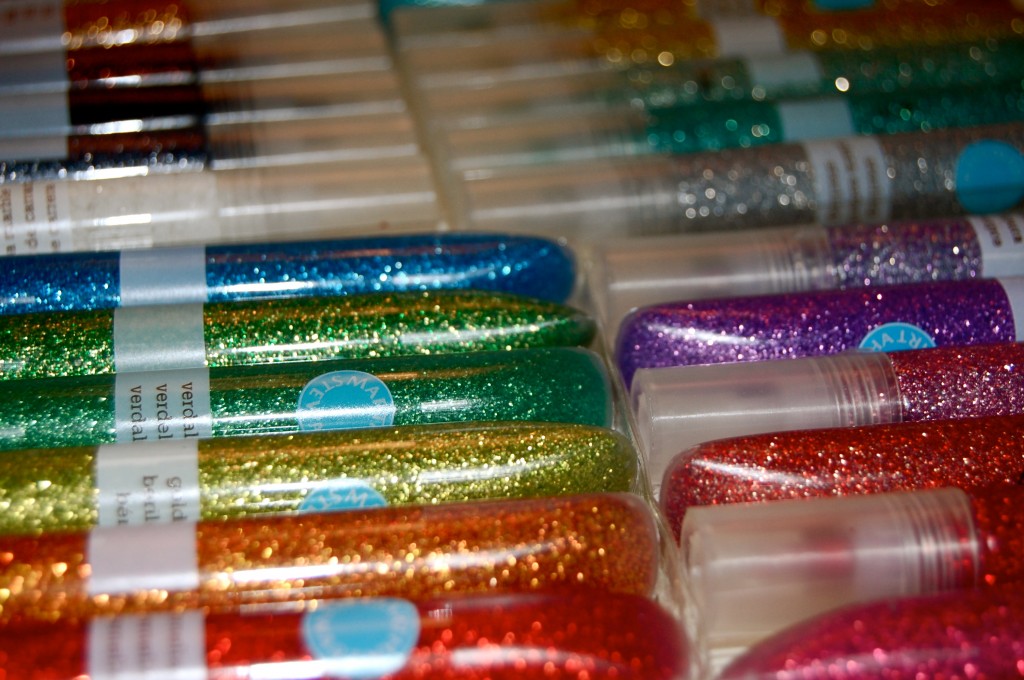
These are some of the materials I used.  The only think I did not put in this picture is a brush. OH and my birdies. I used the iridescent glitter from martha stewart, mod podge and branches from my yard.

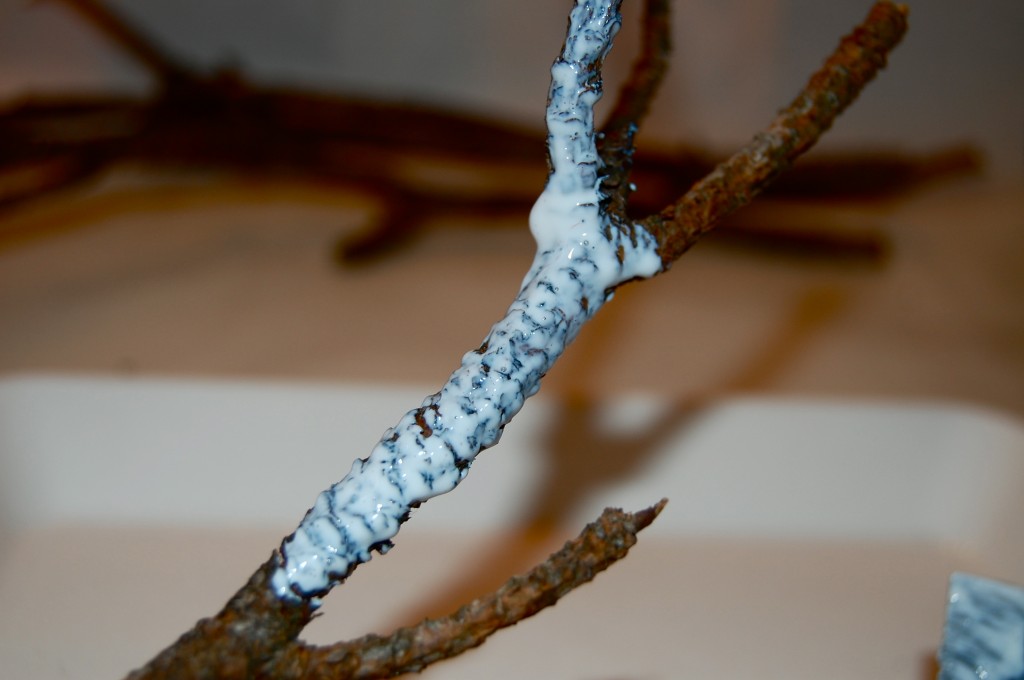
When I saw this branch I just had to get it. It look’s like a big claw hand. Right!

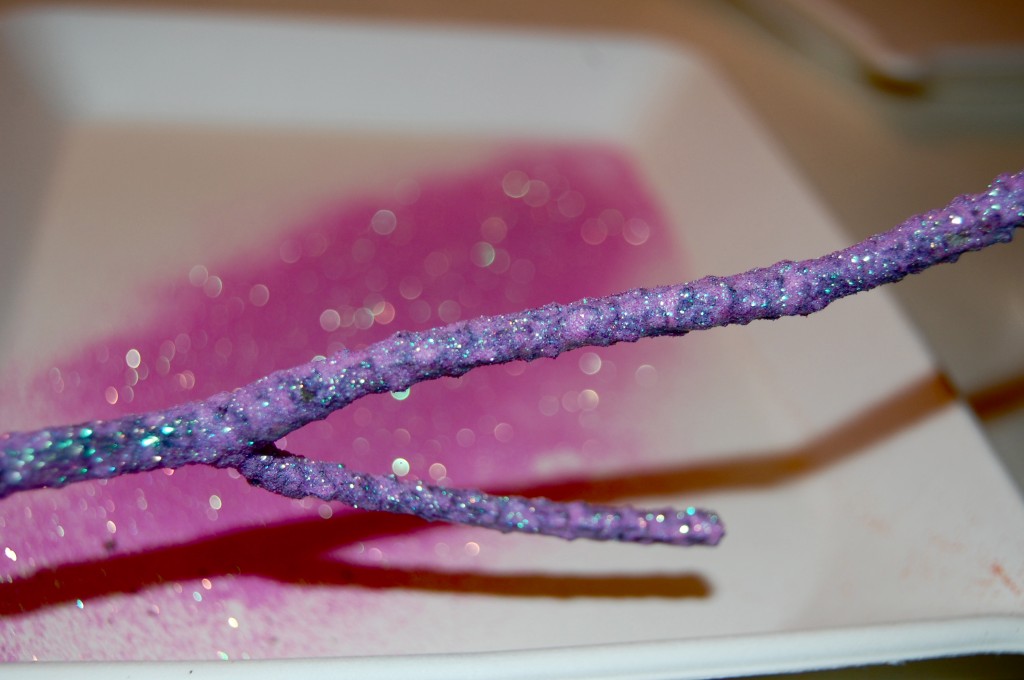
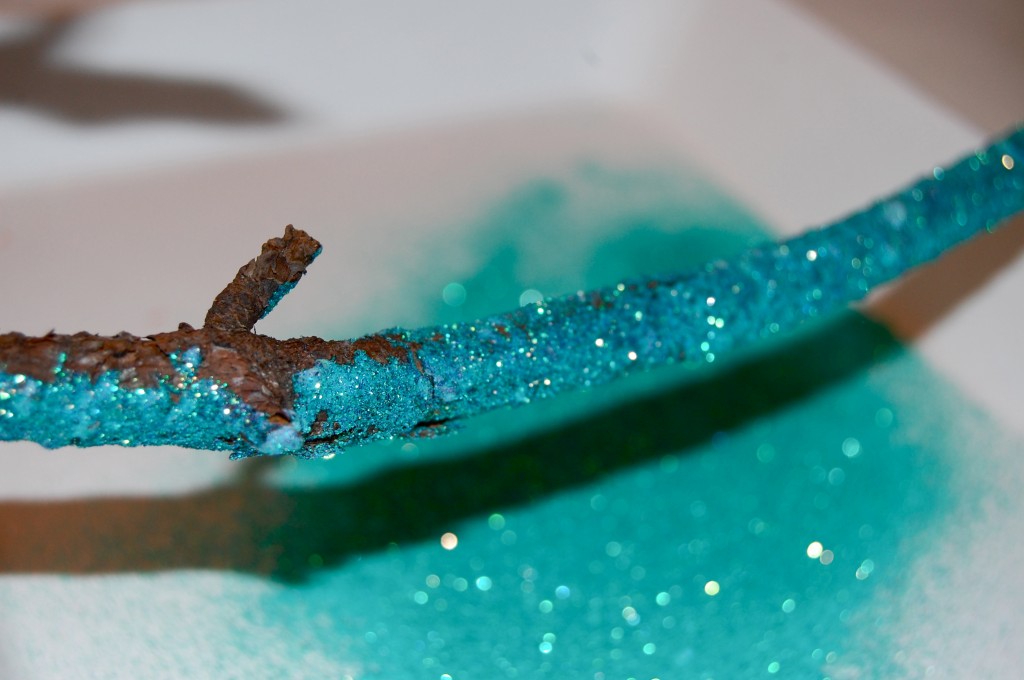
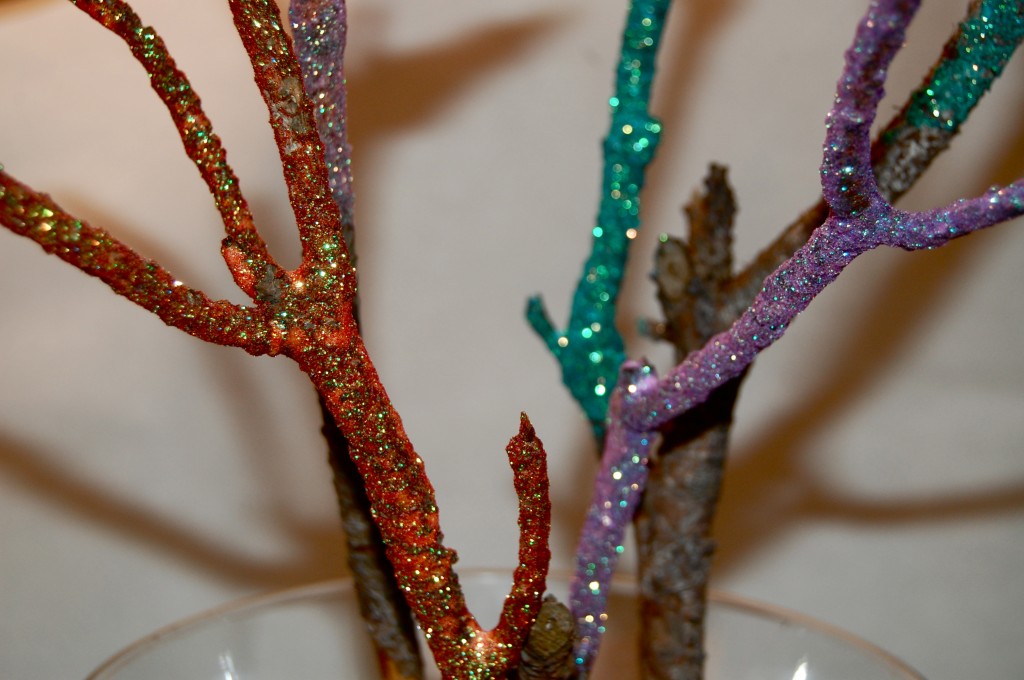
Seriously. How pretty is this picture. It looks like pink gems and a magical wand. I might put that on my list to Santa. {{along with my Hello Kitty bag:)

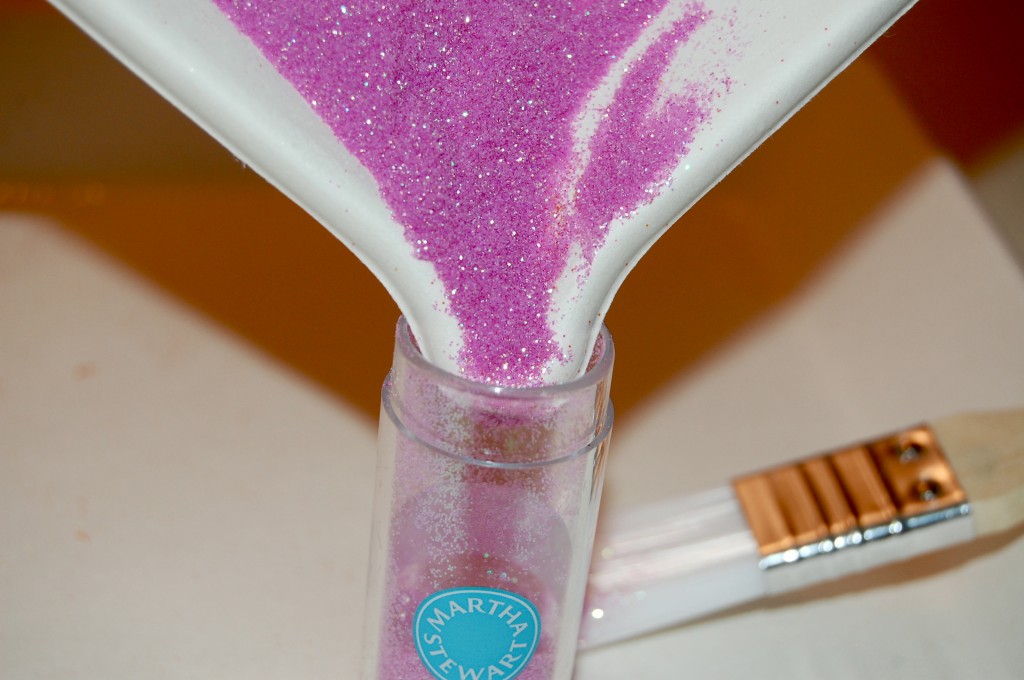
Make sure you collect all of your glitter so you don’t loose these precious jewels.

Sea of green…

How Pretty is this sucker! I love the way they turned out. If you notice I didn’t glitter the entire branch. I like little nuggets showing up in different spots. HAHA

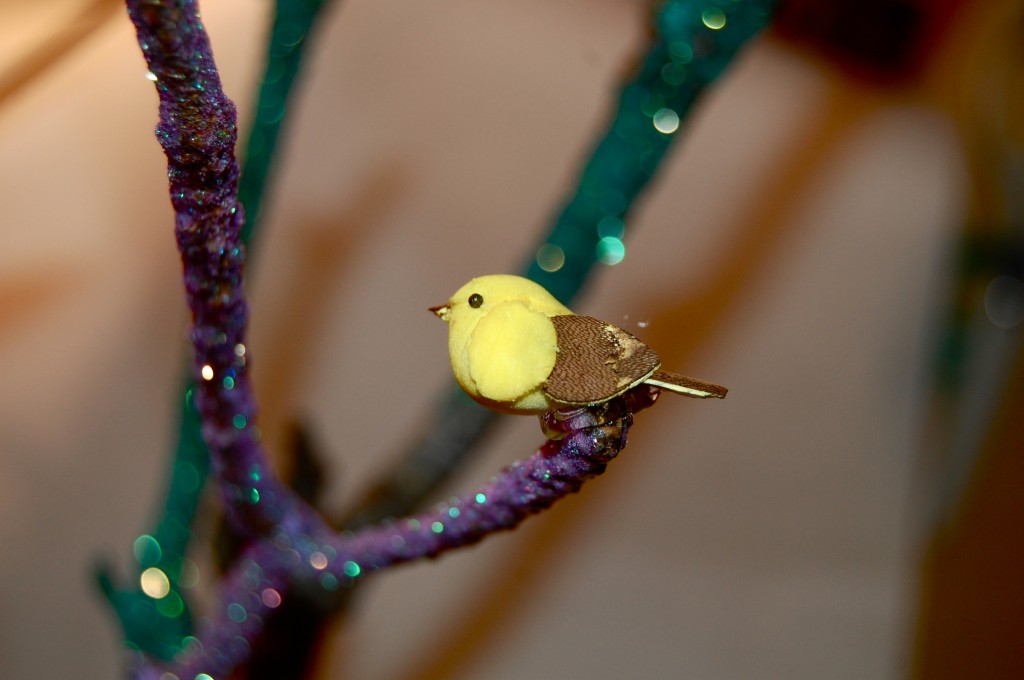
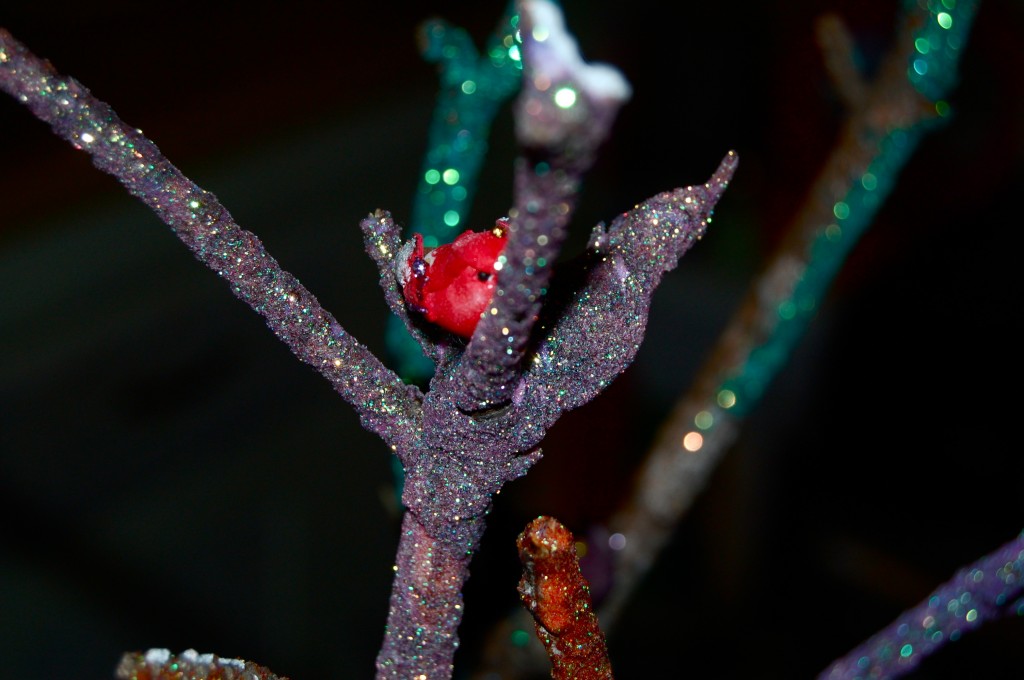
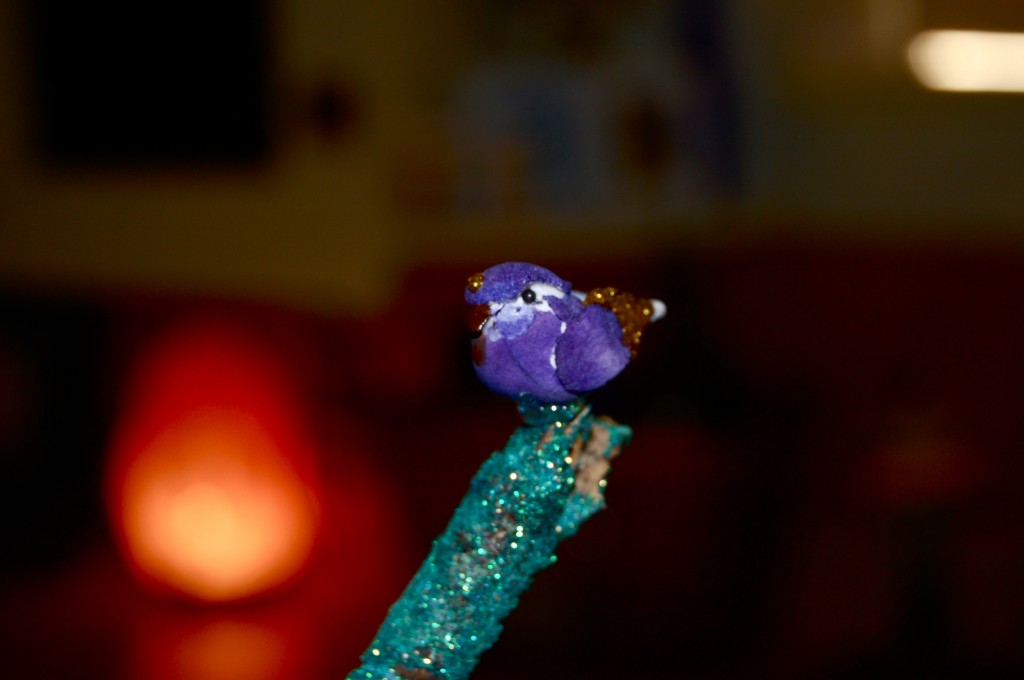
Like this little birdie who looked sad and lonely and wanted some sparkles on her.

Whatduhya know. Look what I found. LIttle glitter babies full of glitter. I may have just saved these birdies lives!!!

Yep. They look so much happier.

I love glitter. Why does it make me feel good in 3 seconds.

Weeeeeeeeee…I hope you had a great day jaderbugs and I hope you enjoyed this craft!!!

Falling asleep faster than I expected tonight,

Check out Martha’s original craft HERE  and you can purchase Martha Stewart’s Encyclopedia of Crafts here!

CLICK HERE TO WATCH VIDEO  (me on the show!)

 Click HERE to read all about it!!!

 IF YOU DECIDE TO DO ANY OF THE CRAFTS, SHOOT ME AN EMAIL AND I WILL ATTACH  IT TO THE POST WITH A LINK THAT GOES STRAIT TO YOUR BLOG!  IF YOU DON’T HAVE A BLOG JUST EMAIL IT TO ME AND I WILL PUT IT UP!!!!

Thanks to Martha Stewart crafts for sponsoring me with craft supplies!

    P.S. Don’t forget about my giveaway that ends on THURSDAY!!!!

Click on the picture to sign up!!!!

How to make Erasable Labels

Get organized — again and again — with these chalkboard labels. The labels can be erased as contents change: it’s that simple! I had a craft show recently and I thought this woud be the PERFECT thing to decorate with! The cool thing is Martha has the “original” green chalkboard paint. I love that! It totally reminds me of being in elementary school! {{not sure if that is something I want to remember}} haha!

I wanted to show you the brushes I used and some of the “special” things Martha Stewart has to offer. I LOVE the glow in the dark paint.

I had some pieces of scrap wood hanging out in my studio so I figured I would dress them up. I put one coat of paint on them.

If you notice, my edges look distressed. That’s because I distressed them. HaHa…

You know I love my Martha Stewart Bakers Twine. I hope you make every single present label by doing this. It’s going to be so special and it is an “extra” gift someone can keep.

Wishes they made Mac Laptop Chalkboard Cases,

Check out Martha’s original craft HERE  and you can purchase Martha Stewart’s Encyclopedia of Crafts here! 
CLICK HERE TO WATCH VIDEO  (me on the show!) 

 Click HERE to read all about it!!!

 IF YOU DECIDE TO DO ANY OF THE CRAFTS, SHOOT ME AN EMAIL AND I WILL ATTACH  IT TO THE POST WITH A LINK THAT GOES STRAIT TO YOUR BLOG!  IF YOU DON’T HAVE A BLOG JUST EMAIL IT TO ME AND I WILL PUT IT UP!!!!
Thanks to Martha Stewart crafts for sponsoring me with craft supplies!

    P.S. Don’t forget about my giveaway that ends on THURSDAY!!!!

Click on the picture to sign up!!!!

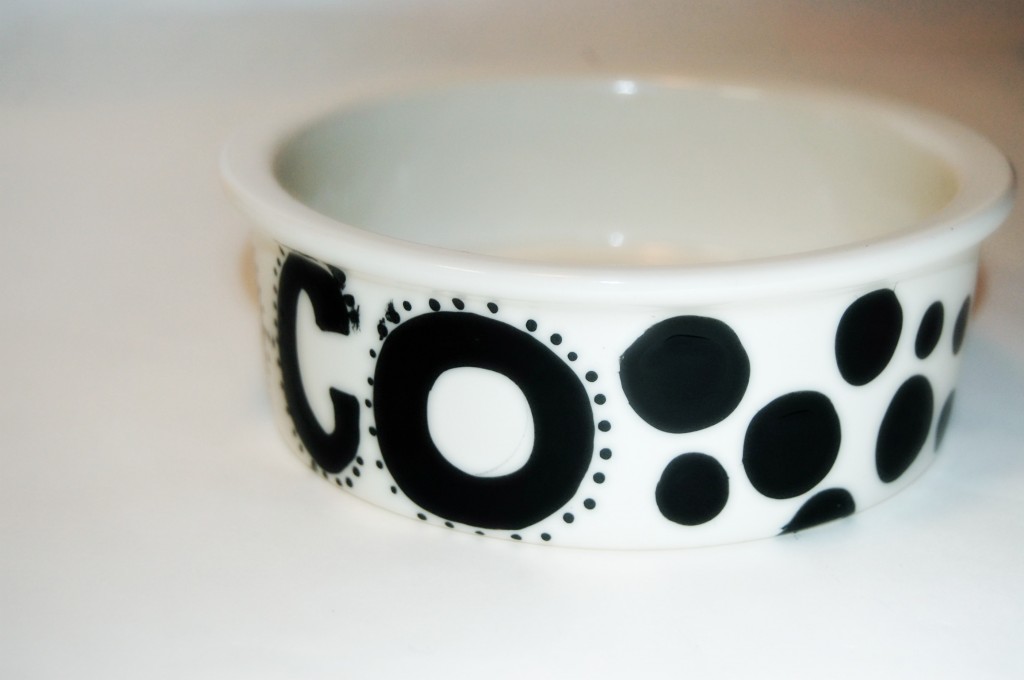
If you want to decorate your dog’s bowl in a very unique way then this is what you need! I have to tell ya, I did this baby twice. First time I did it just like Martha. I put it down to take a picture and Co ran up to it thinking I was putting “food” down. Yep it smeared all over her and ALL over the bowl. I tried to wipe it all off before it dried and I was not successful.  I had to change the look of the name. It’s a little more “bubbly” than I wanted but I had so much fun making it! 4 days left Jaderbugs till the 100 day’s of Martha is OVER! Can you believe I have been doing ONLY MARTHA STEWART crafts for 100 day’s! It feels crazy that I have not done Jaderbomb crafts in that time period. I guess I didn’t realize how much Martha would be involved in my life! I mean, if you thought I loved her then…Just think how much I love her now. I practically eat, drink and sleep Martha Stewart. You know what I am doing after the 10th? Sleeping. I might not step ONE foot into my studio for a couple of days jaderbugs. Momma’s tired!

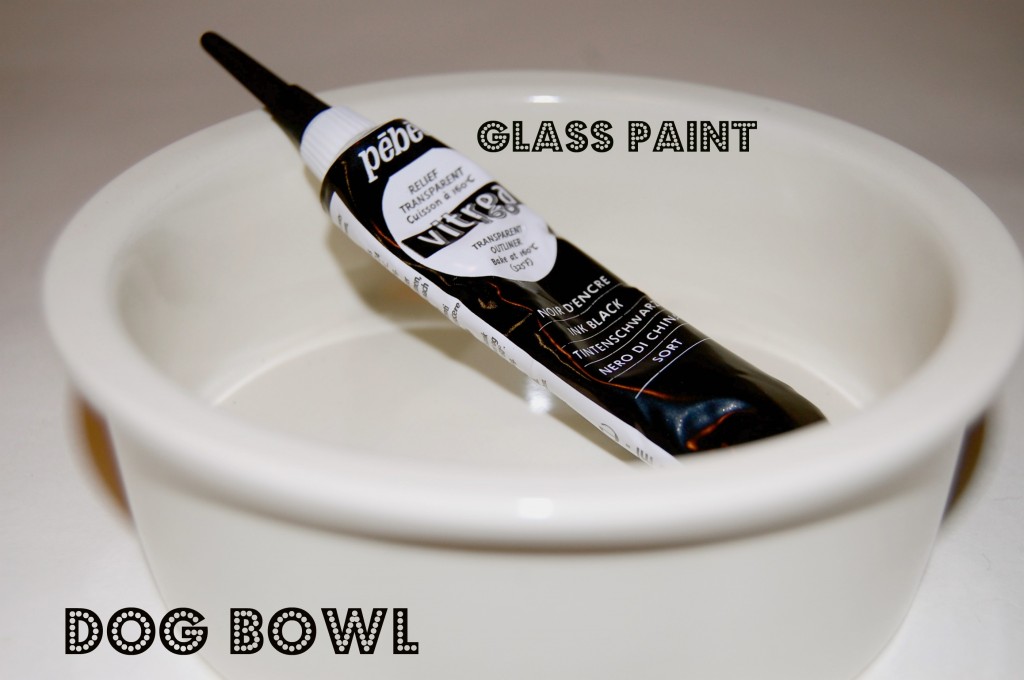
Ingredients: Ceramic bowl, Ceramic Paint.

I got my bowl at Pet Smart and it was only 4 bucks! My vitrea paint was purchased at Michaels! Links below…

Dog bowl. Vitrea paint. Remember, you can use ANY bowl that you have. It doesn’t have to be this one. I just liked this baby because it was plain.

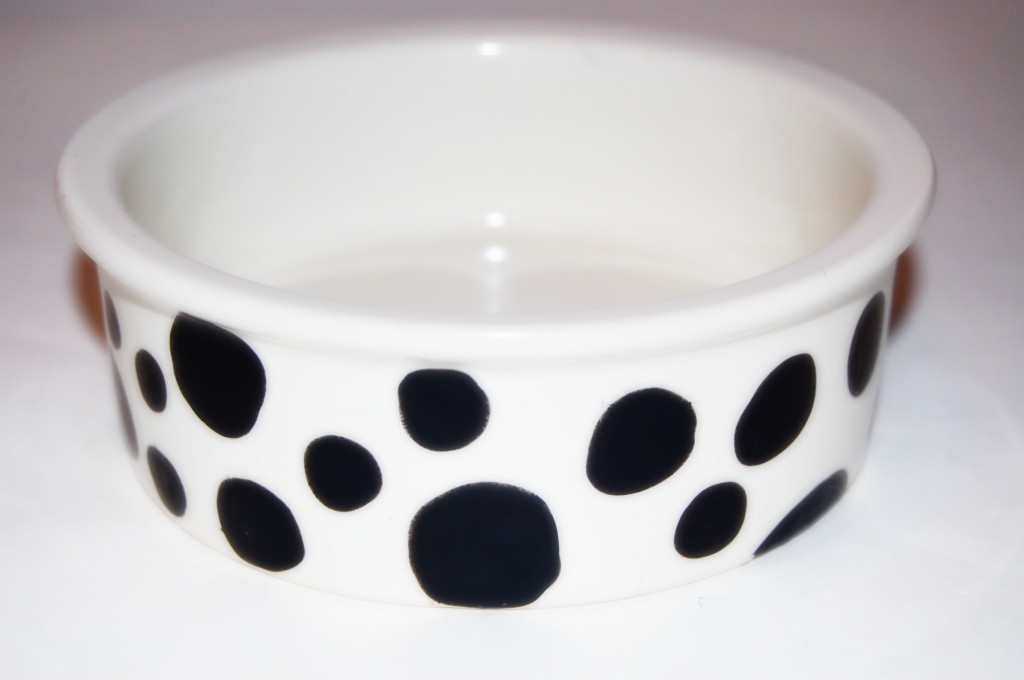
Sorry Jaderbugs that I only have 2 pics and not “in the process” pictures. Remember Co messed up my first one so I didn’t want to post pics of two different bowls. You can totally see how easy it is to do. When I first did it I used some carbon paper and applied her name onto the bowl using that. It just helps your image to go on strait. After Co messed it up I just painted big letters over it!

I also put TONS of polka dots because there were little black marks all over it. Can you imagine what Co looked like! Let’s just say she took a bath right after! I hope you have fun with this craft. Remember, if you want to make memories put the bowl down by your pet. HAHA~

Still loving on my ceramic paint eating dog, 

Check out Martha’s original craft HERE  and you can purchase Martha Stewart’s Encyclopedia of Crafts here!
CLICK HERE TO WATCH VIDEO  (me on the show!)

Click HERE to read all about it!!!
 IF YOU DECIDE TO DO ANY OF THE CRAFTS, SHOOT ME AN EMAIL AND I WILL ATTACH  IT TO THE POST WITH A LINK THAT GOES STRAIT TO YOUR BLOG!  IF YOU DON’T HAVE A BLOG JUST EMAIL IT TO ME AND I WILL PUT IT UP!!!!
Thanks to Martha Stewart crafts for sponsoring me with craft supplies!

   P.S. Don’t forget about my giveaway that ends on THURSDAY!!!!Click on the picture to sign up!!!!