Tag Archives: red

Happy Monday Y’all!!! Today is the day I show you what I created with the new Make Market line from Michaels! Yes my friends at Michaels just knew I would create some rad project and I am super excited to share with you what I came up with!

Let’s be real. You can’t go wrong with flowers and a glue gun, hehe!
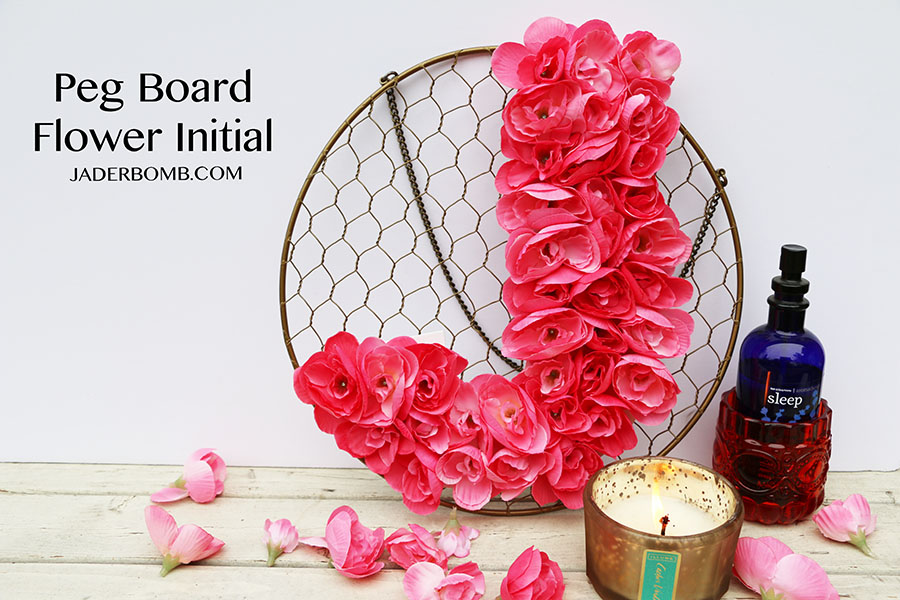
peg board flower initial

BOHO CRAFTS

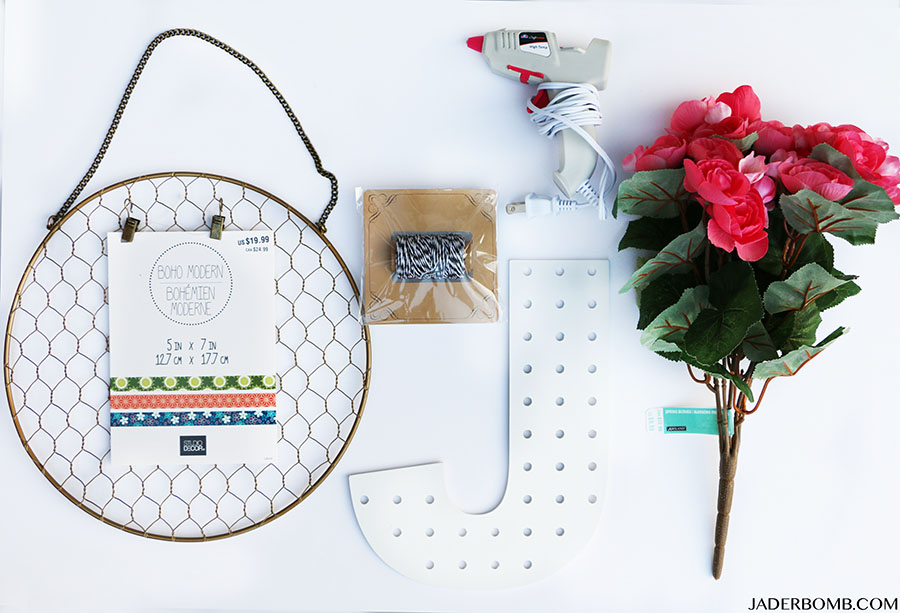
YOU WILL NEED: Peg Board Letter | Artificial Flowers | Glue Gun | BoHo Decorative Screen | Twine (optional)

  • The best part about crafting is putting your own spin on a project. Whether it’s decorating with marquee lights or crafting an initial that represents your family name, Michaels has made it easy with their new Alphabet Soup by Make Market™ line of products.
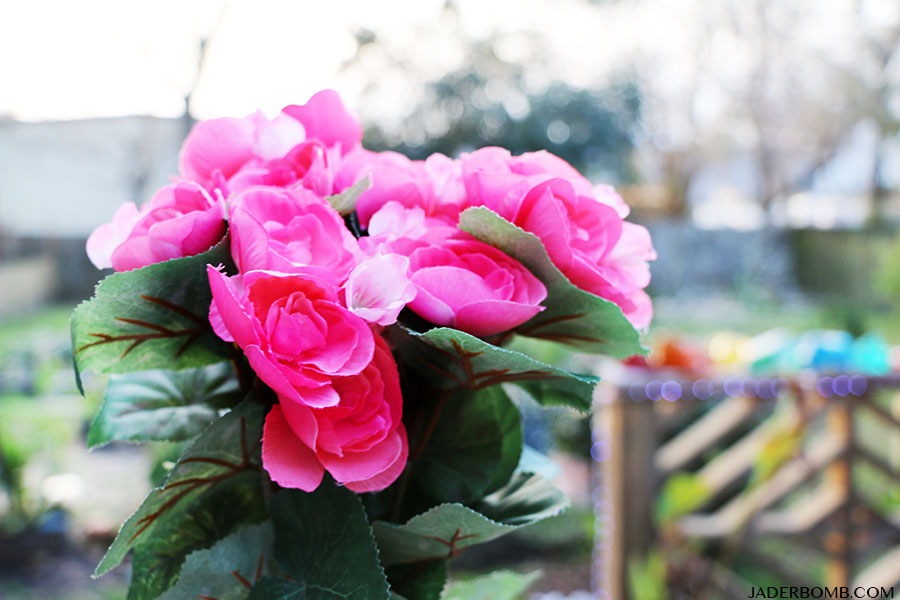
flower diy

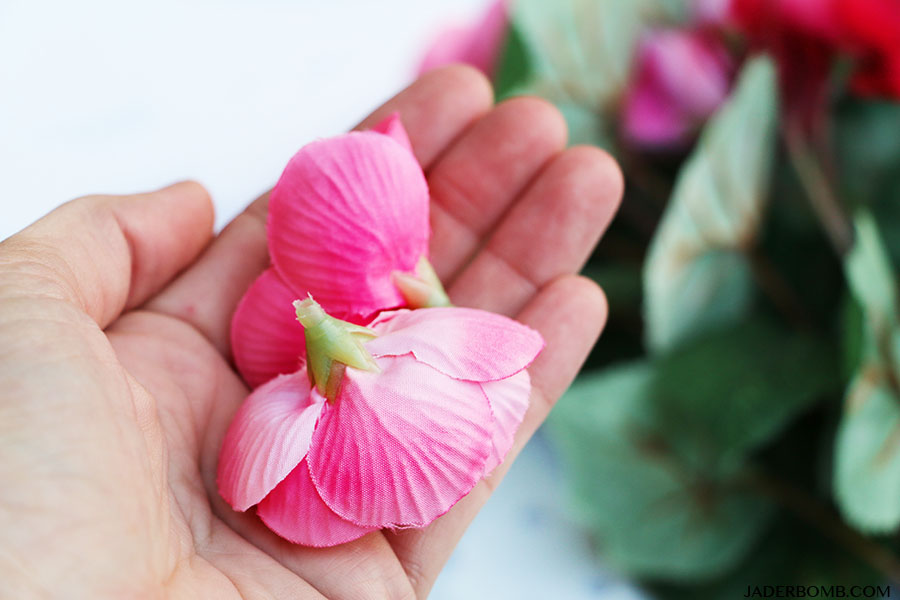
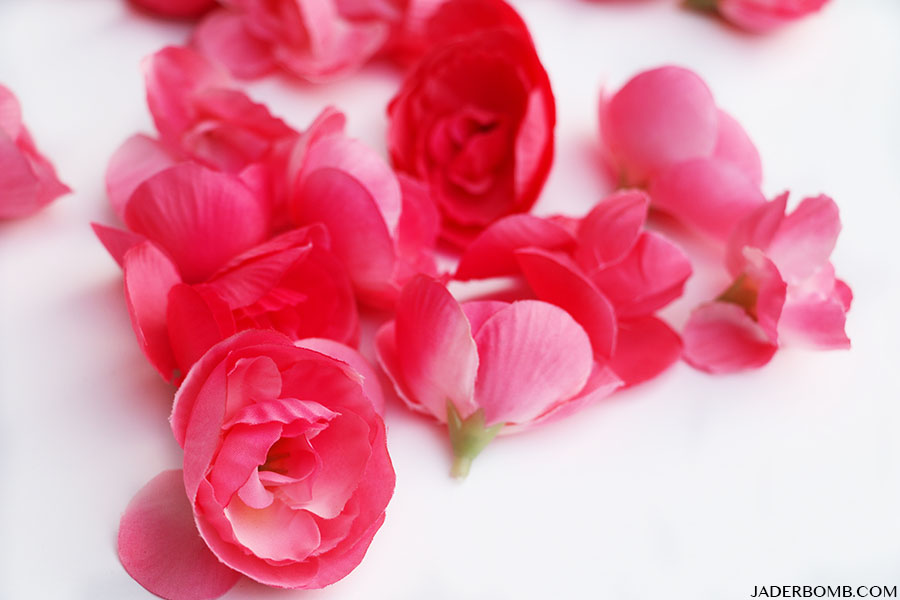
Step One: Pull flowers off of stem.michaels makers projects

flower projects

Step Two: Add a drop of hot glue around the bottom of flower. love diy
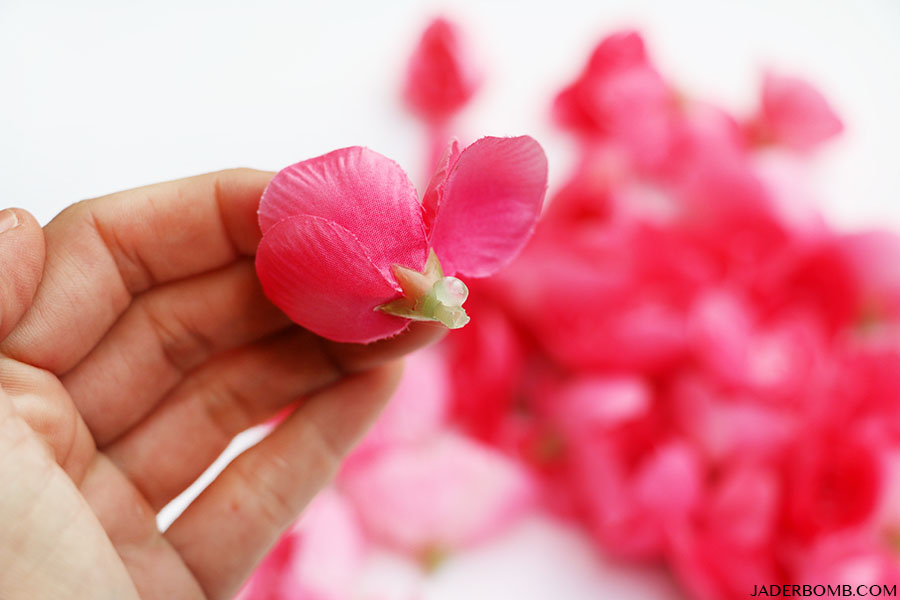
Step Three: Place flower in peg board hole. valentines day diy
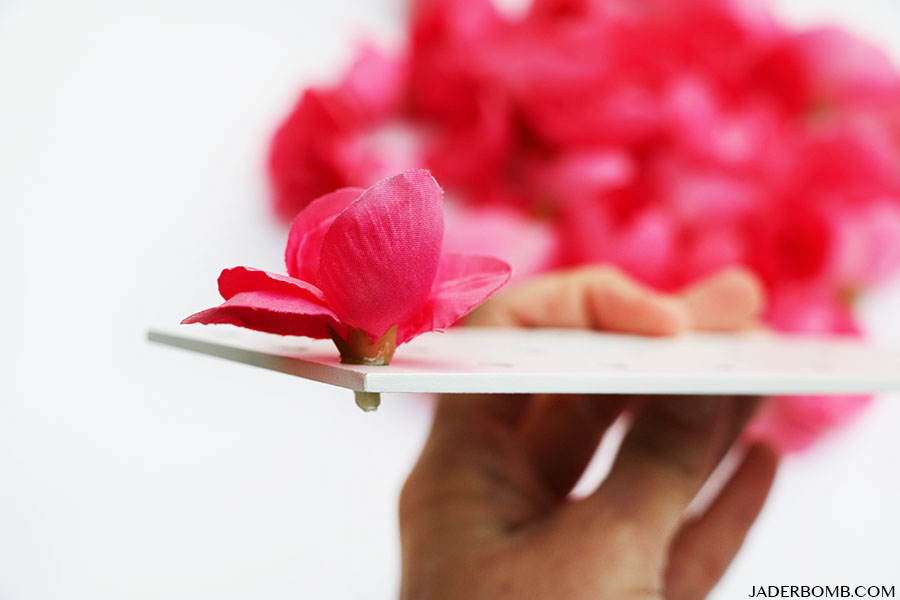
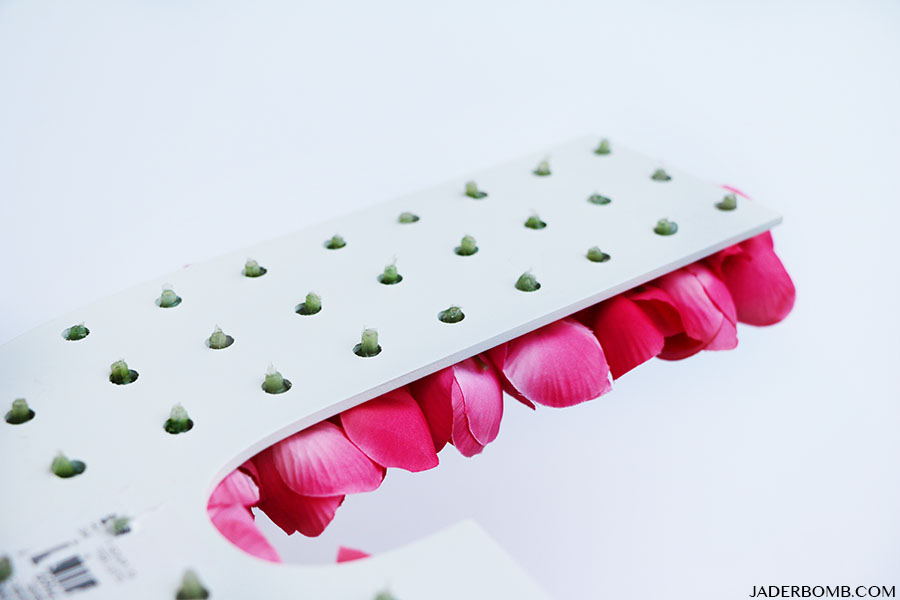
The back will look like this. If you plan on putting this on a wall when you are finished with all of the flowers you can trim the backs so it fits flush against the wall.
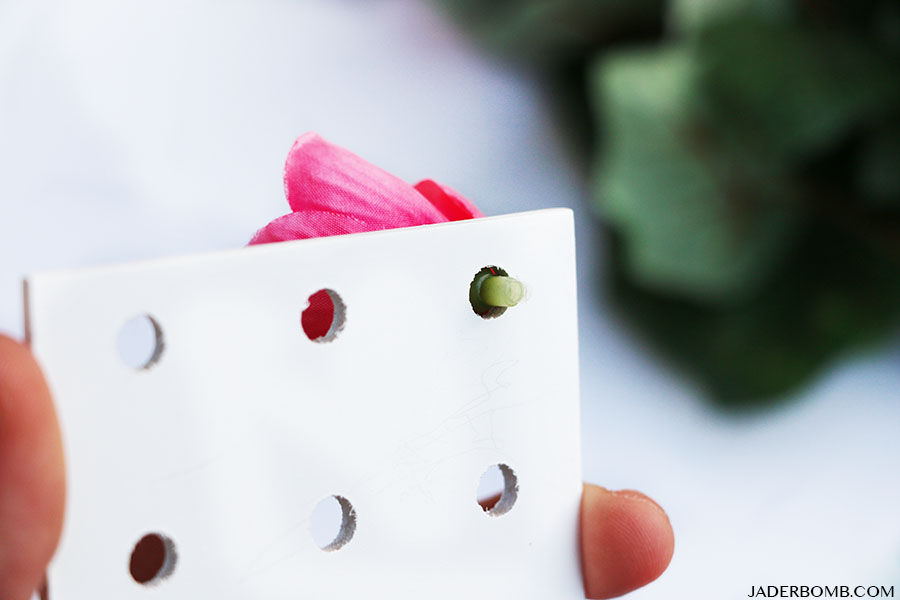
pink crafts

I am so in love with this letter already. How cool would a the entire alphabet look on a wall!
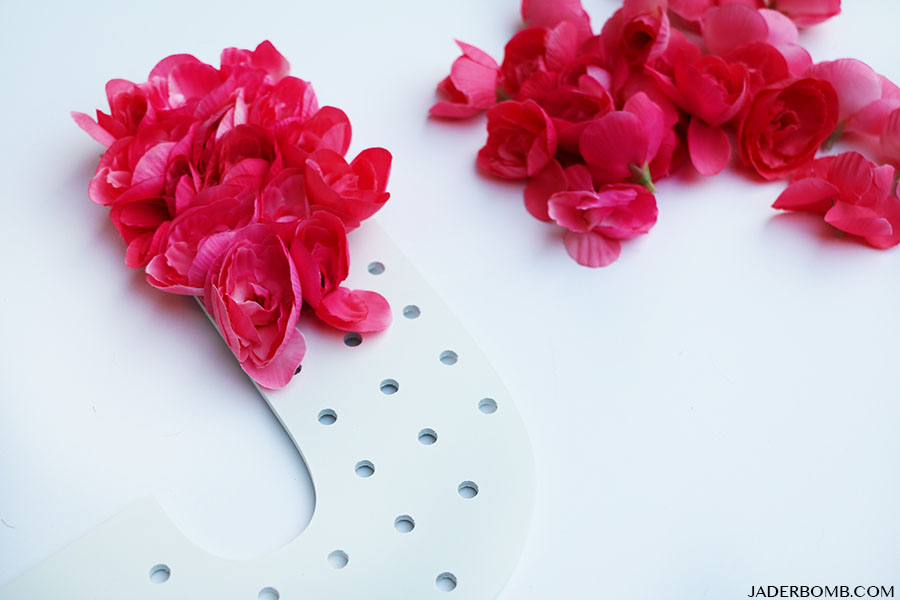
valentines day gifts

I am putting my letter on top of a screen so I am not worried about cutting the backs of the flowers. valentines day projects
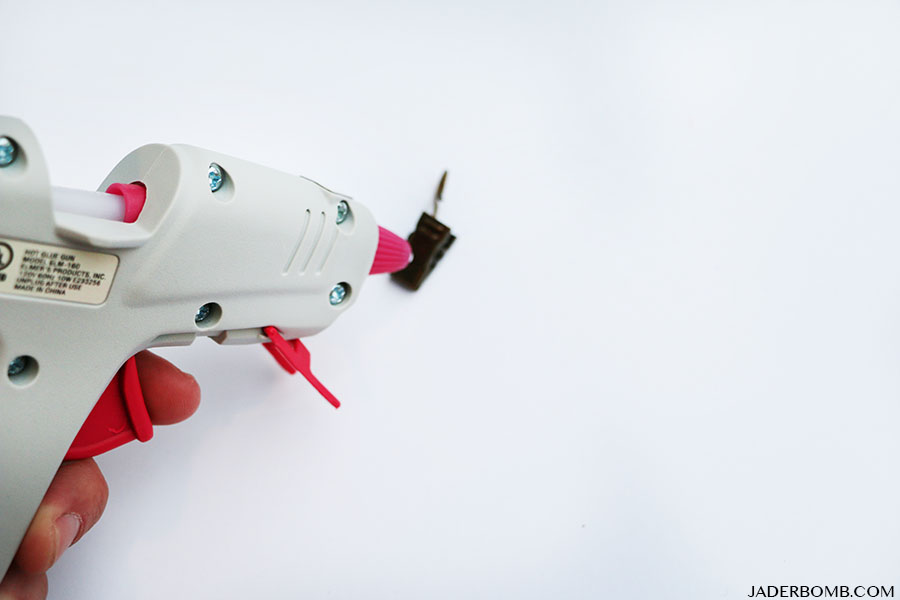
Grab a little hook (btw this came on my boho screen that I got from Michaels as well) and add hot glue to one side of it. glue gun projects
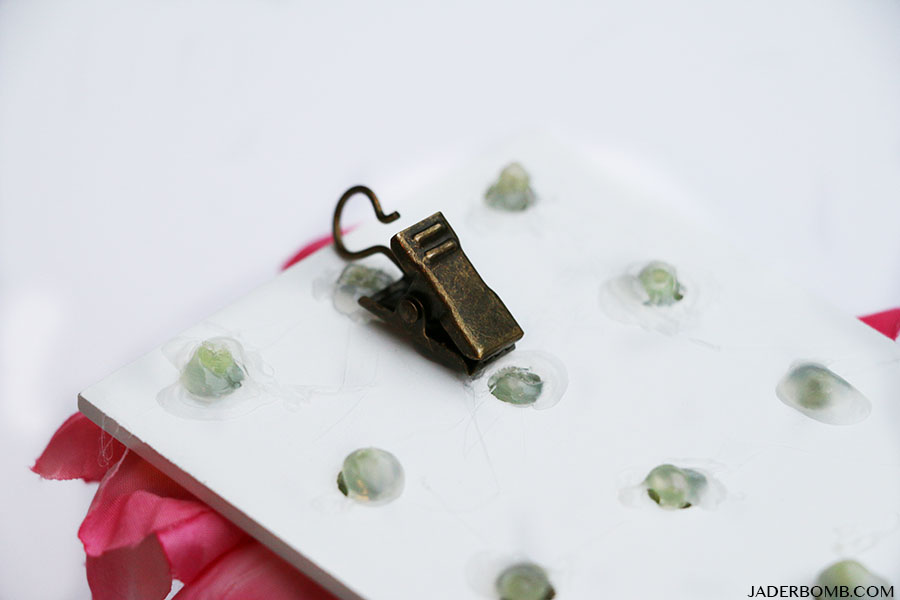
Step Four: Stick hook on back of letter. Leave it be for a hot minute to dry completely. easy flower projects
  • This collection of surfaces, letters, frames and more come in modern, eclectic or rustic styles. From natural and finished woods, to a variety of metals, resin and patterned styles, the possibilities are endless.
valentines ideas

michaels make marketFebruary Challenge Creative

I hope you enjoyed this project! Make sure to click HERE to check out all of my Michaels posts!

  • If you don’t know where to begin, you can always take a look at some of the fun projects on Michaels.com or the other 49 Makers’ ideas on The Glue String for to see how they personalized their crafts


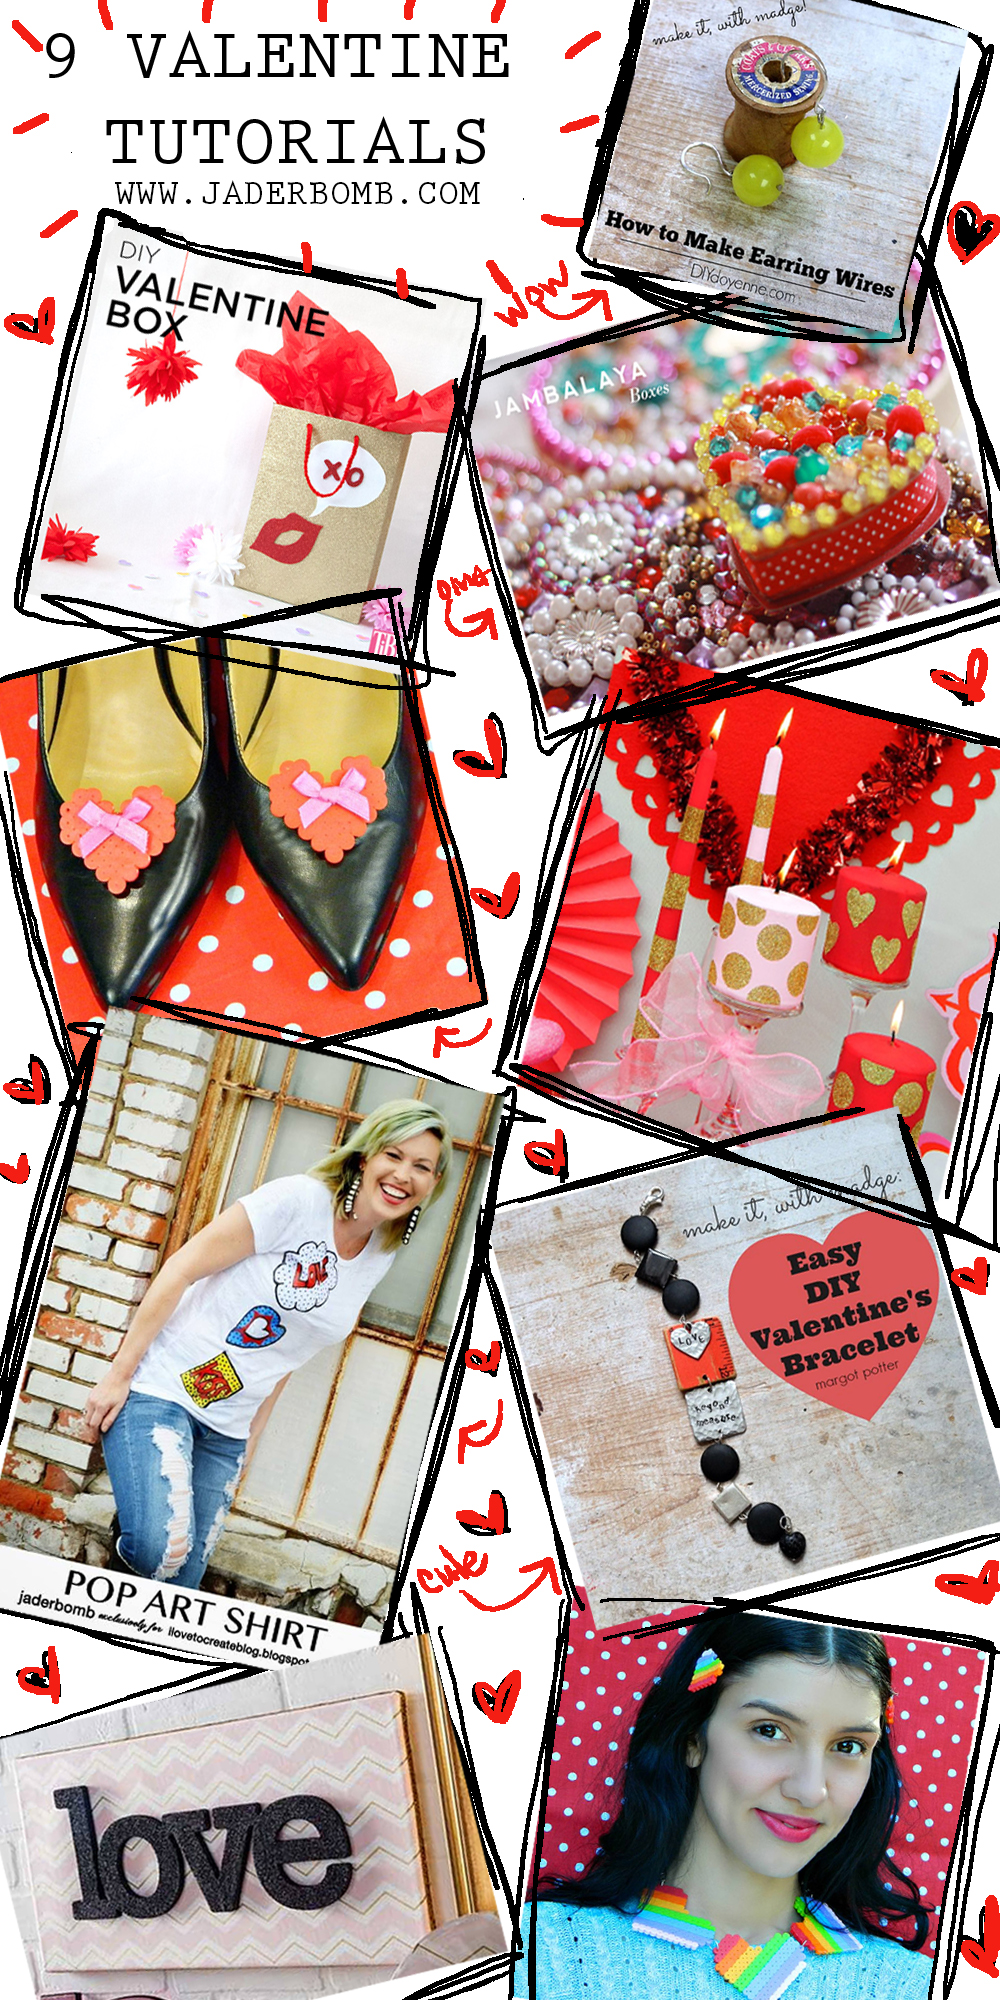
Happy Thurs-DIY! This week we have 9 VALENTINE DIY PROJECTS  all piled into one and trust me you will want to make all of them at one time! Don’t forget to share the LOVE ♥9 VALENTINE DIY'SI had to start off first with these Jambalaya Boxes from Aunt Peaches. Considering I live in the dirty South and we eat Jambalaya all the time! REPRESENTTTTT. HEHEamanda_1
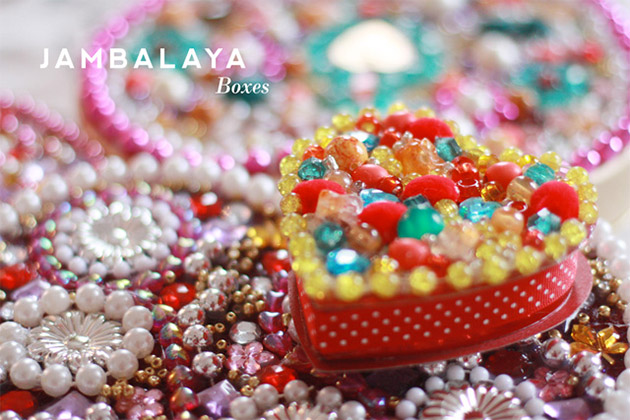
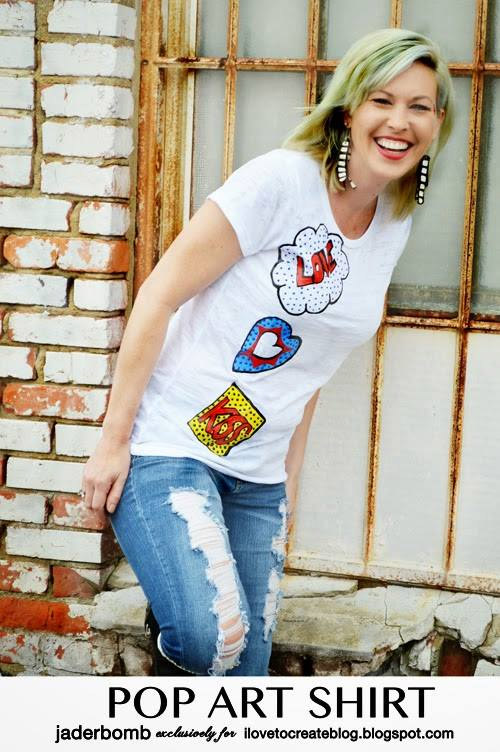
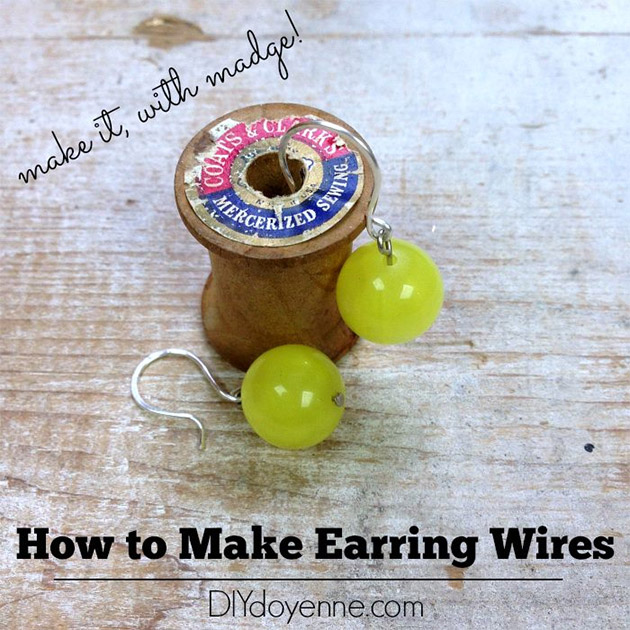
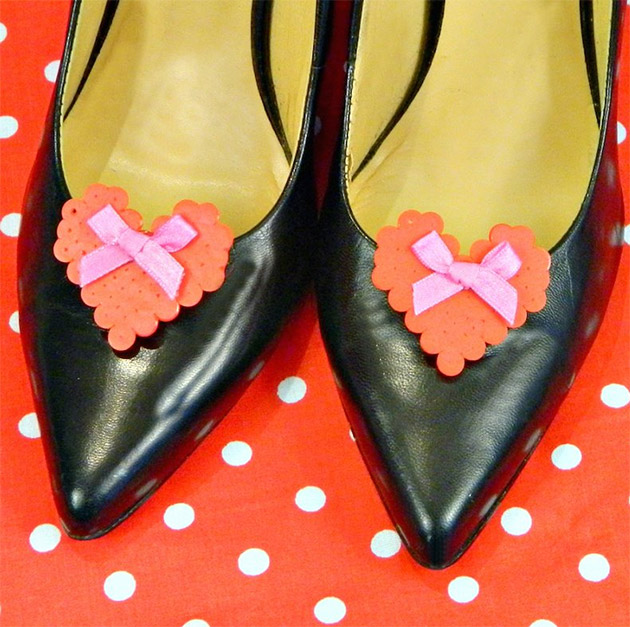
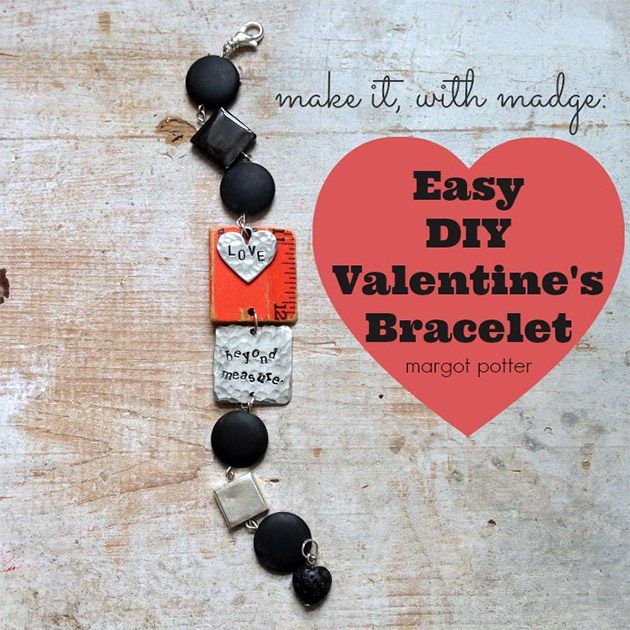
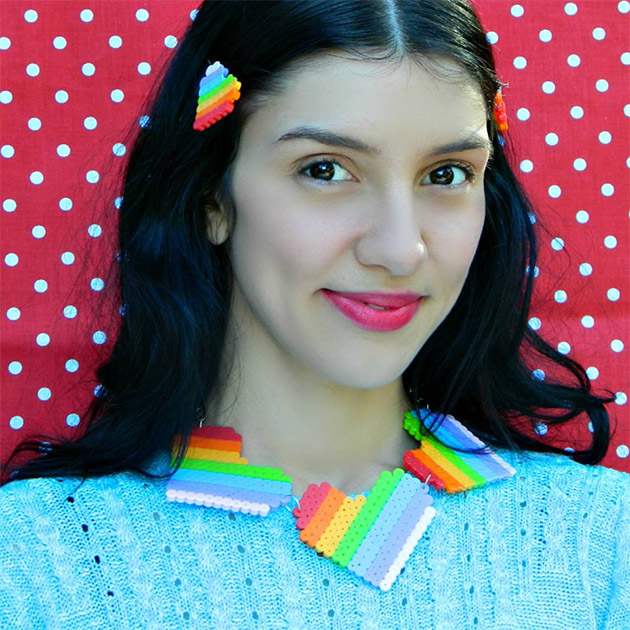
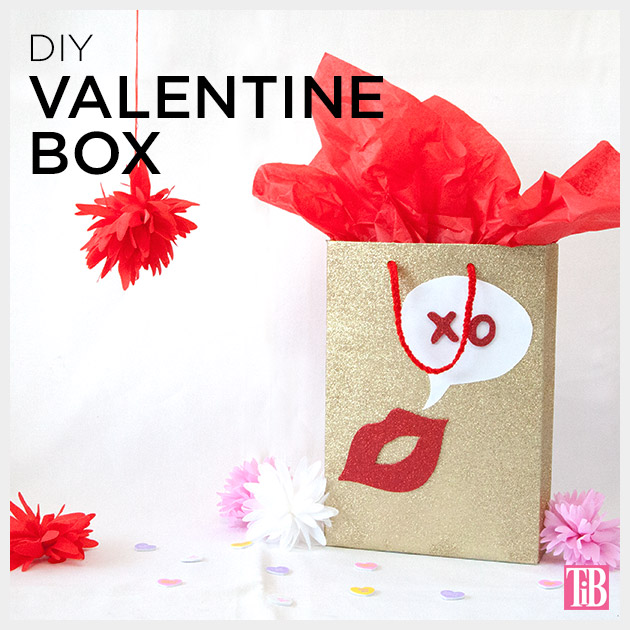
Come check out my  Pop Art Shirt I created with dimensional fabric paint. I think this is perfect!jade_1Learn how to make your own earring wires? Madge has the tutorial you’ve been looking for!margot_1Margot Potter takes an old ruler and spices it up with some metal love! The special charm takes this  Easy DIY Valentine’s Bracelet to the next level!margot Mark Montano shows us how to make fabulous heart jewelry using perler beads! Warning this will be addicting. mark_1mark_2 These Valentine’s Day Candles from Mark Montano will make someone happy on this loving holiday!markHave fun and create your own fun DIY Valentine’s Box for you or the kiddos with this tutorial. I think glittery paper would be a hit also!valentines-box-DIY
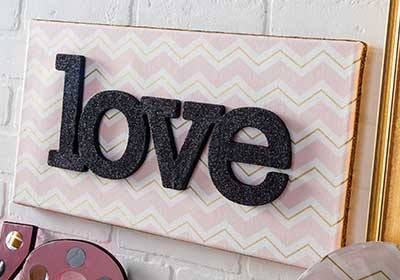
Fall in love with this Easy Mod Podge Love Wall Art by Cathie and Steve. I can already see bright whimsical backgrounds in my near future. cathie

Don’t forget to connect on social media! Make sure to use use the hashtag #JADERBOMB on Instagramor Twitter or Facebookso I can keep track of all your awesome creations! HAVE A GLITTERY DAY! ♥, Jade

P.S. If you LOVE printables then check out my site where you can download hundreds of FREE printables!

Happy almost Fourth of July!!! I know. It’s still June but it’s early enough to start putting out the RED,WHITE & BLUE! I have to admit, I am not really a Fourth of July fan. I mean. Let me clarify that. I am not a HUGE fan of decorating in RED, WHITE & BLUE. Maybe one or two things, or three. But that’s it.

I ran across these clear glass plates at Wal-Mart and could not pass them up! Did I know at the time what I was using them for? Of course not. You didn’t know that’s how it works with craft bloggers? After so long we sorta become mini hoarders. Why do you think when it’s time for a party everyone goes to the crafter. They know they will have whatever they are looking for. Chances are your crafter friends will just say this…“nah, go ahead and take that and that… and that..I have plenty more”

BAM. SCORE. (teeheheee)

Let’s get to crafting!

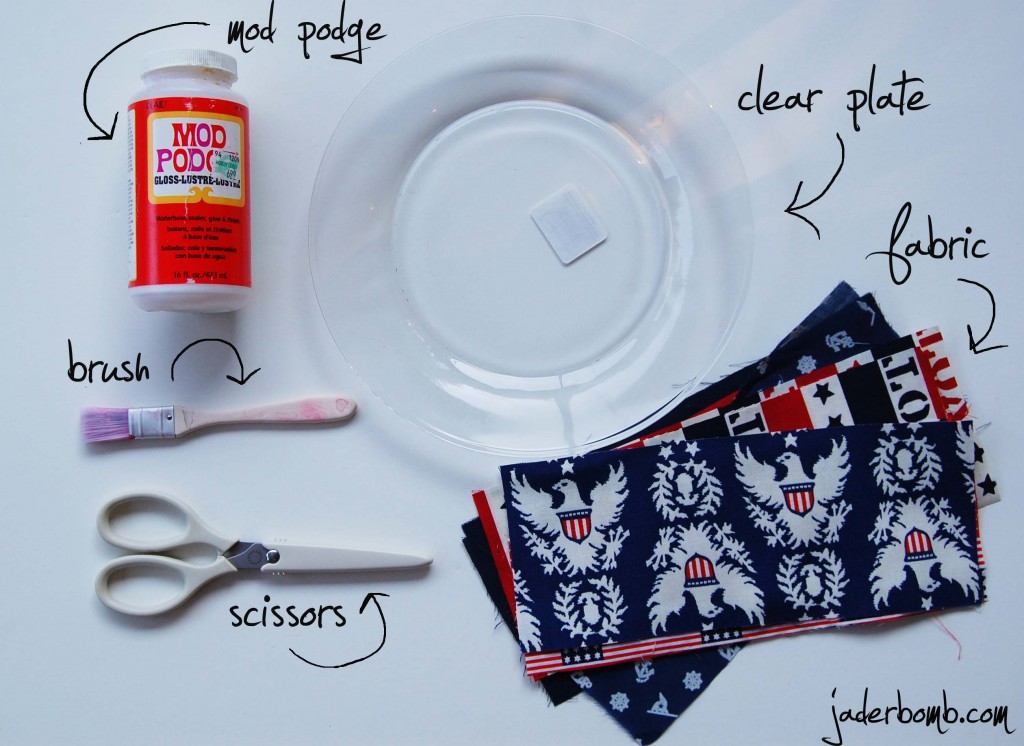
INGREDIENTS:

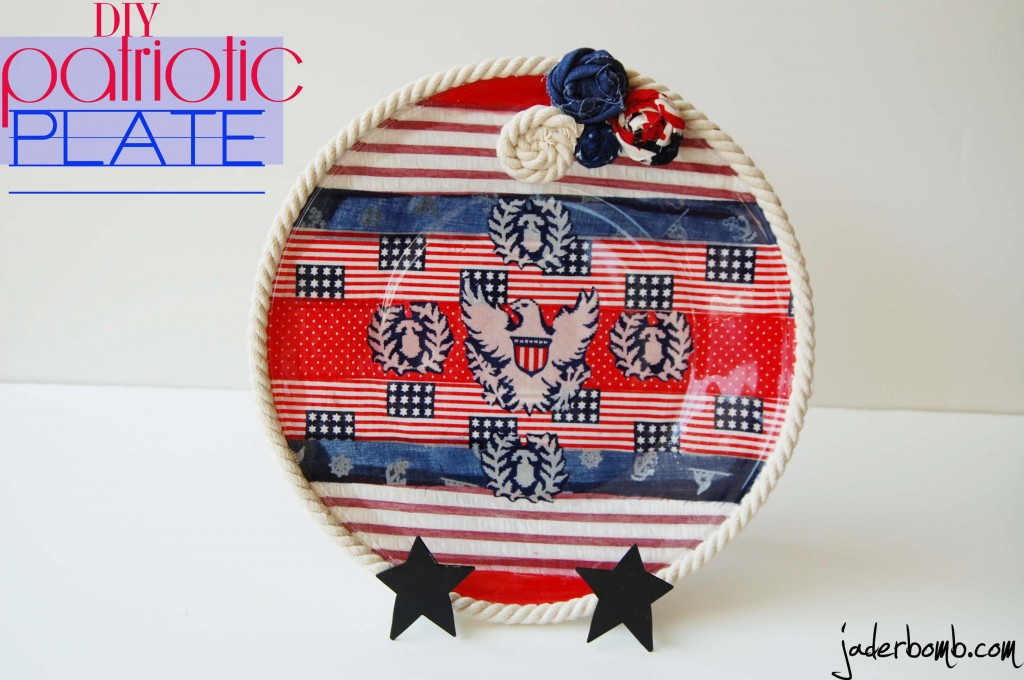
If you want to use other fabric you sure can! You can use the same in this tutorial and make your own awesome plate! You can make it match your room or give it as a gift!

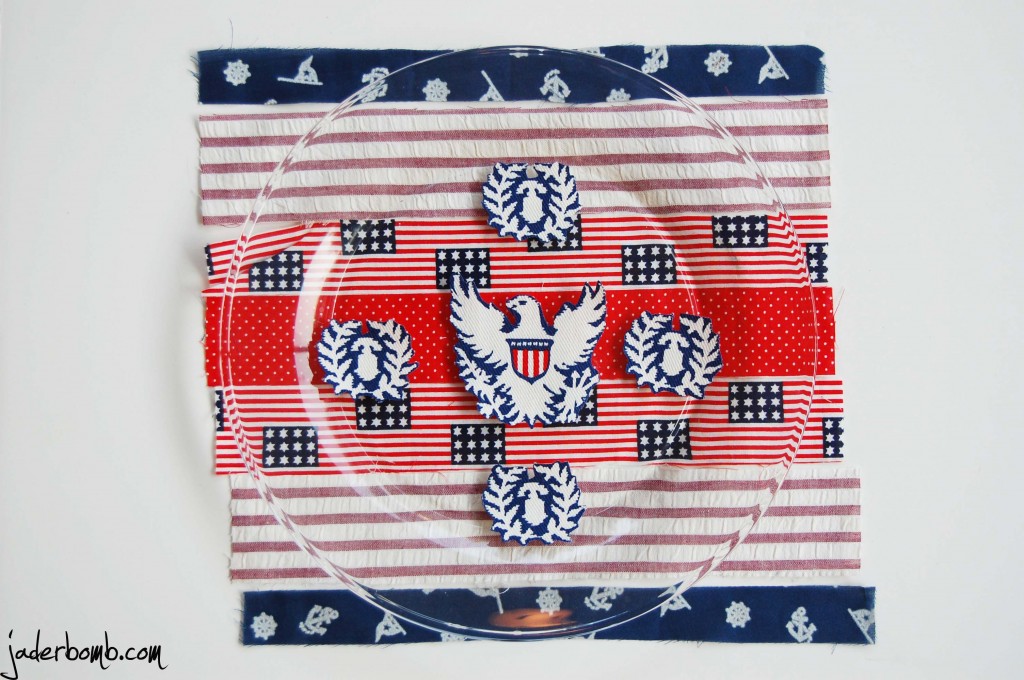
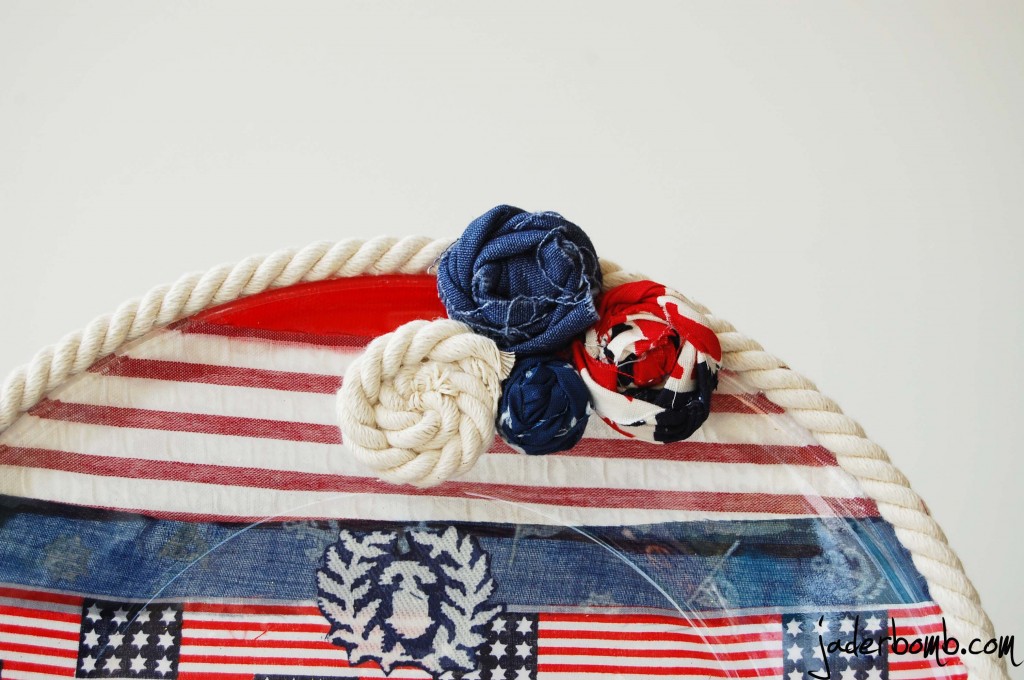
Start by cutting out your strips they way you want them and place them under the plate. You can arrange them as much as you like until you are happy with they way it looks. Those four little images on top of the plate I cut out of fabric. You can use anything for the center of the plate I just really liked the way this looked! I found a piece of fabric with these designs on them and fell in love!

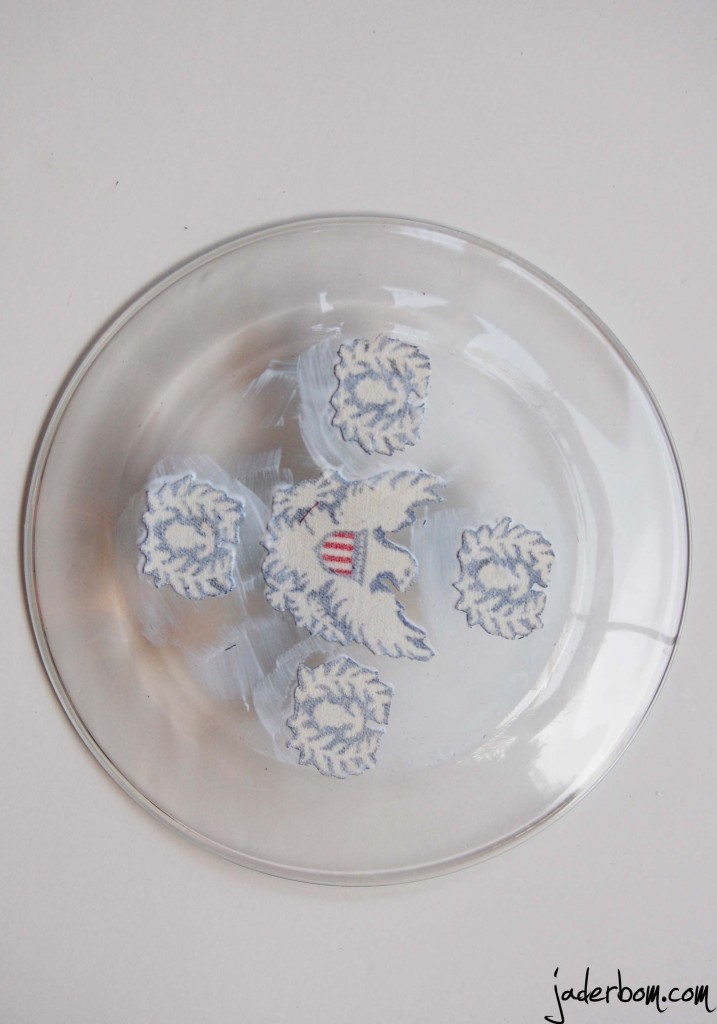
Apply a small amount of Mod Podge on the back of plate then stick down your images you want as your focal point. Make sure you put these face down, not face up! After you stick them on the plate apply another small amount of Mod Podge to the back of them. Fun EY! Oh, I will be doing a review this week of my friend Amy’s book MOD PODGE ROCKS! I will be doing a giveaway also!!! {insert a high pitch scream)

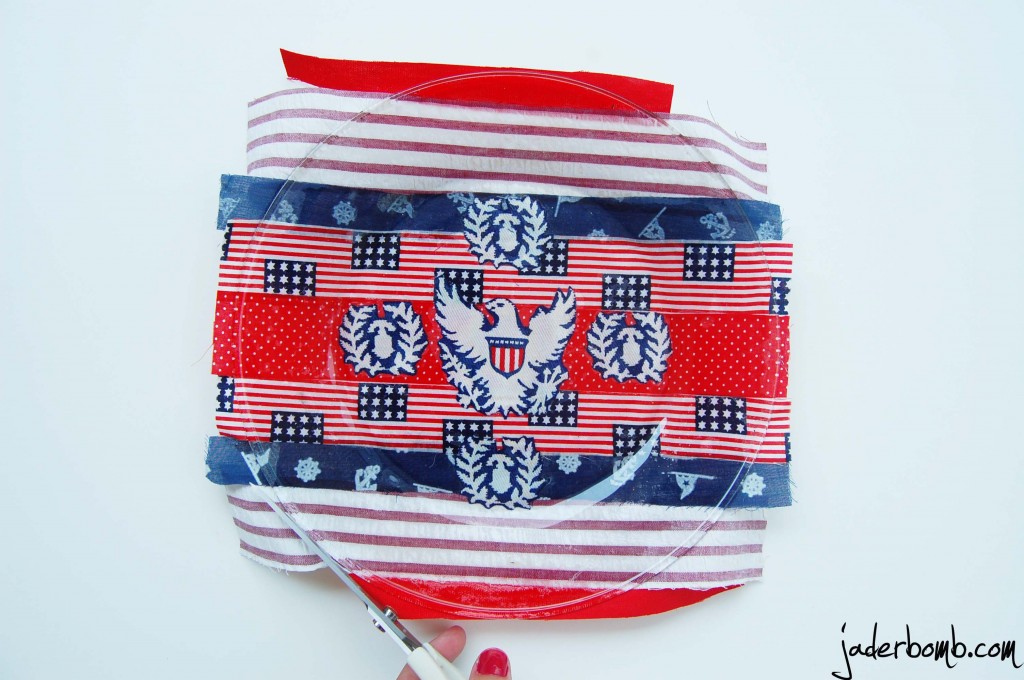
Apply all of your strips to the plate while it’s faced down. Remember you want to do all of your images face down if you are looking at the back of the plate. After you let it dry (about 3 hours) get some fabric scissors and cut the edges. I love my Martha Stewart all purpose scissors! They cut ANYTHING!!!!

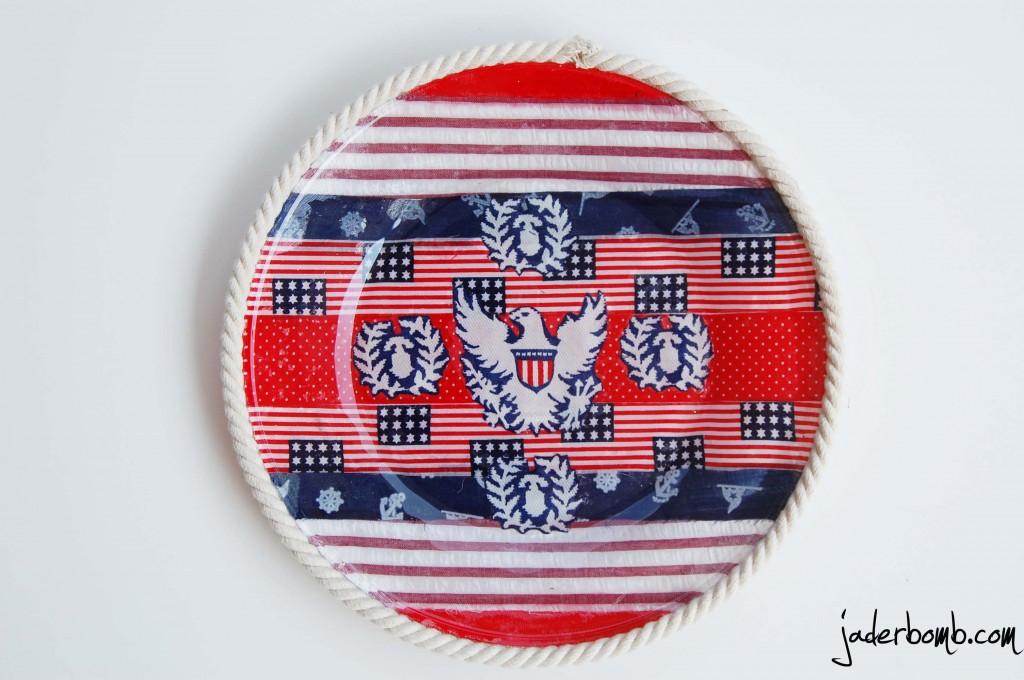
After you trim the edges you can dress it up by adding some fun things to the edge of the plate. I thought this fun rope would add a whimsical touch to my plate! I bought it from Michael’s craft store and it was NOT expensive!

I made a few fabric Rosettes to also dress it up. If you want me to do a tutorial on how to make a Rosette please leave a comment below or let me know on facebook!!!! Seriously. This is CRAZY CUTE!
I hope this gives you loads and loads of inspiration that will be bursting out of your brain like fireworks! 
If you want to find more jaderbomb love check me out in these places!!!


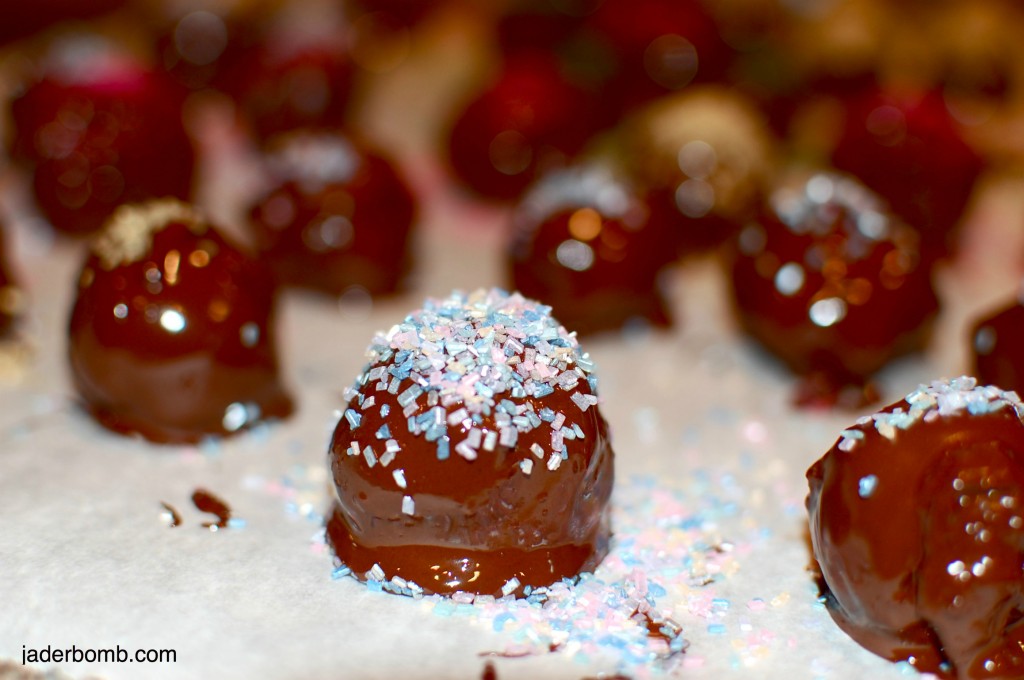
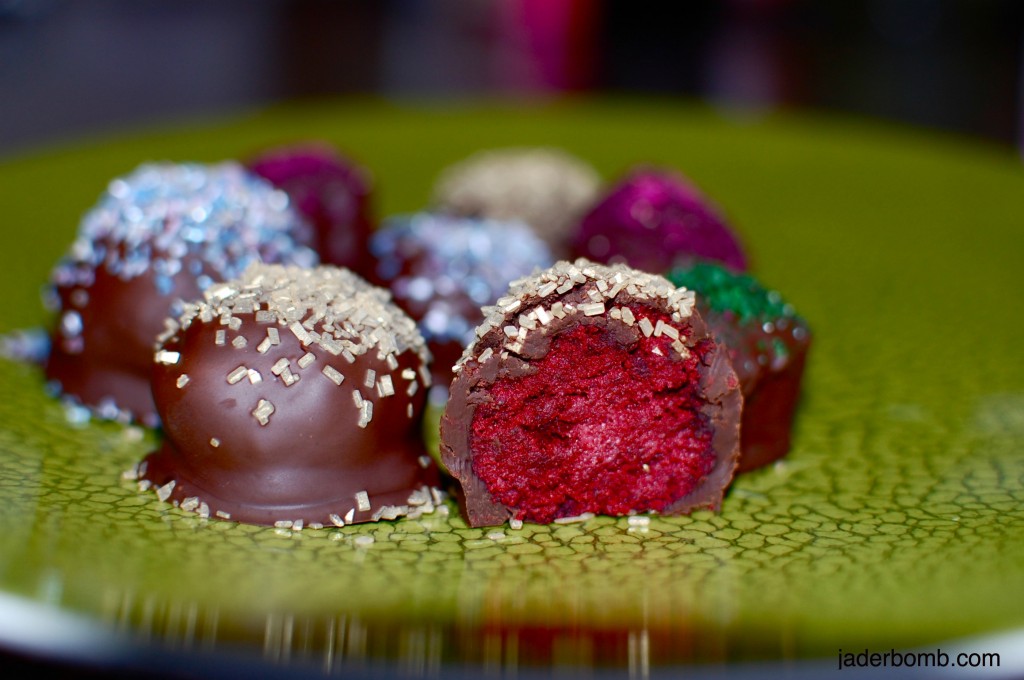
Red Velvet Cake Balls – RECIPE

Oh my, CHRISTMAS pie! I hope everyone is sitting all warm (inside of your soul) and cozy with loved ones and laughing and giggling about anything and everything. At-least that is what I WISH! I know today might not have been the best day ever but guess what….even the worst day is great at long as you look at what you HAVE and not what you DON’T have….Right!

I have been melting into the heart’s of my loved ones, that is why I sorta been missing for the last couple of days. But get ready for the new year because I have LOT’S of awesome and fun things coming to you. Can you believe it’s almost 2012…. WHAT THUH!!!!

2012

I seriously feel like I have gained like a billion pounds in the last couple of days eating food over and over and over again. Did I mention SWEETS! Seester and I have been baking and cooking SO much it’s crazy! I never realized how much fun rolling cake around in my hands were! Going get cozy in my cozy chair in my cozy house.

RED VELVET CAKE BALLS 


You can absolutely use a cake mix (in a box) for this or make a homemade cake. Either way is YUMMY!!!

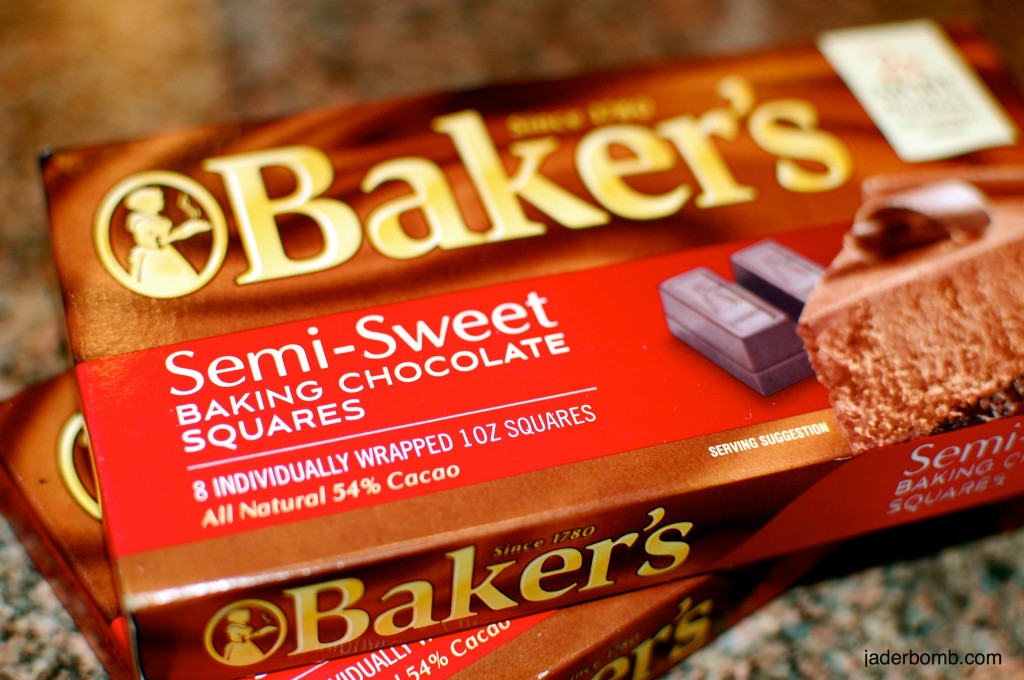
Get some baking chocolate. I like this kind but you can use ANY kind you like. {I think ANY chocolate would be good, right!}

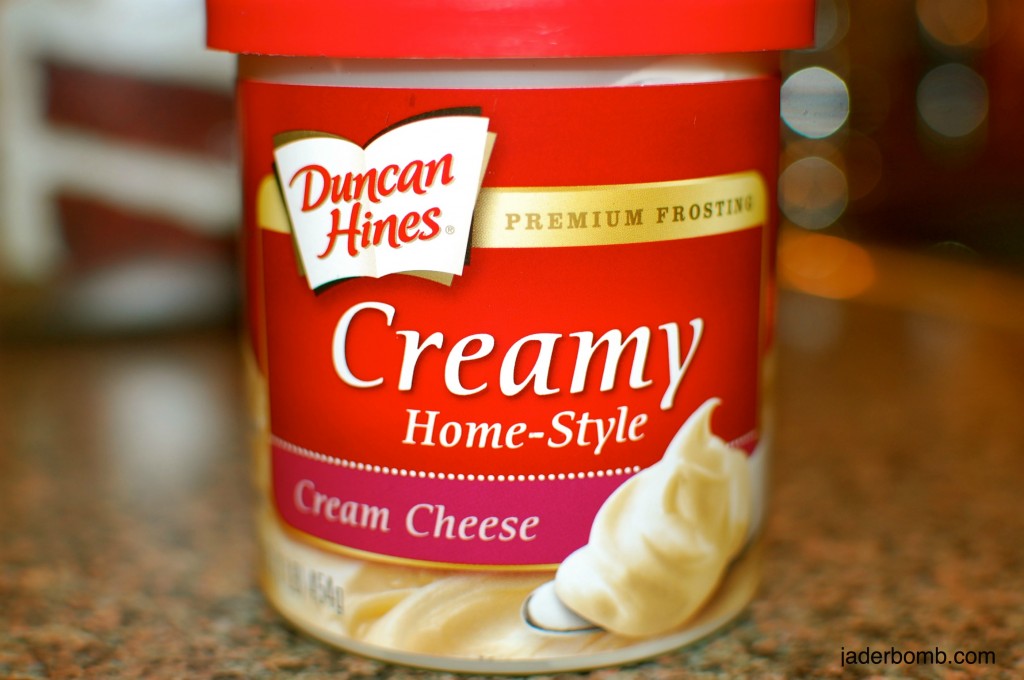
You will need a tub of  *Creamy Home-Style Cream Cheese*

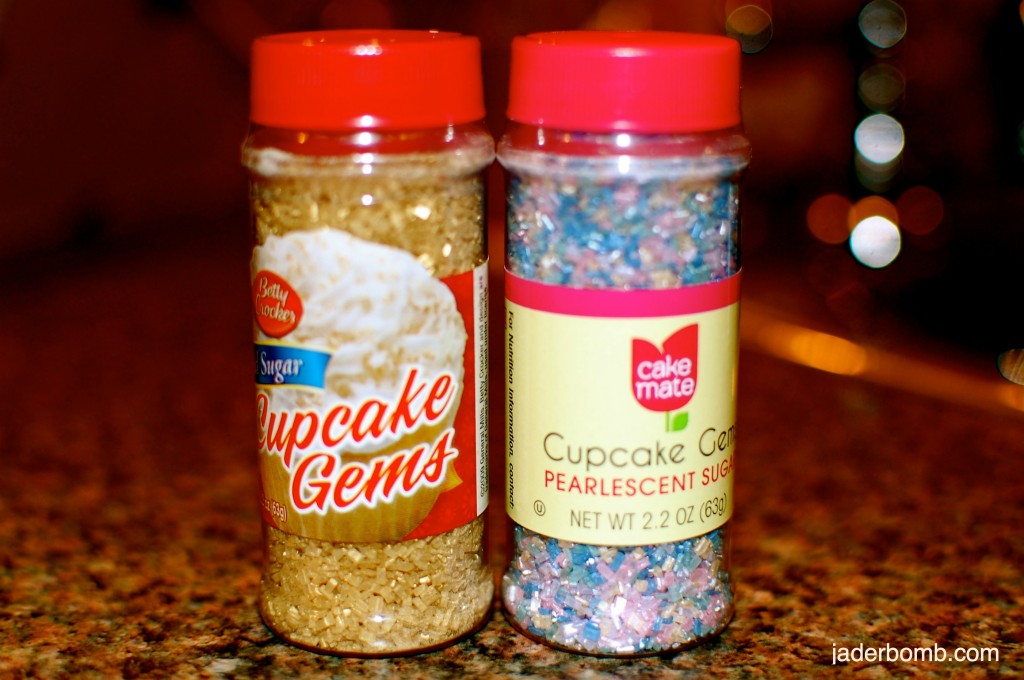
The fun part is picking out all of the fun things that will go on top of them. I liked the GOLD because it reminds me of NEW YEAR’S!!! (plus, I love GOLD)

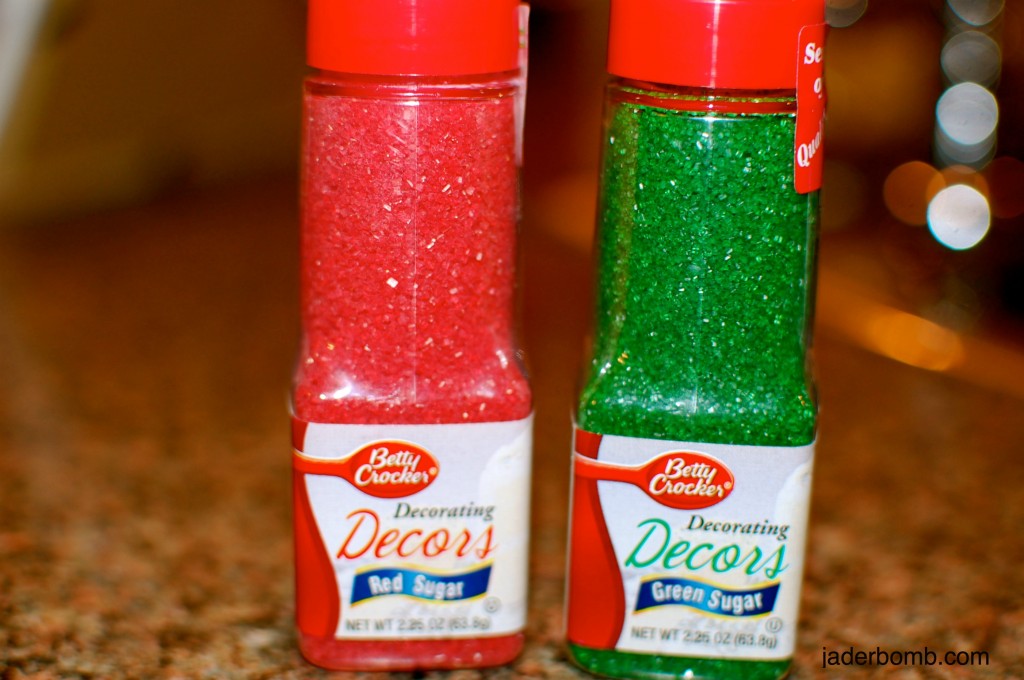
We just had to get *red and gold* since it was the holidays! I love bright and bold colors but there is NOTHING like RED and GREEN. These two colors bring me right back to being a kid.

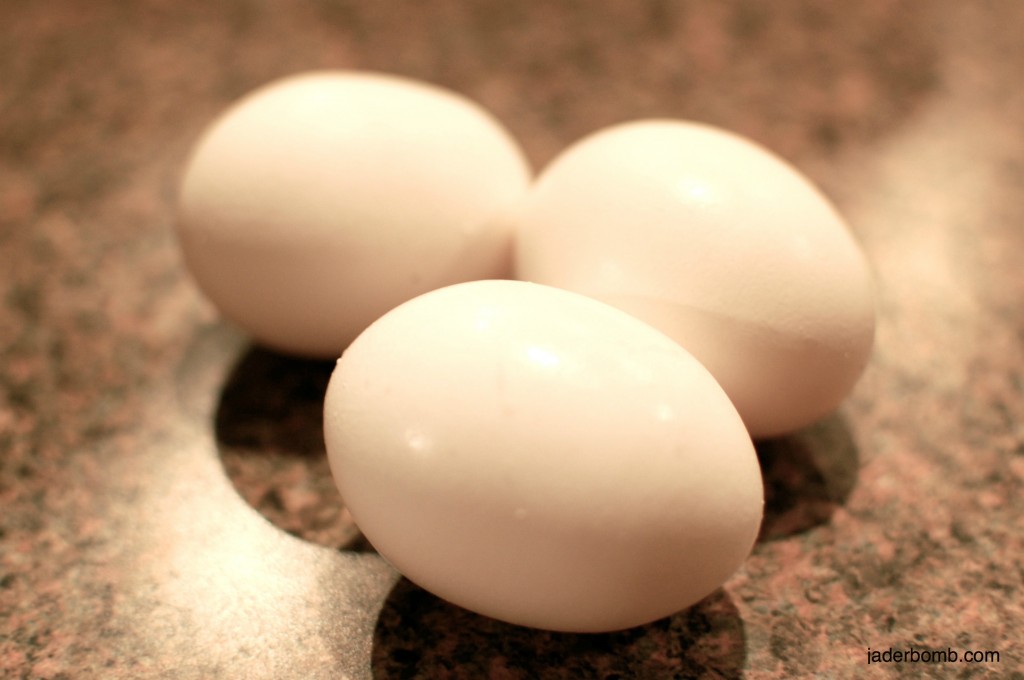
Get three eggs ( I use the LARGE ones)

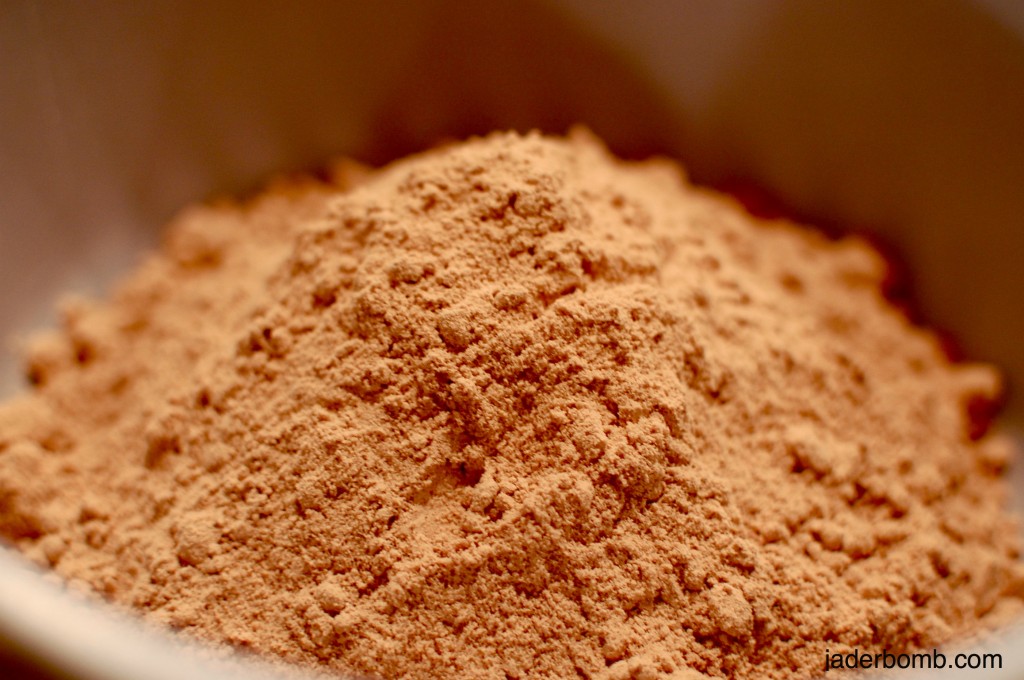
Pour the cake mix into a bowl

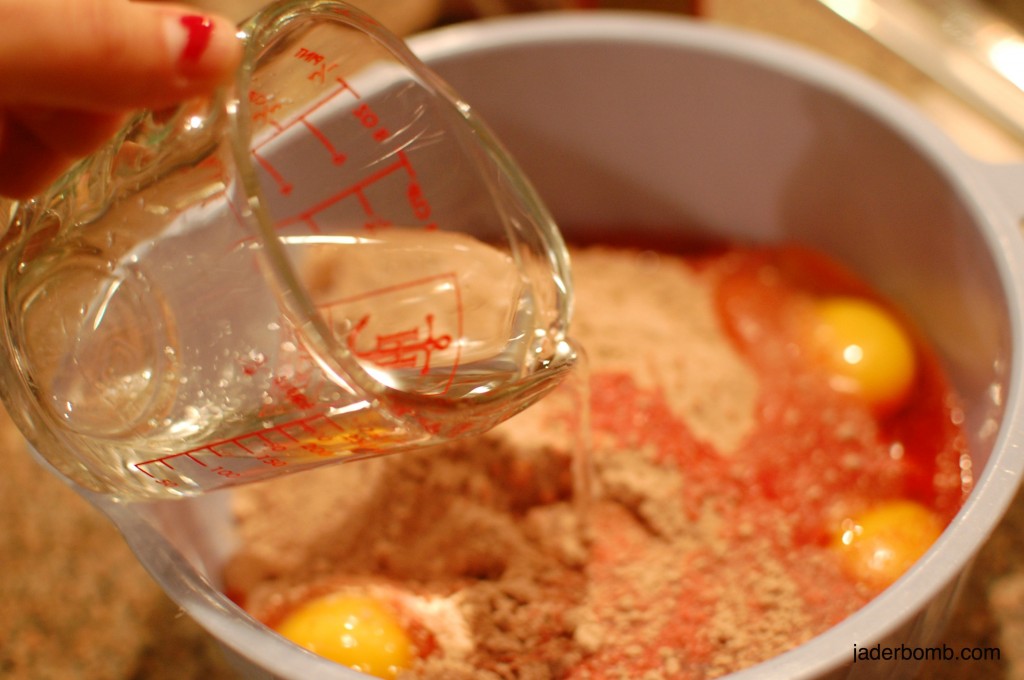
Add your eggs and oil into the cake mix. Just put however much oil the box says to put

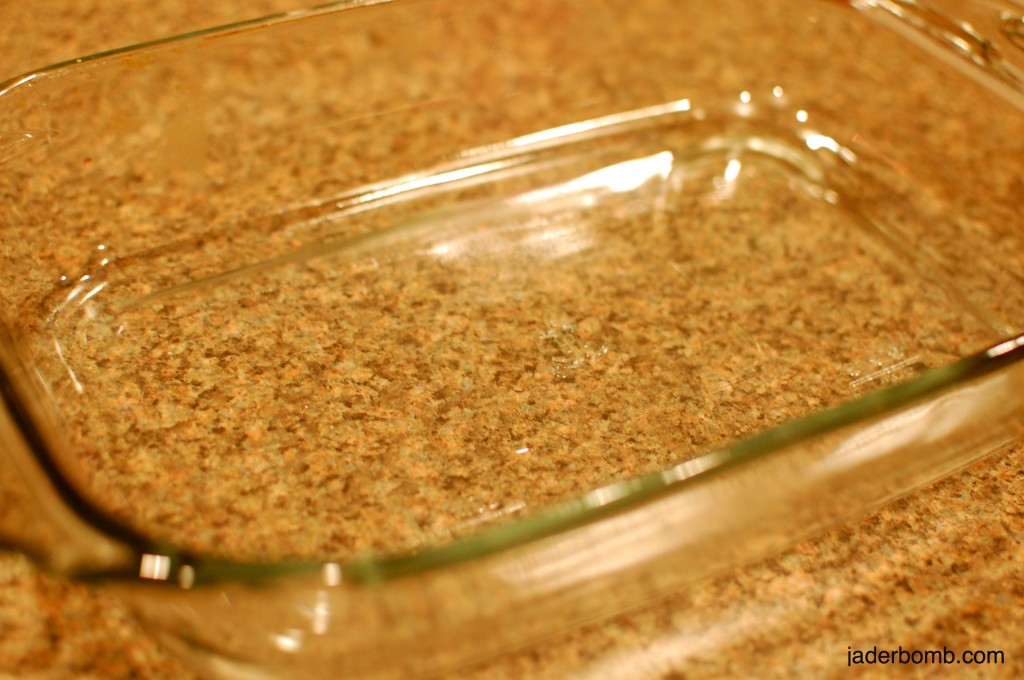
Get a baking dish ( I love using glass)

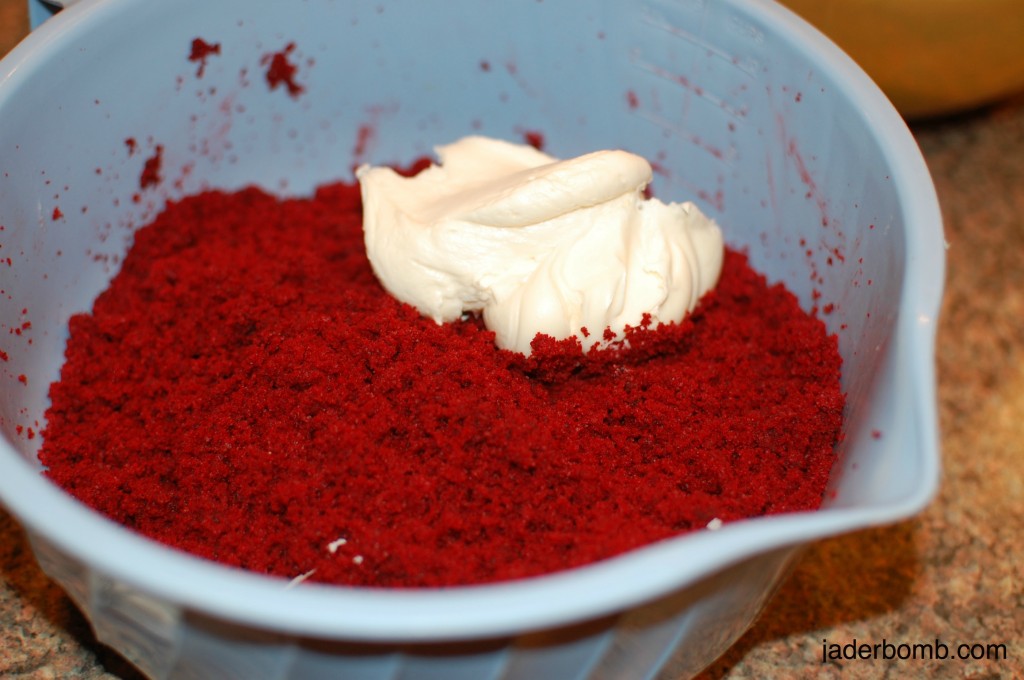
After you bake your cake crumble the ENTIRE cake into a bowl {use your hands, they work BEST} and then add your cream cheese frosting into the cake mix

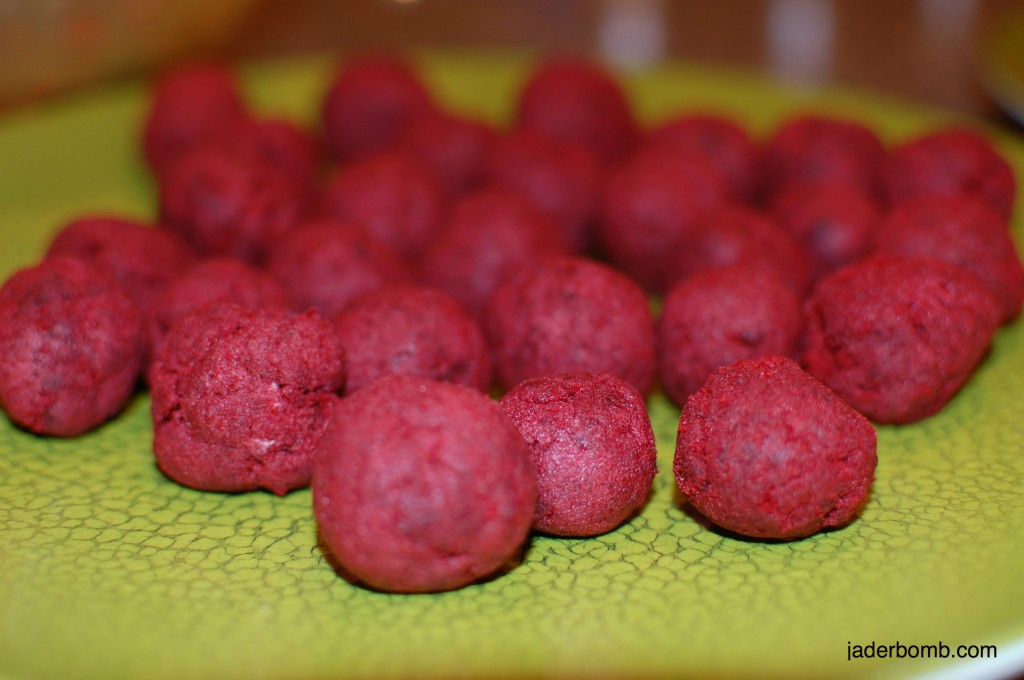
Make sure after you mix the cream cheese and cake together you place it in the freezer for a little while to make the mix a little harder (trust me, it makes it SOOOOO much easier to roll balls)

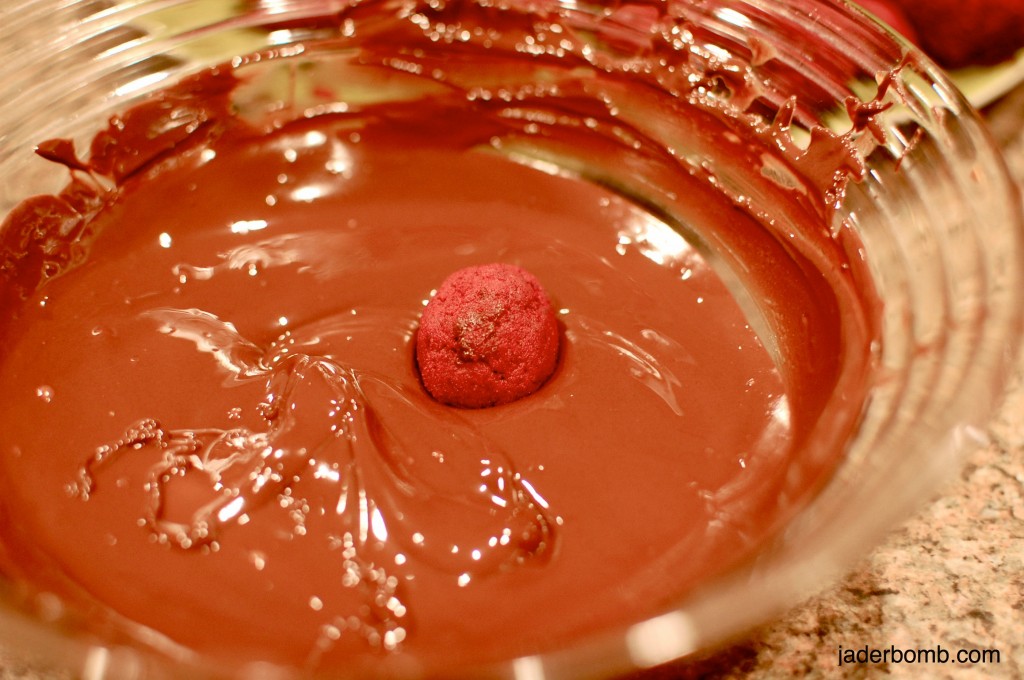
Melt your chocolate in a bowl and while it’s really hot dip your cake balls into it

While they are wet sprinkle them with your sprinkles {{this is my FAV-O-RIT part}}

I must say these babies are so pretty I don’t even want to eat them, even though I did! I hope everyone is full of food, love, laughter and happiness tonight!

Sending you cake that was made with loving hands,

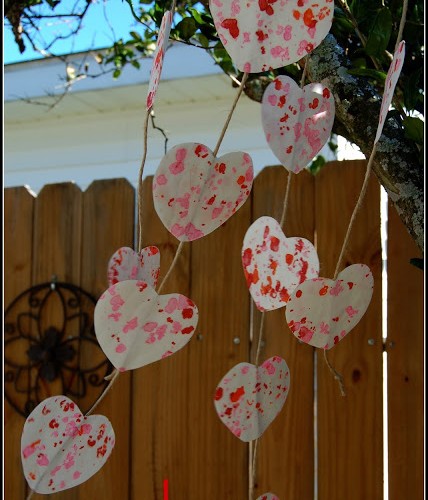
Crayon Stained-Glass Hearts

 I am full of LOVE today. Love for my life and LOVE for the Universe. I will be on Martha Stewart’s show today and I am kinda freaking out. I mean, it’s only in front of millions of people. NO pressure, right? What if I say the wrong thing? Will she think I’m silly? I just wanted to post this fun craft and share with you how thrilled I am and this feels like one big DREAM!
Don’t forget I will be covering the event LIVE on my blog so keep checking my blog out!
WISH ME LUCK!
I will be posting LOTS of pictures from the whole thing so stay tuned my little jaderbugs.


p.s. for the wooden sticks i used bamboo.  i had these for decoration and just broke one in half.  how easy is that!
p.s. shaving with scissors was the easiest way!
p.s. when you put your 2nd piece of wax paper on top of the shavings, it’s best to put a towel on top before you iron it.  personal experience, it works best 🙂
p.s. you can use any cookie cutter or you can free hand your design.
p.s. after cutting out the designs simply put one down, put hot glue on the side facing upward then place rope in the middle.  before the glue dries you need to put the other heart on top and press gently with your hand.
p.s. how cute is this!
p.s. if you put it outside, just remember it is made with paper and if it gets wet it will fall apart.
 
Just in case you are not aware of my countdown I am doing right now you can click HERE to read all about it!!!
Make sure you click on the Martha countdown tab on my blog to see the crafts I have already done!
And I will put a link on my website which is www.jaderbomb.com!!!!
AND IF YOU DECIDE TO DO ANY OF THE CRAFTS, SHOOT ME AN EMAIL AND I WILL ATTACH  IT TO THE POST WITH A LINK THAT GOES STRAIT TO YOUR BLOG! OR IF YOU DON’T HAVE A BLOG JUST EMAIL IT TO ME AND I WILL STILL PUT IT UP!!!!
[email protected]