Tag Archives: glitter crafts

Some girls are just born with glitter in their veins – Paris Hilton

Happy Memorial Day Jaderbugs! Today I will be showing you how easy it is to glitter feathers!!!

So we just recently added on to the house and built this rad room! The inside is full of nice cedar wood and let’s just say it smells like heaven. Every morning we wake up and drink coffee while watching the birds eat their yummy food. This room was supposed to be a “hang” out room however it now has turned into my night time office. I love it really. I go in there and zen out. There was a few things missing in this beautiful room like…. COLORFUL GLITTERED FEATHERS!!! What is a girl to do? You guessed it, I had to break out the colorful feathers and yummy gold glitter. These are really easy to make and in no time you can bring a room from blah to BAM!
Let’s get started. Oh warning these babies are addicting. I am now about to add a strand of white feathers with gold glitter to the new room. It fits our boho lifestyle and just like Mc.Donald’s says “I’m loving it”…BOHEMIAN DECOR
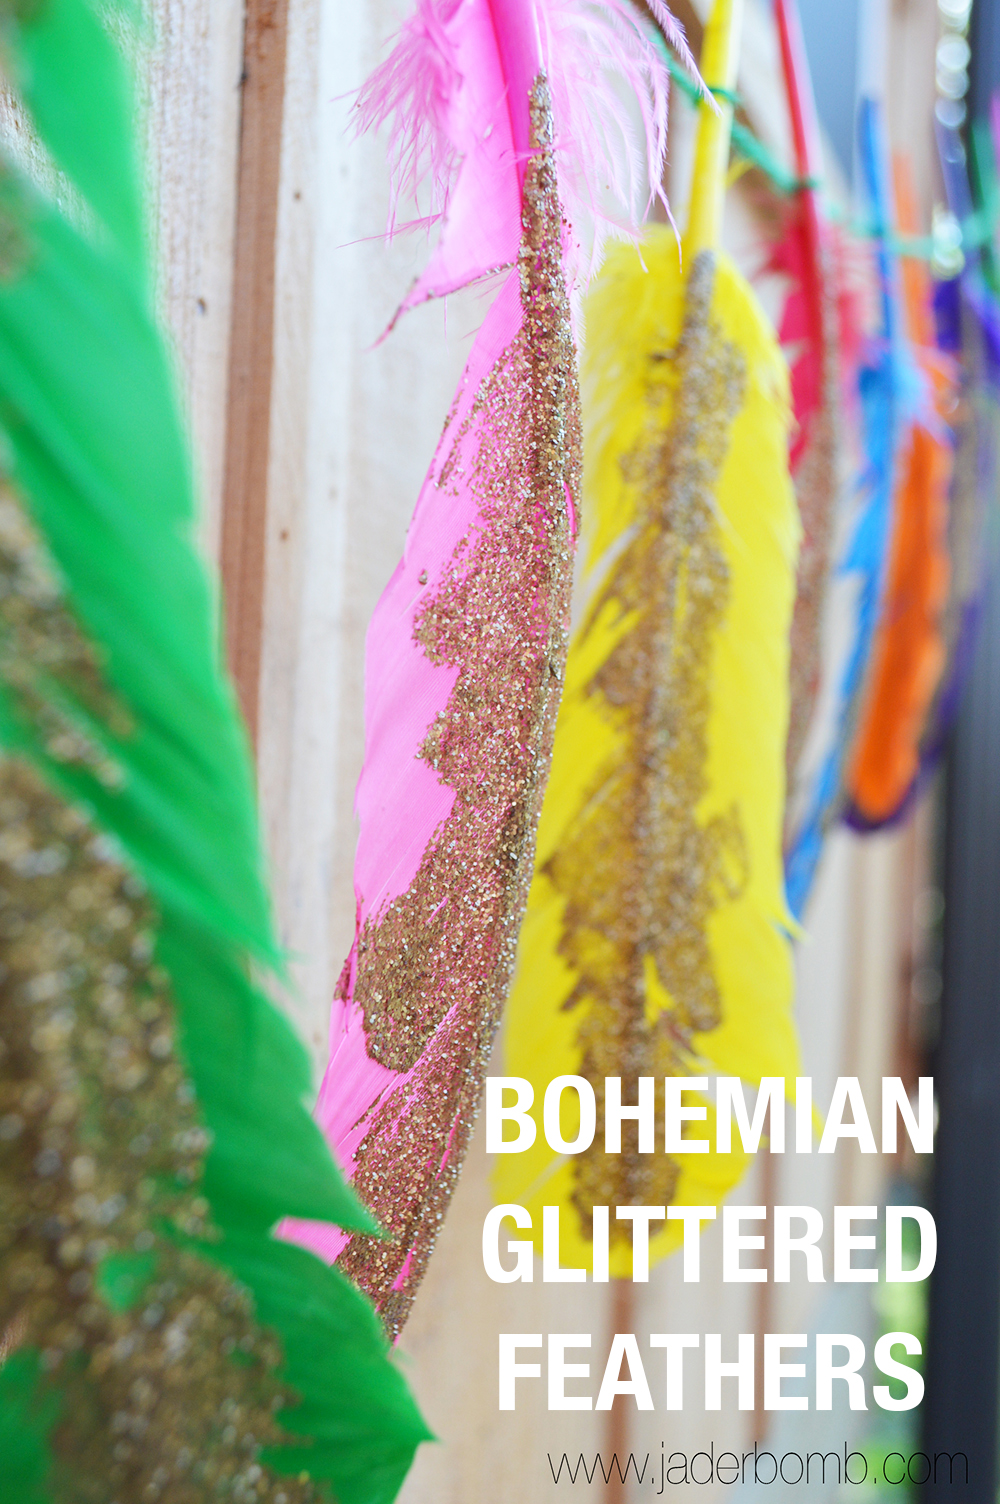
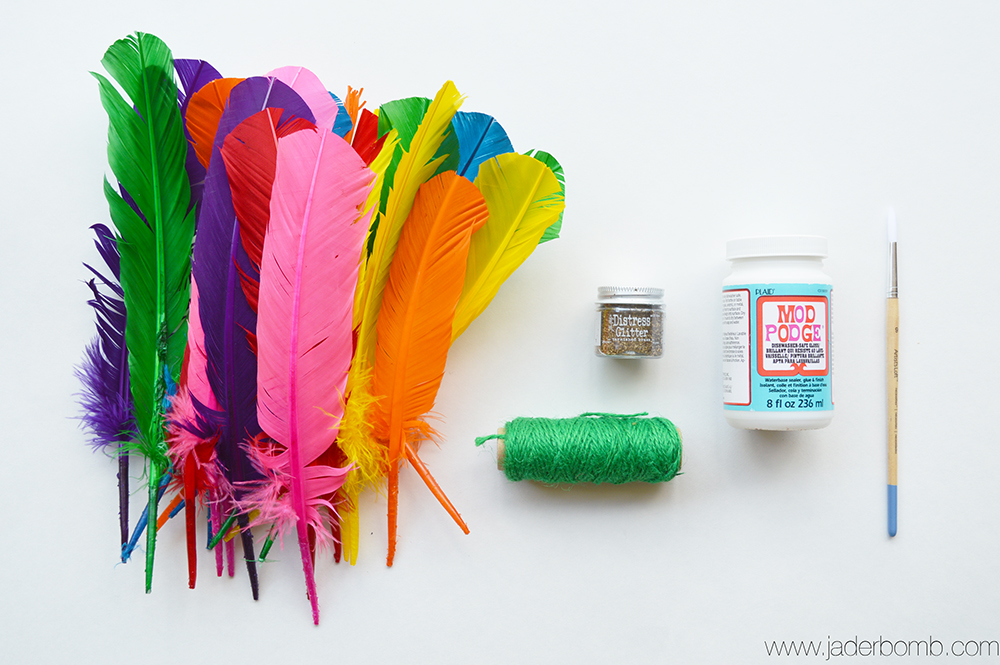
you will needRainbow Feathers | Colored Twine | Mod Podge | Craft Brush | Gold Glitter diy feather bannerThe first thing you will do is slather some Mod Podge onto the top of your feather!
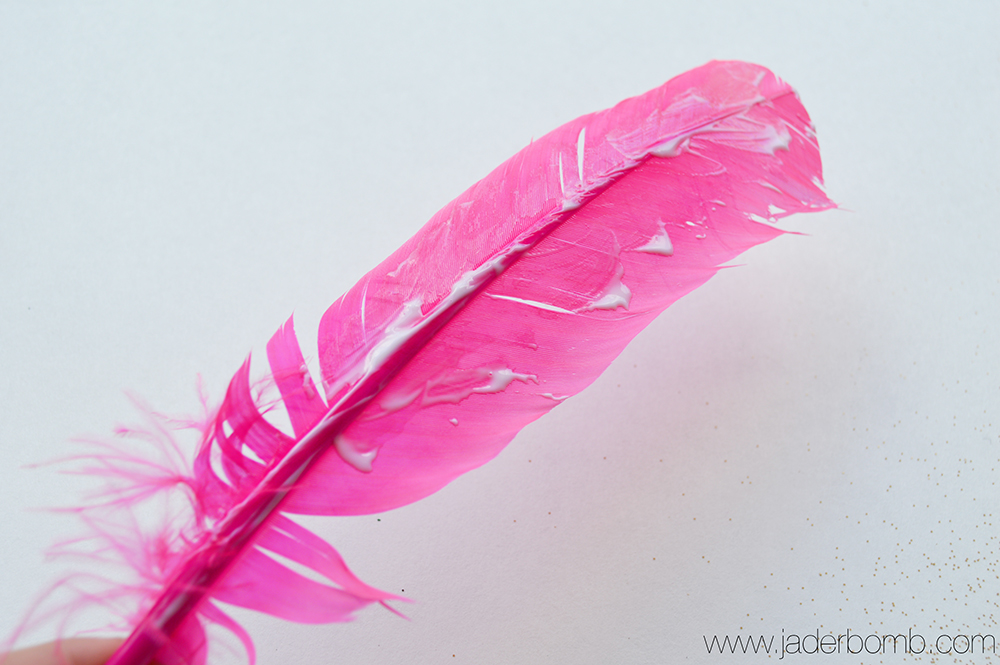
party banner diy

Next sprinkle your choice of glitter on top of the Mod Podge! If you want to save your glitter place a piece of paper under your feather.
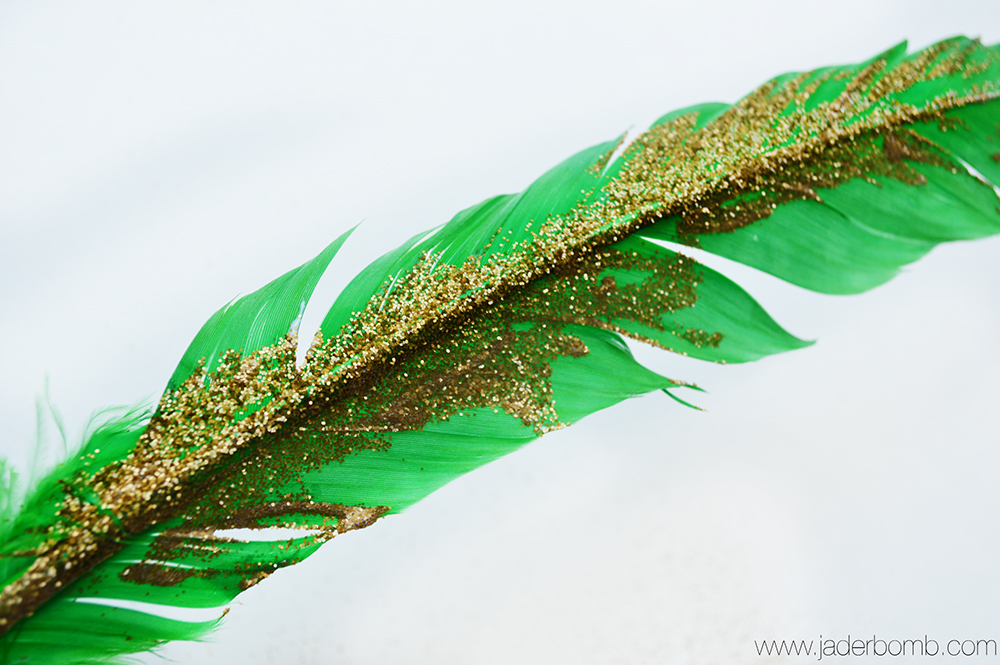
glittered feathers

Once all of your feathers are dry you can start tying your twine around the tips. Tip of advice: Make sure your feathers are facing the same direction when tying the twine around them. shabby chic feather banner
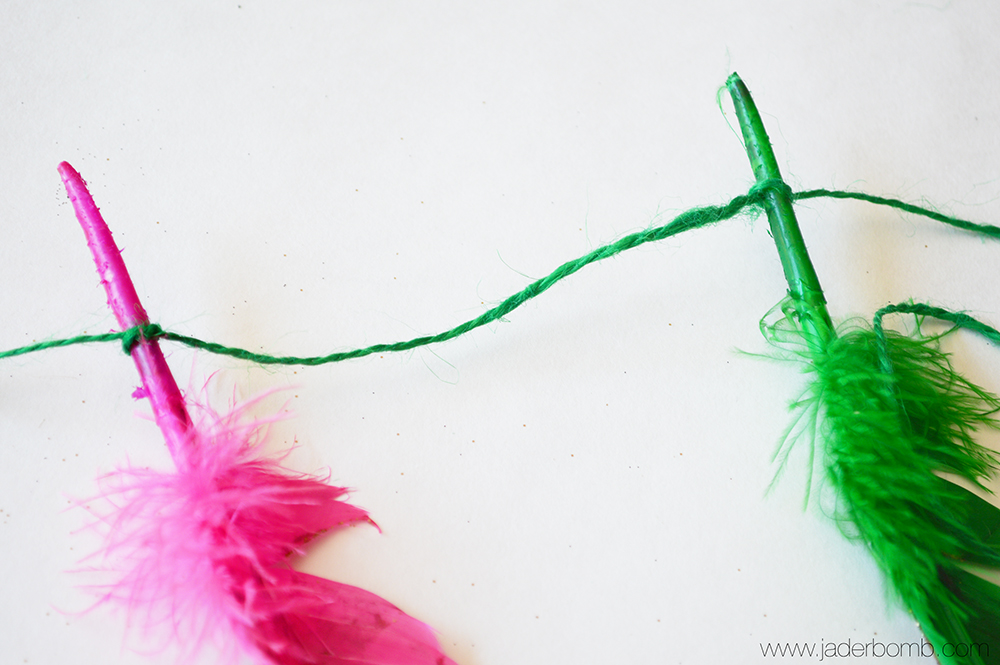
VOILA! We have the gaudiest batch of glittered feathers you have ever seen in your life!  What does that word mean…. Google it!

I know my friend Aunt Peaches would drool over these and she would probably wear them in her hair! Seriously. I am totally pleased with the way they came out and if you are anything like me then you like lot’s of the same things all together to form on cluster of awesomeness. Enjoy y’all!
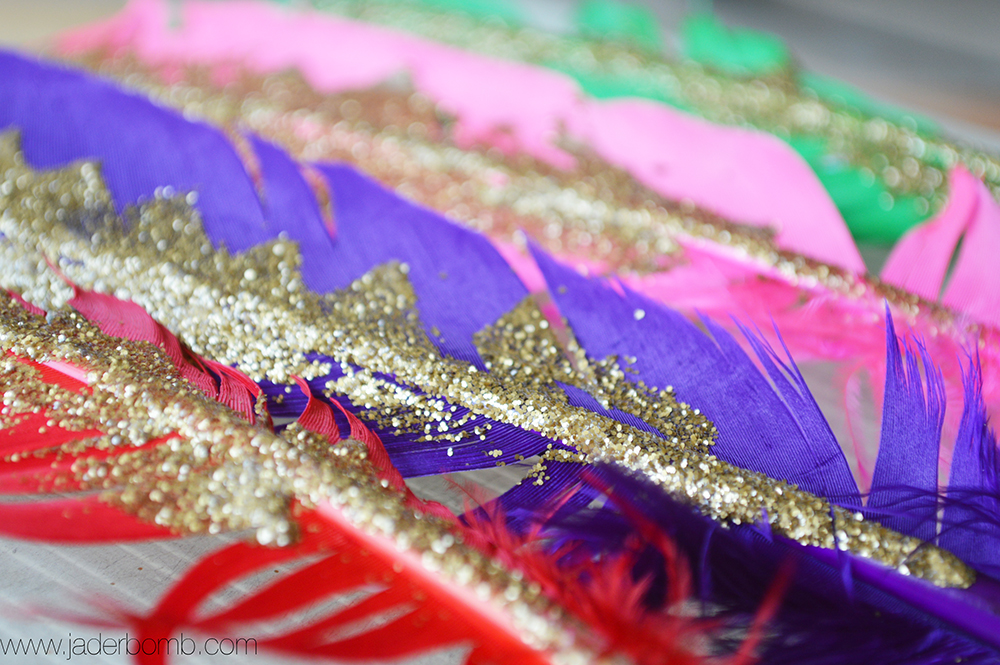
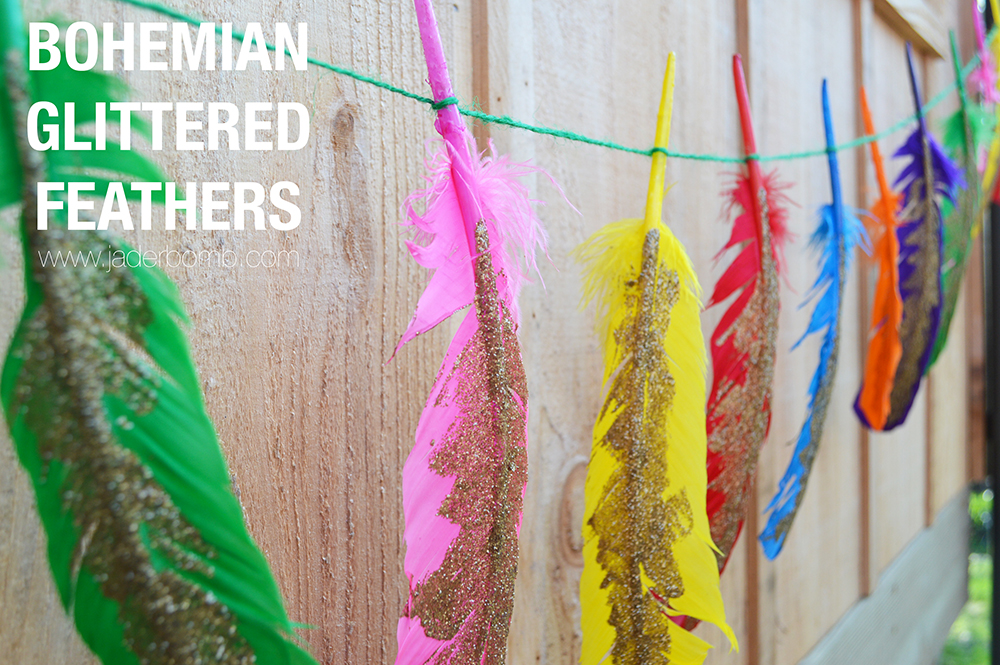
how to glitter feathers

BOHO FEATHERSHugs from my computer to yours!! XOXO

Make sure to follow me on ALL social media sites!! Just look up JADERBOMB and you will find me!!!  At the TOP of my blog you will see ton’s of little round buttons that you can click on also. They will take you directly to me all over the web world!

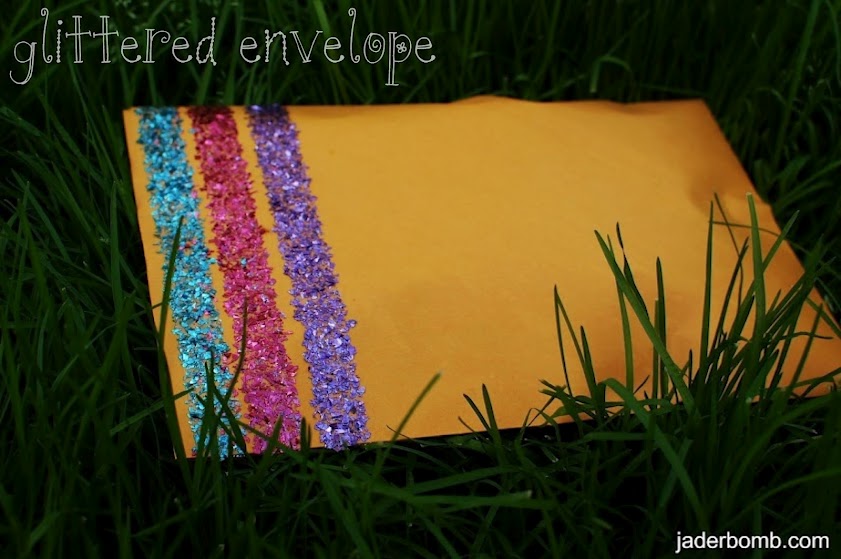
DIY: Glittered Envelope with Martha Stewart Glitter

 Jaderbugs… I have been super swamped lately! Don’t get me wrong… It’s the only way I know how to live but phew. I’m giving myself a run for my own money!

It’s 1 in the morning and I JUST have a minute to post this. LONG day ahead of me!

I hope you enjoy this quick but FUN tutorial!

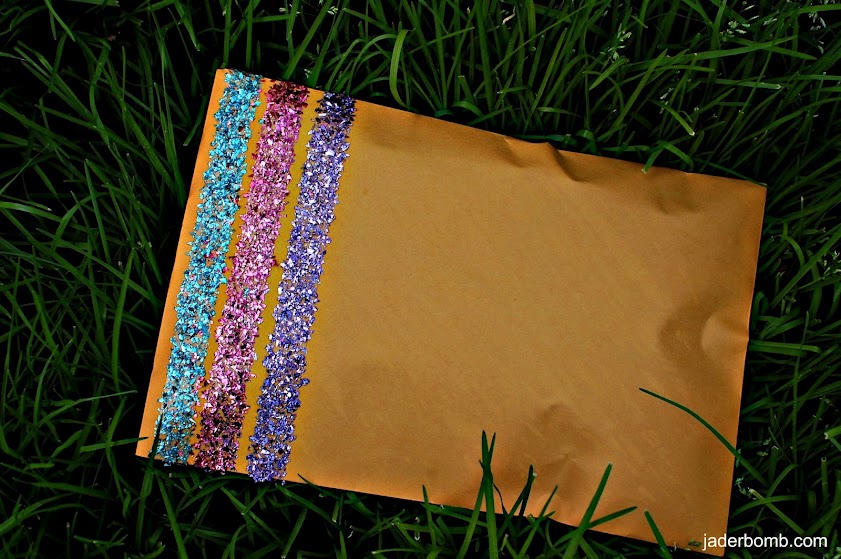
Isn’t it SO cute!

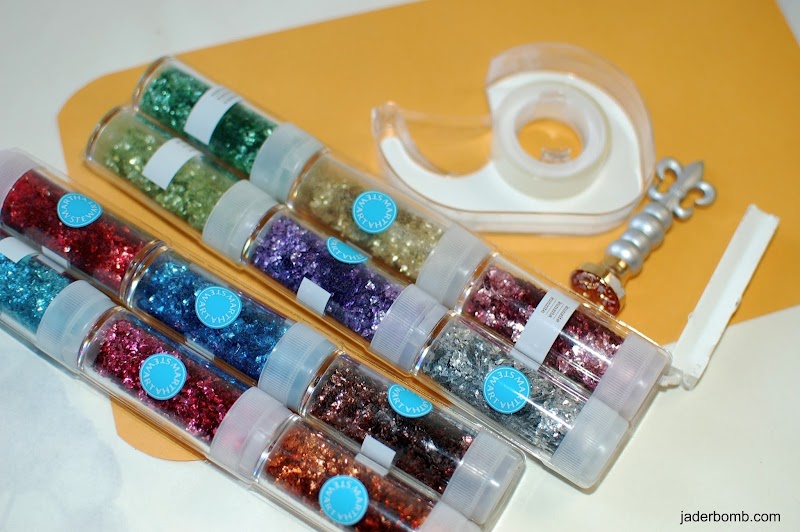
You will need double stick tape, envelope, Martha Stewart gold leaf glitter, wax seal, and a lot of love.

These are the colors I used. They are SO pretty.

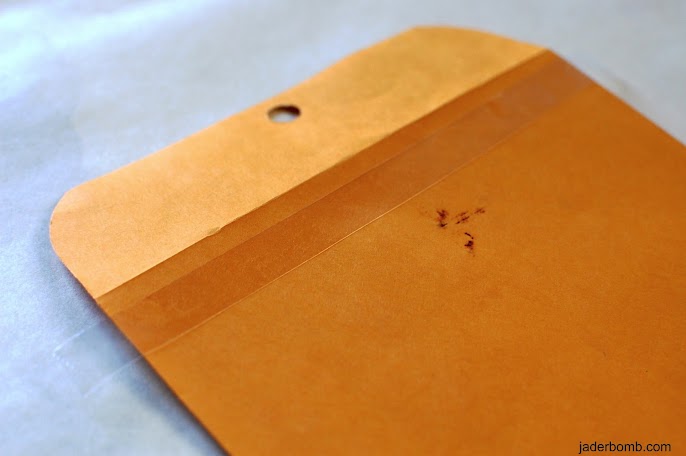
Put a strip of double stick tape along the top and snip the sides.

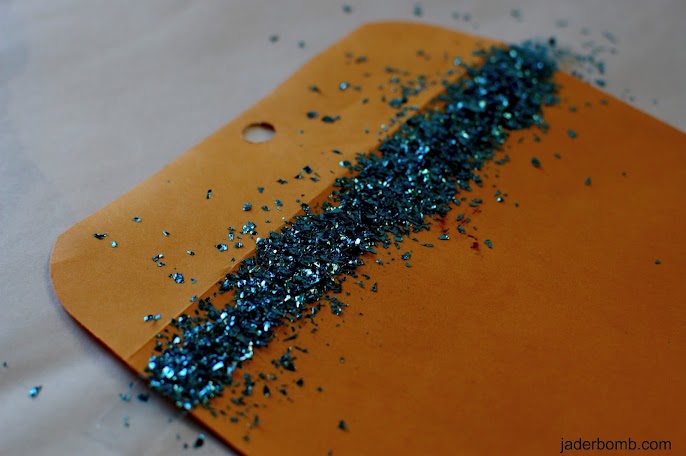
Sprinkle whatever color you want to use on top of the double stick tape.

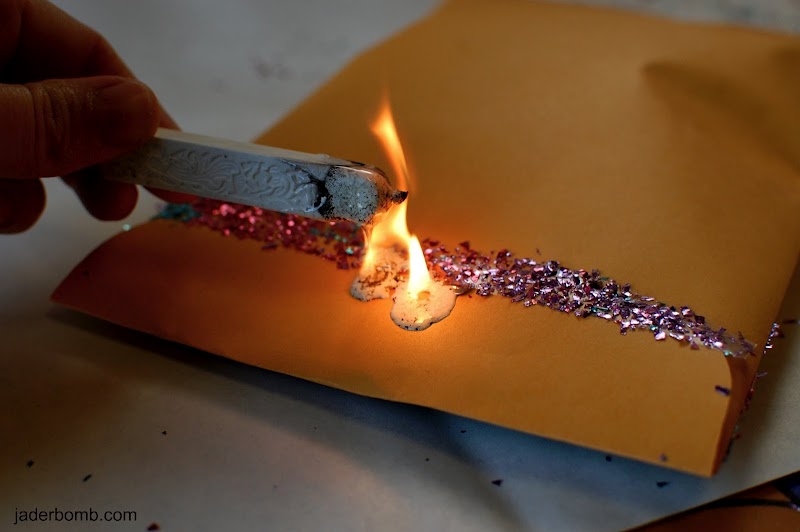
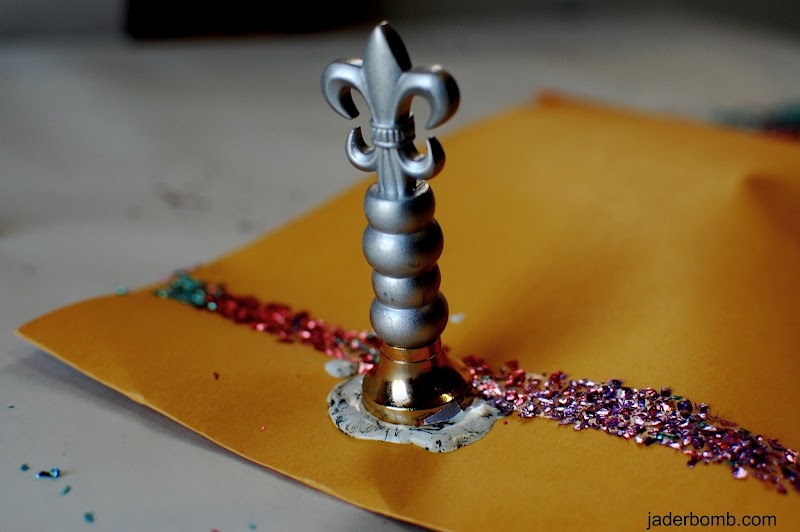
Read the directions before burning your wax. I like to turn my wax almost upside down and make it turn black in some spots!

See the little black in it. Make sure you press your stamp in the wax before it melts.

So you see! It’s SUPER DUPER easy and I am positive whoever gets this will LOVE it!

I hope you enjoyed the extra picture I put for you!!! Happy Early Mardi Gras and Valentines day

Me and kitty wishes you a wonderful weekend,

This post is brought to you Plaid’s Martha Stewart line of paint and stencils. I received product for this post. All opinions expressed are 100% mine. You can check out Plaid’s fullMartha Stewart product line here

Glitter Bird Centerpiece

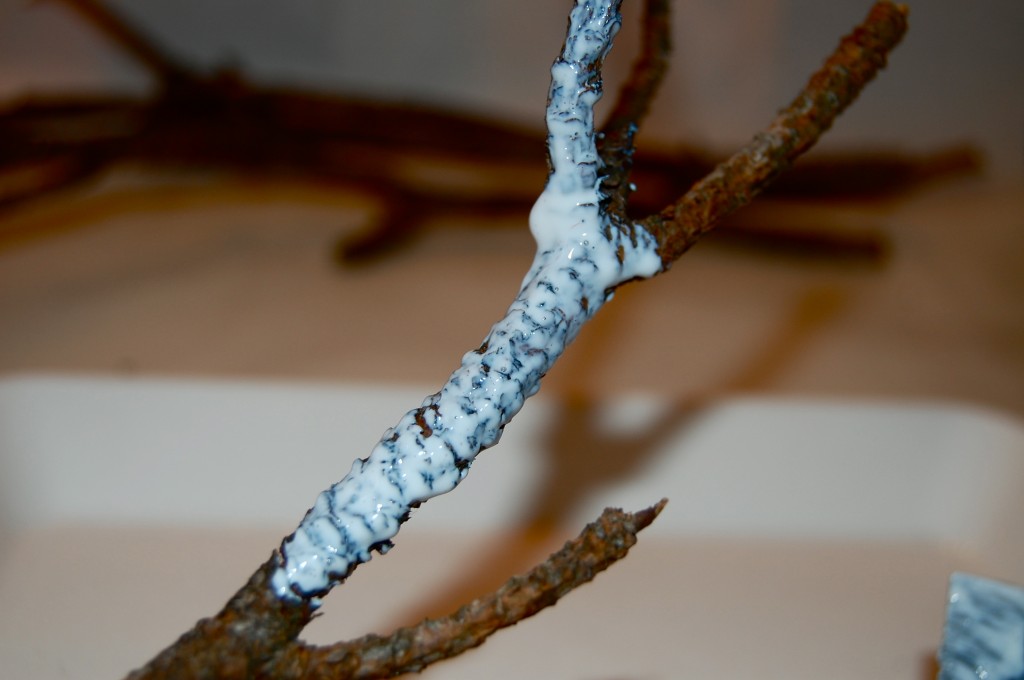
Jaderbugs! I am serious when I tell you this is a craft you can display all year long. The only thing you would have to do is change the colors of glitter for each occasion! This craft was so relaxing and I could totally do this ALL day! Let’s go! Just think you could do purple/gold for LSU, red/white for UL, purple/gold/green for Mardi Gras…or whatever holiday’s you might celebrate.

Tools and Materials
Small craft brush
Feathered birds
White glue
Glitter in various textures and hues
Thin lametta tinsel
Branch

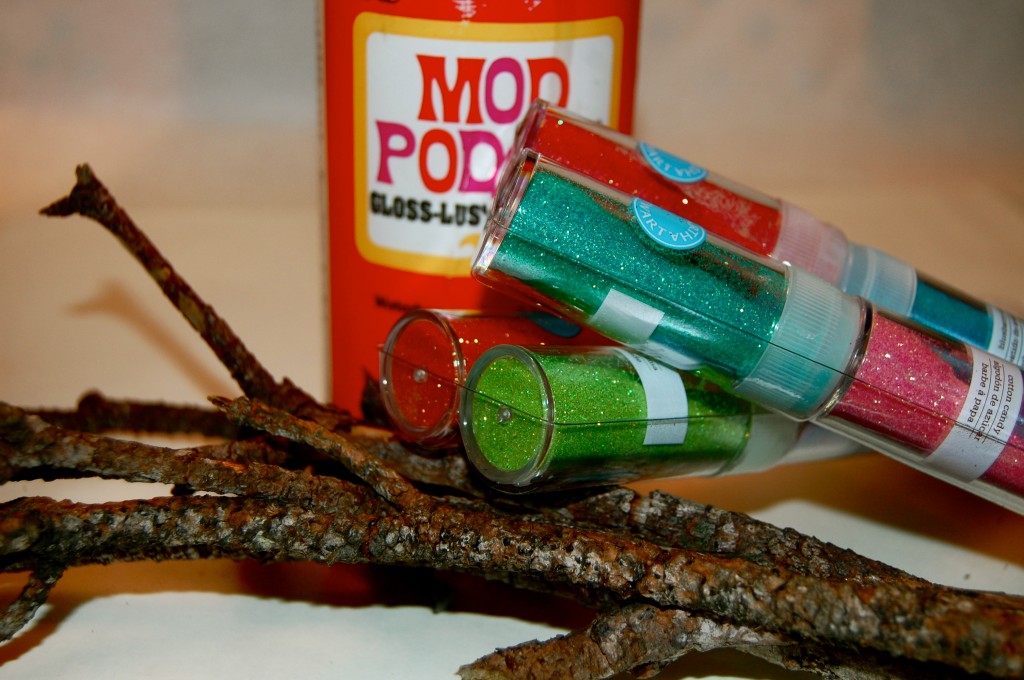
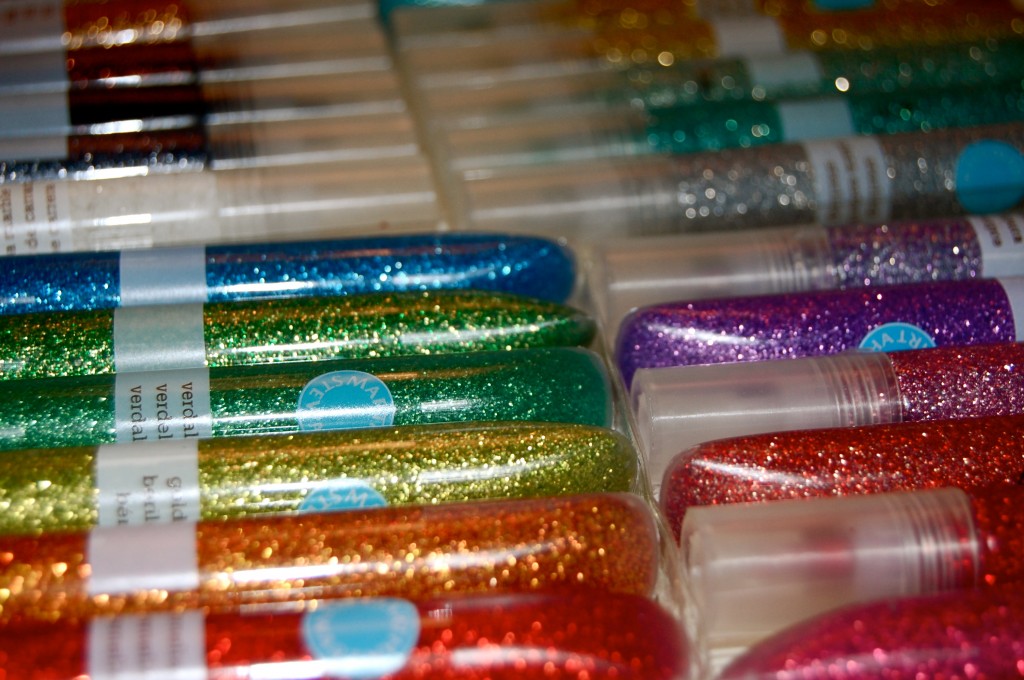
These are some of the materials I used.  The only think I did not put in this picture is a brush. OH and my birdies. I used the iridescent glitter from martha stewart, mod podge and branches from my yard.

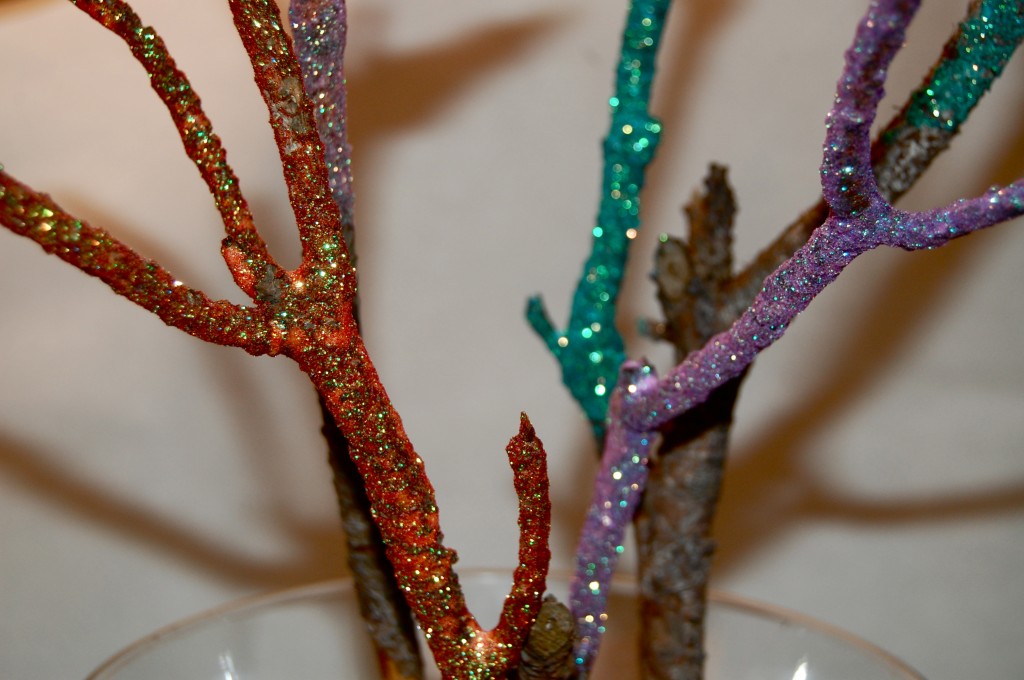
When I saw this branch I just had to get it. It look’s like a big claw hand. Right!

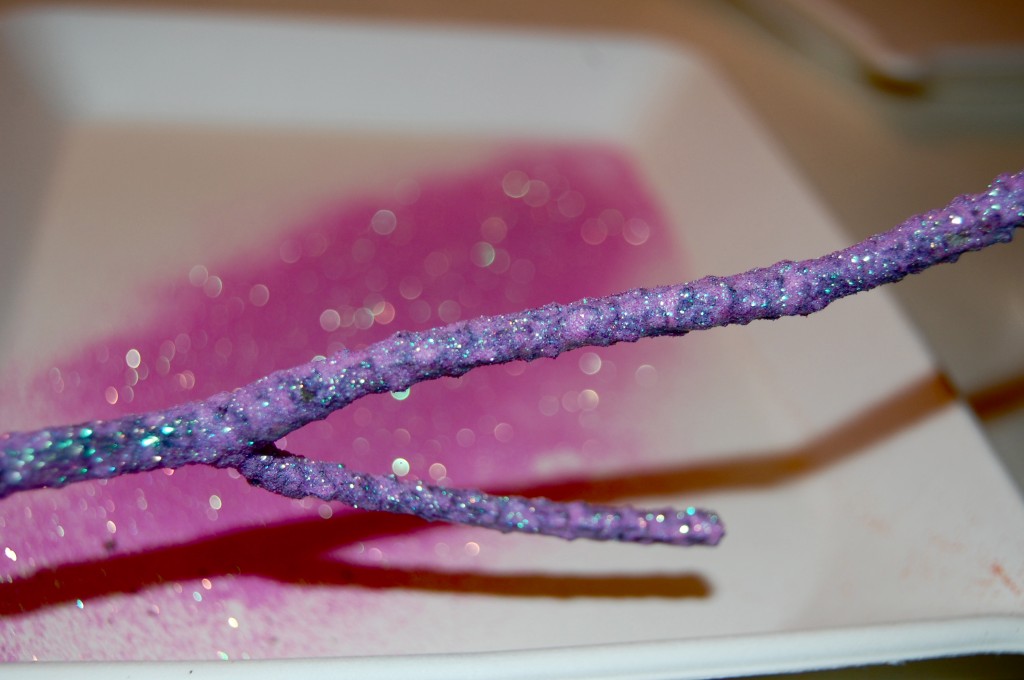
Seriously. How pretty is this picture. It looks like pink gems and a magical wand. I might put that on my list to Santa. {{along with my Hello Kitty bag:)

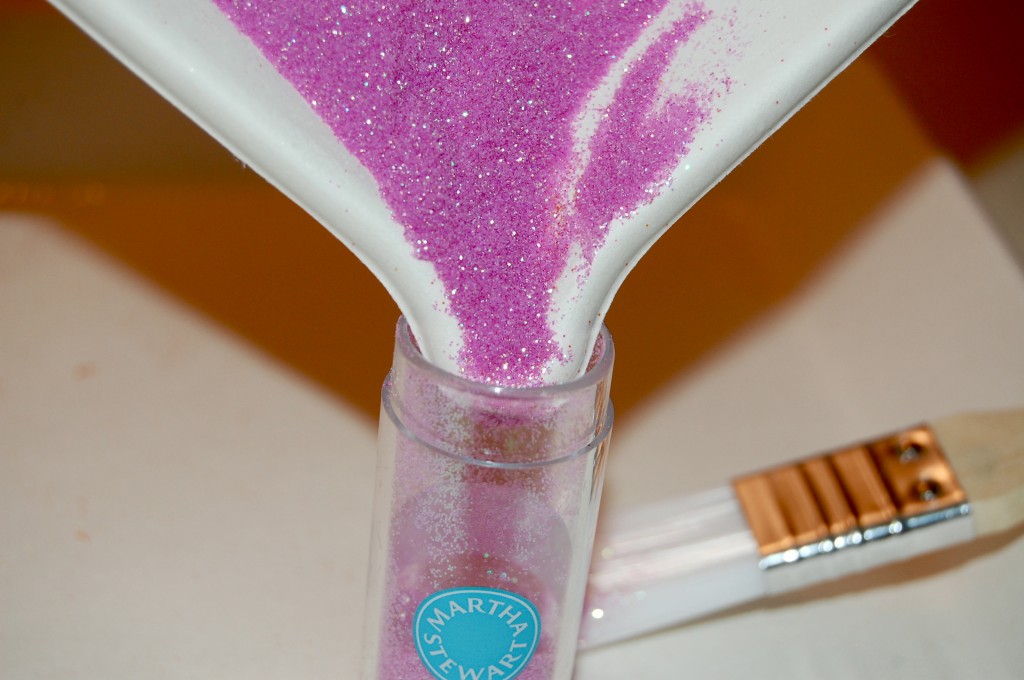
Make sure you collect all of your glitter so you don’t loose these precious jewels.

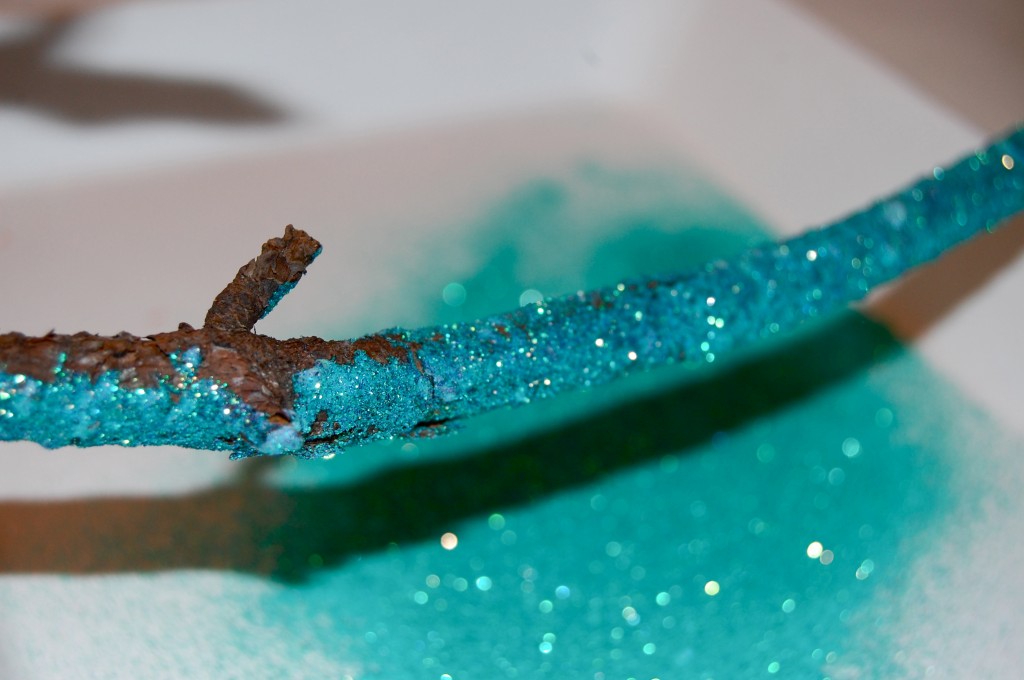
Sea of green…

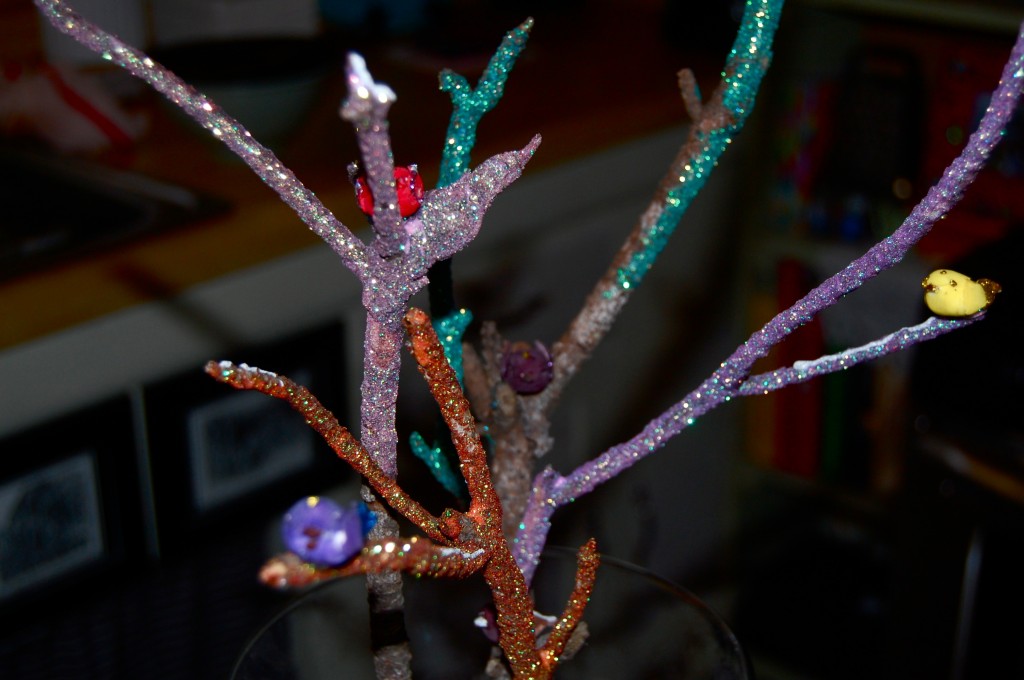
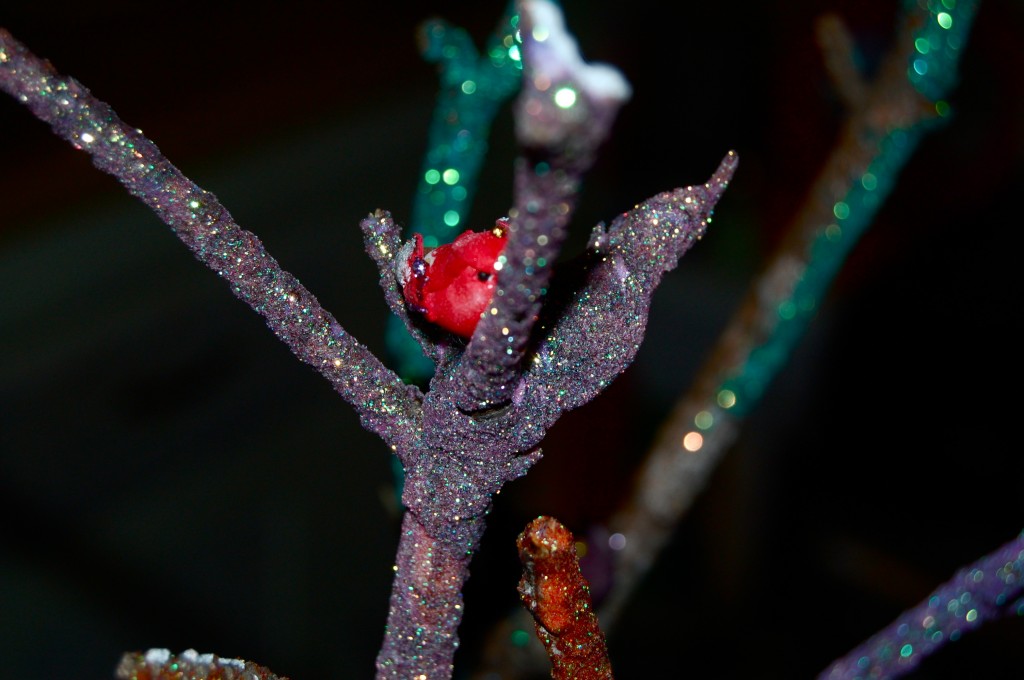
How Pretty is this sucker! I love the way they turned out. If you notice I didn’t glitter the entire branch. I like little nuggets showing up in different spots. HAHA

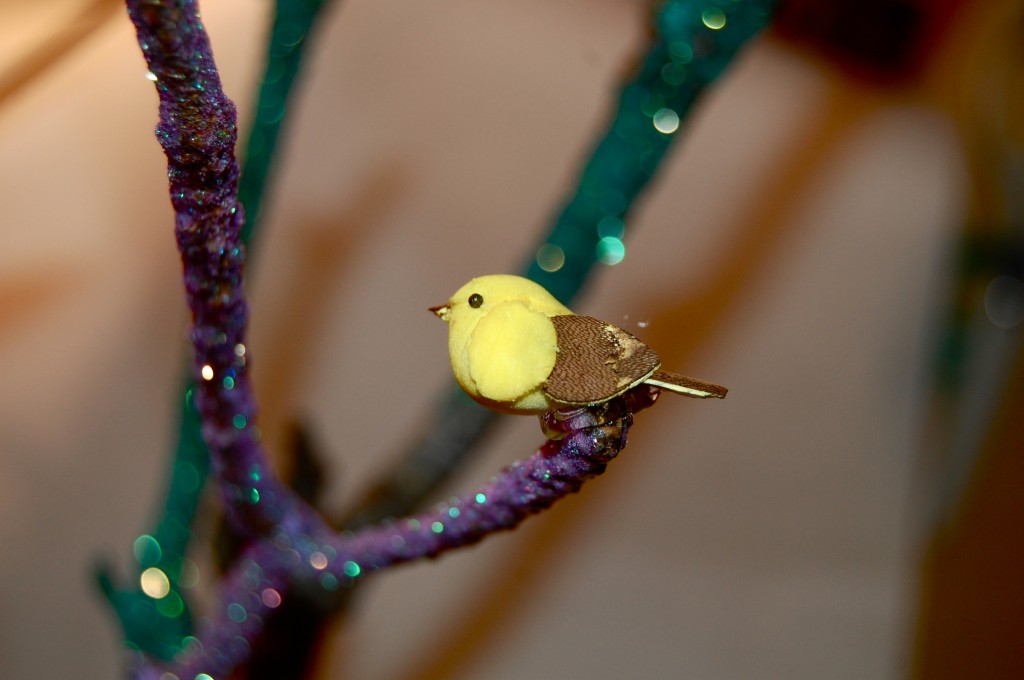
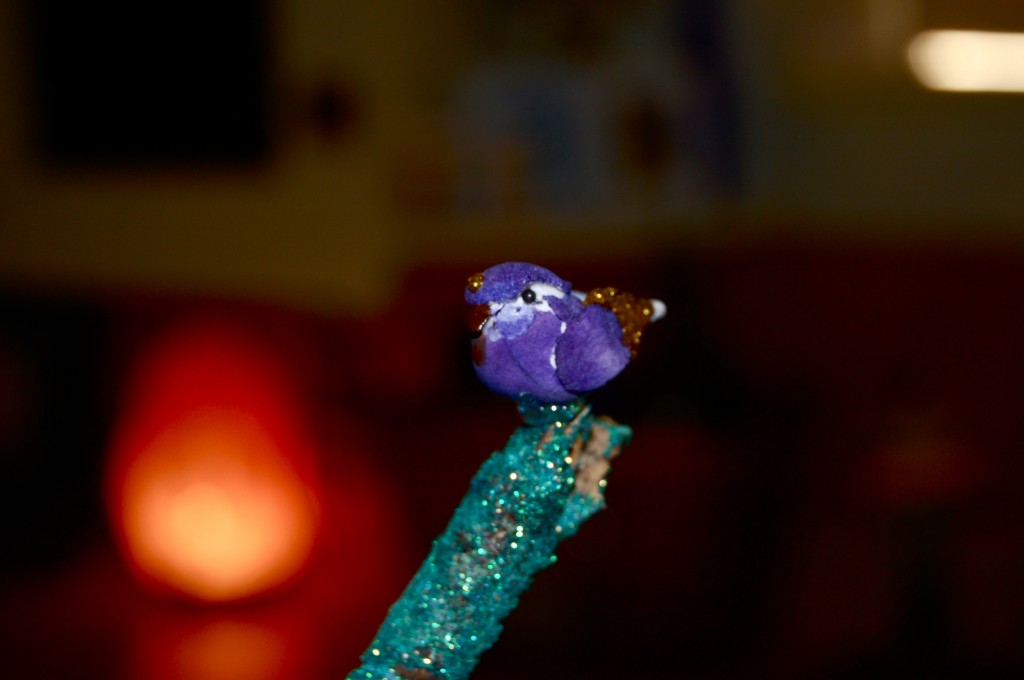
Like this little birdie who looked sad and lonely and wanted some sparkles on her.

Whatduhya know. Look what I found. LIttle glitter babies full of glitter. I may have just saved these birdies lives!!!

Yep. They look so much happier.

I love glitter. Why does it make me feel good in 3 seconds.

Weeeeeeeeee…I hope you had a great day jaderbugs and I hope you enjoyed this craft!!!

Falling asleep faster than I expected tonight,

Check out Martha’s original craft HERE  and you can purchase Martha Stewart’s Encyclopedia of Crafts here!

CLICK HERE TO WATCH VIDEO  (me on the show!)

 Click HERE to read all about it!!!

 IF YOU DECIDE TO DO ANY OF THE CRAFTS, SHOOT ME AN EMAIL AND I WILL ATTACH  IT TO THE POST WITH A LINK THAT GOES STRAIT TO YOUR BLOG!  IF YOU DON’T HAVE A BLOG JUST EMAIL IT TO ME AND I WILL PUT IT UP!!!!

Thanks to Martha Stewart crafts for sponsoring me with craft supplies!

    P.S. Don’t forget about my giveaway that ends on THURSDAY!!!!

Click on the picture to sign up!!!!

Glittered Pumpkins

Happy Sunday to all you Jaderbugs out there! This weekend FLEW by. Don’t get me wrong I had a blast but sometimes when you have so much to do it is over before you know it. This craft was so much fun to make. What I love the most about it is that you can do it with your kids! Martha has so many stencils, you are bound to find more than one you will fall in love with.  I used the ones that looks like leaves and ferns. I thought it went with the whole “earthy” effect.  Martha covered her pumpkins completely with glitter and those are super cute also.  I just LOVE the pretty orange color and I though by putting my stencils in certain spots it would give the feel of a “real” pumpkin behind the patches of glitter.  Don’t forget I linked all of the products I’ve used at the bottom of this post!
Let’s get started!!! 

p.s. You will need pumpkins (fake or real), Martha Stewart glitter and Martha Stewart Metallic paint.
p.s. You will need foam pouncers and stencils.  Make sure you get Martha’s brand because they adhere to whatever surface you put them on. And the awesome thing is you can use them over and over!
p.s. These are the stencils I used! As you can see I just placed it wherever I wanted on my pumpkin!
p.s. I put some gold paint on my foam pouncer then started pouncing away!
p.s. I used some green glitter for the “leaves”…This glitter gives the best coverage that I have ever seen! Make sure you pour it over something so you can pour the leftover’s back into the container.
p.s. Tadahhhhh! How cute! I added some orange leaves at the bottom {{I know they look red lol}} but I promise they are orange! OH! I also glittered the stem.
p.s. How cute is this baby!
I hope you have a blast doing this craft and be creative with it! I have some more I am working on and can’t wait to share them with you!!!!
Sending you an unlimited supply of bright orange pumpkins,
Jaderbomb

(me on the show!)
Just in case you are not aware of my countdown I am doing right now you can click HERE to read all about it!!!
Make sure you click on the Martha countdown tab on my blog to see the crafts I have already done!
And I will put a link on my website which is www.jaderbomb.com!!!!
AND IF YOU DECIDE TO DO ANY OF THE CRAFTS, SHOOT ME AN EMAIL AND I WILL ATTACH  IT TO THE POST WITH A LINK THAT GOES STRAIT TO YOUR BLOG! OR IF YOU DON’T HAVE A BLOG JUST EMAIL IT TO ME AND I WILL STILL PUT IT UP!!!!
[email protected]
Thanks to Martha Stewart crafts for sponsoring me with craft supplies! 

Glittered Spiderweb Hurricanes

The Martha Stewart Show on Hallmark Channel
Hey there my little Jaderbugs! New York was AWESOME! When one of the producers of The Martha Stewart Show asked me what I thought of New York so far I told her that is was EVERYTHING I could of ever expected. I don’t know if you remember a while back me saying that this countdown was gonna be a way to “test” myself. To push myself a little harder at something and see if I could finish on time.  I knew I made this promise to {{myself}} but NOW I have made a “for real” promise to MARTHA! There will be NO excuse to NOT finish this project. The thing is, I know there will be days I won’t feel like crafting, taking pictures, editing pictures, writing and so on. I think that is what makes me want it so much more! I know in the end it will be worth every ounce of labor! Have you ever sat down and though about “what’s next” in your life? Just sitting there making up all these “what if’s” in your head? I caught myself doing that yesterday and then I realized that is not what I am supposed to do.  Ya know, life is NOW! Everyone has “plans” for the future but the reality is all you have is the moment your in, then it’s over. So next time you are trying to figure out what comes next, take a deep breath and live in the NOW!` I mean REALLY live in the now, and while your in the now thank the universe for all the good you have. I thank everything I believe in every second I can for all the good and positive in my life.  There is so much to be thankful for but it can be easily blinded by negative thoughts. Let’s all live with a positive outlook and even though things might not be how you “planned” them to be just remember that it’s how your book is supposed to be.

After all, it’s your book. Your the only one writing it and editing it.

Happy WRITINGS!
Today’s craft is SO MUCH FUN~I think what I love the most about it is that you can use any color glitter that you want. I have to tell ya, Martha Stewart’s glitter is the BEST! Of course spiderwebs look great in black but how cool would a spiderweb look in orange or purple! You can do a variety of colors and place them all together. This would make a GREAT center piece for a Halloween party. The only thing I didn’t do is use a frosted pillar. I also added a little “southern” feel by using a canning jar!
Don’t forget at the bottom I will link up everything I used for you to quickly get to if you are interested in buying them!
p.s. Tadahhhhhh!!!! This project came out so cute!
p.s. all you need is glitter glue, glass container, template, tape
p.s. Martha’s glitter is so awesome! I have to say it has FULL coverage on anything it goes on!
p.s. This is the paper trimmer we used when I was on the show! When I tell you this baby cuts, it CUTS!!
p.s. After you cut the two spiderwebs out tape them together and place it in the inside of whatever you are using. Get your glitter glue and start using the lines on the inside of container to draw your lines on the outside. Then simply pour glitter over WET glue. I did a little bit at a time to ensure my glue absorbed all the glitter it could.
p.s. Once you glitter the whole thing, let it dry. After you get all the glitter off of the glass just simply tie some ribbon around the top!
(me on the show!)


Just in case you are not aware of my countdown I am doing right now you can click HERE to read all about it!!!
Make sure you click on the Martha countdown tab on my blog to see the crafts I have already done!
And I will put a link on my website which is www.jaderbomb.com!!!!
AND IF YOU DECIDE TO DO ANY OF THE CRAFTS, SHOOT ME AN EMAIL AND I WILL ATTACH  IT TO THE POST WITH A LINK THAT GOES STRAIT TO YOUR BLOG! OR IF YOU DON’T HAVE A BLOG JUST EMAIL IT TO ME AND I WILL STILL PUT IT UP!!!!
[email protected]
Thanks to Martha Stewart crafts for sponsoring me with craft supplies!