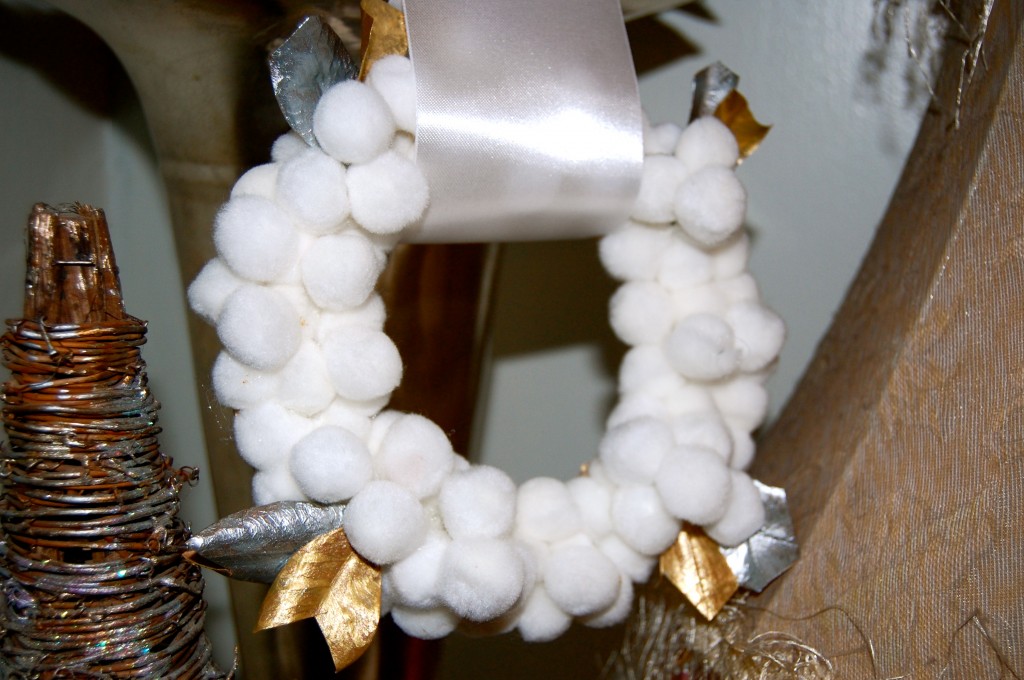
Tag Archives: michaels arts and crafts

Candy Cane Reindeer

Turning a plain candy cane into a cute reindeer is a simple Good Thing to get you and your family in the holiday spirit. I mean, nothing REALLY say’s christmas like a good ole Reindeer in your soft drink. To top it off we have “killer” antlers. Fa reel, I mean deadly. Rememebr? My trusty rusty wire? HAHA!

Tools and Materials
Reindeer template
Candy cane
Brown felt or Brown paper (which is what jaderbomb used)
Pencil
ScissorsHot glue gun
Brown or red craft pom-pom
Black felt
Hole punch
Rustic floral wire (remember? Trusty Rusty Wire) HAHA

Here are some other AWESOME reindeer crafts: 

Reindeer Pop-Up Card   Making Figures: Reindeer  Reindeer Holiday Coasters

Here are some reindeer materials for you party!!!

Martha Stewart Reindeer Cello Treat Bags 8-Pack   Martha Stewart Craft Deer Family Window Cling

Martha Stewart Reindeer Figurines 

Reindeer Facts

Reindeer have different functions in different cultures. The larger-than-life holiday identity of reindeer likely originated from their ability to pull a heavy sleigh around their arctic homes.  Today, reindeer are mainly used in the United States and around the world to demonstrate the link between humans and animals and the environment. Their antlers are made up of the fastest growing tissue in the animal kingdom, growing up to an inch a day. Made of bone, reindeer antlers can grow within only a few weeks of birth. WOW. Reindeer are the only species of deer where both sexes have antlers, although only male reindeer develop a brow shovel, which they use to clear snow and ice off of grass.
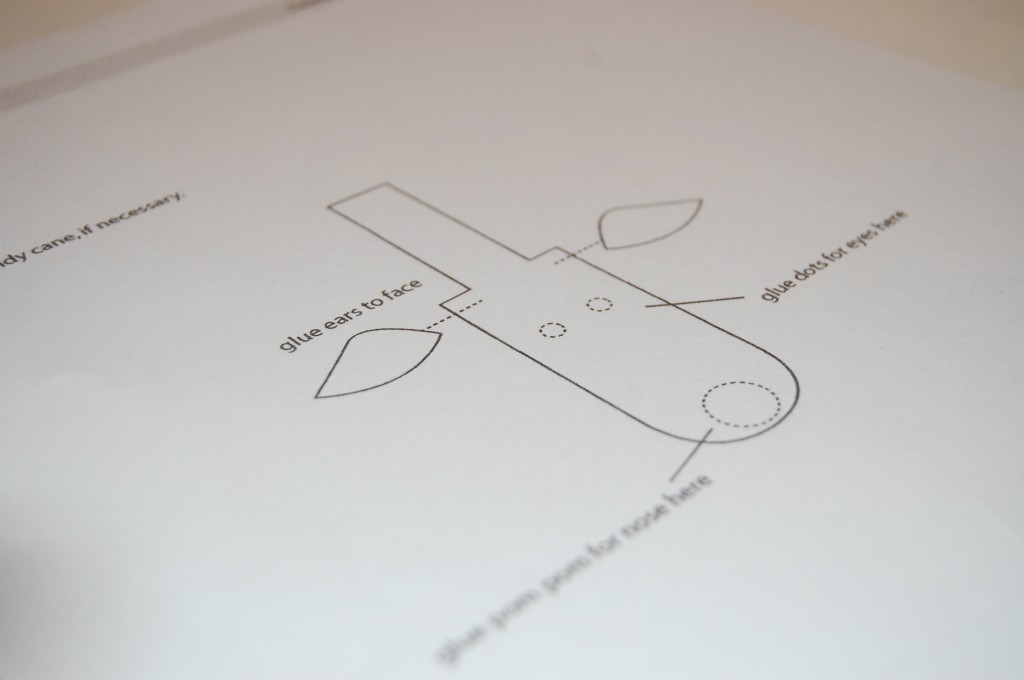
Check above for the template. I was already giddy and happy when I saw this template.
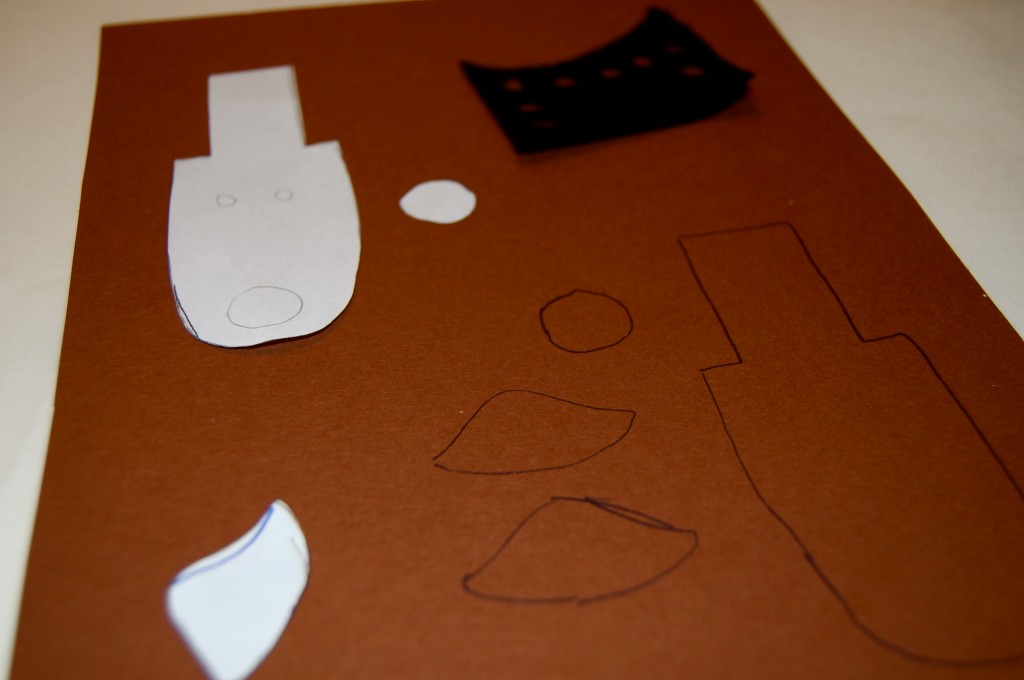
Place template on brown felt or brown paper and trace face and ears; cut them out.
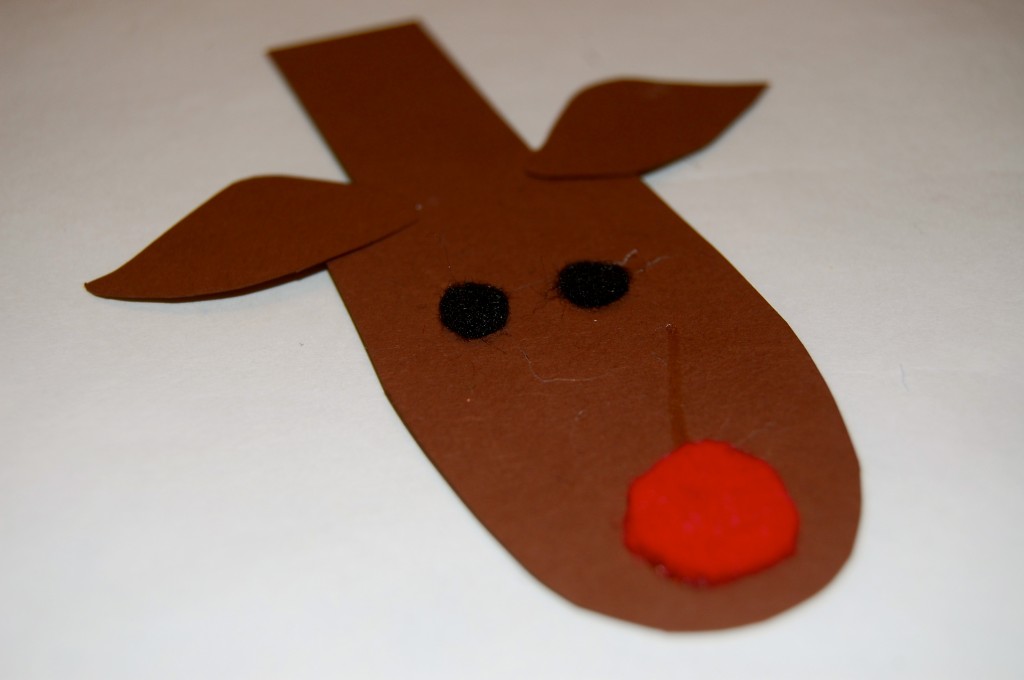
Make eyes by punching two dots out of black felt using a hole punch. Glue black dots to face. Let dry for 15 minutes.
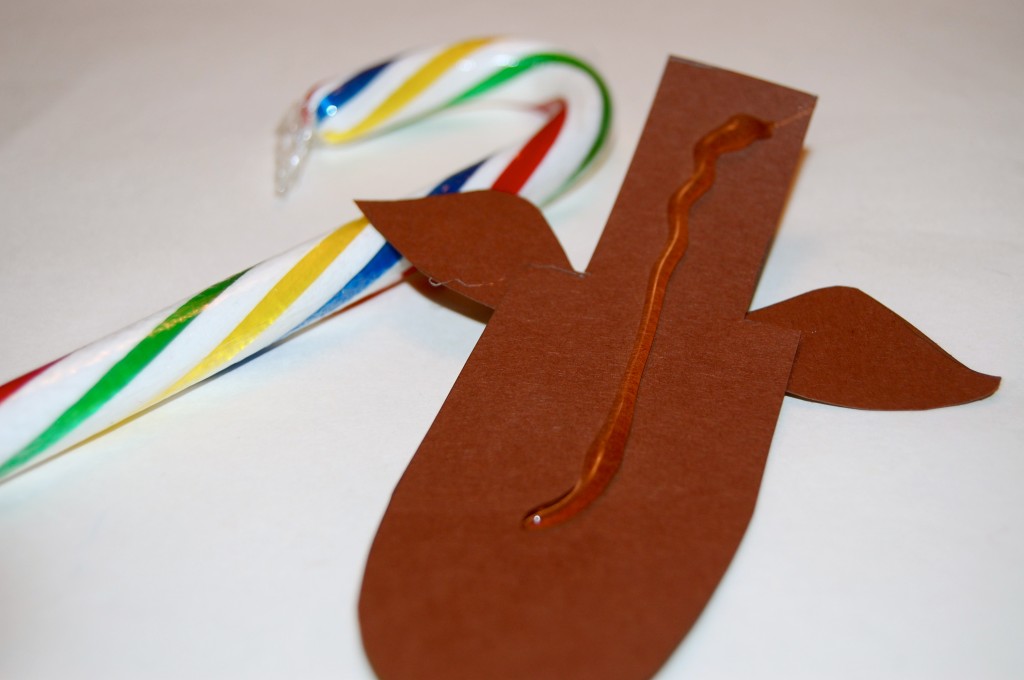
Apply face and ears to candy cane using nontoxic glue. Attach craft pom-pom for the nose using nontoxic glue. If making a Rudolph candy cane, use a red pom-pom; otherwise, use brown.
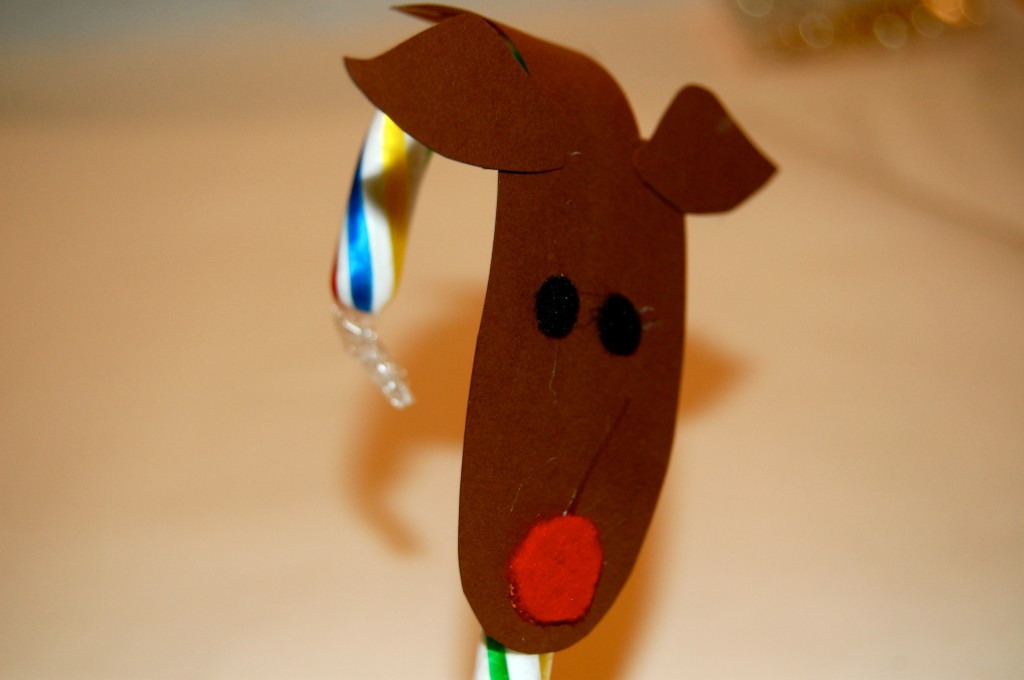
She’s coming togetherrrrrererererrer (i was singing that) haha
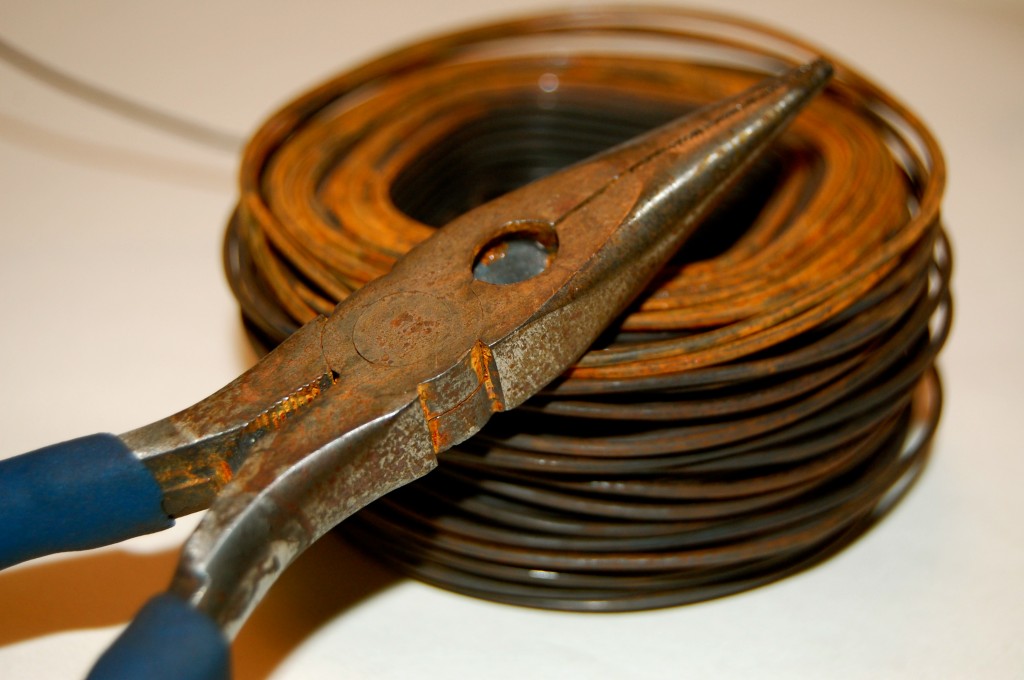
Look FOLKS it’s out HANDY DANDY TRUSTY RUSTY WIRE!!!  Twist rustic floral wire to make antlers. Attach antlers by twisting around top of candy cane. Twist one small piece onto each side of the main antlers to make branches.
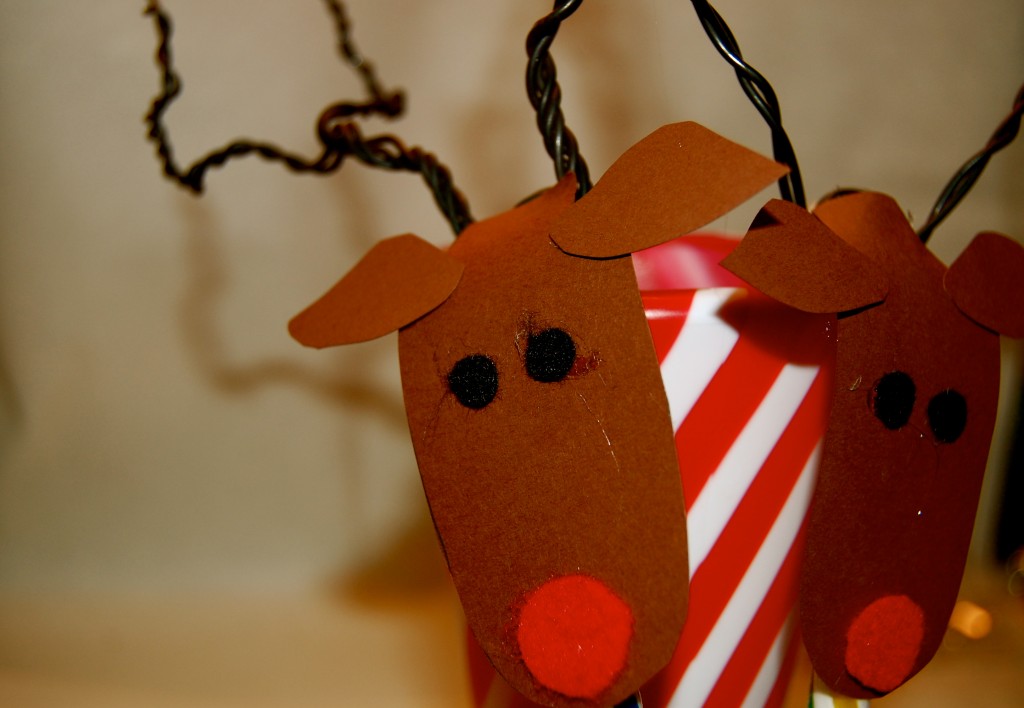
OH MY BAJEZZERS. I WANNA EAT THESE BABIES.
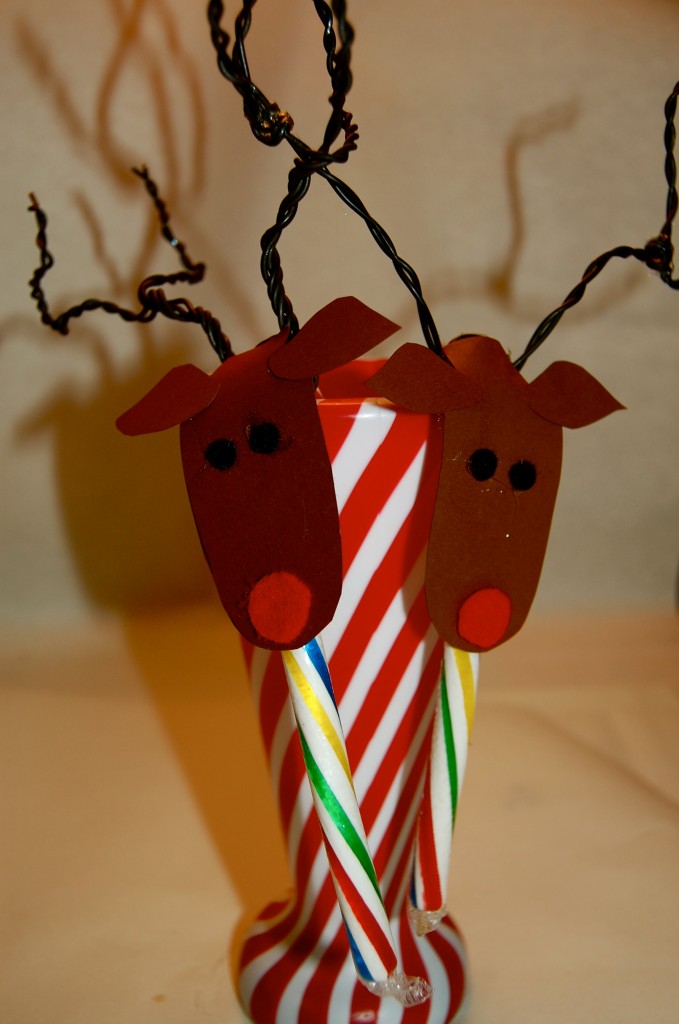
LAWD! If you these these are not scrumptious looking then you CUH-RAZY! I can’t believe this is 98! It’s the year I GRADUATED {{teehehehe I shouldn’t of said that}} Check Martha out here!

Check out Martha’s original craft HERE and you can purchase Martha Stewart’s Encyclopedia of Crafts here!

CLICK HERE TO WATCH VIDEO  (me on the show!)


 Click HERE to read all about it!!!

 IF YOU DECIDE TO DO ANY OF THE CRAFTS, SHOOT ME AN EMAIL AND I WILL ATTACH  IT TO THE POST WITH A LINK THAT GOES STRAIT TO YOUR BLOG!  IF YOU DON’T HAVE A BLOG JUST EMAIL IT TO ME AND I WILL PUT IT UP!!!!
Thanks to Martha Stewart crafts for sponsoring me with craft supplies!
 
Resources
Special thanks to Jim Knox of Connecticut’s Beardsley Zoo for sharing these interesting reindeer facts. See more of Jim Knox on “Jim Knox’s Wild Zoofari,” a live-action wildlife series airing on PBS that teaches kids about wildlife conservation. The reindeer seen on today’s show are from Santa’s Workshop, a theme park in North Pole, New York.

Recycled Ornaments

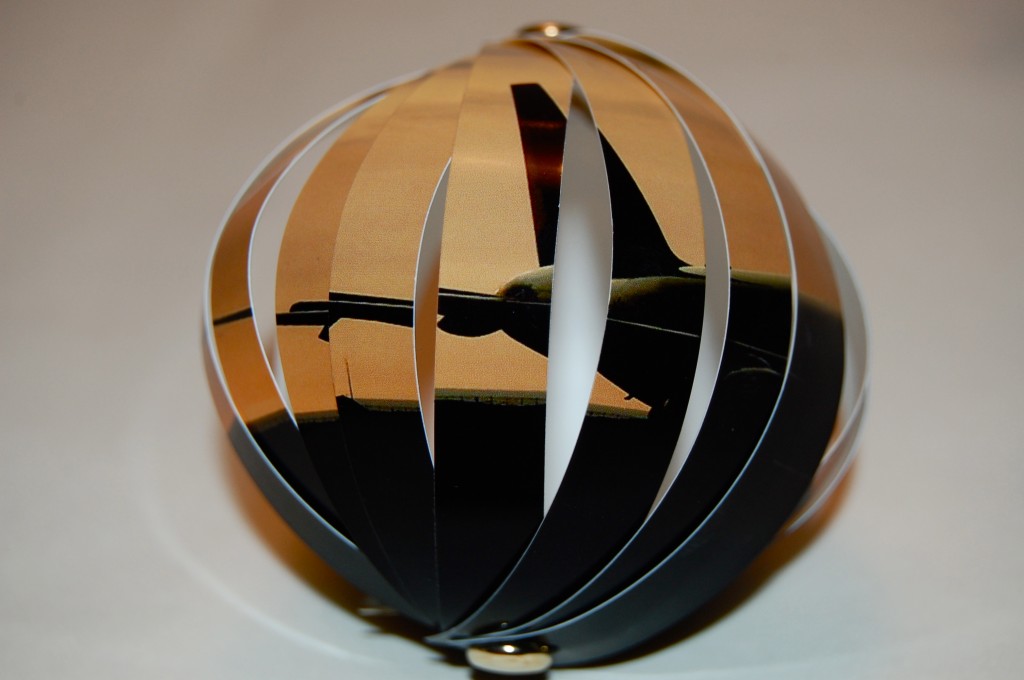
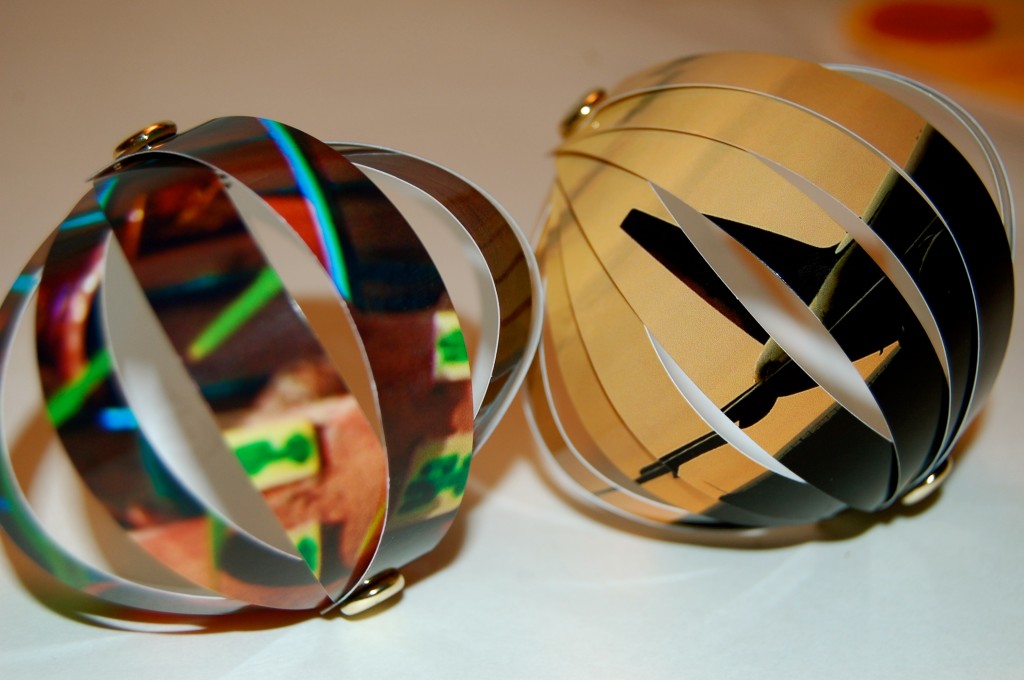
Holiday cards make perfect ornaments: dazzling and delicate yet impossible to break. In a few steps, turn cards into darling globes or circles that lock together, ready to twirl. Or frame a snowy scene in a frosting of sparkles. To make the glitter ornament, cut out a circle from a card and punch a hole for string; add glue around the edge and sprinkle with glitter. Hang your new ornaments with card garlands for an enchanting tree. HOW UH-MAZING is that Jaderbugs! Little one brought home one of these and I thought it was the most clever idea. How awesome to be able to capture a moment in time and decorate with it FOREVER. Just think…You could have a big ole tree full of pictures. HAHA
These airy ornaments are a breeze to make.

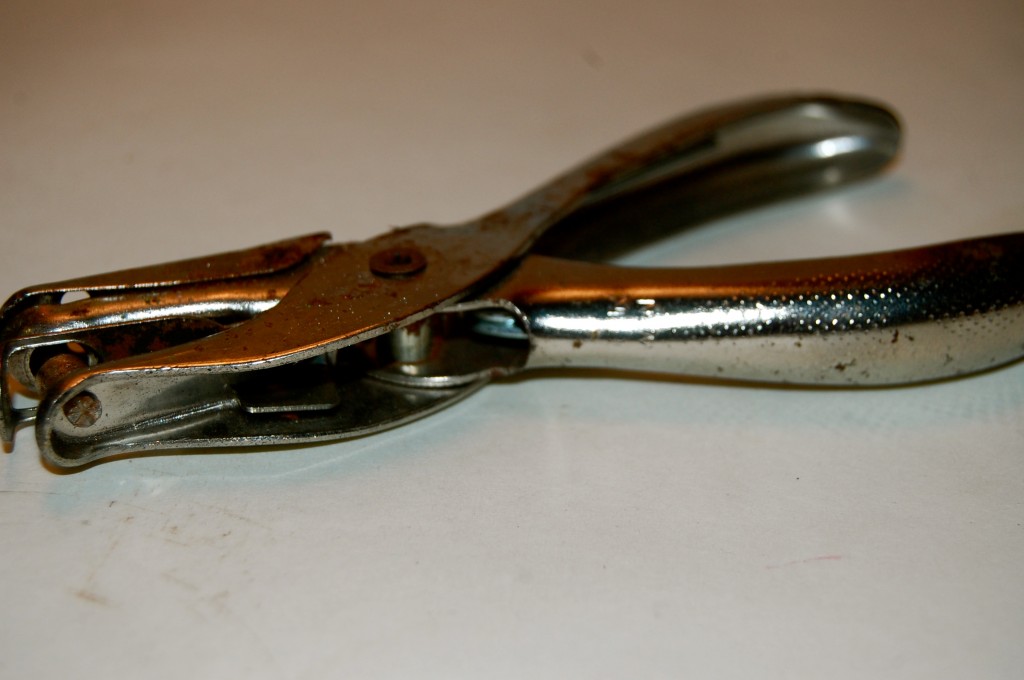
You will need a hole puncher. I know before you give me any hassle these babies are amazing. They are like, 25 years old. I have been having them for as long as I remember.

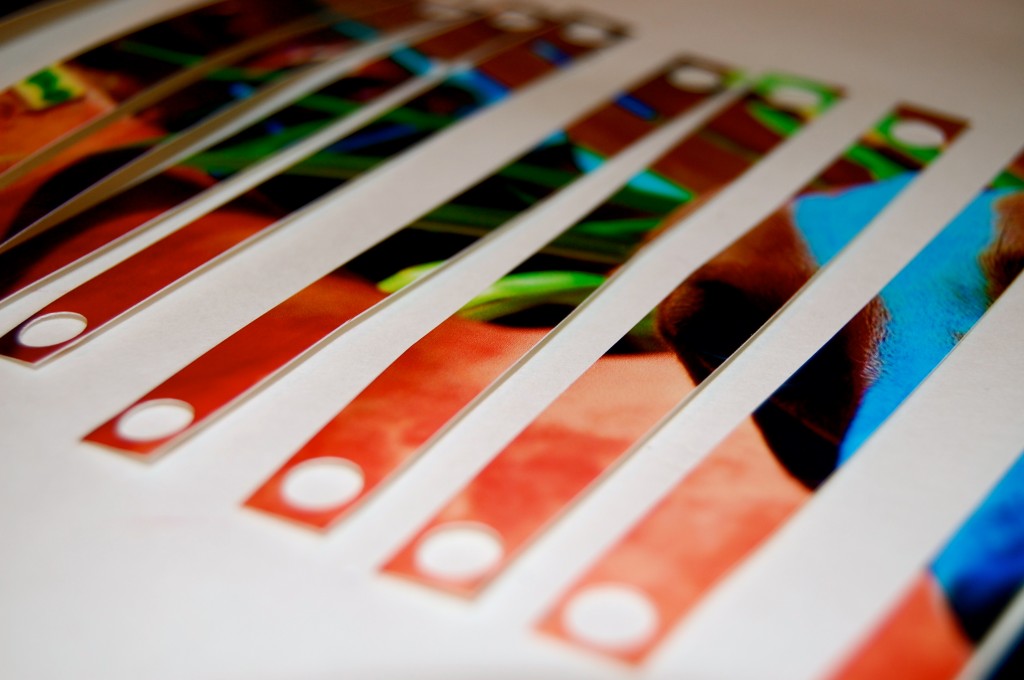
Cut a card into narrow strips; you’ll need about eight to 20 pieces, depending on how much space you want between them.

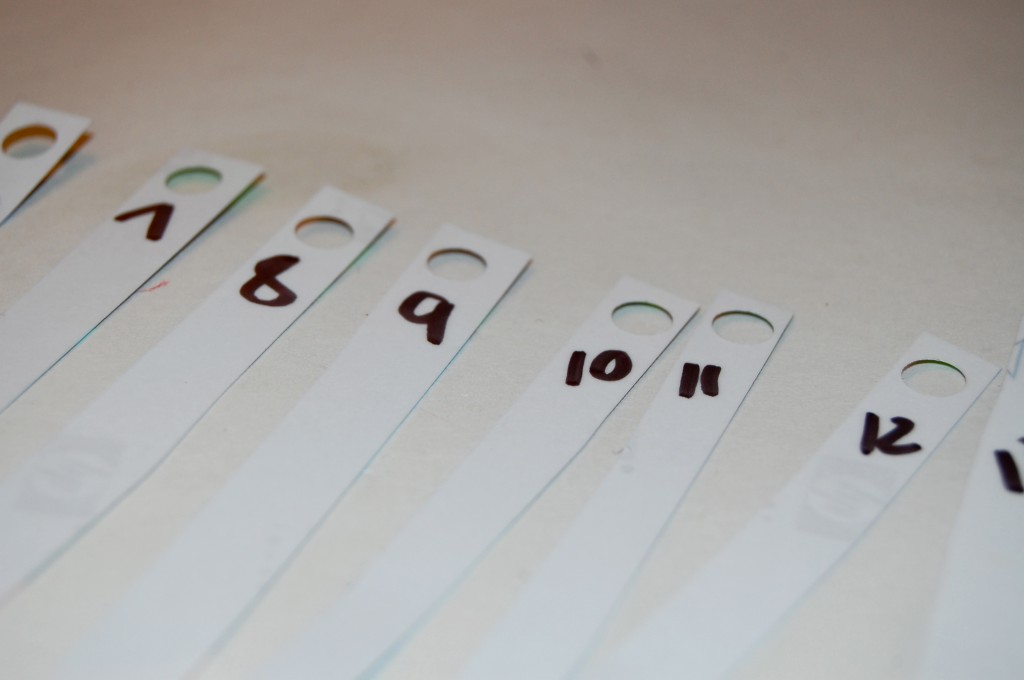
I always number mine that way I don’t mix them up. OH and remember to keep your numbers at either the top or bottom that way they are all facing the right direction. Yep. Full of tricks. Don’t forget after you cut all of your slices to punch on EACH end with the hole puncher!

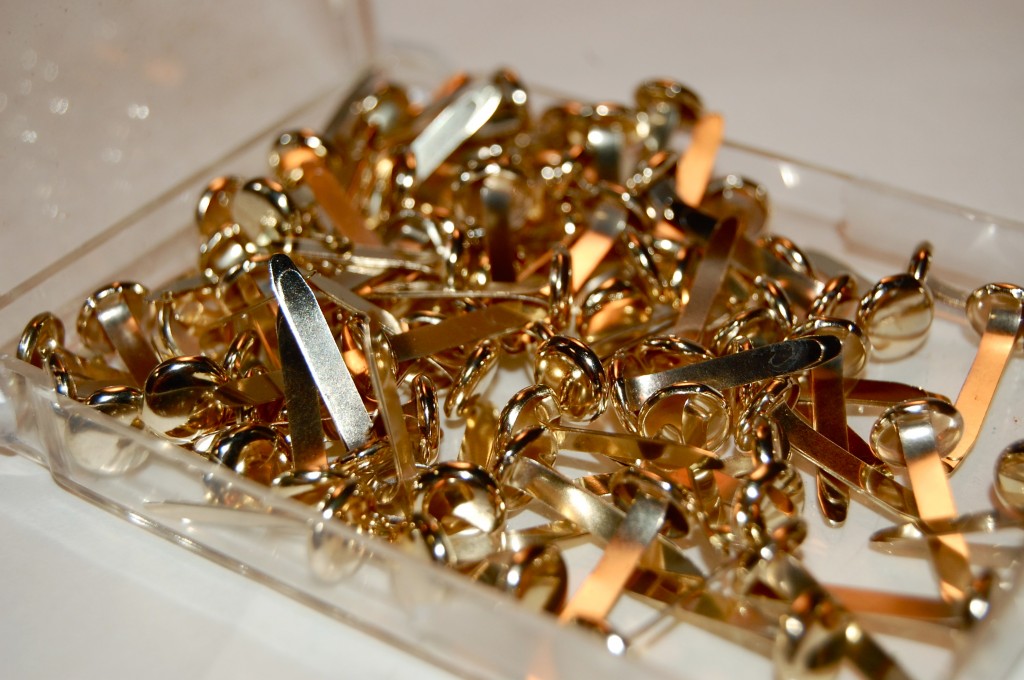
Get some good ole paper fastener’s.

Stack strips and punch holes through both ends with a hole punch (if the stack is too thick, do a few strips at a time); insert a paper fastener into each hole.

Now do you see what I mean. PRICELESS.

Wishing I was the cow jumping over the moon, or the sheep jumping the fence…


Check out Martha’s original craft HERE and you can purchase Martha Stewart’s Encyclopedia of Crafts here!

CLICK HERE TO WATCH VIDEO (me on the show!)


Click HERE to read all about it!!!

 IF YOU DECIDE TO DO ANY OF THE CRAFTS, SHOOT ME AN EMAIL AND I WILL ATTACH  IT TO THE POST WITH A LINK THAT GOES STRAIT TO YOUR BLOG!  IF YOU DON’T HAVE A BLOG JUST EMAIL IT TO ME AND I WILL PUT IT UP!!!!
Thanks to Martha Stewart crafts for sponsoring me with craft supplies!

Cereal Box Organizer

OMG! It’s the 10th. I can’t believe it. I will write more about this LATER! When I saw this craft I thought. OMG! Practically free and a nice way to keep your magazines nice and neat. Do you know what I am talking about yet??? Hurry! Scroll down!!

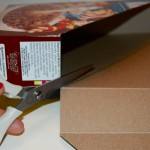
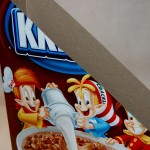
Kids go through cereal fast. Make use of all the empty boxes by turning them into handy holders for their desks. Large boxes work well for books, small ones for supplies. Cut box with a utility knife at desired angle and height. Wrap decorative or contact paper around box to see how much you’ll need; unwrap; cut. Secure paper with double-sided tape; trim excess.

All of my products are made my Martha Stewart.

Glitter  Glittering Trays   Glitter Glue

Check out Martha’s original craft HERE and you can purchase Martha Stewart’s Encyclopedia of Crafts here!

 CLICK HERE TO WATCH VIDEO(me on the show!)

 Click HERE to read all about it!!!

 IF YOU DECIDE TO DO ANY OF THE CRAFTS, SHOOT ME AN EMAIL AND I WILL ATTACH  IT TO THE POST WITH A LINK THAT GOES STRAIT TO YOUR BLOG!  IF YOU DON’T HAVE A BLOG JUST EMAIL IT TO ME AND I WILL PUT IT UP!!!!

 [email protected]Thanks to Martha Stewart crafts for sponsoring me with craft supplies!

Dot-Punched Stationery

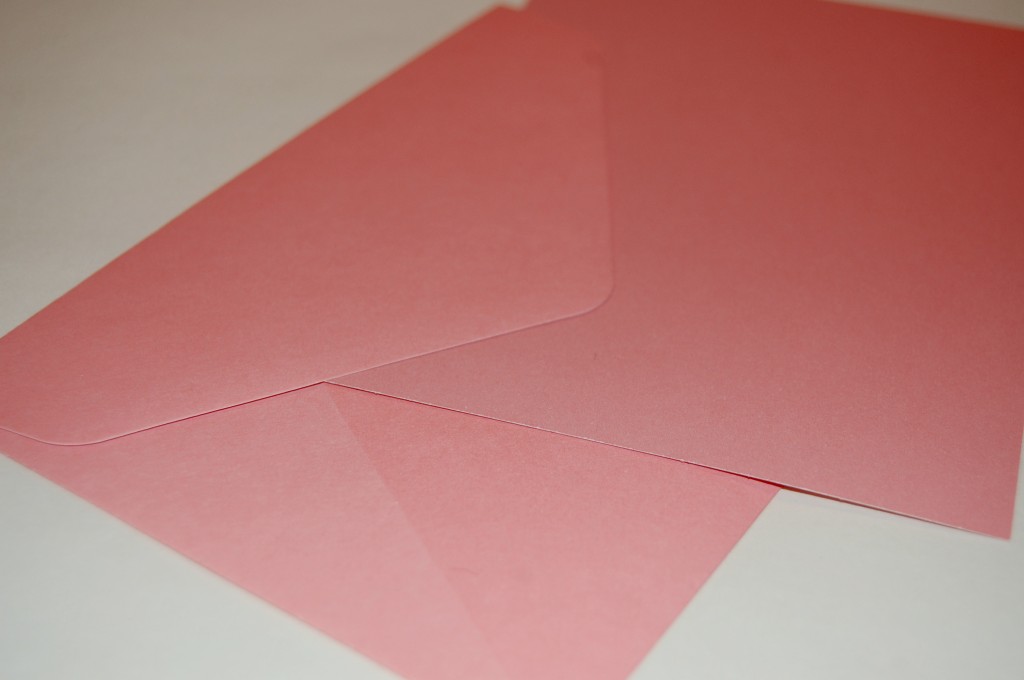
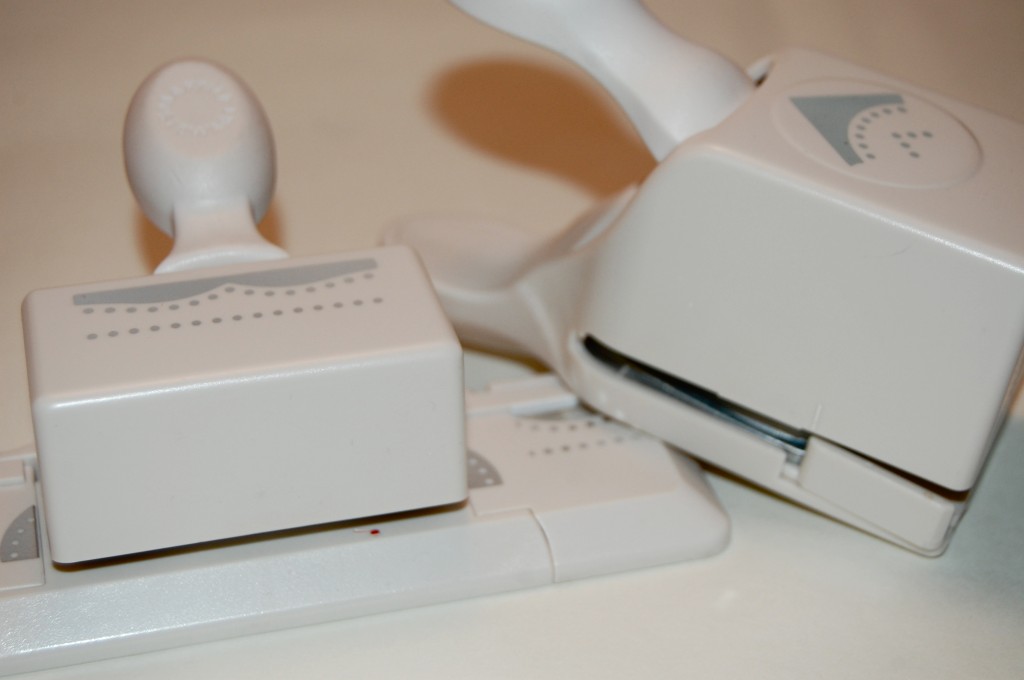
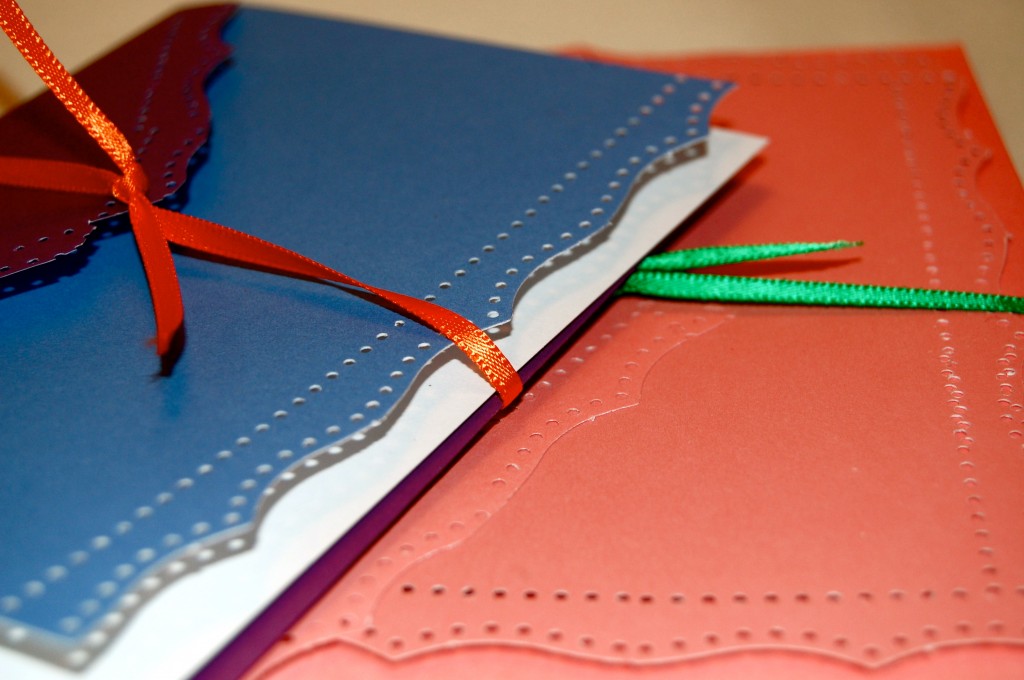
Give everyday — and inexpensive — note cards and envelopes some flair by trimming the edges with a decorative rotary cutter or using Martha Stewart’s paper punches…(which by the way are MAGNIFICENT)…

Let’s get started Jaderbugs!

Get some note cards…

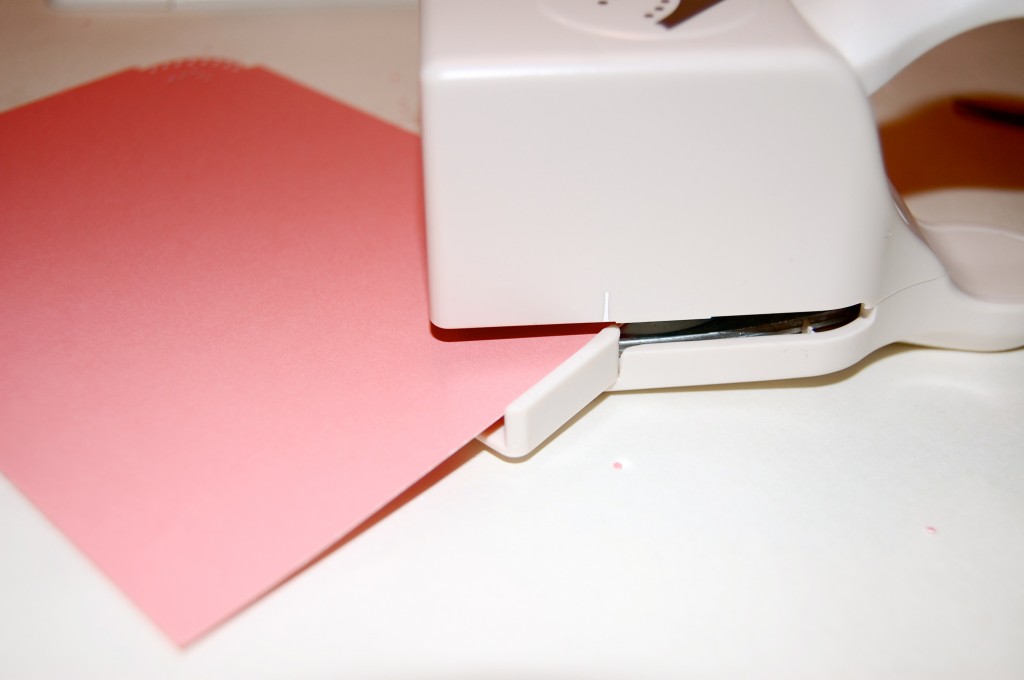
I am using Martha Stewart’s paper puncher...Did I tell you how these babies work? LIKE MAGIC!

The set I am using comes with 2 punches in a pack. One for he edges and one for the corners. This makes it so handy to use all around a page!

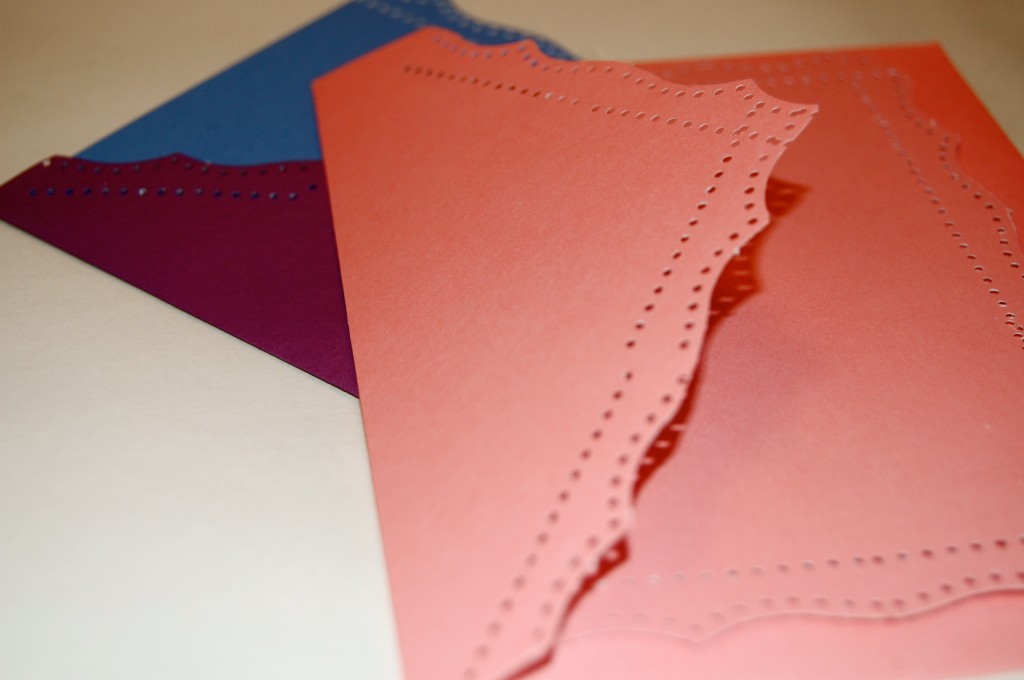
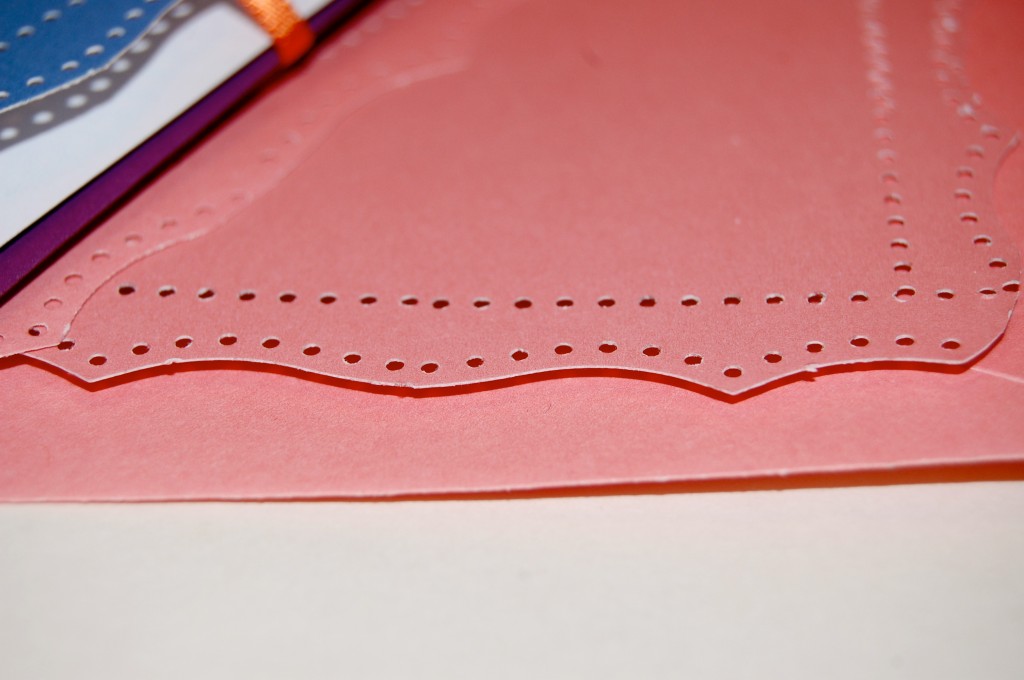
This is your outcome jaderbugs!

Nothing much dot love…

Secure them with a piece of ribbon and BAM!!I hope you enjoyed this Jaderbugs! Just think how you loved ones will feel getting this baby in the mail!

Getting in the holiday spirit by painting my nails red and pink,

Check out Martha’s original craft HERE and you can purchase Martha Stewart’s Encyclopedia of Crafts here!

CLICK HERE TO WATCH VIDEO

(me on the show!)

Click HERE to read all about it!!!
 IF YOU DECIDE TO DO ANY OF THE CRAFTS, SHOOT ME AN EMAIL AND I WILL ATTACH  IT TO THE POST WITH A LINK THAT GOES STRAIT TO YOUR BLOG!  IF YOU DON’T HAVE A BLOG JUST EMAIL IT TO ME AND I WILL PUT IT UP!!!!

Thanks to Martha Stewart crafts for sponsoring me with craft supplies!


Bottle Beauty

GOOD MORNING JADERBUGS!!!

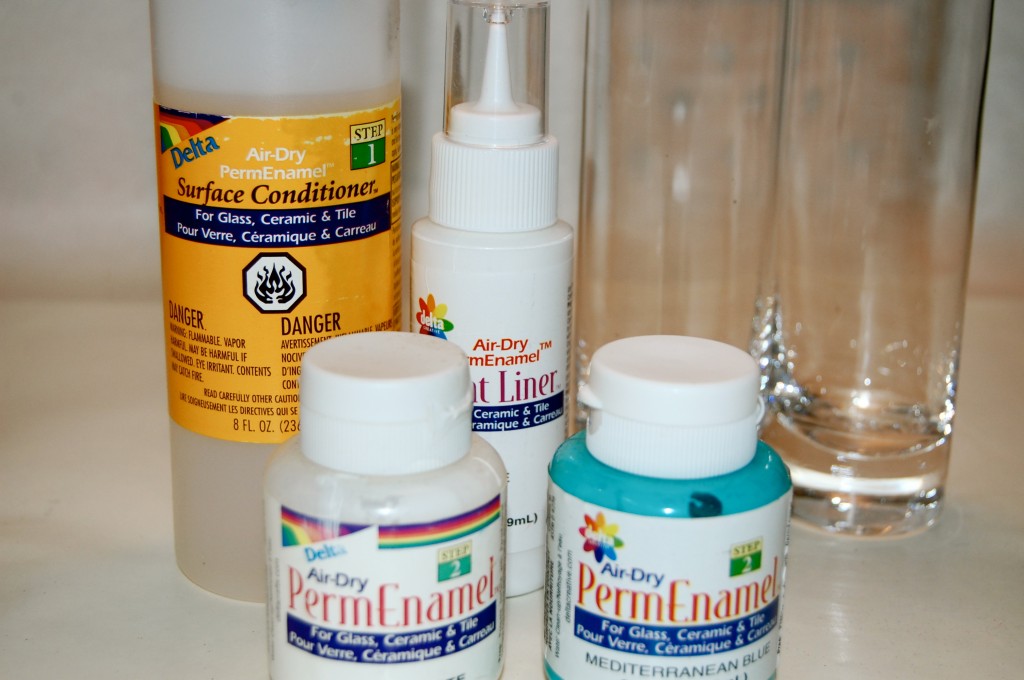
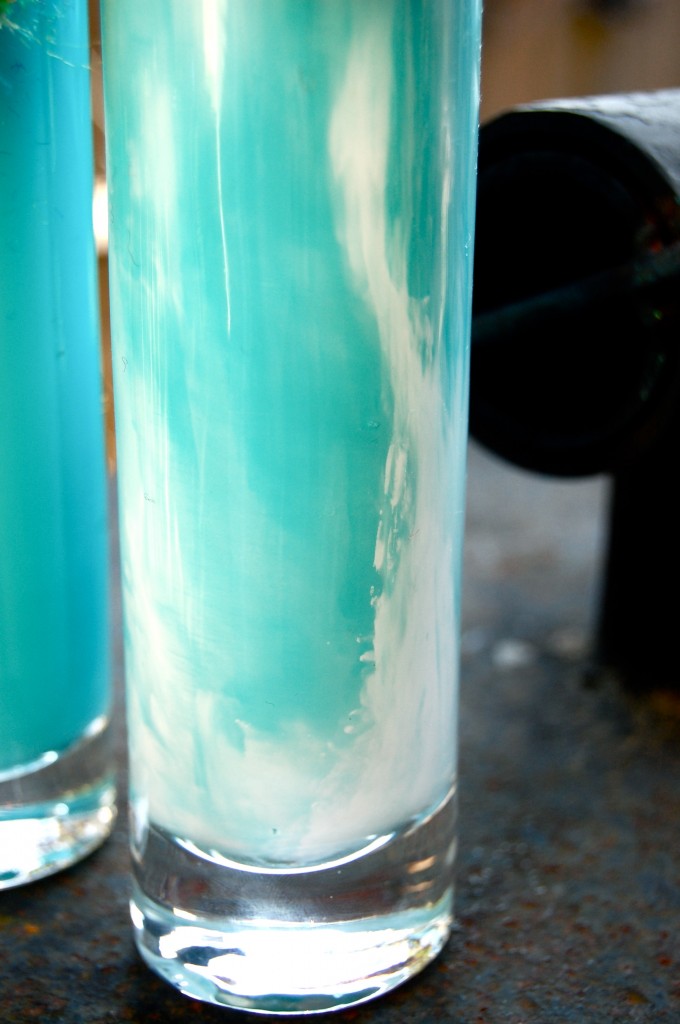
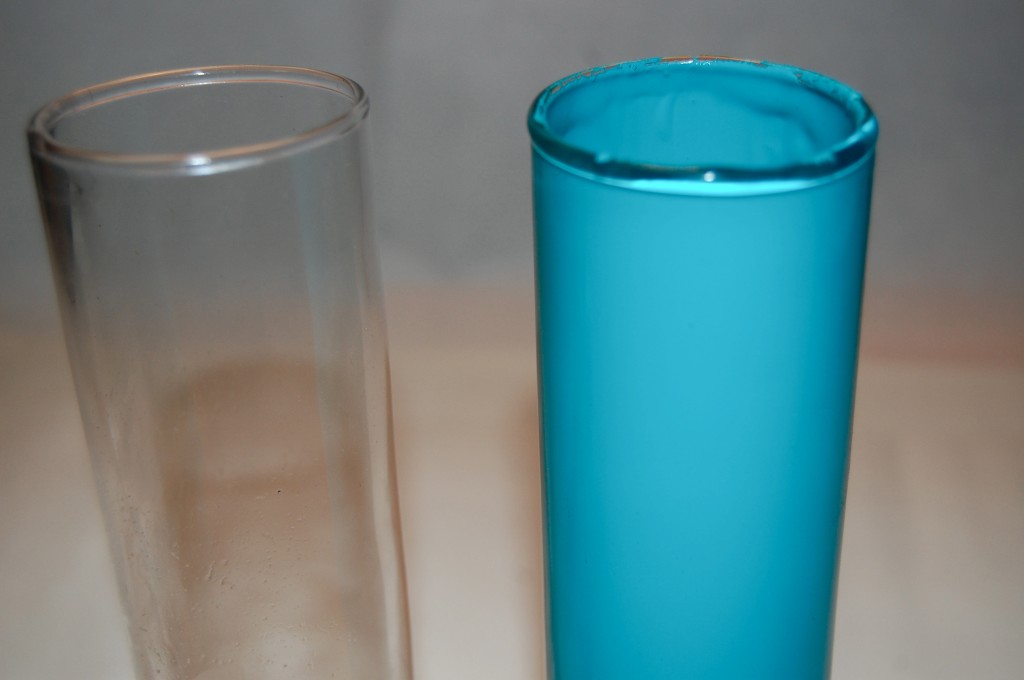
I hope you love this craft because I am ADDICTED to it. I want to “paint” everything clear that I see.  Transform everyday vessels into elegant vases by coating their interiors with glass enamel. Any container will do — buy up old bottles at a flea market or try kitchen cast-offs, such as jam jars. We used white enamel, which yielded different shades of green depending on the tint of the glass.

I got all of my products at Michaels arts and crafts store. If you don’t have one locally you can go to Delta Creative and order some! 

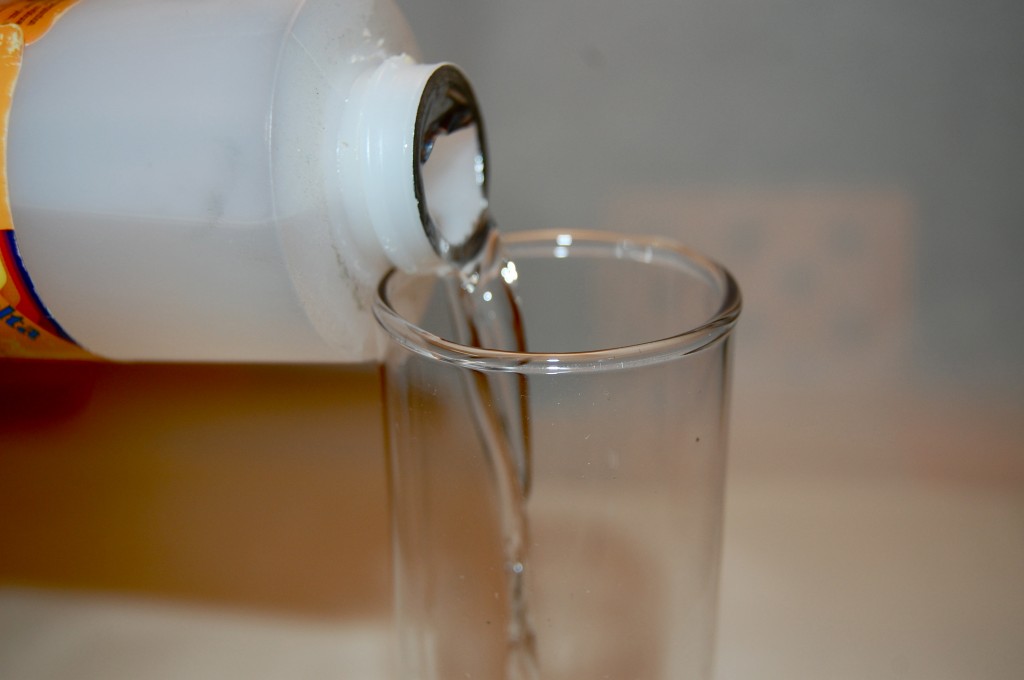
Wash the bottle inside and out with soapy water; let dry. Pour in a small amount of the paint’s surface conditioner, which primes the glass for the enamel. Swirl to coat fully, then pour out excess.

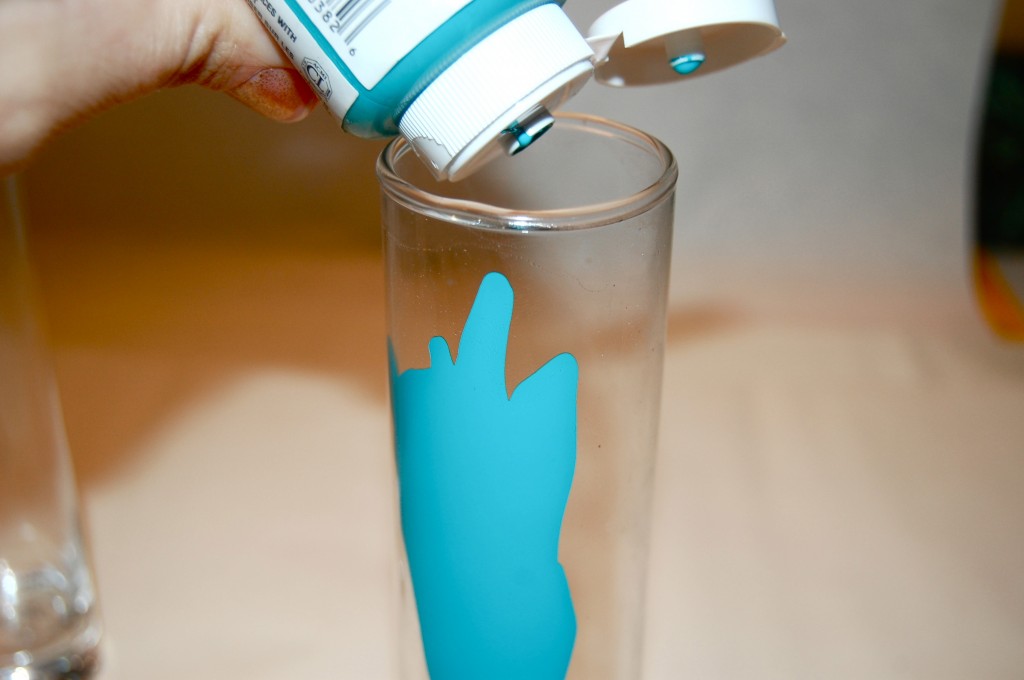
Stand bottle upright, and dry for an hour. Pour in enough enamel to easily coat the inside. Swirl, and return excess to container for reuse.

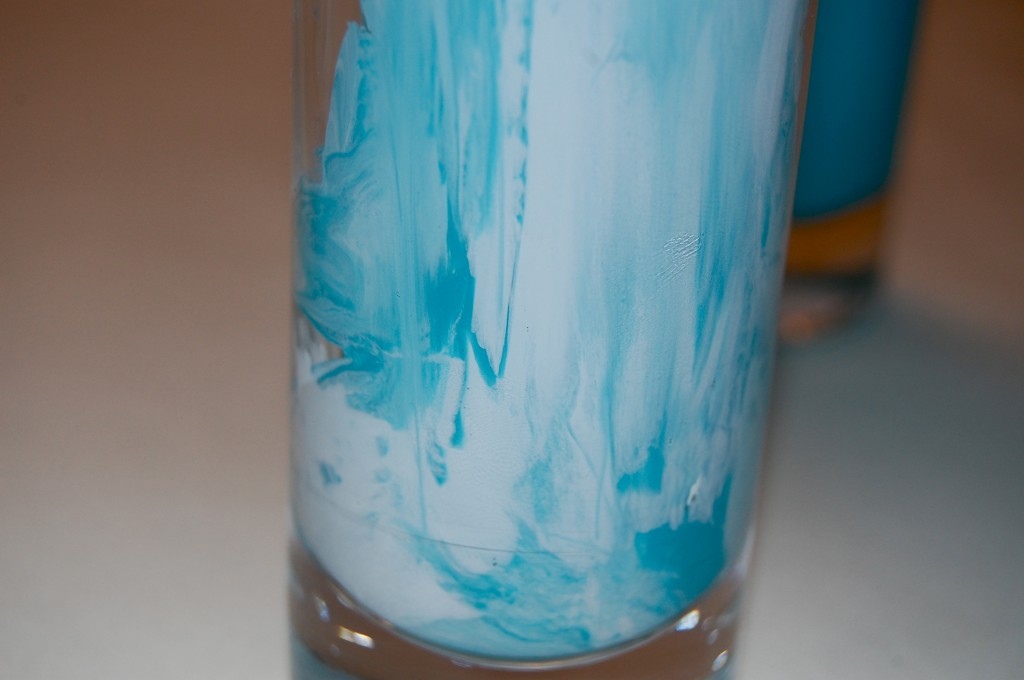
This is so pretty! Make sure you coat it good so you don’t have streaks.

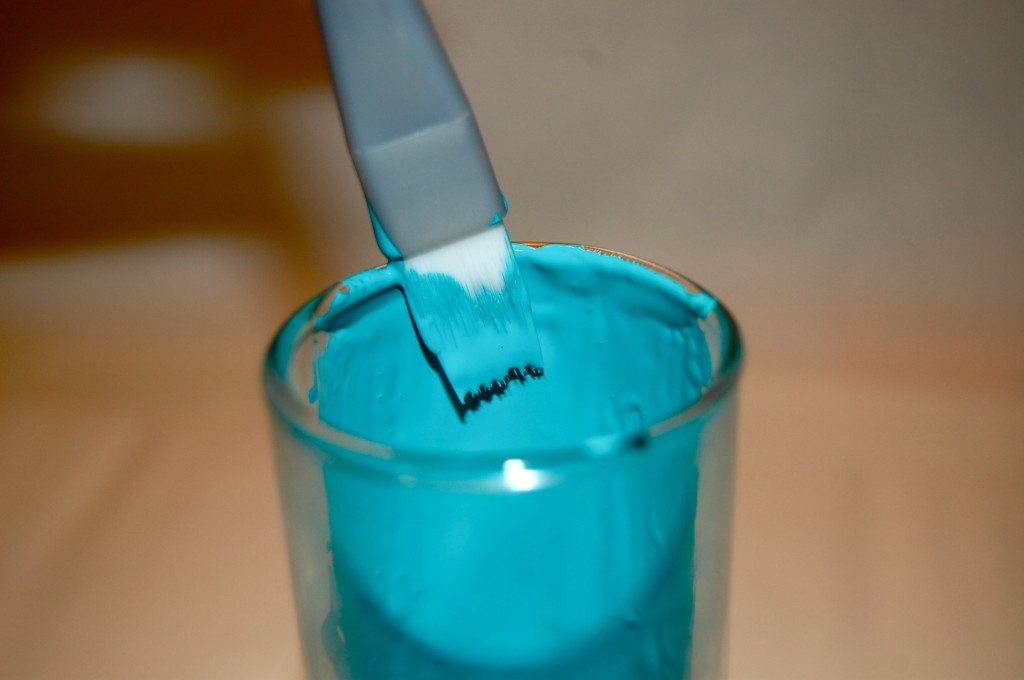
I mixed a little white and blue to get this effect! So pretty!!

All I did was pout the 2 colors in the container and started painting the inside.

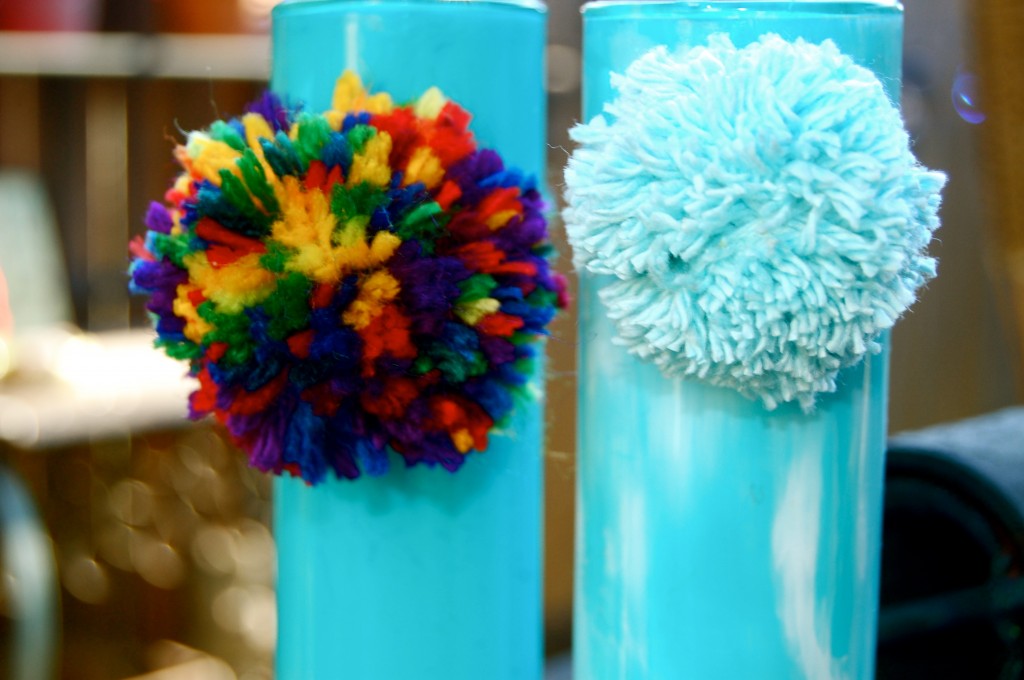
I dressed them up with my homemade pom poms! Did you see my post on how to make them? Check it out HERE!

See how fun these suckers look! I hope you have fun making some! OH! Check out my video I made on “How to Paint on Glass”… I did this a while ago so forgive if it’s cheezy. haha

OVERWHELMED with everything I have to do but I will feel better when it’s bedtime,

Check out Martha’s original craft HERE and you can purchase Martha Stewart’s Encyclopedia of Crafts here!

CLICK HERE TO WATCH VIDEO

(me on the show!)
Click HERE to read all about it!!!
 IF YOU DECIDE TO DO ANY OF THE CRAFTS, SHOOT ME AN EMAIL AND I WILL ATTACH  IT TO THE POST WITH A LINK THAT GOES STRAIT TO YOUR BLOG!  IF YOU DON’T HAVE A BLOG JUST EMAIL IT TO ME AND I WILL PUT IT UP!!!!
Thanks to Martha Stewart crafts for sponsoring me with craft supplies!

Snowball Wreath

A wreath of puffy white pom-poms, reminiscent of snowballs, will last the entire winter season. Because it is made from just a few materials and has a simple color scheme, any child age 6 or older can make one with great success, or even a dozen to give as holiday gifts.

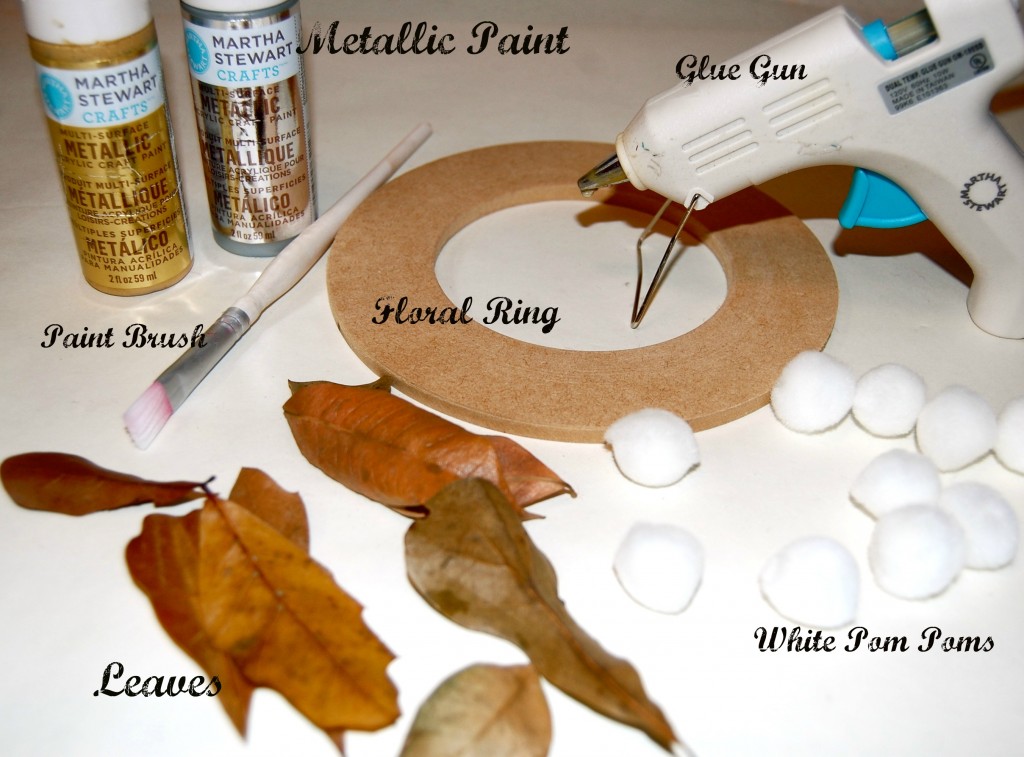
These are the things you will need for the project.

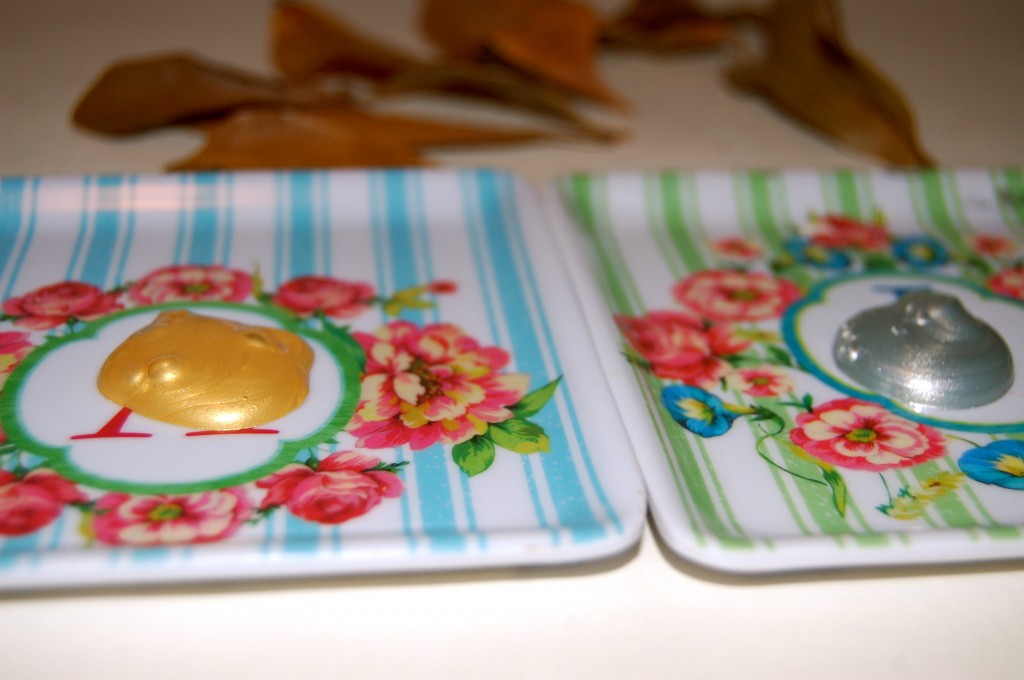
Look how pretty this metallic paint is! You can purchase them wherever Martha Stewart crafts are sold.

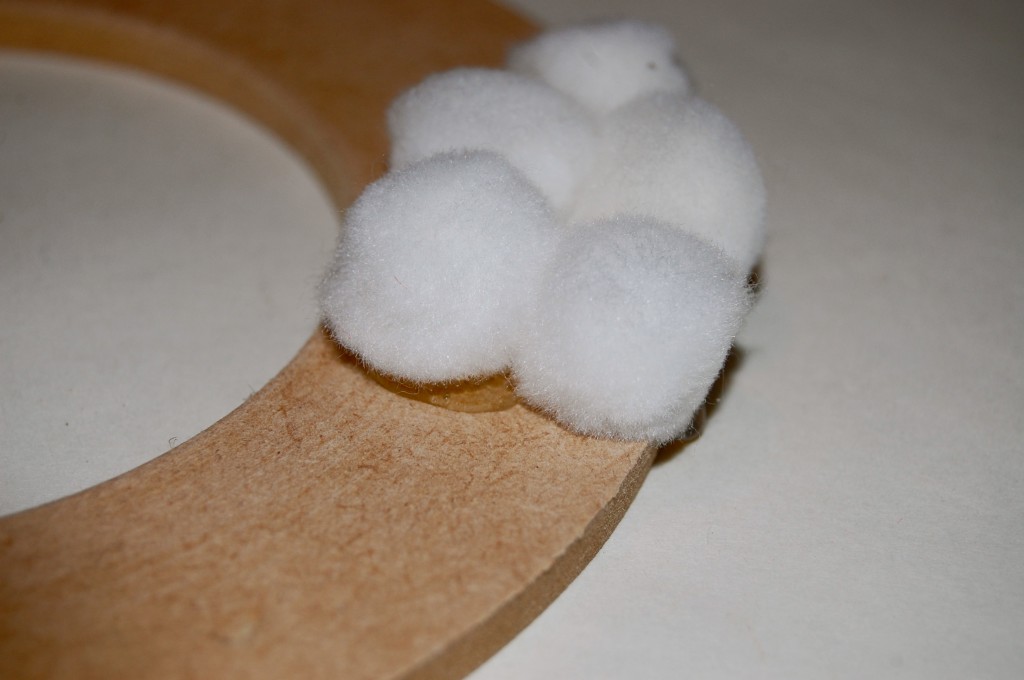
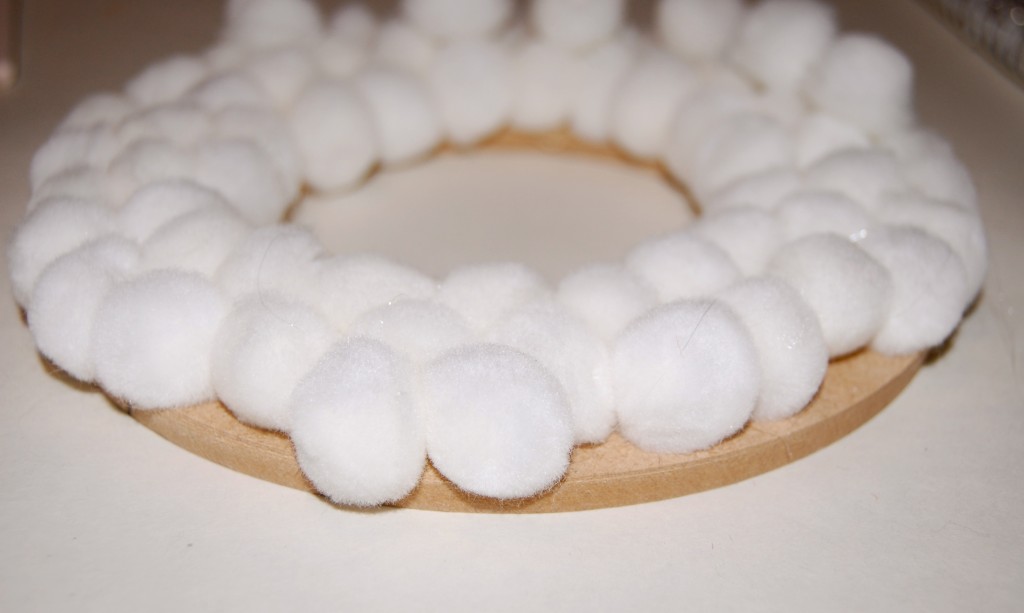
With a low-temperature hot-glue gun (or white glue, which takes longer to dry), attach about twenty-four 2-inch and fifteen 1-inch pompoms to the ring, alternating sizes as you go. Fill in the spaces with ten or so 1/2-inch pom-poms.

Isn’t it so pretty! I only used one size for my pom poms.

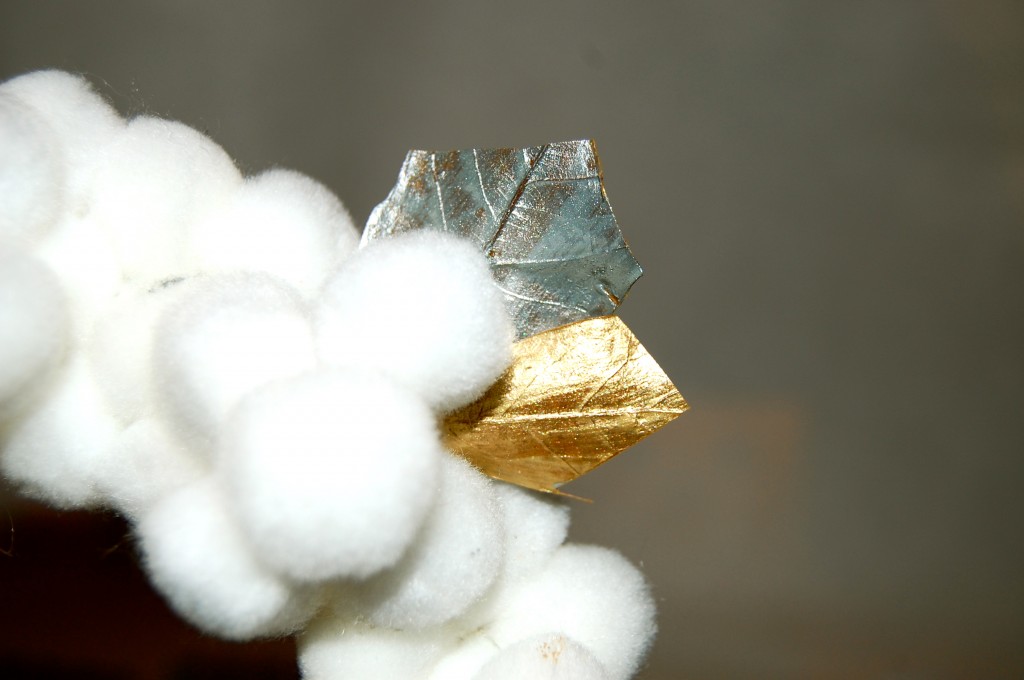
Grab some leaves in your yard and paint them with the Martha Stewart metallic paint. After I painted them I cut them ends to look pointed.

This reminds me of a big ole cloud. One in which I would LOVE to be laying on right about NOW! I can’t wait to see pictures of your wreath!

Dreaming of a fluffy pillow and a new gold Michael Kors watch,

Check out Martha’s original craft HERE  and you can purchase Martha Stewart’s Encyclopedia of Crafts here!

CLICK HERE TO WATCH VIDEO  (me on the show!)

Click HERE to read all about it!!!
 IF YOU DECIDE TO DO ANY OF THE CRAFTS, SHOOT ME AN EMAIL AND I WILL ATTACH  IT TO THE POST WITH A LINK THAT GOES STRAIT TO YOUR BLOG!  IF YOU DON’T HAVE A BLOG JUST EMAIL IT TO ME AND I WILL PUT IT UP!!!!

Thanks to Martha Stewart crafts for sponsoring me with craft supplies!

   P.S. Don’t forget about my giveaway that ends on THURSDAY!!!!

Click on the picture to sign up!!!!