Tag Archives: hobby lobby

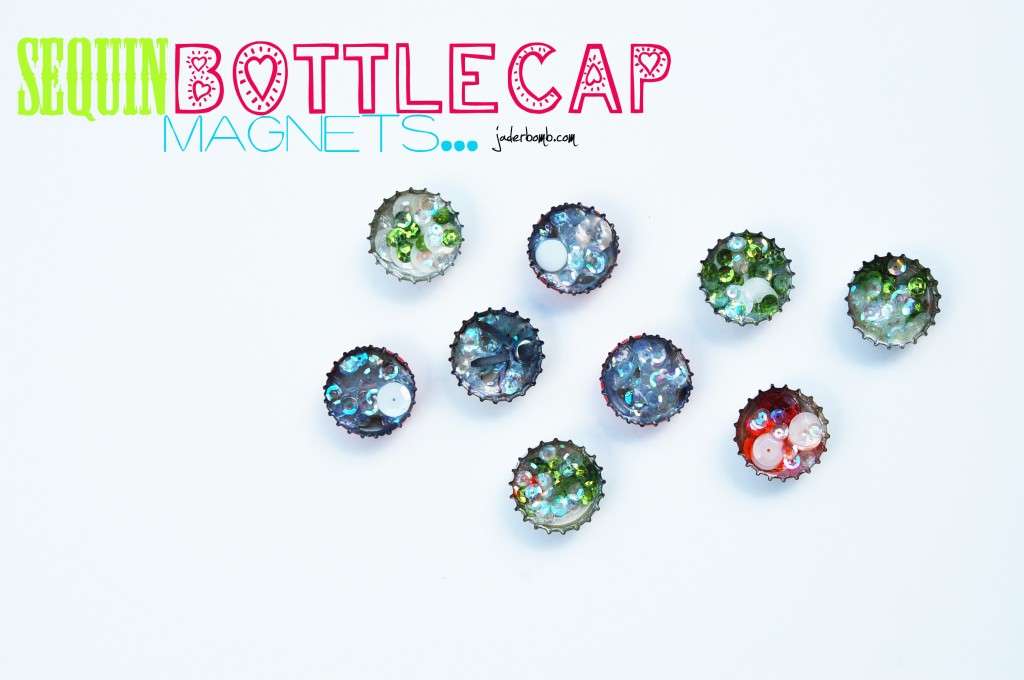
{seriously} These are so flippin cute!

Happy 2’s day Jaderbugs! I hope everyone is having a day full of love and laughter! If I haven’t told you lately, I am so glad you come visit me everyday. It really makes me so very happy, and if this is your first time visiting my “online home” WELCOME! If you know me then you know I have a very large stock in bottle caps and corks. Such an odd combo but yet they are two things that come in SO handy all of the time.

The other day I needed extra magnets on the fridge and there was no way I was going to go buy some! {go figure}

If you walked in my studio you would fuss at me if I ever bought ANYTHING!

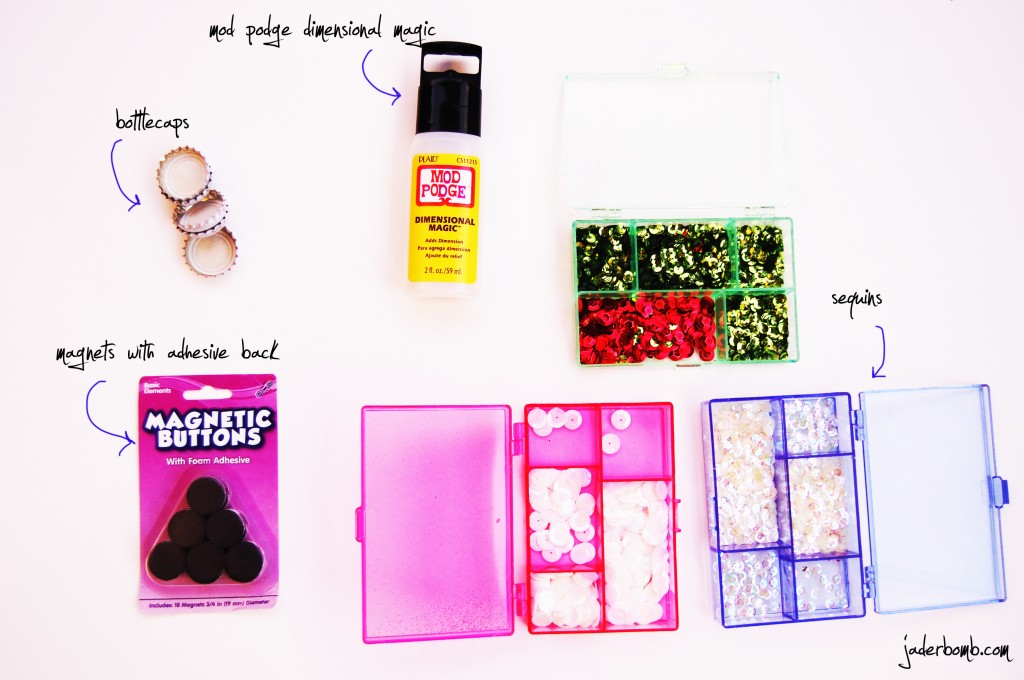
INGREDIENTS:
{click the links below to order}

 Bottle Caps
(you can order the here or use ones that you have collected)
Seqins (get these from any craft store)
Mod Podge Dimensional Magic 
Magnetic Buttons

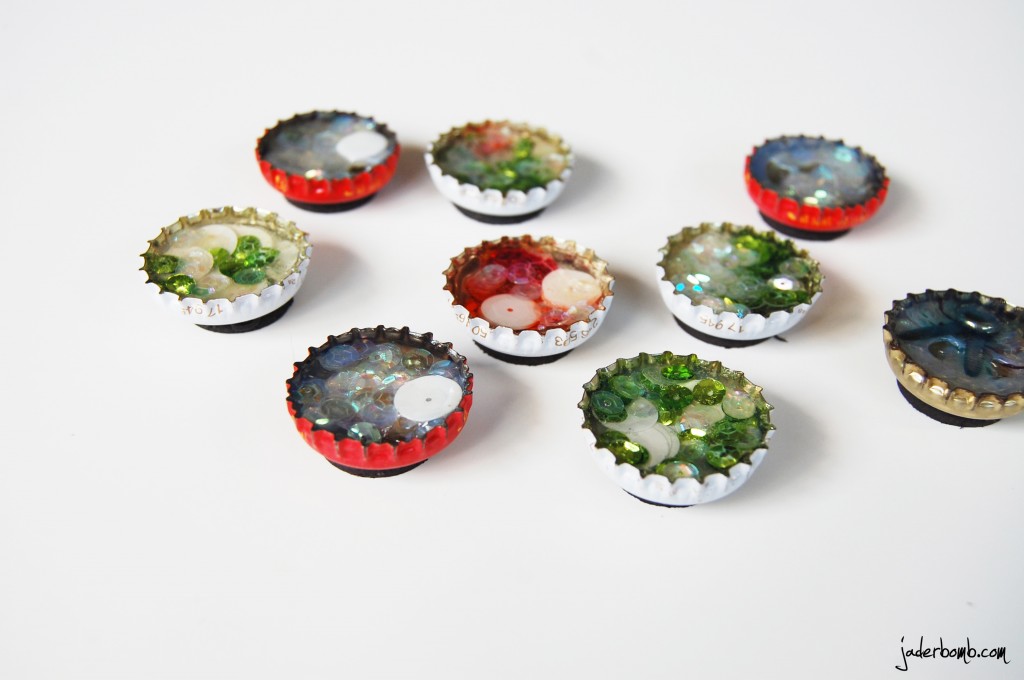
First thing you will do is lay your bottle caps down flat. Fill them with sequins and slowly squeeze in your Mod Podge.

FYI:
Don’t shake the bottle of Mod Podge Dimensional Magic. When you shake it, it causes bubbles and the last thing you want is bubbles. Once you are done check on them for about the first 15 min to pop any bubbles that float to the top. I use a needle to pop my bubbles. 

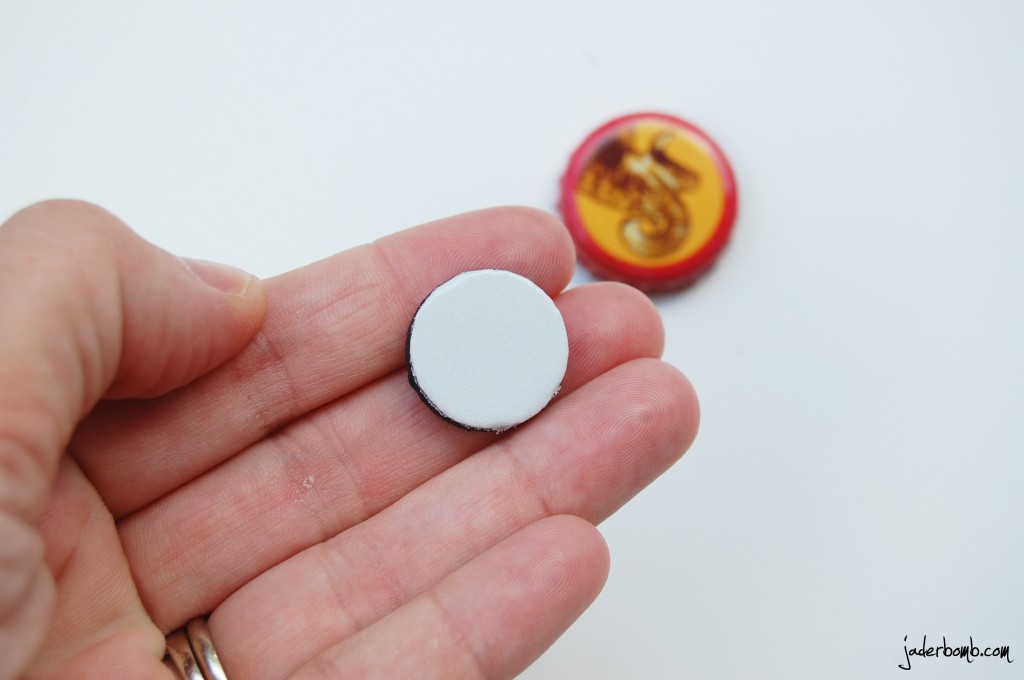
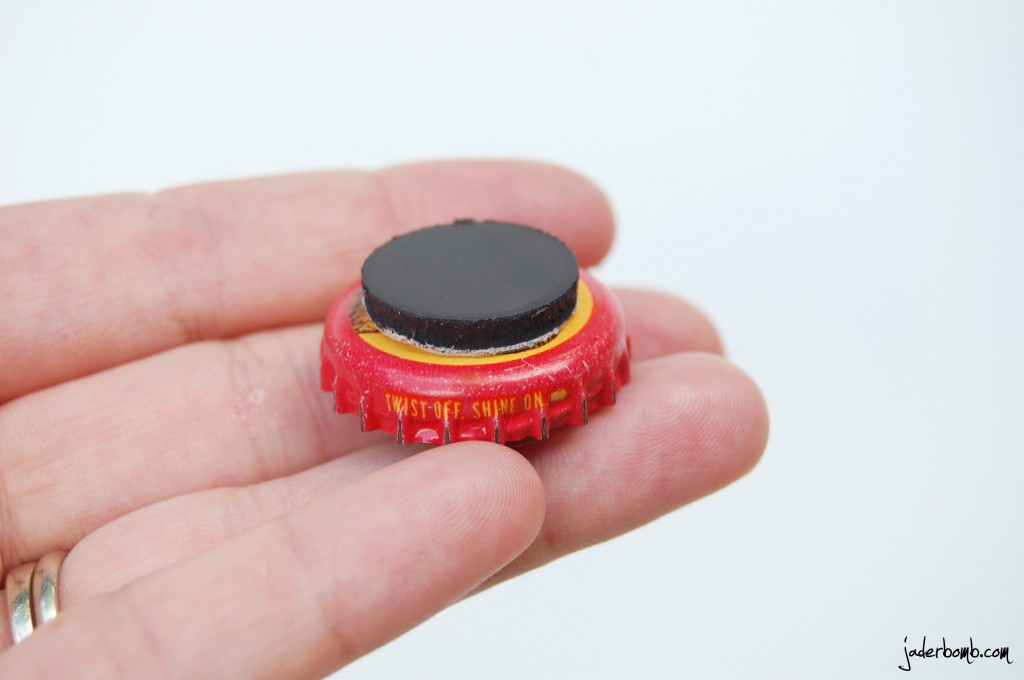
Once they are completely dry you will take a round magnet, peel of the sticky back and stick it on the bottle cap.  

 Tadahhhh! Oh, and you can get these magnets at Wal-Mart also!

 Are they so cute! Just think you can put any color sequins in them or any color glitter. They are the perfect gift also!

 I hope you all enjoyed this fun tutorial… See ya in the next post!


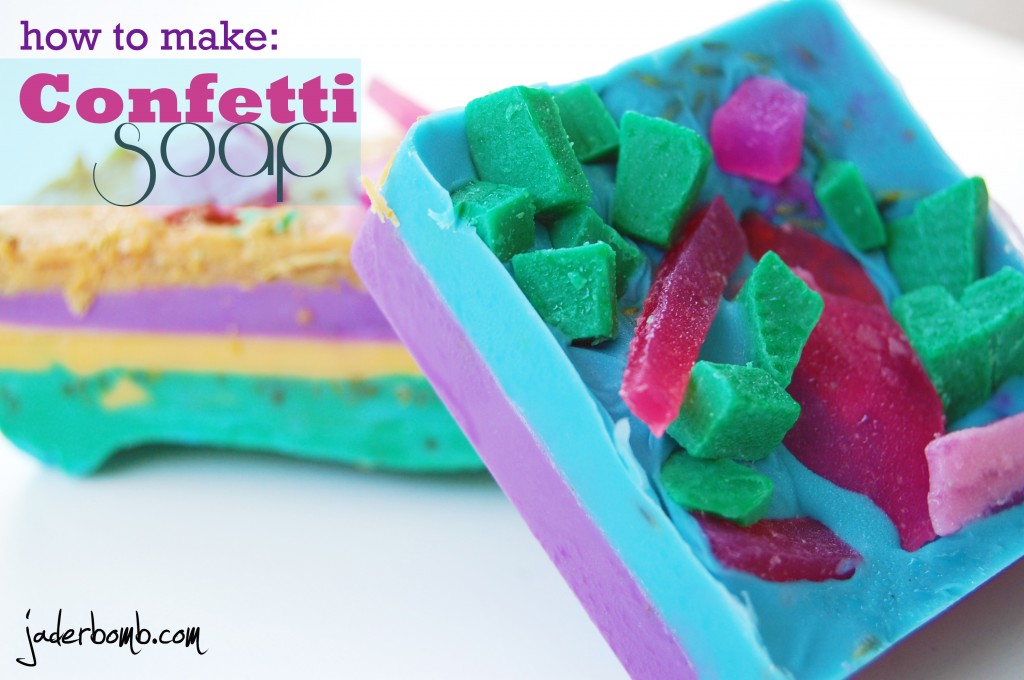
Happy CONFETTI DAY. Wait. It’s just Sunday (minus the sun here in Louisiana). I wonder if there is an actual confetti day…
That would be UH-MAZING. Just think how cool it would be if there was edible confetti, besides the kind you put on your cakes or cupcakes {{even tho that kind is YUMMYLICIOUS}}

The other day I found a bag of glycerin cubes in my studio. Notice I said “FOUND”. Typically when you “FIND” something that means it always existed but you just have too much S$*# you don’t  know it exists. That would be me. Remember, I told you years ago I am an organized hoarder. It was perfectly placed in it’s location and NOT hidden. Just in a cabinet I somehow forgot was there. Who forget’s a cabinet? ME. (insert a big TOO MUCH TO DO FACE)

Let’s start making some SOAP jaderbugs

INGREDIENTS:
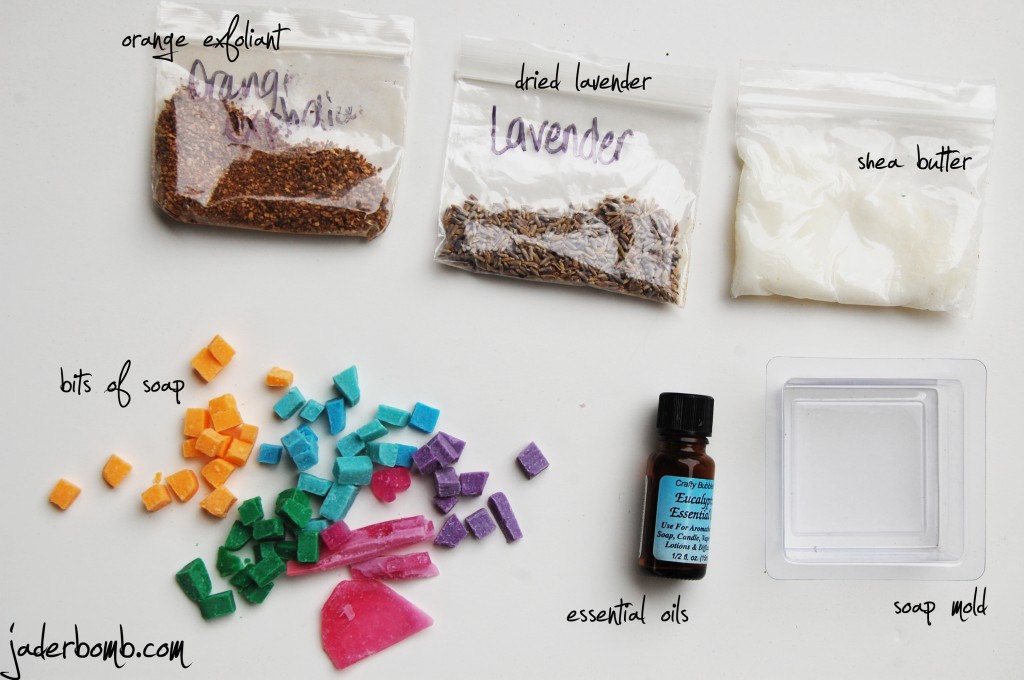
This soap was so fun to make, lil one even had a blast doing it! I bought my bag of glycerin soap from HObby Lobby. If you are not familiar with the glycerin I am talking about check it out here. You could prolly buy it at ANY craft store.  The extra bags of goodies are optional. Just depends if you want that in your soap. The orange exfolient helps gets dead skin cells or your precious skin, I LOVE THIS STUFF!

If you notice I have colored cubes of glycerin in the ingredients picture. All you have to do is melt some cubes, add whatever coloring you want to it (by the way there is soap dye and it’s super cheap), pour it in a mold, let it harden up (about a few hours), pop it out of mold and cut into little cubes. THAT’S ALL! P.S. all of the ingredients are from Hobby Lobby!
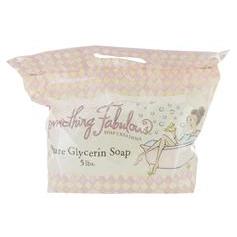
This is what the bag looks like. It’s a 5lb bag for 19.99.  You can actually order it online if you don’t have this store near you! If you decide to order some you can use their 40% off coupon right now! That means you will pay 11.94 + tax for this bag!
WHAT A DEAL!
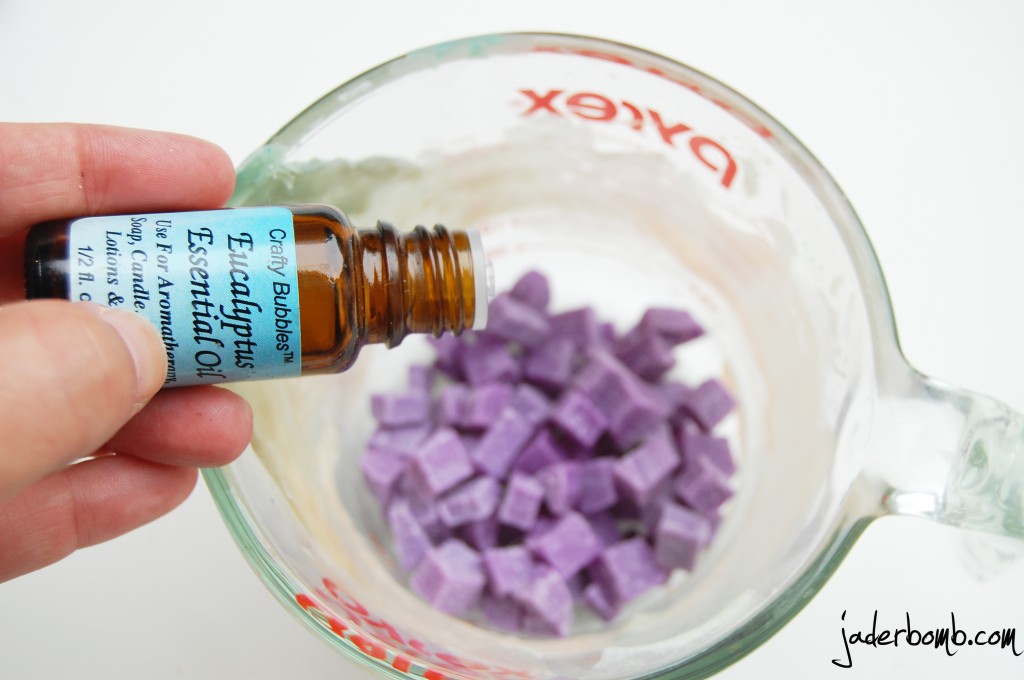
Put some colored cubes into a glass container, add whatever oils you want to it and heat it up in the microwave. I like to do it for 30 second’s then stir. If you don’t have TON’S of cubes then that will be enough time. If it’s not all melted just pop it in for 30 more seconds! VOILA!
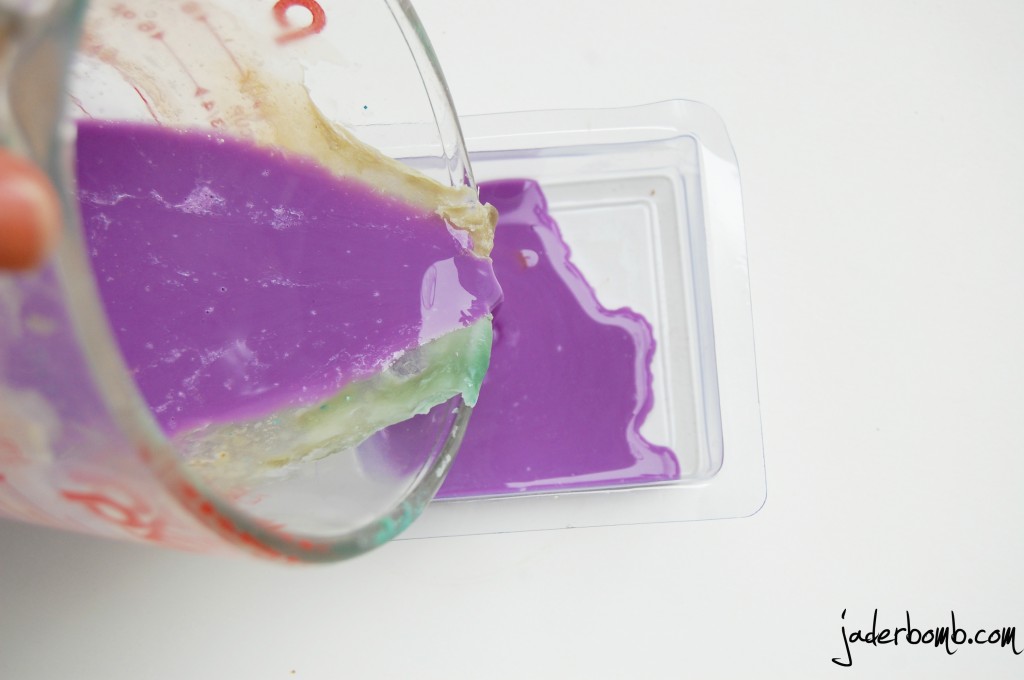
Excuse my redonkulously dirty piece of glass. I promise, this baby is only used to make soap (thank goodness)…
Pour your first color into your mold. Let it sit for about 7 minutes in the freezer.
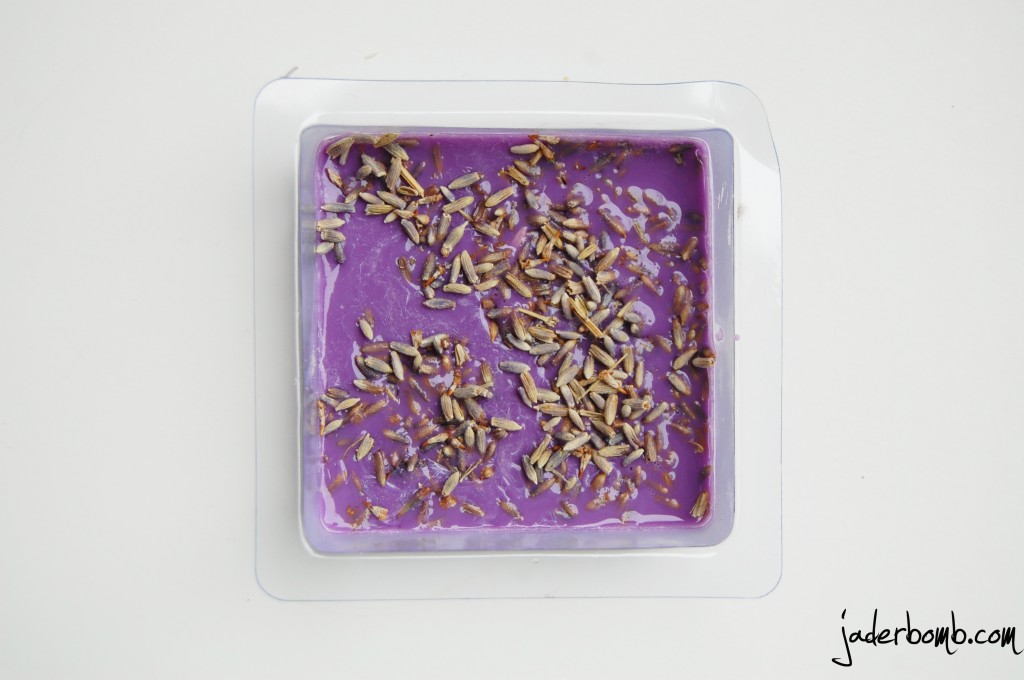
Before I popped mine in the freezer I added dried lavender on the top of hot soap. I love texture in my soap and this my friend is a “good” texture!
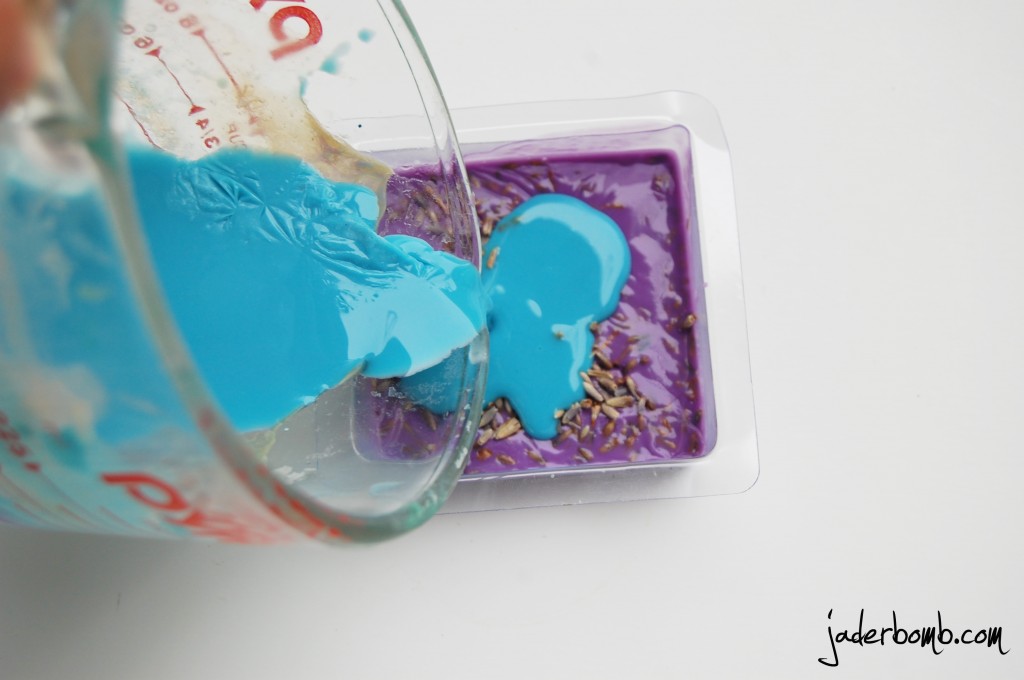
Right before you take your first color out of the freezer start melting your next. Remember, you don’t want your first layer to be completely frozen! You want it to be a little oozy. Pour your second color right on the top! HOW PRETTY ARE THESE COLORS!!!!!! Don’t forget to add your scent to each layer!
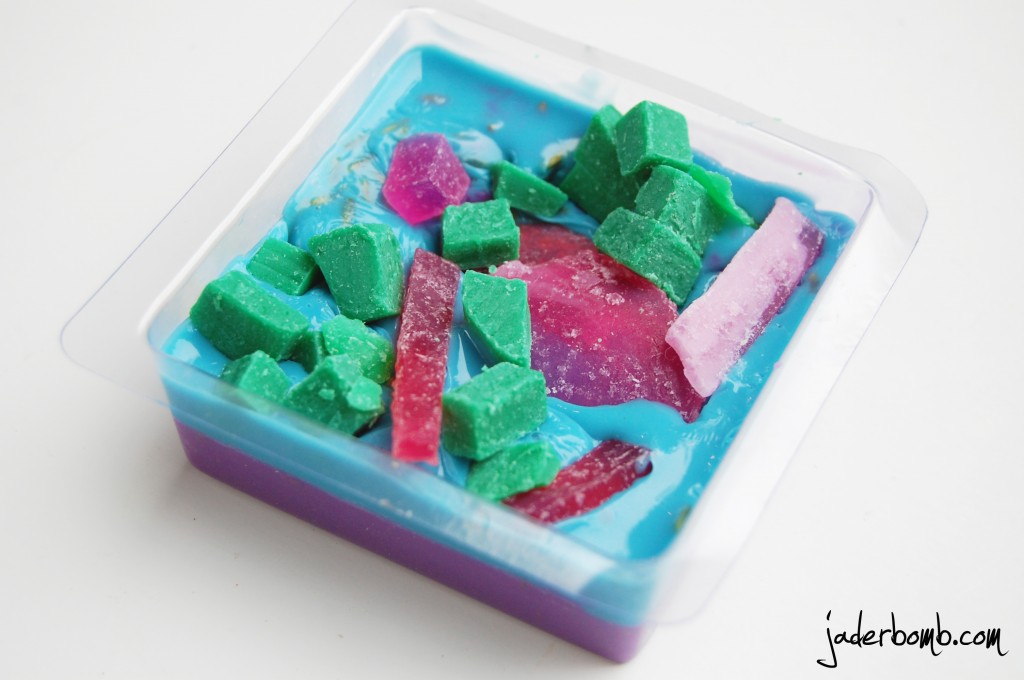
Right after you pour your second color, add a lot of different colored cubes to the top. They will melt a little where they are touching the hot glycerin but what’s left on top will stay just like this! I like to put TON’S of cubes on top! If you notice I left some long to change the texture of the “confetti” look! Don’t forget to pop it into freezer after this step!
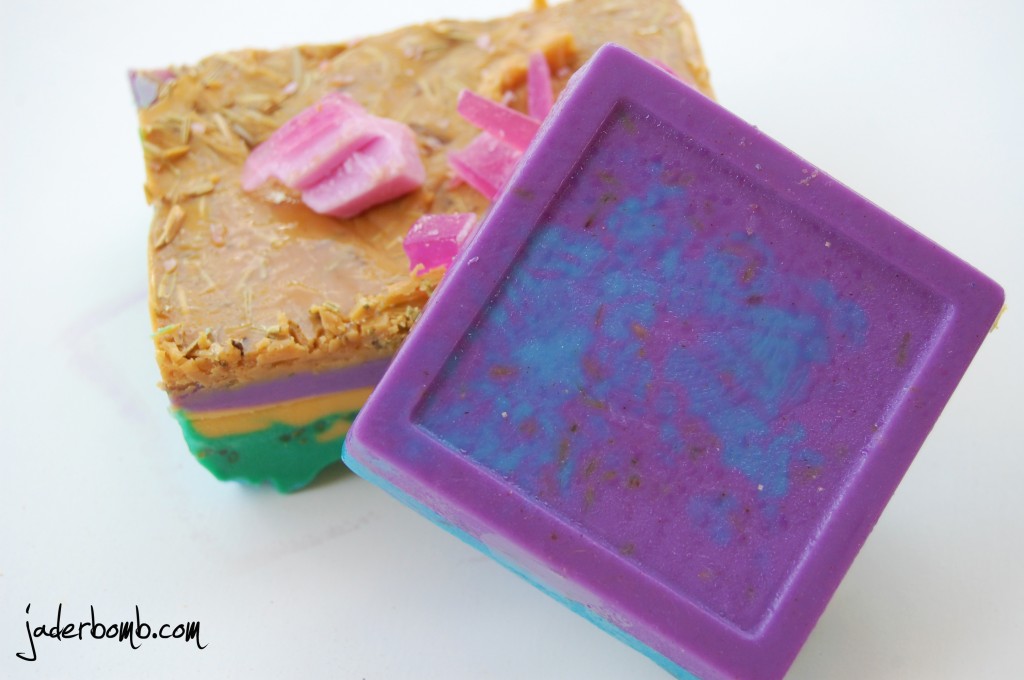
Remember how I told you when you pour your second color to make sure your first color was NOT completely dry? This is why! It gives it a tie dye effect!

I hope you are about to get in your car and get your ingredients to make confetti soap! Be creative! Use the colors you LOVE the most!

Don’t forget to get your 40% off coupon HERE! You can print it out if you don’t want to order online!!! It’s good till July 21st!

Until next time Jaderbugs,
Make it a DIY kinda day!

So. I have sorta been a little sick the past few days and I have been unable to make a craft from start to finish without wanting to rip my hair out. You know how that is when your sick. Everything. is.  After a little thinking I thought it would be a great time to just feature something that I have in my house.  A post that doesn’t require ANY work! I like that!

I guess I will tell you a short story about “how” this happend. One of my good friends came over the other day while we were cleaning and “re-arranging” things. There was this ONE little spot in the house that needed SOMETHING. Can you believe I was stumped. Yeah, I know. I have brain fart days too! Now my friend is a “coach” and doesn’t really care about “arrangement” of things or decorating. I mean, she might care a litte but it’s not like her brain thinks of these things every day. Just wanted to throw that out because SHE IS THE ONE WHO SAID, “J, I think this would look cute right here with something on top of it”.

 I just looked at her. Gave her the STANK eye and listened. I swear, I couldn’t believe it. Who knew!

So that is the story how this happened. Now, after she gave that advice she shot out and went who knows where outside! I was left to decorate the top, haha.

BTW: Have you seen my “HOW TO CUT GLASS” tutorial? Check it out here!

I also did a fun way to dispense matches HERE!

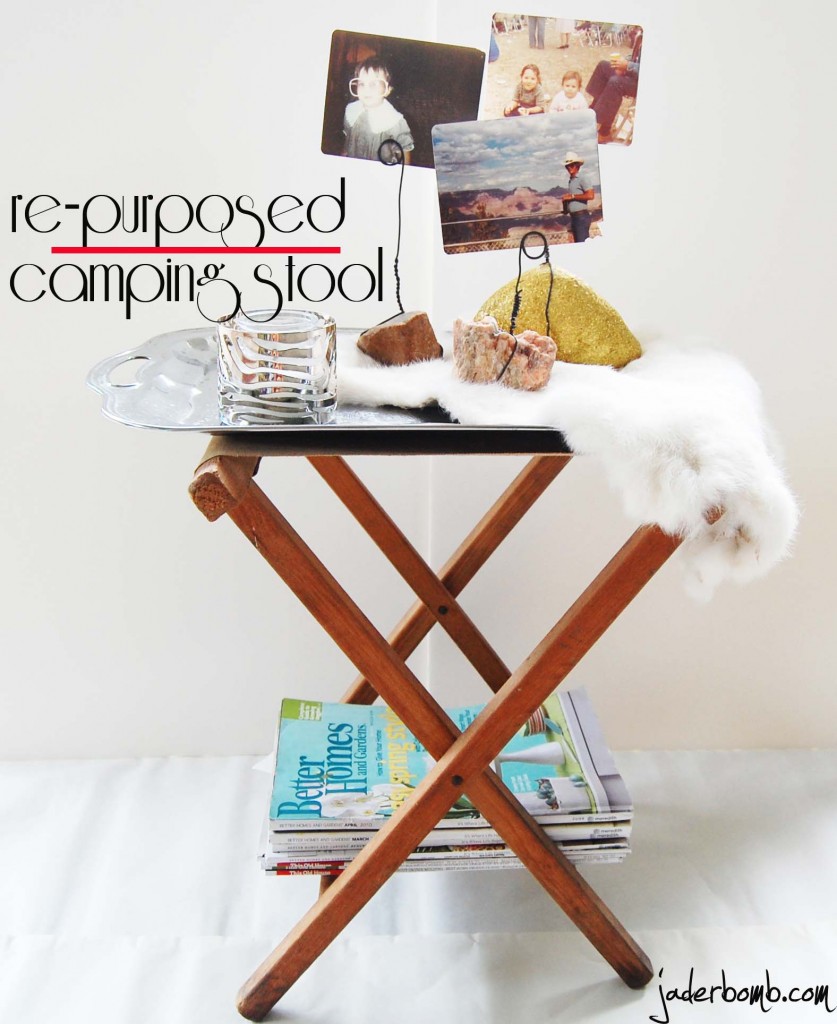
I think this is the cutest thing ever!

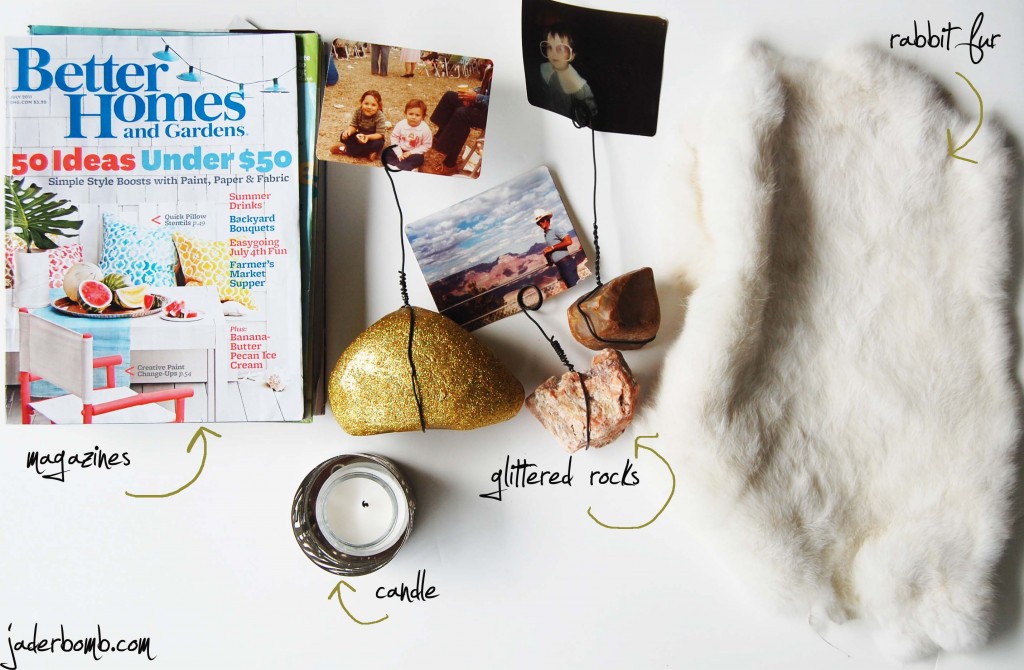
Do you remember my post I did the other day on my PHOTO ROCKS? Click HERE to see it! It is really the best thing to add that whimsical touch. Plus if you are like me, it’s an easy way remember something if you collect rocks!

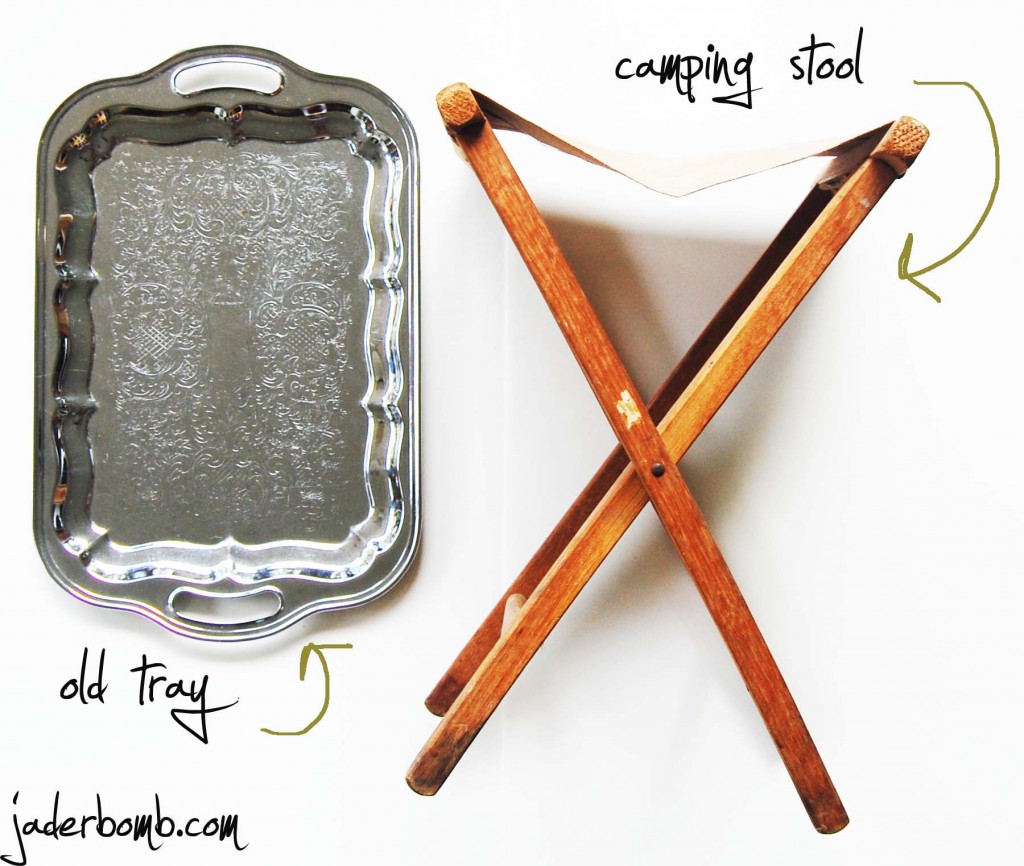
INGREDIENTS:

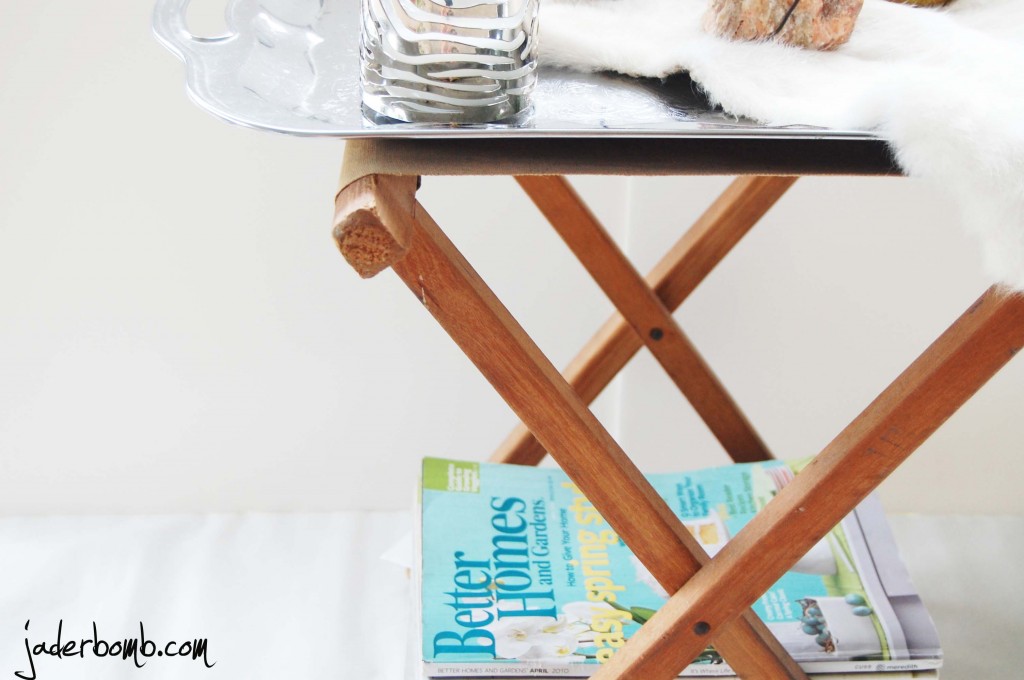
If you don’t have a camp stool you can use anything with legs and add a tray to the top! Be creative! Use what you have!

You can add whatever makes you smile to this tray. This is just what I added.

Yes, I am a Louisiana girl. I like furs.

I get my rabbit furs from Hobby Lobby. They have a ton of them by the leather section. They are only like 15 bucks! Get your 40$ off coupon and grab a couple! (unless you don’t like it then get some floweres)

Here is a little closeup for all my Jaderbugs! This is practical too!

Moral of the story. Next time you see a coach quickly quiz them with a decorating question.
You might learn a thing or two from them!

Have a great day full of “jaderbugging”….

St. Patrick’s Day Banner Tutorial

I wanted to share with you a little banner I made for St. Patrick’s day.
It is super duper simple but super duper cute.
I  pretty much used things I just had around the house and I hope that you can do the same thing. We usually have SO many things we can craft with but forget about them because we buy so much more the next time we go to the store…wait, I think I am just speaking or myself. {{teehehehe}}

This is sorta a “TWO” part tutorial because we will be making 2 different banners but they will go together in the end. Make sense? (crossing fingers)

Some things you will need are:

1.Metallic Gold Paper
2.  Book pages
3.Martha Stewart craft paint
4. Glitter green bells
5.  Martha Stewart dual temperature glue gun
6.  Martha stewart bakers twine in green
7.  Martha Stewart all purpose scissors
8.  Martha Stewart craft brushes
9.  Martha Stewart craft punch

First thing you will do is:

Start punching out holes in your gold paper. I got this from Hobby Lobby. They have TONS of metallic colors!

This is what they will look like!

You will need to put some hot glue on one gold circle and quickly place the bakers twine on top of the glue. You then want to top it off by putting the next circle right on top. It’s kind of like a craft sandwich. Yeah, a craft sandwich.

Grab some book pages and cut out three different sizes of triangles. I cut out 5 of each size.

I used Peridot and Granny Smith from Martha Stewart’s line of craft paint. The peridot is in the glitter pack. It’s soft and subtle.

I used one of the decorative brushes from Martha Stewart’s brushes and just lightly coated my MEDIUM triangle.

Once it is dry and you have brushed both colors on the medium triangle you will use hot glue or double stick tape to place them like this.


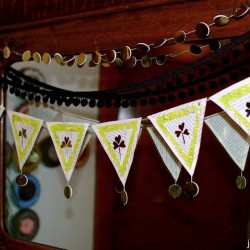
This is what it will look like! I added a g0ld dot on the bottom of each triangle just to add that special touch. I also cut out a heart from each round gold circle and placed them in the middle of the small triangle to represent a clover. A three leaf one, teehehe……I used hot glue to apply these. The last thing I did was glue twine along the back of them!

If you notice I added my gold banner of dots at the top and it adds layers of love.

I had a roll of black pom poms and I used that to add a soft touch to it.
I hope you enjoyed this craft and enjoy St.Patty’s day!


This post is brought to you Plaid’s Martha Stewart line of paint and stencils. I received product for this post. All opinions expressed are 100% mine. You can check out Plaid’s full Martha Stewart product line here

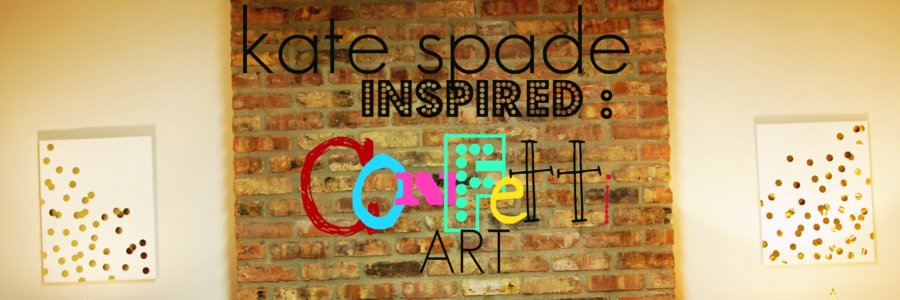
DIY: Kate Spade inspired CONFETTI CANVAS

So the other day I started looking online for a new iphone case. I wanted a really bright, shiny gold one. You know, like the real “gaudy” gold!!! {{teehee}}

In the process I ran across this:

 I fell in LOVE right away. While staring off into space deciding if I wanted this one  or if I wanted a COMPLETE gold one I noticed a big sheet of gold shiny paper just sitting there. I totally forgot I bought it and I though it would be cool to make some art using the gold paper. How cool would it be to have a BIG oversized Kate Spade Iphone case!! Wanna see what I decided to do!

Is it not so pretty!! Let’s make it now!

Get canvases. I got mine from Hobby Lobby.

This shiny sheet of gold paper is from Hobby Lobby. I am not sure of the name but it’s where are the project paper is. I think it was around 5 bucks for a sheet but the sheet is large!!!!

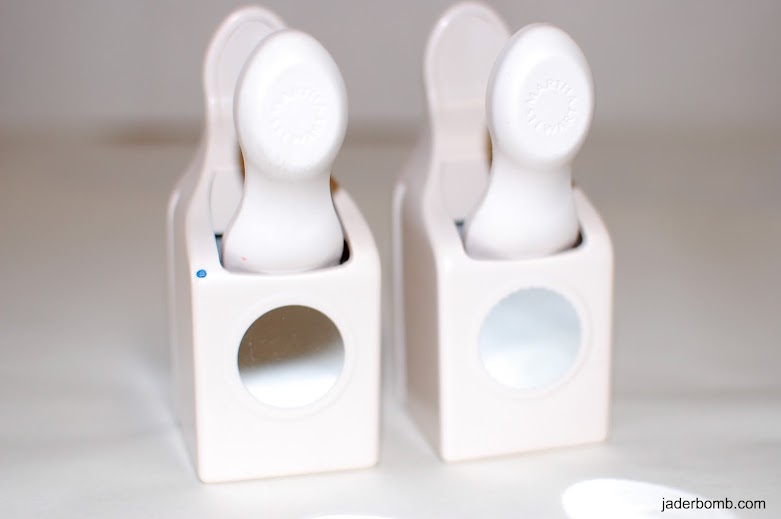
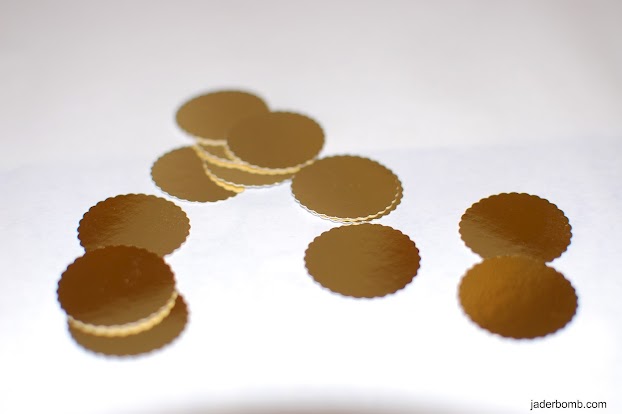
I used my Martha Stewart punches and you can get them at Michael’s Art’s and Crafts.

1-inch Craft Punch
Pointed Circle 1in Punch

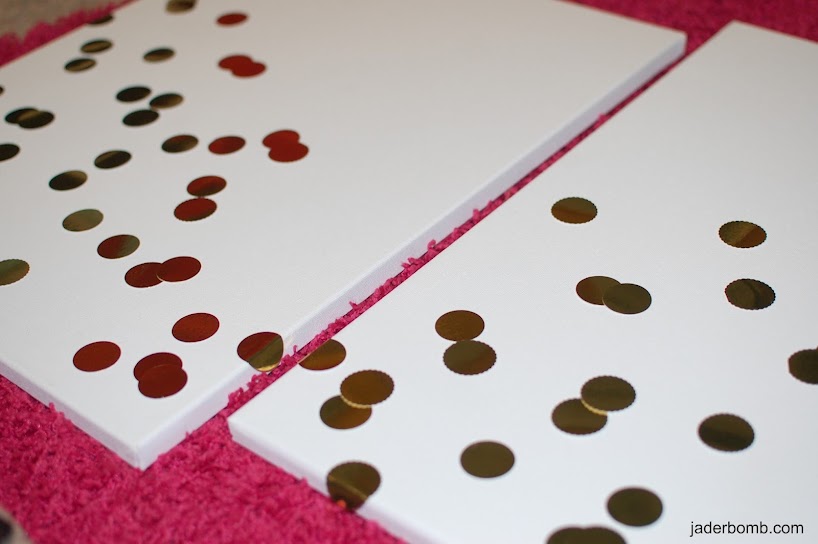
Get your hot glue gun and start glueing them down where you like them. I used Martha’s dual temperature glue gun.

Jaderbugs! This is what it will look like. I had a blast doing this.. If only I could find a gold confetti bed spread!
Happy Mardi Gras!!!
Sending you gold confetti and money to buy everything Kate Spade,

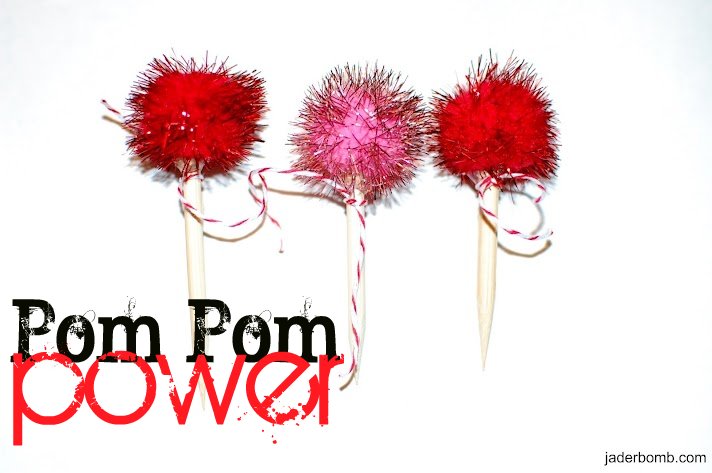
If you are planning a Valentines surprise for your love one’s tonight well you still have time to make this! It is cheap and super easy.
If you want to decorate that steak you are cooking, “stake” it in that meat!! {{hahaha}}

Ingredients you will need are:

* Skewers which I bought from walmart and pom poms from Hobby Lobby. The name brand I bought is called “tree house studio”.

They come with 18 pom poms that are cute and shiny.

The bakers twine I used is from Martha Stewart’s line at Michael’s Arts and Crafts.


First thing you want to do is add some hot glue to your pom pom. I am using a dual temperature hot glue gun from Martha Stewart’s line of crafts.

After you add your hot glue to the pom pom you want to immediately put your bamboo skewer into it. I broke my skewers to make them a lot shorter!


When you are done tie a little piece of bakers twine to the skewer and voila! Your little nugget of food decor…

I wonder if anyone will really stick this into meat! HAHA

Sending you lot’s of steak love for your nice night, 

This post is brought to you Plaid’s Martha Stewart line. I received product for this post. All opinions expressed are 100% mine. You can check out Plaid’s fullMartha Stewart product line here.