Tag Archives: home decor


Quote of the day: 
"Decide that you want it more than you are afraid of it" -Bill Cosby


Heller and HAPPY “hump” day

YEP! It’s that time. Time to start showing you the tutorials of some things in my FALL kitchen decor. If you didn’t see my FALL decor I did in my kitchen click HERE to check it out!

I always have fun making displays in our house, it’s like making a p-nut butter n nutella sandwich. It just mandatory. Let’s get it popping Jaderbugs

INGREDIENTS for this CRAFT:

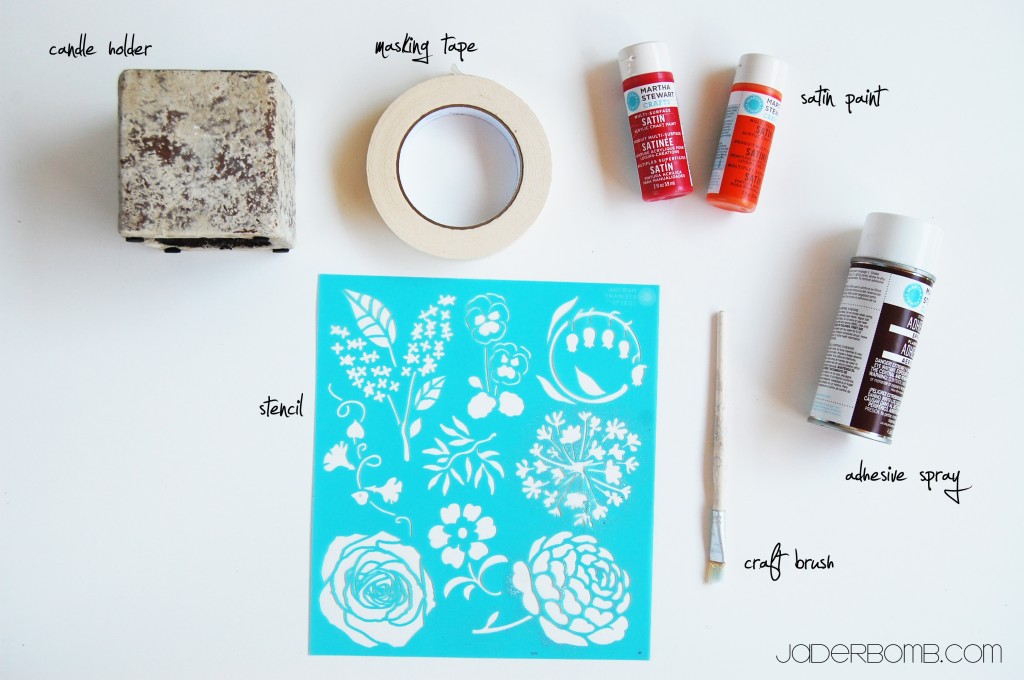
*candle holder (I am using one I already had)
*masking tape
*Martha Stewart satin craft paint
*Martha Stewart stencils
*Martha Stewart craft brush
*Martha Stewart adhesive spray

and LOTSA LOVE…

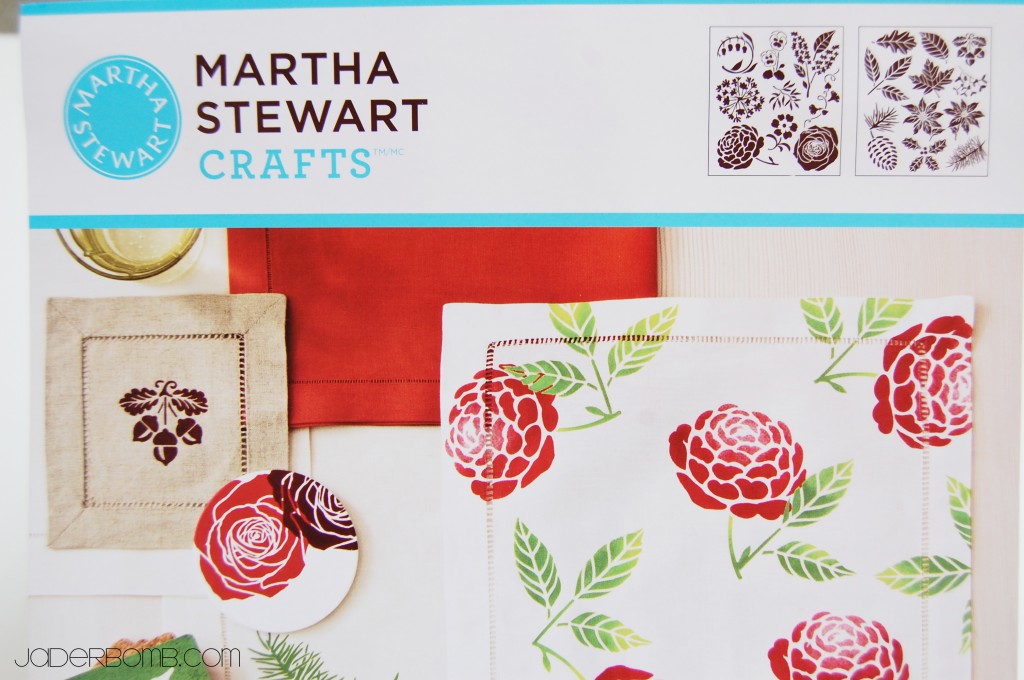
You can use whatever stencils you prefer for this project. I wanted to use some sorta blossom to represent fall. These stencils are the best because they have an adhesive back to them which makes it so much easier to apply to different surfaces.

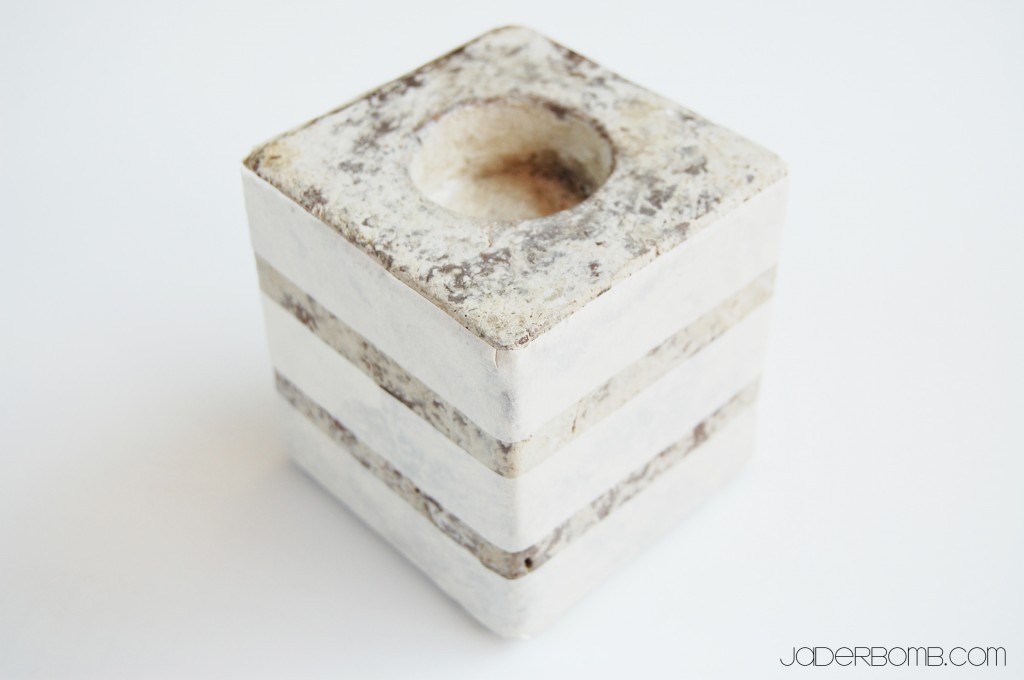
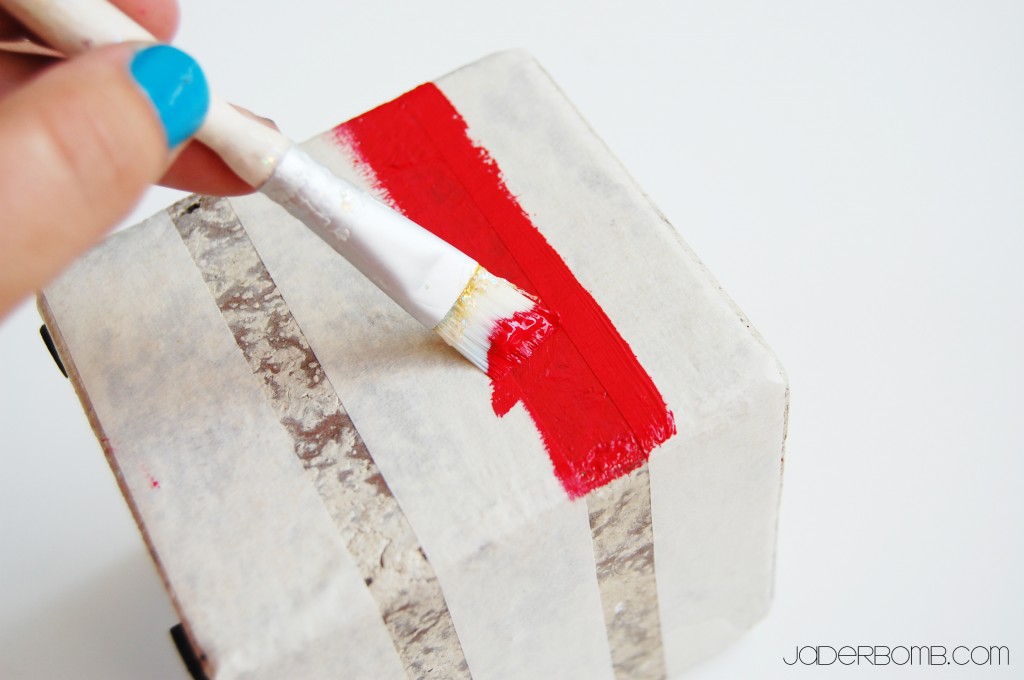
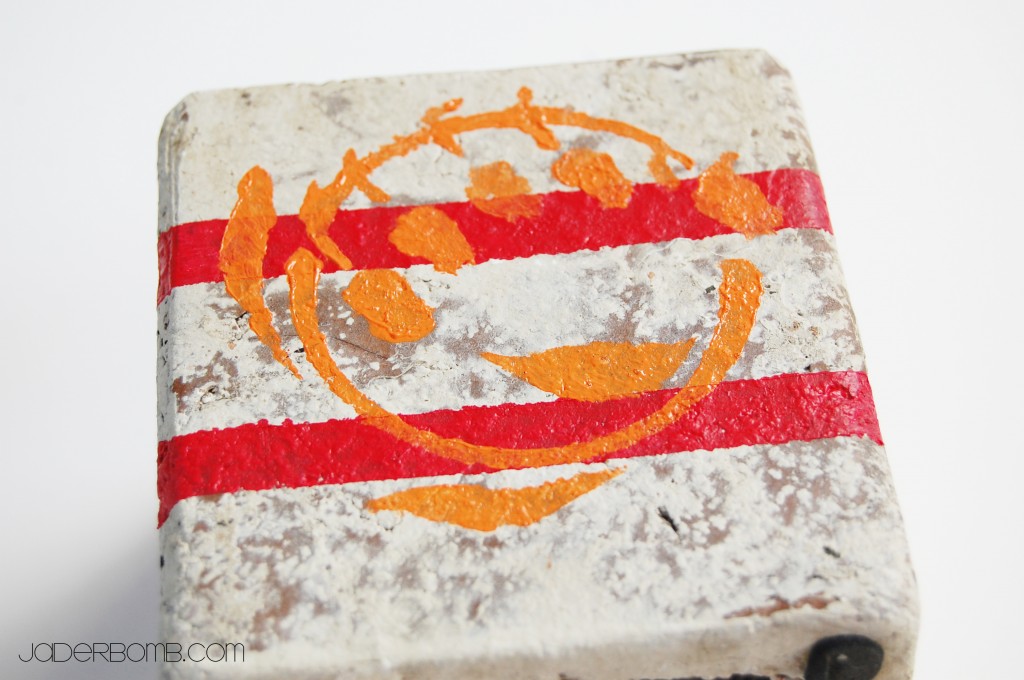
First thing you will do is tape off the spots where you do NOT want paint. I am doing horizontal stripes on my candle holder.

After you tape it off paint the sections that are showing. I’m using “BROWN CHICKEN BROWN COWWWW” red. That’s not really the color but it should be! (say that saying about 4 times in a row)

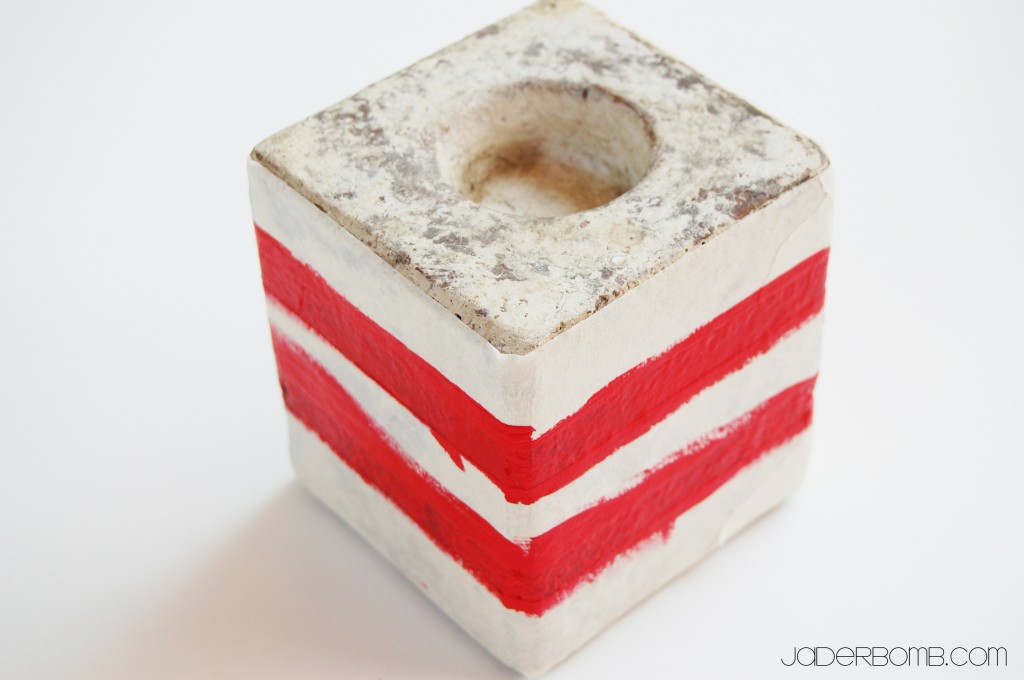
This is what it will look like when you are done painting. Let it dry. When it is completely dry gently peel off the masking tape.

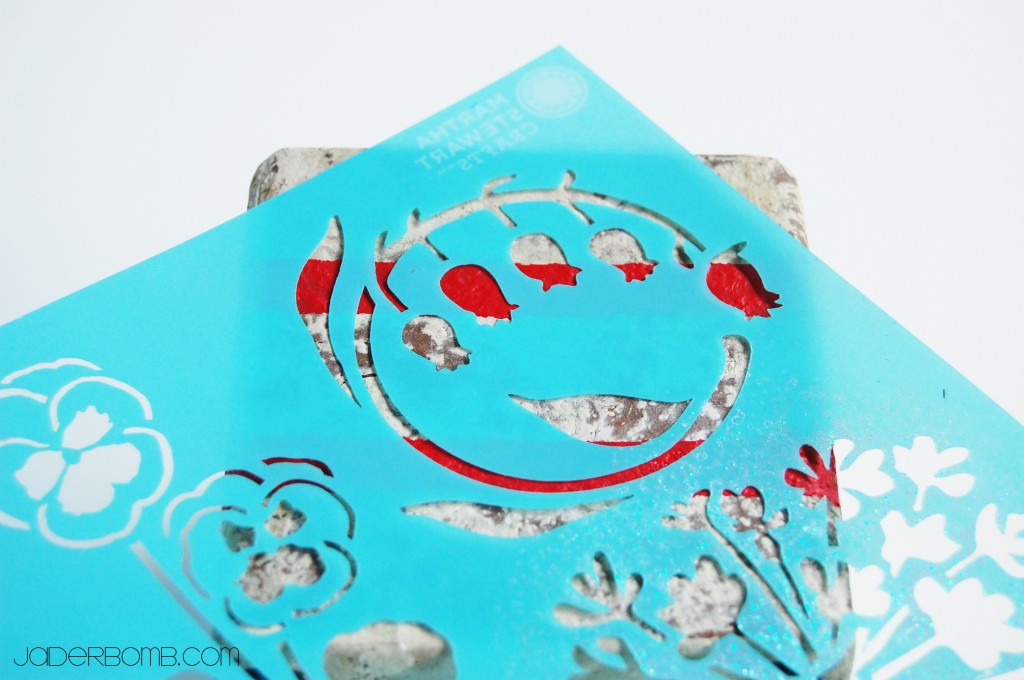
Grab the stencil you like, spray the back with adhesive spray and STICK it down! Even thought the back has a little adhesive to it already I like to add more so it “really stays!

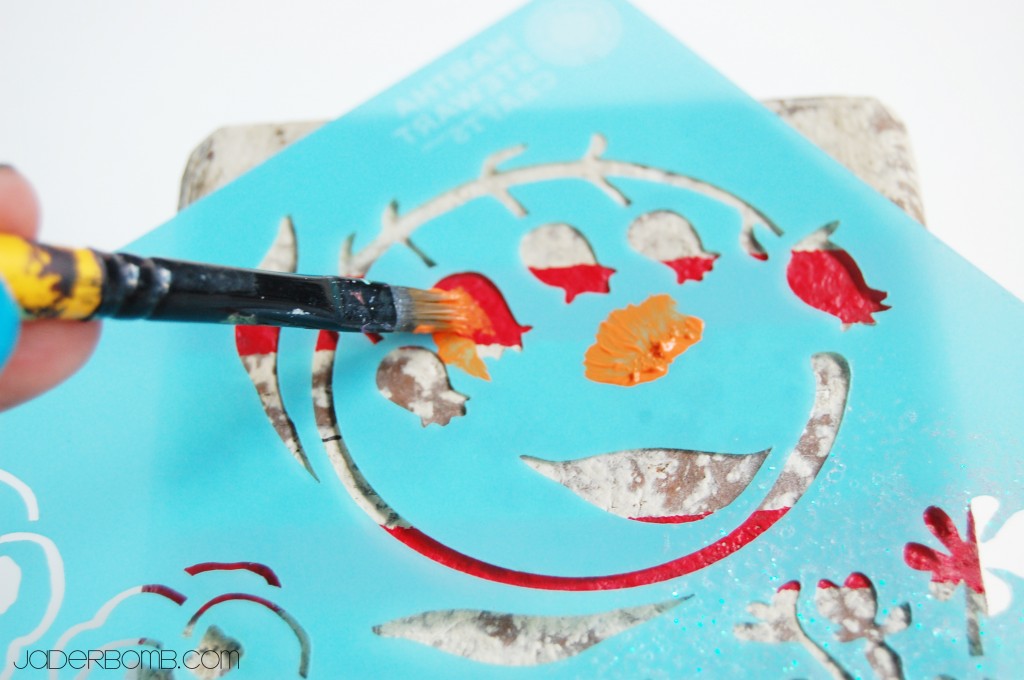
Get a brush and lightly pounce the stencil with paint. You could use a foam pouncer for this but I like the texture from a brush.

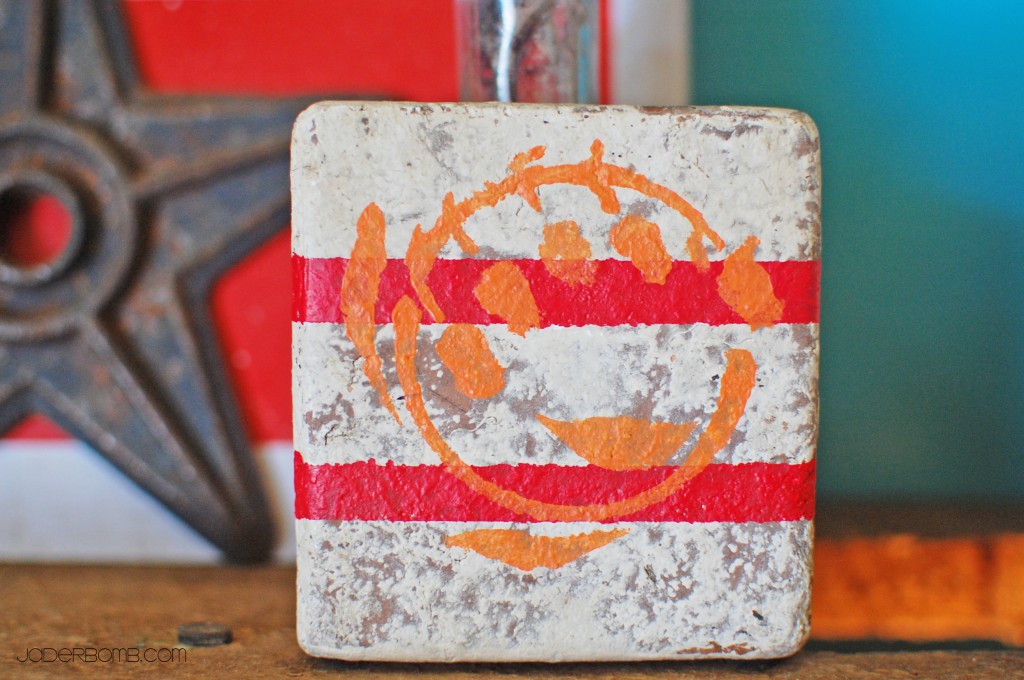
When you are done filling in your stencil BOOM BAM WOW! Your done! Of course “LET IT DRY” before you start decorating with it.

I hope you had a B to the LAST with this project. I can’t wait to see you in the next post!

What colors would you use for this project?

IN OTHER NEWS:

This Friday I will be Co-Hosting a twitter chat with MOEN. If you are not following them on Twitter hurry and follow them HERE. Follow me on twitter HERE.
So don’t forget to put it in your calendar!

This coming Saturday is going to be a fun one! It’s Saturday Social! It’s a linky party that I will be Co-Hosting and you will be able to link up your social media outlets.  I will be hosting a Twitter party so see ya there! (more info on this later this week)

So, I am not sure if I should say “good night” or “good morning” to ya. It’s 1 in the morning and I am up wide the scrap awake. Really Jade, scrap?  I think it might have a little to do with the fact that I went to bed around 8:30 last night. Well who can we thank for that?

My good friend Ricky Mic  earache…  Sometimes we don’t agree on the timing of this crap happening but it won last night. So I figured I would finish this amazing post for ya since Ricky Mic Earache didn’t let me yesterday.

Quote of the day: “One isn’t necessarily born with courage, but one is born with potential.” -Maya Angelou

INGREDIENTS

Jumbo Straws
Ribbon
Glass cup (you can use any glass cup you have)
Glass beads (you can get these at Wal-Mart also)
Metallic Spray Paint
Glue Gun 

Make sure to check your home supply before buying any of these materials. You might just have most of them already!

Lay out your straws.

Start spraying them with the Metallic Spray. You might notice once you start spraying the air from the can will push some of the straws around. You can even glue the straws onto the glass and then spray paint. Again, just whatever you feel most comfortable doing!

This is what they will look like once you spray them.

I found it easiest to put a line of hot glue down on the glass first.

Then quickly place your straw on top of the hot glue. Be careful not to touch the glue because this could burn you.

It’s starting to come together!

When you are done with all of the straws get your ribbon and place it on top of the straws.

Put hot glue down on one end of the ribbon.

Quickly wrap the ribbon to the other side sticks to the glue. You want to make sure your ribbon is pretty tight.

Can you believe how simple this is so far?

I had some fun ribbon laying around so I decided to embellished with it. You can use anything you personally like to “decorate” the outside with.Put different color ribbon around it, tulle or anything FUN! I glued the glass beads around my ribbon to dress it up a little. Once you finish decorating, voila!

It’s really that simple. I like crafts like this because it’s an easy way to get creative and decorate any space really quick. Keep in mind if you don’t have Metallic sprays, you can spray the straws ANY color!

Here is a picture of the printable I made last week. I told you it’s cute in a frame. If you want it click HERE.

I hope you had fun in Jaderbomb land today! If you have a minute say a prayer for the Gulf Coast. We are about to get slammed by Hurricane Isaac.

See ya in the next post!


Happy Monday Funday Jaderbugs! I know. You are probably wondering how is it even possible to be so excited at the beginning of each blog post. Is it real? Am I REALLY that excited to write this post for you. YES! There are a few things in life that actually make me instantly smile, this is one!

I could not wait to post this today because I have been talking about doing this for so long now! I’ve tweeted about it, researched it and it’s finally going down.

I know we all see these amazing pictures on pinterest of the “perfect” stripes and the “perfect” decorations. Shoot’s I have even overheard people talking about doing this but they want to wait until they have all the right furniture and decorations to go with this look. My question to you is…

WHY WAIT!

Enjoy your black and white stripes now! After all, you might “think” your walls are not ready for it but I am sure they are screaming inside for them. After hearing my walls scream for a few months I figured it was finally their moment to shine.

You will need :
 Paint
 Painter's tape
 Laser Level
 Pencil
 Ladder
 Painting Brush
 Lot's of Love
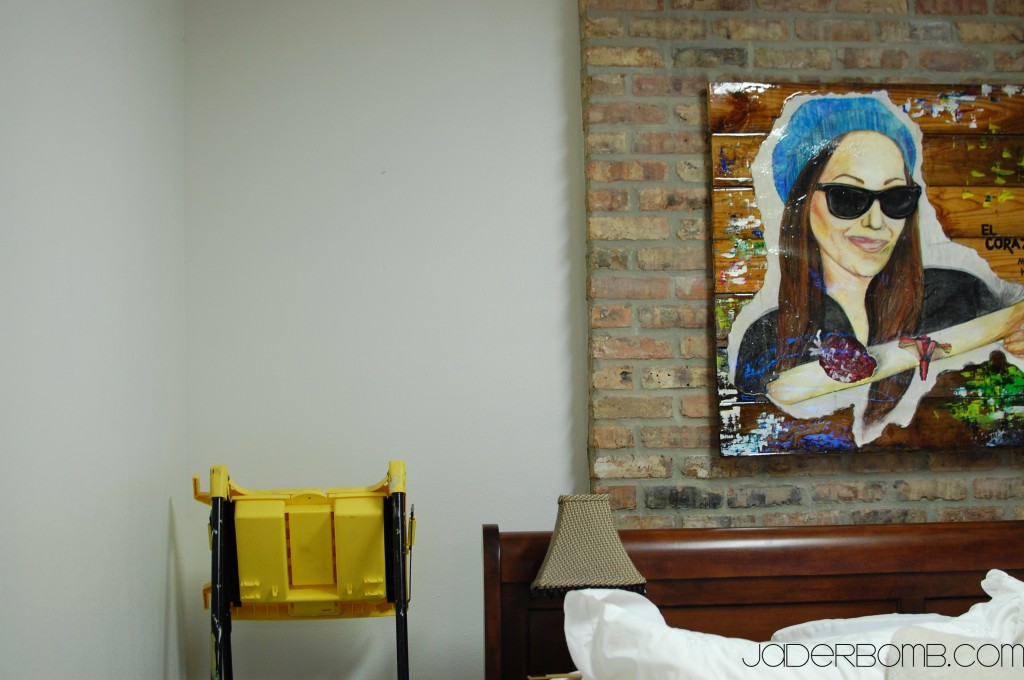
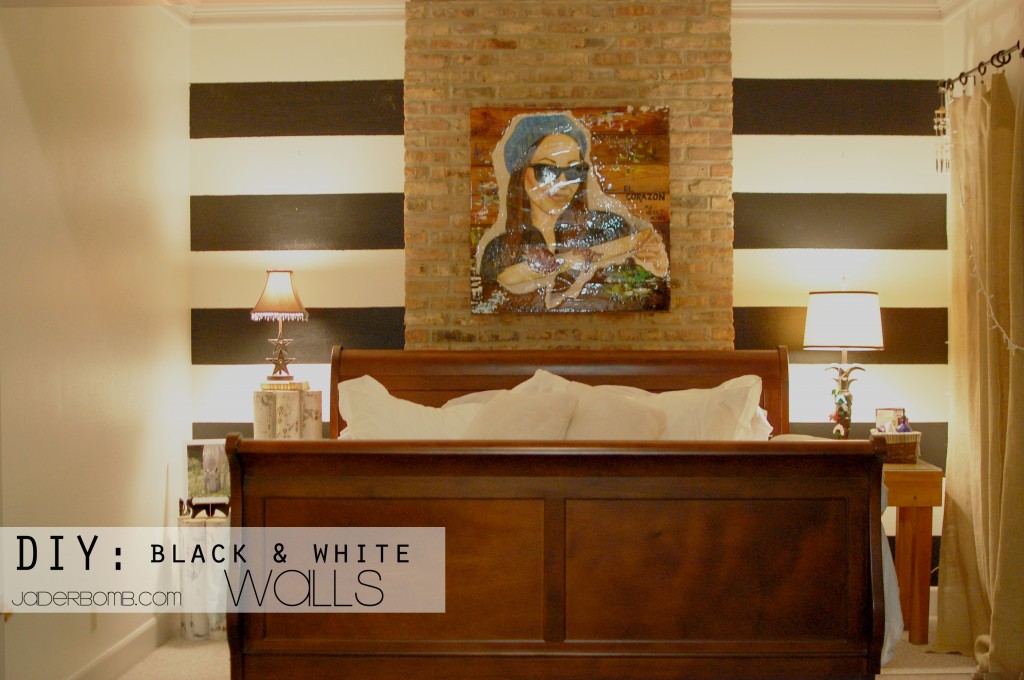
See how bare our walls are! In case you are wondering about that picture over our bed. Yes. It’s a picture of ME! A really big one. I wish you could see it up close because I drew it with pastels, laminated it, built the wood background, painted a little bit on the wood, wrote a little bit on it and then coated it with RESIN. Did I mention Ashy helped with the building the wood background? Let’s just say she did that part.

Amazing right.

Plus, Ashy insisted on putting it over the bed. She said it looked beautiful, how sweet. I can’t lie it is weird looking at myself over the bed. Now that I am thinking of it, I have a few self portraits in our room. (haha)
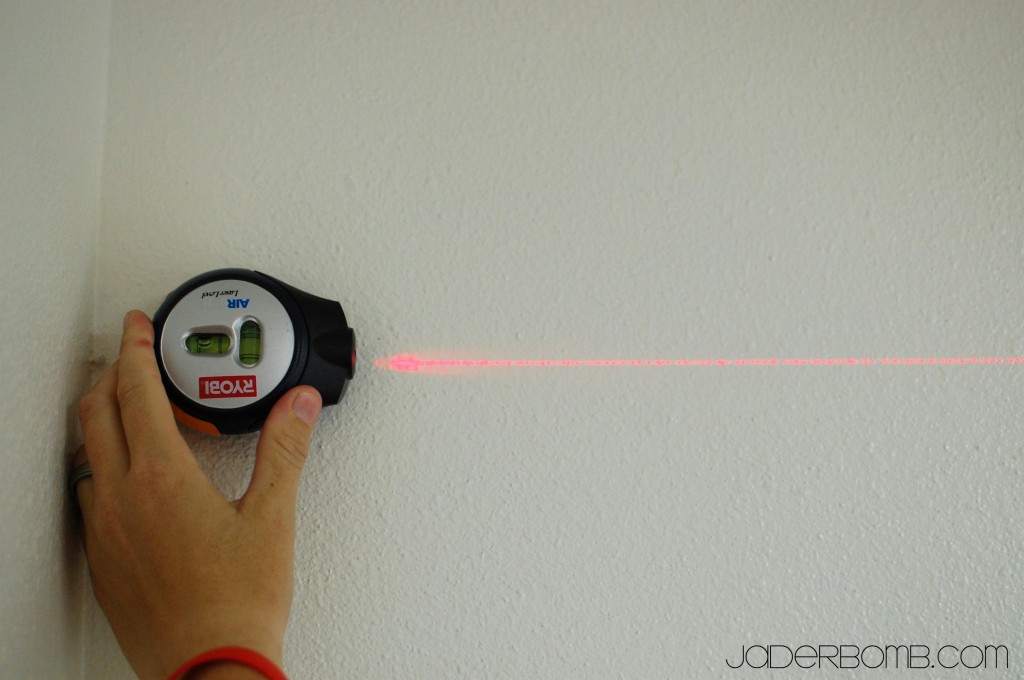
Ashy started by using this laser level to draw the lines onto the walls.
Bestie’s mom got her this and she is in love with it. So far my best piece of advice is to get one of these. Especially if you want strait lines. I don’t think they are expensive.
The cool thing is you can see if it’s level and it suctions onto the wall so you can actually draw or tape up the line (incase you are doing alone).  I’m not one for power tools but HELLOOO suction cup baby!

Now, this is the tricky part. The tape. You want to measure the wall you are painting from top to bottom. K. Then you can start playing around with numbers. You will divide the width of the stripes by the total length of the wall. The number you get when you do this will be the amount of stripes you will have on that wall.  Remember, your stripes might be smaller or bigger than mine. It just depends on how many stripes you want. If you want a lot of stripes then the width of them will be very small. I like chunky ones, they make me smile…

 For example my wall was 105″. My stripes were 10.5″. So I divided that and it gave me the number 10. This is including the white and black stripes. It’s actually pretty easy once you start playing with the numbers!

Oh and when you first put your tape up, it will look visually cray cray to to you! Your gonna be like. whoa!
Which one is which? Where do I paint? I’m confused! These are not right! If you see the picture above with the arrows pointing to the tape, this is what I mean. I just looks smaller but the width is from the edges I put the arrow on. Got it?

If you need help or have questions just email me and I can help ya, jade@jaderbomb.com.
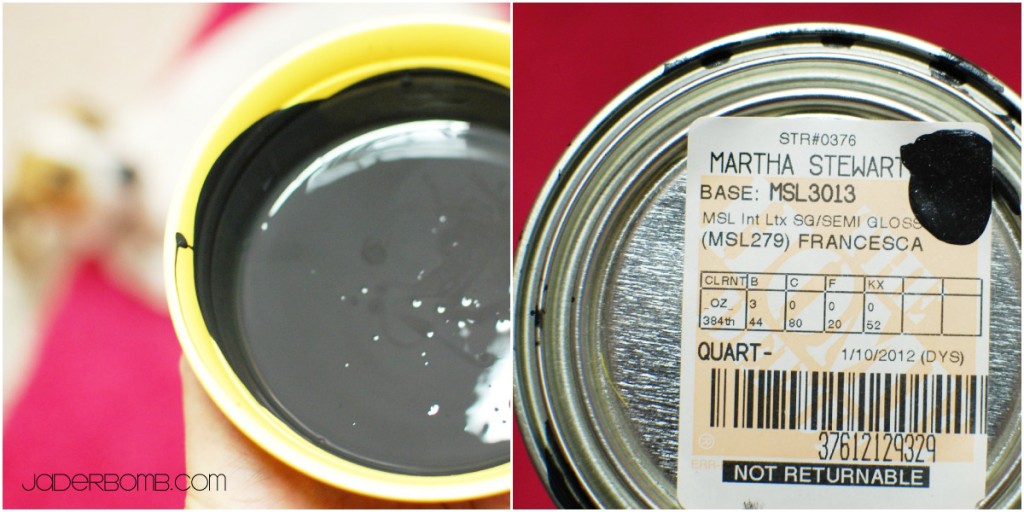
You know I am using Martha Stewart paint. This line is discontinued but I still have some that they sent me! What can I say. It’s a product I trust.
Don’t you just love the name of this color. Francesca.
That’s one of her dog’s incase you didn’t know. Check our Francesca’s blog here.
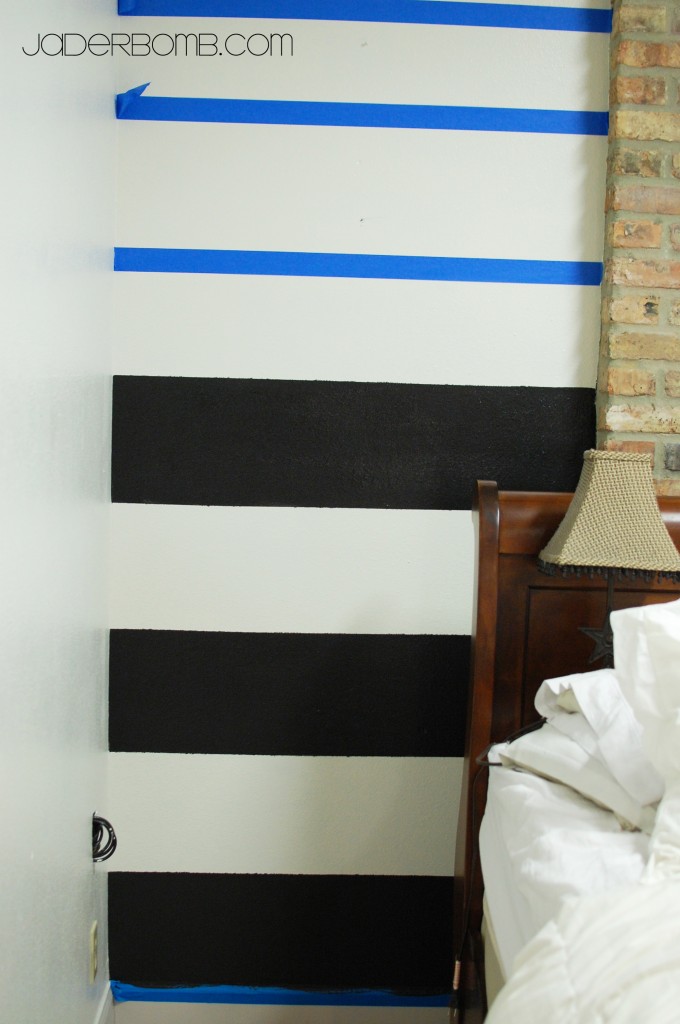
 I took this picture just so you can get a visual of what it will look like when you peel the tape off. If you have some paint that sneaks out under the tape just touch it up when it’s dry.   Are you in love yet!
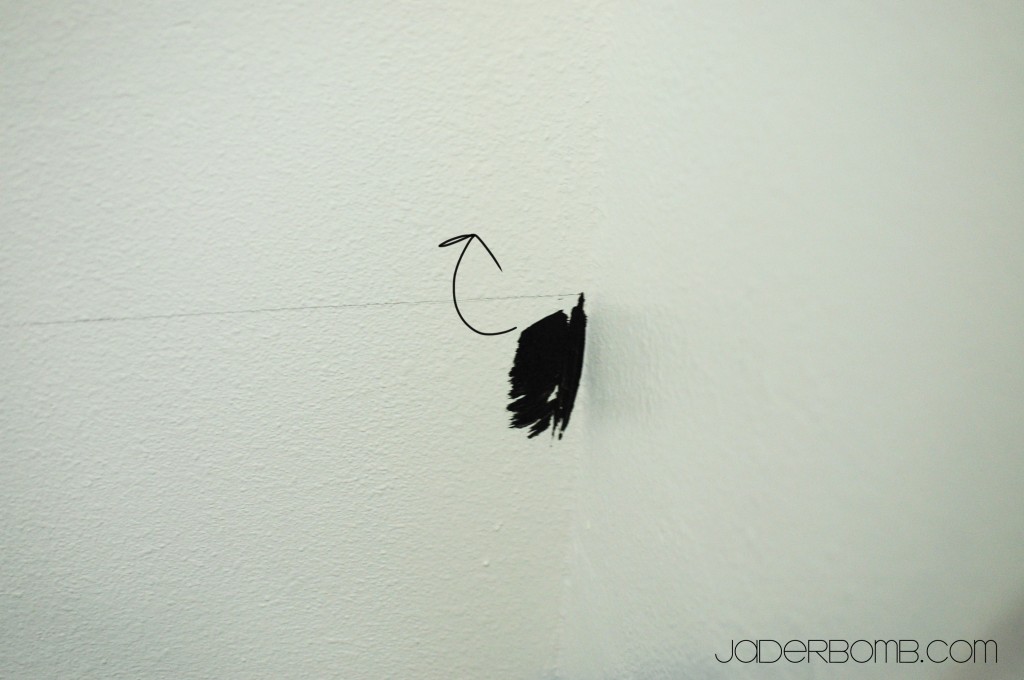
If you are like me then you will get super excited at some point. I did this boo boo. I was so excited to see the end result I just started painting. Thanks ADD for doing this! HAHA

 I want to put “STRIPES” on every wall now! I told Ashy this and she just looked at me. But she did say it came out good and she loved it. Just think about it. You don’t need dark stripes all of the time.

Dark grey wall+Shade lighter gray stripes
Pretty pink wall+lighter pink stripes

You getting my drift Jaderbugs! I really look’s classy… If you do this project please post pictures on my Facebook wall so I can check it out! You never know! I might just feature ya on the Jaderbomb blog.

Before I sign out I wanted to quickly share with you this amazing book coming out August 21, 2010. I will be doing a review this week on it so stay tuned! You know who’s book this is right…

STEPHEN BROWN

He is s judge on Craft Wars!  You have to check out his website because it’s AMAZING!

See ya in the next post!

So. I have sorta been a little sick the past few days and I have been unable to make a craft from start to finish without wanting to rip my hair out. You know how that is when your sick. Everything. is.  After a little thinking I thought it would be a great time to just feature something that I have in my house.  A post that doesn’t require ANY work! I like that!

I guess I will tell you a short story about “how” this happend. One of my good friends came over the other day while we were cleaning and “re-arranging” things. There was this ONE little spot in the house that needed SOMETHING. Can you believe I was stumped. Yeah, I know. I have brain fart days too! Now my friend is a “coach” and doesn’t really care about “arrangement” of things or decorating. I mean, she might care a litte but it’s not like her brain thinks of these things every day. Just wanted to throw that out because SHE IS THE ONE WHO SAID, “J, I think this would look cute right here with something on top of it”.

 I just looked at her. Gave her the STANK eye and listened. I swear, I couldn’t believe it. Who knew!

So that is the story how this happened. Now, after she gave that advice she shot out and went who knows where outside! I was left to decorate the top, haha.

BTW: Have you seen my “HOW TO CUT GLASS” tutorial? Check it out here!

I also did a fun way to dispense matches HERE!

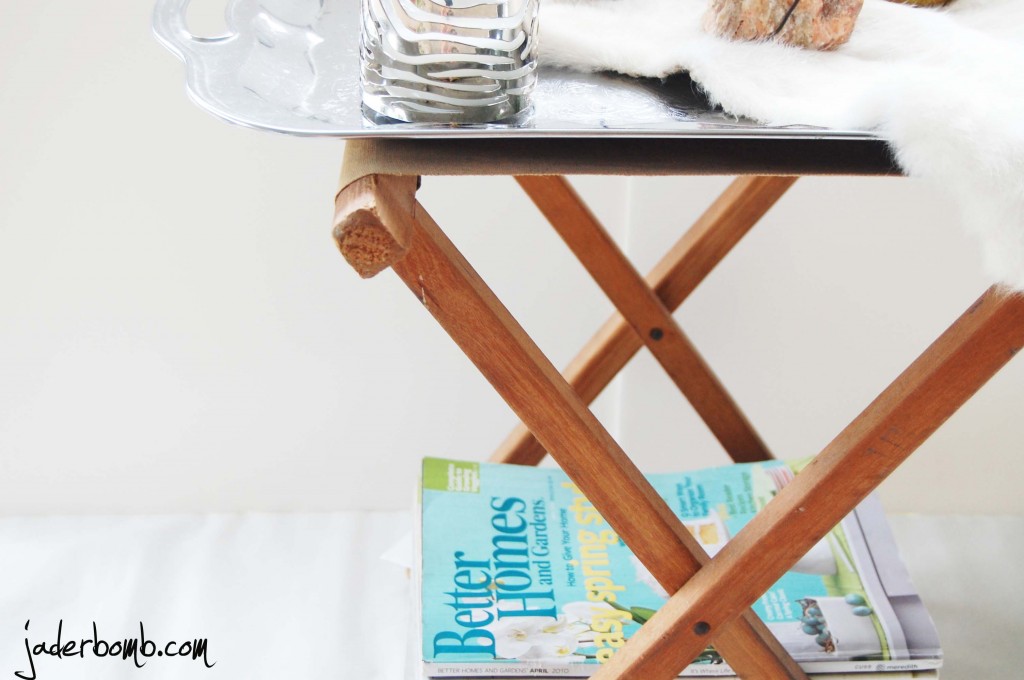
I think this is the cutest thing ever!

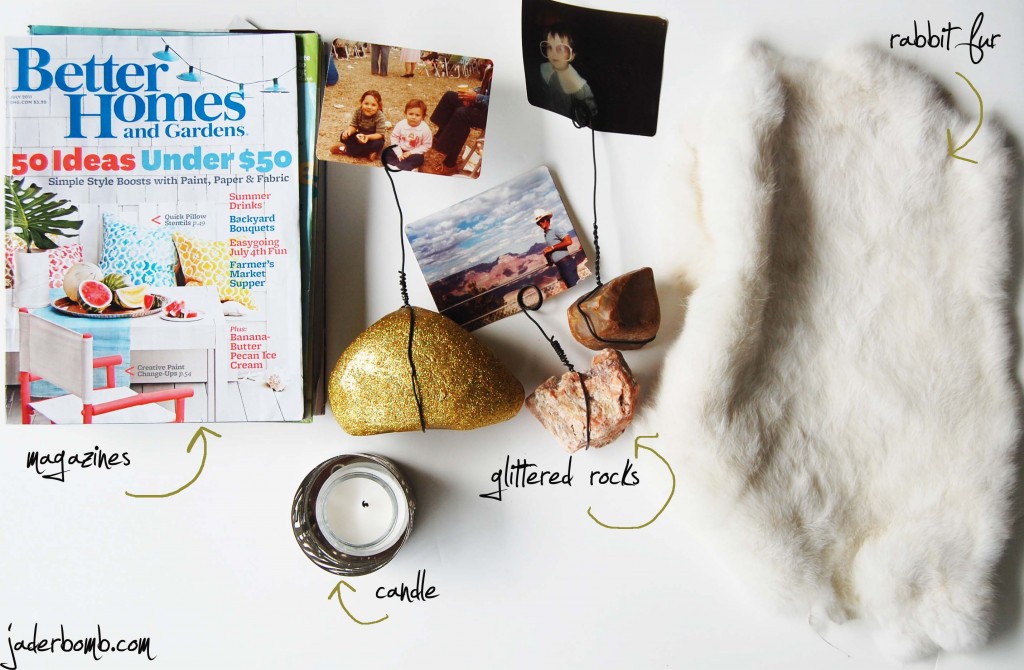
Do you remember my post I did the other day on my PHOTO ROCKS? Click HERE to see it! It is really the best thing to add that whimsical touch. Plus if you are like me, it’s an easy way remember something if you collect rocks!

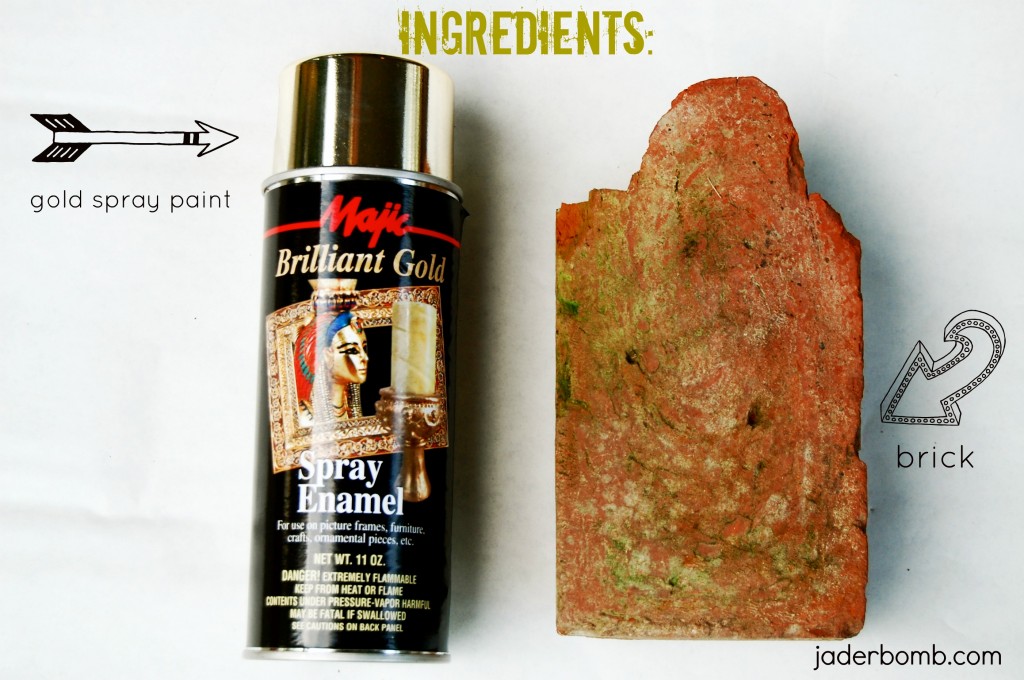
INGREDIENTS:

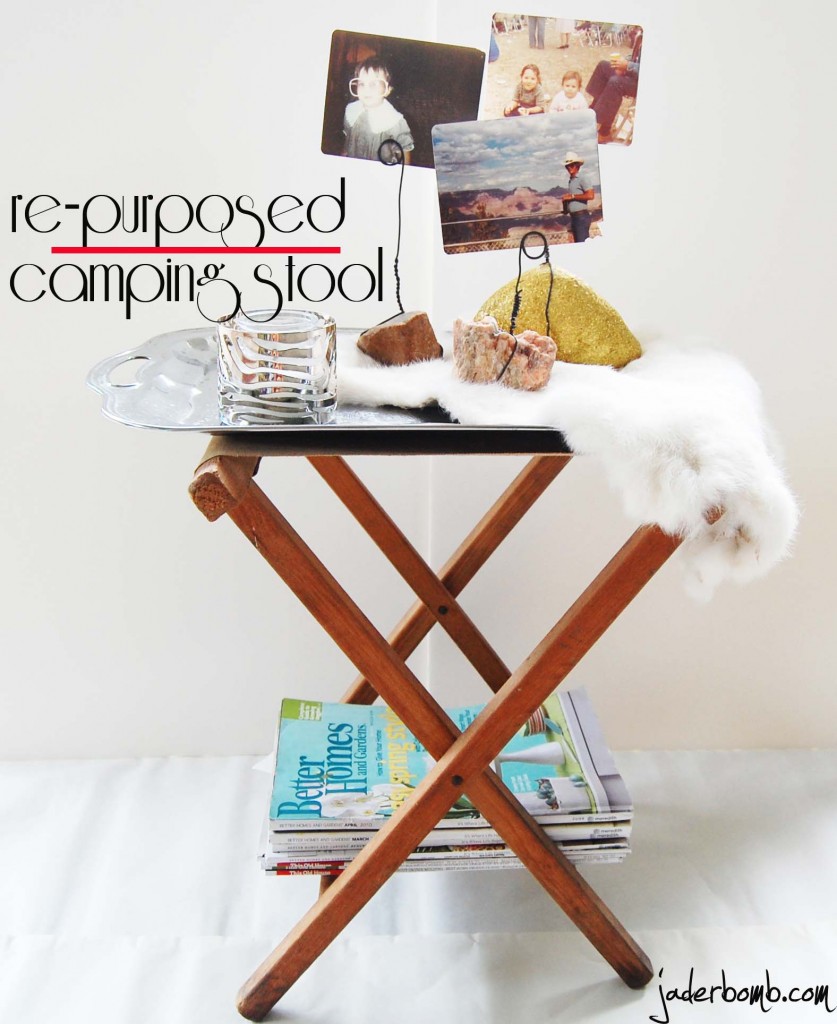
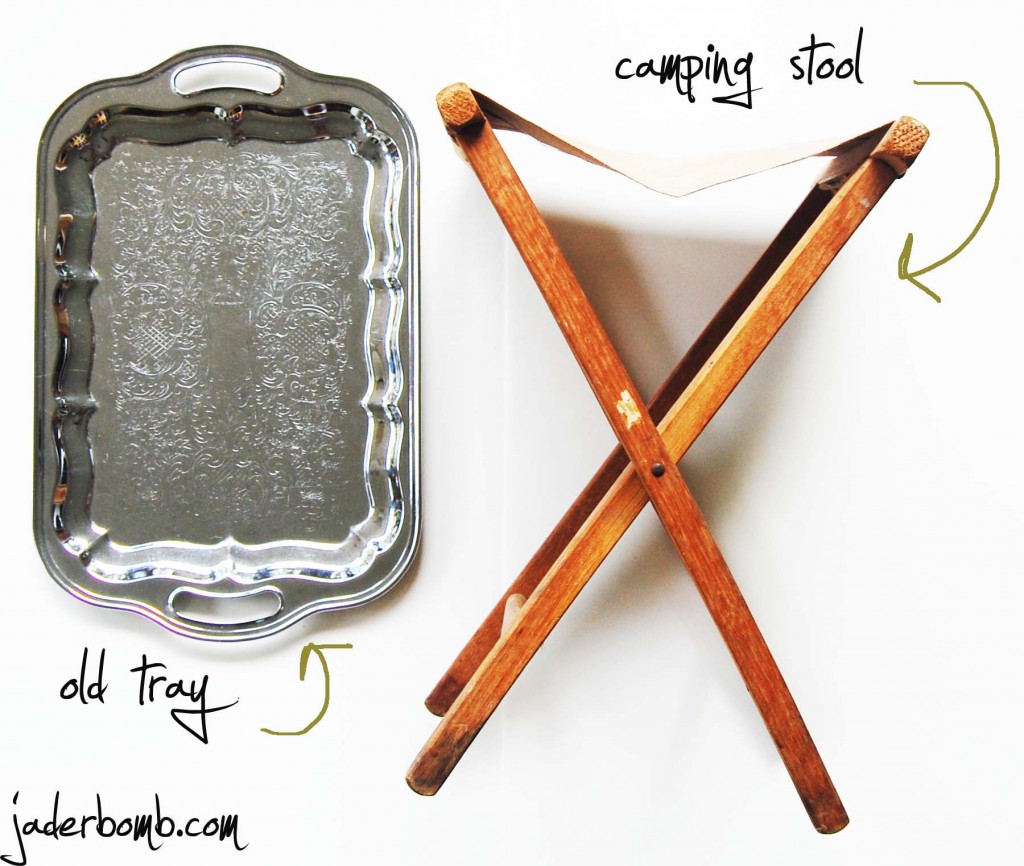
If you don’t have a camp stool you can use anything with legs and add a tray to the top! Be creative! Use what you have!

You can add whatever makes you smile to this tray. This is just what I added.

Yes, I am a Louisiana girl. I like furs.

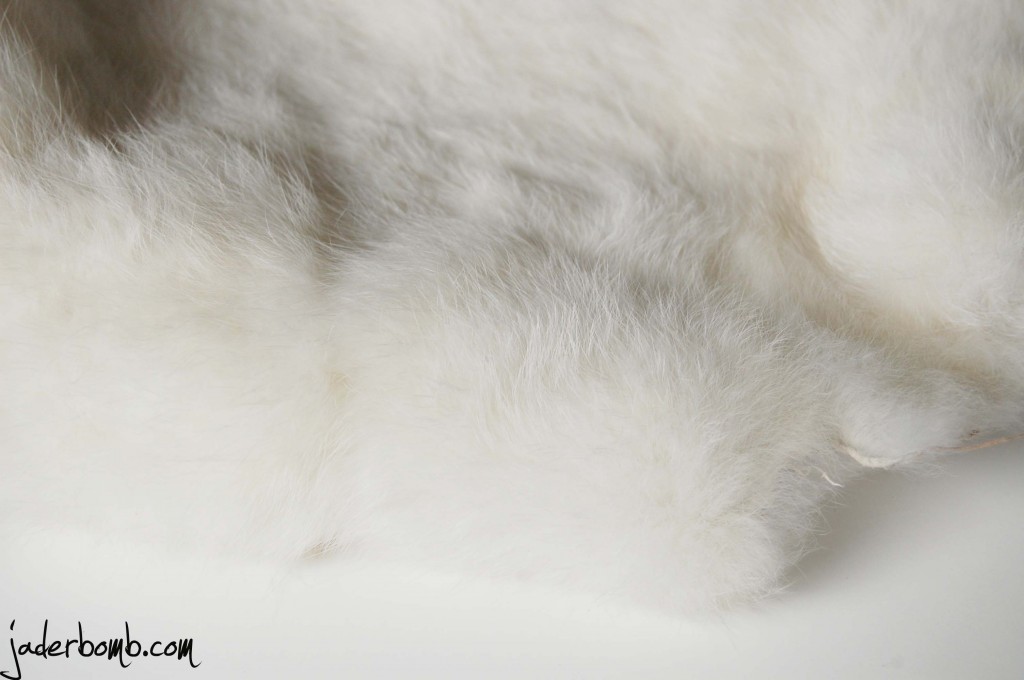
I get my rabbit furs from Hobby Lobby. They have a ton of them by the leather section. They are only like 15 bucks! Get your 40$ off coupon and grab a couple! (unless you don’t like it then get some floweres)

Here is a little closeup for all my Jaderbugs! This is practical too!

Moral of the story. Next time you see a coach quickly quiz them with a decorating question.
You might learn a thing or two from them!

Have a great day full of “jaderbugging”….

I sit here in my studio thinking:
a)How did I get addicted to VICS nose spray (teehehehe)
b)How come I am totally addicted to sticky notes
c) Why do I like homemade root-beer more than the carbonated one
d)Why I CAN’T work until my house is spotless {seriously, this causes major problems}
e)Why do I love GOLD so much

There ya have it! Incase you ever wondered what goes through the mind of an A.D.D. person in the matter of 4 seconds, this should enlighten you .

I was in my back yard picking hydrangeas over the weekend and saw this small pile of bricks. There was ONE particular one that caught my eyeball! I really had NO idea what I was going to do with it {compulsive order too, haha} but I “needed” it.   I started thinking it would look really cool if I glittered it up (yes. I am addicted to glitter too), then I thought GOLD SPRAY PAINT!

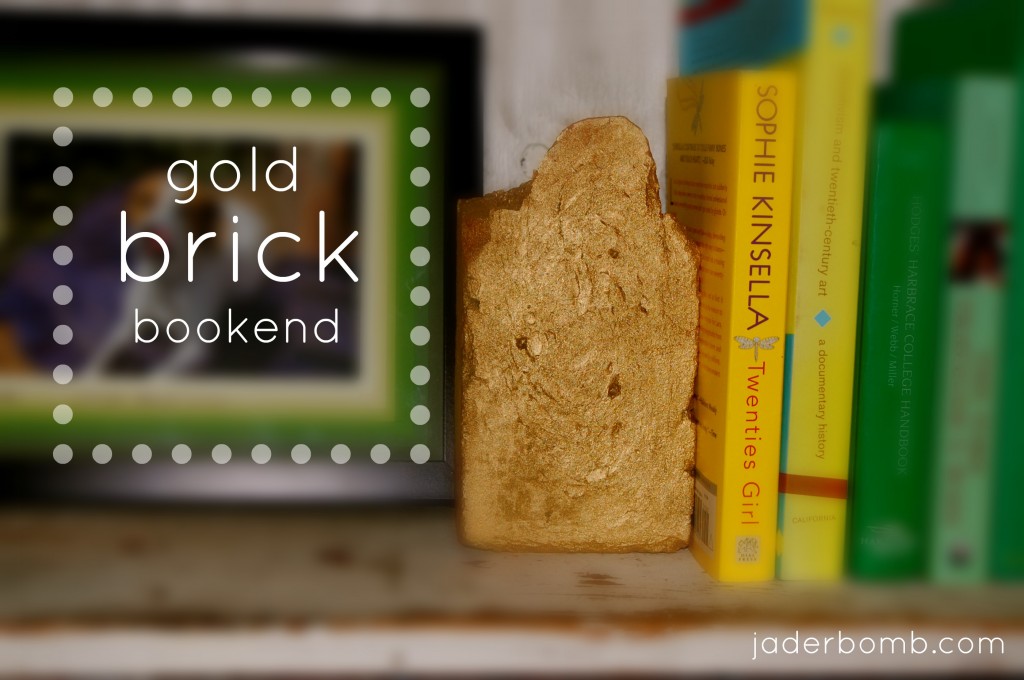
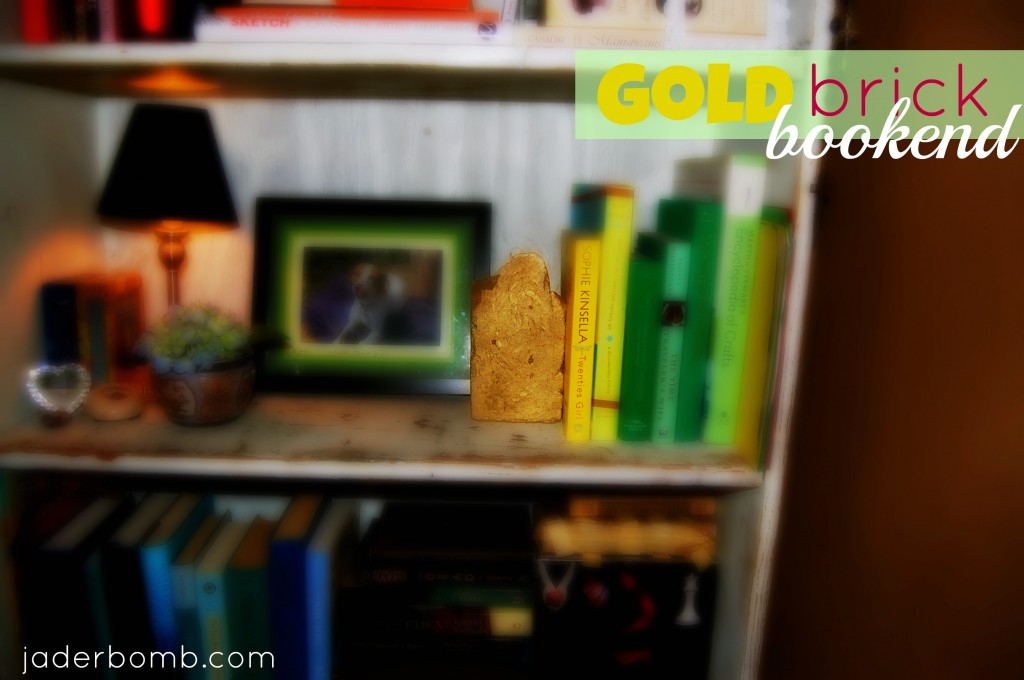
I figured since I didn’t own my own gold brick I would make my own! Then through the process I realized it was strong enough to hold books up. That’s it! Let’s check it out!

I bought this spray paint at FRED’S! It was .99!!!! So you don’t need the “most expensive” gold spraypaint.

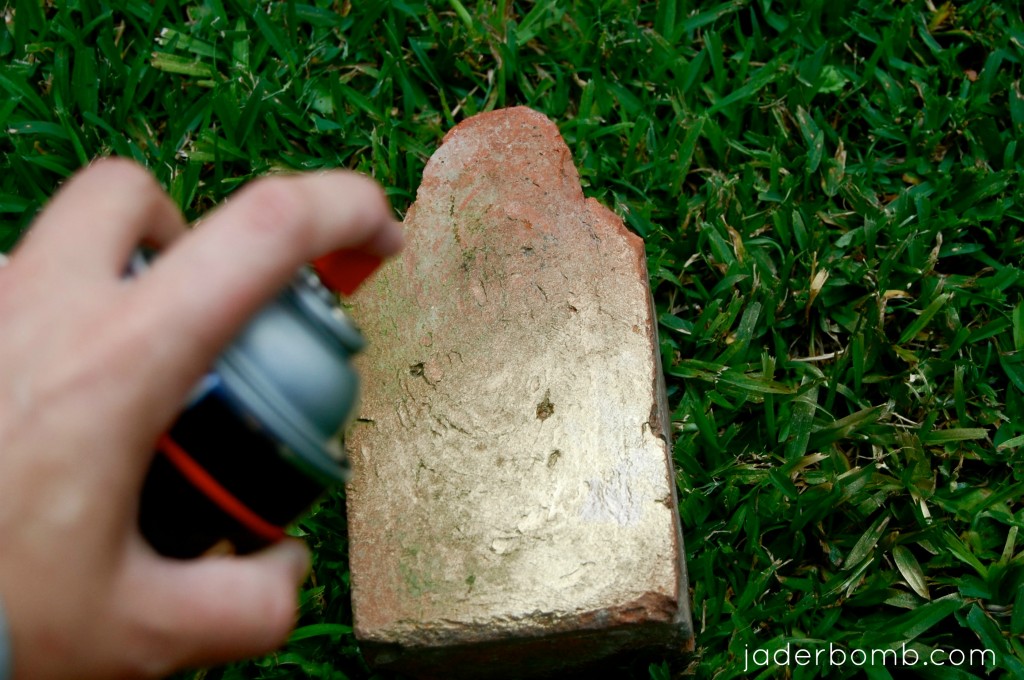
Lay the brick down on a surface your not scared to mess up and spray the entire brick!

It’s simple. It’s cute. It’s GOLD

You can’t tell me your not like.. O.M.Geeee! I know I am! Just think, you could glitter it in gold too! Can’t wait to see you in the next post!

Make it a DIY kinda day,

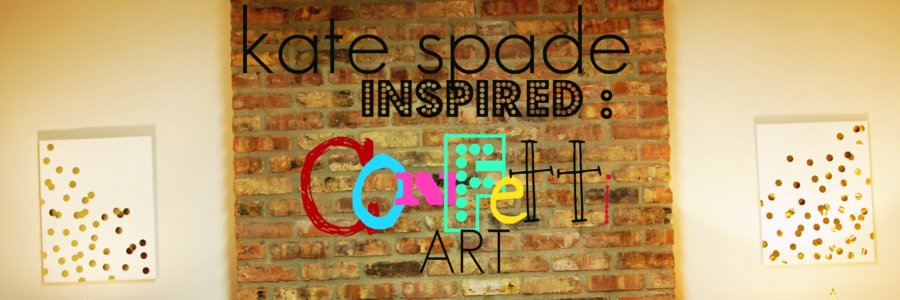
DIY: Kate Spade inspired CONFETTI CANVAS

So the other day I started looking online for a new iphone case. I wanted a really bright, shiny gold one. You know, like the real “gaudy” gold!!! {{teehee}}

In the process I ran across this:

 I fell in LOVE right away. While staring off into space deciding if I wanted this one  or if I wanted a COMPLETE gold one I noticed a big sheet of gold shiny paper just sitting there. I totally forgot I bought it and I though it would be cool to make some art using the gold paper. How cool would it be to have a BIG oversized Kate Spade Iphone case!! Wanna see what I decided to do!

Is it not so pretty!! Let’s make it now!

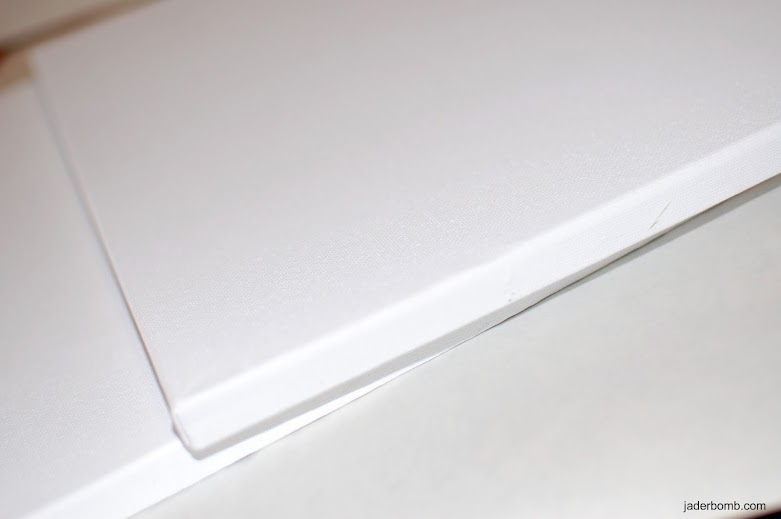
Get canvases. I got mine from Hobby Lobby.

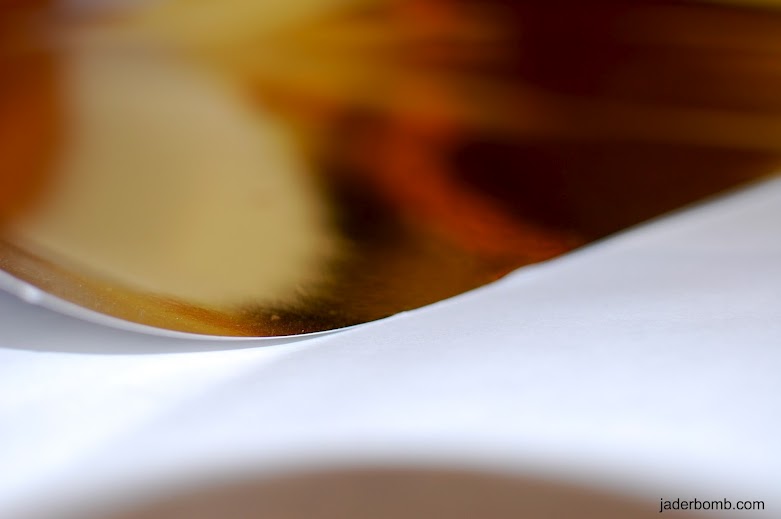
This shiny sheet of gold paper is from Hobby Lobby. I am not sure of the name but it’s where are the project paper is. I think it was around 5 bucks for a sheet but the sheet is large!!!!

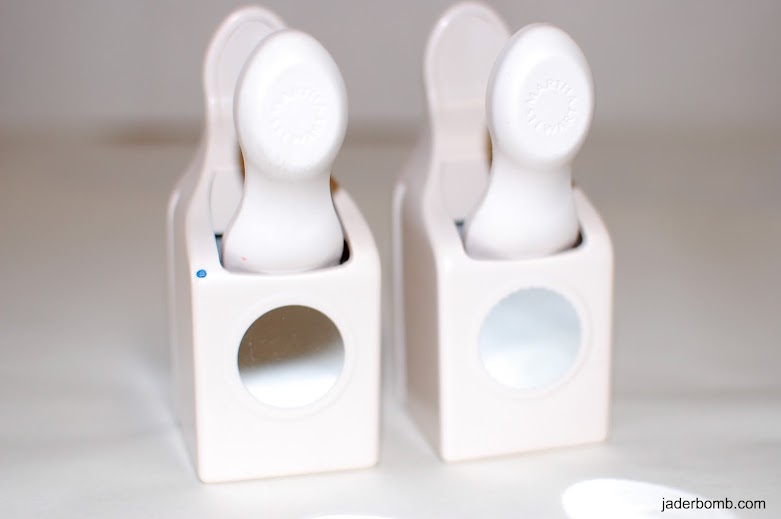
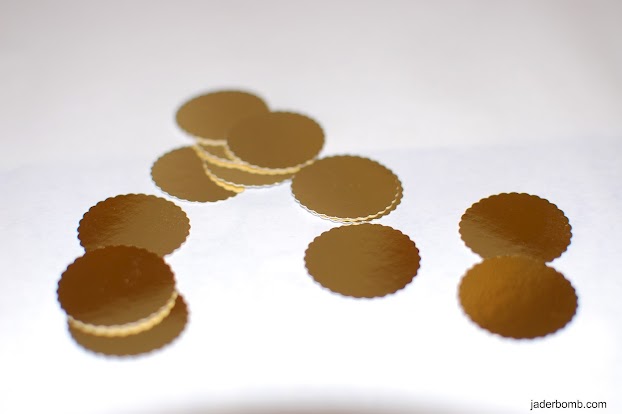
I used my Martha Stewart punches and you can get them at Michael’s Art’s and Crafts.

1-inch Craft Punch
Pointed Circle 1in Punch

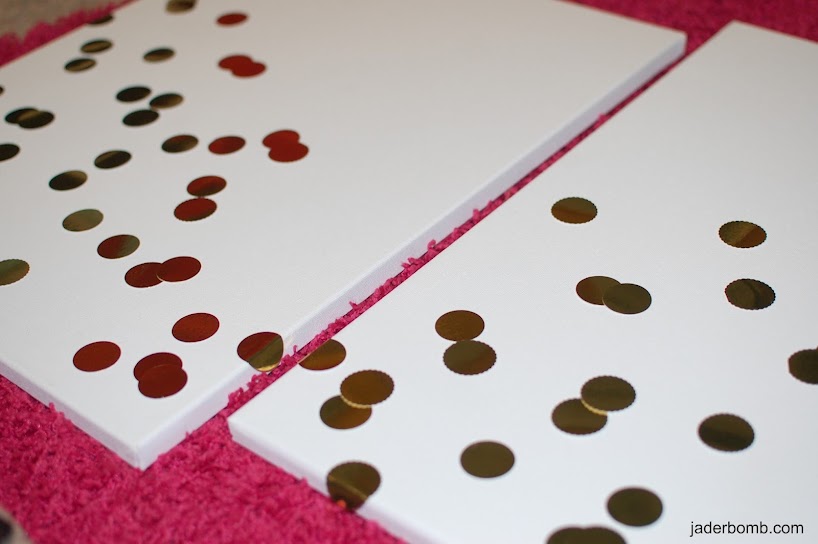
Get your hot glue gun and start glueing them down where you like them. I used Martha’s dual temperature glue gun.

Jaderbugs! This is what it will look like. I had a blast doing this.. If only I could find a gold confetti bed spread!
Happy Mardi Gras!!!
Sending you gold confetti and money to buy everything Kate Spade,