Tag Archives: how to use glitter

FREE FOR NON COMMERCIAL USE ONLY. FOR PERSONAL USE ONLY
If you want you can also right click on the image and save it to your desktop.

(Click below for the PDF)

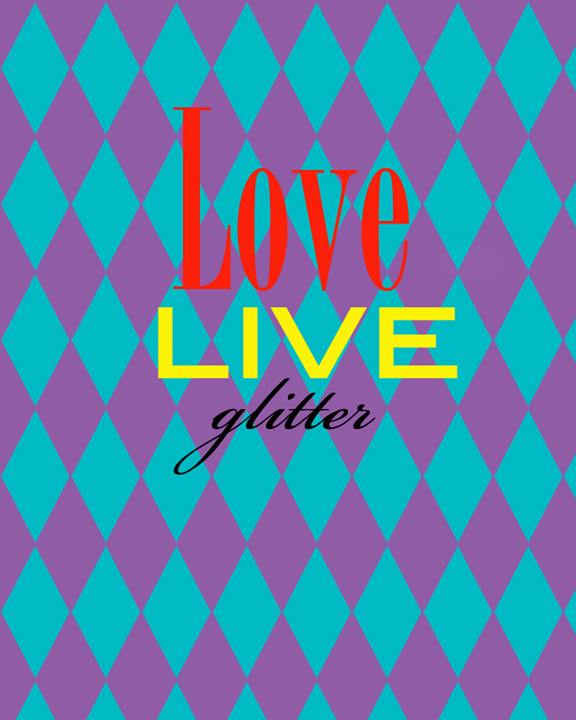
 liveloveglitter8x10
liveloveglitter5x7

Happy Tuesday Jaderbugs! I made this fun printable for you today! Wanna know the great thing about it? It’s FREE (insert happy dance).

I love the background I made because it’s so bright, fun and whimsical! I had to add a little “glitter” in it because let’s face it…Life is so much fun with glitter in it and it might have something to do with this amazing book that came out today!!! Don’t forget tonight is the finale of TLC’S Craft Wars. There will be 2 episodes back to back. Check out how you can win over $800 of craft supplies HERE.

I am so excited,  I will be doing live tweeting of the entire event so follow me on twitter!

In case you have not seen my quick video of what I received in the mail yesterday check it out here…


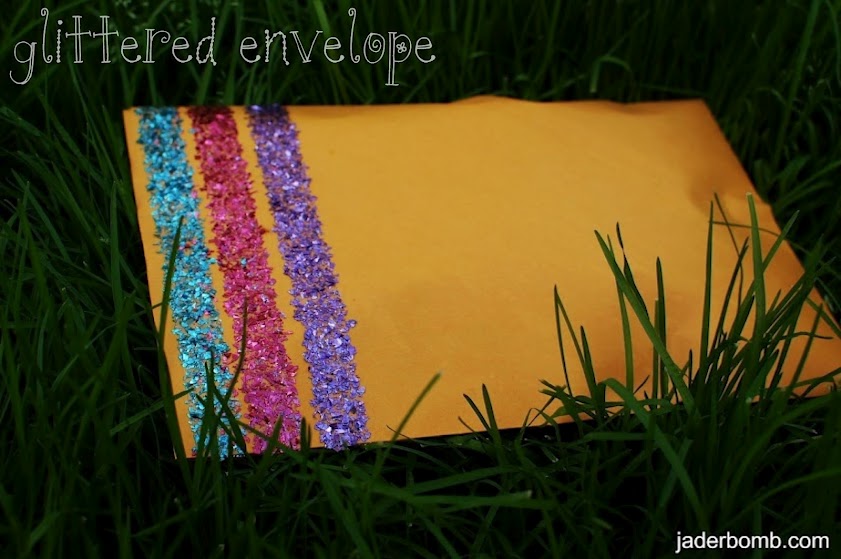
DIY: Glittered Envelope with Martha Stewart Glitter

 Jaderbugs… I have been super swamped lately! Don’t get me wrong… It’s the only way I know how to live but phew. I’m giving myself a run for my own money!

It’s 1 in the morning and I JUST have a minute to post this. LONG day ahead of me!

I hope you enjoy this quick but FUN tutorial!

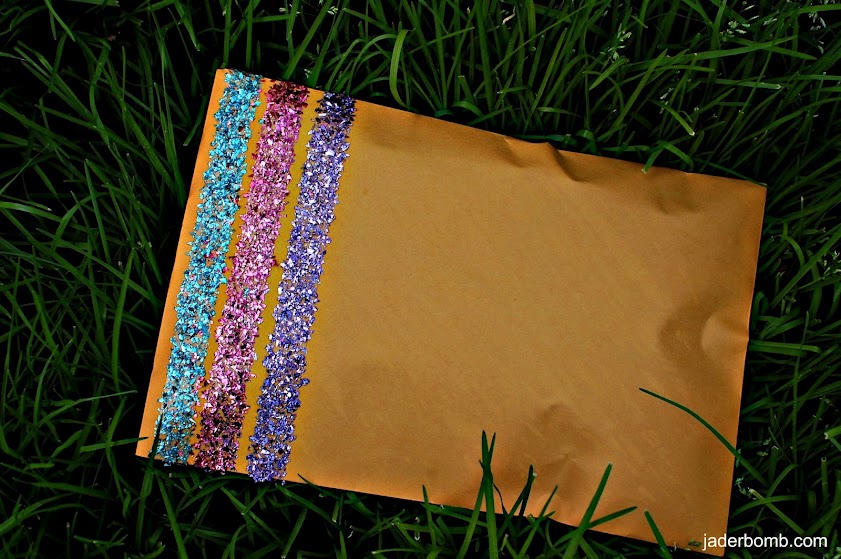
Isn’t it SO cute!

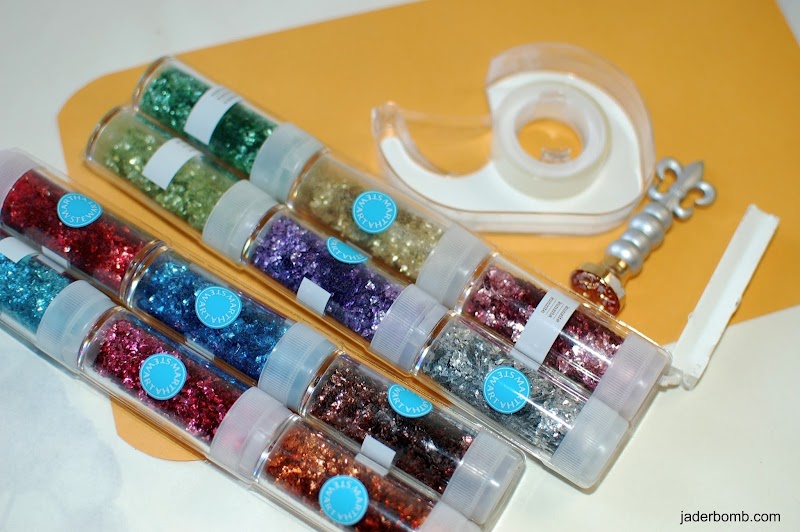
You will need double stick tape, envelope, Martha Stewart gold leaf glitter, wax seal, and a lot of love.

These are the colors I used. They are SO pretty.

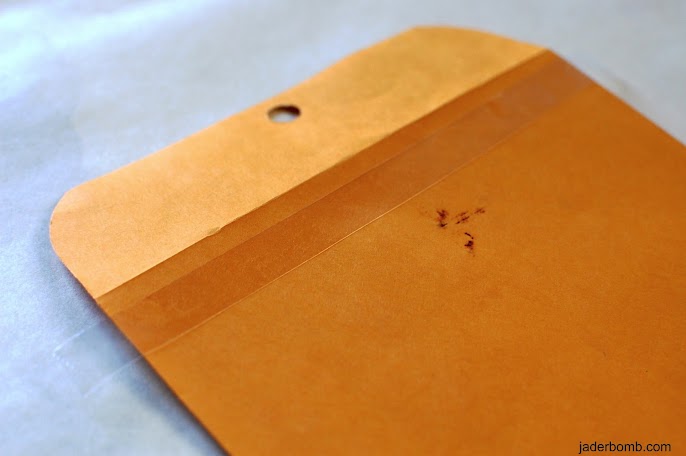
Put a strip of double stick tape along the top and snip the sides.

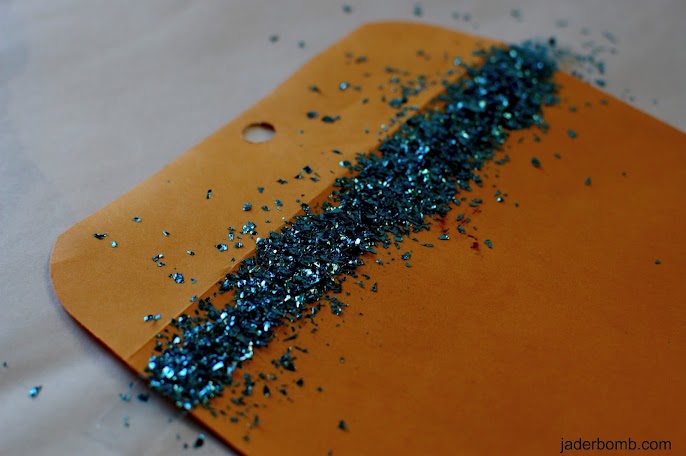
Sprinkle whatever color you want to use on top of the double stick tape.

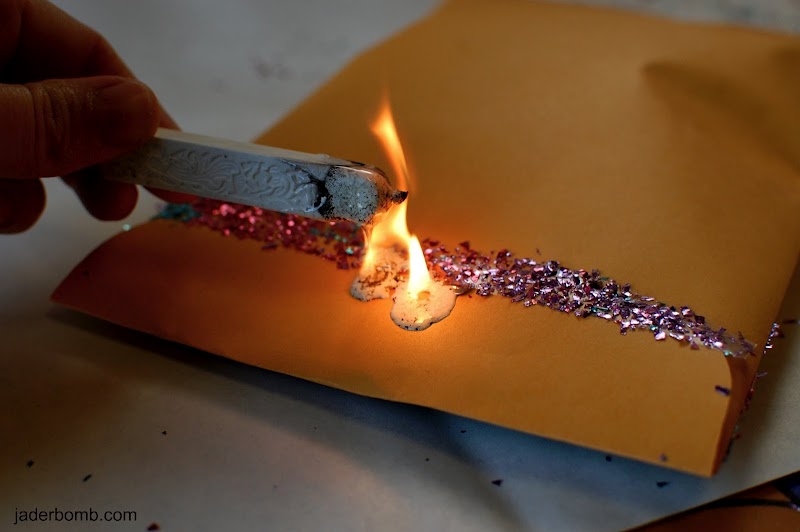
Read the directions before burning your wax. I like to turn my wax almost upside down and make it turn black in some spots!

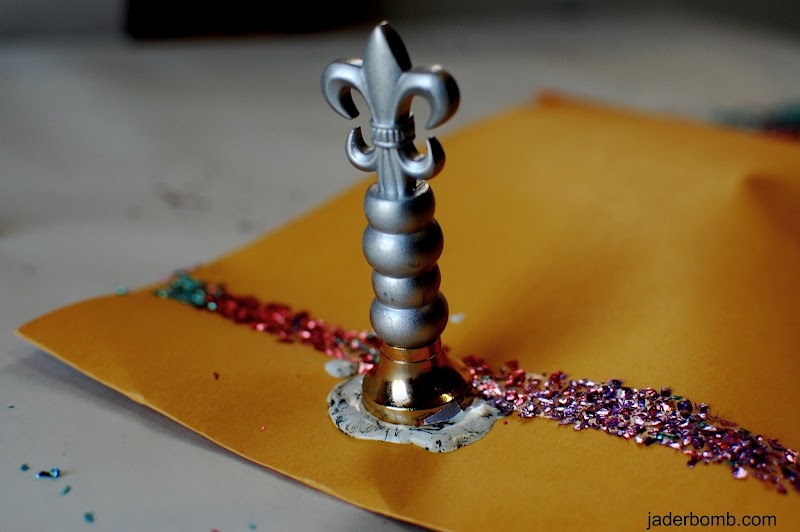
See the little black in it. Make sure you press your stamp in the wax before it melts.

So you see! It’s SUPER DUPER easy and I am positive whoever gets this will LOVE it!

I hope you enjoyed the extra picture I put for you!!! Happy Early Mardi Gras and Valentines day

Me and kitty wishes you a wonderful weekend,

This post is brought to you Plaid’s Martha Stewart line of paint and stencils. I received product for this post. All opinions expressed are 100% mine. You can check out Plaid’s fullMartha Stewart product line here

Happy Happy Happy Tirdsday…. (teehee) just joking! I have to tell ya, the creative juices have been working in overtime lately! I can’t seem to produce things as fast as they pass through my head. I am like, “head, stop it”, “where were you with all of these ideas 2 months ago”…. OH, I know I was kinda focused on my Martha Stewart  project. Do you remember that! If not check it out HERE.  It was such a massive project but at last, I finished it. I wanna say I passed with flying colors. {{fist pumping}}. I think Martha approved, hehe.

I went to Walmart the other day and got this awesome “Dr. Seuss ” looking plant. You know what I am talking about right? The Ponytail Palm. I found this cool site that gives you a little more information on it.  It is really “cartooooonie” looking which makes me really happy!

Let’s see what else is new…. OH Google friends is shutting down soon so if you were one of my followers on there you will have to find a new way to follow me. You can find me on Google+, or sign up for my RSS feed ( which means anytime I post something it will be sent to your email).  Either way is a great way to stay in touch! Of course you can find me on my facebook and twitter, and that is all on my website! 

Ok! I am ready to share this fun and random craft with ya!  OH I am sorta doing a MOD PODGE “paper” review because I have been having this one and never used it! I always use the gloss and sparkle one. This was a chance for me to finally try it out. Plus I wanted to see just how good the “paper one” worked on “fabric”. SO FAR SO GOOD!!!

Ingredients you will need are: fabric, scissors, hot glue gun, mod podge terra cotta pot, twine and a creative brain for 10 minutes! Don’t forget to check out my friends website! MOD PODGE ROCKS! It is SUPER fun and I am sure you will find a ton of things to do on it ! She is like the MOD PODGE queen… (at least in my eyes)
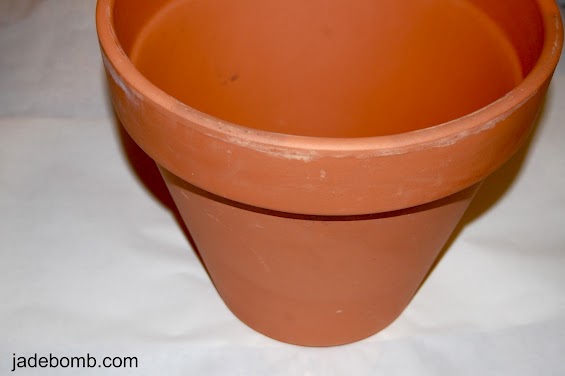
First thing we will do is grab our pot. I said “terra cotta” but you can really use ANY pot you have. I got this one at Wal-Mart for like…3 bucks!
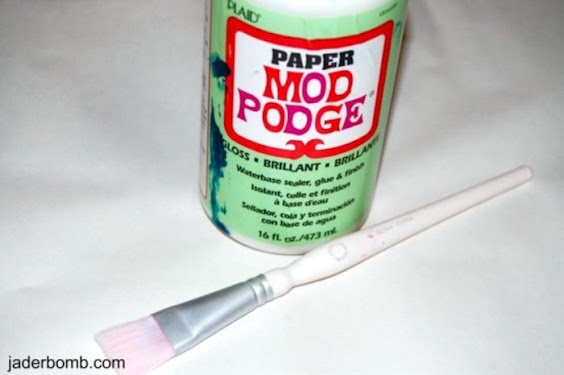
So I know I said this was a new “Mod Podge” that I was reviewing but you might wonder why it’s FULL of blue paint. Well, because it has been living in my studio for quite some time and it has seen a few falls and spills near it! HAHA. Of course I am using my Martha Stewart brush! I have done MANY reviews on this product and let me tell you it is worth every penny! Did you know Mod Podge comes in tons of different ways. Here are a few!
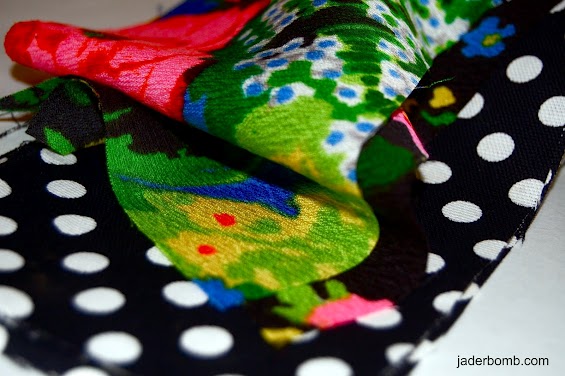
I went in my fabric closet and found some fun colors that looked great next to each other. Personally I think black and white go with ANYTHING!
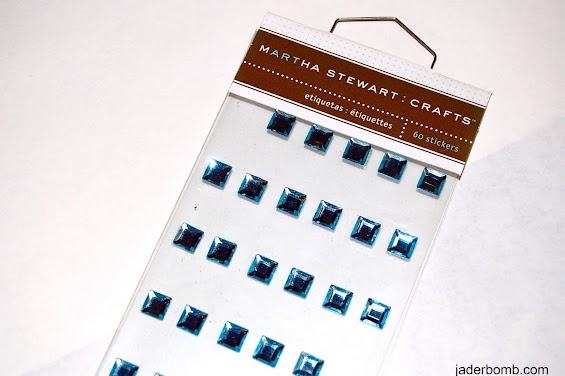
I had these little “jewel” stickers. I think they are made for scrap booking but I figured I would try them in a different way. I know you will love the end result! Oh, you can get some of these little babies at Michaels Art’s and Crafts!

Don’t forget to grab your hot glue gun and a pair of  “good” scissors. I used this glue gun and these scissors. Personally I like them the most and I have tried MANY before these landed in my hands! They were heaven sent! (thanks Martha) haha!
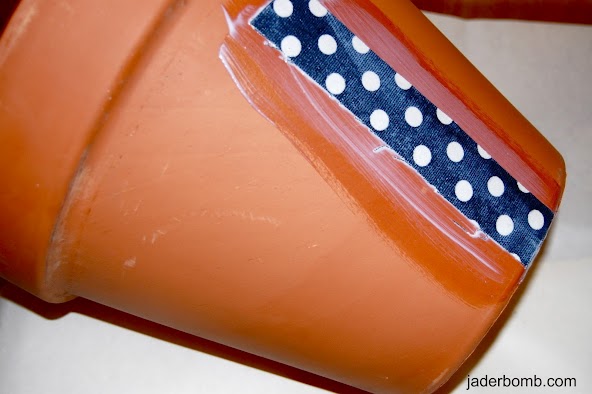
Start by cutting your fabric into strips and mod podge each one down. One at a time. It’s easy if you brush on top of your pot with the mod podge then place your strip down. Once it is down put a GOOD coat on top of it. Don’t worry if it looks really white, all Mod Podge dries CLEAR!
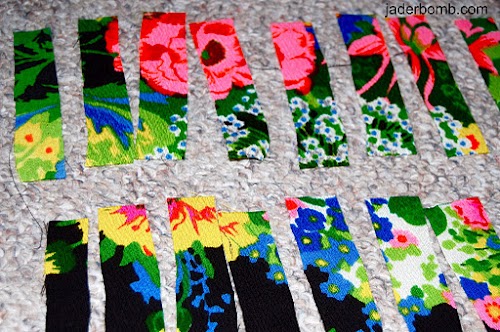
P.S. If you are using a fabric that has a print on it keep the strips next to each other so it “sorta” lines up when it’s all down.
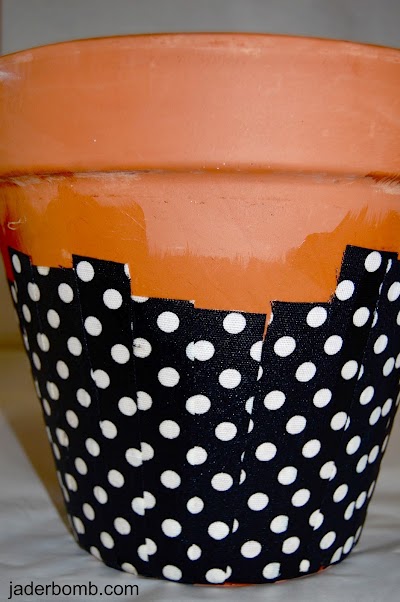
This is what it will look like when you are done with the bottom. You want to do the bottom THEN the top. See, I told you it dries crazy clear! So pretty, right!
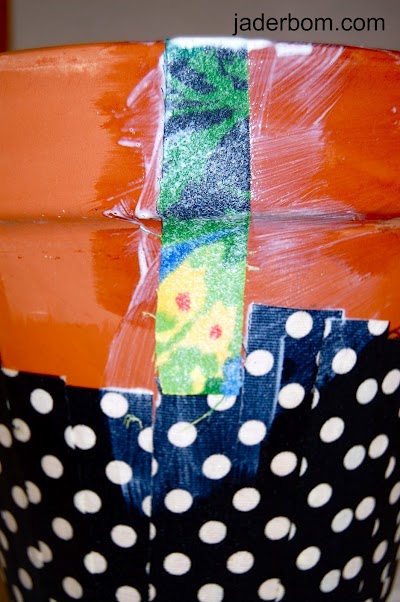
After you do the complete bottom, and it dries then you can start the top. Don’t worry, if they don’t match perfectly in the middle. We will be putting a strip of fabric there.
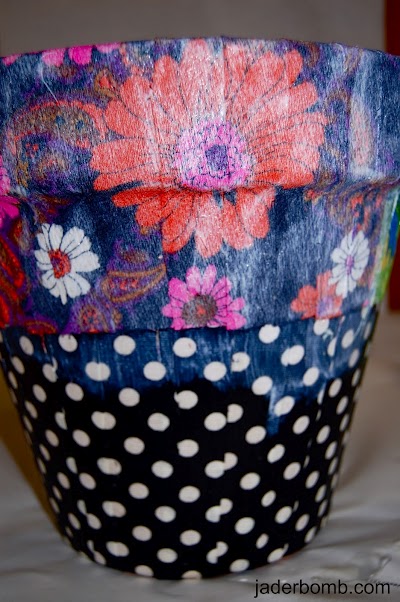
This is what it will look like full of Mod Podge and NO strip separating the two.
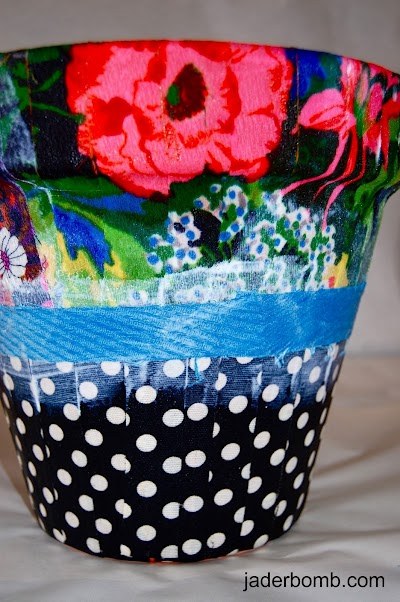
Look how pretty the top looks!! It’s crazy how this excites me! (craft geek)…After your top dries you will put a strip (whatever color or design you choose) in the middle to cover where they meet up. Use the same procedure.
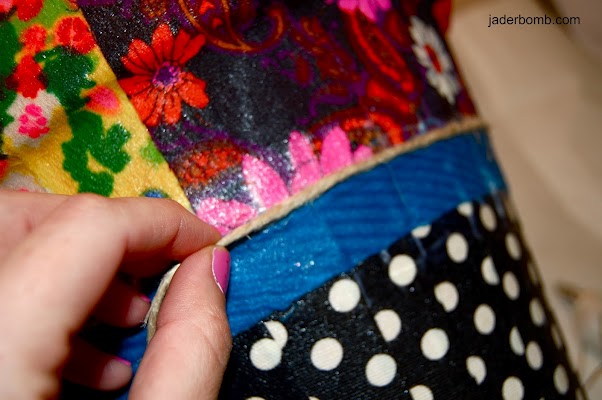
Next thing we have to do is hot glue down our twine along the edges of the center strip. Be careful not to burn your fingers!!!

If you notice in the MIDDLE of the strip I hot glued the sticker jewels to it. It just adds that PERFECT touch to it!
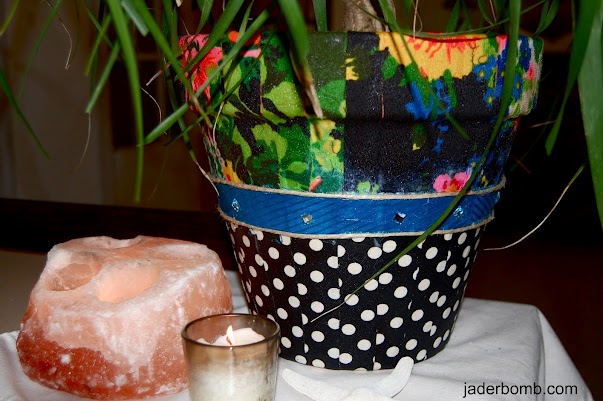
And this my Jaderbugs is the final result. Our Pony Tail tree finally has a cute little home, for now. (haha) Don’t worry if you have little hot glue strings hanging out ALL over your pot. Once your fabric is COMPLETELY dry you can just rub it off. Obviously I took these pictures WAY before it was dry! HAHA

I hope everyone is dreaming of memories of their favorite pony tail they rocked at some point in time,




Top 10 things you need to ring in the NEW YEAR!

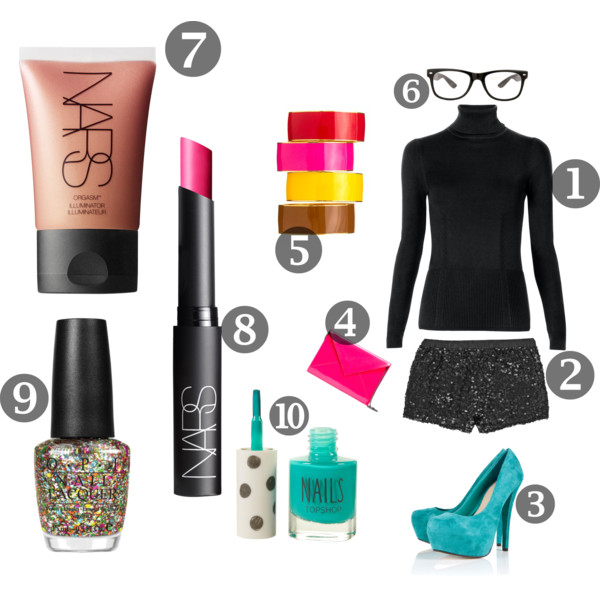
 If you ever wondered what you should wear for a “re-donk-ulous”  party then you have to keep reading this blog post! I put together a little set of things that ANYONE can pull off for this BIG party coming up!

* A black turtleneck looks great on everyone, plus black is slenderizing.

* Sequin dress shorts will surely make you stand out, and they make your legs look long when you put them with high heels

* Bright pumps! Find a color that you really like because this will be the “item” to make your whole outfit!

* Bright clutches will look like bright sparkles in your hands. For sure a show stopper!

* Have fun with bangles! The more you add the better your wrist will look {trust me}

* Fake black glasses, unless you really wear them then you can buy some Ray Bans that look like this!

* If you haven’t heard of NARS now is the time! LE-GIT-NESS is all I am saying!

* More NARS~ This lipstick is fabulous! Make sure you get the color “carthage”

* I mean, we can’t forget about nails right. Grab a bold “matte” color and slap on some glitter over it. Just think how good your hands will look holding a mug of beer, (haha) or WINEEEEEEEEEE. { I just said that in a longggg deeppp voiceeee, I think you should too!}

I hope all of these things make your night a lil more fun! Don’t forget to smile, hug and make grand memories because in the end NOBODY can take memories.

 *here is a lovely photo from a recent photo shoot with seester, isn’t she just so beautiful*


Going eat more fruity pebbles rice crispy treats,

Glittered Pumpkins

Happy Sunday to all you Jaderbugs out there! This weekend FLEW by. Don’t get me wrong I had a blast but sometimes when you have so much to do it is over before you know it. This craft was so much fun to make. What I love the most about it is that you can do it with your kids! Martha has so many stencils, you are bound to find more than one you will fall in love with.  I used the ones that looks like leaves and ferns. I thought it went with the whole “earthy” effect.  Martha covered her pumpkins completely with glitter and those are super cute also.  I just LOVE the pretty orange color and I though by putting my stencils in certain spots it would give the feel of a “real” pumpkin behind the patches of glitter.  Don’t forget I linked all of the products I’ve used at the bottom of this post!
Let’s get started!!! 

p.s. You will need pumpkins (fake or real), Martha Stewart glitter and Martha Stewart Metallic paint.
p.s. You will need foam pouncers and stencils.  Make sure you get Martha’s brand because they adhere to whatever surface you put them on. And the awesome thing is you can use them over and over!
p.s. These are the stencils I used! As you can see I just placed it wherever I wanted on my pumpkin!
p.s. I put some gold paint on my foam pouncer then started pouncing away!
p.s. I used some green glitter for the “leaves”…This glitter gives the best coverage that I have ever seen! Make sure you pour it over something so you can pour the leftover’s back into the container.
p.s. Tadahhhhh! How cute! I added some orange leaves at the bottom {{I know they look red lol}} but I promise they are orange! OH! I also glittered the stem.
p.s. How cute is this baby!
I hope you have a blast doing this craft and be creative with it! I have some more I am working on and can’t wait to share them with you!!!!
Sending you an unlimited supply of bright orange pumpkins,
Jaderbomb

(me on the show!)
Just in case you are not aware of my countdown I am doing right now you can click HERE to read all about it!!!
Make sure you click on the Martha countdown tab on my blog to see the crafts I have already done!
And I will put a link on my website which is www.jaderbomb.com!!!!
AND IF YOU DECIDE TO DO ANY OF THE CRAFTS, SHOOT ME AN EMAIL AND I WILL ATTACH  IT TO THE POST WITH A LINK THAT GOES STRAIT TO YOUR BLOG! OR IF YOU DON’T HAVE A BLOG JUST EMAIL IT TO ME AND I WILL STILL PUT IT UP!!!!
JADE@JADERBOMB.COM
Thanks to Martha Stewart crafts for sponsoring me with craft supplies!