Happy HUMP DAY! I am featuring a post that I did a couple of months ago! Today the Hallmark station aired my episode (which still feels surreal) so I figured I would post the tutorial! I am still in shock I know these people and will be FOREVER grateful!
ENJOY!
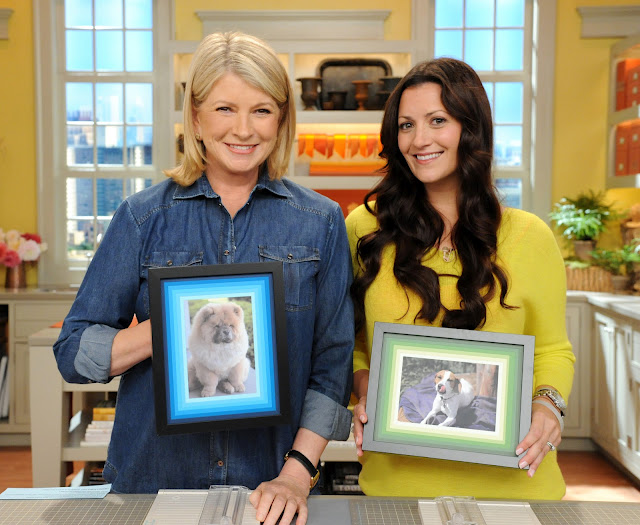 |
| The Martha Stewart Show on Hallmark Channel |
Hi there my little Jaderbugs! What a wild and crazy week! As I sit in here my hotel room in New York I am trying to figure out if some of my tears are tears of joy, or tears of sadness. So I decided to dig a little deeper. I think they are both.
~Tears of joy: I think the {{joy}} tears are from this crazy awesome experience. I never in my wildest dreams thought I would meet Martha and her AWESOME staff in person {{{ever}}}. But I did, and let me tell you I am still on cloud one million one. Remember on the segment when Martha asked me what number craft the Ombre Photo Mat will be? I told her like one million one. (another tear dropping).
~tears of sadness: I think these babies are because it’s all over. I belong in this environment. It’s just sad how it seems to go so fast. I remember thinking when I was getting my hair and makeup done “Jade, slow your brain down. Savor this moment so you will always remember it”. So I listened and it worked. I remember how many times my hair was curled, I remember the (ju-ju) mint the makeup artist gave me and how we laughed because it stuck to my cheek and every other little bitty detail. Ya know it was my first time wearing “fake” eyelashes. Well they were individual ones and boy did they look awesome!
I have to tell you this, when I first got there I was waiting in this little room and it was early. They told me to go there with comfy clothes and no makeup. I was thinking, NOOOO!!! But I followed directions well!!! Anyways, I was sitting in this room and I heard a certain voice getting closer and closer. I was not sure if it was who I thought it was but then again this whole experience felt like a dream so maybe I was hallucinating. THEN….I saw a set of eyes hit mine. It was her! MARTHA. She was so pretty, and as she passed me in her comfy clothes I made a huge gasping noise. Apparently my hand went over my heart/chest because my heart skipped a beat. She kept walking and I guess she heard my “GASP” for air and did a very mellow double take and then smiled at me. I tell ya, I just got goosebumbs talking about it. I think my dad was more excited!
Jaderbugs, you have to remember. This is someone who I have been watching and following all of my life. There is not ONE time in my life that I thought I would stop.
When she smiled at me I just started laughing. You know that laugh right? That hysterical, delirious laugh. It just hit me afterwards.
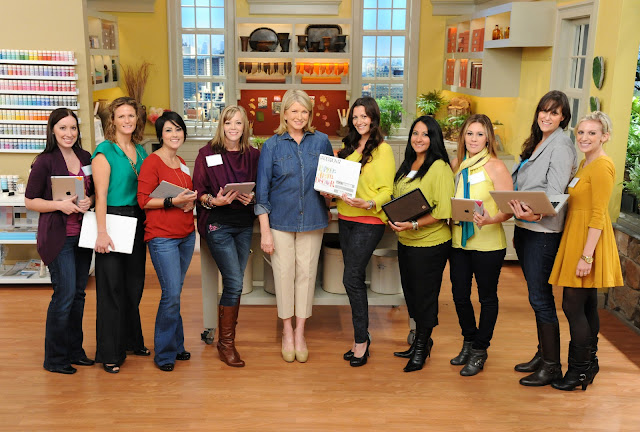
Me and the producers and craft’s team hit it off! They will SURELY be lifelong friends! {{who I will see again soon}}. My whole experience was surreal and I really don’t know where to begin. I promise I will post ALOT of pictures once I get home and organize everything. I have SO much more to share with you!
Let’s craft! Today’s craft will be a little different than you are used to. I normally have pictures (step-by-step) but today I have a video. I will take a video like this ANYTIME over pictures! This craft was SO MUCH FUN. I only got to do number 16 with MARTHA. NO sweat!
She was SO nice and kind! I was so nervous when she was opening my gift I brought her, but she LOVED it. I gave her my red rose earrings that you can find in my
ETSY shop. Everyone else LOVED the earrings too! I didn’t want to leave (even tho I am so happy to see happy faces at home). I can’t wait to go back and see all my friends the universe sent me!
Thanks to everyone who followed me and my journey. I know this is just the beginning so don’t go anywhere!
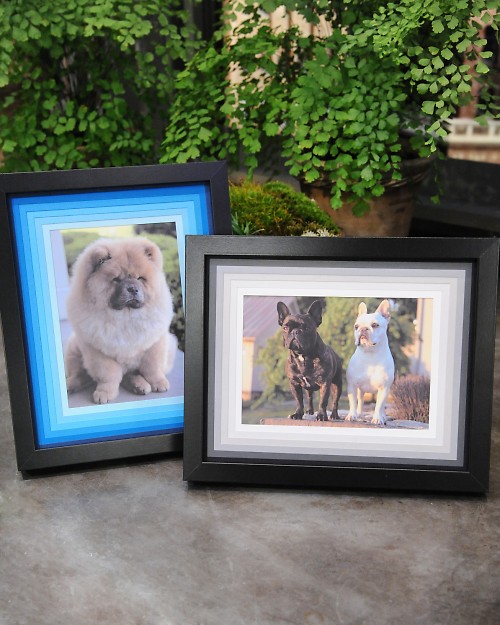
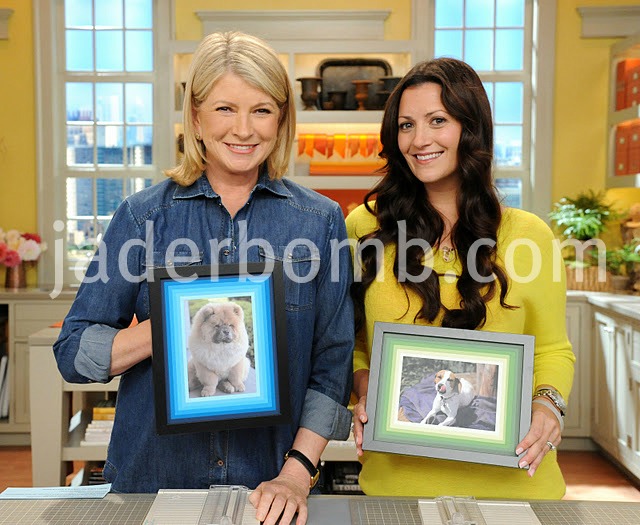
How cute are these babies!
INGREDIENTS
8-by-10-inch frame
Lightweight card stock
Paper trimmer
5-by-7-inch photo
Ombre Photo Mat How-To
Choose six pieces of card stock in a color gradient and trim each to 8 by 10 inches.
Arrange the card stock in the order you would like the colors to appear. Begin with the color chosen for the widest mat (the innermost mat, closest to the photo). Using the paper trimmer, measure and cut lines 1 3/4 inches in from each edge, creating a rectangular window in the center of the card stock.
Measure and cut the rest of the mats, decreasing the distance from the edge by 1/4 inch as you work your way to the outermost mat. The outermost mat will be 1/2 inch wide. Tip: When cutting the first line of a 1 3/4-inch mat, start the cutter exactly at the 1 3/4 mark on the ruler of the paper trimmer, and stop 1 3/4 inches before the other edge of the card stock. (The magnifier on the blade shuttle is useful for this.) Turn the paper 90 degrees to make each adjacent cut, stopping 1 3/4 inches before each edge. As you progress, adjust where you start and stop based on the width of the mat you are cutting.
Once all the mats are cut, stack them in order and insert into the frame. Center and secure photo behind mats; secure back of frame in place.
Resources
Paper Trimmer available from Martha Stewart Crafts. Card stock available from Paper Presentation. “Ribba” 8-by-10-inch frames available from Ikea.


