Tag Archives: easter decorations

Happy almost Easter! I think my favorite thing about Easter is decorating eggs.  I dont know why but each year I try to push myself to create fun and crazy egg decor. Wanna know how many different eggs I have decorated this year! Pretty much NONE! I know how can I be a craft blogger and walk with my head high in this moment.

I should walk with SHAME! With my non egg decorating self. Well off to bigger and better things, which is showing off crafts that other bloggers created. You know, the ones that walk around proud of how many different types of easy easter crafts they created. BOOYAH! You just made my day a whole lot easier. MAKE SURE TO PIN THESE IMAGES, COME CHECK OUT MY PINTEREST BOARDS HERE FOR A MAJOR OVERLOAD OF INSPIRATION. 
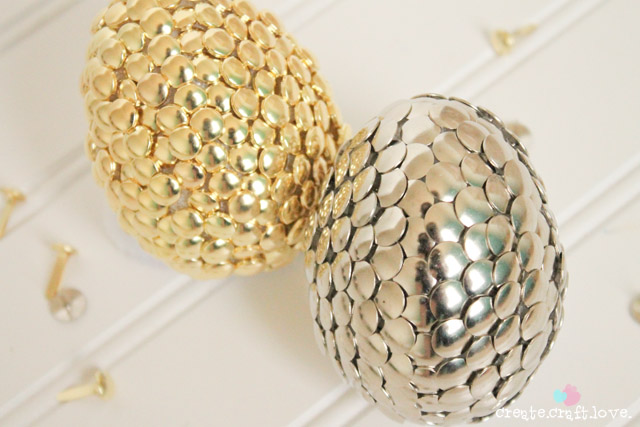
silver-and-gold-easter-eggs-beauty-upclose

Silver and Gold Eggs by Create Craft Love
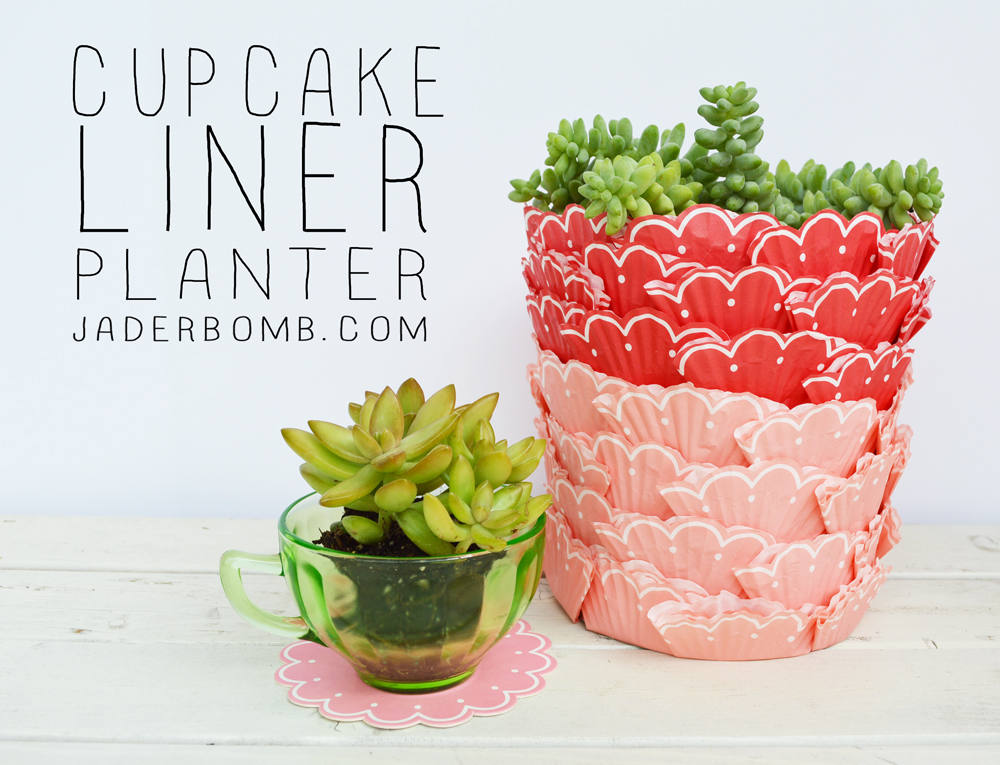
cupcake-liner-planter
Cupcake Liner Planter by Jaderbomb

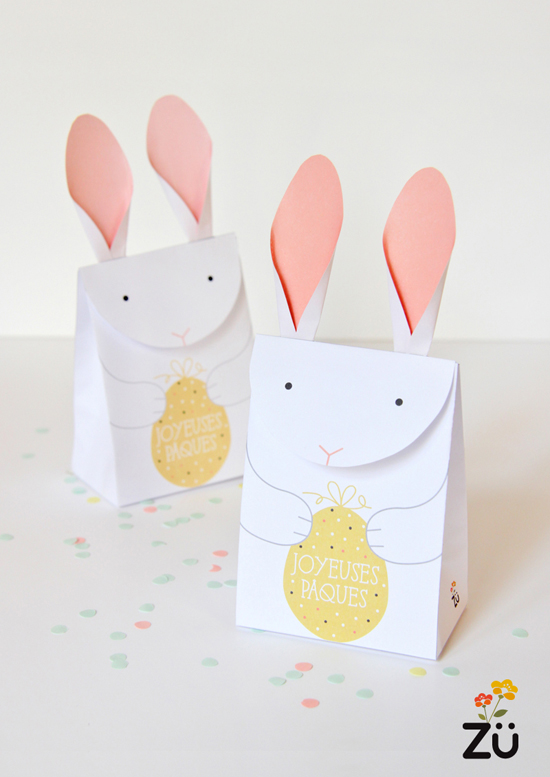
zu-bunnybox1
Easter Bunny Printable by ZU

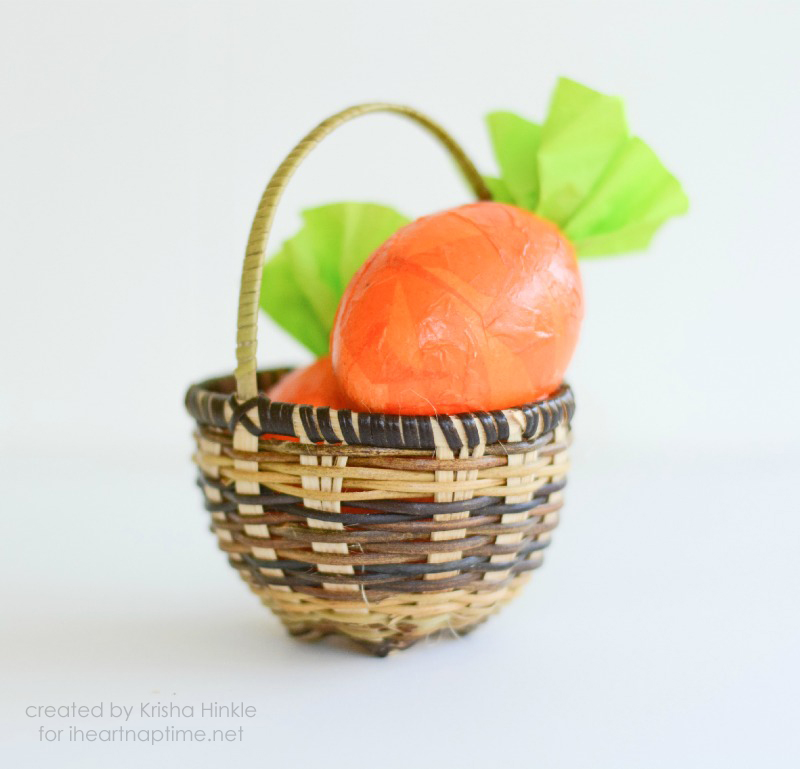
cascarone8-copyCarrot Cascarones by I Heart Naptime

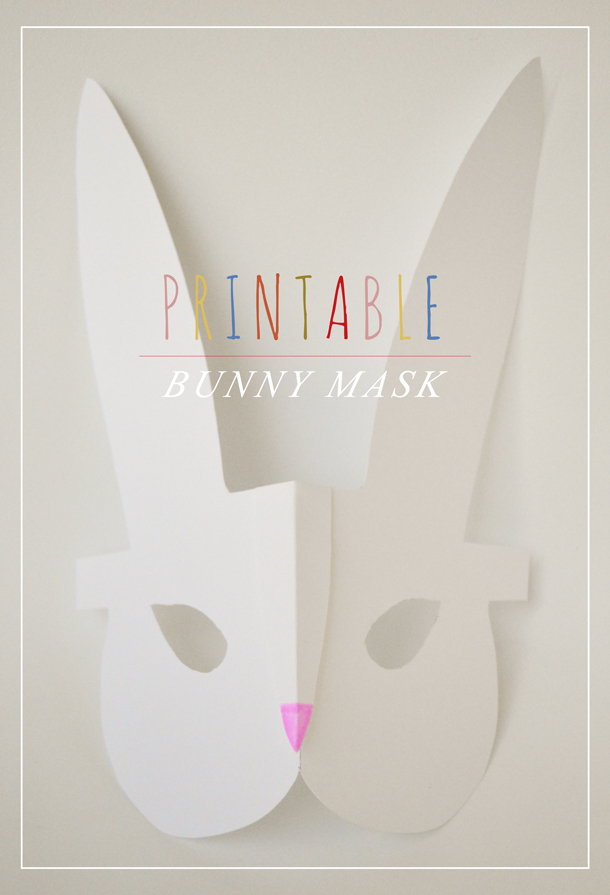
Printable-Bunny-Mask-CraftPrintable Bunny Mask by Playful Learning
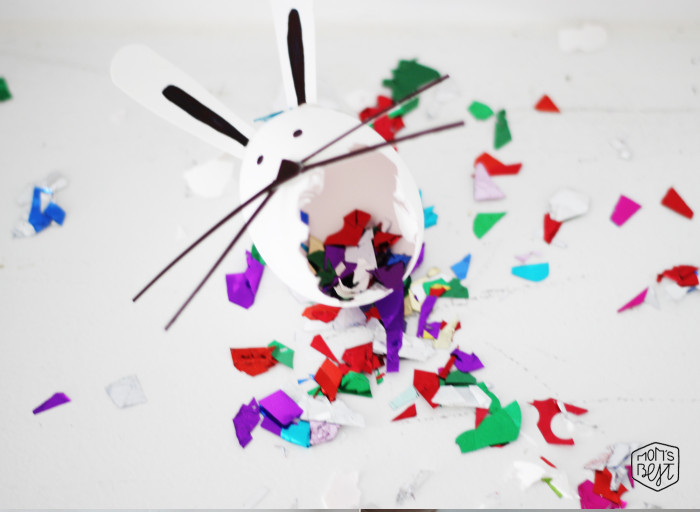
egg_pinata4-e1396940289641
Mini Confetti Filled Bunny Egg Pinatas by Mom’s Best Network
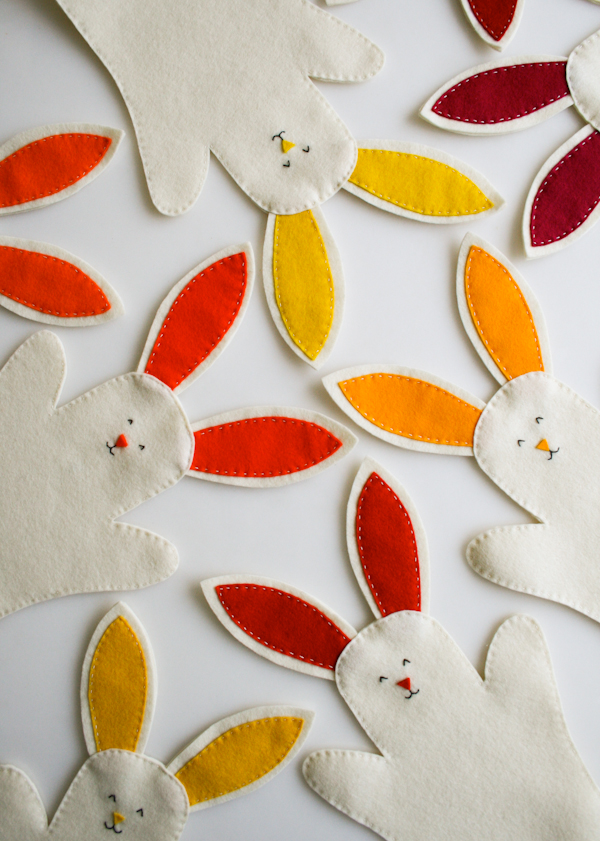
bunny puppets 600-8
Bunny Hand Puppets by PurlBee

EasterBasket11
Grocery Bag Easter Basket by Ellinee

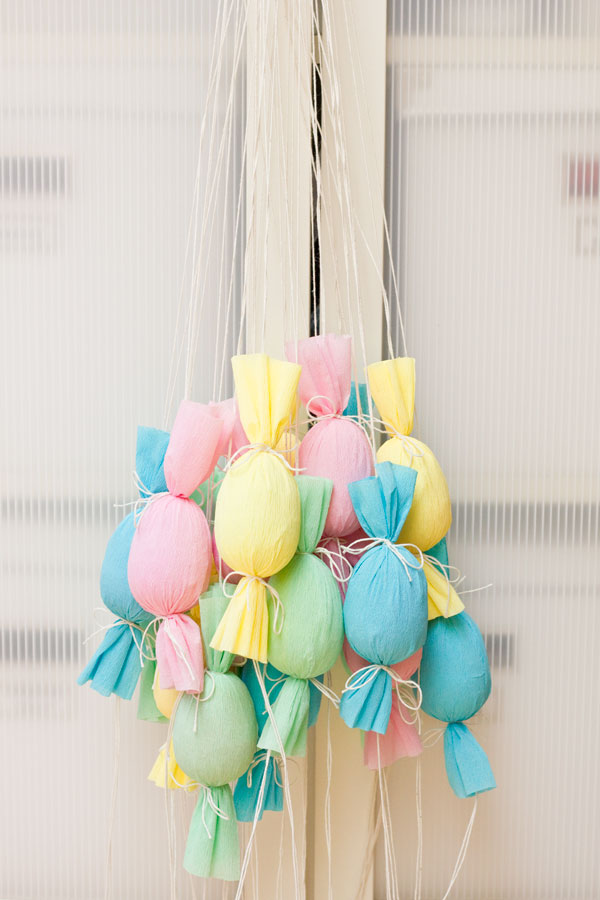
DIY-Easter-Egg-Poppers
Egg Poppers by Studio DIY

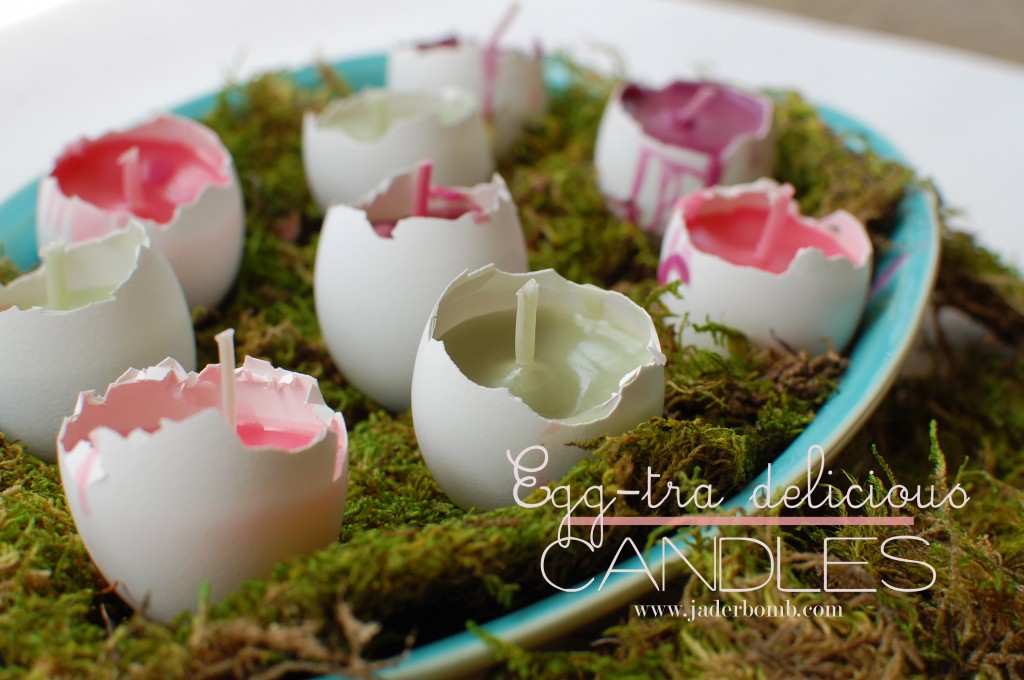
DSC_0158-1024x680
Egg Candles by Jaderbomb

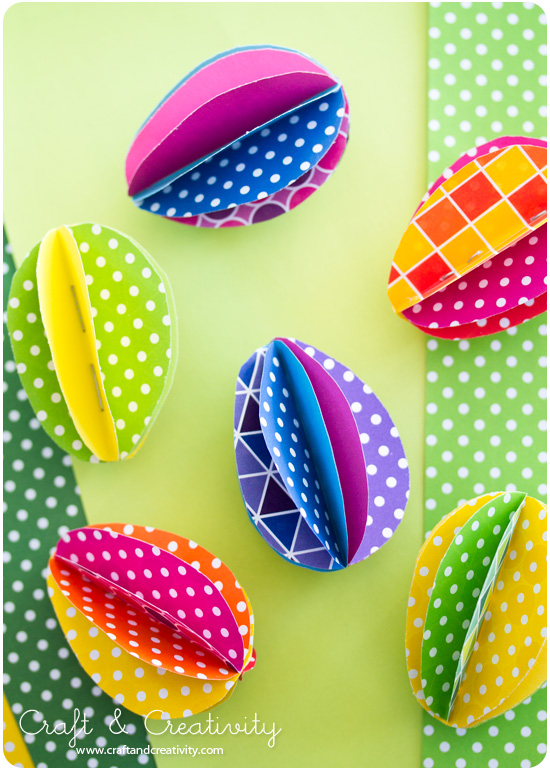
papereggscolor3
Paper Eggs by Craft and Creativity

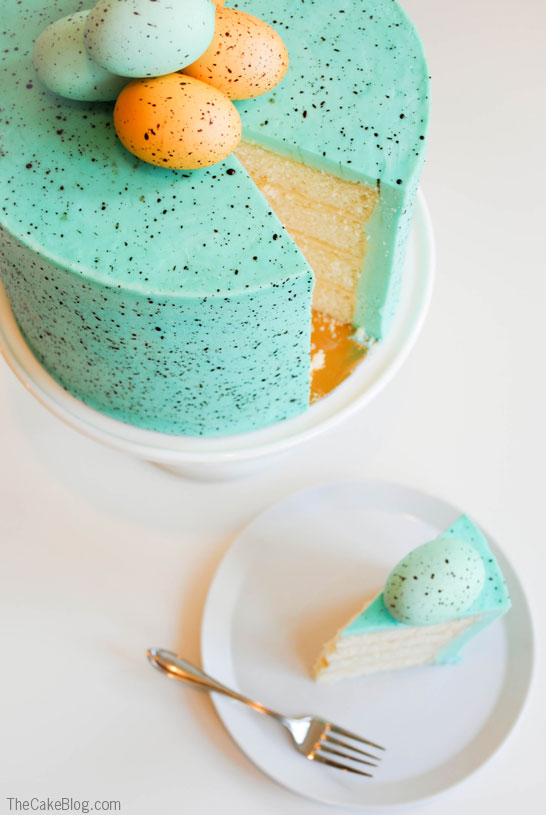
speckled_egg_cake_2
Speckled Egg Cake by The Cake Blog

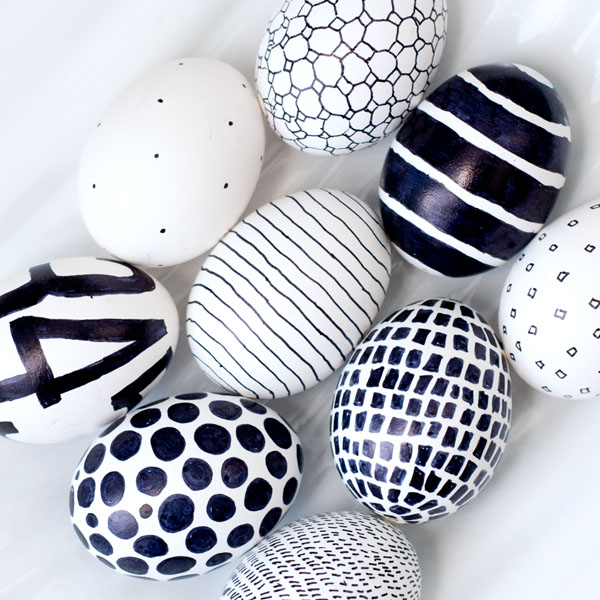
EasterEggs2
Black and White Eggs by Obviously Sweet
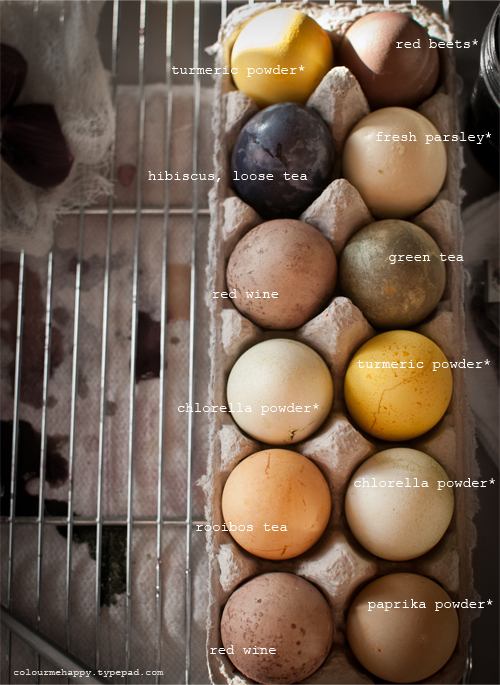
6a014e89ac8617970d016303bebd8f970d-800wi
Naturally Died Eggs by Colour Me Happy
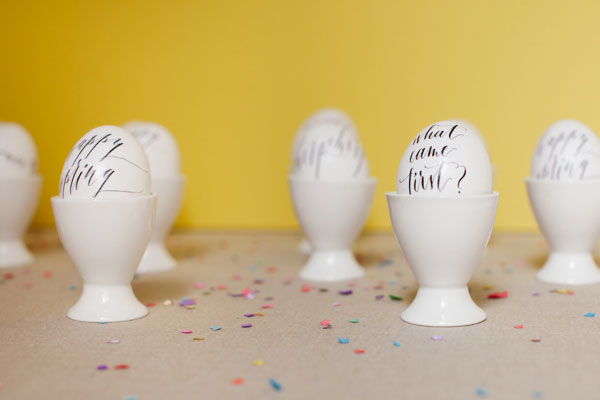
Calligraphy-Eggs-4
Calligraphed Eggs by Oh Happy Day

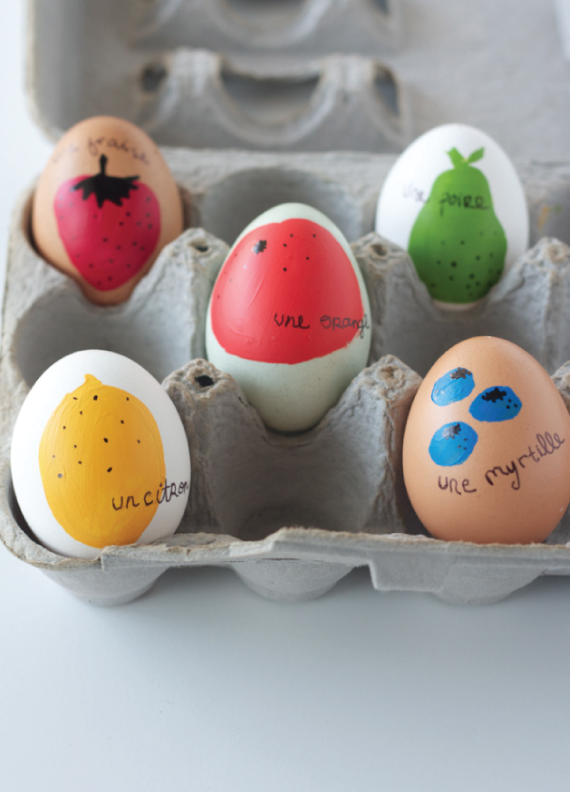
farm-fresh-fruit-eggs
Fruity French Easter Eggs by The Allison Show
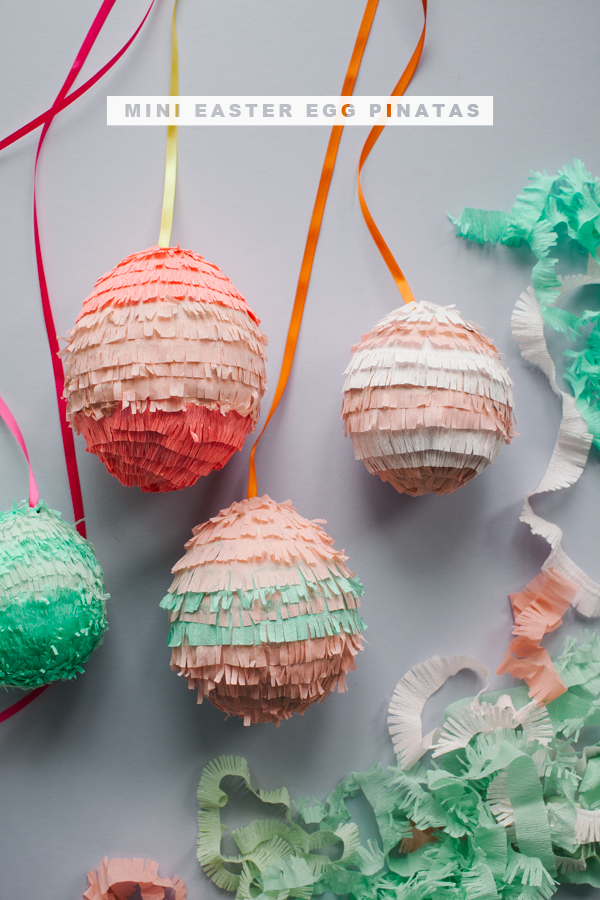
Easter-Egg-Pinatas1
Easter Egg Pinatas by Studio DIY

image071
Bow Tied Bunny Cake Toppers by Handmade Charlotte
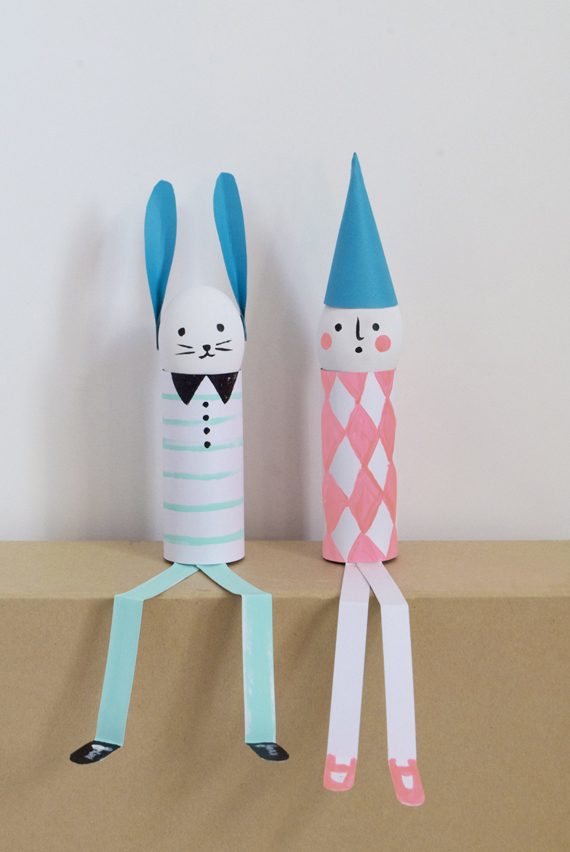
EggsOnaShelf
Egg on a Shelf by Minted

10259544_10152347792037429_335986099_n
Easter Brunch DIY with Cathie and Steve
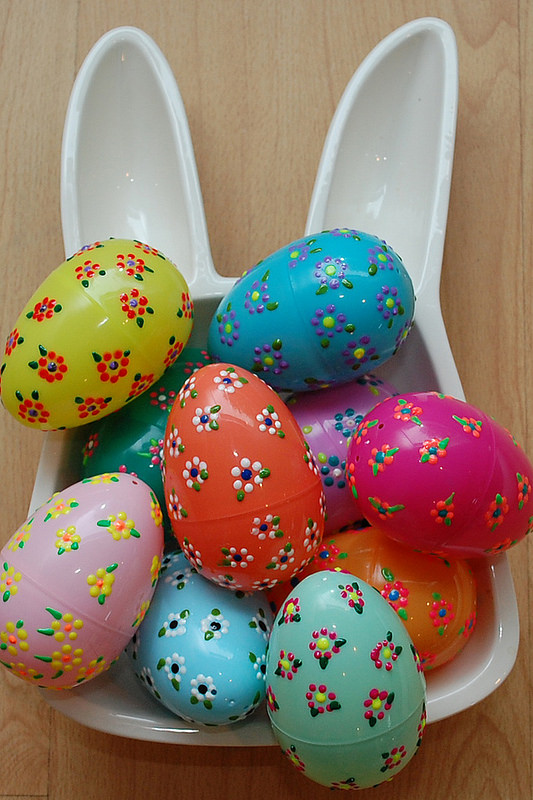
13782600695_d728e0d3fc_c
Floral Puffy Paint Easter Eggs by Jennifer Perkins
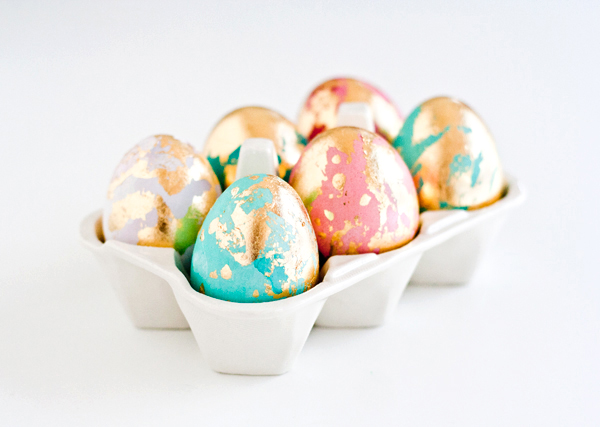
eggs-final-1-600px
Gold Leaf Easter Eggs by Ambrosiagirl

HAPPY CRAFTING LITTLE GLITTER-FILLED FRIENDS!

*Visit me on FacebookTwitter,Pinterest, or Instagram! Make sure to follow Ceaux Ceaux facebook and blog


EASTER Tissue Paper POM POM’S-Tutorial

Happy Saturday Jaderbugs! I could not wait to show you this fun and quick tutorial. I am sure you remember my “Tissue Paper Pom Pom’s” that were featured on Martha Stewart, right? If not click on the links I just provided and check um out! You will be shocked to find out just how easy they are. If you have a huge space that you need to dress up these are the perfect thing for it!

Here are some examples:

Tissue Paper Pom-Poms How-To
Homemade Pom Pom’s  

Pom Pom car decoration

Here is a little info on what kind of tissue paper to use (click on the link): Tissue Paper

Now I wanted to make something quick to decorate a mantle with and why not make “mini” tissue paper pom pom’s. I thought it was the easiest thing to use for decoration. On the flip side, it’s super affordable. A pack of tissue paper might cost $1.50 and usually comes with like…about 13 sheets of tissue paper in it. For the small pom pom’s I used one sheet for each one. For the bigs ones, I used about 12 sheets for each one.

 I just had to get these two packs of tissue paper. I thought they were perfect for Easter and SOOOO adorable.

First thing you want to do is take one sheet of paper. Fold it in half and cut at the seam. Do this 3 more times. It’s always good to use a good pair of “sharp” scissors so the paper cuts instantly. I love my Martha Stewart Multi Purpose Scissors.

After you finish the step before this you will take the little stack of tissue paper and fold it like an accordion. You can make the folds big or small, your preference. I like doing big ones because it makes it easier to open them up in the end.

Next you will take some wire of your choice {{ I like to use floral wire}} and wrap it around the center just like this. Make sure you leave a long piece so you can stick it in a bottle.

Here is one of my mantle’s I decorated. See the tissue balls to the right!!!! Remember, to make these you only need ONE sheet per ball.  To make the BIG one you need 12 sheets. Make sure you click on my tutorial I put at the top of the post to see step by step how I did the big ones!

Here is a little something I added to spruce up my mantle. I love CONFETTI!!!! I bought this bag from Wal-Mart and it was only .97 cent’s!!!!

Just grab all of the little clear jars or bottles you can find and fill um up girls!!! You can even use clear wine bottles!!!! Anything to show off these babies!!!

I hope you have a blast doing this craft! Enjoy the rest of your weekend Jaderbugs!!!

Items in this post is brought to you Plaid’s Martha Stewart line of paint, stencils and craft products . I received product for this post. All opinions expressed are 100% mine. You can check out Plaid’s full Martha Stewart product line here

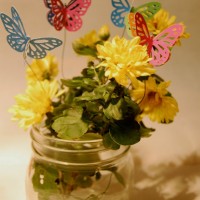
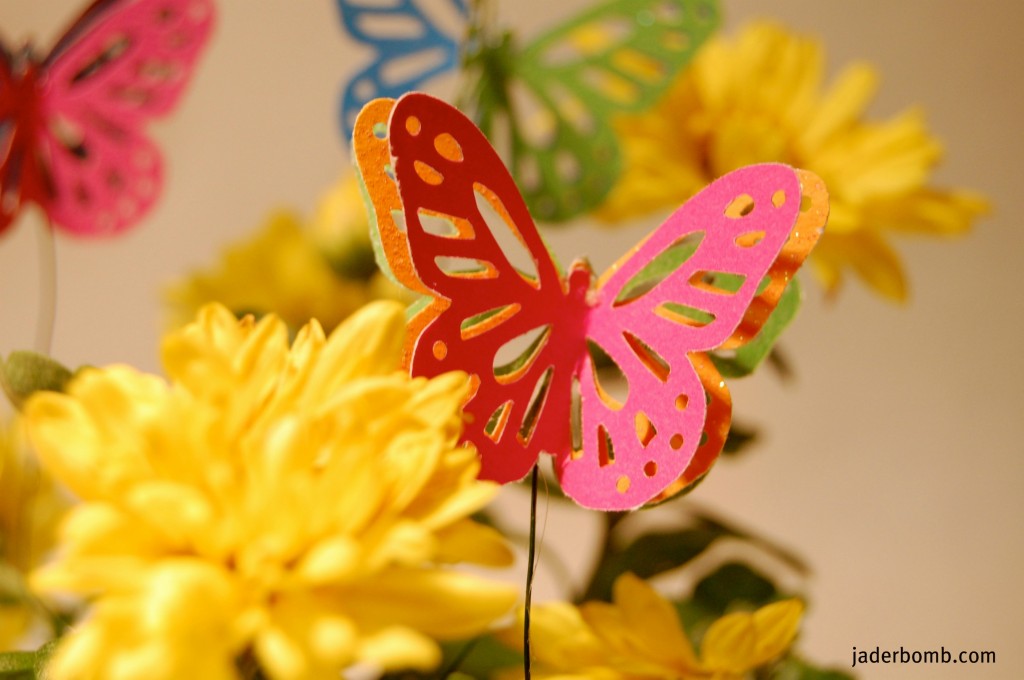
Paper Butterflies Tutorial


I am sitting here eating cool ranch doritos and watching Dog the Bounty Hunter. LEMME tell you how nice this is! I forgot what life was like without reality television. Remember the Cosby’s… Seinfeld… I still love those shows!

{{ Oh wait, what about Roseanne!! I LOVED that show growing up }}

I can’t wait to share with you fun and exciting EASTER crafts the rest of this week! It’s time to decorate and I will be your assistant ((wink wink))

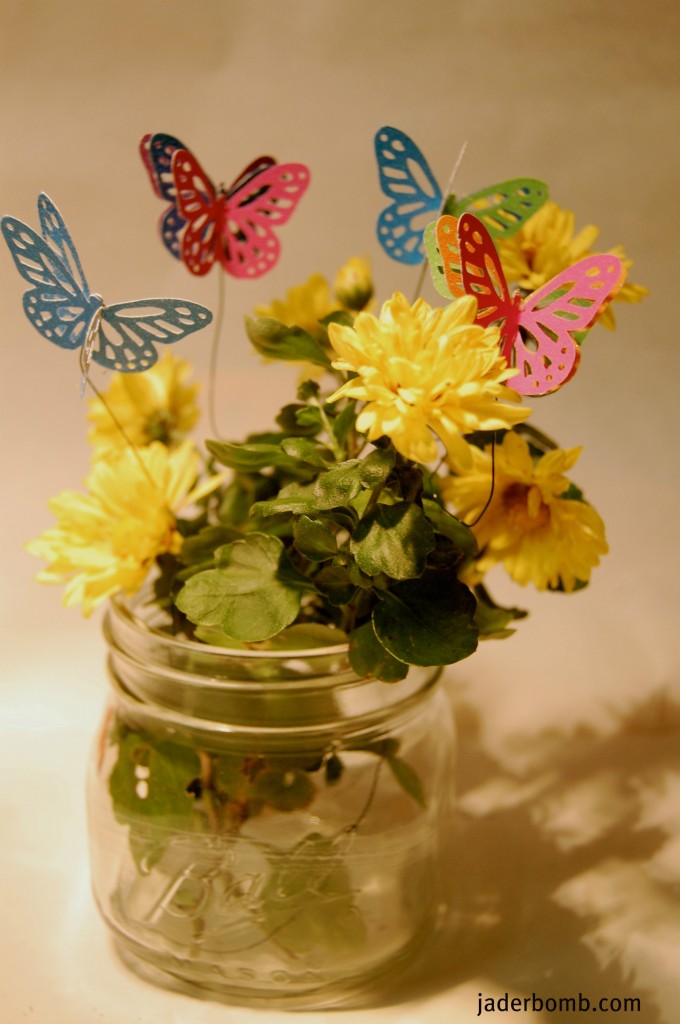
I could not wait to share this craft with you because it’s perfect for EASTER and SPRING. I mean, if you LOVE butterflies then you will keep these suckers up year round! It is absolutely the easiest craft ever and you will have a blast doing it!

Let’s get started Jaderbugs

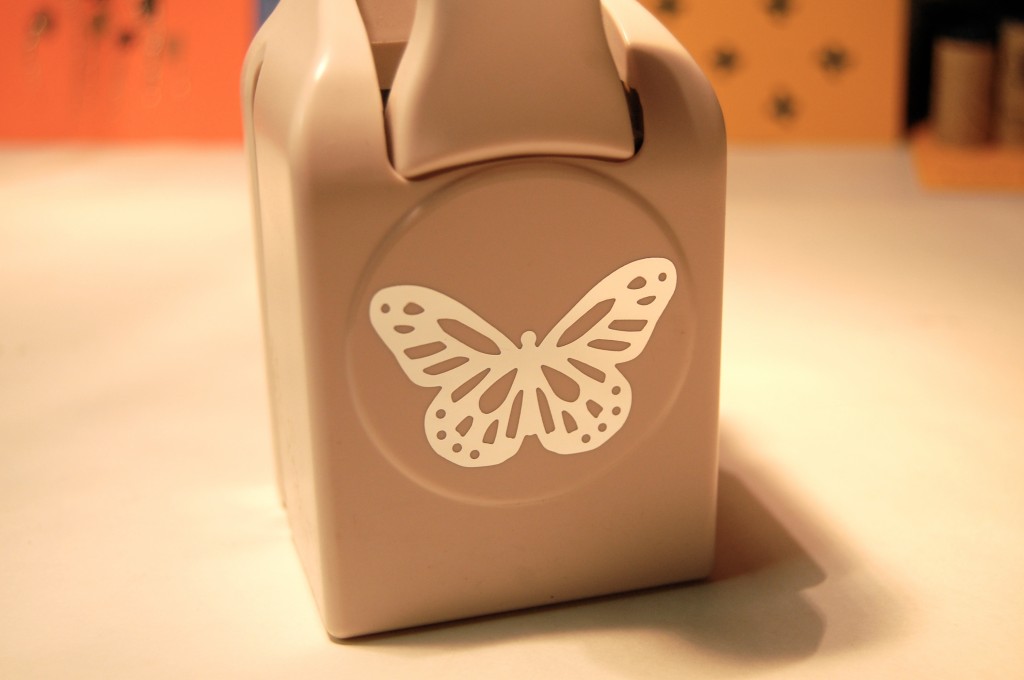
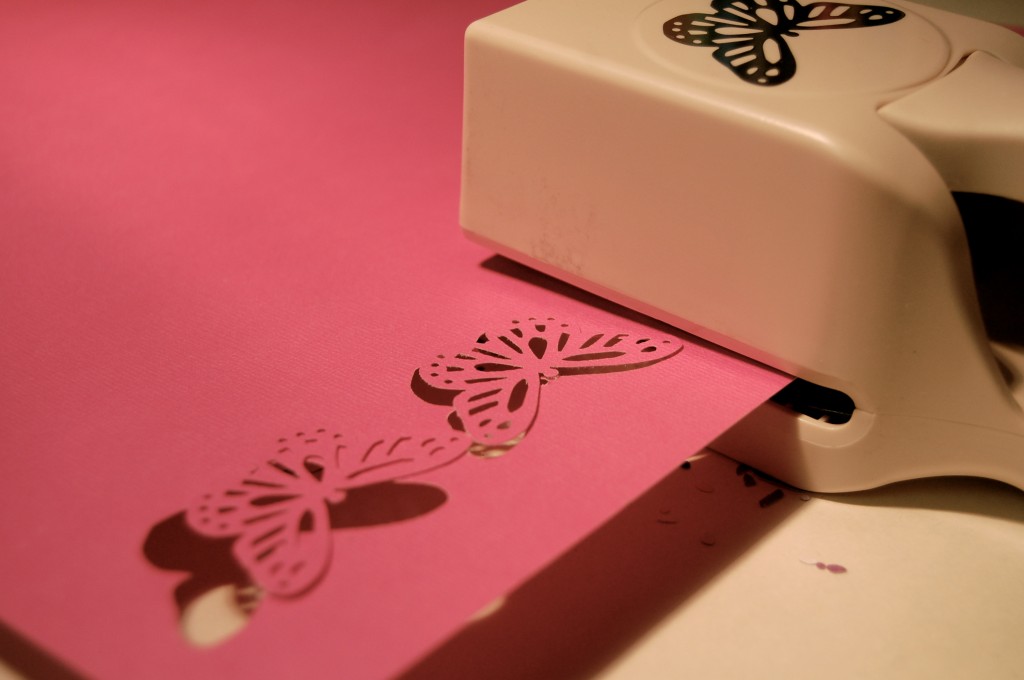
Get a Monarch Butterfly Punch. You can order one or get it at Michaels Arts and Crafts.

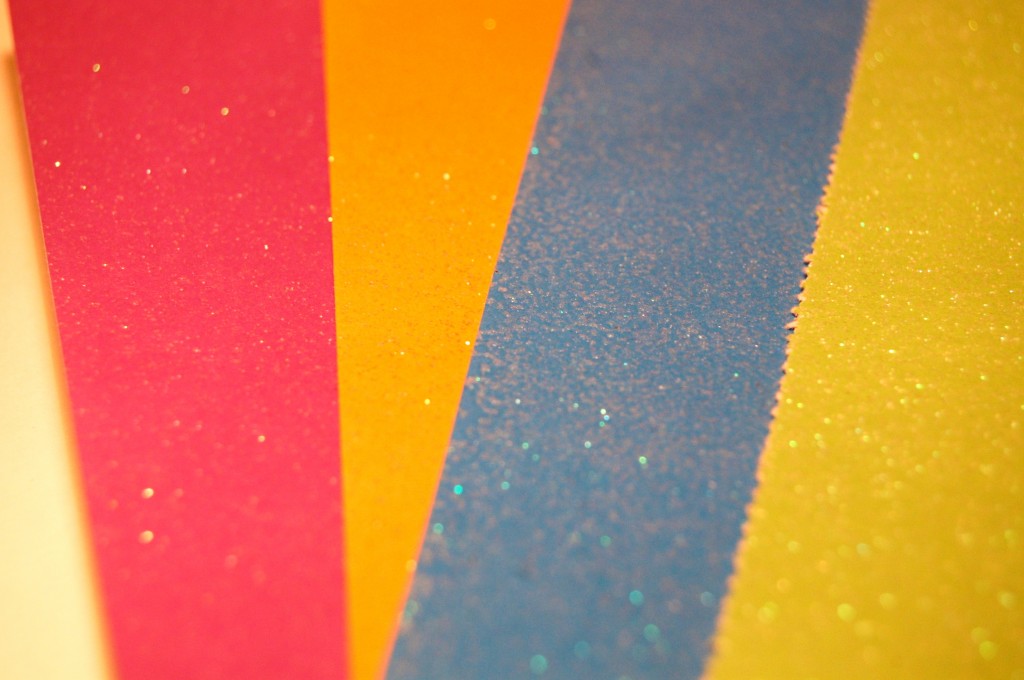
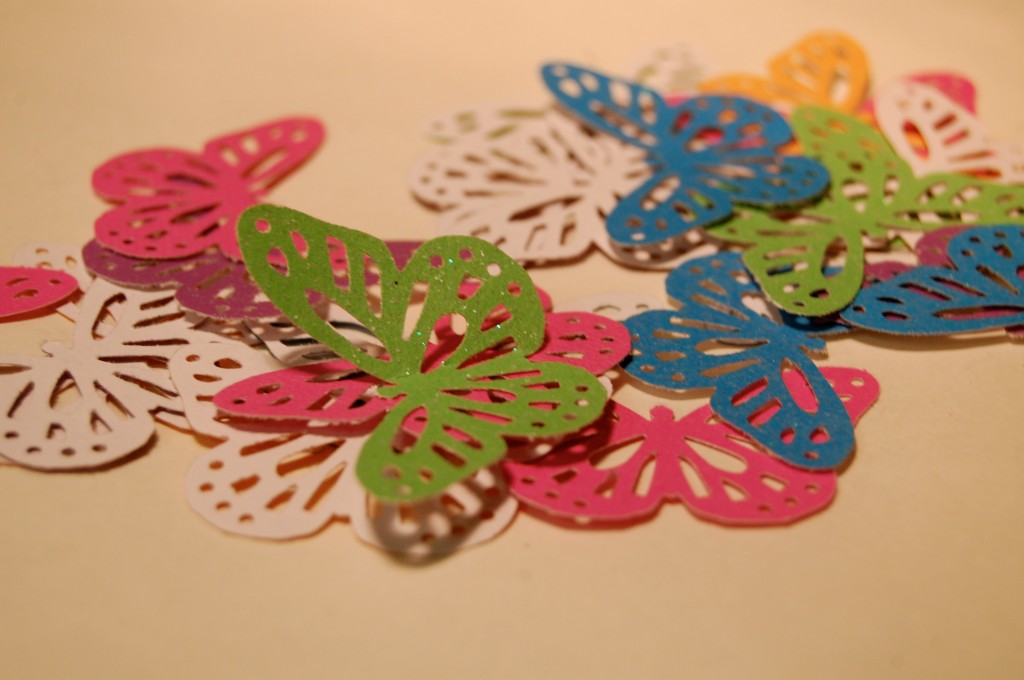
Grab some scrap book paper and get to punching!

Place your paper in the slit and give it one good punch. You barely have to press it. It really works so easily!

How pretty is this!

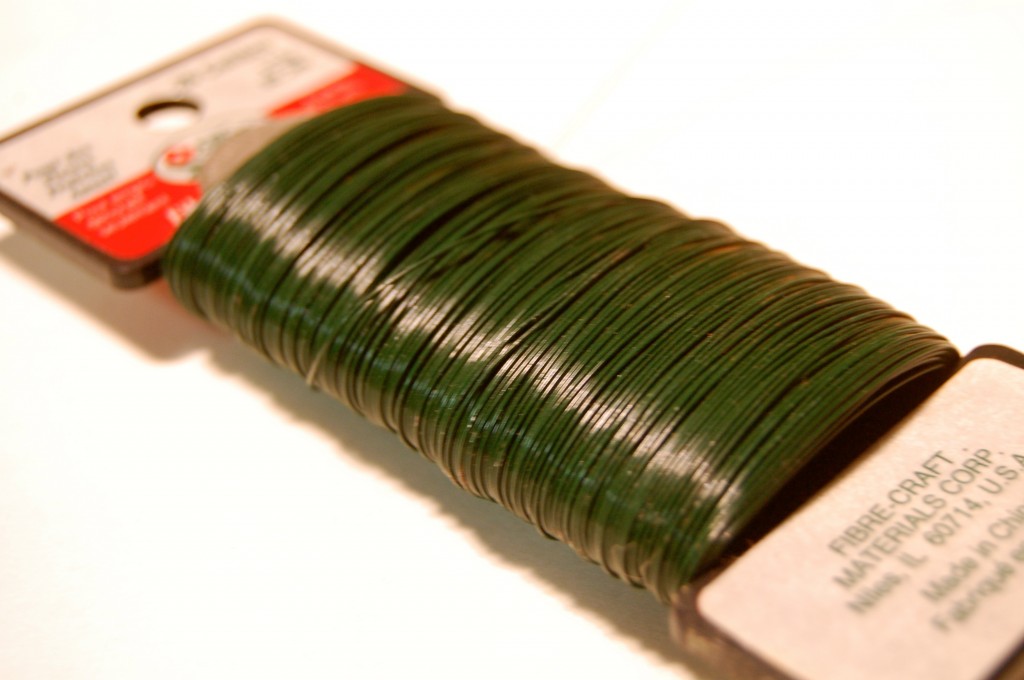
I am using floral wire which you can get at your local craft store.

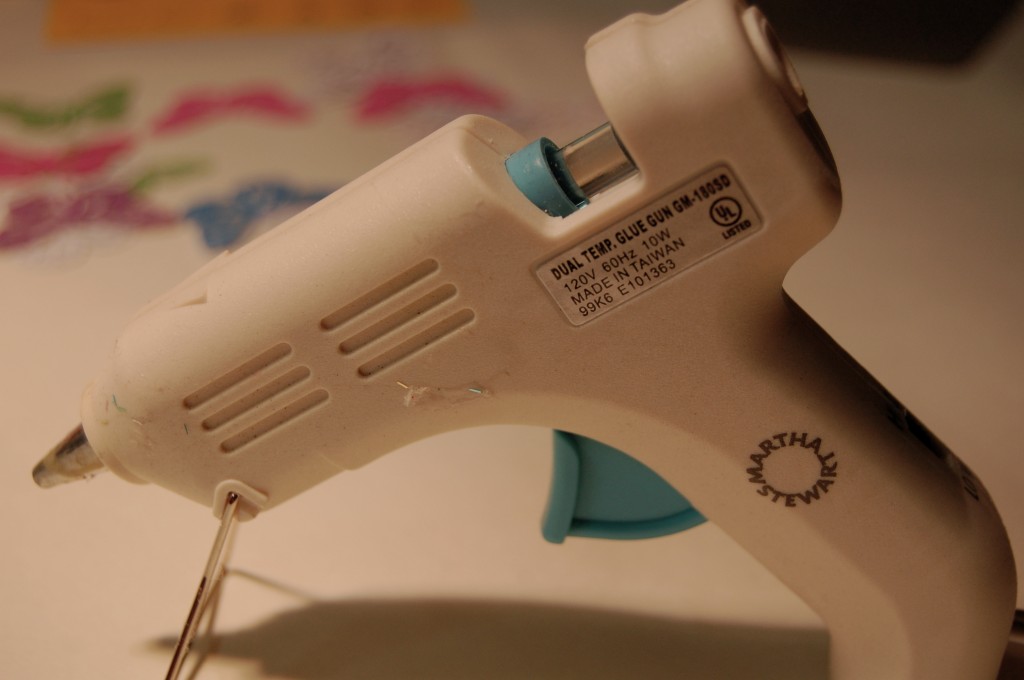
Get your handy dandy glue gun! This glue gun has dual temperature  so it’s really cool to work with! A must have for your “wish” list!

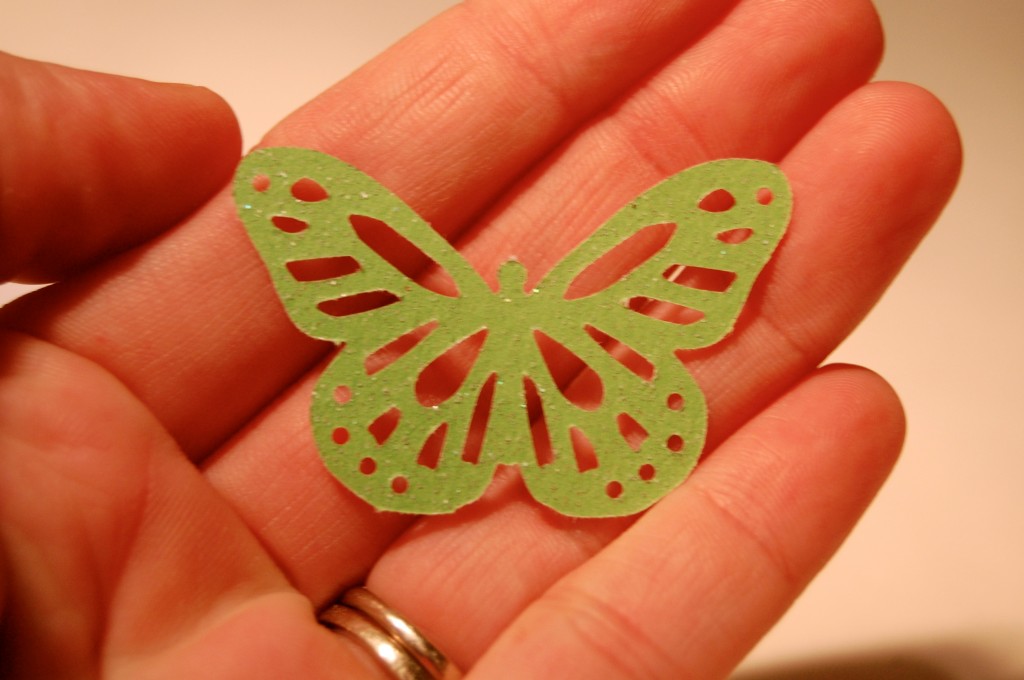
They come out FLAWLESS!

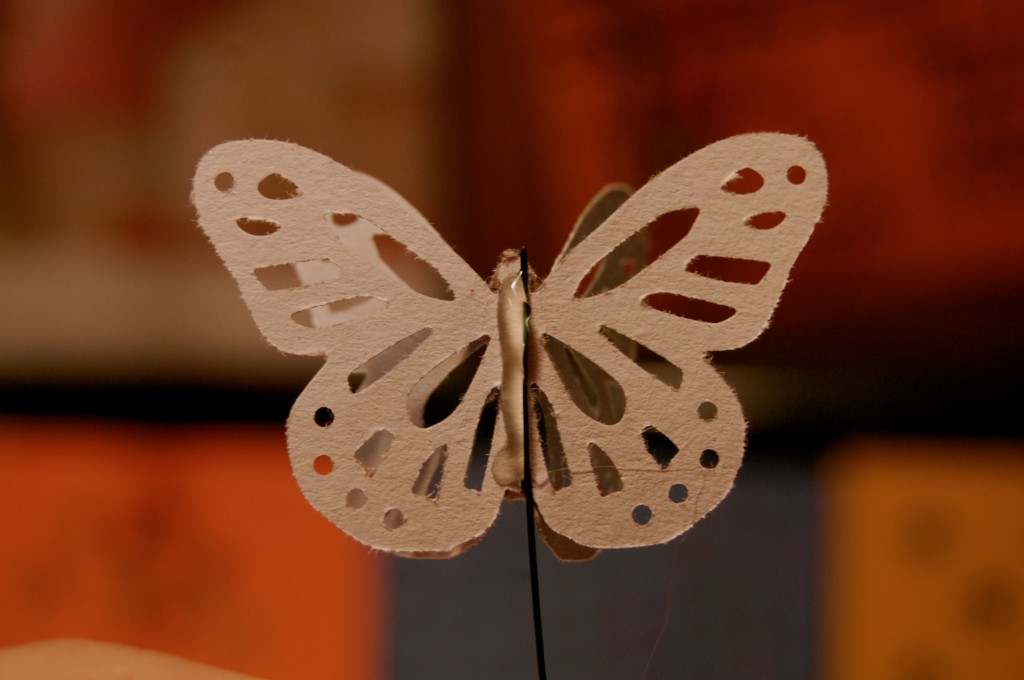
After you punch your butterfly out put a line of hot glue along the back of it then place a piece of your floral wire in the glue.

I like to glue two or three butterflies on top of each other. It adds a whimsical touch. Make sure if you do this you separate the butterflies.

 Sending you butterflies to make your world brighter,

This post is brought to you Plaid’s Martha Stewart line of paint and stencils. I received product for this post. All opinions expressed are 100% mine. You can check out Plaid’s full Martha Stewart product line here

MY TOP 10 of 2011

Can you believe it’s almost 2012. I think it kinda freaks me out a little. I remember 2000 like it was yesterday. Remember how everyone thought the end of the world was gonna take place in 2000. I never believed all of that. Maybe it is the way the human mind thinks. I am actually SO READY for 2012. I KNOW this coming year will be so much better than 2011. I am so excited for the fun and exciting things coming up!  This year is already starting off amazing but that’s ONLY because I make every situation in my life positive. Nothing is meant to take over us, but you have to remember that.  It can be very hard at times but you HAVE to know that you are better than what ANYONE thinks of you!  I actually love wifey’s quote “WHAT OTHER PEOPLE THINK ABOUT YOU IS NONE OF YOUR BUSINESS”. Don’t you just love that!  What about the SAINTS! I am so very proud to be from LOUISIANA, lemme tell ya! I can’t wait for them to win the SUPERBOWL again.
Let’s take a look at my top 10 posts of 2011~ Remember these are all based on my viewers and going over all of my statistics!

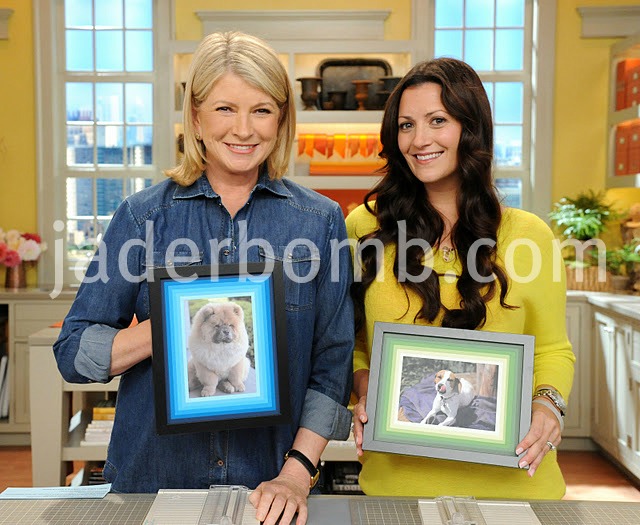
1. Ombre Photo Mat 

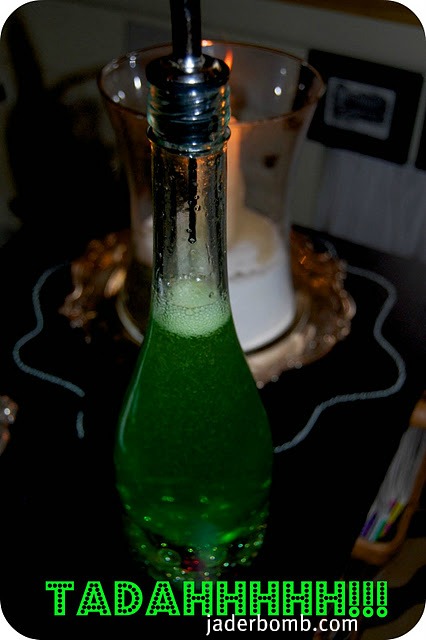
2.DIY: Soap Dispenser

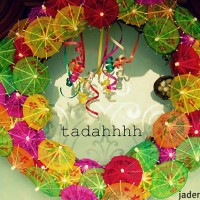
3.DIY: Paper Umbrella Wreath

4.DIY: EGG HANGER

5.TISSUE POM POMS

6.Crayon Stained-Glass Hearts

7.Decorative Paper Lanterns

8.DIY: Anthropologie Coffee Cream Bottles

9.DIY: Homemade Notepad

10.DIY: SUNBURST IT UP

I hope you enjoyed seeing the top 10 crafts that YOU picked throughout 2011~Can’t wait to see you in my next post!

Had fun going down memory lane tonight!