Tag Archives: martha stewart glue gun

(insert blood, sweat, burns, tears, eye rolls and maybe a few ugly words here)

Yes, our cabinets have chalk paint on them. Check out how we did that here.

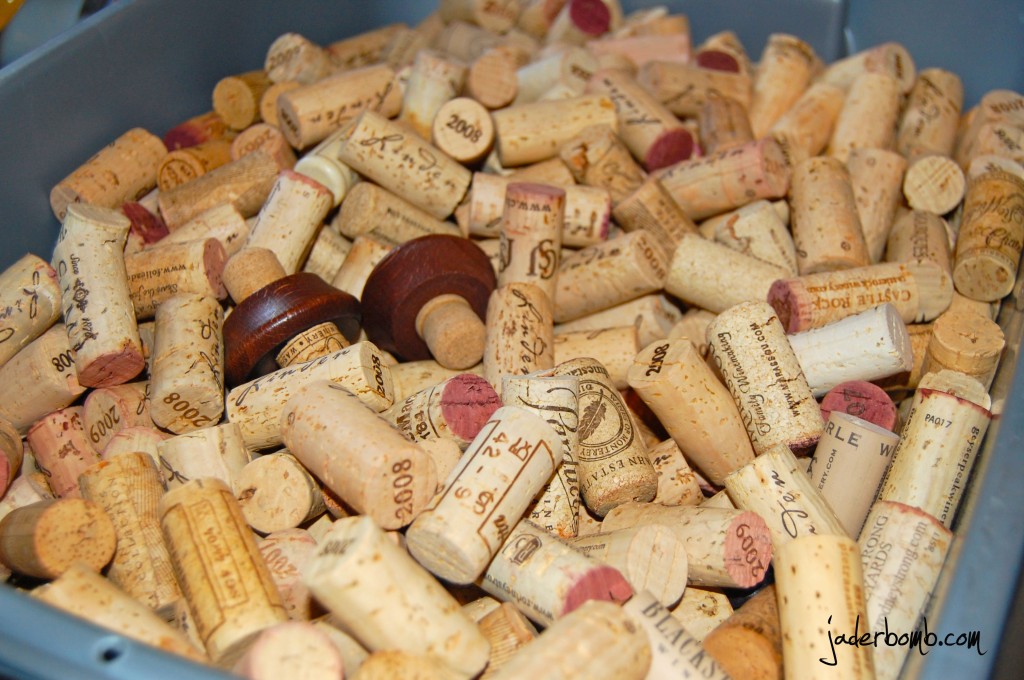
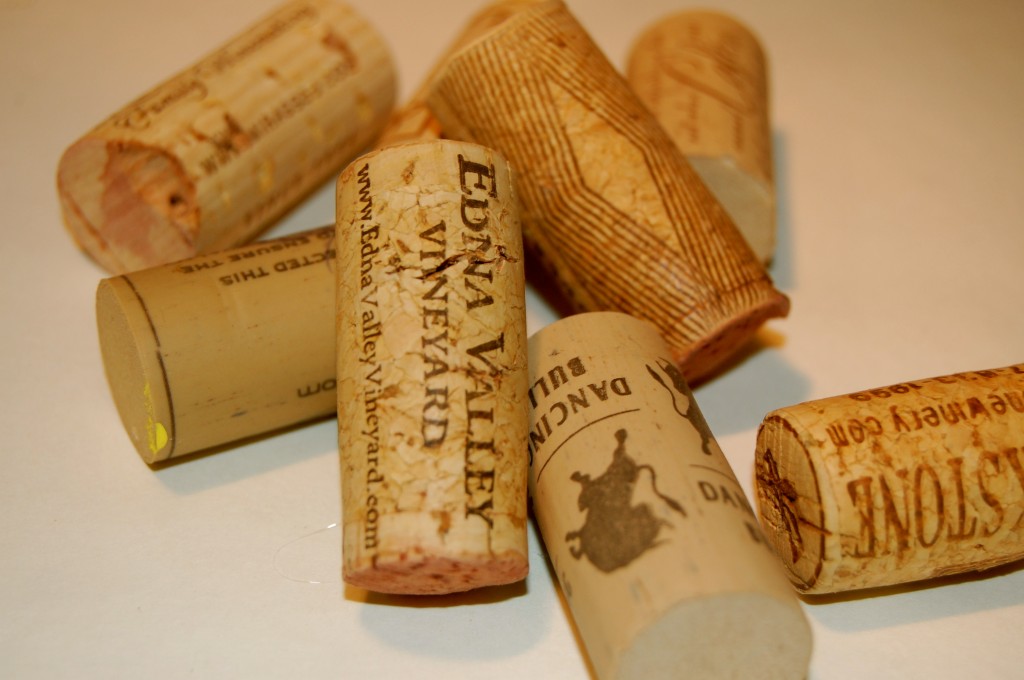
One might encounter some of these these things while covering a wall with wine corks. A friend had bags full and gave them to me SCORE!!!!!!

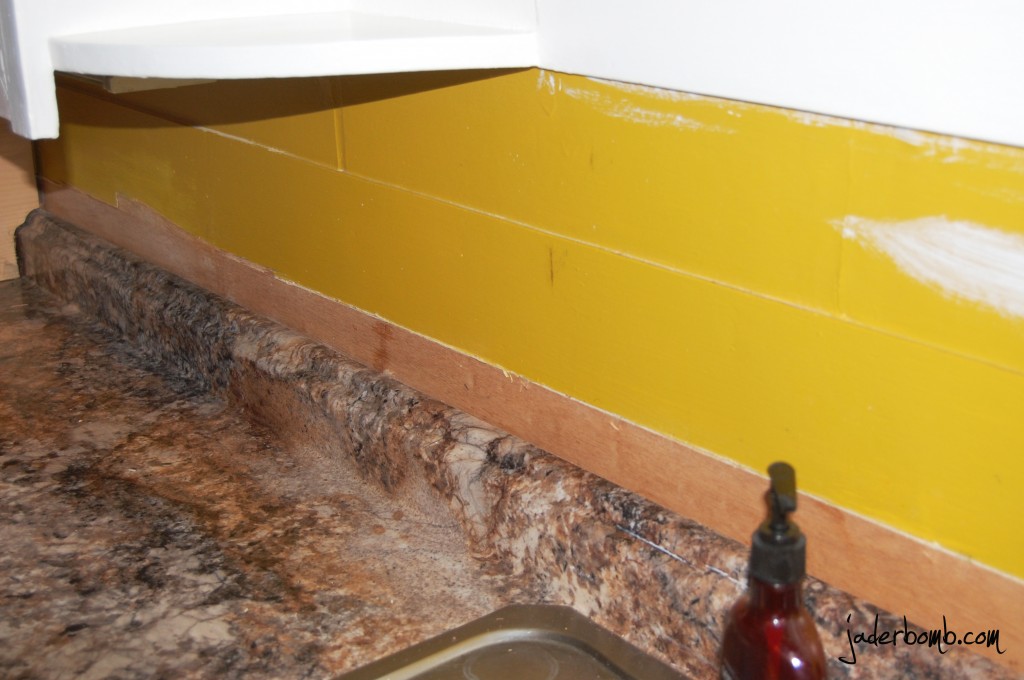
I posted sometime last week the hot mess going on in our kitchen. Remember? Check it out here. When the dad’s put our new cabinets in they were  lower than our old ones.  The wall behind the sink was a hot mess when we were done with the installation so we were gonna put glass or tiles until I had a Jaderbomb moment.

CORKS!!! CORK BACKSPLASH!

Ashy just looked at me with this weird stank eye and then her eyes got big and she said “I LOVE IT”….
{{I was worried for a hot minute}}

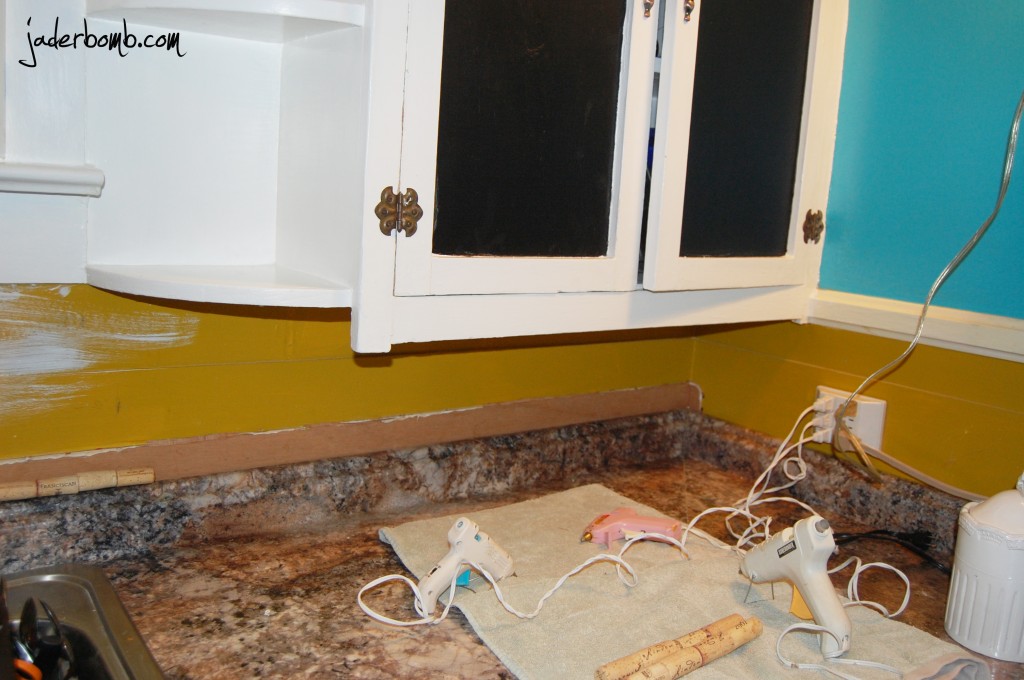
Let’s get started. You will need corks (alot), glue gun(s) and lot’s of glue sticks! You can do like me and plug in 3 glue guns!!!! I think that is where I started to insert the burns and bad words. It seemed like every 3 minutes I would lean over and burn my arms. HAHA.It was the best time ever!!!

See the wall. UGLY!

I have the three glue guns all plugged and ready to be overworked!!!

First thing you will do is hot glue four corks together like this!

The picture to the right is me holding two “sticks” together. They are not glued together. Hot glue is the best thing to use for this because it dries really quick.
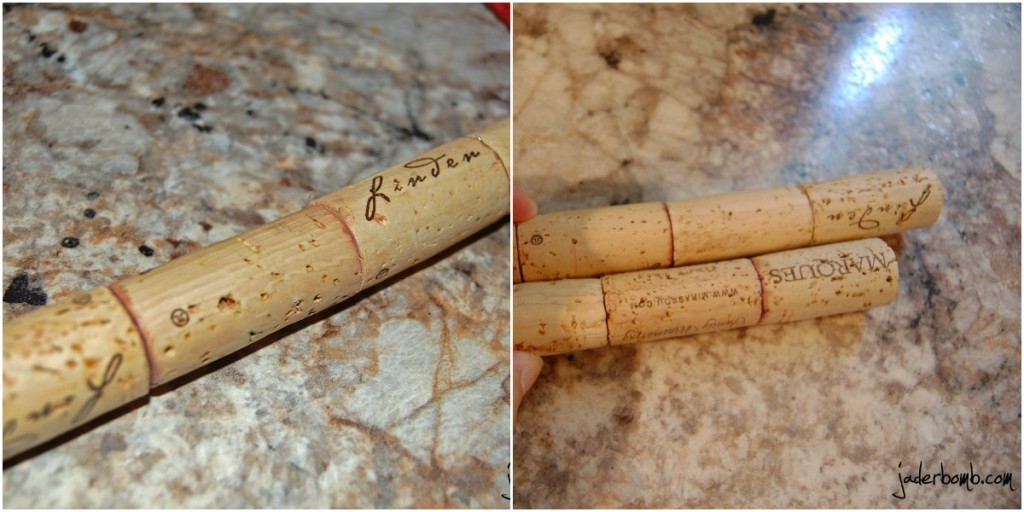
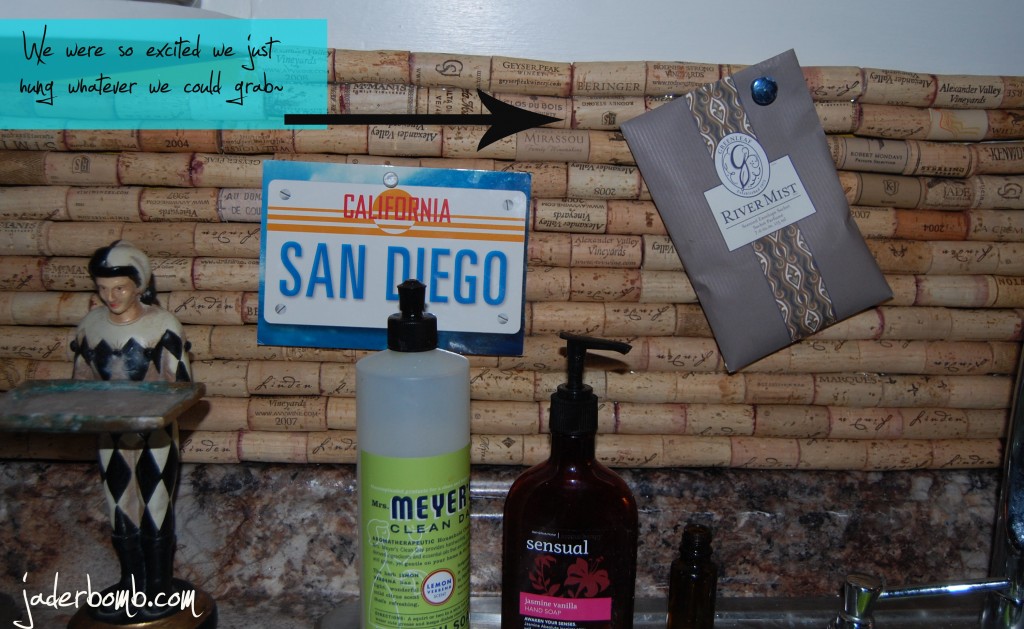
 So you will glue 4 together. Put a long line of hot glue on the back of all 4. Then stick it on your wall. I started from the bottom and made my way up. I also did play around before to have an idea of how many rows I would need to make it to the top. See the thing is with corks is they are all different sizes. So when you get to the end you might have more space at the top in some spots and other spots might be perfect. If you don’t want to glue 4 together, you can glue ONE on at a time on the wall. Phew, good luck! But play around with the corks because sometimes moving them around will make them fit better.

TAKE YOUR TIME!

You really want to try your best to have STRAIT lines. That will make it look clean and crisp in the end.

HAHA!!!! Check out this post on what I use to clean my dishes! It is truly the BEST!

Don’t forget to come back for the COMPLETE reveal! Believe it or not there is MUCH more!!!!  We actually kept the top part of the cabinets because they are REALLY old and we just love them!

There ya have it, and instand cork board! Until next time…

Make it a DIY kinda day,

Jade

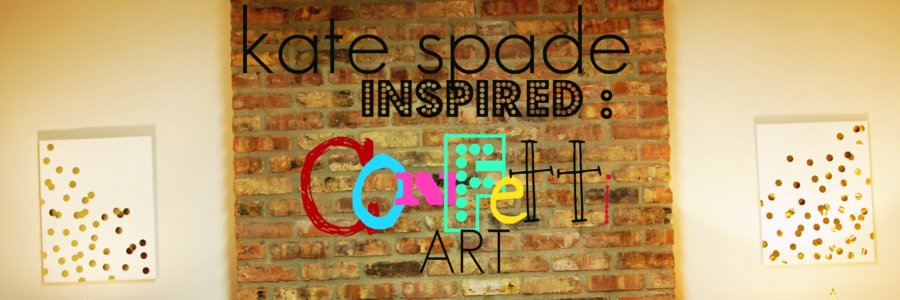
DIY: Kate Spade inspired CONFETTI CANVAS
So the other day I started looking online for a new iphone case. I wanted a really bright, shiny gold one. You know, like the real “gaudy” gold!!! {{teehee}}

In the process I ran across this:

 I fell in LOVE right away. While staring off into space deciding if I wanted this one  or if I wanted a COMPLETE gold one I noticed a big sheet of gold shiny paper just sitting there. I totally forgot I bought it and I though it would be cool to make some art using the gold paper. How cool would it be to have a BIG oversized Kate Spade Iphone case!! Wanna see what I decided to do!
Is it not so pretty!! Let’s make it now!

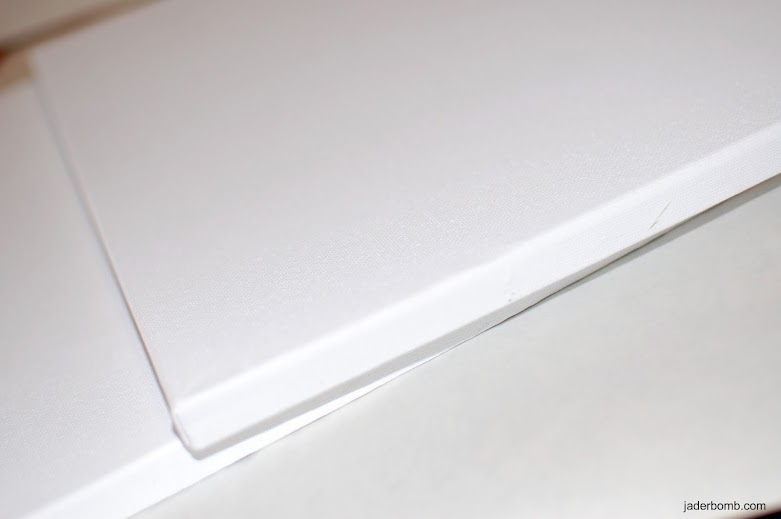
Get canvases. I got mine from Hobby Lobby.

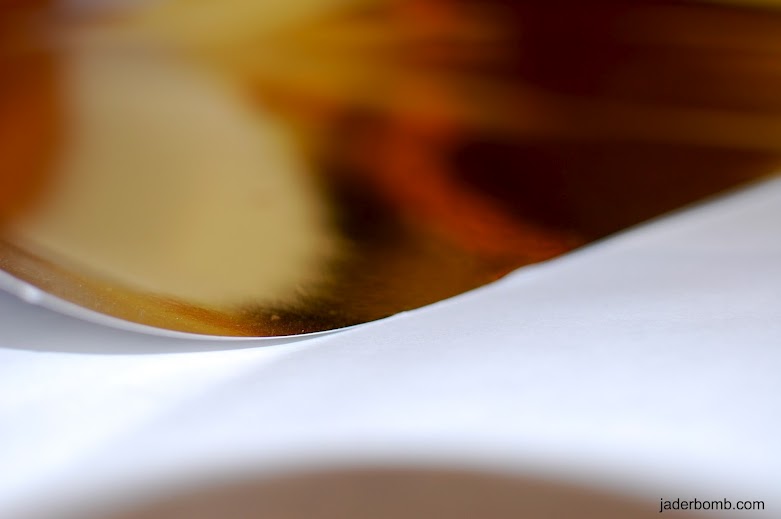
This shiny sheet of gold paper is from Hobby Lobby. I am not sure of the name but it’s where are the project paper is. I think it was around 5 bucks for a sheet but the sheet is large!!!!

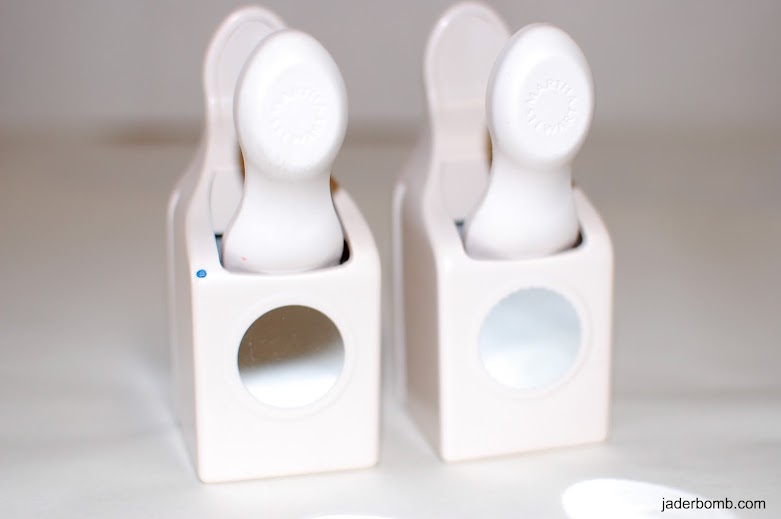
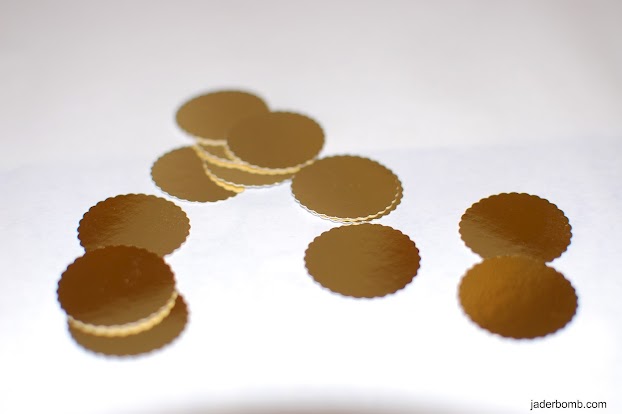
I used my Martha Stewart punches and you can get them at Michael’s Art’s and Crafts.

1-inch Craft Punch
Pointed Circle 1in Punch

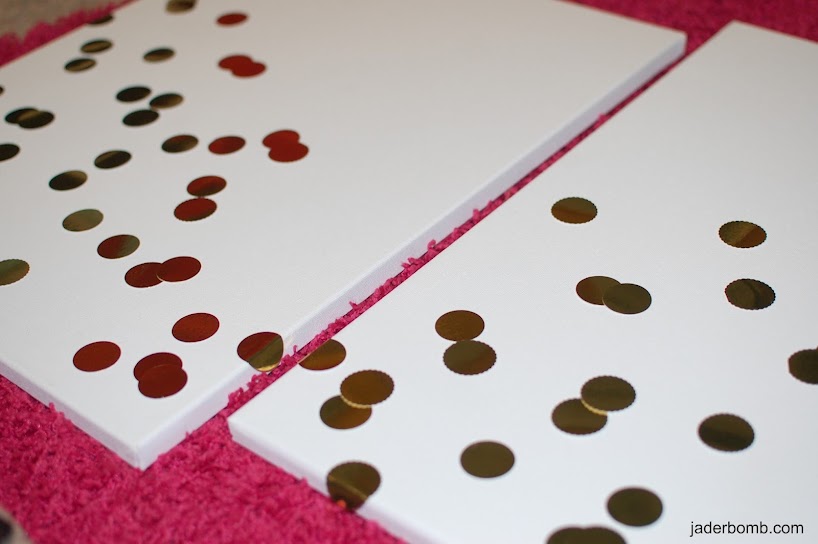
Get your hot glue gun and start glueing them down where you like them. I used Martha’s dual temperature glue gun.

Jaderbugs! This is what it will look like. I had a blast doing this.. If only I could find a gold confetti bed spread!
Happy Mardi Gras!!!
Sending you gold confetti and money to buy everything Kate Spade,

DIY: Mini Bunting for Cake or Flower Pot

Holy Moly Macadamia Nuts! I never knew I loved these nuts until my first trip to Hawaii! Those are the BEST little suckers ever. Thanks Kiyo and family for sending us the BEST chocolate covered macadamia nuts! That was the best thing we have EVER got in the mail!

{{thank goodness the mail man didn’t eat them}}}

 {teehehe}

If you are looking for that perfect last minute valentine’s gift I have just the thing for you. I personally love getting and giving greenery as a gift. It’s something that will last a long time if it’s cared for properly . 

You know I love flag bunting! I swear it’s the one thing that will make my toes tingle and my heart smile. Who woulda thunk it!

Let’s hurry along because it’s already nighty night time and you need to see this before the morning!!!

The ingredients you will need are:

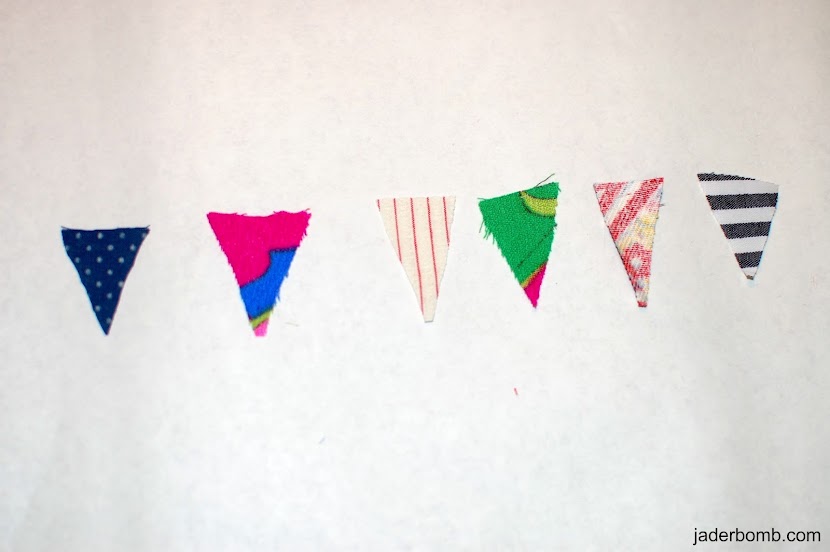
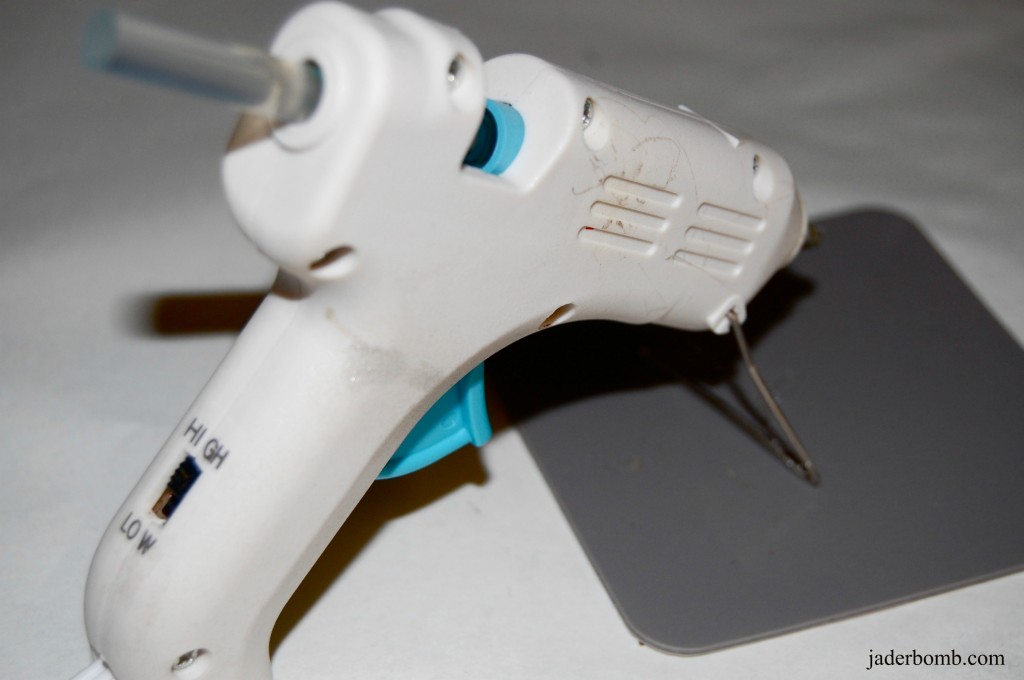
Martha Stewart glue gun, 2 wooden skewers, Martha Stewart all purpose scissors, Martha Stewart Baker’s twine, and some little triangles cut out of fabric. You can get all of the Martha Stewart products at Michael’s Art’s and Crafts.

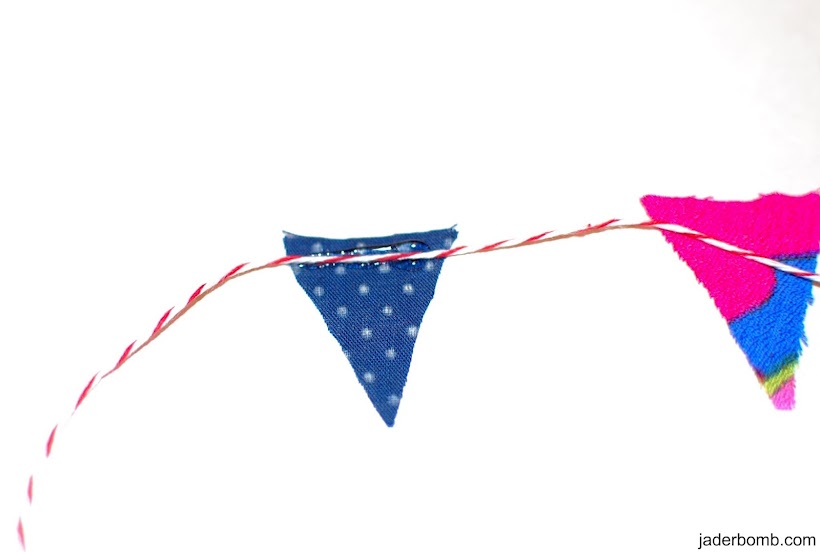
Start by laying out your flags they way you want them. Make sure to put the “good” side facing down so you can glue the twine to the back.

Add a little line of hot glue to the back of the flags. Gently press the twine into the hot glue before it dries.

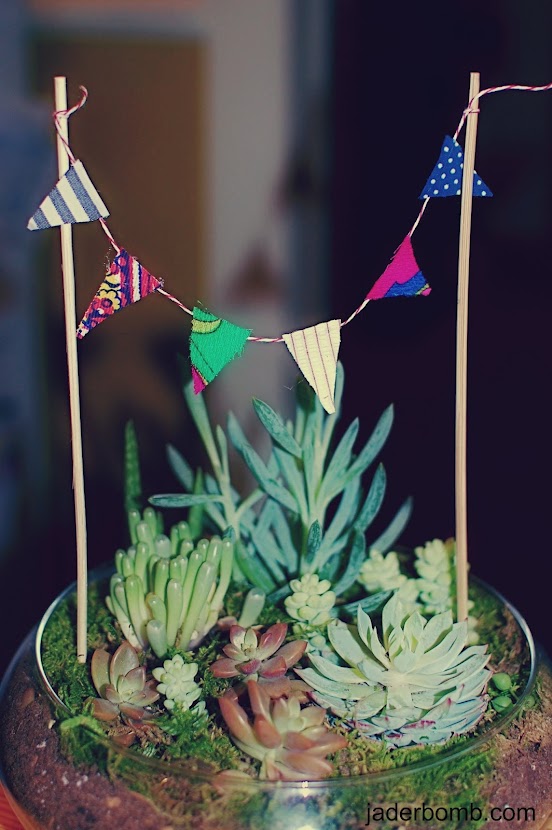
SERIOUSLY…. How cute is this!!! It’s super simple and definitely adds a whimsical, fun touch to any plant or cake. Have fun with this! This is totally a project you can afford to do for EACH holiday!!! Don’t you just love all of these succulents? I bought ALL of them at Home Depot!

In case you didn’t see my tutorial on how to make this fish bowl terrarium click HERE….

Stay tuned for a post on which plants give off good energy! You don’t want to miss it.

Gotta go finishing preparing for a fun filled Valentine’s DAY,

This post is brought to you Plaid’s Martha Stewart line of paint and stencils. I received product for this post. All opinions expressed are 100% mine. You can check out Plaid’s fullMartha Stewart product line here

I absolutely KNOW it’s been quite some time since I really enjoyed a craft like I did this one! It was just so much fun! The process of watching the hot glue create hairy strands in the air just makes me smile from ear to ear. I love when a hot glue gun creates those little “strands” that are finer than the finest hair you could imagine.

I wanted to show you a way to take something as simple as a beaded necklace and turn it into a parade of gold pearls, in

NO TIME AT ALL!

Are you ready? Let’s go!

The most important tool you will need is this hot glue gun. It’s very important that you have a GOOD glue gun for this craft. Did you know that a high-temperature glue gun is best used with wood, plastic, metal, ceramics, magnets, leather, paper, fabric and other porous and non-porous materials? Cool to know huh!!!

* Martha Stewart Crafts Glue Gun And Sticks 

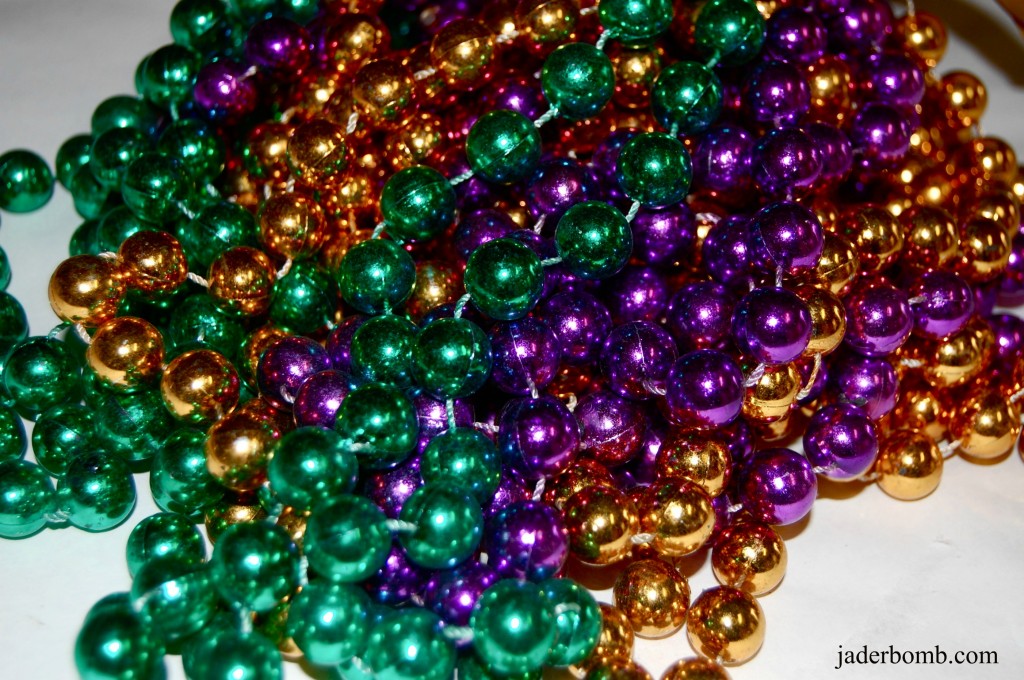
I don’t know about you but I love Mardi Gras! I love the colors, the activities and all of the yummy food! The next thing you will need is beads! It really does NOT matter if you use Mardi Gras colors because in the end we are going to be spray painting them. If you don’t have ANY access to beads I will put a link below if you need to order some.

* Order BEADS HERE

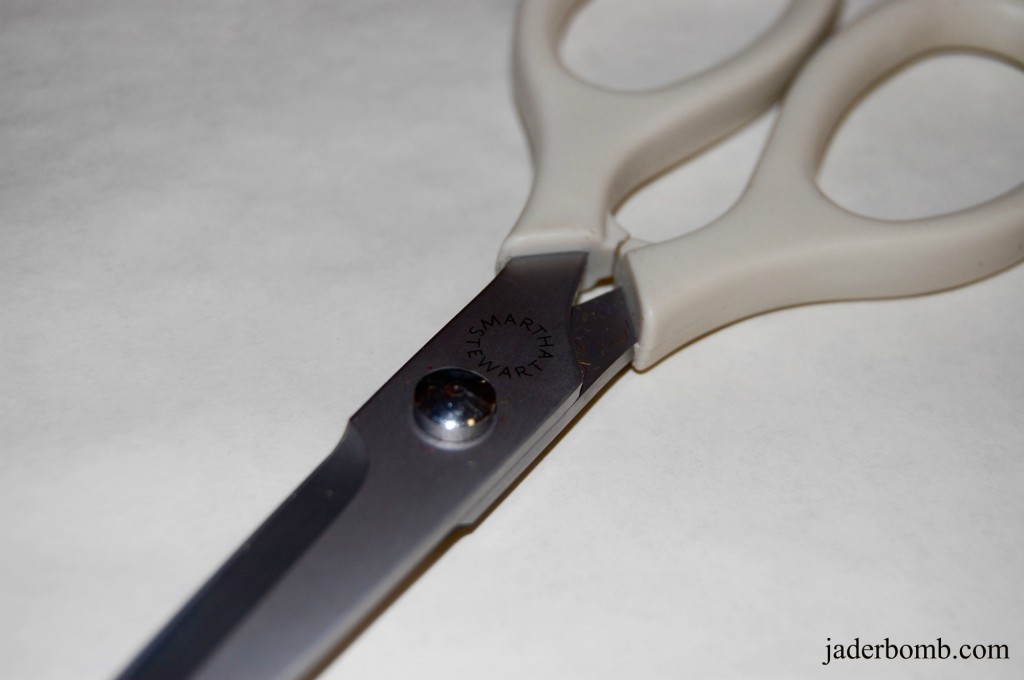
Grab some scissors! These are my Fav-O-Rit ones ever!

* Martha Stewart Scissor, All-Purpose

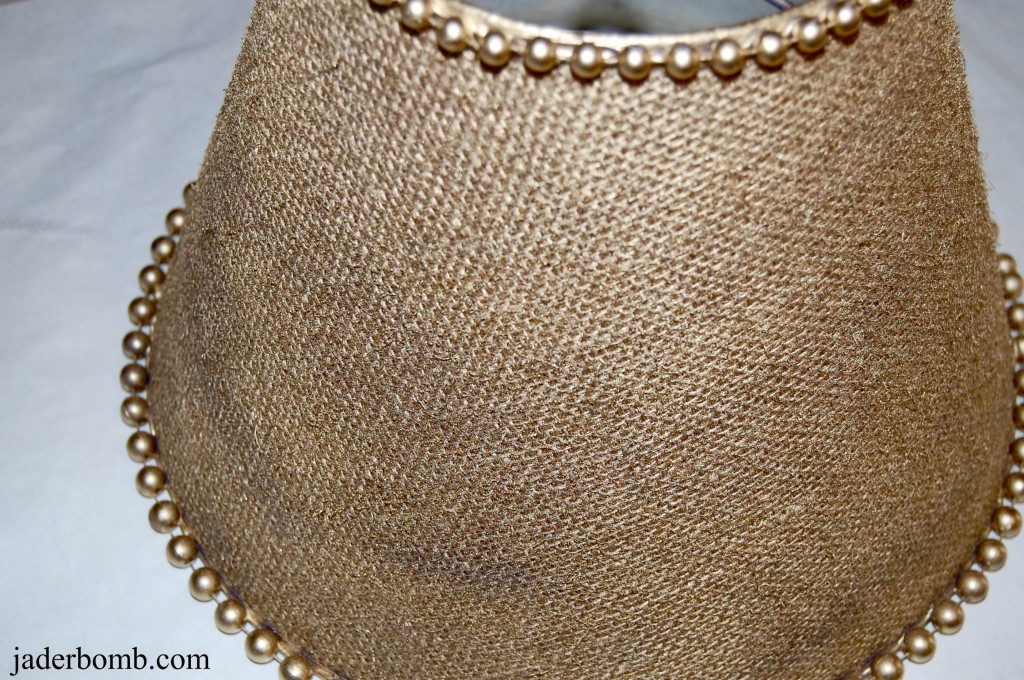
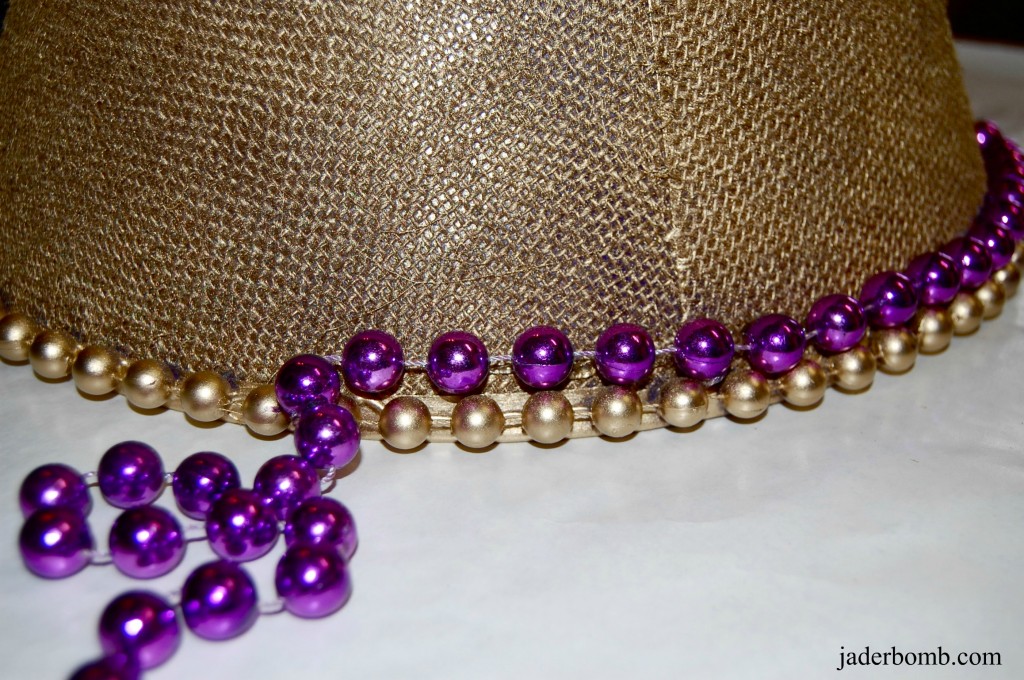
I had this really old shade that I decided would be PERFECT for this! I already had it painted gold with some beads on the bottom but you can use ANY lamp shade you have laying around!

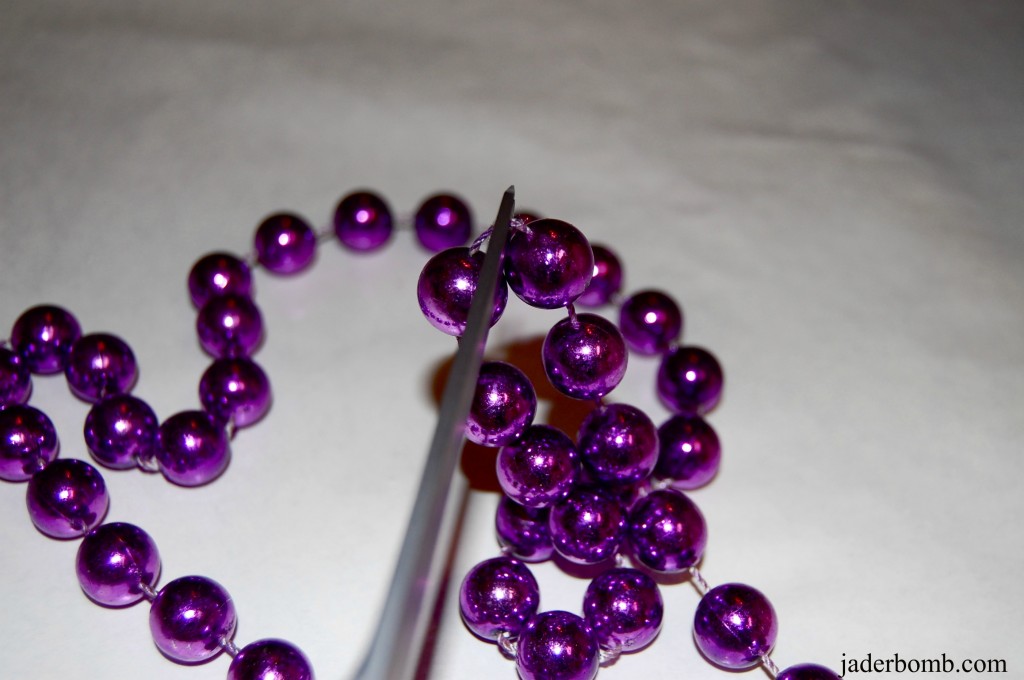
Cut your bead in half with your scissors. If you don’t have the kind I am using ANY kind will do!

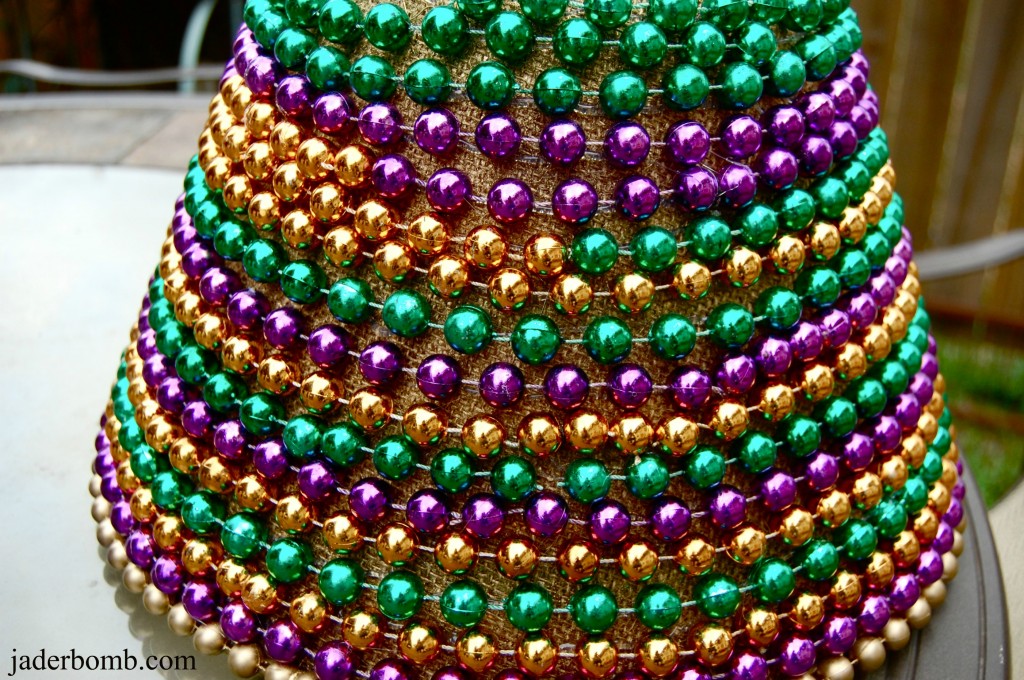
You will glue the beads completely around the lamp shade like this!!! Start on one end and add them one by one until you get to the top like the above picture!

This is what it will look like when you are done! How fun is this! I almost wanted to keep it like this in honor of Mardi Gras! If you are NOT familiar with Mardi Gras click the link below!

* Mardi Gras 2012 

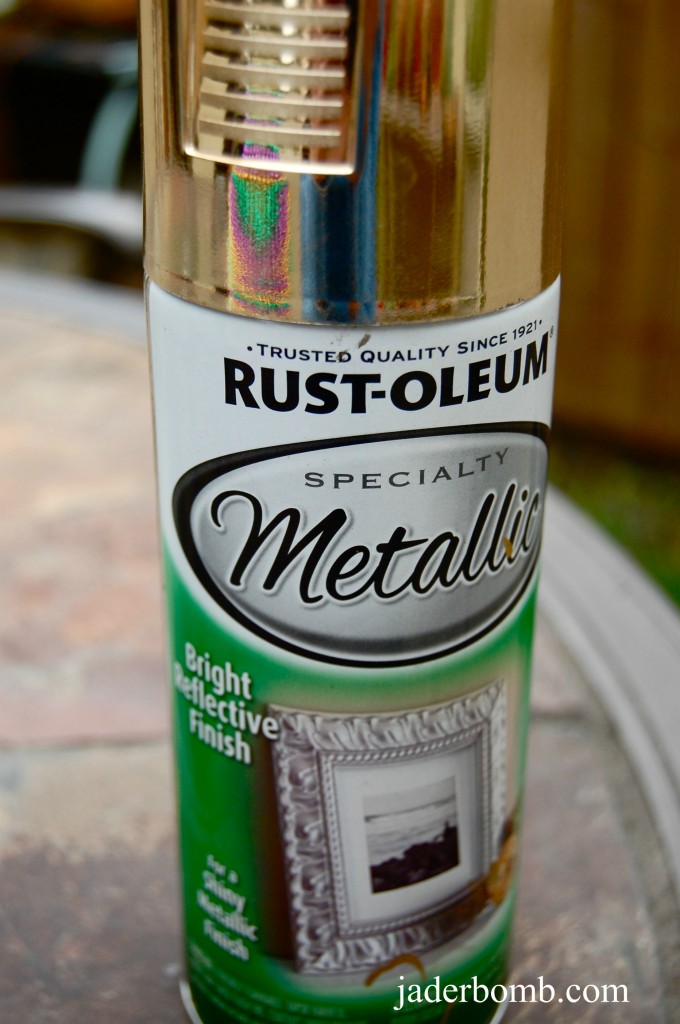
Grab some Metallic gold spray paint! I purchased it from Home Depot!

This is ALMOST done!


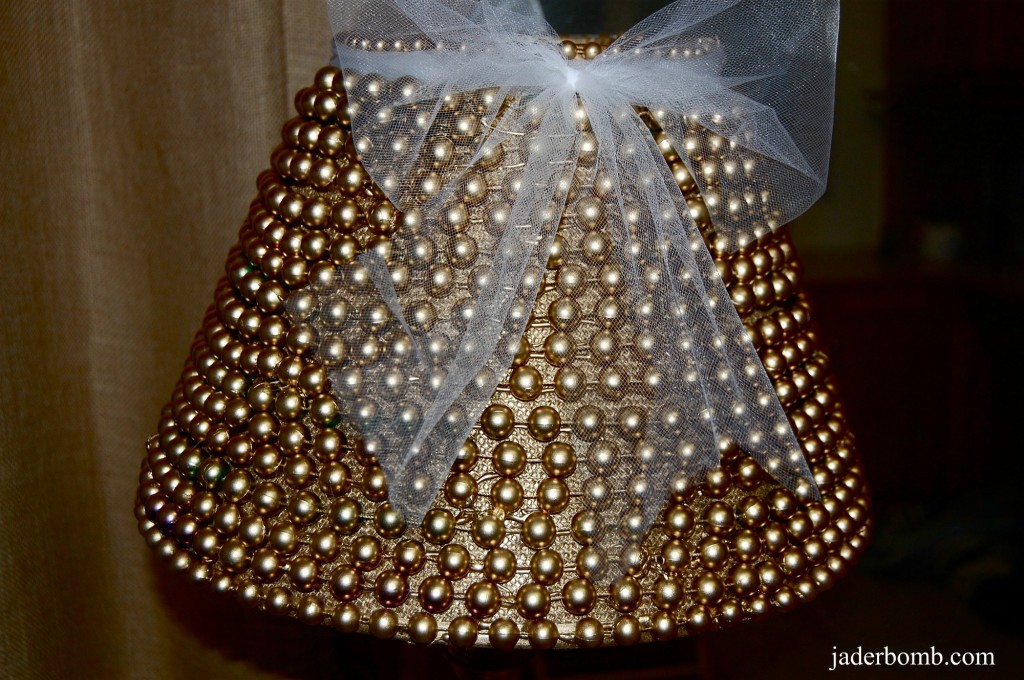
This my Jaderbugs is the final look! I wanted to create a “simple” yet elegant lamp shade! Put a little tulle bow on the top and voila! I have TONS’S of different lamp shades to switch out as my mood’s switch! It’s pretty fun, you should try it! Let me know if you like this craft! Don’t forget to post pictures on my Facebook page of your results!

Full of gold paint and happy about it,

* Check out this Mardi Gras craft!!!   *Wanna PIN me? 

 *Facebook me-yuh!  *Tweet meeeee


Button Stamp How-To

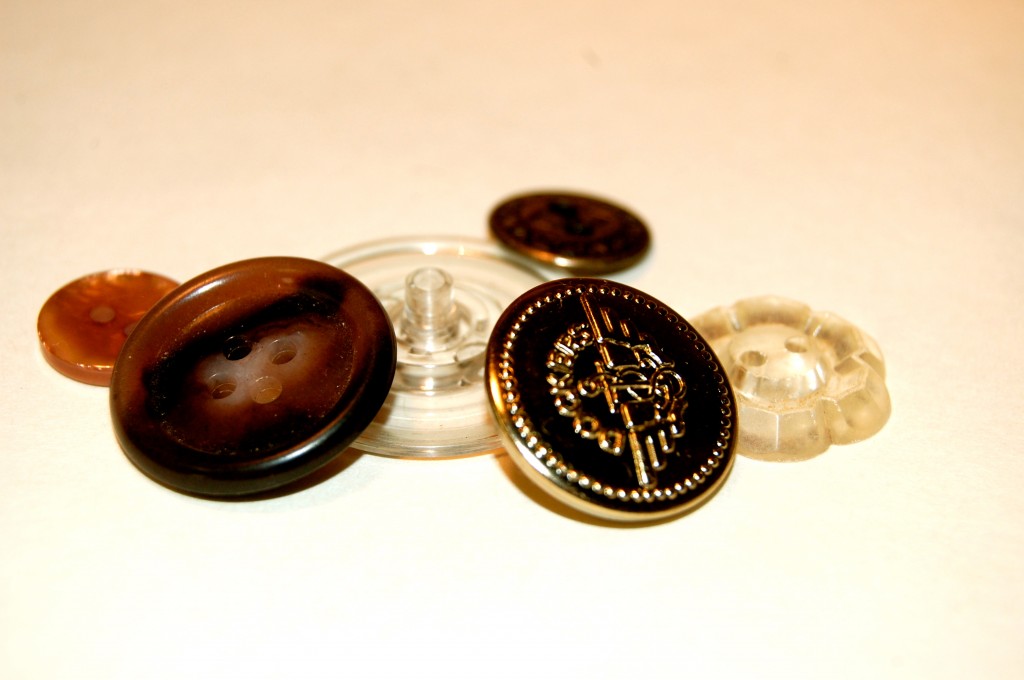
Do you ever find “loose” buttons in random spots! Don’t throw them away because you can really use them for a fun craft! I can’t wait to show you this one because it’s a really cool way to show off your unique buttons to the world!

Hope everyone is having a great night!

Grab some corks (again)

Don’t forget your “awesome” vintage buttons. If you don’t have old buttons just use the ones you have. Select buttons with raised surfaces and distinct patterns — fluted edges, stars, flowers, cat’s eyes, and pinwheels.

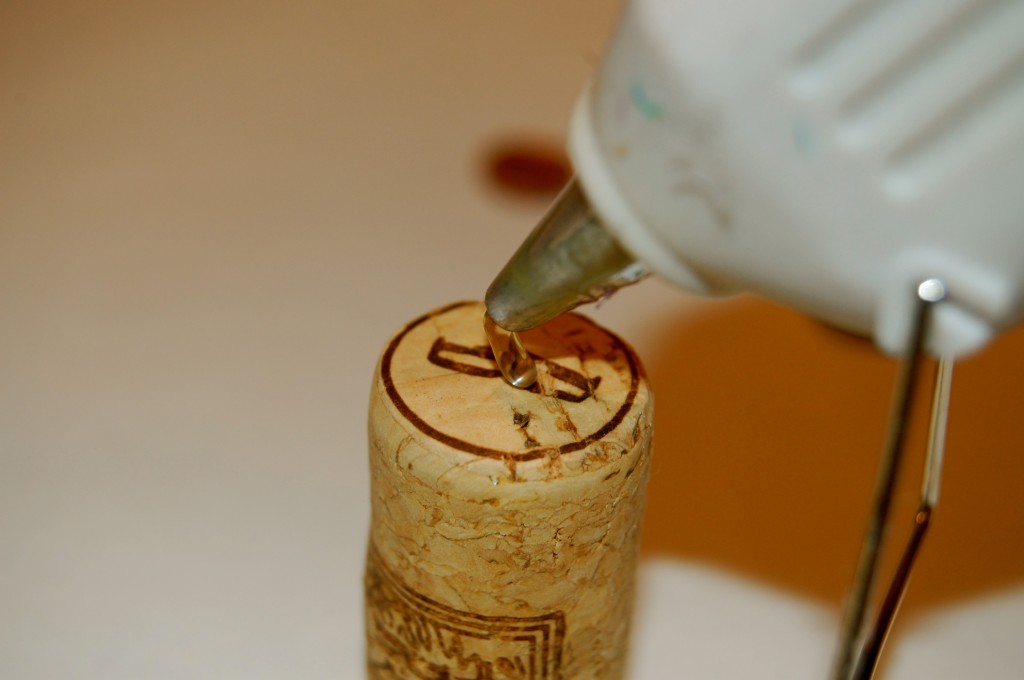
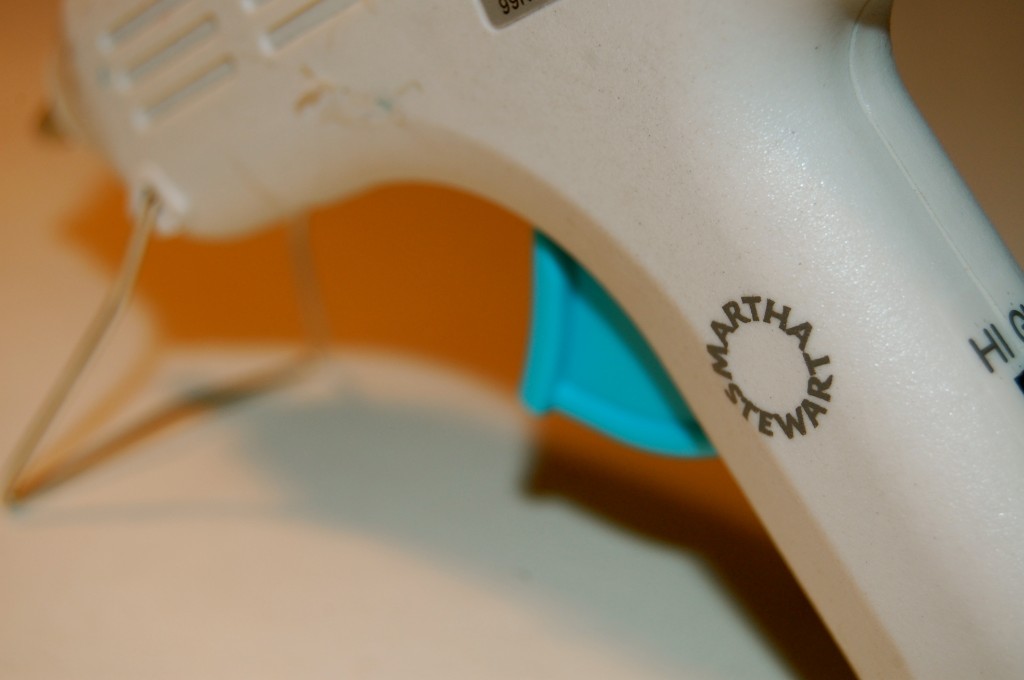
We can’t forget out glue gun!

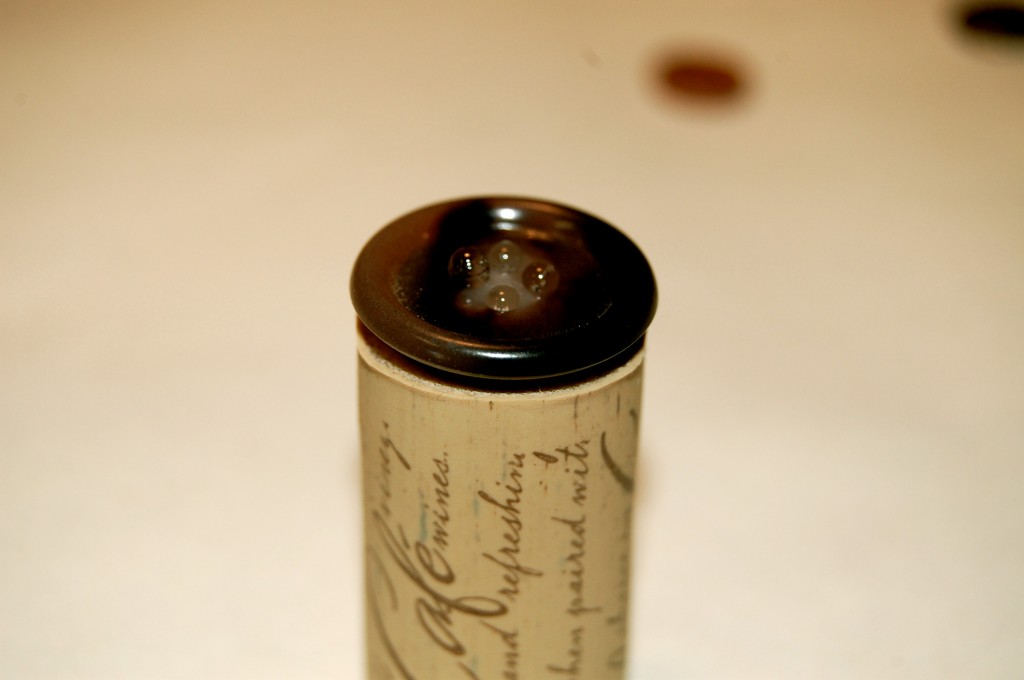
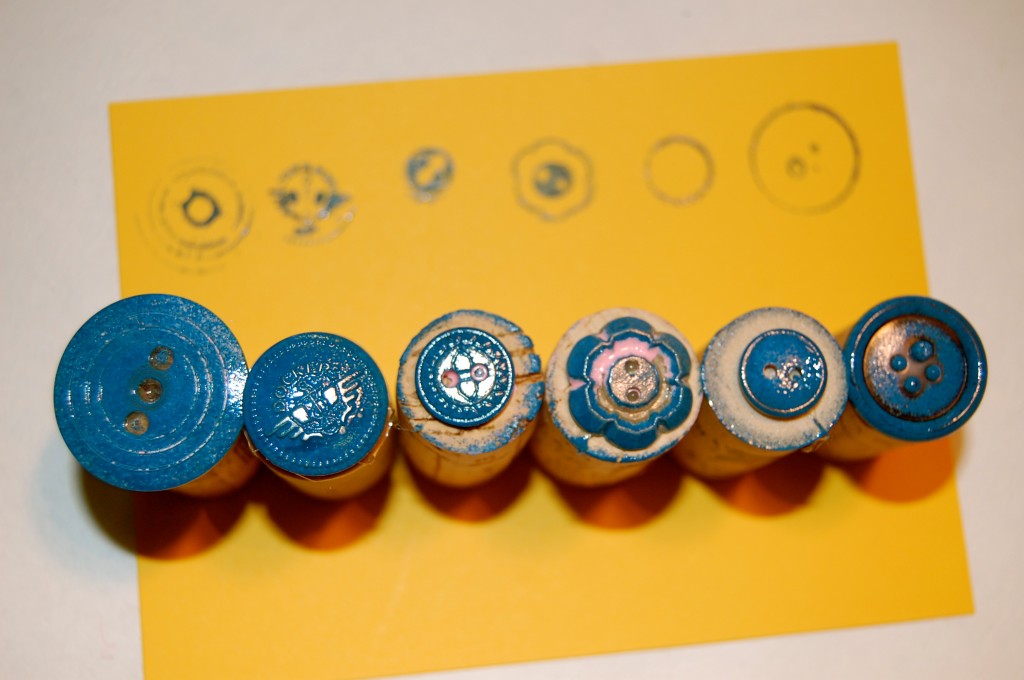
With white craft glue, mount buttons on wine or craft corks; if possible, use a cork narrower than the button so you can see to position the stamp accurately.

Then carefully place your button on top of the hot glue.

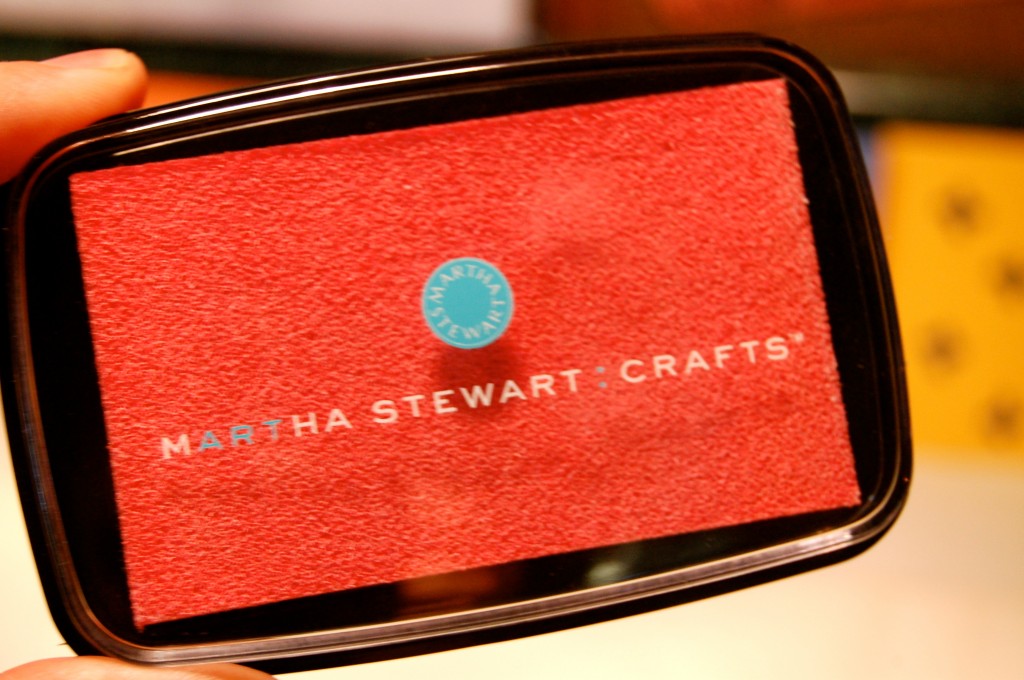
Buy already inked stamp pads in several colors

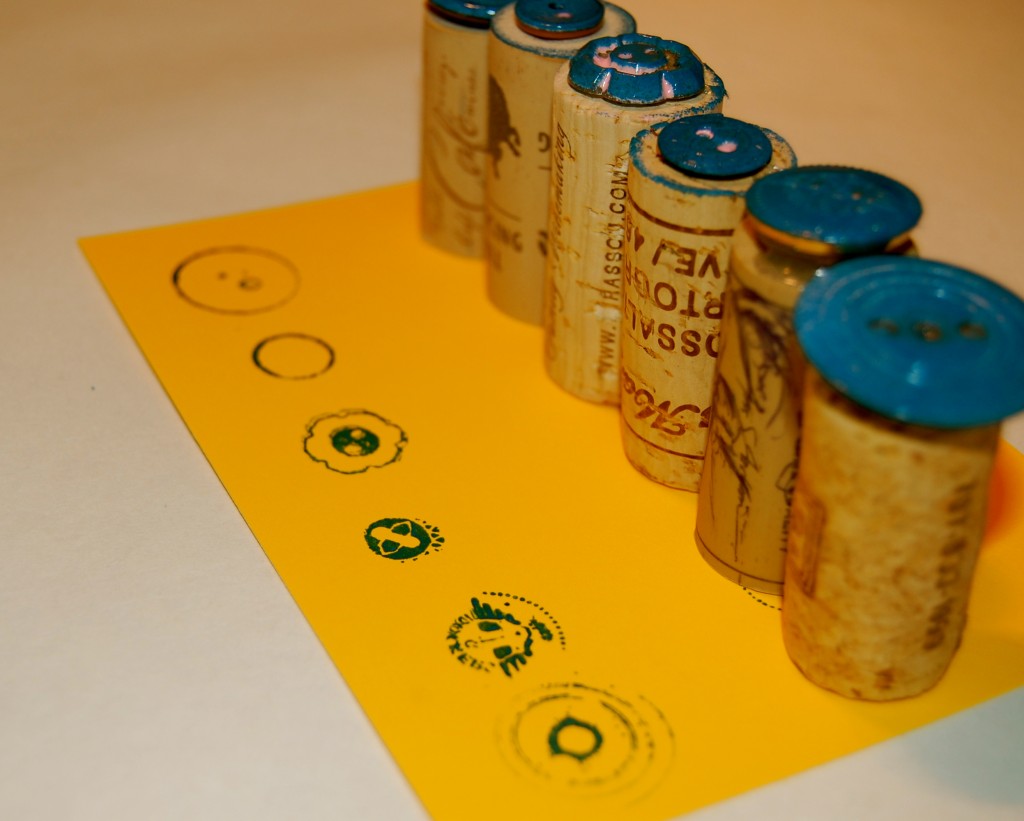
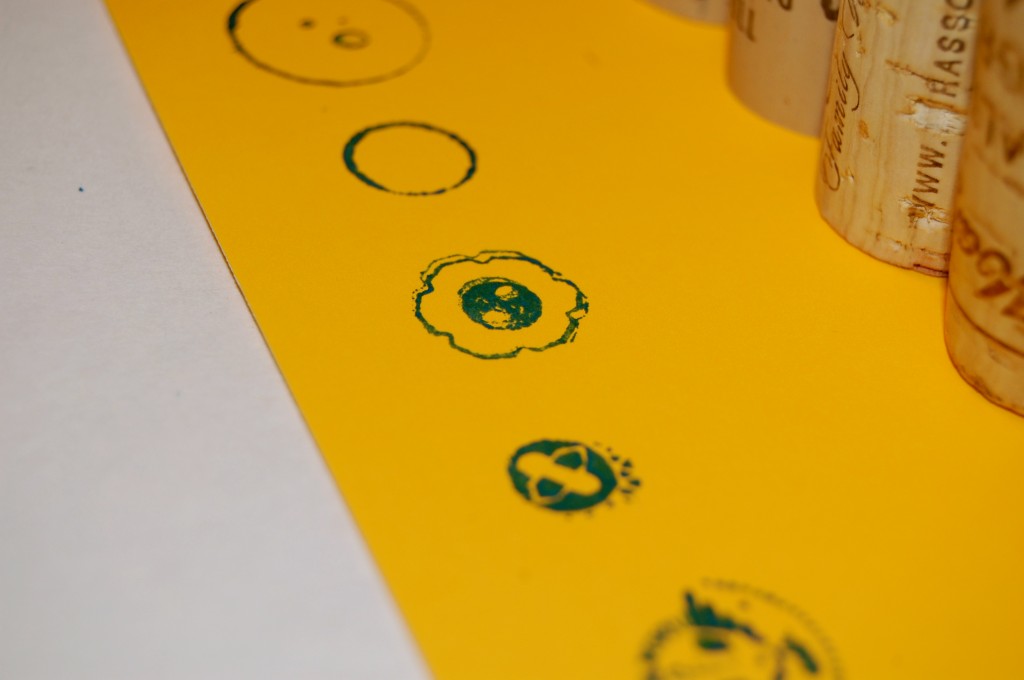
Uncoated papers are most receptive to the ink. I just wanted to show you how you need just the right stamp for it to stamp correctly.

I placed the button stamps across from their design. They are just so pretty to look at !

I am seriously in love! Who knew all the different things you could do with good ole buttons!

Drinking “refresh” tea and sending all of my jaderbugs good energy, jaderbomb

Check out Martha’s original craft HERE and you can purchase Martha Stewart’s Encyclopedia of Crafts here!

CLICK HERE TO WATCH VIDEO

(me on the show!)
Click HERE to read all about it!!!
 IF YOU DECIDE TO DO ANY OF THE CRAFTS, SHOOT ME AN EMAIL AND I WILL ATTACH  IT TO THE POST WITH A LINK THAT GOES STRAIT TO YOUR BLOG!  IF YOU DON’T HAVE A BLOG JUST EMAIL IT TO ME AND I WILL PUT IT UP!!!!
Disclosure: This is a sponsored post by Martha Stewart crafts. The content and ideas are all my own!