Tag Archives: nail polish

The Simple Secret to something you have in your bathroom!

Happy Monday to all my crafty frans! Today I will be showing you how make glittery, swirly ornaments made with items you most likely have already in your home. Everyone is putting up their trees and even if you already purchased all of your tree decor this is still something you can add to it! What if you make a dozen DIY ornaments and give them to someone as a gift!

I promise you every year when they open that box they will always think of you, I think that is so special and sweet! Let’s face it, decorative ornaments can be pricey but if you make them you will be surprised how much money you can save!  Whattya say?! I made these snazzy ornaments last year for I Love to Create and if you want to see the FULL tutorial scroll to the bottom of this post and click on the link! P.S. Have you sen my dream tree I created this year for Michaels! Do It Yourself Nail Polish Ornaments

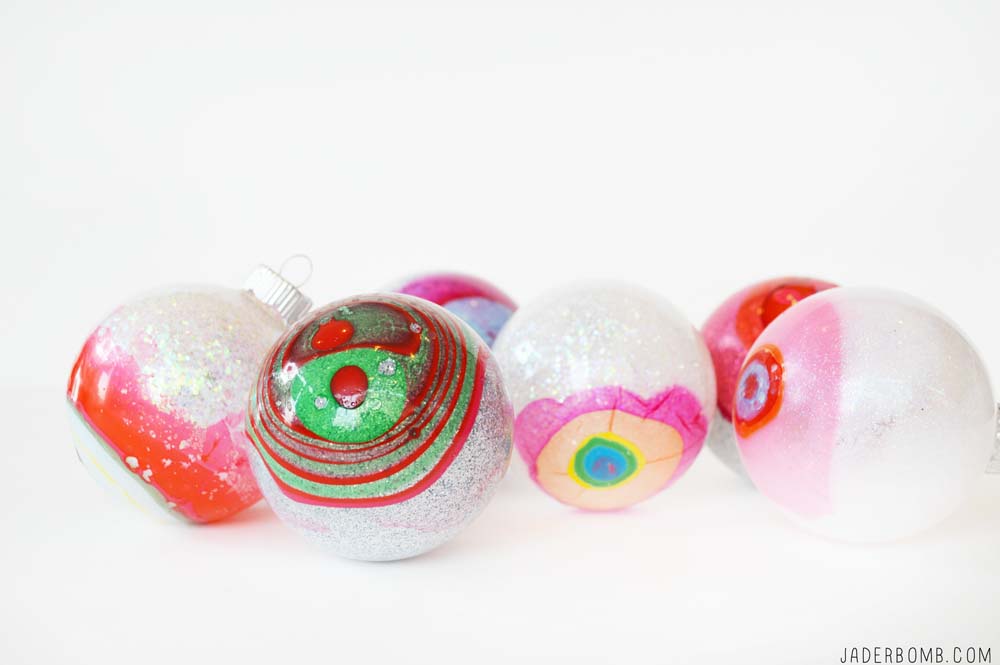
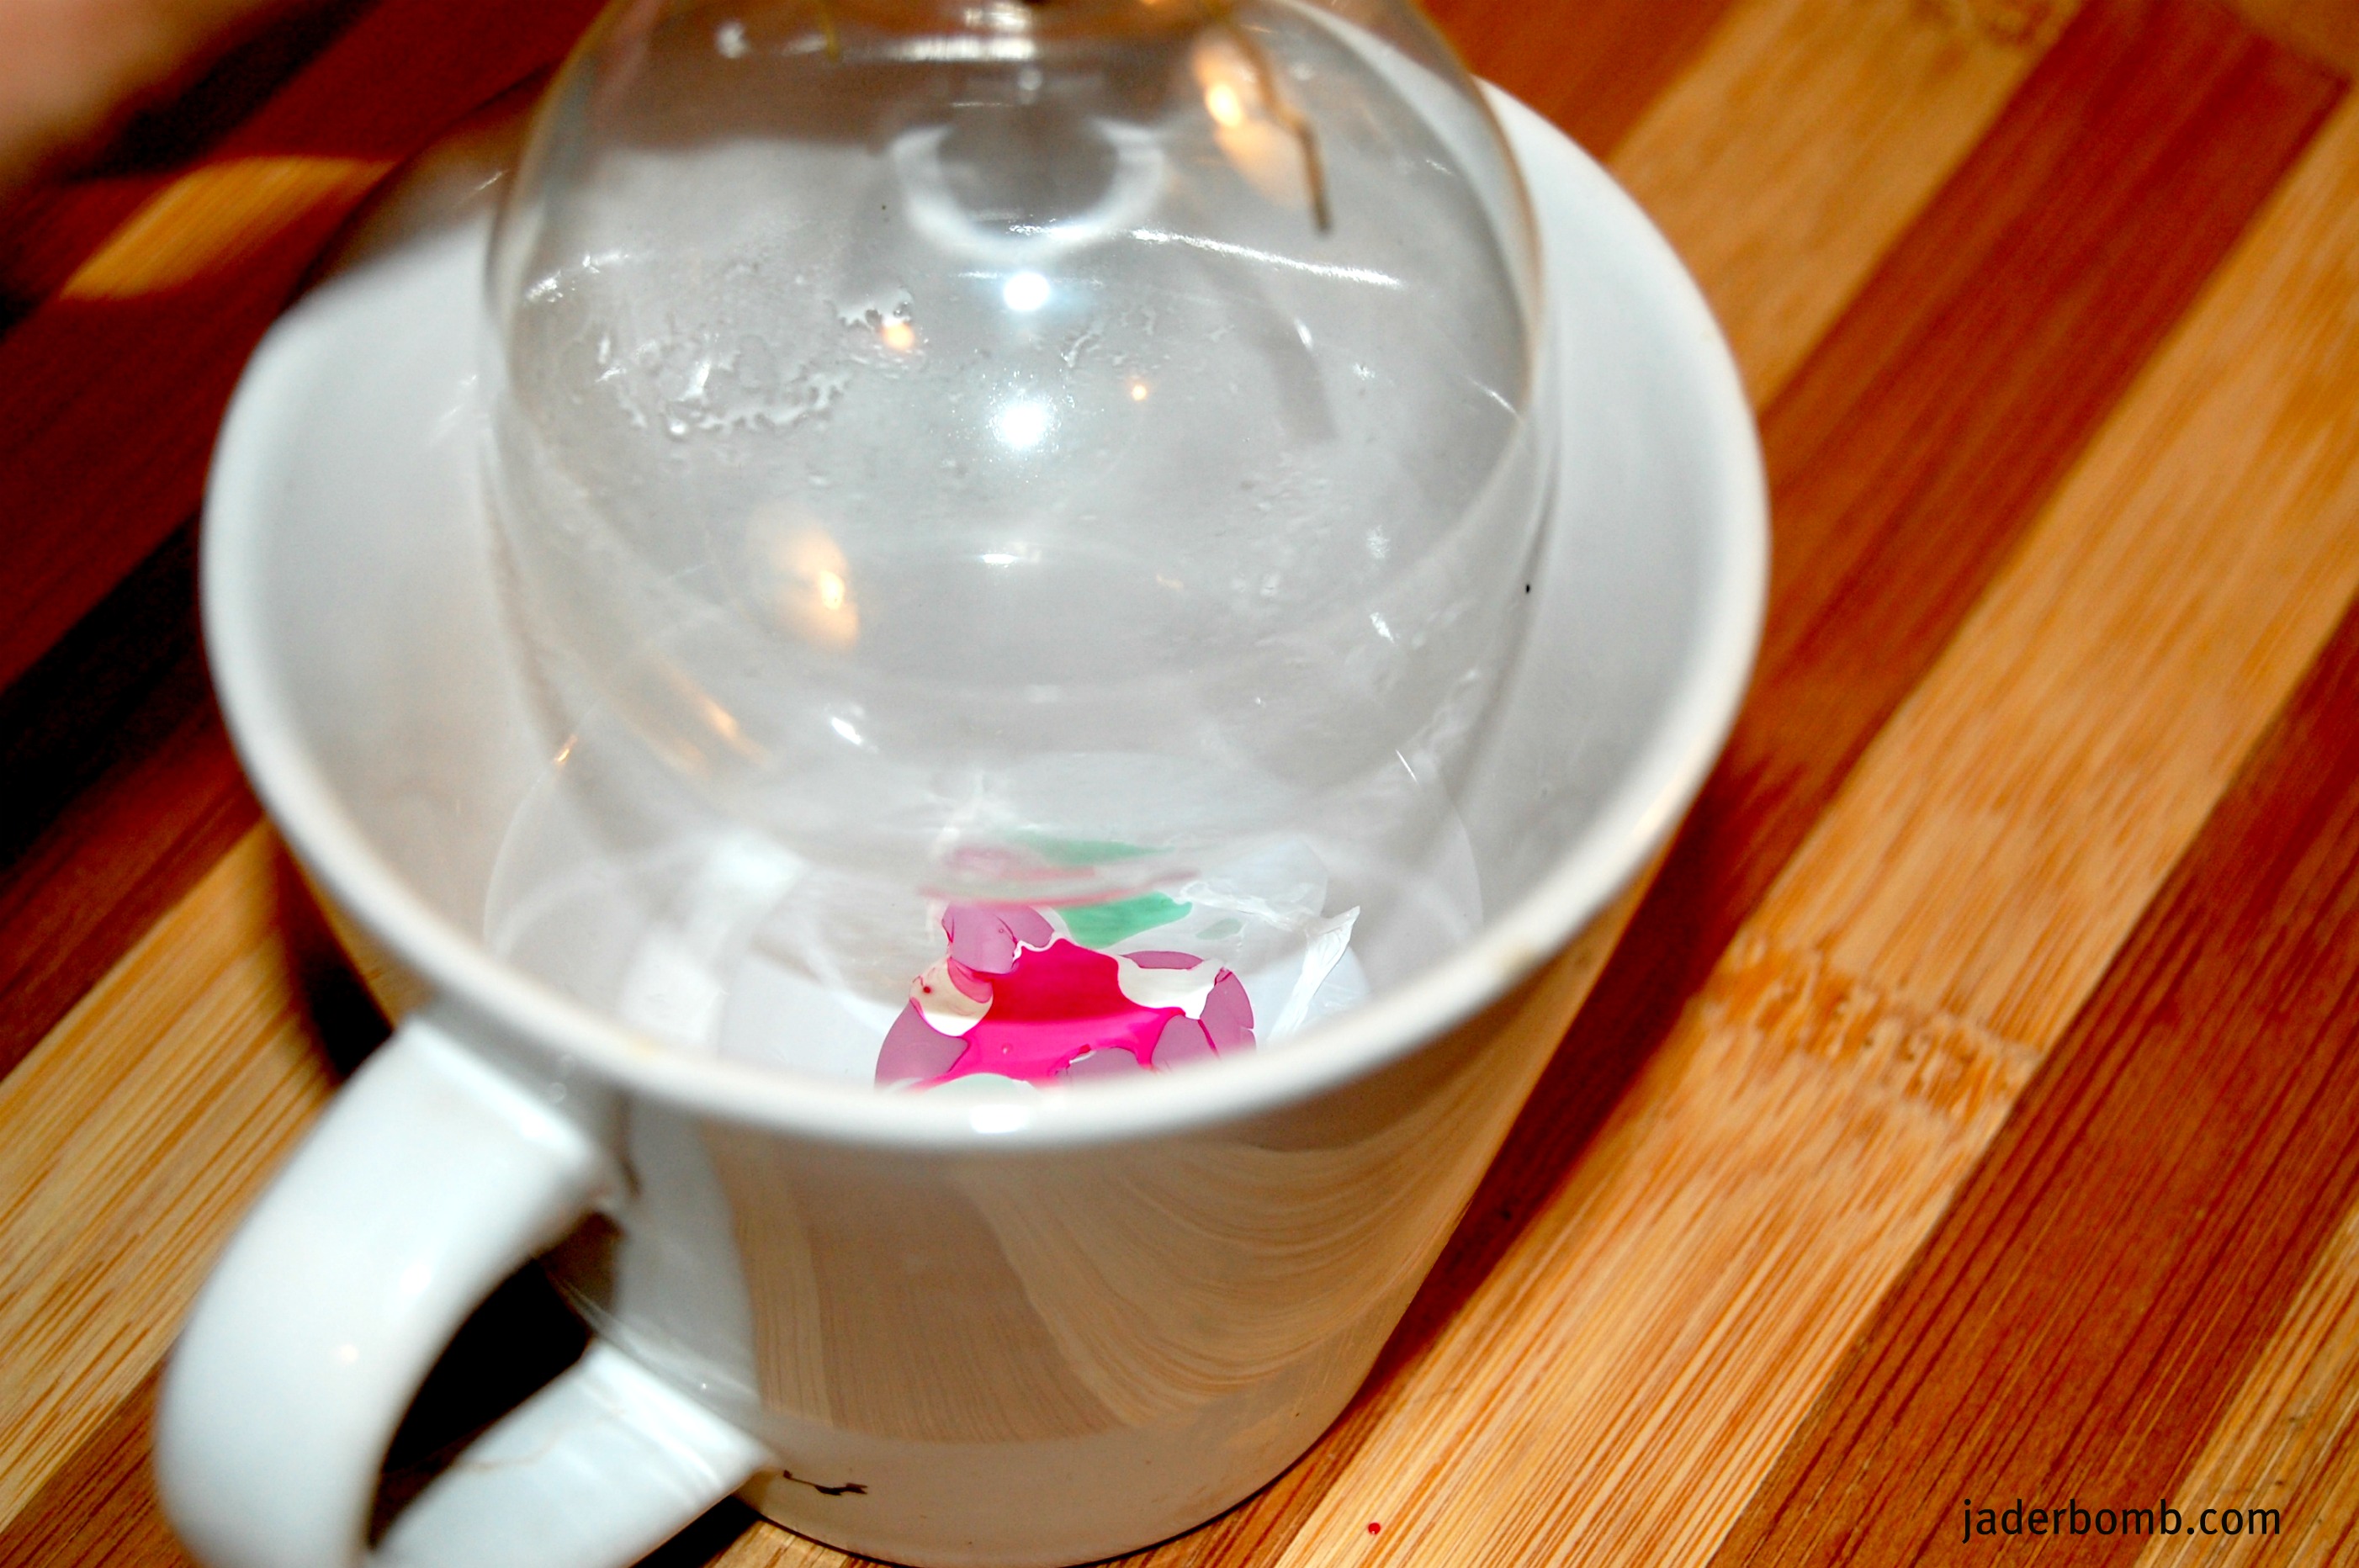
I am not sure if anyone will be able to guess what is in this cup but I will tell you if you don’t know, when you find out you will be like OMG! I kinda gave it away in the title, haha!  nail-polish-ornaments

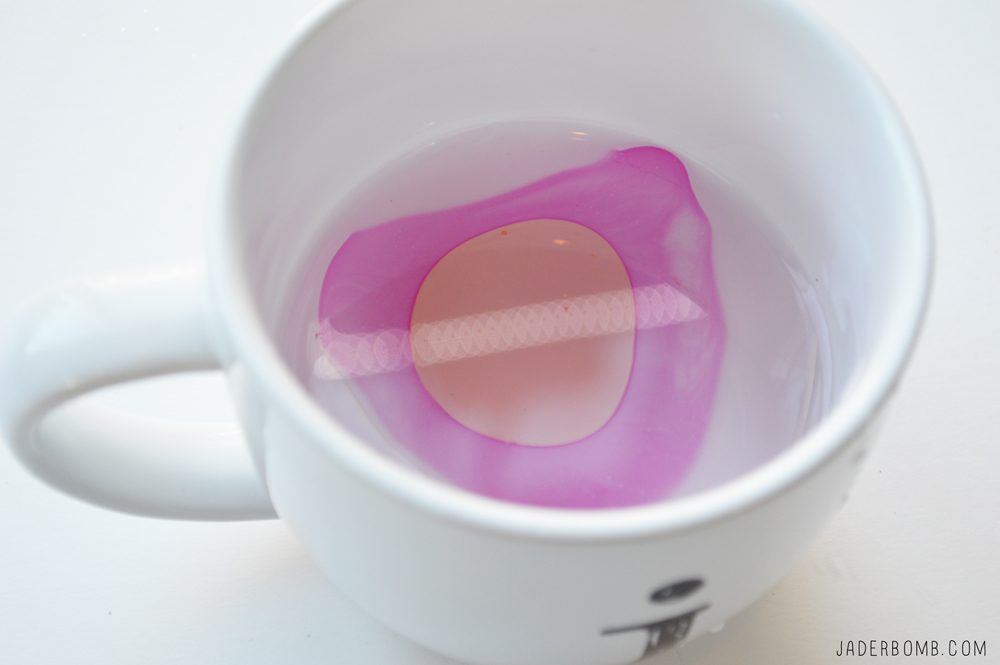
These are seriously beautiful! I could easily keep these up all year long because when I see them they really make me happy. They kinda remind me of the third eye, right! Oh if you are into cozy nights by the fire, this is the perfect thing to add to that night!diy-christmas-ornaments

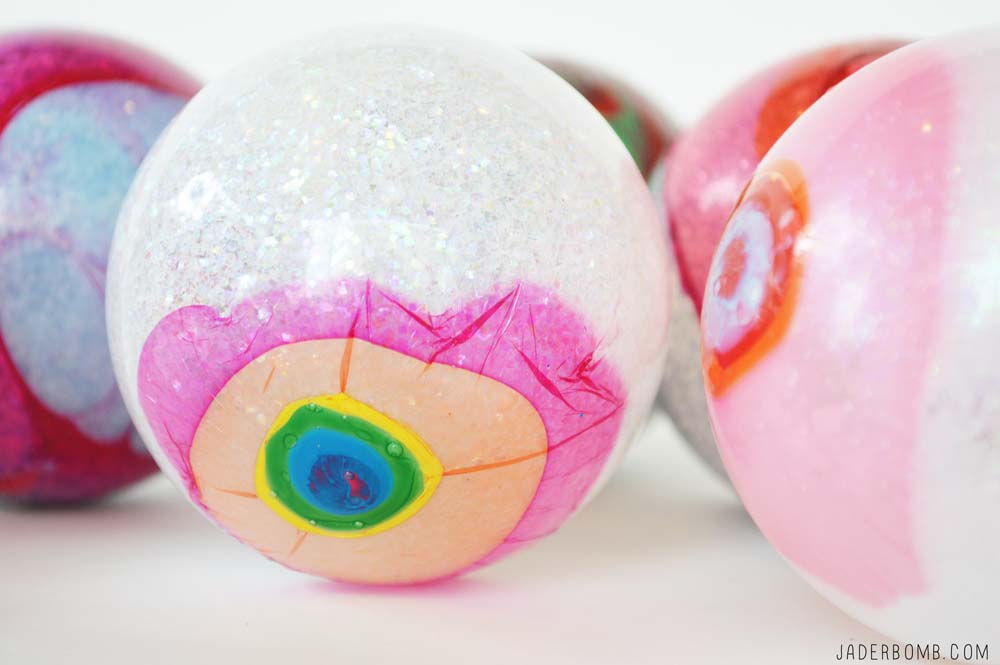
I have to admit there is another cool trick that I did to these ornaments. Bad thing is you will have to head on over to the I Love to Create site to see, hehe! Remember the link is at the bottom of this post!how-to-glitter-ornaments

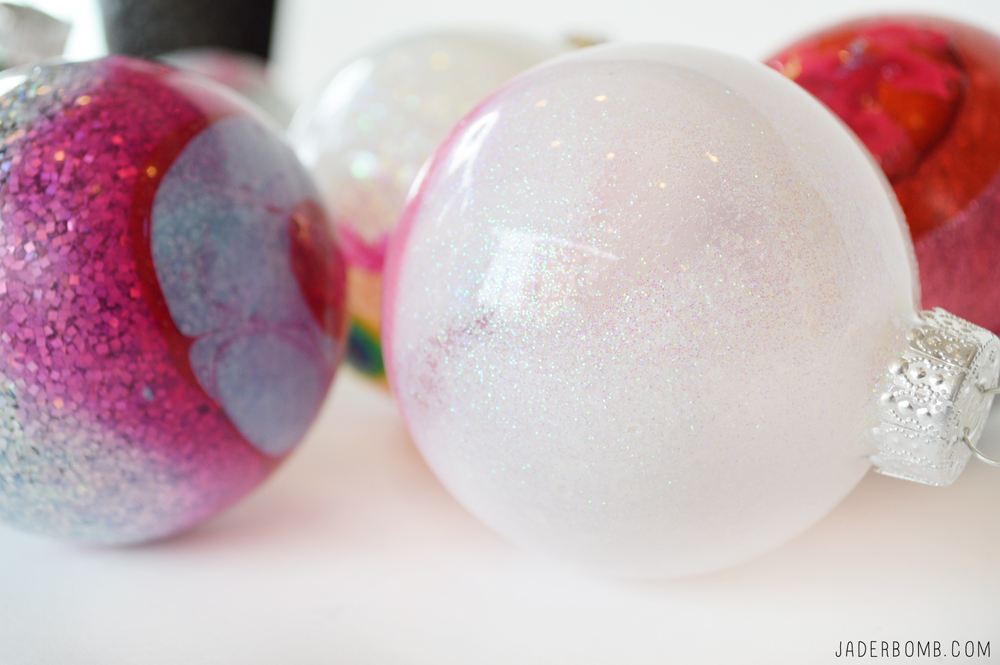
Are you drooling yet? glittered-christmas-ornaments

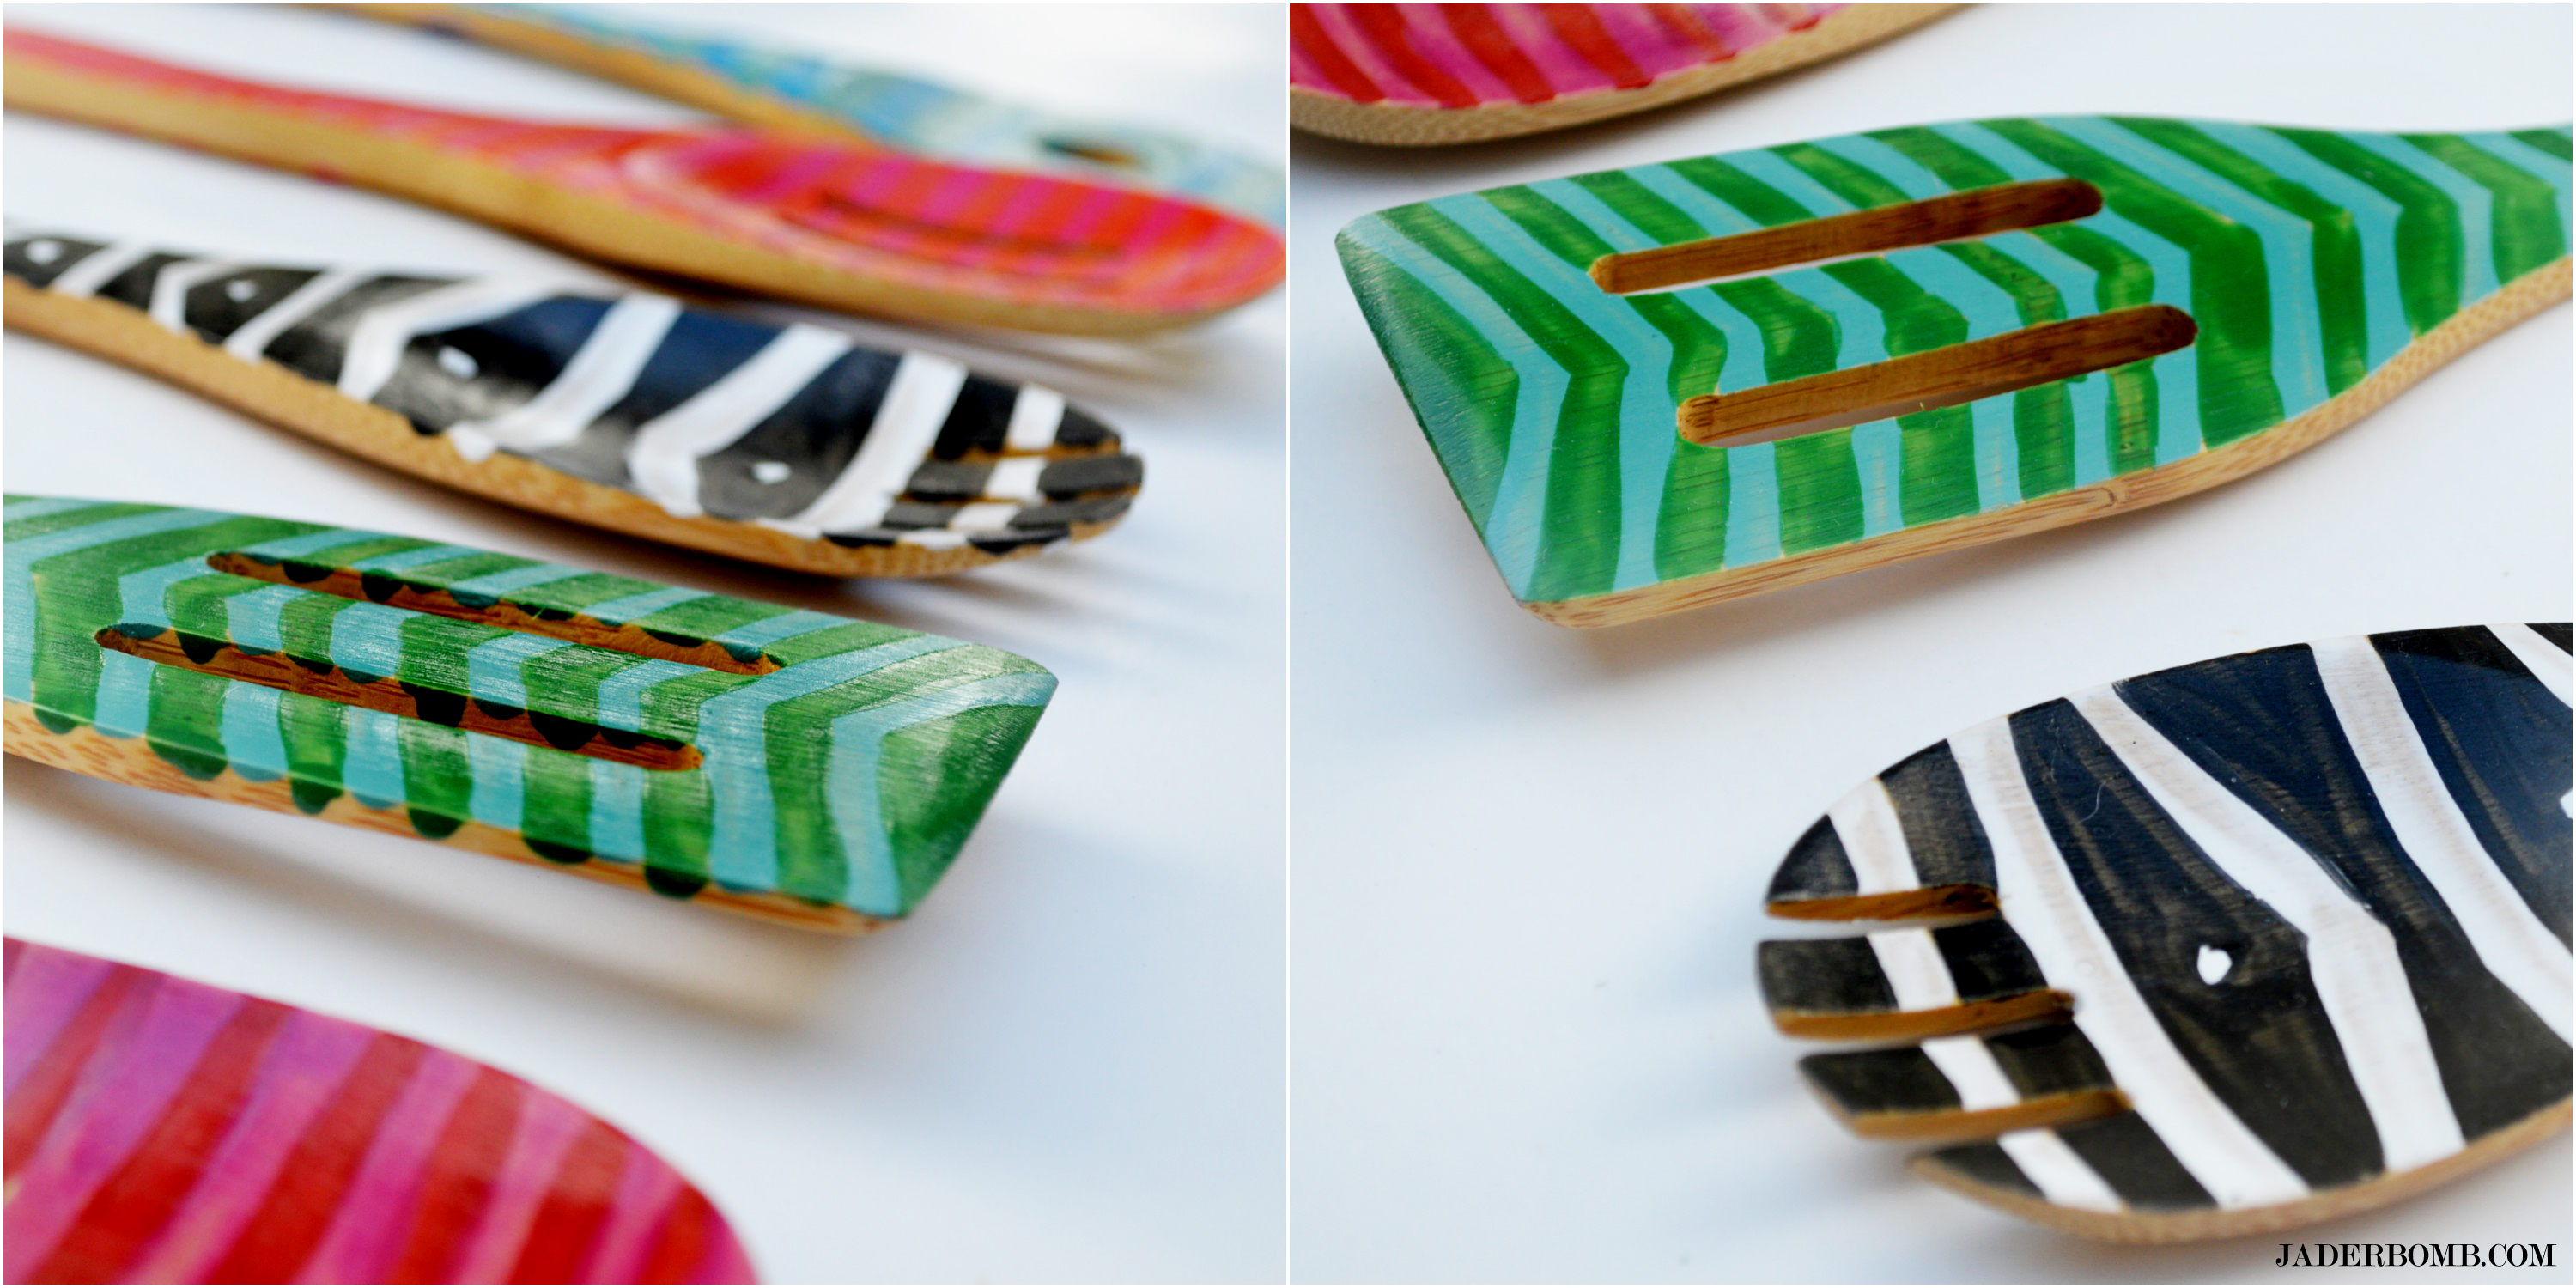
One more thing is you can always add other elements to your Christmas ornaments! 
how-to-bedazzle-ornamentsFULL TUTORIAL 

Don’t forget to follow me on all my Social Media spots! I get down and dirty on them. Fa real! Are you in love with DIY Coffee Mugs yet?

FACEBOOK | INSTAGRAM | TWITTER | PINTEREST 

Jewelry takes people’s minds off your wrinkles – Sonja Henie

Hey everyone! I am just getting back from the most amazing trip ever and I wanted to share this tutorial with you on making Color Blocked Gold Bracelets . I will be sharing more about the my trip later this week so make sure to come back and check it out!

If you are like me then you can sometimes be cheap! Very cheap!

I personally call it being “smart”, right. I found a set of gold bracelets a while back at Old Navy and bought them. Check out what I was REALLY doing there when I found them.  I wasn’t sure exactly what I would do with them but I knew I would figure it out and it would be RAD. If you like gold check out this cute gold flag banner I made for a cake.

I finally decided I wanted to add a splash of color to them. Finger nail polish is the best thing to apply to metal because it stays on for a LONG time. Let’s get started.Color Blocked Gold Bracelets 
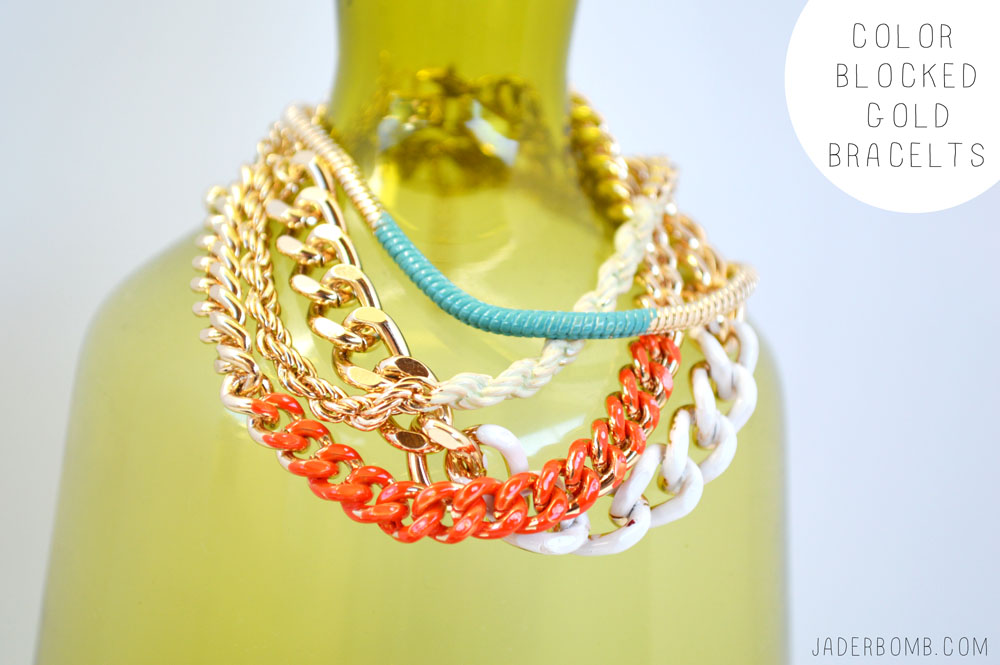
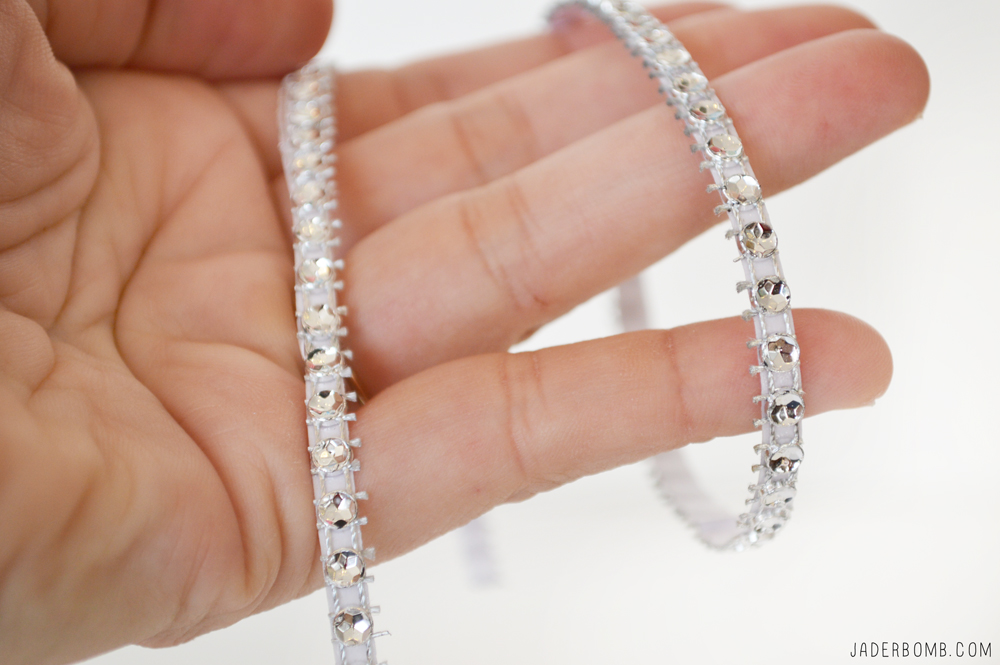
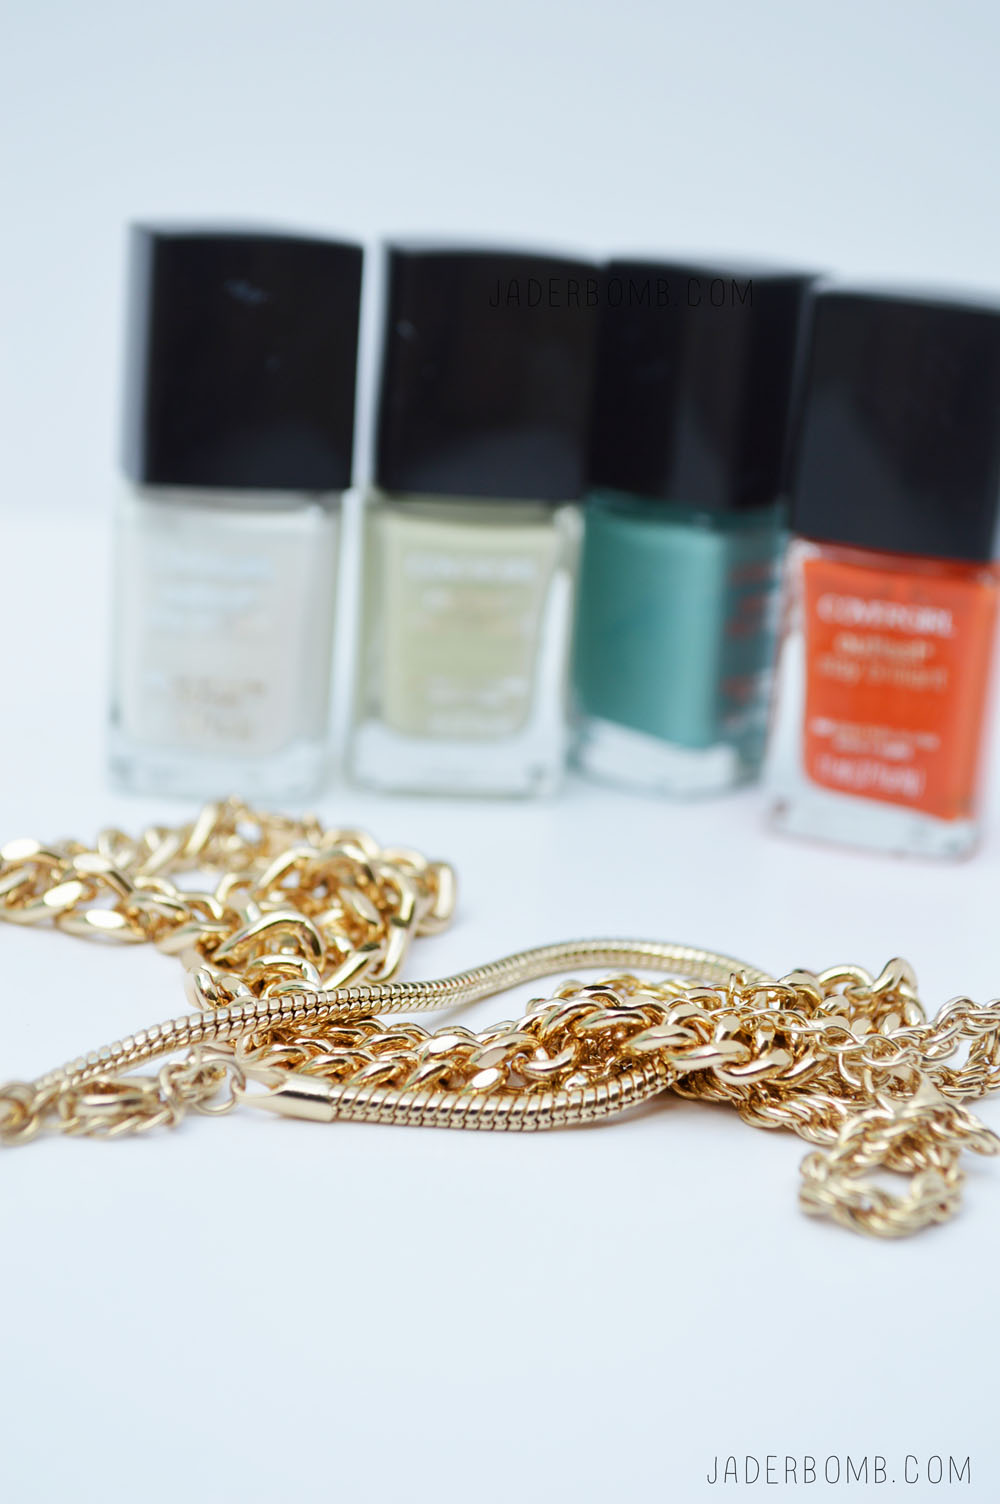
How beautiful are these bracelets. I knew they would be a hit on my vacation and now I am madly in love with them. I think I need about 10 more on my wrist.
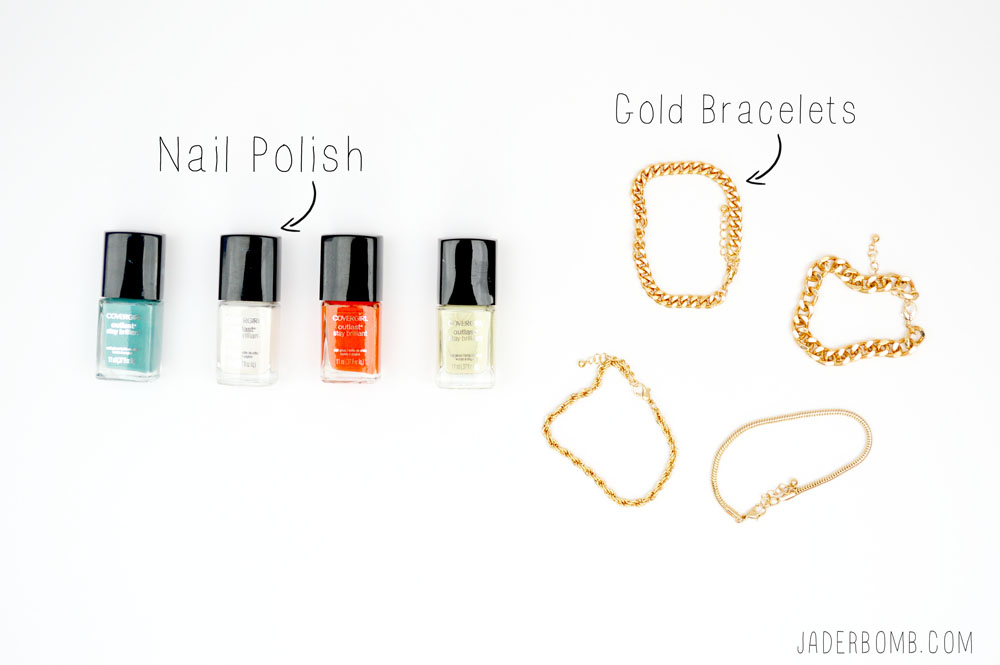
You will need:
1. Nail Polish
2. Gold Bracelets or Gold ChainHOW TO PAINT METAL JADERBOMBI am using Covergirl outlast stay brilliant nail polish. I am in love with all of their colors and they fit perfectly with my smile!

If you want to purchase all of the colors from one spot make sure to click my affiliate links below! The colors I am using in this post are:
1. Mint Mojito 285
2. Snow Storm 110
3. Go-Go Mango 245
4. Salt Water Taffy (not sure of number)FINGERNAIL POLISHED JEWELERY

COVERGIRL NAIL POLISH DIY

15 gold diy's
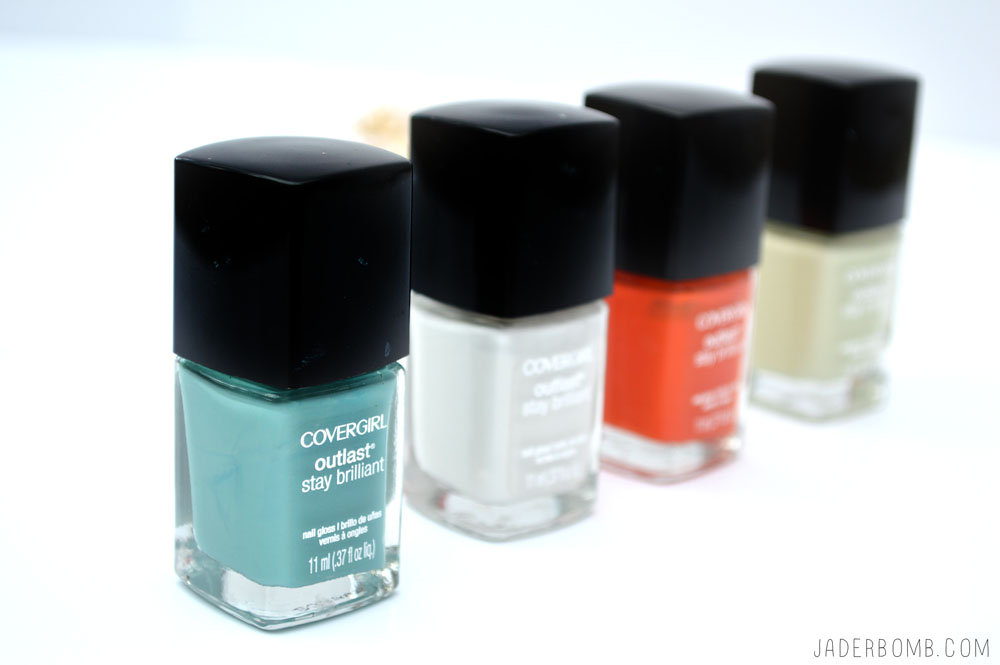
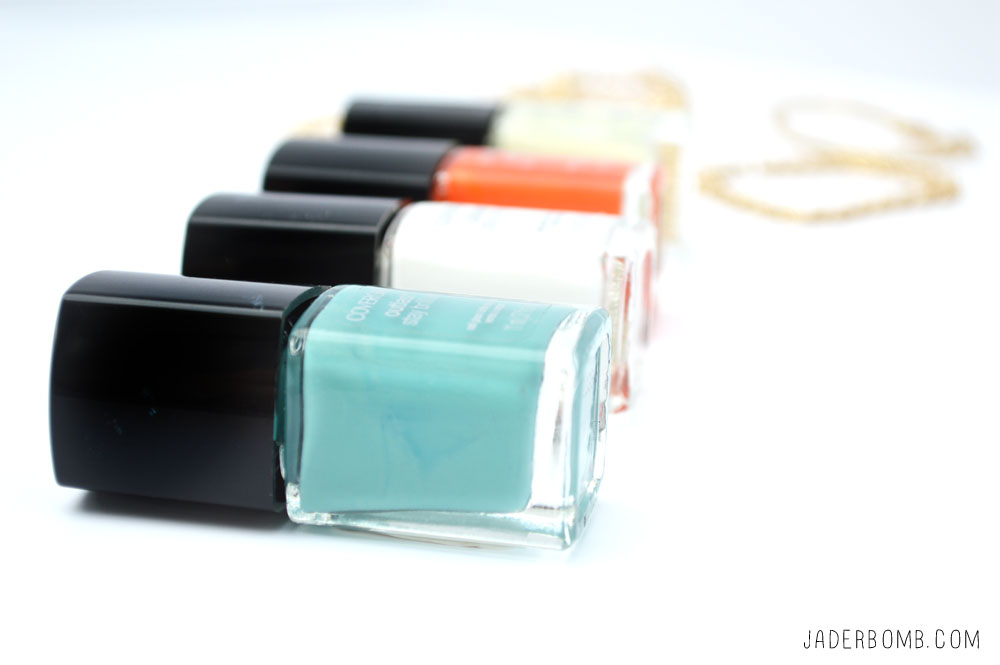
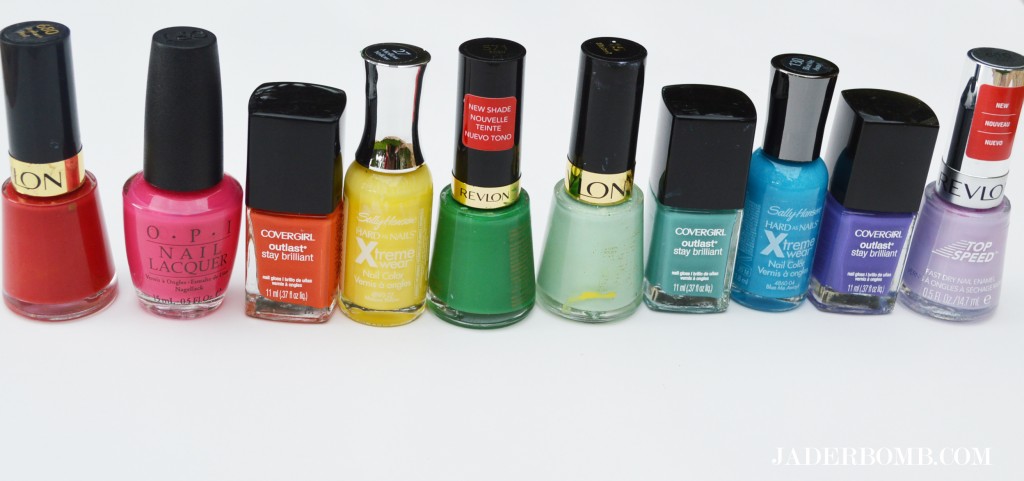
Step 1:  Lay out your gold bracelet on a clean surface and coat one side with nail polish.painting gold bracelts
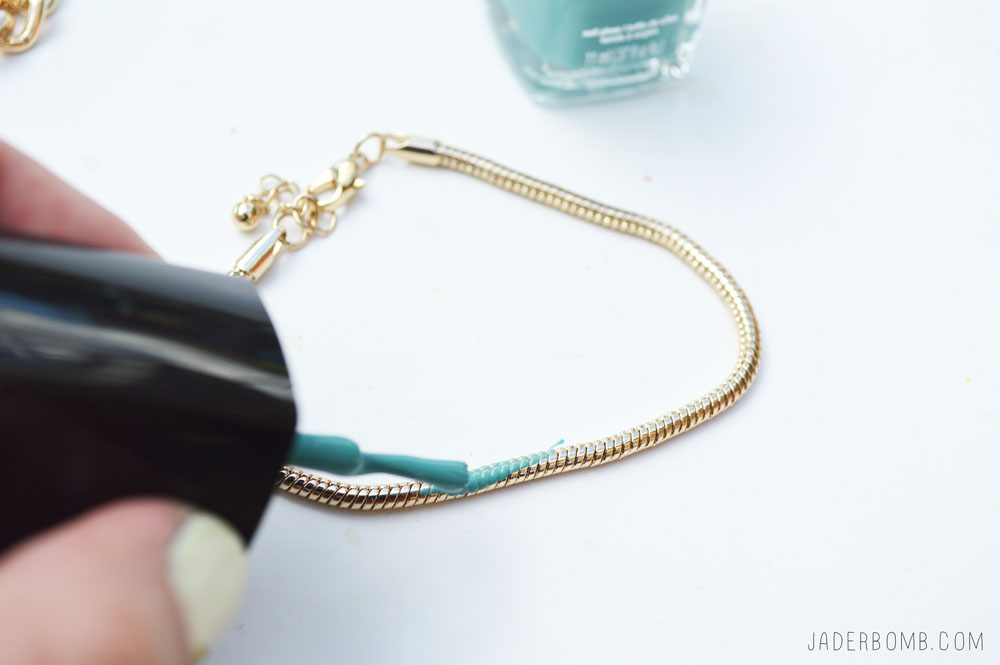
Move on to the next one and remember to coat one side at a time. It doesn’t take too long for the polish to dry. In 10 minutes you can flip it over and do the other side. I like to do about 2 good coats  of each color. My goal is to give it a matte finish. how to paintYou can see below how it will look if you only do one side of the bracelet. Depending on the links I would decide if I wanted to do both sides on some of them. diy bracelets
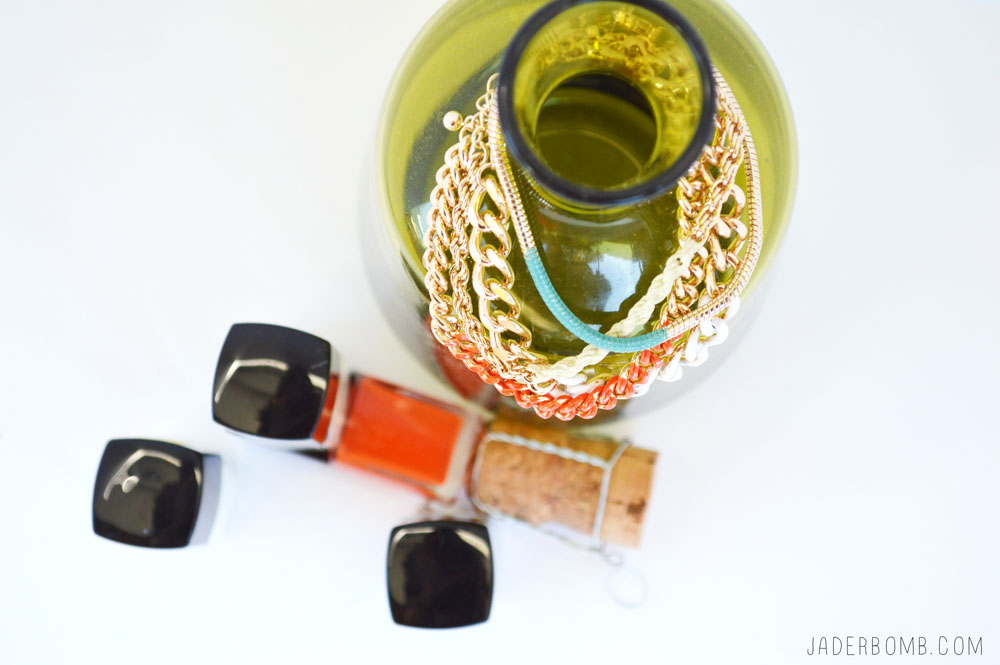
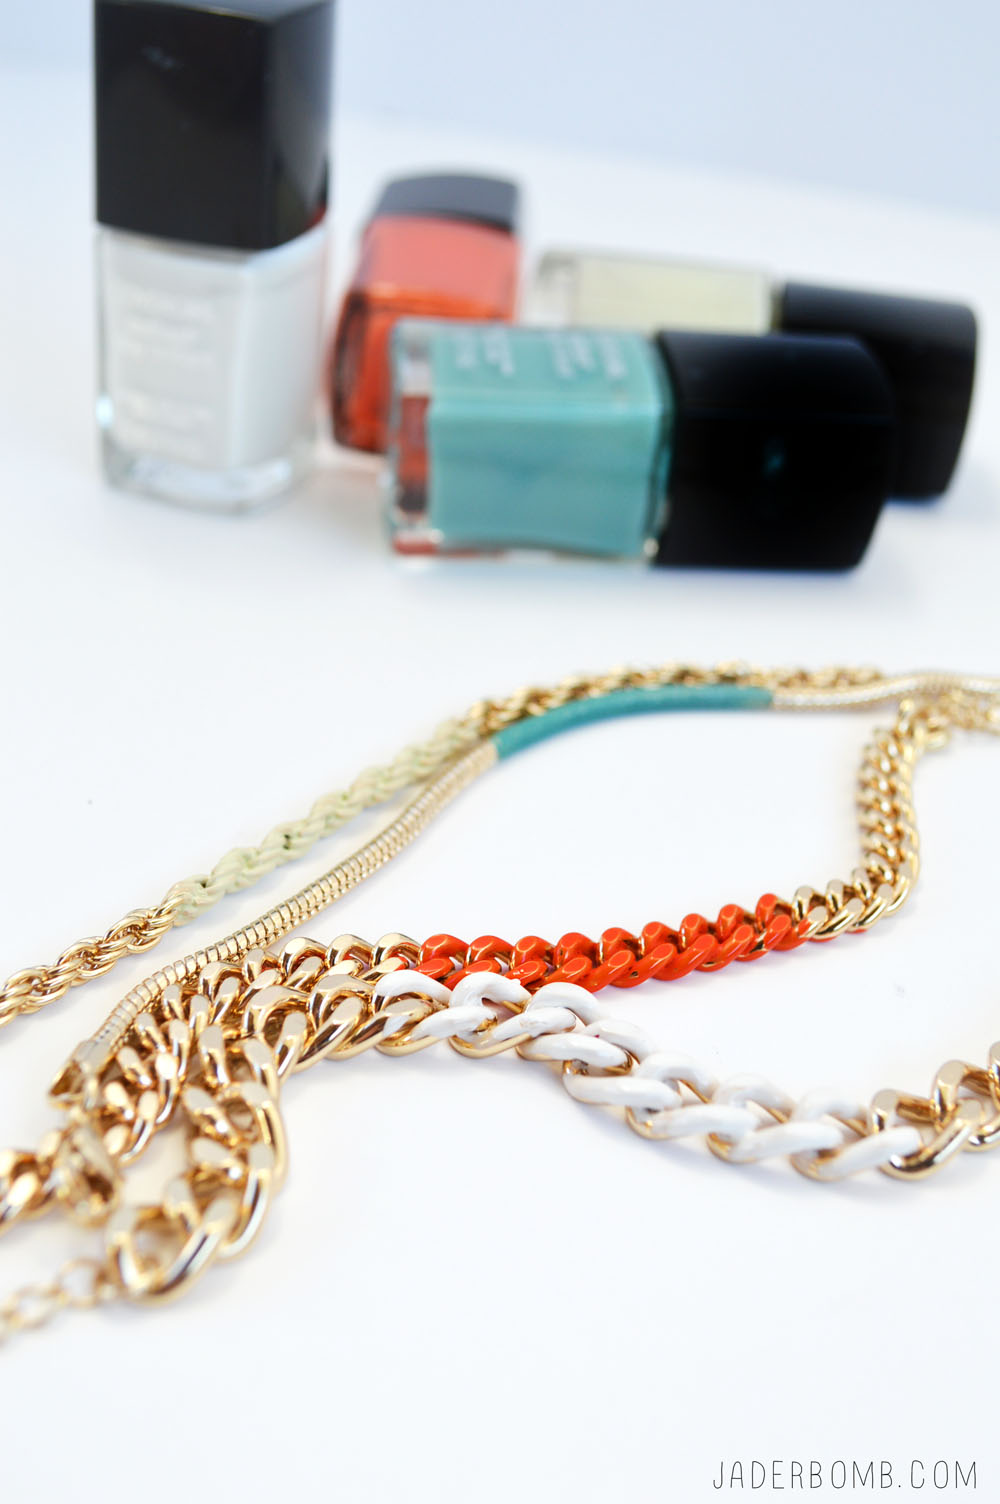
One tip I have when storing bracelets is to sling them over the top of a really cool jar. You can find these at garage sales or vintage stores. Plus it looks really pretty. EASY KIDS CRAFTS
I hope you enjoyed this tutorial and you tell all of your friends about it…. NOW GO COLOR BLOCK!EASY COLOR BLOCKED JEWELERY
HEY! Easter is coming up and if you like to dye eggs then you have to see what I did with some HERE.  If you like to give gifts for Easter then check out THIS! Everyone will love these babies. 

Don’t forget to follow me on ALL of my SOCIAL MEDIA sites to see all the juicy and fun stuff I post! Just click on the links below and they will take you strait to them!

FACEBOOK | INSTAGRAM | TWITTER | PINTEREST

BIG HUGS TO ALL OF YOU GLITTERY CRAFTERS! XOXO, JADE

Kitchen Decorating

Boom Chaka Laka, Chaka Laka, Chaka Laka, Laka BOOM! I am on this odd spoon kick lately. I am not quite sure how to kick it so I decided to share all of the fun things I been doing with them. You remember the other day when I posted this, well before I put up all of my colored nail polish I thought hard about what else I could do with them. I went into a day long daze (crafters you know what this is) and BOOM. This thought happened. Kitchen Decorating 101. Well, not exactly what you see below but the thought of bright, whimsical, retro spoons happened in my noggin. Initially I thought they would look great in a glass jar in the kitchen. I put them in a jar but it was like looking at yourself in the mirror while trying on bathing suits. It worked but didn’t work. Or in my case I have just resorted to the “shirt” on top because I don’t want the sun to burn me. Wink Wink!

Anyways, I grabbed some gold glitter and sprinkled it over my head then the magical thought of a spoon display occurred to me. There you go, now you have my trick on how I create things. Let’s get started!

you will need

Wooden Spoon | Nail Polish | Wooden Plaque
decorative wooden spoonsRainbow Nail Polish

I am going to be honest, there was no specific pattern involved just pure excitement. I did want them to feel a little tribal | retro | whimsical | happy | colorful and that is exactly what I got. I was not planning on doing a black and white one until I put them together. I needed that to break the colors up, I think that was a smart choice.

how to paint on spoons

What colors will you be using? It would even look great as a whole set in one specific color/design. Now remember I did not coat them with anything because the nail polish gave me a great shiny finish.

painted spoons

I painted a piece of wood white and let that dry over night with the spoons. Once everything is dry you can then glue the spoons to the wood with the glue of your choice.
DO NOT EAT FROM THESE OR COOK WITH THEM. THESE ARE  JUST FOR DECORATIONS!
I made these for decoration purposes.

in other news

| Wanna see other spoon posts? Check out how I printed on spoons and how I dented up spoons!

| Check out my latest post on the I love to create blog, it’s “leatherific”.

Big Glittery HUGS from me to YOU!

DIY: Nail Polish Decorations

HIIIIIII all my Jaderbugs!!!! Can you believe it’s 6 days till CHRISTMAS! I wish Santa had a cellphone so I could call him and ask him if he can push Christmas back a week. Shoot’s, I wonder if he would. I mean, I have been a GREAT girl this year..I think he would fulfill my request. Although he might just ask me to help him make toys in return. Ok. I’m good with 6 days.

I saw a nail tutorial on making nails using this technique and I though it would be really cool if we could make ornaments using the same technique. I’m happy and not happy with the way they turned out! I wished I would have used a bigger cup so it would of coated the mug just a littttte bit more. In the end, they came out so CUTE!

When you are doing this craft you sorta feel like a magician because the nail polish just STICKS to the glass immediately.

Get a mug just a little bit bigger than whatever you will be sticking in it.

Get your ornament ( I just used a glass one that was already on my tree) HaHa

Get your nail polish out. I tried SOOOO many different name brands but ORLY works the BEST for this craft. Revlon is my 2nd favorite.

Drop a little bit of nail polish into the water, this is what it will do.

Drop different colors of nail polish into the water.

Then dip your glass ball into the mug. You don’t have to press too hard because as soon as the glass touches the nail paint it will stick SO QUICKLY! It’s bloody amazing!

Check out this design!

See! So pretty!!!!!

I grabbed some of my Martha Stewart tinsel glitter and shook some inside of the ornaments. 

You have to be in love as much as I am in love with these babies! You better get dozens of glass ornaments because this craft is absolutely addicting!!!

Watching “knocked up” and laughing my behind off,