Tag Archives: christmas ornaments

Martha Stewart Countdown #100 Lucky Plant Gift

WOW! I am sitting at my computer right now crying so much. I am not sad or upset. I am just overwhelmed with what I just accomplished. I never thought any of this would happen to me. WHY would it? Well because I believe in myself for one and the rest comes with faith. {{thanks UNIVERSE}}

If you know me then you know I believe in the Universe more than I believe in myself. This countdown took on a big role in my life. I literally felt like I woke up thinking about Martha Stewart and I went to bed thinking of Martha Stewart. If I wasn’t doing this countdown one might would think I was OBSESSED.. HAHA. OK. Maybe I am just a little. I remember when I was standing right next to her, before the camera’s started rolling. I looked at her and it took me a minute to realize what was happening. I kinda wanted to frantically hug her or maybe just touch her cheek. I wanted to see if it was real. But I touched her hand and she kinda hugged me on the show so that was REAL ENOUGH!!!

I know you might of thought I would go out with a BANG. What I mean is, everyone is asking me “What will your 100th craft be”…It’s actually very simple and delicate. I thought it was perfect because a “JADE” plant is considered a “lucky plant. Did you know that? I have them all over my house and I have one in particular that I bought at the beginning of the countdown. You can get them at walmart! I got it because, well I guess I thought I NEEDED luck to do what I just promised to do. I remember when I told Ashy what I was doing. She just looked at me and said, “WHAT”. Really she said, {{are you flipping nuts woman}}.. HAHA. She turned into my biggest supporter. THANK YOU AND I LOVE YOU FOR THAT! 

Remember my post that I did announcing to the world about the Martha countdown? Let me share a couple of things I wrote in it:

Sometimes I pretend I am her. Have you ever seen her hands? She is just magnificent I tell ya. She makes every craft seem like walking on water. She is the craft god. I just wanna feel like I have walked in Martha’s shoes for a period in time.
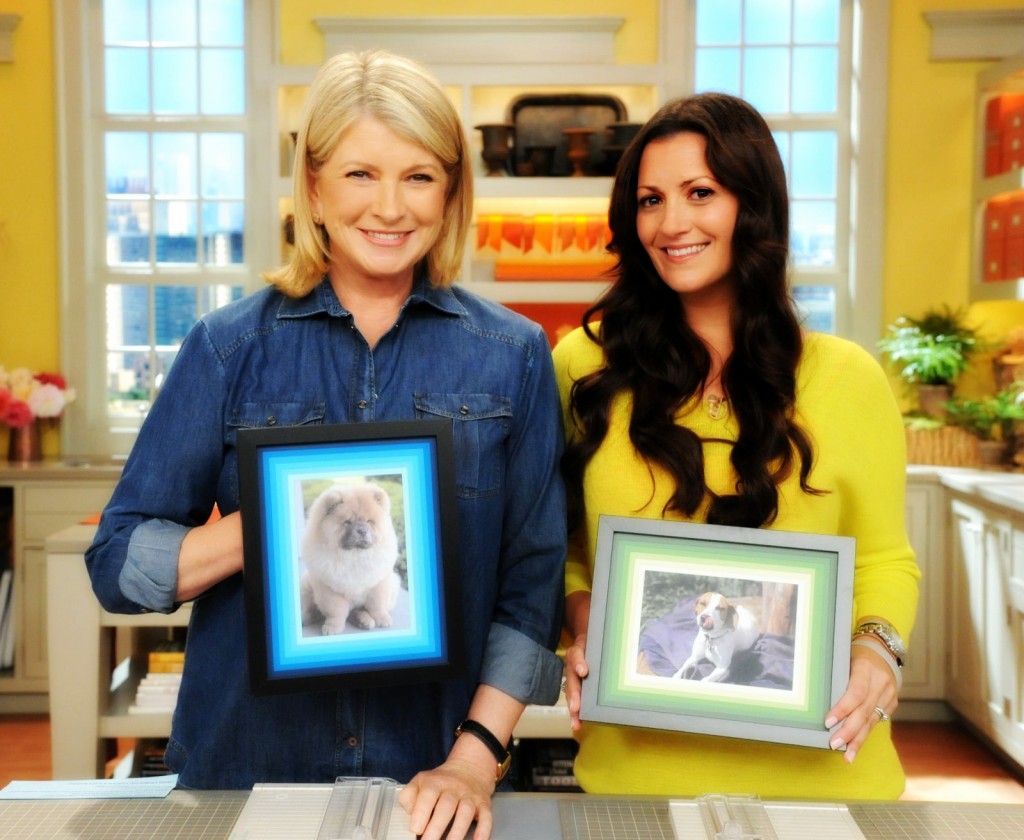
Can you believe all of my energy led me to this. I had NO idea when I wrote THIS  post that 3 weeks later I would be standing next to her. FA REALLLL!! Thank you UNIVERSE again.  I made so many friends when I went to New York and I am so glad they are in my life. I have learned how to “REALLY” network and be the consistent crafter that I am!  Well here it is people. My 100th craft.
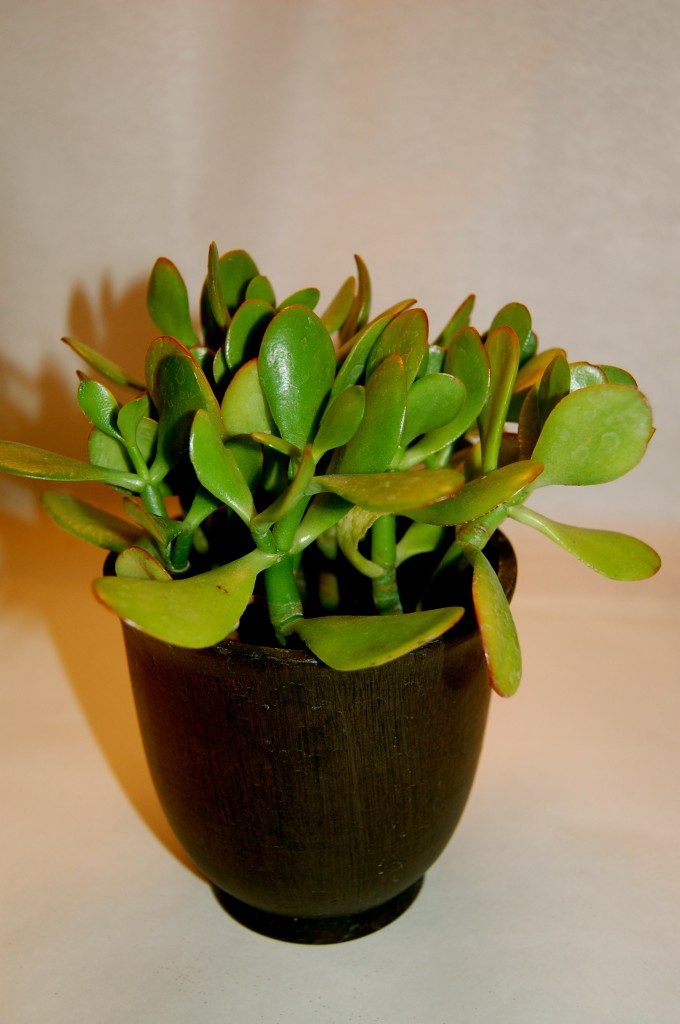
Wish someone an auspicious new year with a jade plant, Crassula ovata. This easy-care succulent is said to bring prosperity. 
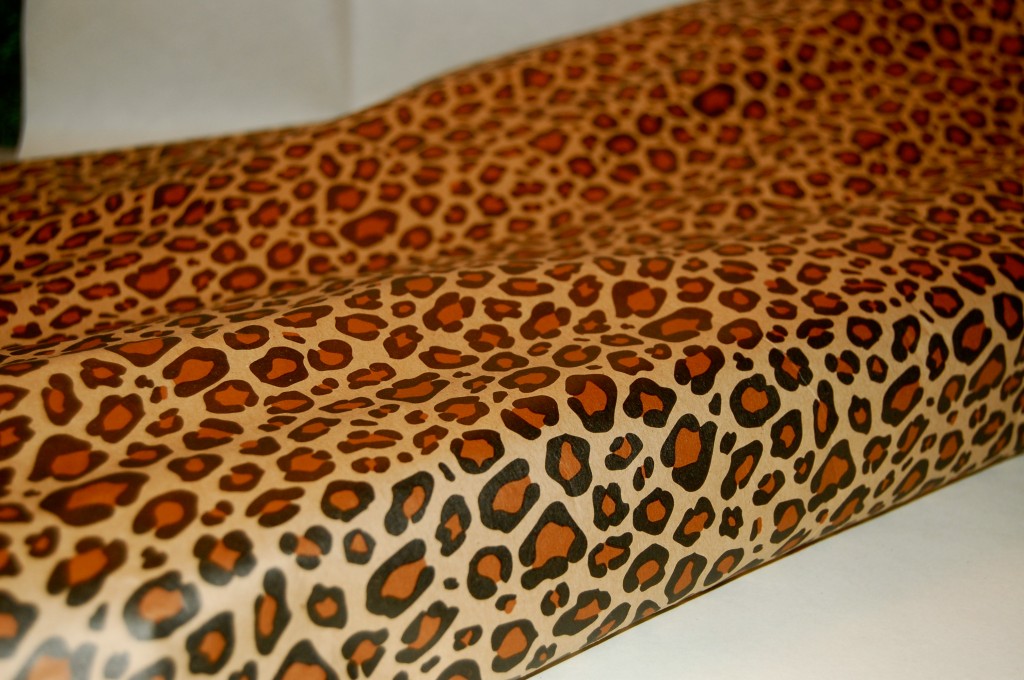
To wrap the pot, place it on a square sheet of decorative paper.
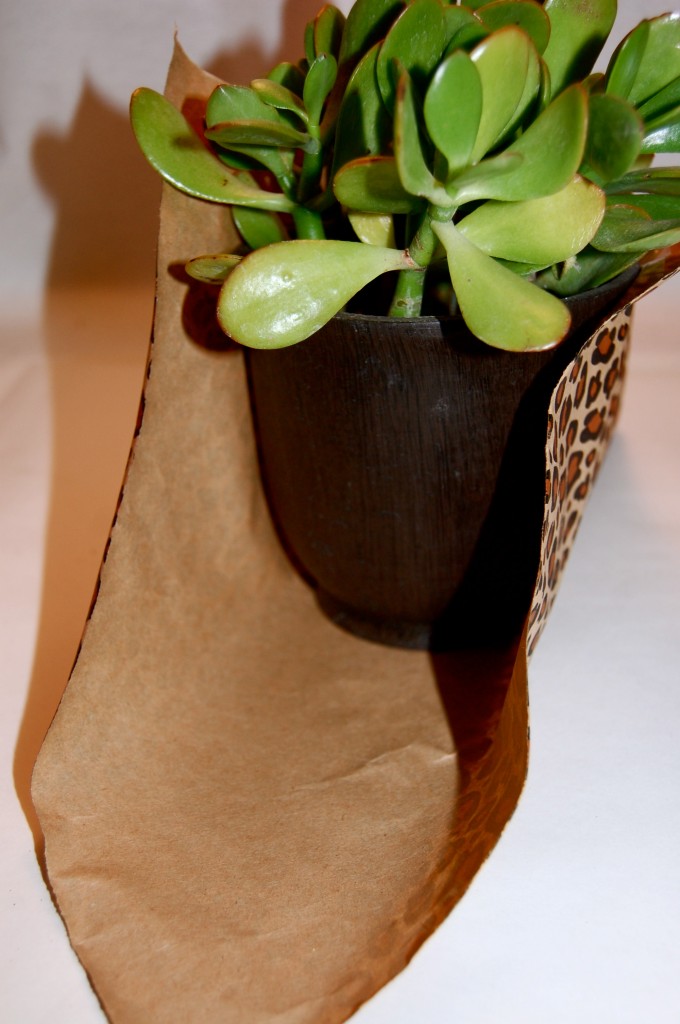
Bring up two opposite corners, and secure to the pot with double-sided tape. 
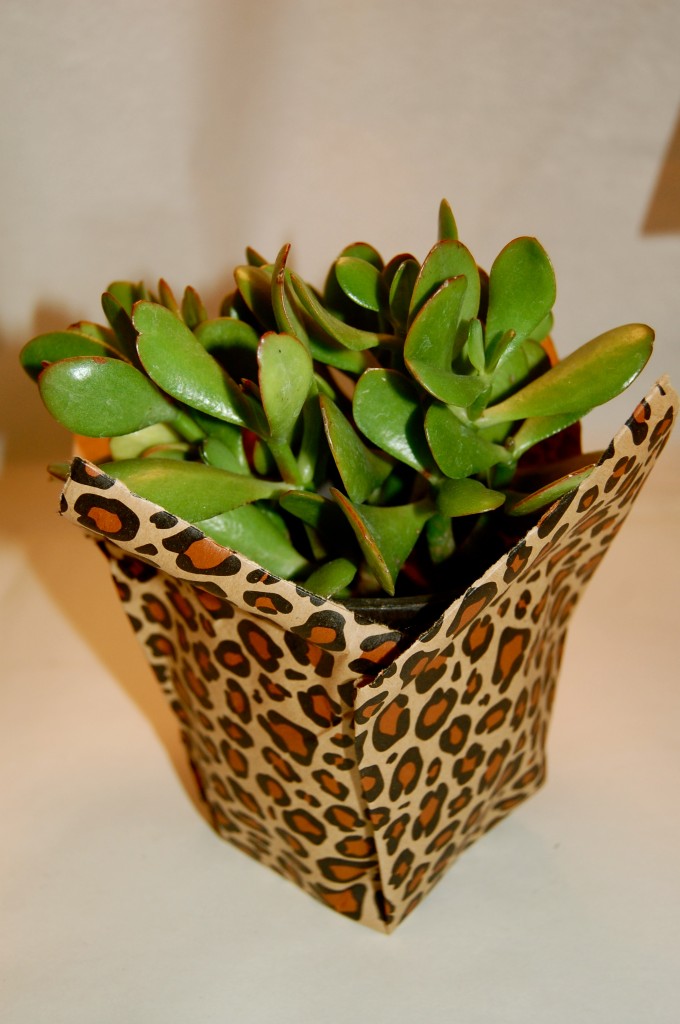
Fold the other two flaps as shown; tape. 
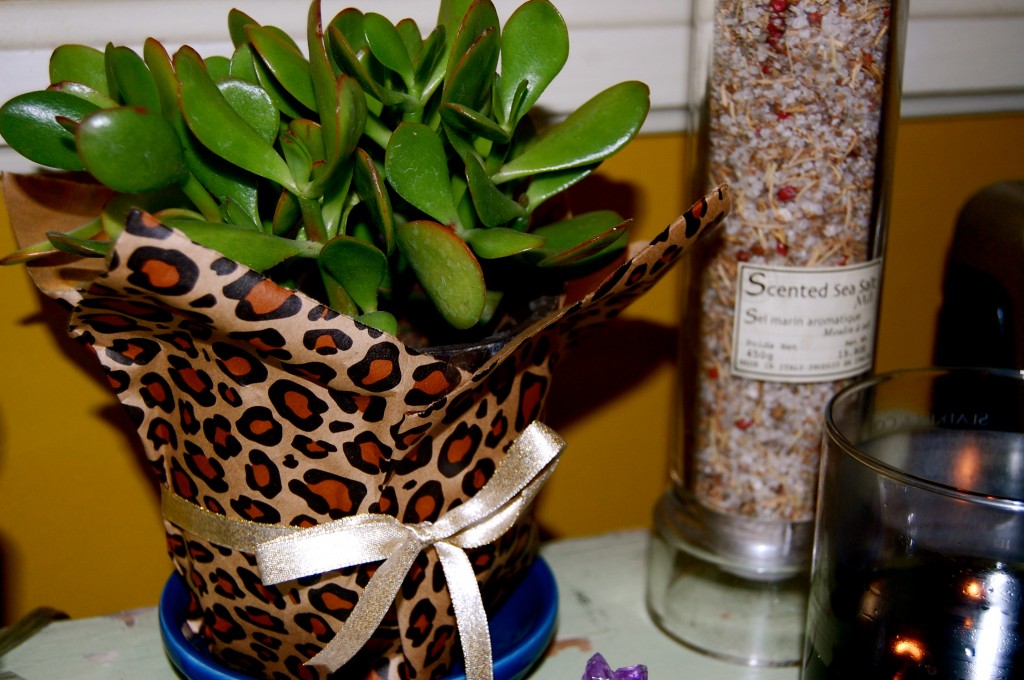
Tie gold cord around the pot, and add a tag with a message.Well Jaderbugs, it’s been amazing and wonderful. I couldn’t of done it without you and your excitement about each and every craft I do! I will forever remember this STRESSFUL wonderful experience. HaHa. Don’t worry! I am not going anywhere. I was a craft blogger long before this project and I will be one long after! GUESS WHAT? You will NOW start getting all of my ORIGINAL JADERBOMB CRAFTS BACK!!! I AM SO EXCITED…

Martha, if you are reading this…thank you for recognizing me as a true crafter. You changed my life before I went on the show and now I will forever carry this memory with me. I will NEVER forget what you said on the show:

“There’s dedication and then there’s DEDICATION.”  -Martha Stewart

Floating on CLOUD 1 million,


Check out Martha’s original craft HERE and you can purchase Martha Stewart’s Encyclopedia of Crafts here!

CLICK HERE TO WATCH VIDEO (me on the show!)


Click HERE to read all about it!!!

 IF YOU DECIDE TO DO ANY OF THE CRAFTS, SHOOT ME AN EMAIL AND I WILL ATTACH  IT TO THE POST WITH A LINK THAT GOES STRAIT TO YOUR BLOG!  IF YOU DON’T HAVE A BLOG JUST EMAIL IT TO ME AND I WILL PUT IT UP!!!!
Thanks to Martha Stewart crafts for sponsoring me with craft supplies!

Homeade Doorbells

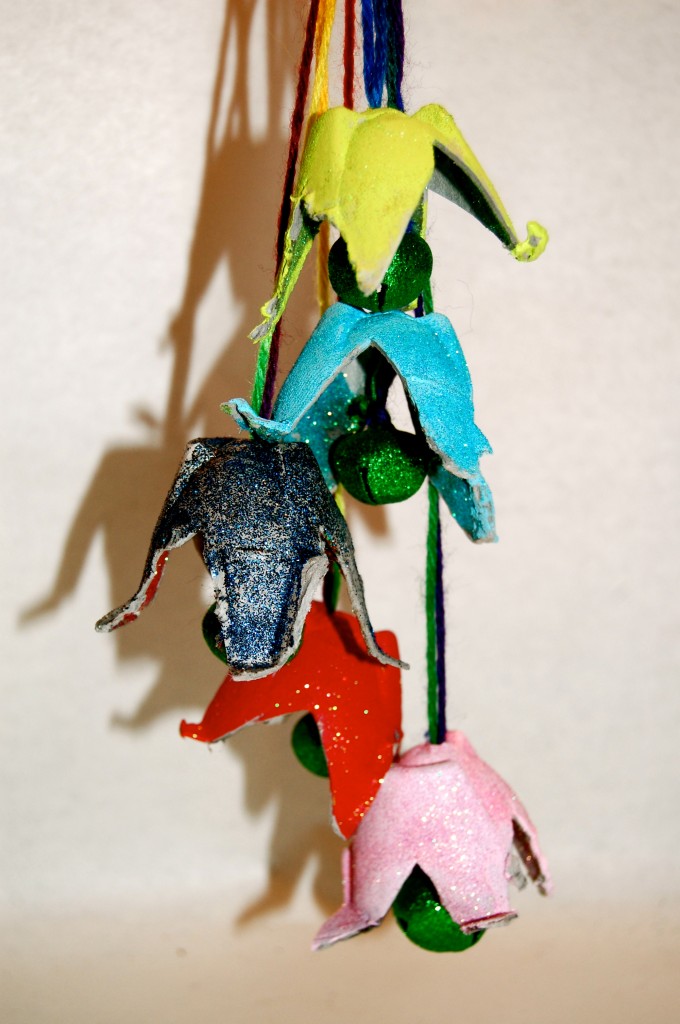
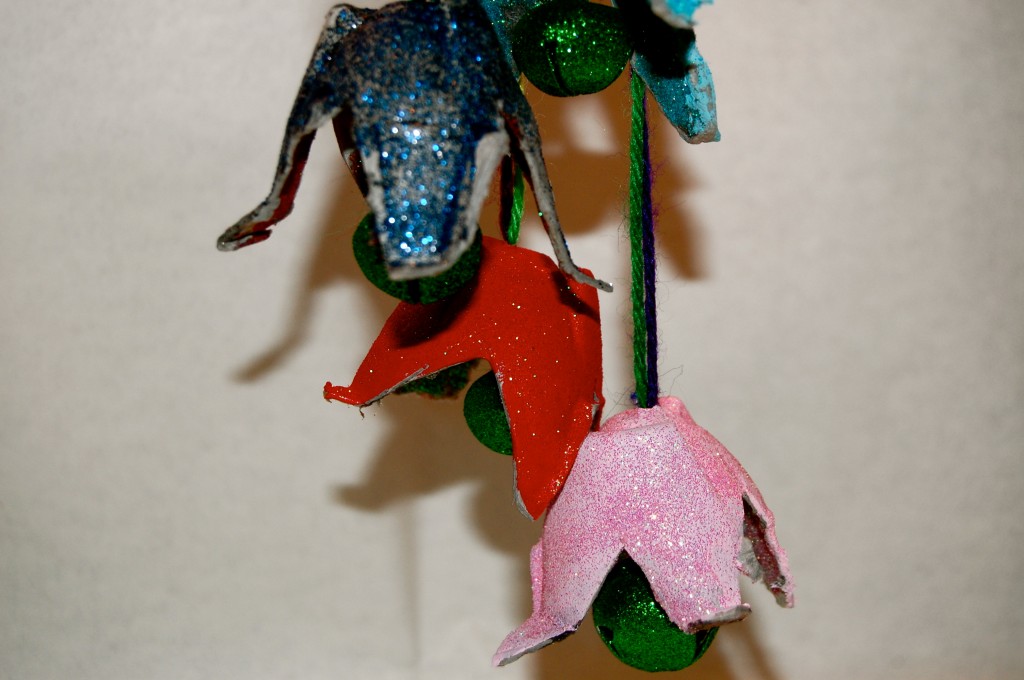
Deck the doorknobs with jolly kid-made bells. It’s a great activity for days when it’s too wet or chilly to play outside and — between your craft bin and the refrigerator — you probably have all the supplies on hand: an egg carton, paint, glitter, glue, and yarn.

(and you jaderbugs know how much I love GLITTERRR (singing) again)

NINETYYYYYYYY 99999999999999999999999999… (SINGING LOUD in a MANLY voice)

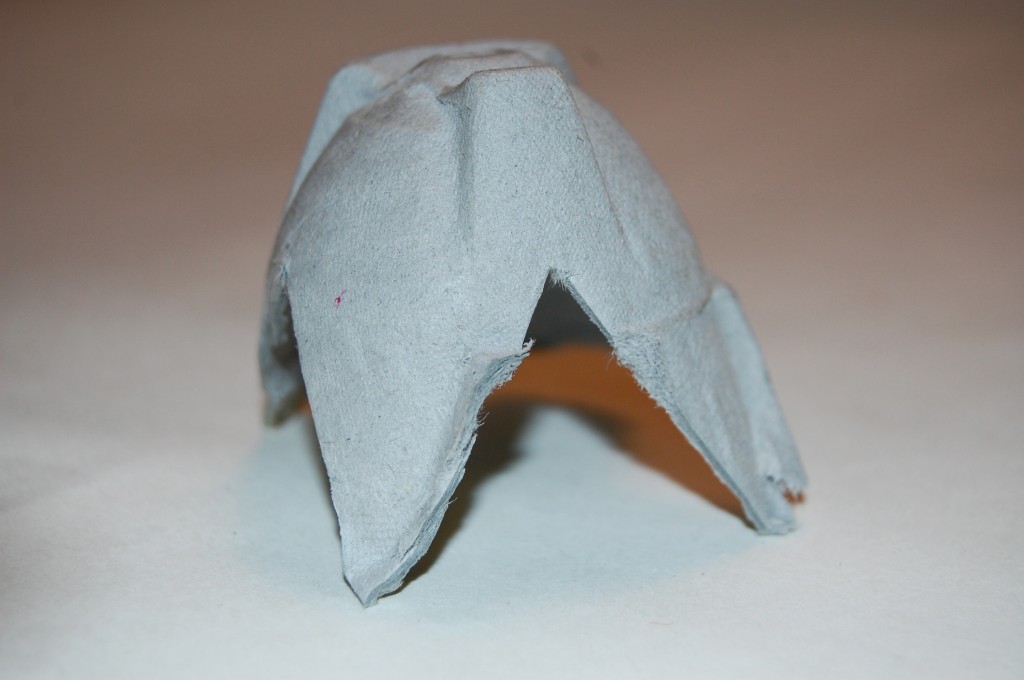
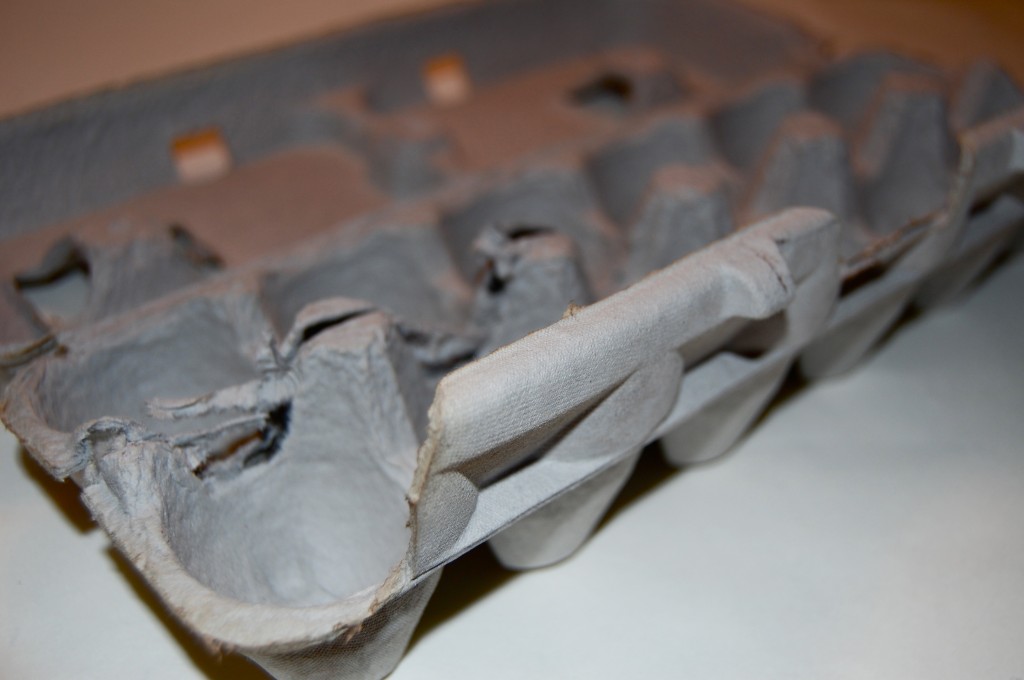
Get your egg carton. Paper works best!

 Cut the cone-shape pieces that separate the eggs out of a cardboard carton (one egg carton will produce five bells).

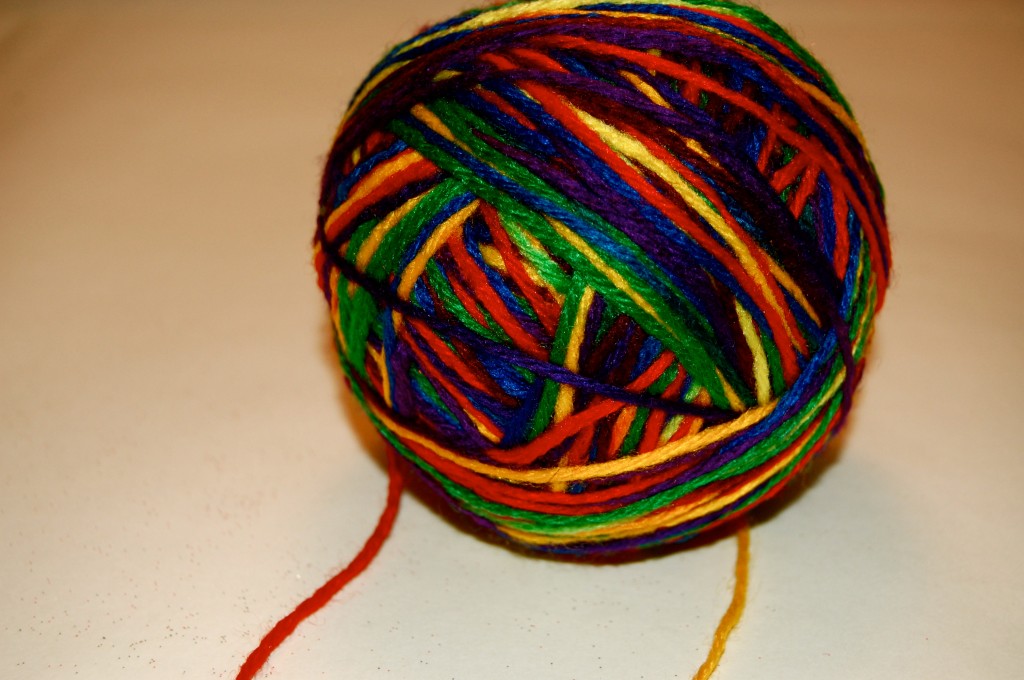
I just used a roll of colorful yarn. Heart this!

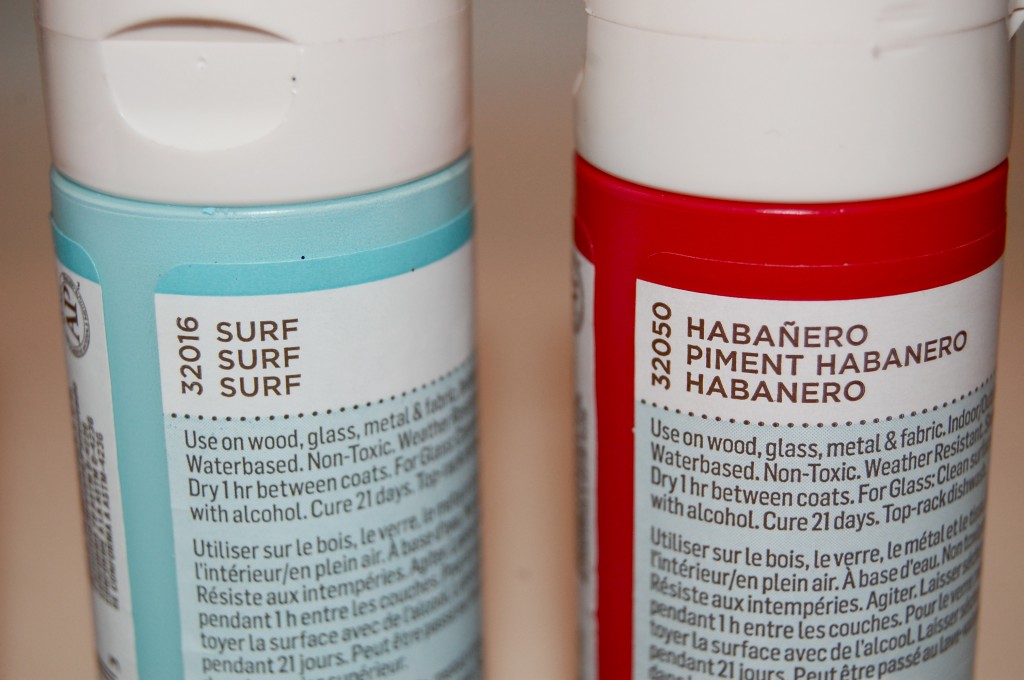
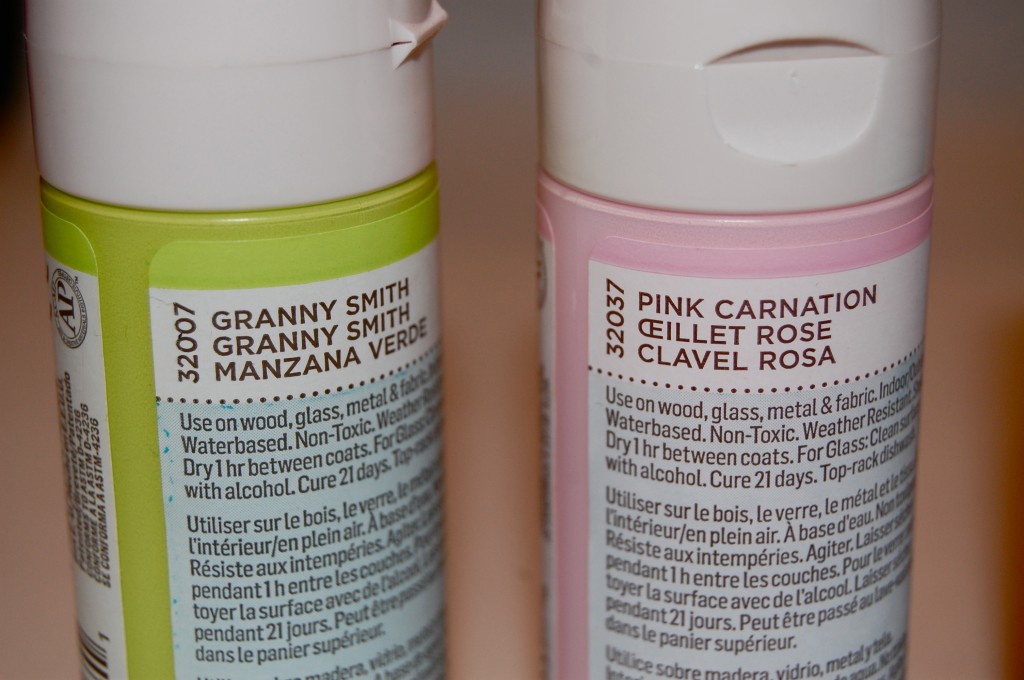
Colors I used for my craft. You can get it HERE.

Colors I used for my craft. You can get it HERE.

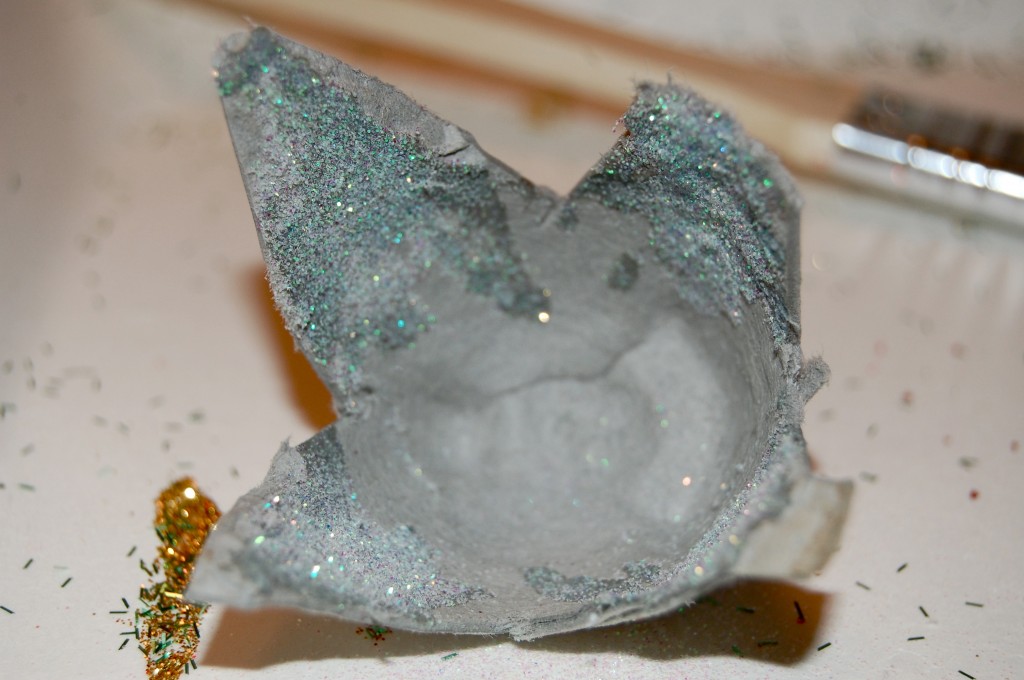
Paint each divider, using acrylic or poster paint. Let dry; apply glue along the edge of the divider, all over the outside, or wherever you like, and sprinkle with glitter.

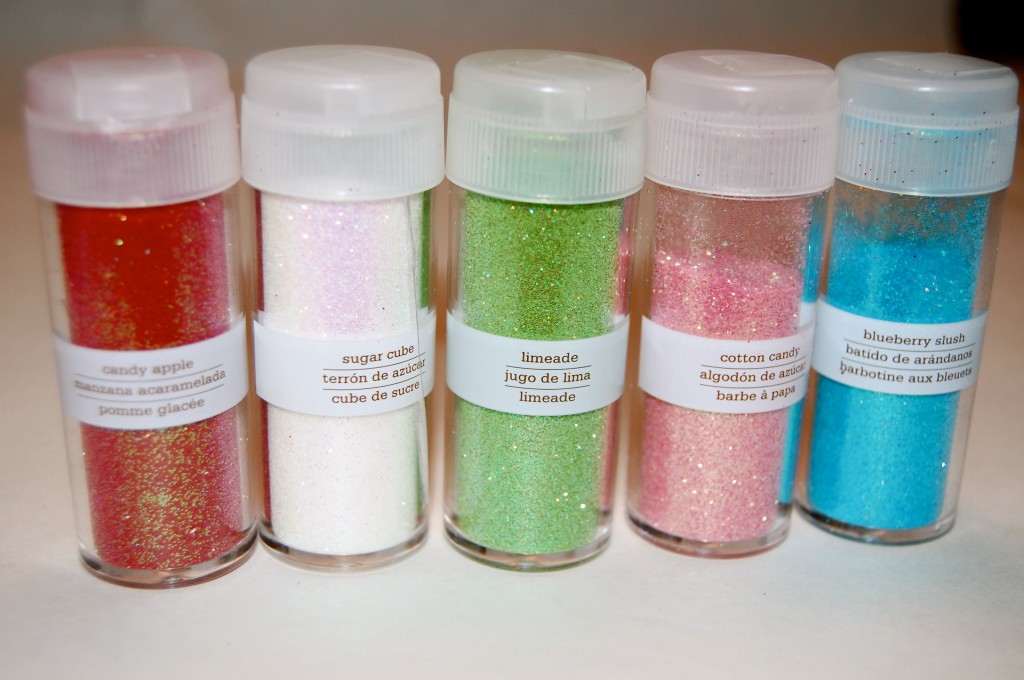
These are the glitter colors I used!! ORDER SOME HERE!! Don’t forget to use THESE!

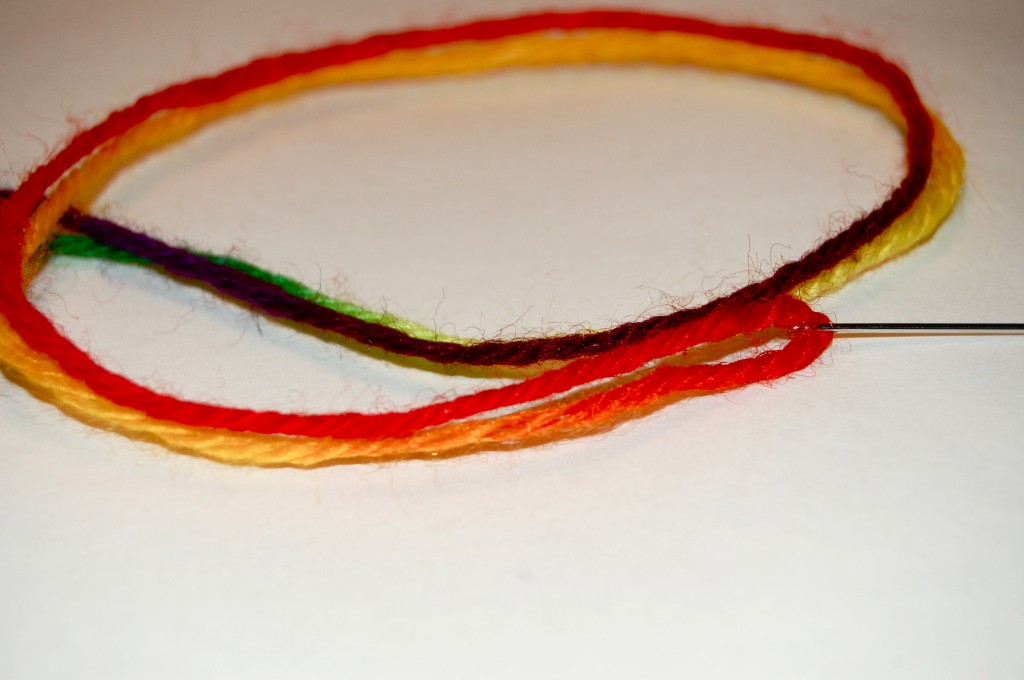
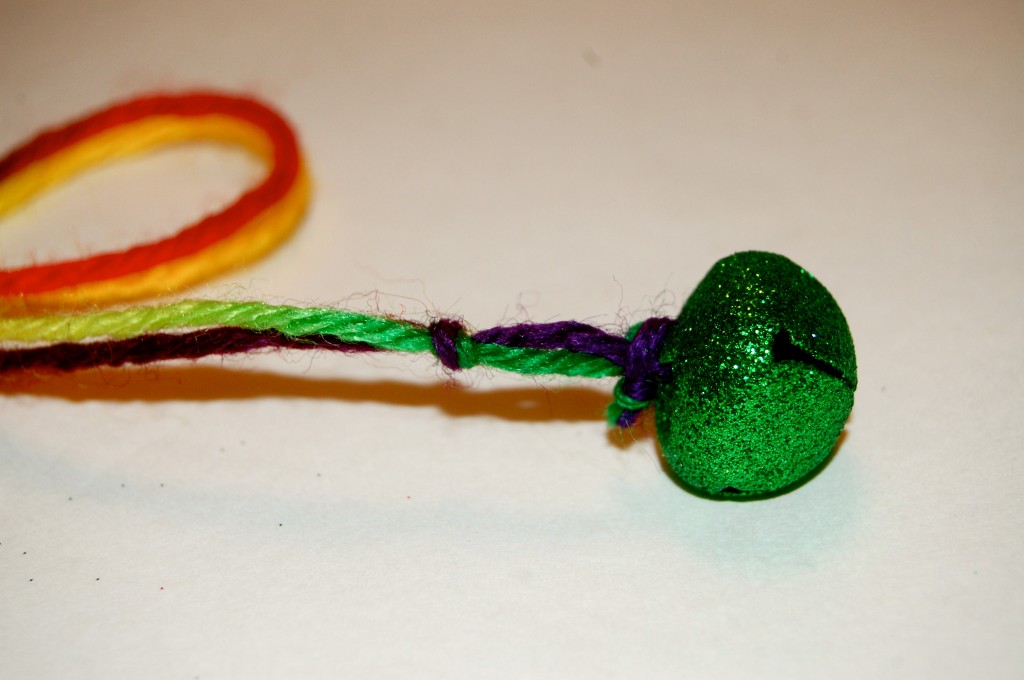
Thread an embroidery needle with yarn. Poke a hole through a bell’s crown, and pull yarn through partway.

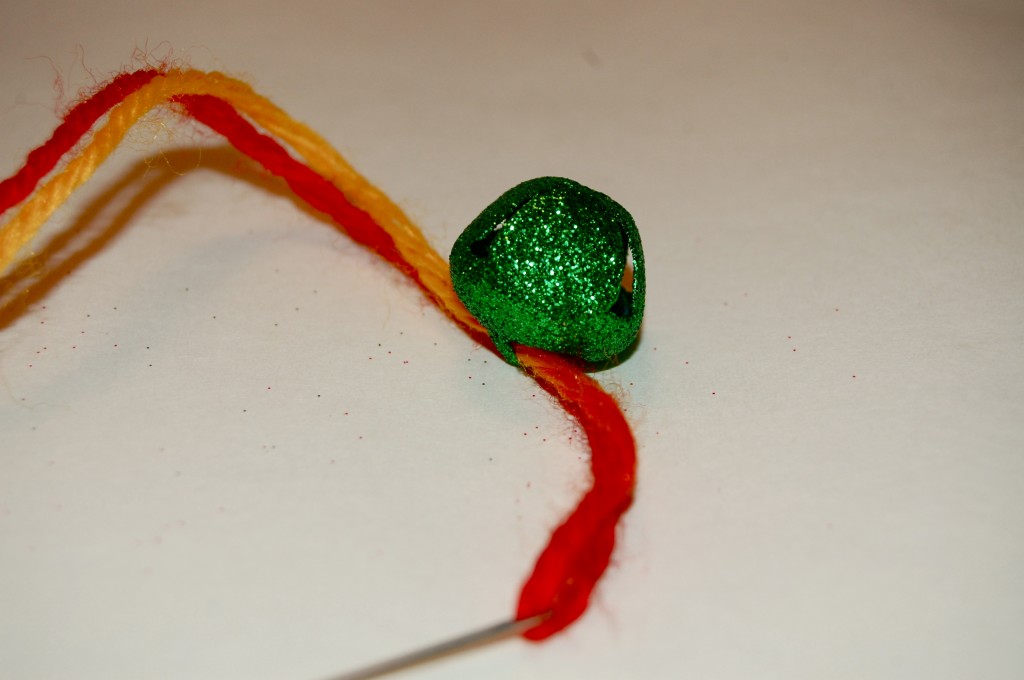
Slide a bell onto the yarn.

 Tie a knot above the jingle bell and one a little higher. Like this!

Tie several bells around a doorknob, staggering the lengths of the yarn.

OK. Fa real! I am in LOVE. I know I say that about every craft that has GLITTER on it!!! Can you believe this is 99!!!

I got 99 problems and a _____ ain’t one,

Check out Martha’s original craft HERE and you can purchase Martha Stewart’s Encyclopedia of Crafts here!

CLICK HERE TO WATCH VIDEO  (me on the show!)


Click HERE to read all about it!!!

 IF YOU DECIDE TO DO ANY OF THE CRAFTS, SHOOT ME AN EMAIL AND I WILL ATTACH  IT TO THE POST WITH A LINK THAT GOES STRAIT TO YOUR BLOG!  IF YOU DON’T HAVE A BLOG JUST EMAIL IT TO ME AND I WILL PUT IT UP!!!!
Thanks to Martha Stewart crafts for sponsoring me with craft supplies!


Candy Cane Reindeer

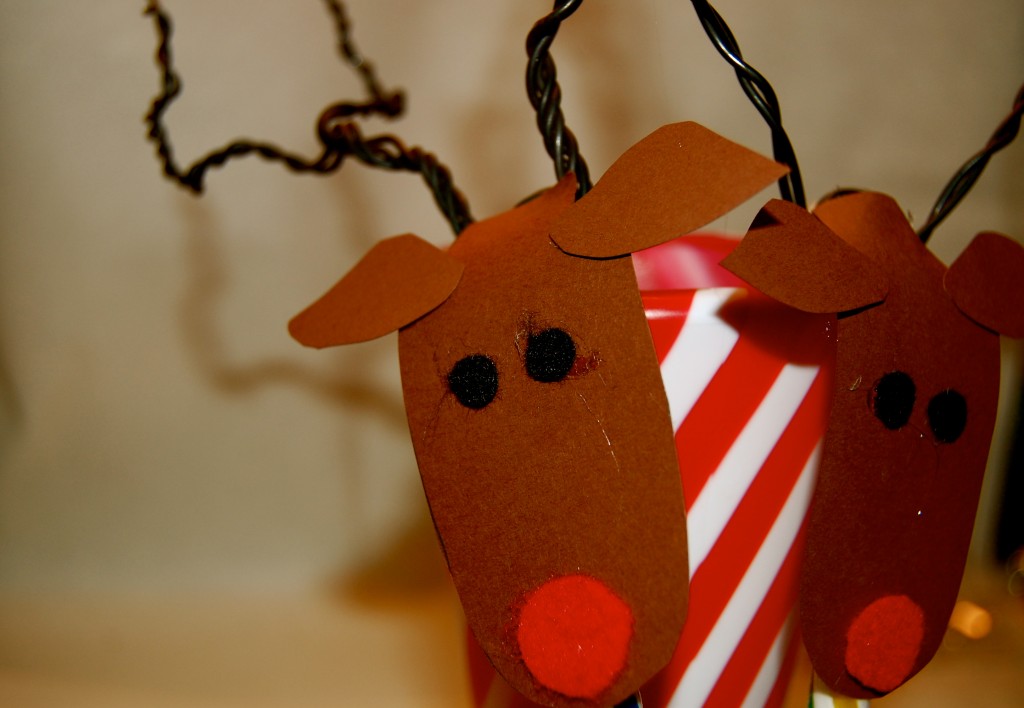
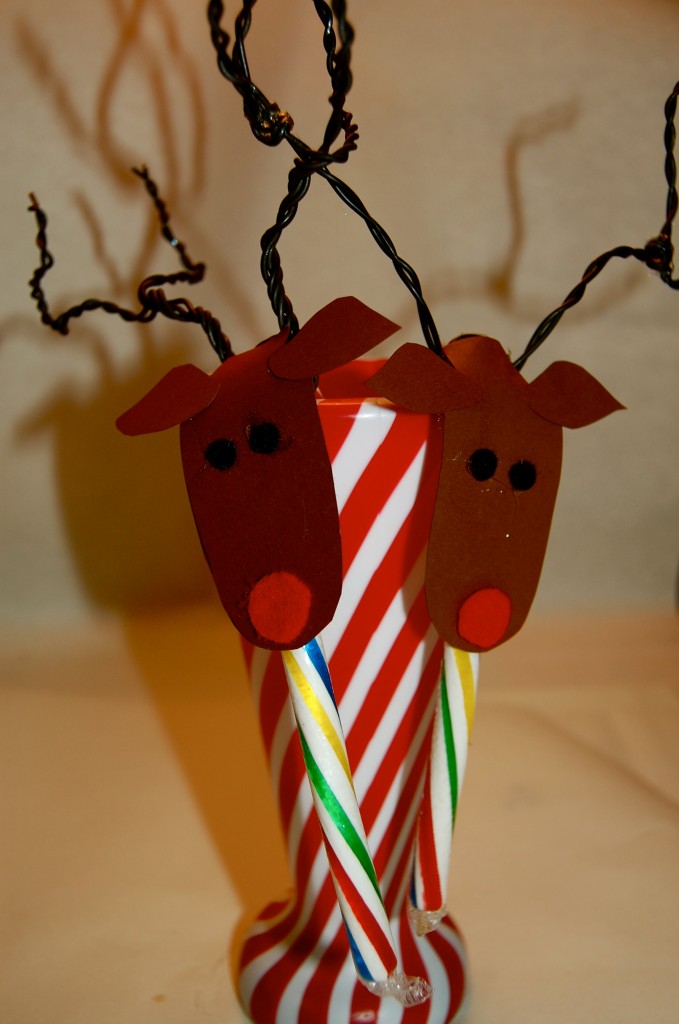
Turning a plain candy cane into a cute reindeer is a simple Good Thing to get you and your family in the holiday spirit. I mean, nothing REALLY say’s christmas like a good ole Reindeer in your soft drink. To top it off we have “killer” antlers. Fa reel, I mean deadly. Rememebr? My trusty rusty wire? HAHA!

Tools and Materials
Reindeer template
Candy cane
Brown felt or Brown paper (which is what jaderbomb used)
Pencil
ScissorsHot glue gun
Brown or red craft pom-pom
Black felt
Hole punch
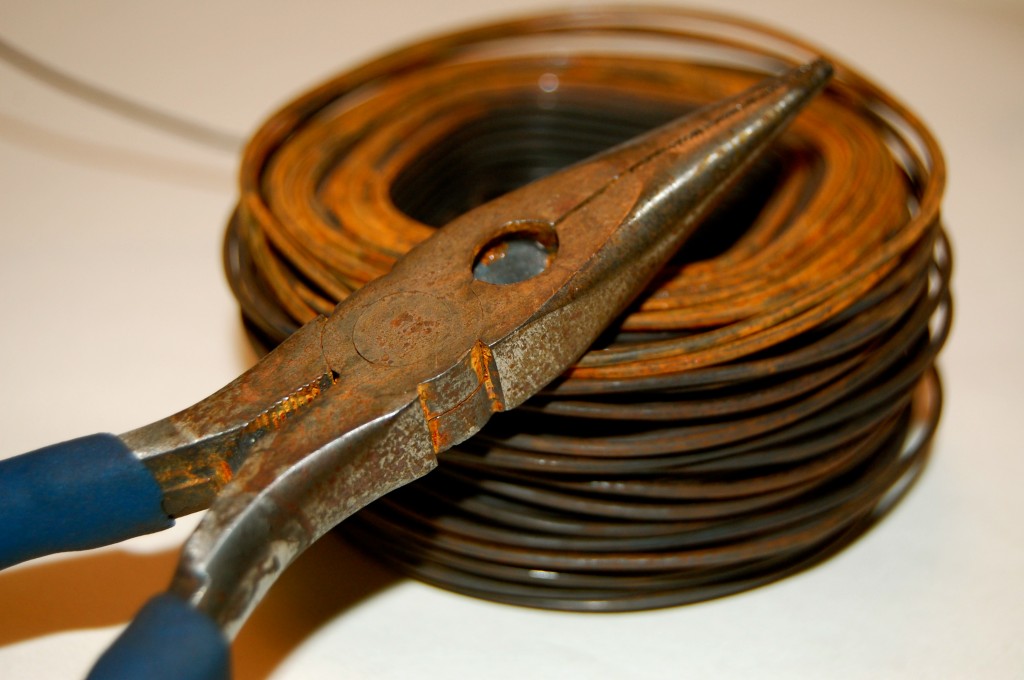
Rustic floral wire (remember? Trusty Rusty Wire) HAHA

Here are some other AWESOME reindeer crafts: 

Reindeer Pop-Up Card   Making Figures: Reindeer  Reindeer Holiday Coasters

Here are some reindeer materials for you party!!!

Martha Stewart Reindeer Cello Treat Bags 8-Pack   Martha Stewart Craft Deer Family Window Cling

Martha Stewart Reindeer Figurines 

Reindeer Facts

Reindeer have different functions in different cultures. The larger-than-life holiday identity of reindeer likely originated from their ability to pull a heavy sleigh around their arctic homes.  Today, reindeer are mainly used in the United States and around the world to demonstrate the link between humans and animals and the environment. Their antlers are made up of the fastest growing tissue in the animal kingdom, growing up to an inch a day. Made of bone, reindeer antlers can grow within only a few weeks of birth. WOW. Reindeer are the only species of deer where both sexes have antlers, although only male reindeer develop a brow shovel, which they use to clear snow and ice off of grass.

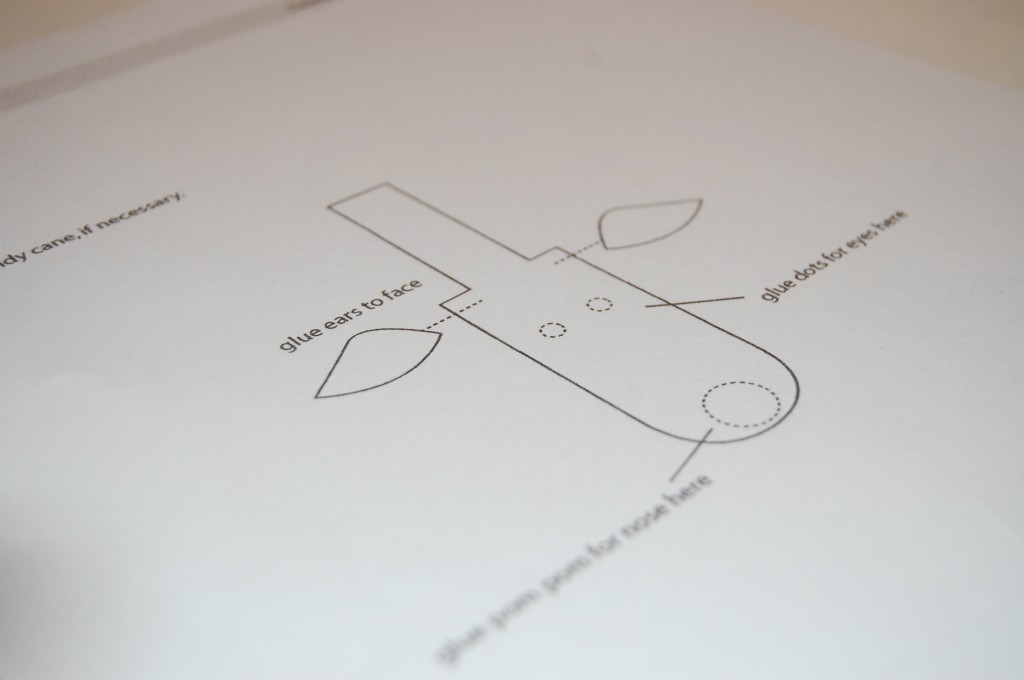
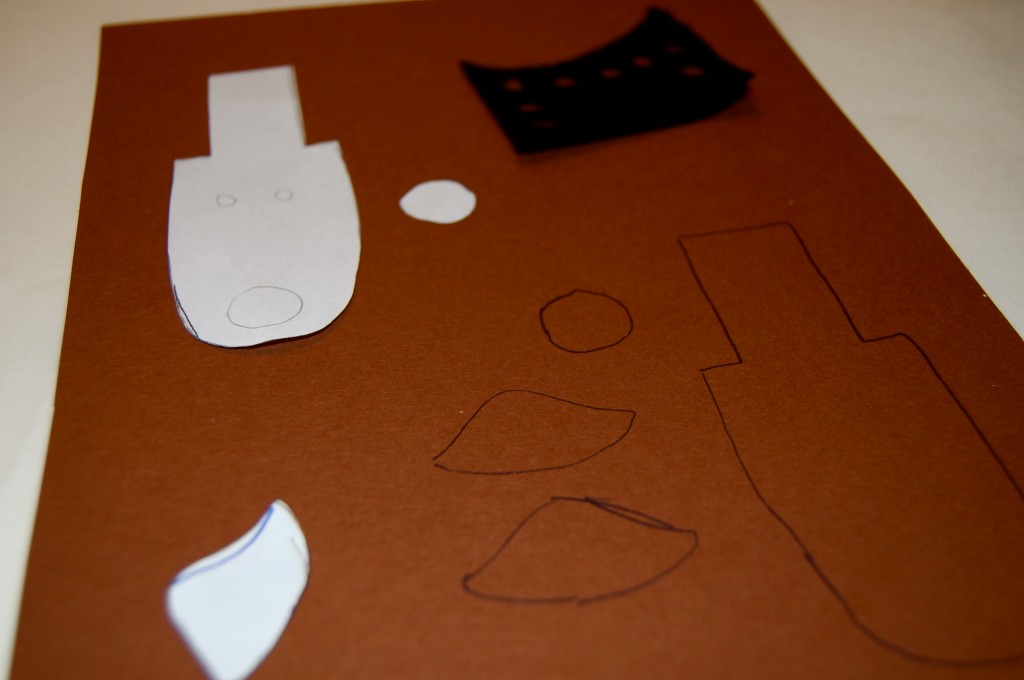
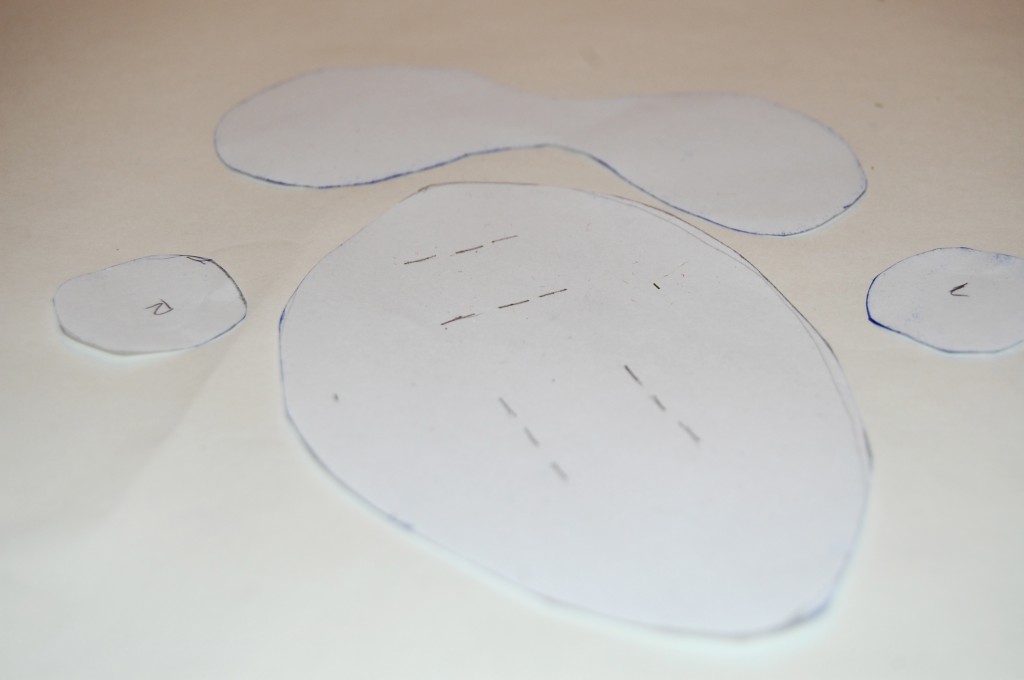
Check above for the template. I was already giddy and happy when I saw this template.

Place template on brown felt or brown paper and trace face and ears; cut them out.

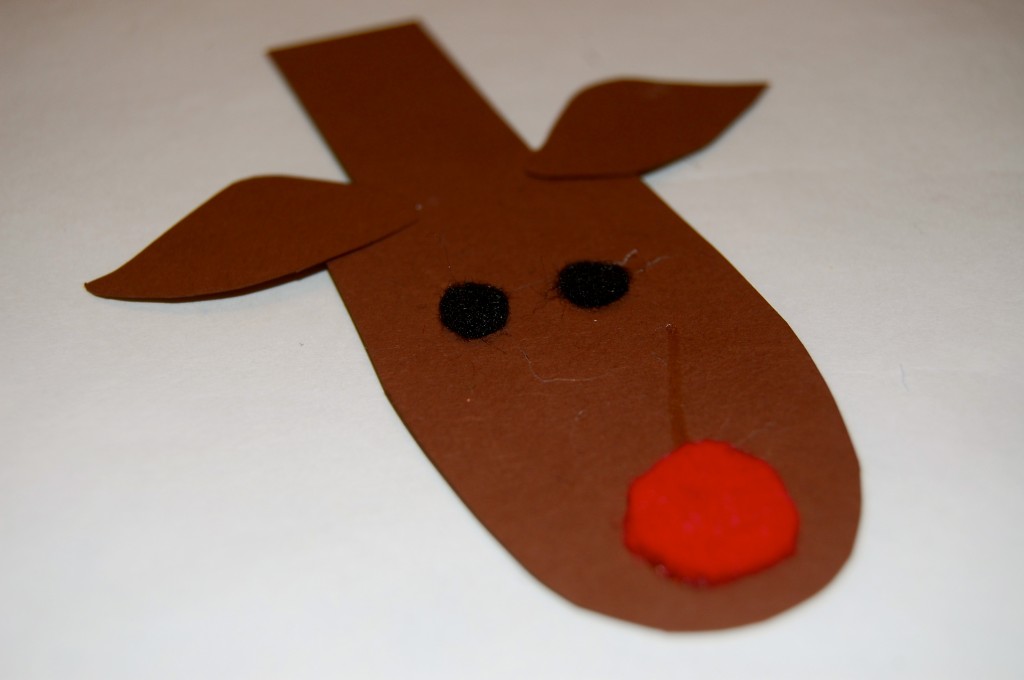
Make eyes by punching two dots out of black felt using a hole punch. Glue black dots to face. Let dry for 15 minutes.

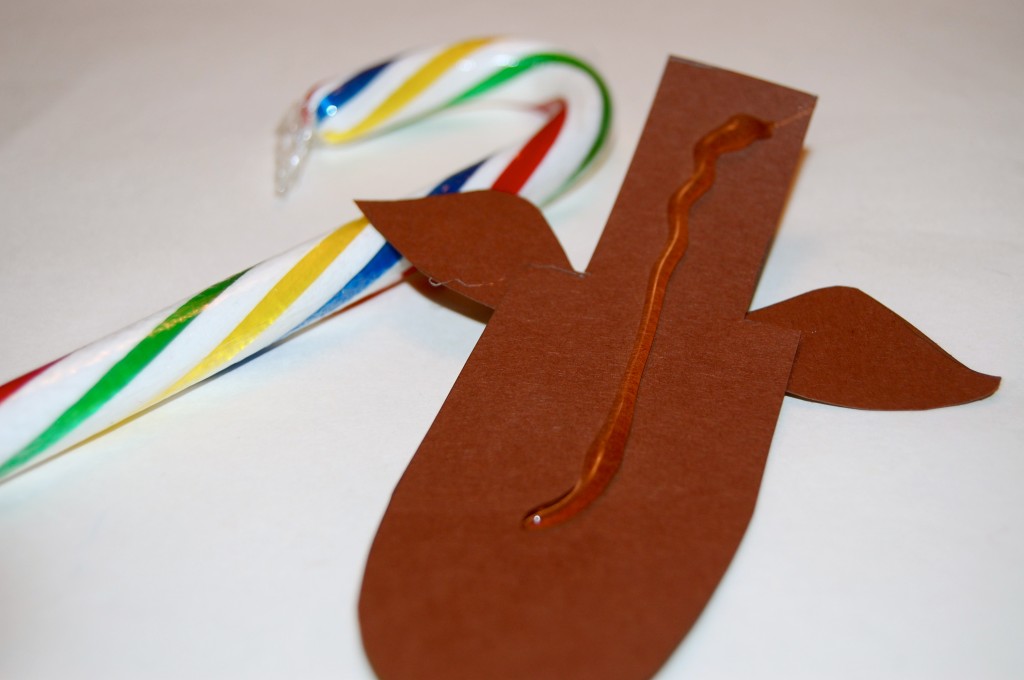
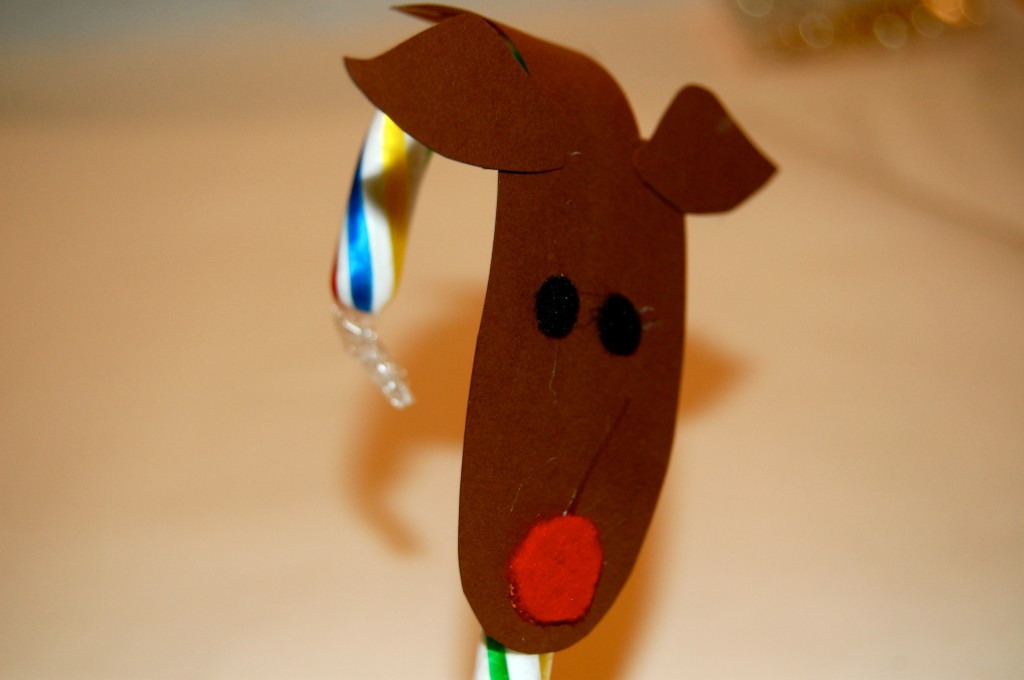
Apply face and ears to candy cane using nontoxic glue. Attach craft pom-pom for the nose using nontoxic glue. If making a Rudolph candy cane, use a red pom-pom; otherwise, use brown.

She’s coming togetherrrrrererererrer (i was singing that) haha

Look FOLKS it’s out HANDY DANDY TRUSTY RUSTY WIRE!!!  Twist rustic floral wire to make antlers. Attach antlers by twisting around top of candy cane. Twist one small piece onto each side of the main antlers to make branches.

OH MY BAJEZZERS. I WANNA EAT THESE BABIES.

LAWD! If you these these are not scrumptious looking then you CUH-RAZY! I can’t believe this is 98! It’s the year I GRADUATED {{teehehehe I shouldn’t of said that}} Check Martha out here!

Check out Martha’s original craft HERE and you can purchase Martha Stewart’s Encyclopedia of Crafts here!

CLICK HERE TO WATCH VIDEO  (me on the show!)


 Click HERE to read all about it!!!

 IF YOU DECIDE TO DO ANY OF THE CRAFTS, SHOOT ME AN EMAIL AND I WILL ATTACH  IT TO THE POST WITH A LINK THAT GOES STRAIT TO YOUR BLOG!  IF YOU DON’T HAVE A BLOG JUST EMAIL IT TO ME AND I WILL PUT IT UP!!!!
Thanks to Martha Stewart crafts for sponsoring me with craft supplies!
 
Resources
Special thanks to Jim Knox of Connecticut’s Beardsley Zoo for sharing these interesting reindeer facts. See more of Jim Knox on “Jim Knox’s Wild Zoofari,” a live-action wildlife series airing on PBS that teaches kids about wildlife conservation. The reindeer seen on today’s show are from Santa’s Workshop, a theme park in North Pole, New York.

Candy Cane Mice

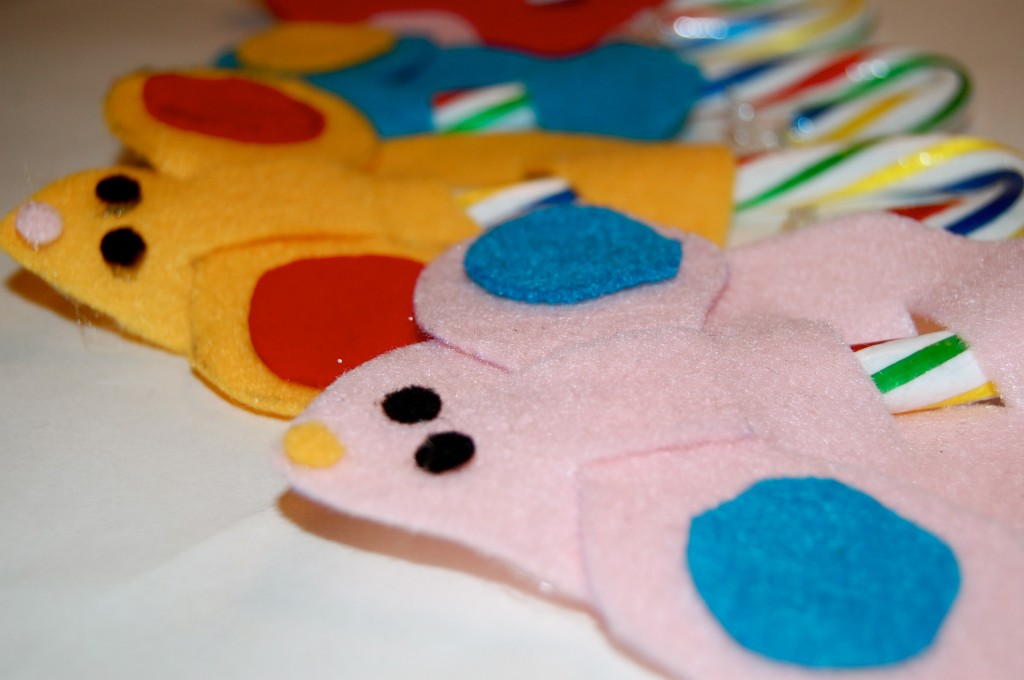
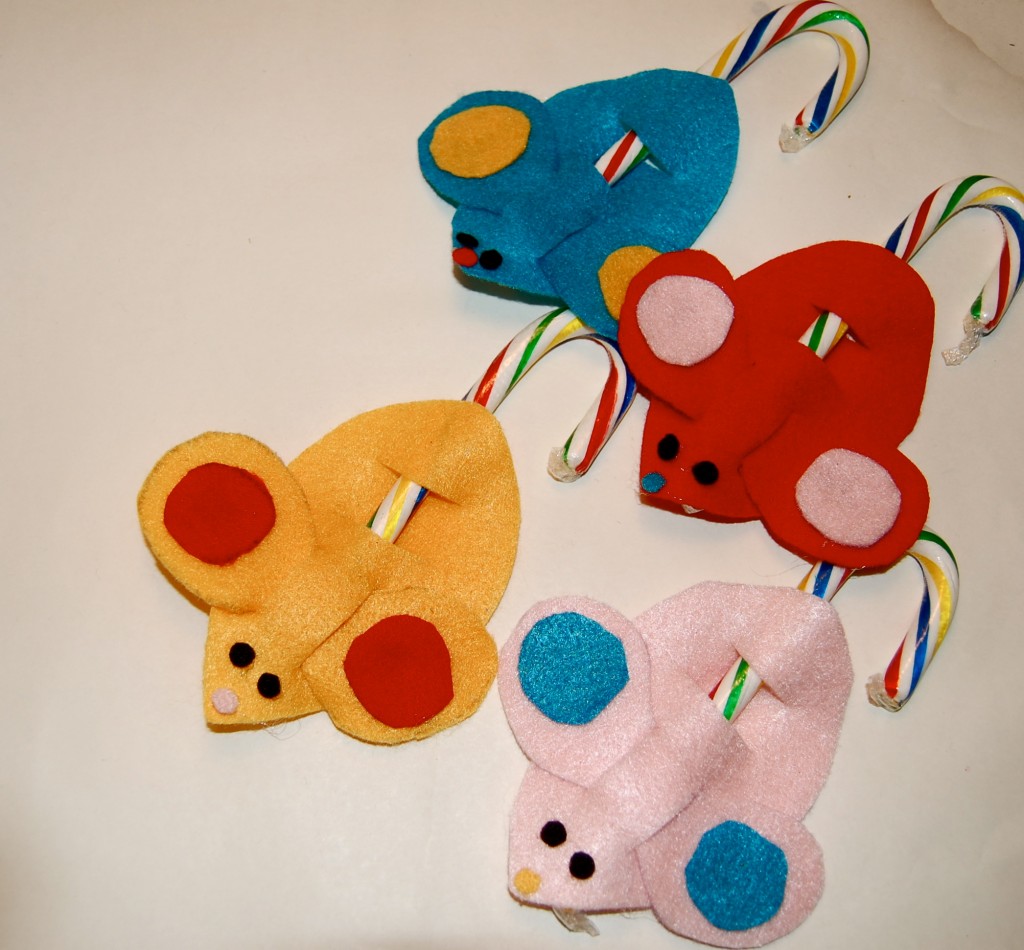
It’s the kids who will be doing the nibbling when these sweet mice are around. A combination of two Christmas icons — mice and candy canes — these tiny fabric creatures with their red-and-white-striped tails make fitting favors at a holiday dinner or delightful gifts for children to give to friends and relatives.

RIGHT!! Just wait till you see the scrumptious little munchkins!!

Get the mice template HERE.

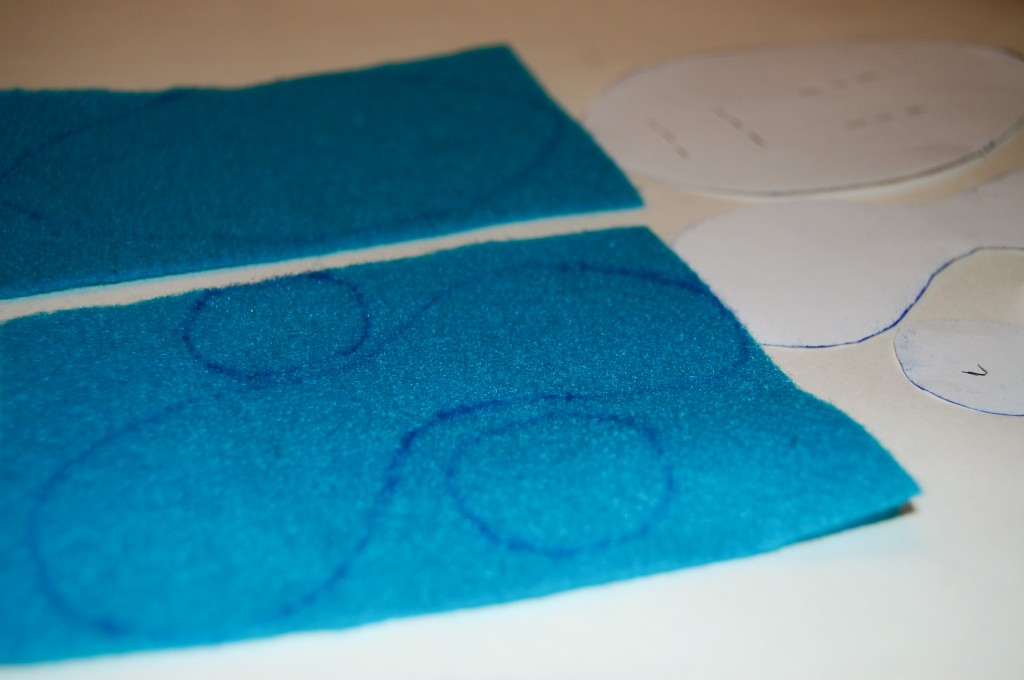
After you cut out the images from your template trace them onto felt.

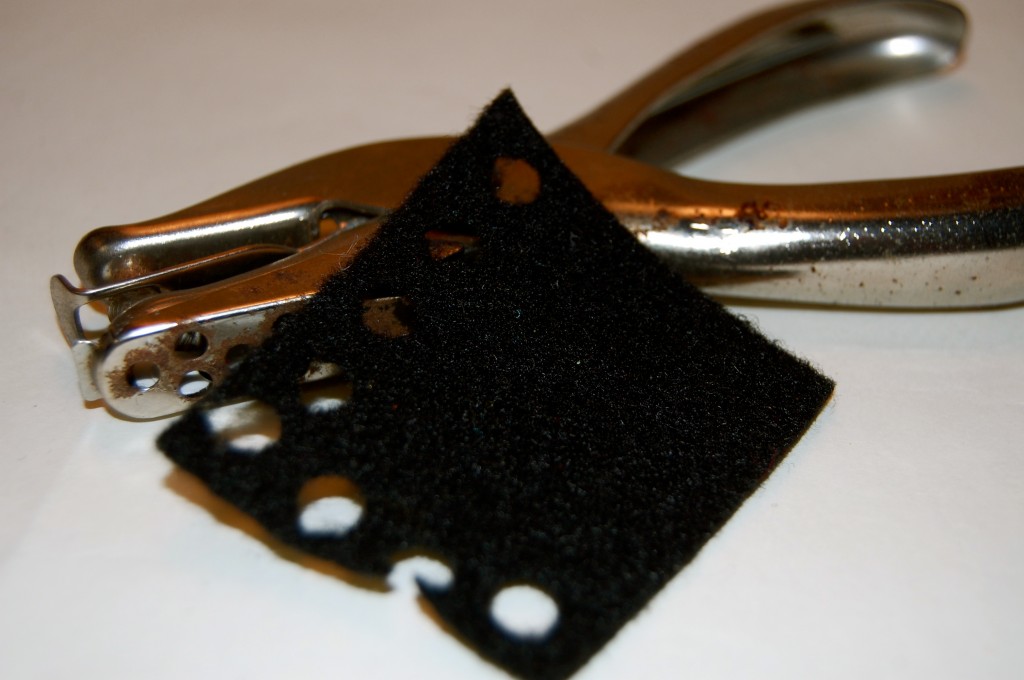
Take your paper punch and punch out a couple of holes into black felt.

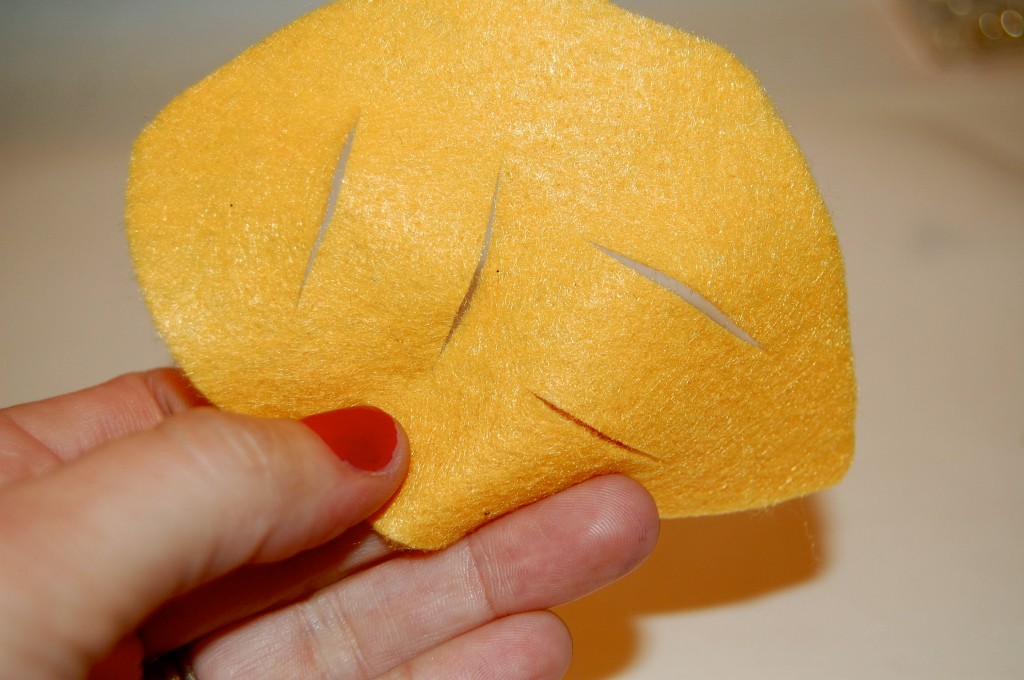
You will cut slices like this.

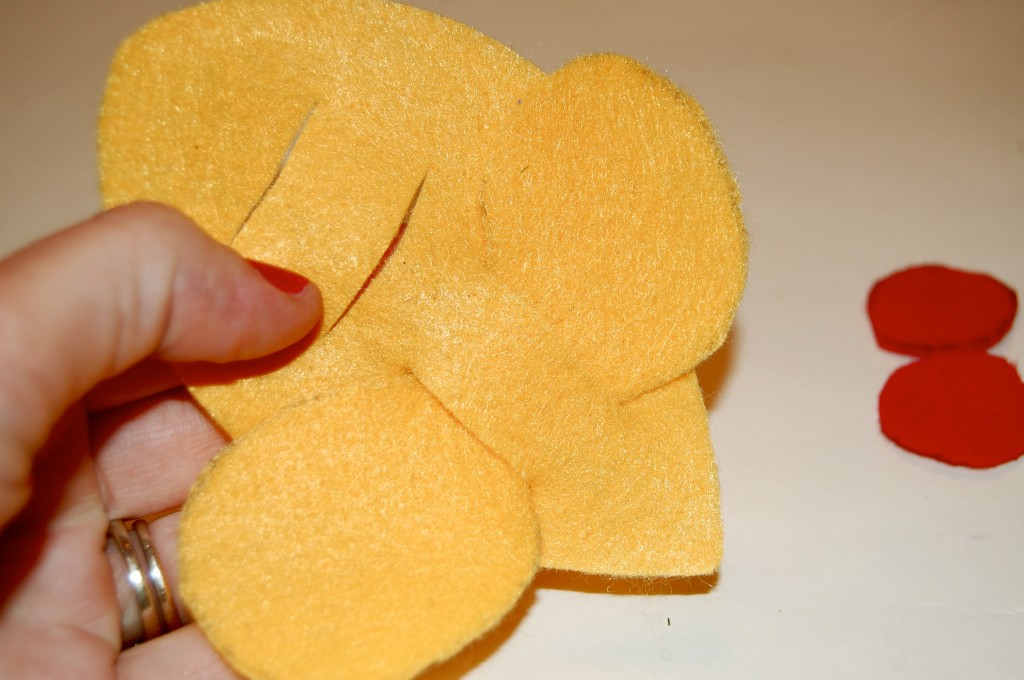
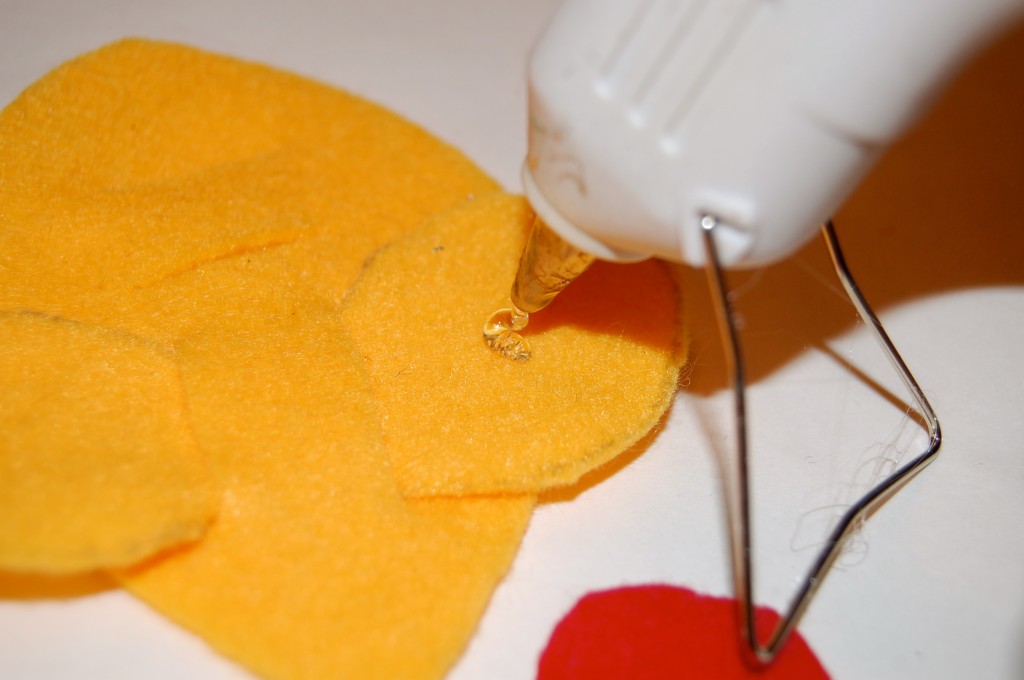
After you pass the ears through the slit put a dab of glue on top of each ear.

OMG. Are you “really” ready for these suckers. I don’t think you are.

I never thought I would say that I absolutely LOVE mice now. Well, just pink and yellow ones.

Up an at um early this morning and seeing crooked mice because I am SO tired,

Check out Martha’s original craft HERE and you can purchase Martha Stewart’s Encyclopedia of Crafts here!

CLICK HERE TO WATCH VIDEO  (me on the show!)

Click HERE to read all about it!

 IF YOU DECIDE TO DO ANY OF THE CRAFTS, SHOOT ME AN EMAIL AND I WILL ATTACH  IT TO THE POST WITH A LINK THAT GOES STRAIT TO YOUR BLOG!  IF YOU DON’T HAVE A BLOG JUST EMAIL IT TO ME AND I WILL PUT IT UP!!!!
Thanks to Martha Stewart crafts for sponsoring me with craft supplies!


How To Make Embossed Cards

Take your projects to a new level by learning a technique called embossing. Embossing is a technique used to create a raised, or 3-dimensional, image on a piece of paper. You can emboss store-bought stationery or cards, or you can make your own from card stock.

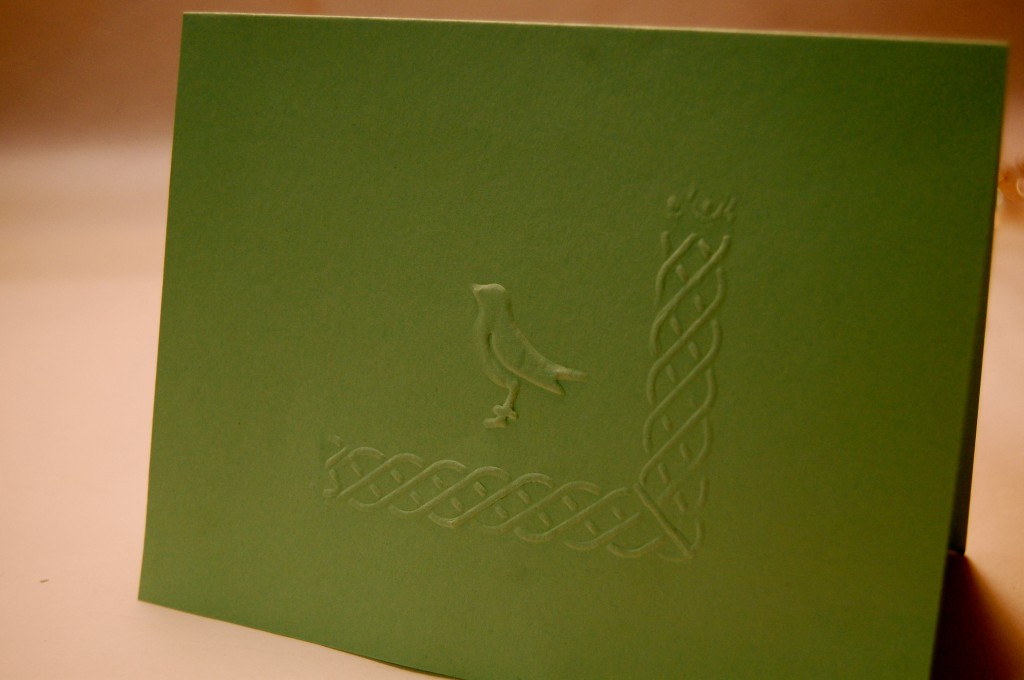
When my friend at Martha Stewart sent me this starter kit I was like.. I must be stupid because I’ve never seen this! It looked hard but it was SO easy. Lemme tell you how ELEGANT this looks.

Ok. I’ll tell you. ELEGANT.

Let’s get started!!! It’s 2:30 in the morning and I think I just felt drool on my lip.

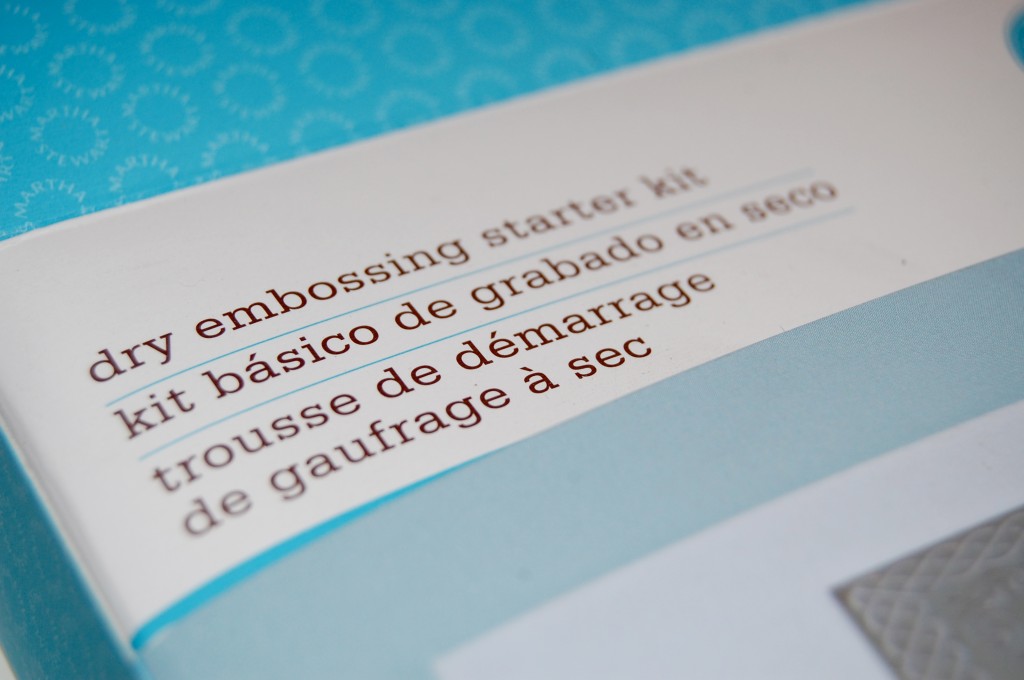
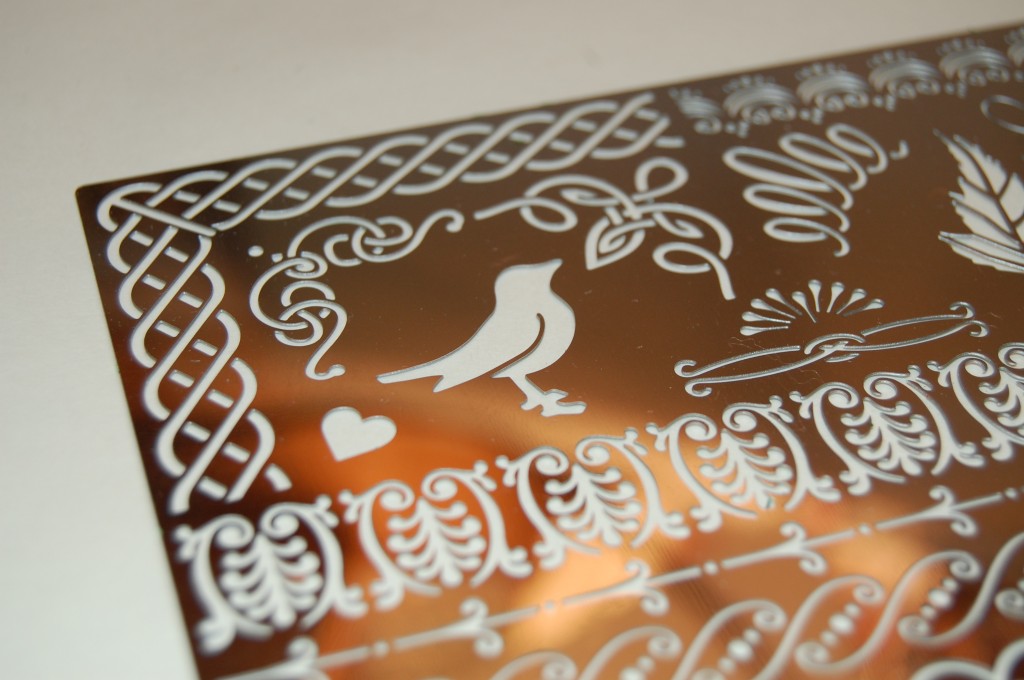
This is what the box will look like in the store. You can order one HERE.

I absolutely LOVED the bird. Tweet Tweet. Speaking of TWEETS don’t forget to find me on TWITTER so we can twitterbomb.

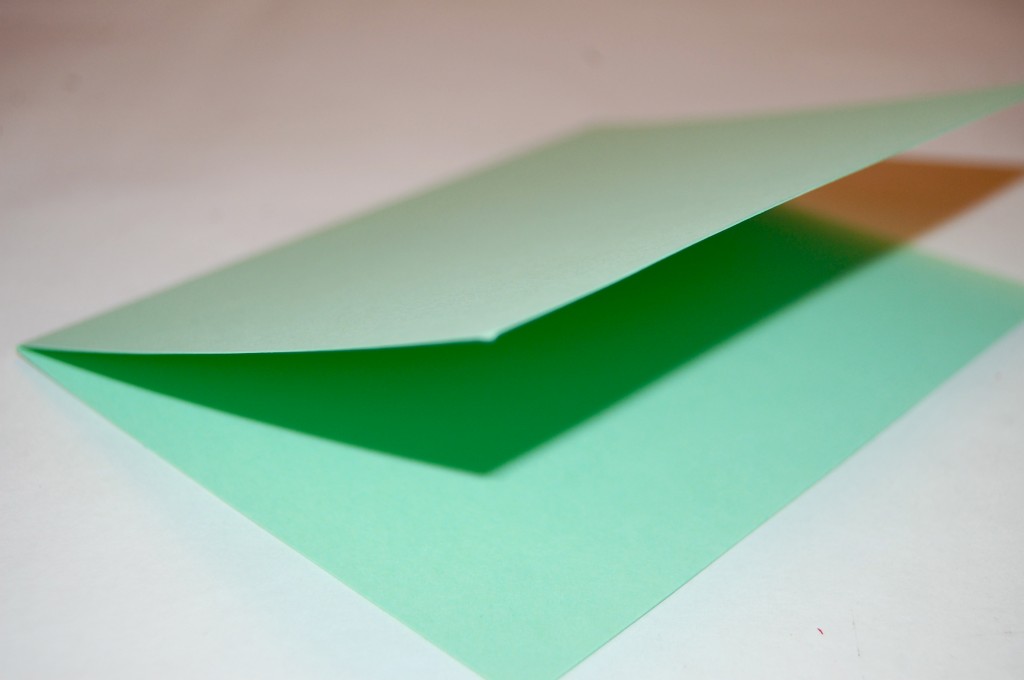
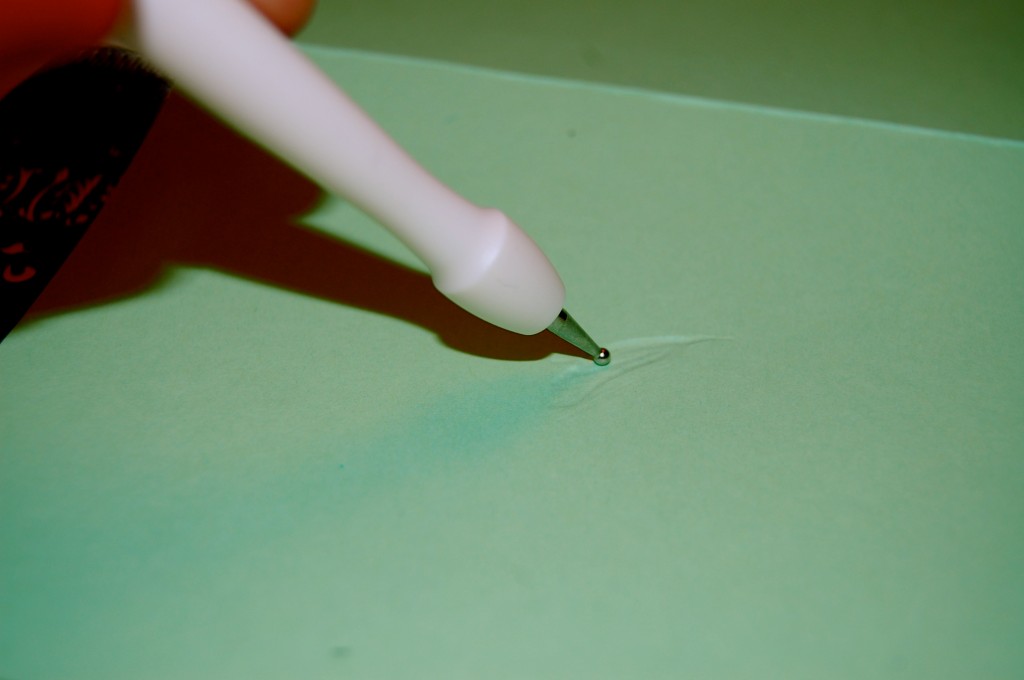
I started with card stock and folded it in half. I love this MINT color. Ya know, Lady GaGa said mint will be in next season.

Be careful not to press TOO TOO hard. We don’t want to work this hard and then tear it.. That would be an EPIC FAIL.

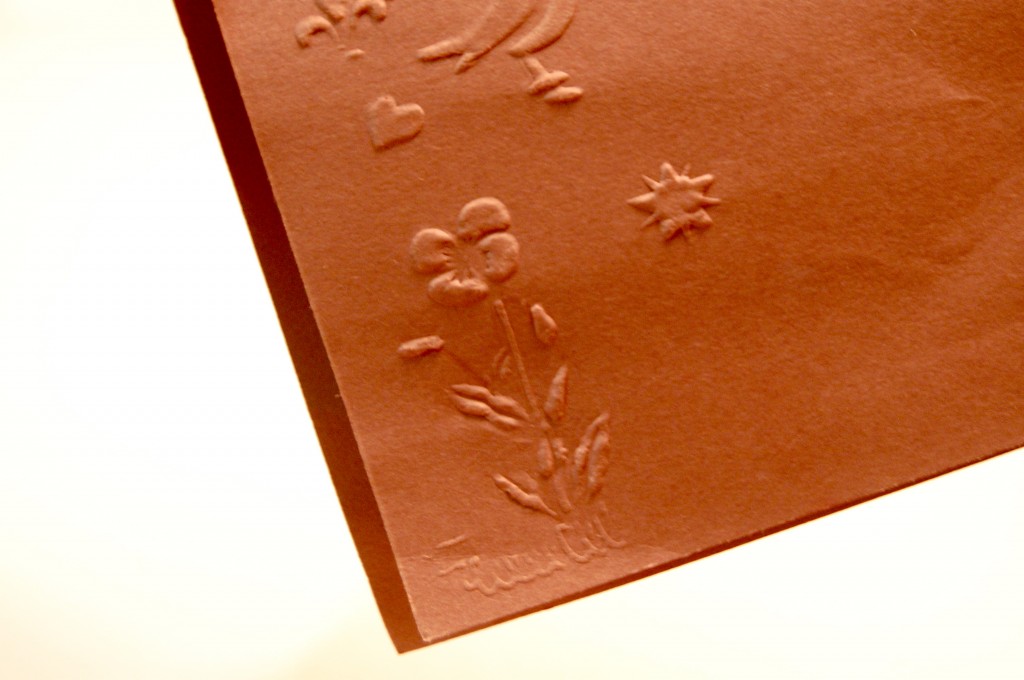
I know. I have OLIVE paper here. I made, let’s just say ((a few)) haha for Christmas cards.

This is just some things I was playing around with. I am in love.

Check out my friend Alex and Martha. Alex if your reading this…. I miss you and I’m cooking Gumbo on SUNDAY!

Wishing Martha, Alex, Stacey, Noel, & Lenore could come over this weekend,

Recycled Ornaments

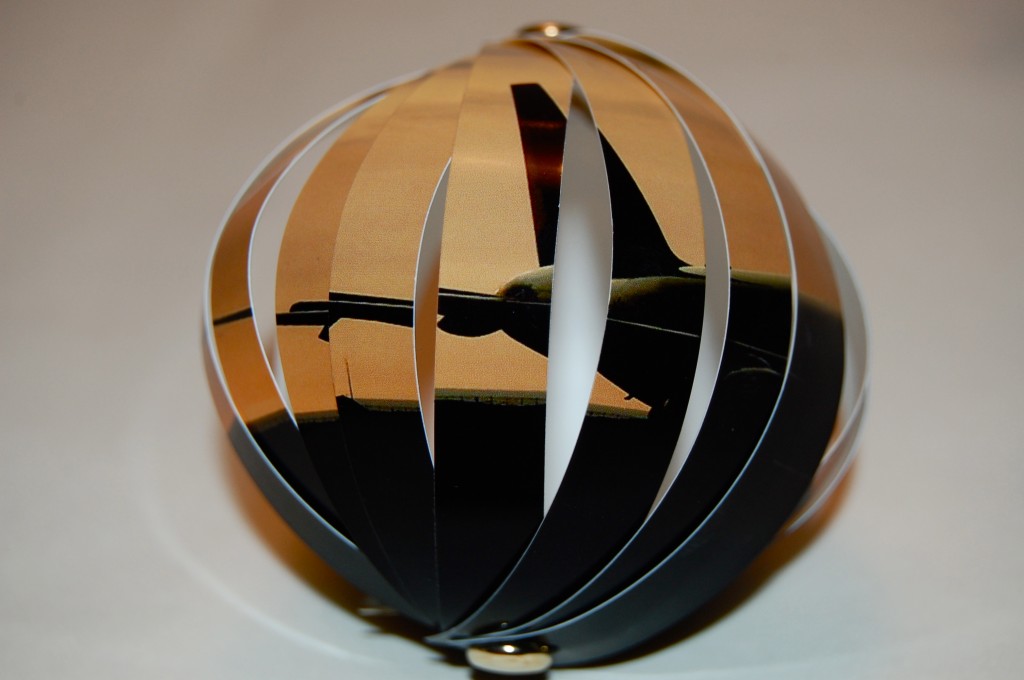
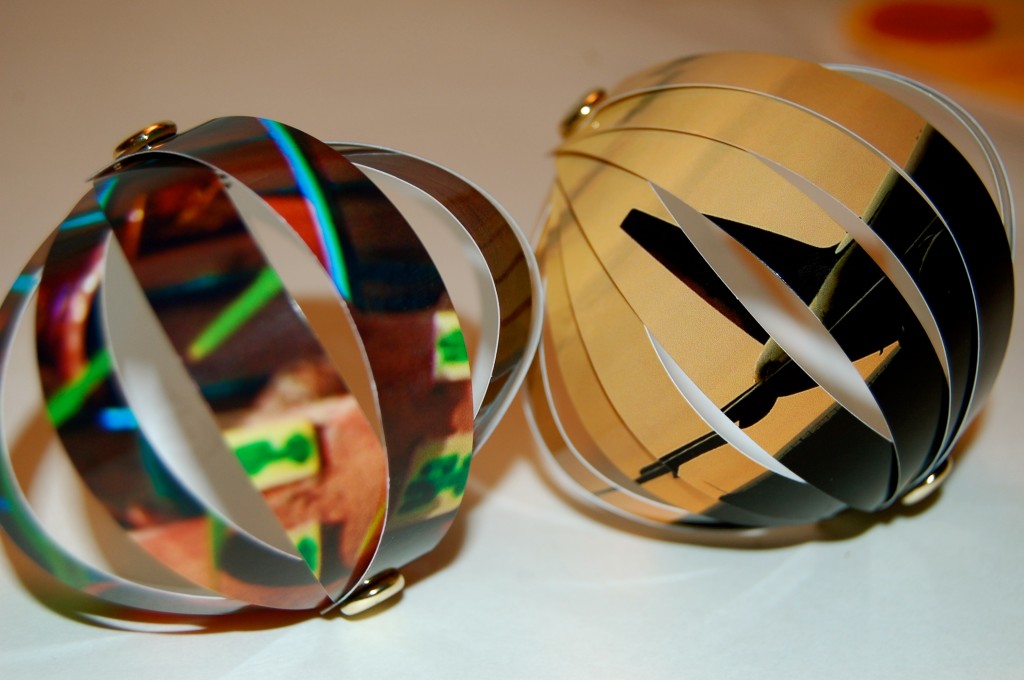
Holiday cards make perfect ornaments: dazzling and delicate yet impossible to break. In a few steps, turn cards into darling globes or circles that lock together, ready to twirl. Or frame a snowy scene in a frosting of sparkles. To make the glitter ornament, cut out a circle from a card and punch a hole for string; add glue around the edge and sprinkle with glitter. Hang your new ornaments with card garlands for an enchanting tree. HOW UH-MAZING is that Jaderbugs! Little one brought home one of these and I thought it was the most clever idea. How awesome to be able to capture a moment in time and decorate with it FOREVER. Just think…You could have a big ole tree full of pictures. HAHA

These airy ornaments are a breeze to make.

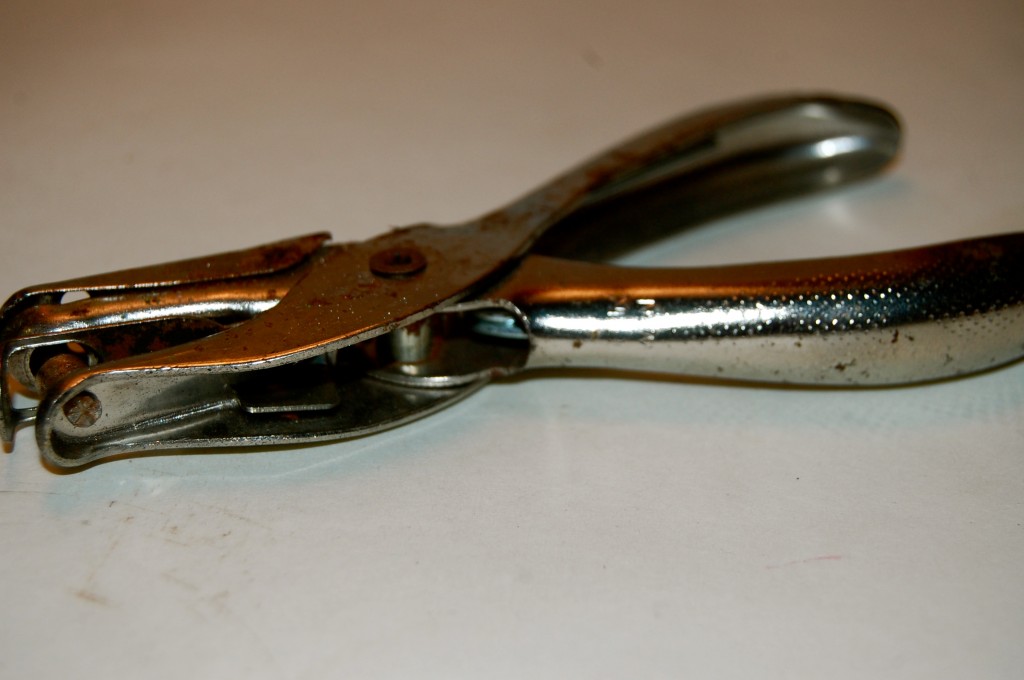
You will need a hole puncher. I know before you give me any hassle these babies are amazing. They are like, 25 years old. I have been having them for as long as I remember.

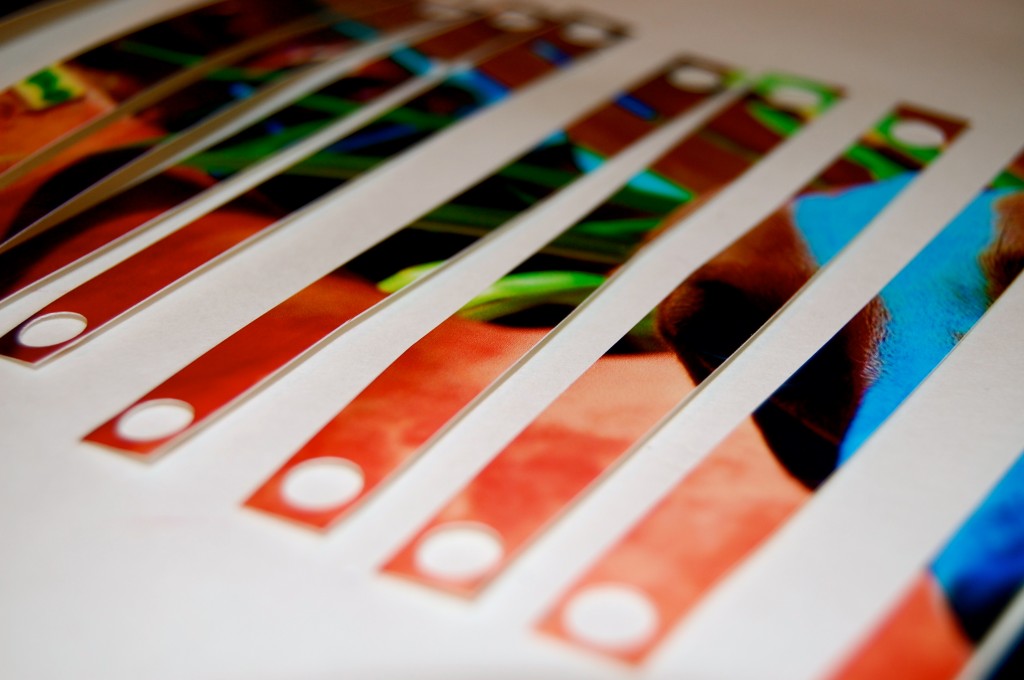
Cut a card into narrow strips; you’ll need about eight to 20 pieces, depending on how much space you want between them.

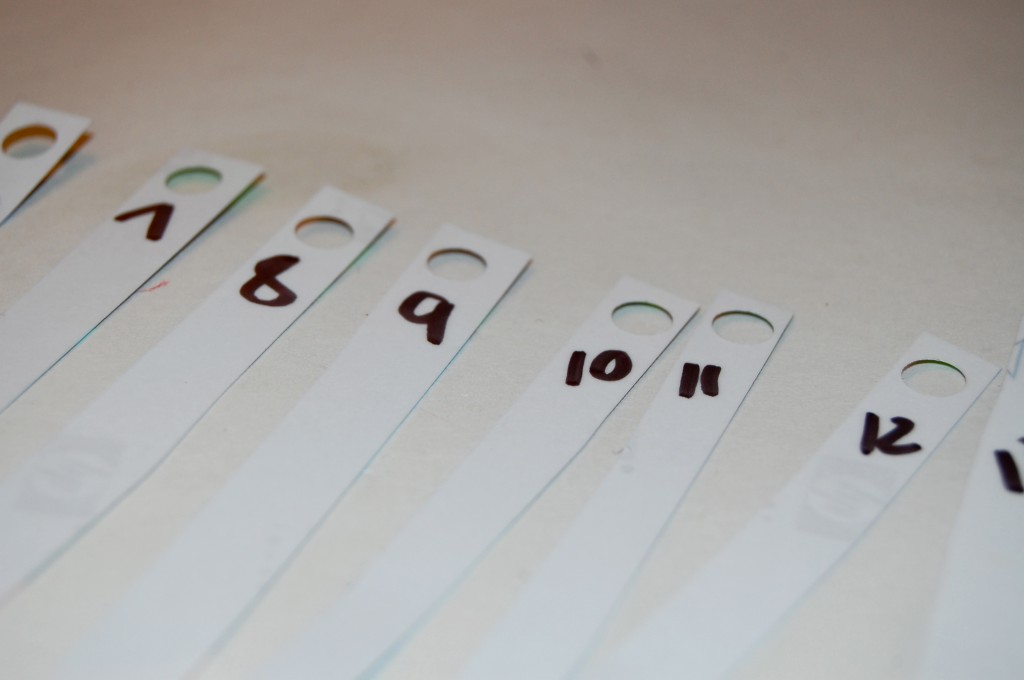
I always number mine that way I don’t mix them up. OH and remember to keep your numbers at either the top or bottom that way they are all facing the right direction. Yep. Full of tricks. Don’t forget after you cut all of your slices to punch on EACH end with the hole puncher!

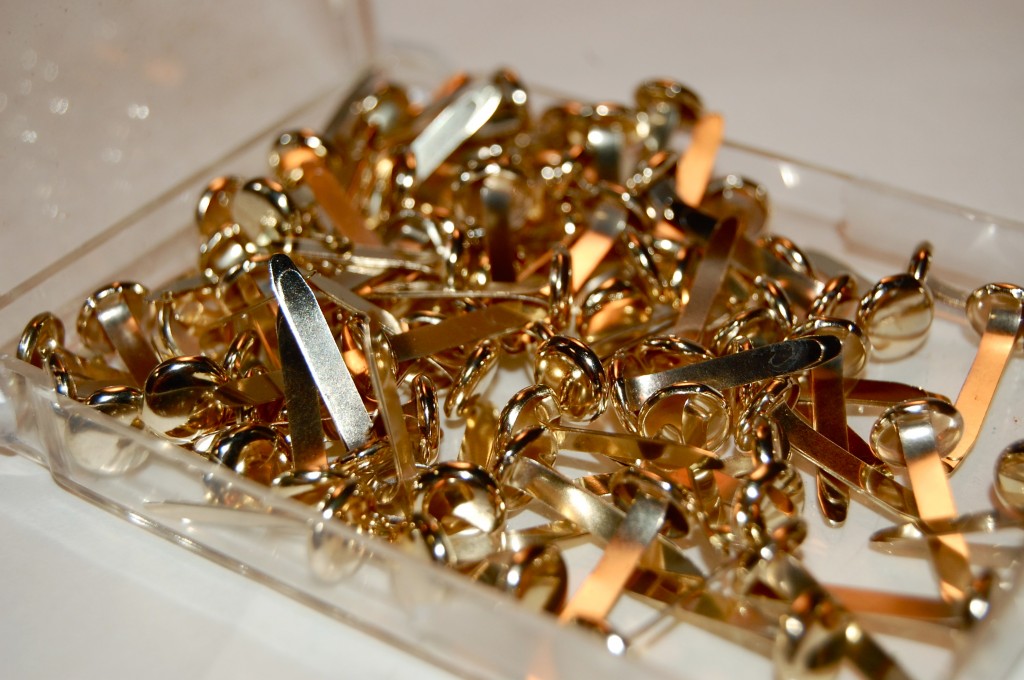
Get some good ole paper fastener’s.

Stack strips and punch holes through both ends with a hole punch (if the stack is too thick, do a few strips at a time); insert a paper fastener into each hole.

Now do you see what I mean. PRICELESS.

Wishing I was the cow jumping over the moon, or the sheep jumping the fence…


Check out Martha’s original craft HERE and you can purchase Martha Stewart’s Encyclopedia of Crafts here!

CLICK HERE TO WATCH VIDEO (me on the show!)


Click HERE to read all about it!!!
 IF YOU DECIDE TO DO ANY OF THE CRAFTS, SHOOT ME AN EMAIL AND I WILL ATTACH  IT TO THE POST WITH A LINK THAT GOES STRAIT TO YOUR BLOG!  IF YOU DON’T HAVE A BLOG JUST EMAIL IT TO ME AND I WILL PUT IT UP!!!!
Thanks to Martha Stewart crafts for sponsoring me with craft supplies!