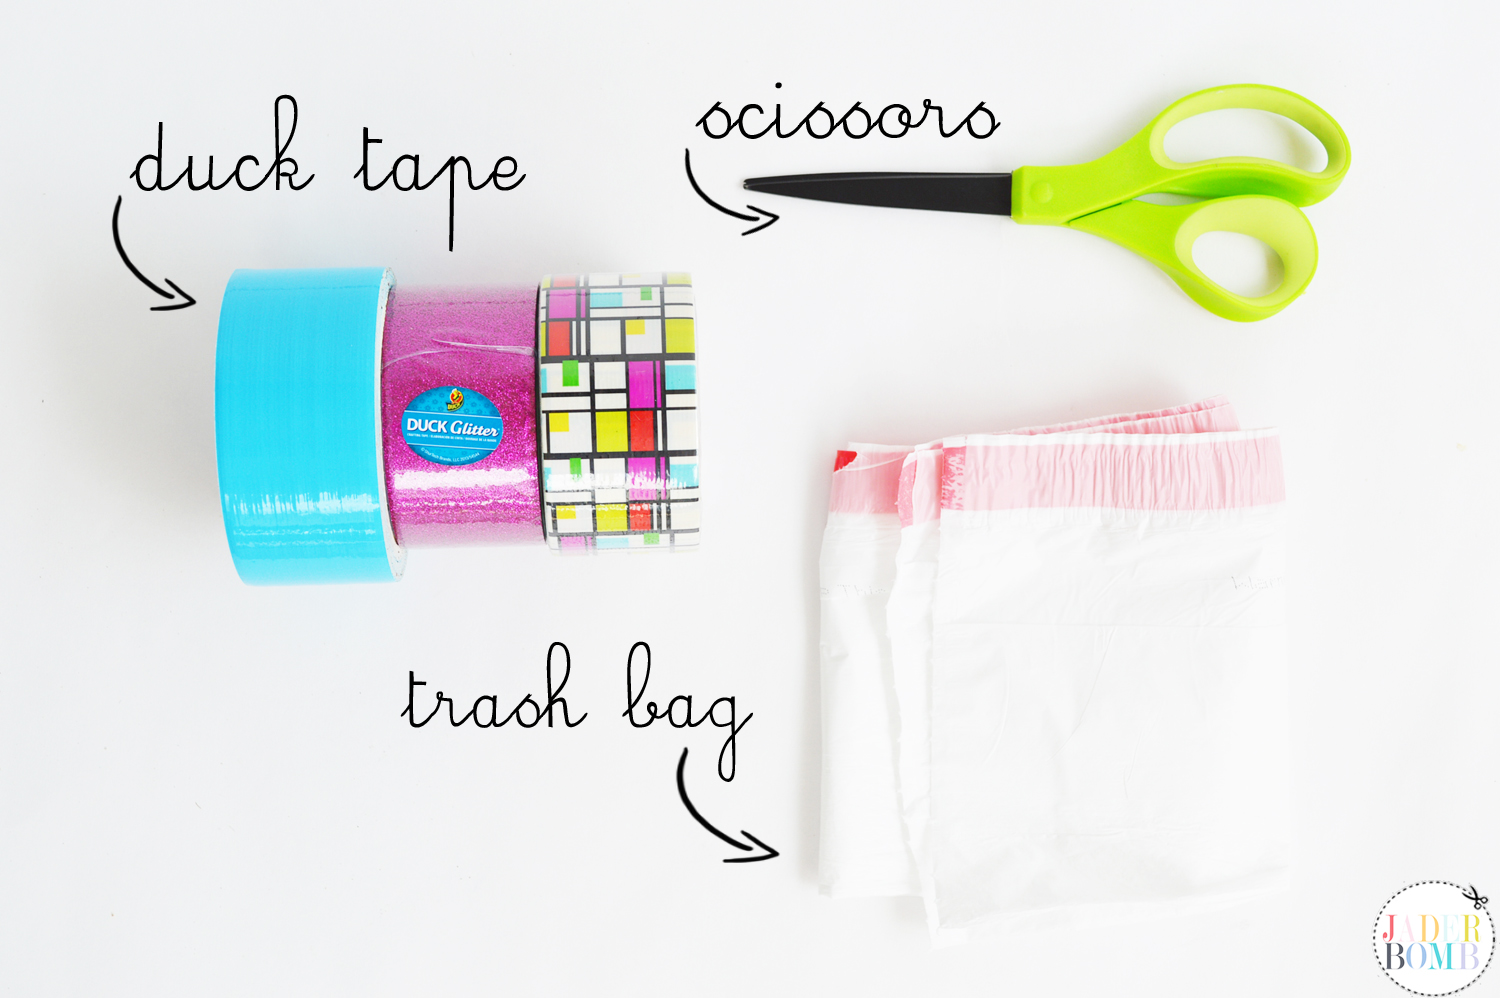
Howdy Hoo Jaderbugs! Today I felt blah so I decided to light a few candles and BAM, just like that I felt mucho-betta! But then I remembered how a while back I made these cute Duck Tape Tassel’s that I put around some candles. Now I am not kidding…these sticky tassel’s truly made my candles smell so much better. Ok not really but you get the point! Now let’s get STICKY! Remember when I made this Duck Tape Caddy….. the only thing it’s missing is wheels. 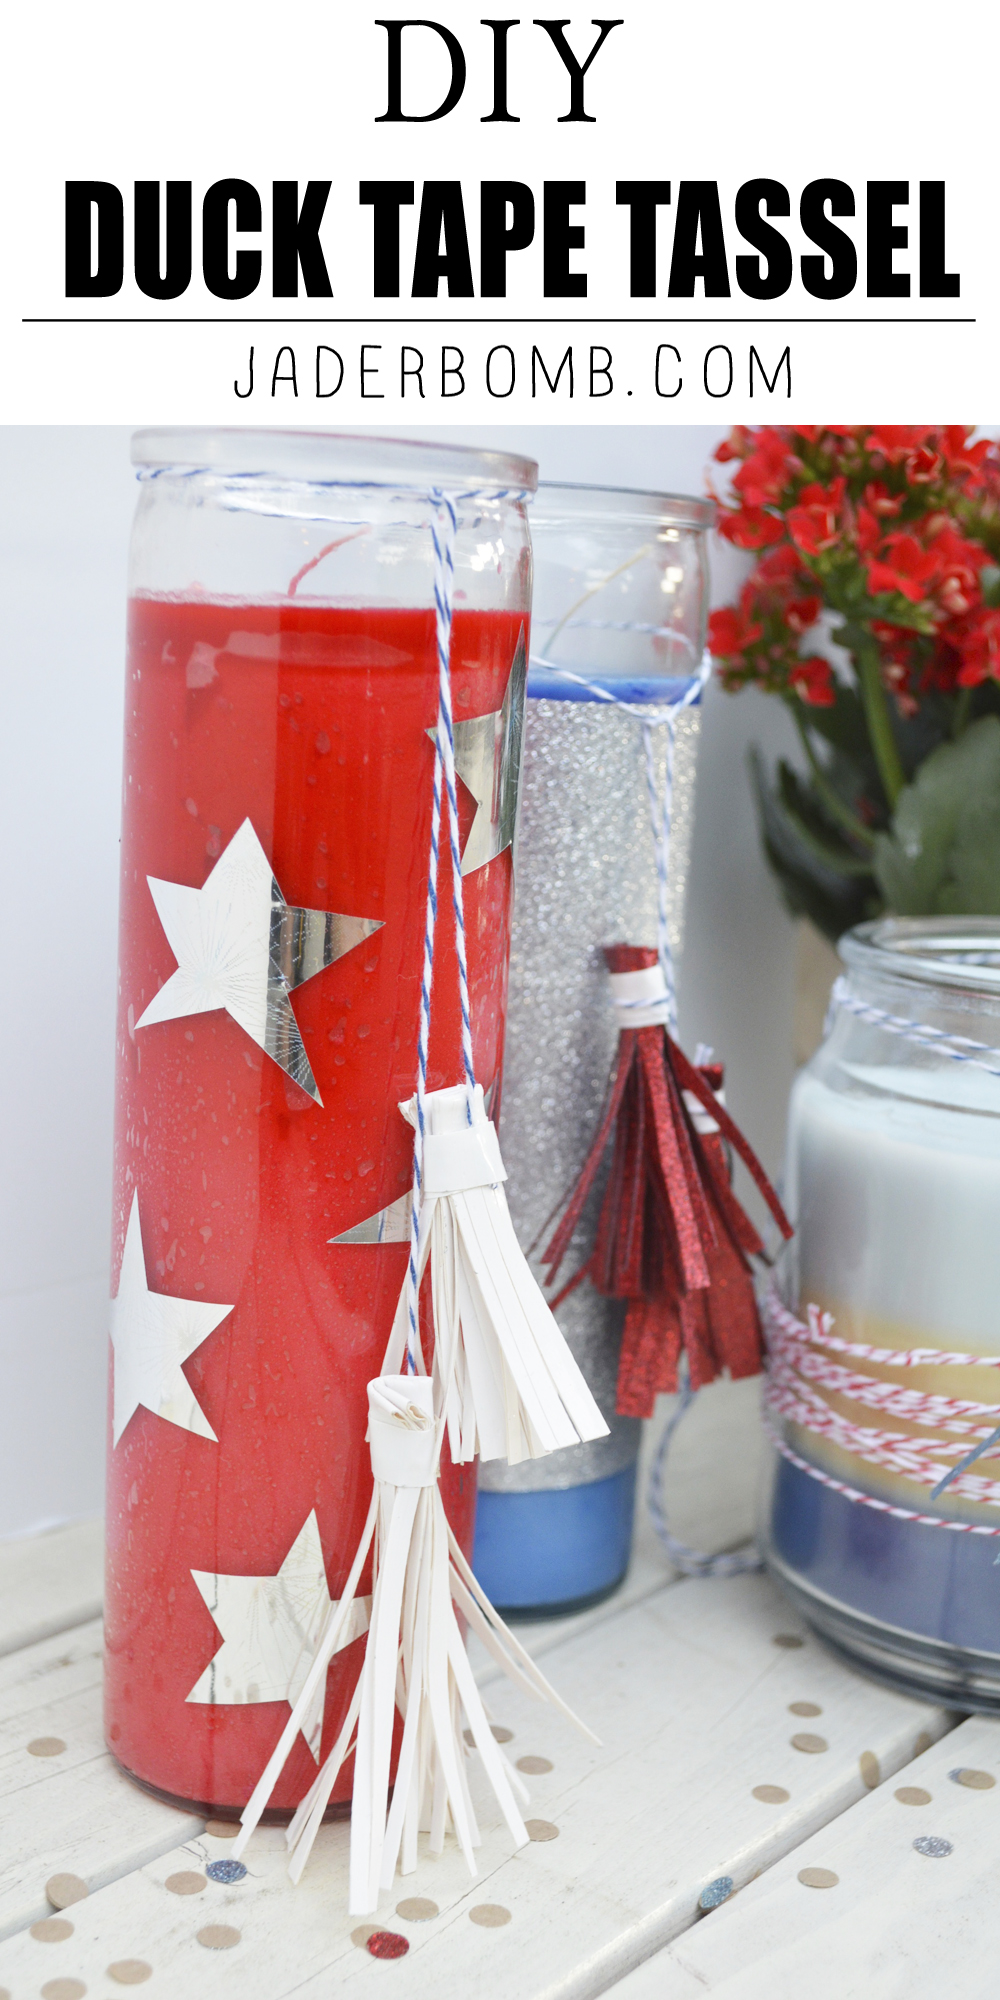 These are all the products I used to decorate the candles but you can use any color tape you want. The main products you will need are DUCK TAPE (duh) and scissors. The rest are like side dishes at a fancy restaurant.
I do however recommend using duck tape scissors made my Fiskars. They cut through this sticky madness like budduh. 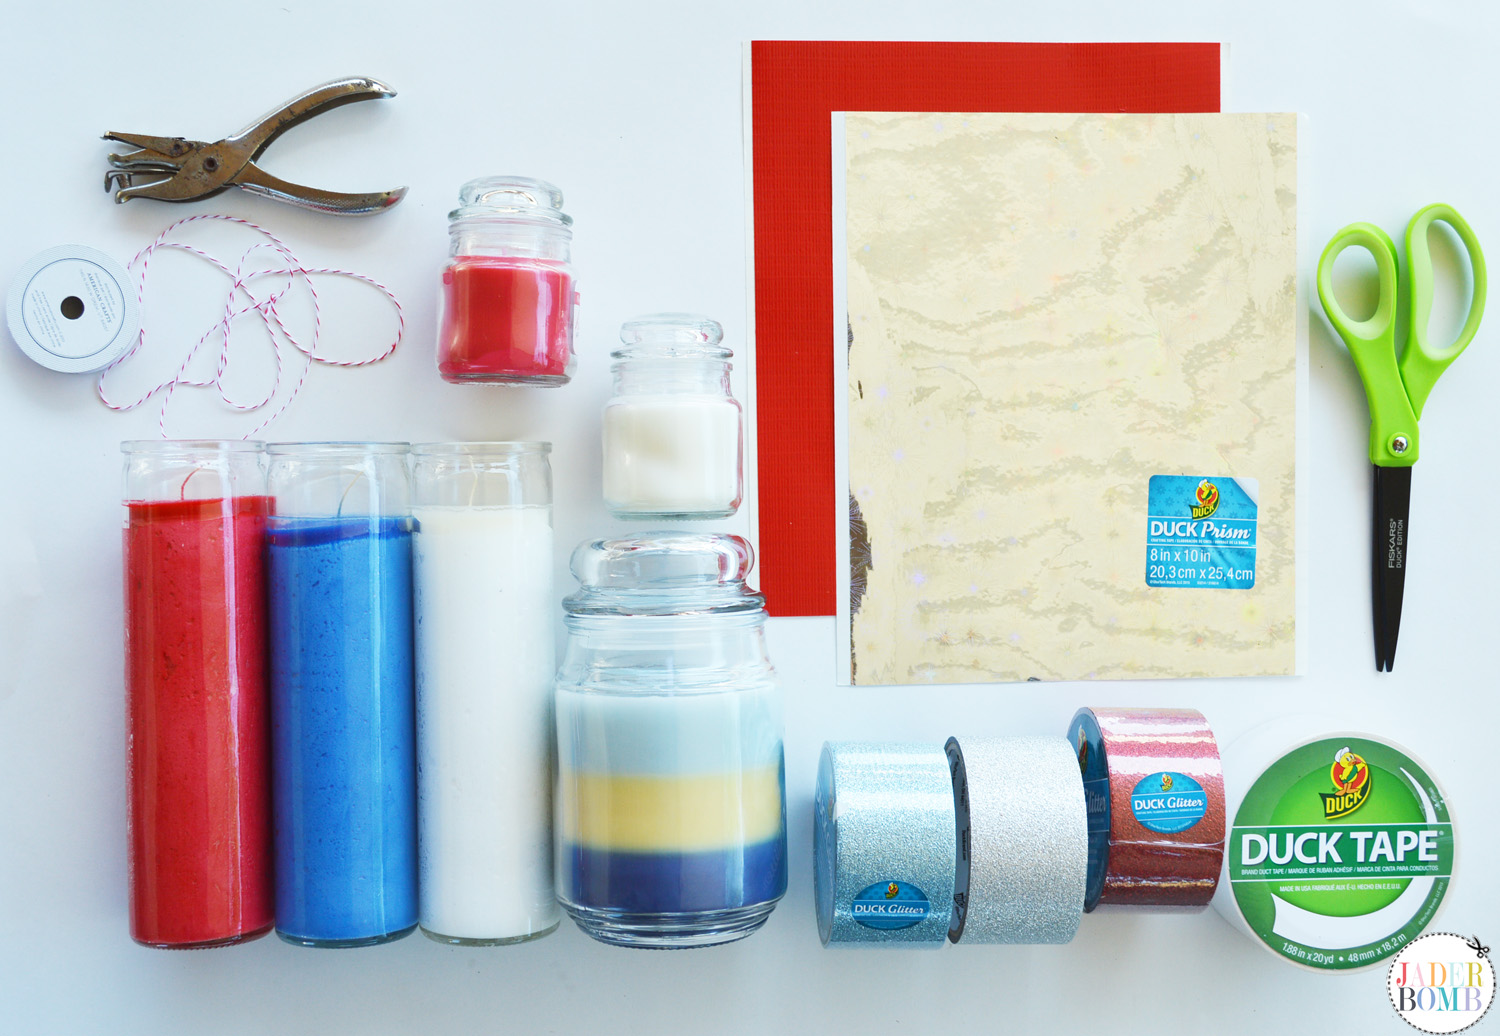
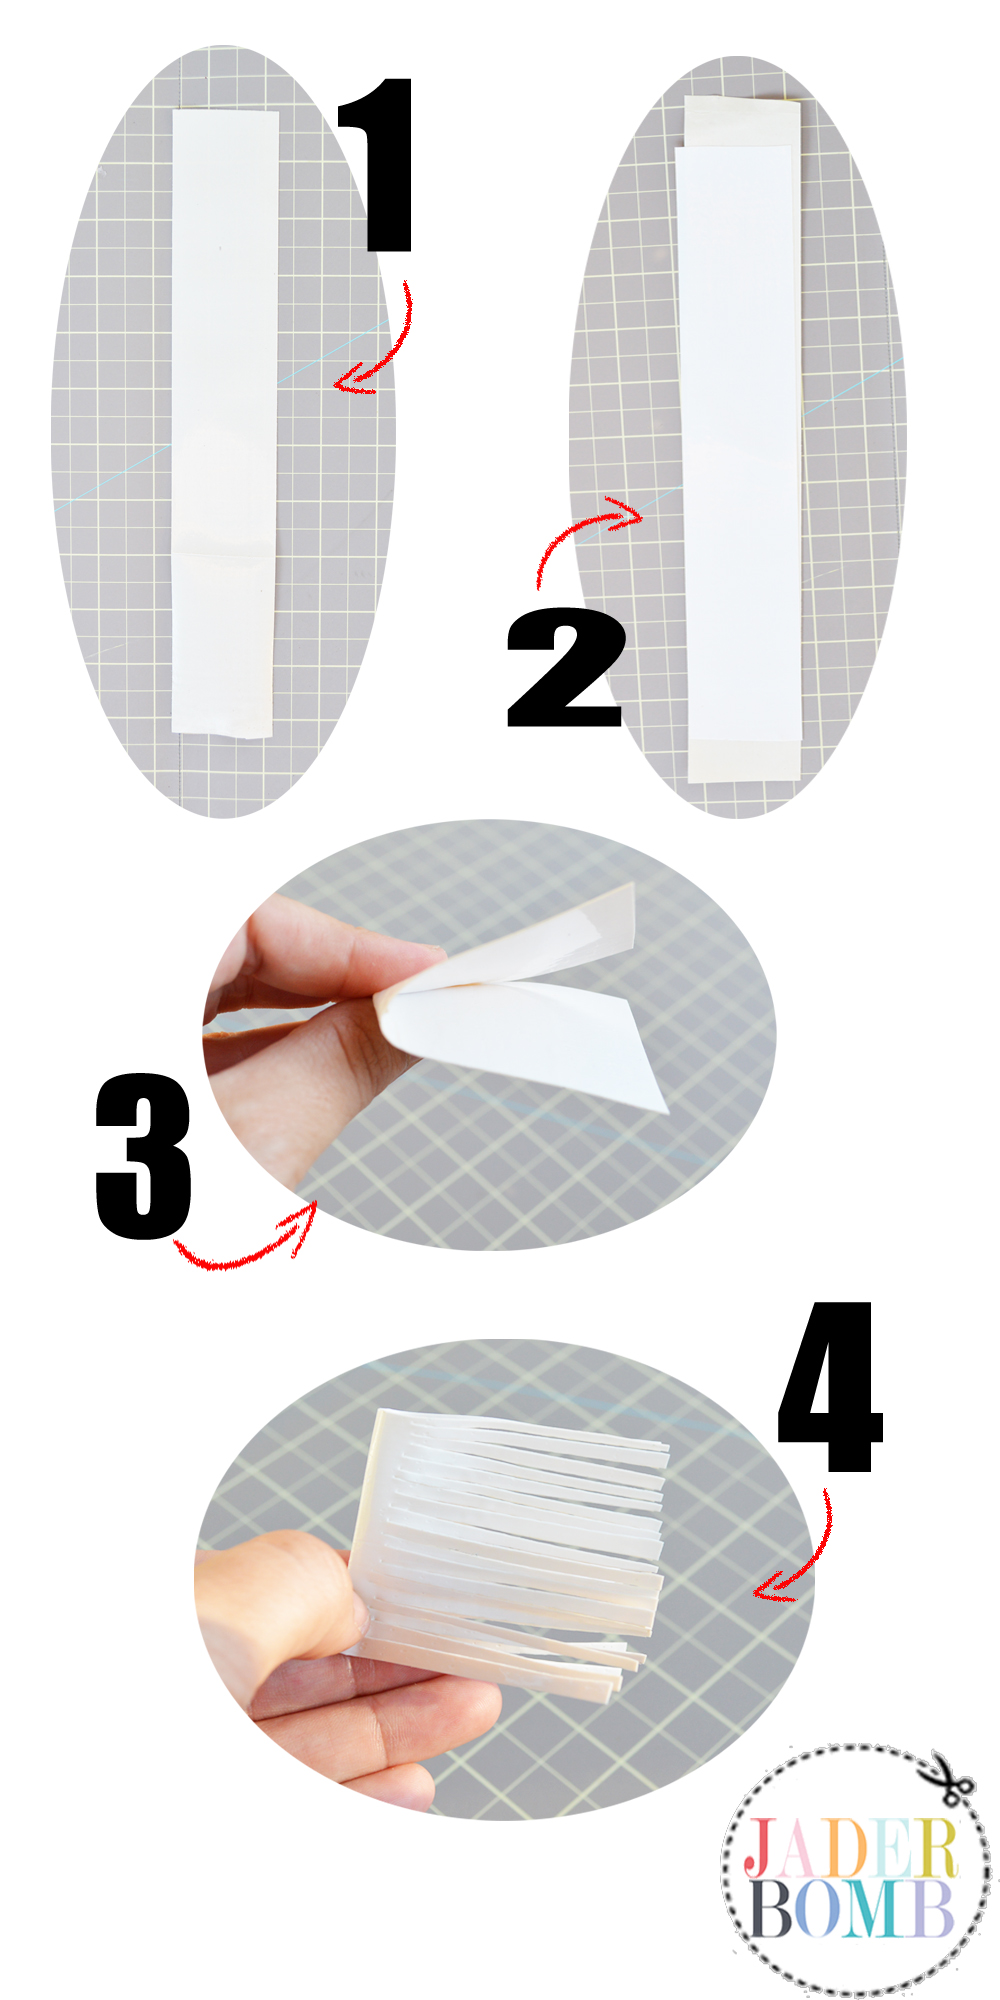
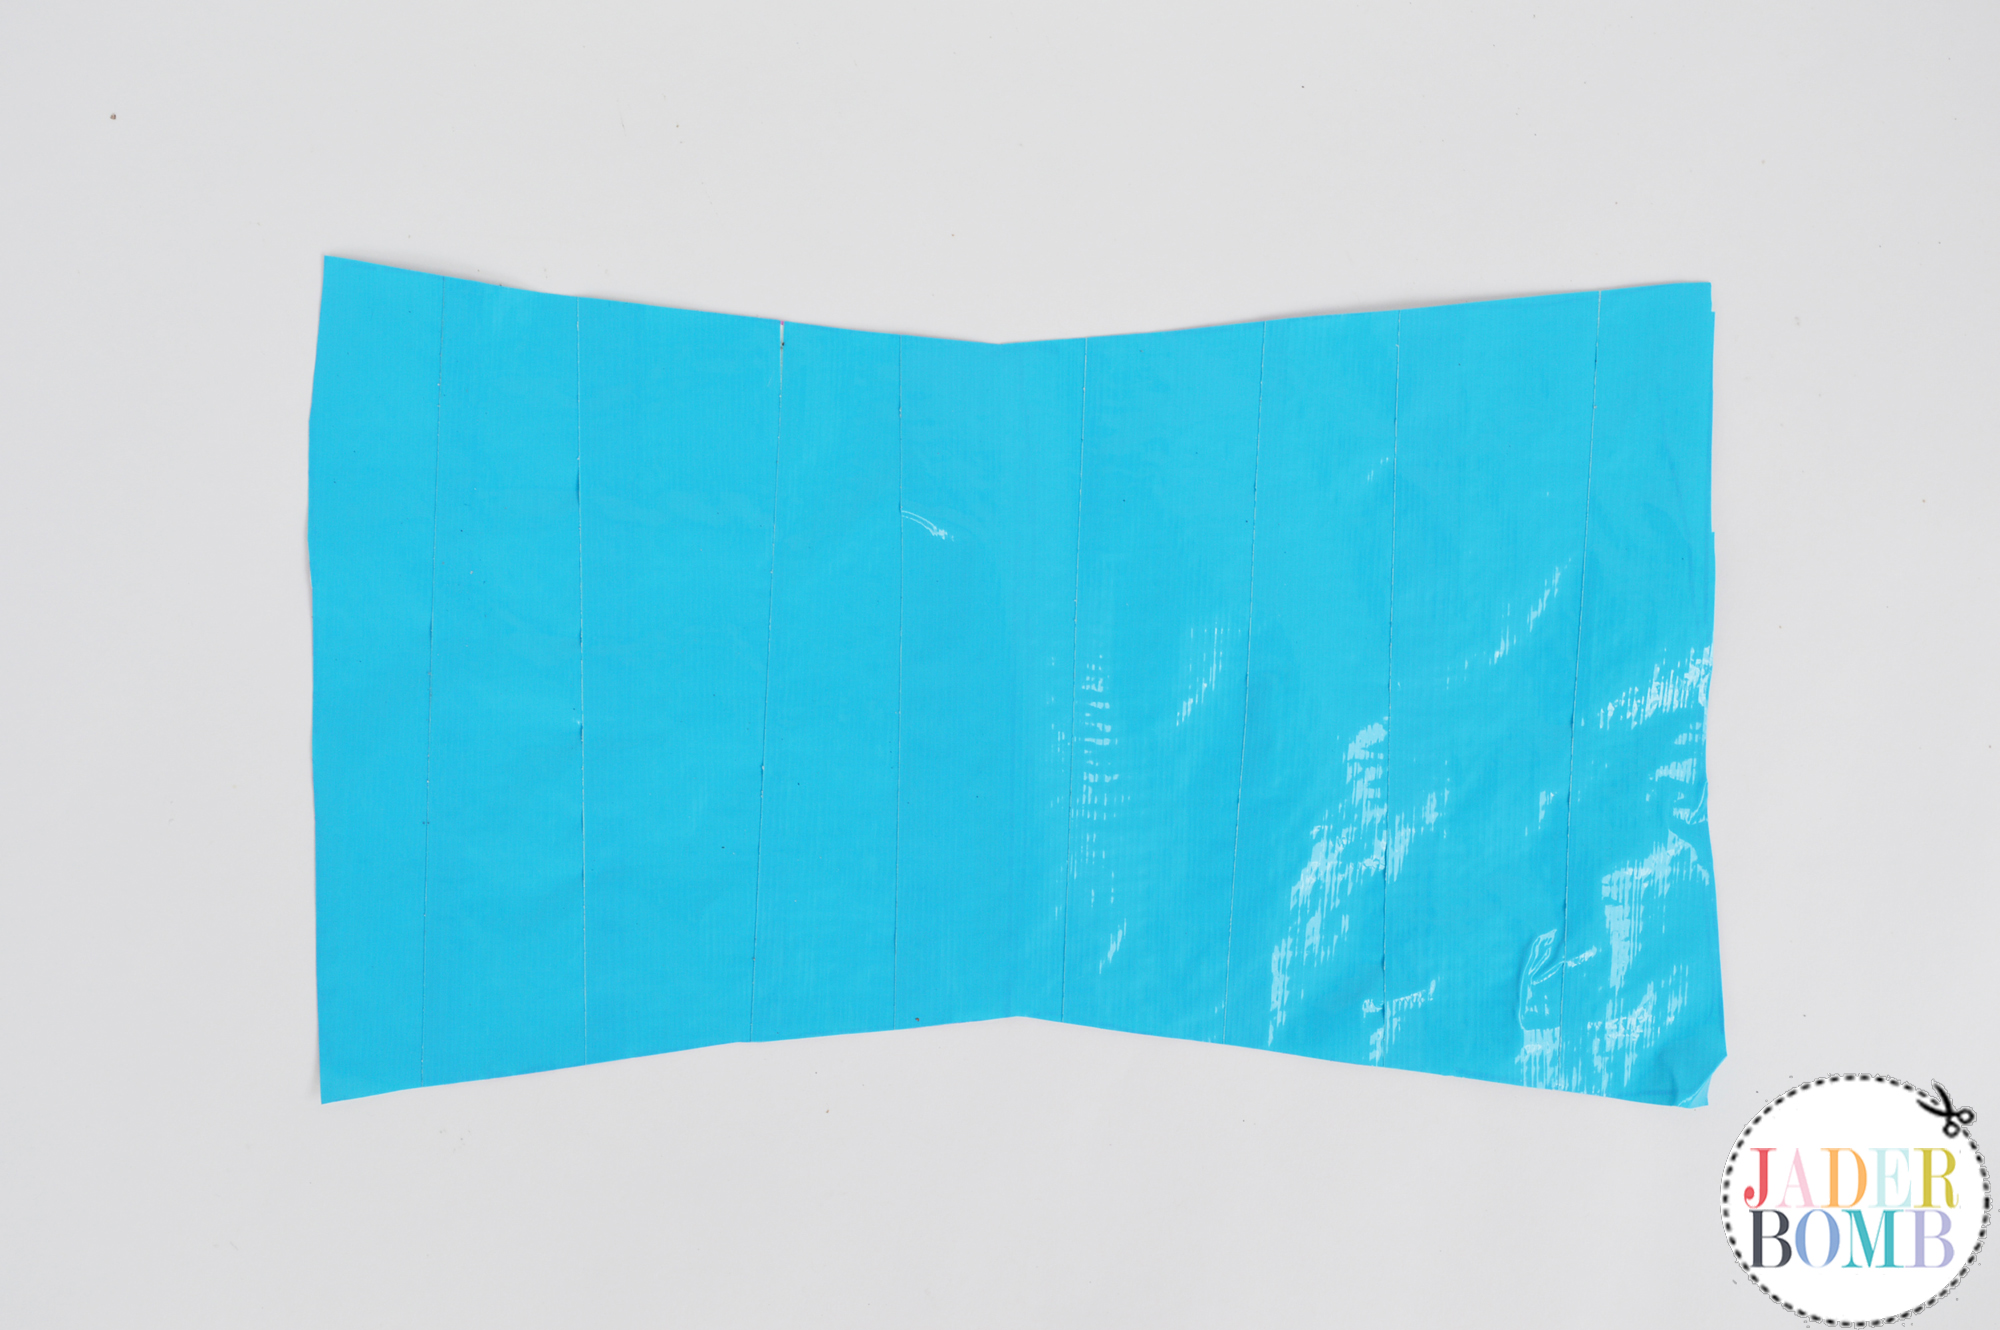
1. To start off you will need to cut a piece of duck tape about 10 inches long. You don’t to measure to a “T” but about that length will be good. Make sure you lay this first strip sticky side up.
2. Now cut another 10 inch strip and place it directly over the first strip. Sticky on top of sticky. Once you stick these two babies together you can trim the edges.
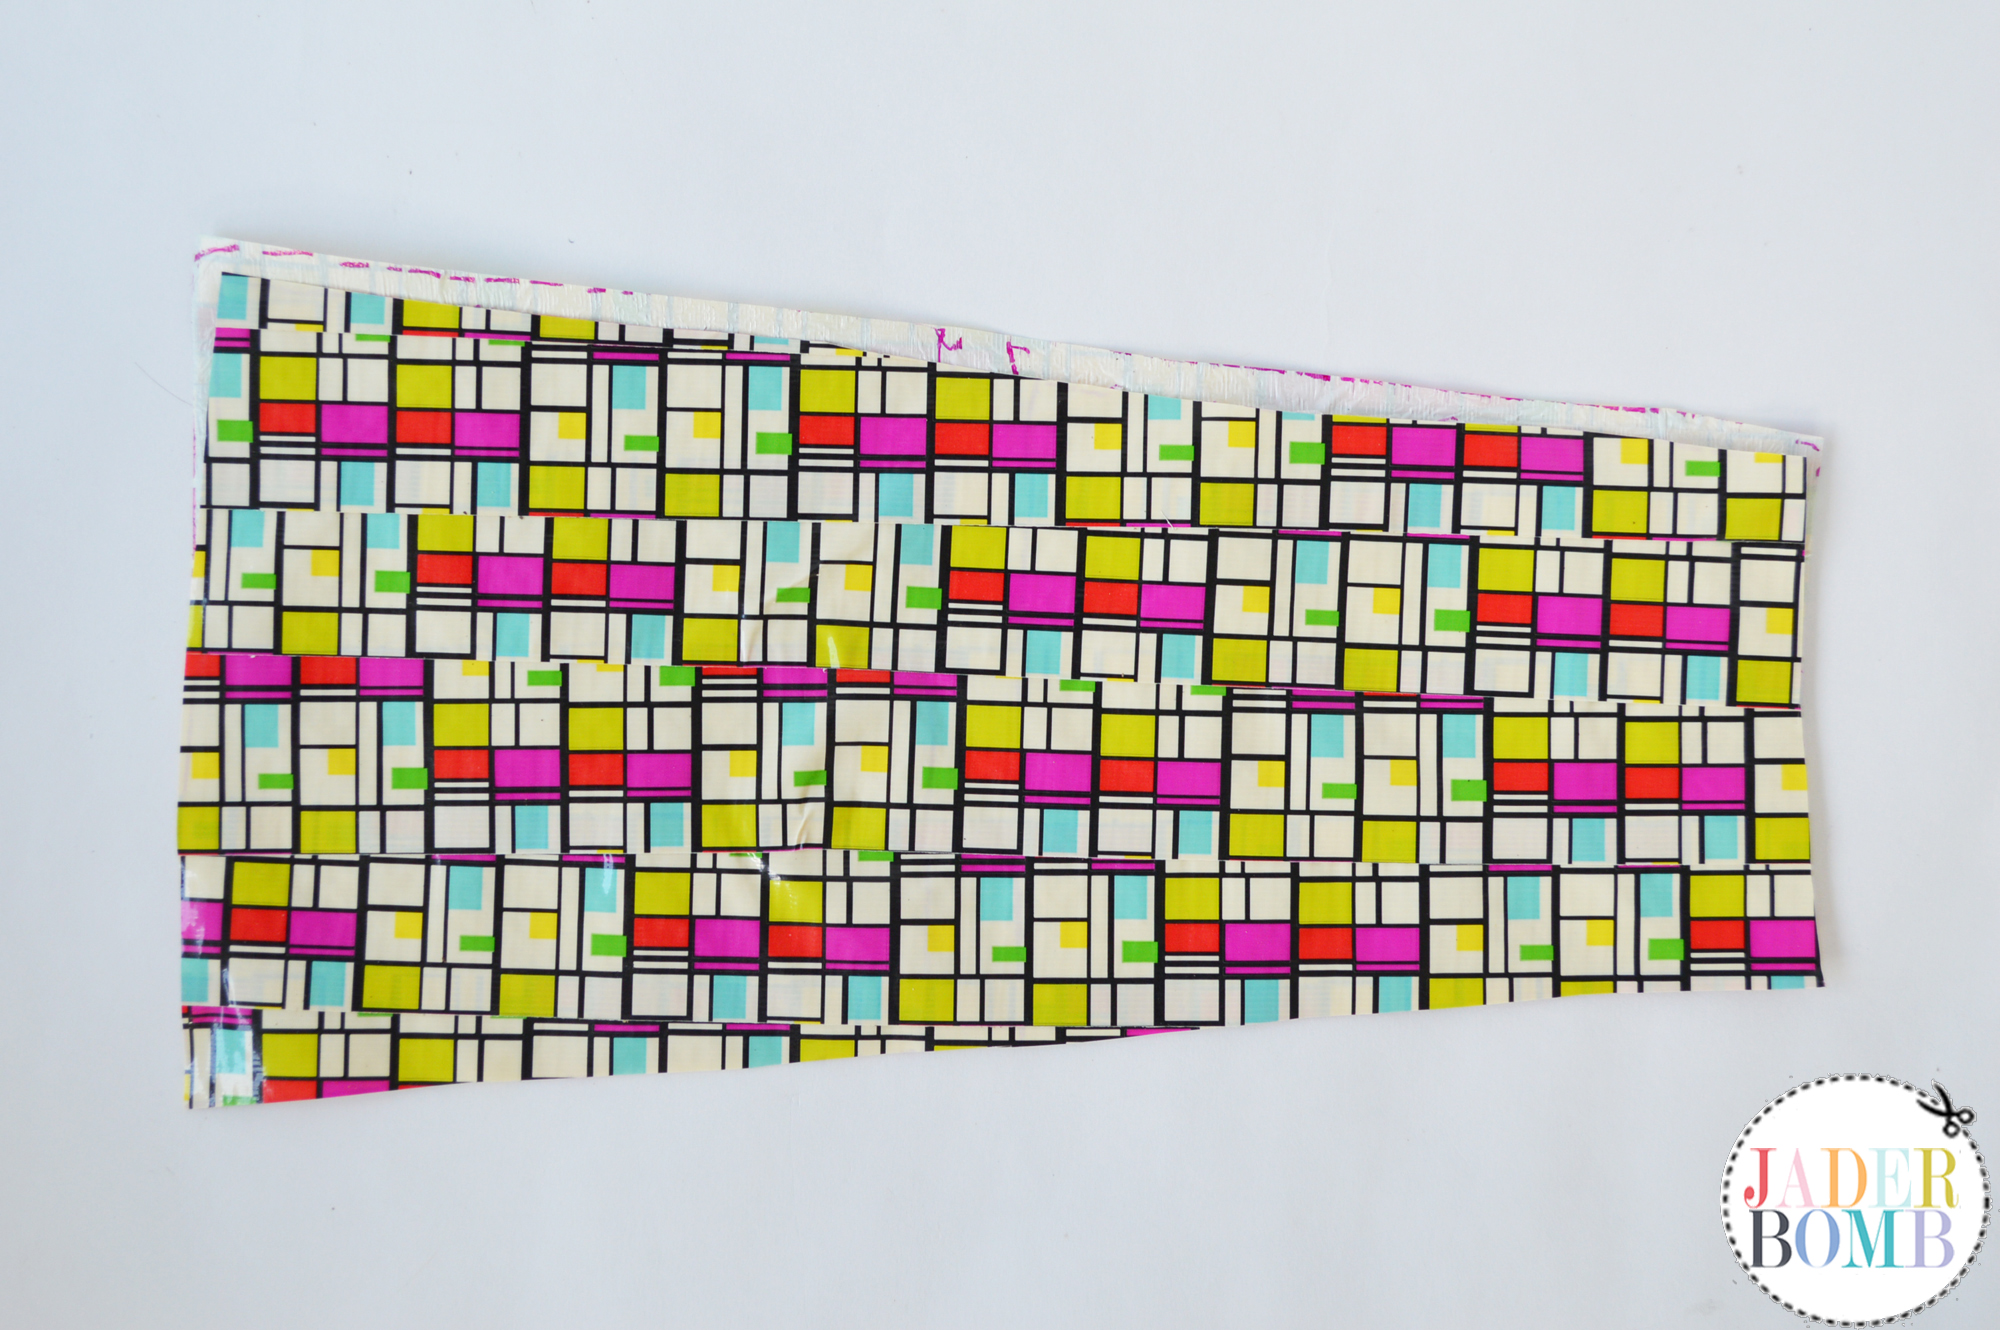
3.Fold your strip in half now. This is not the length of your tassel. If it’s too short you can make your next one longer and if it’s too long you can cut it before we move on. Boom chaka laka!
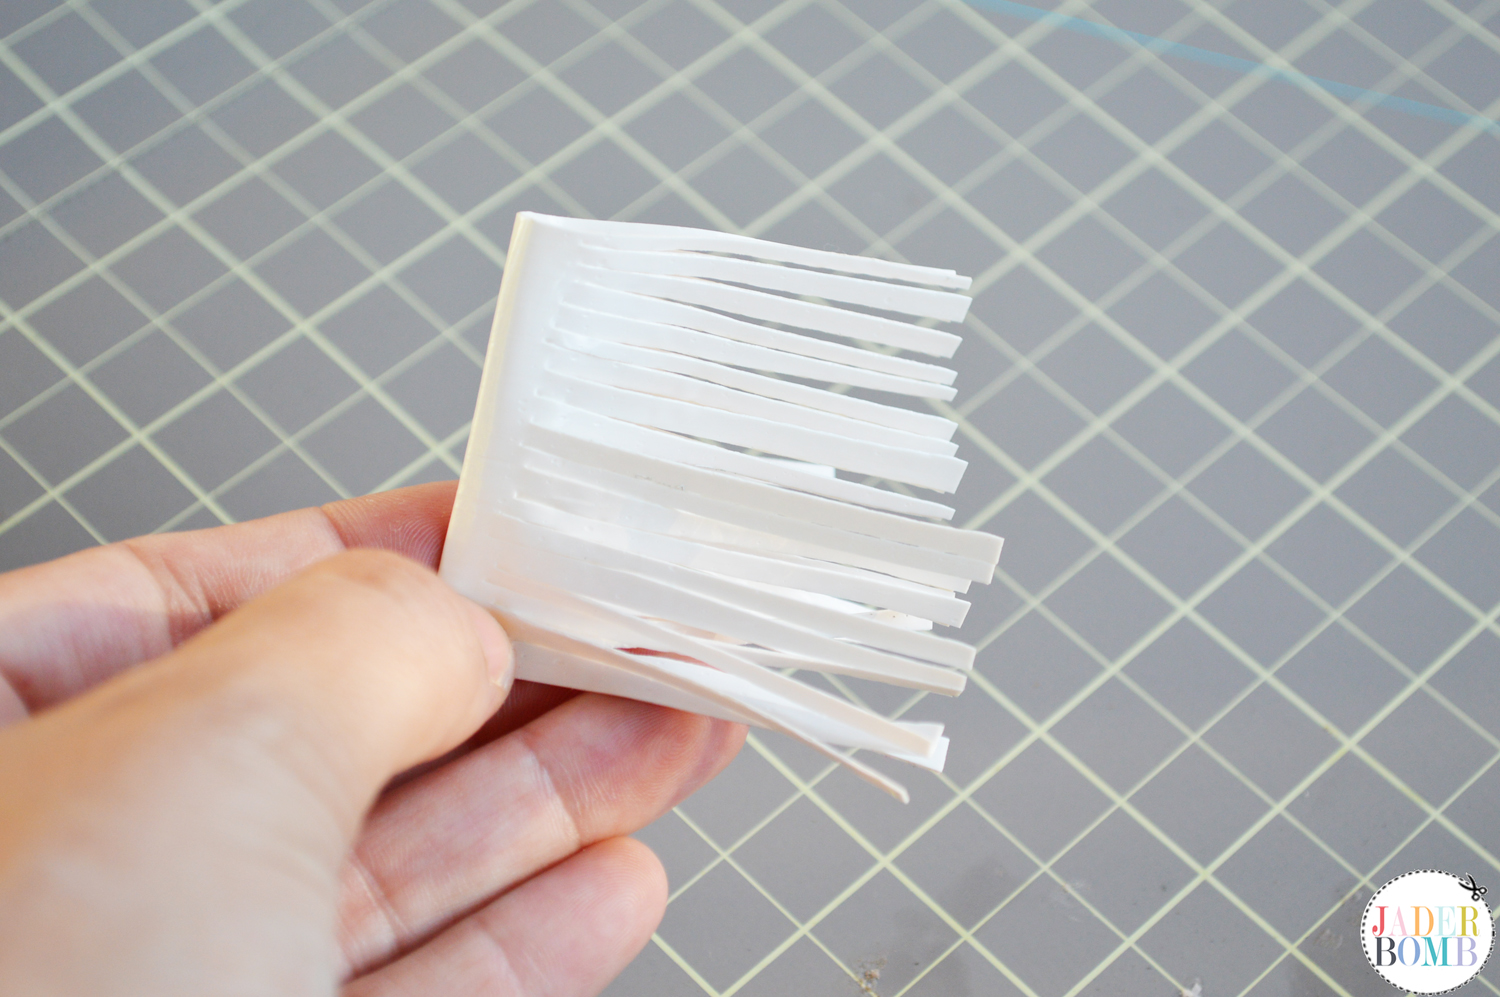
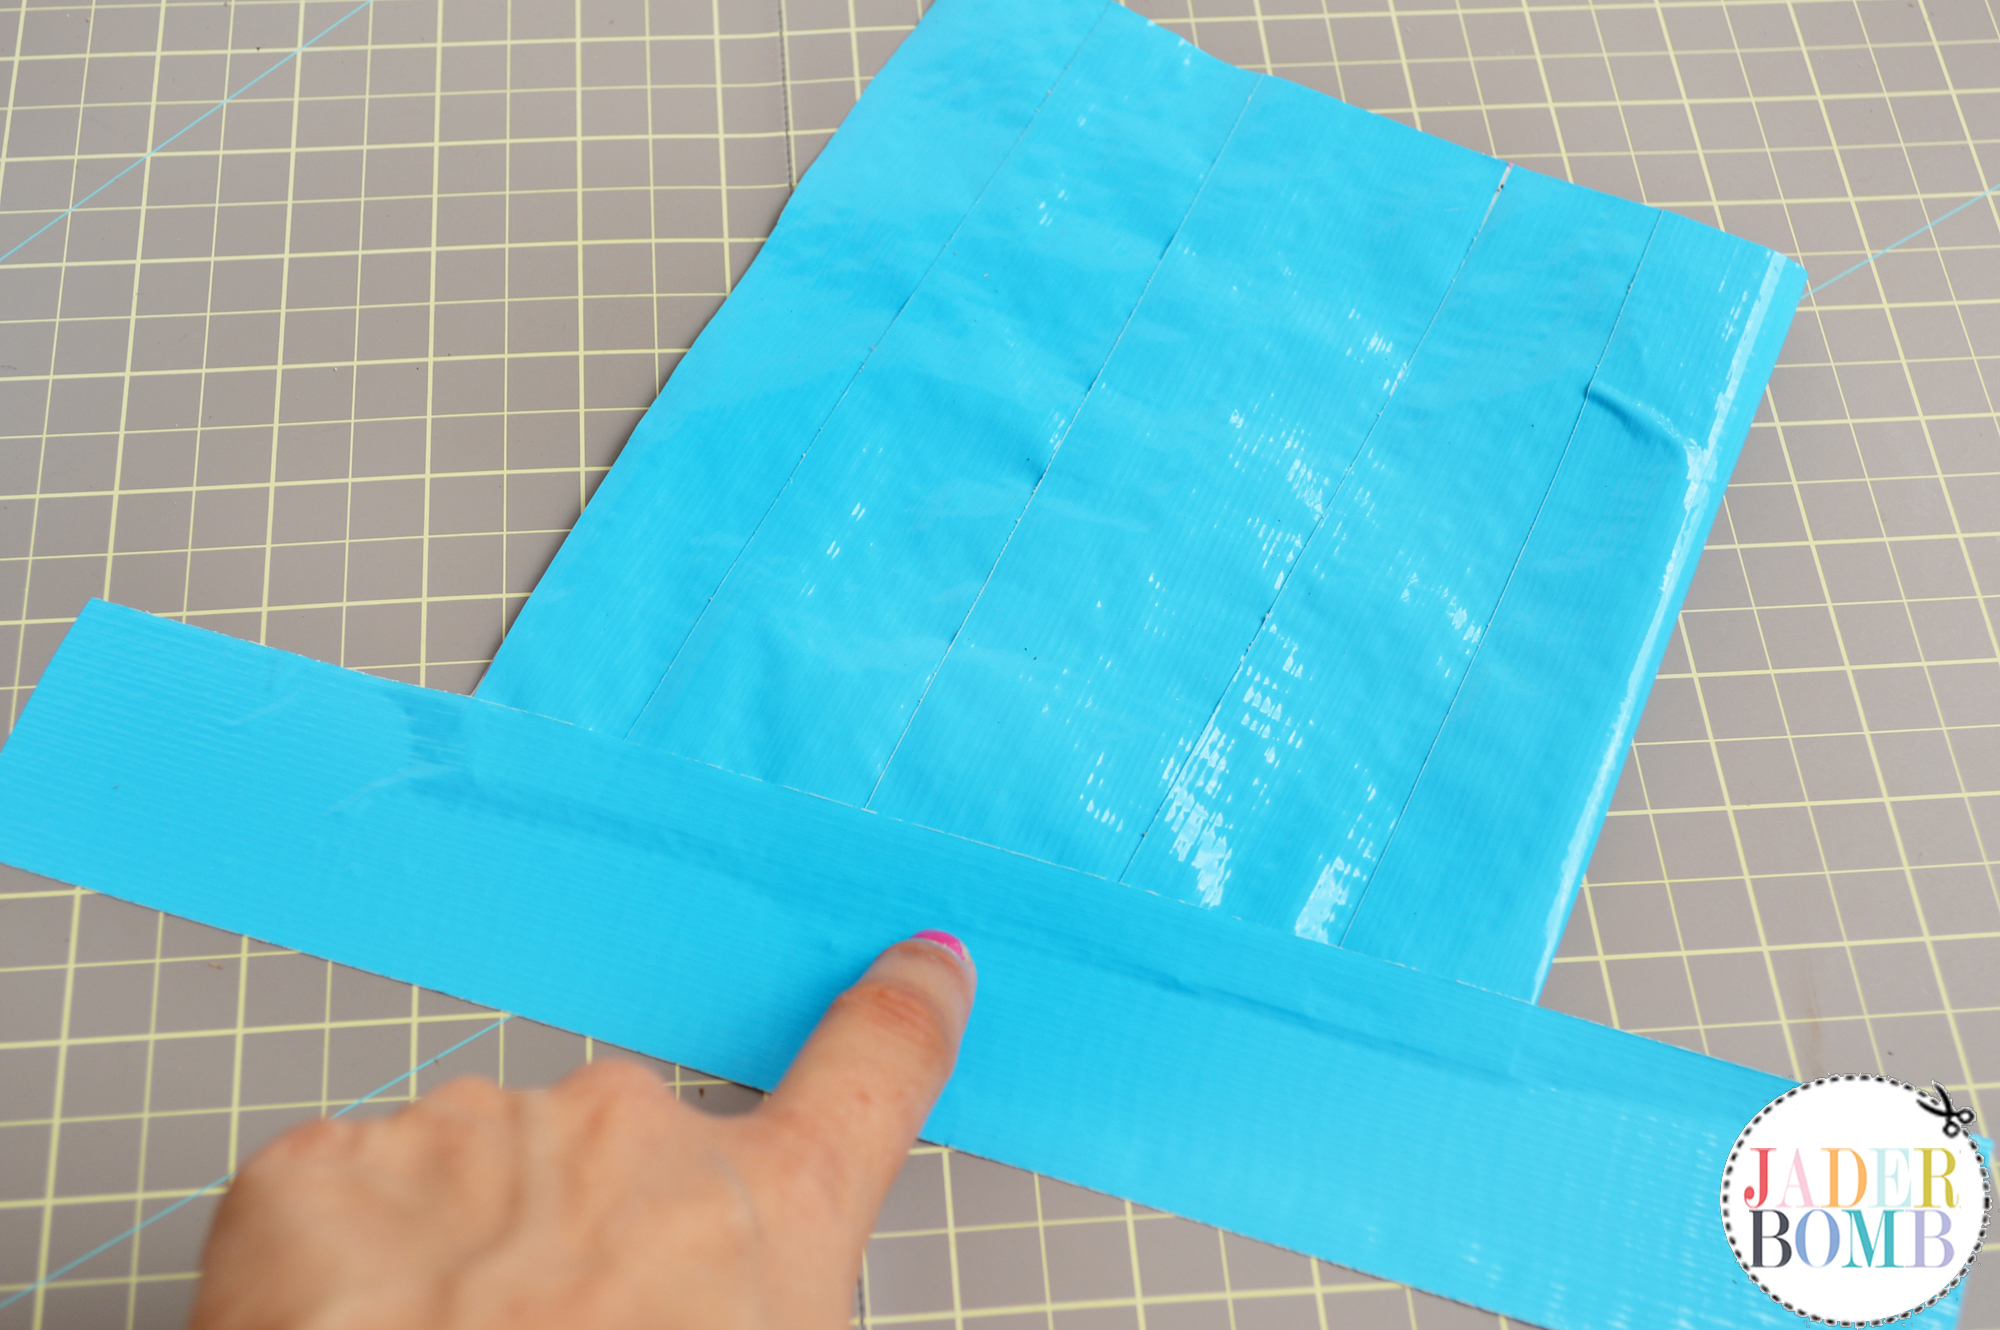
4. Kiddo’s time to get your parents involved and if you are and drunk adult do the same! With your strip folded in half start cutting little cuts in the long side of your tape. Make sure to NOT cut all the way to the top!!! Snip away until your whole strip is fringed like it’s ready to go to a festival. If you like tag’s check out these I made with some decorative tape.
 How cute would it be to have an amazing duck tape fringed skirt.
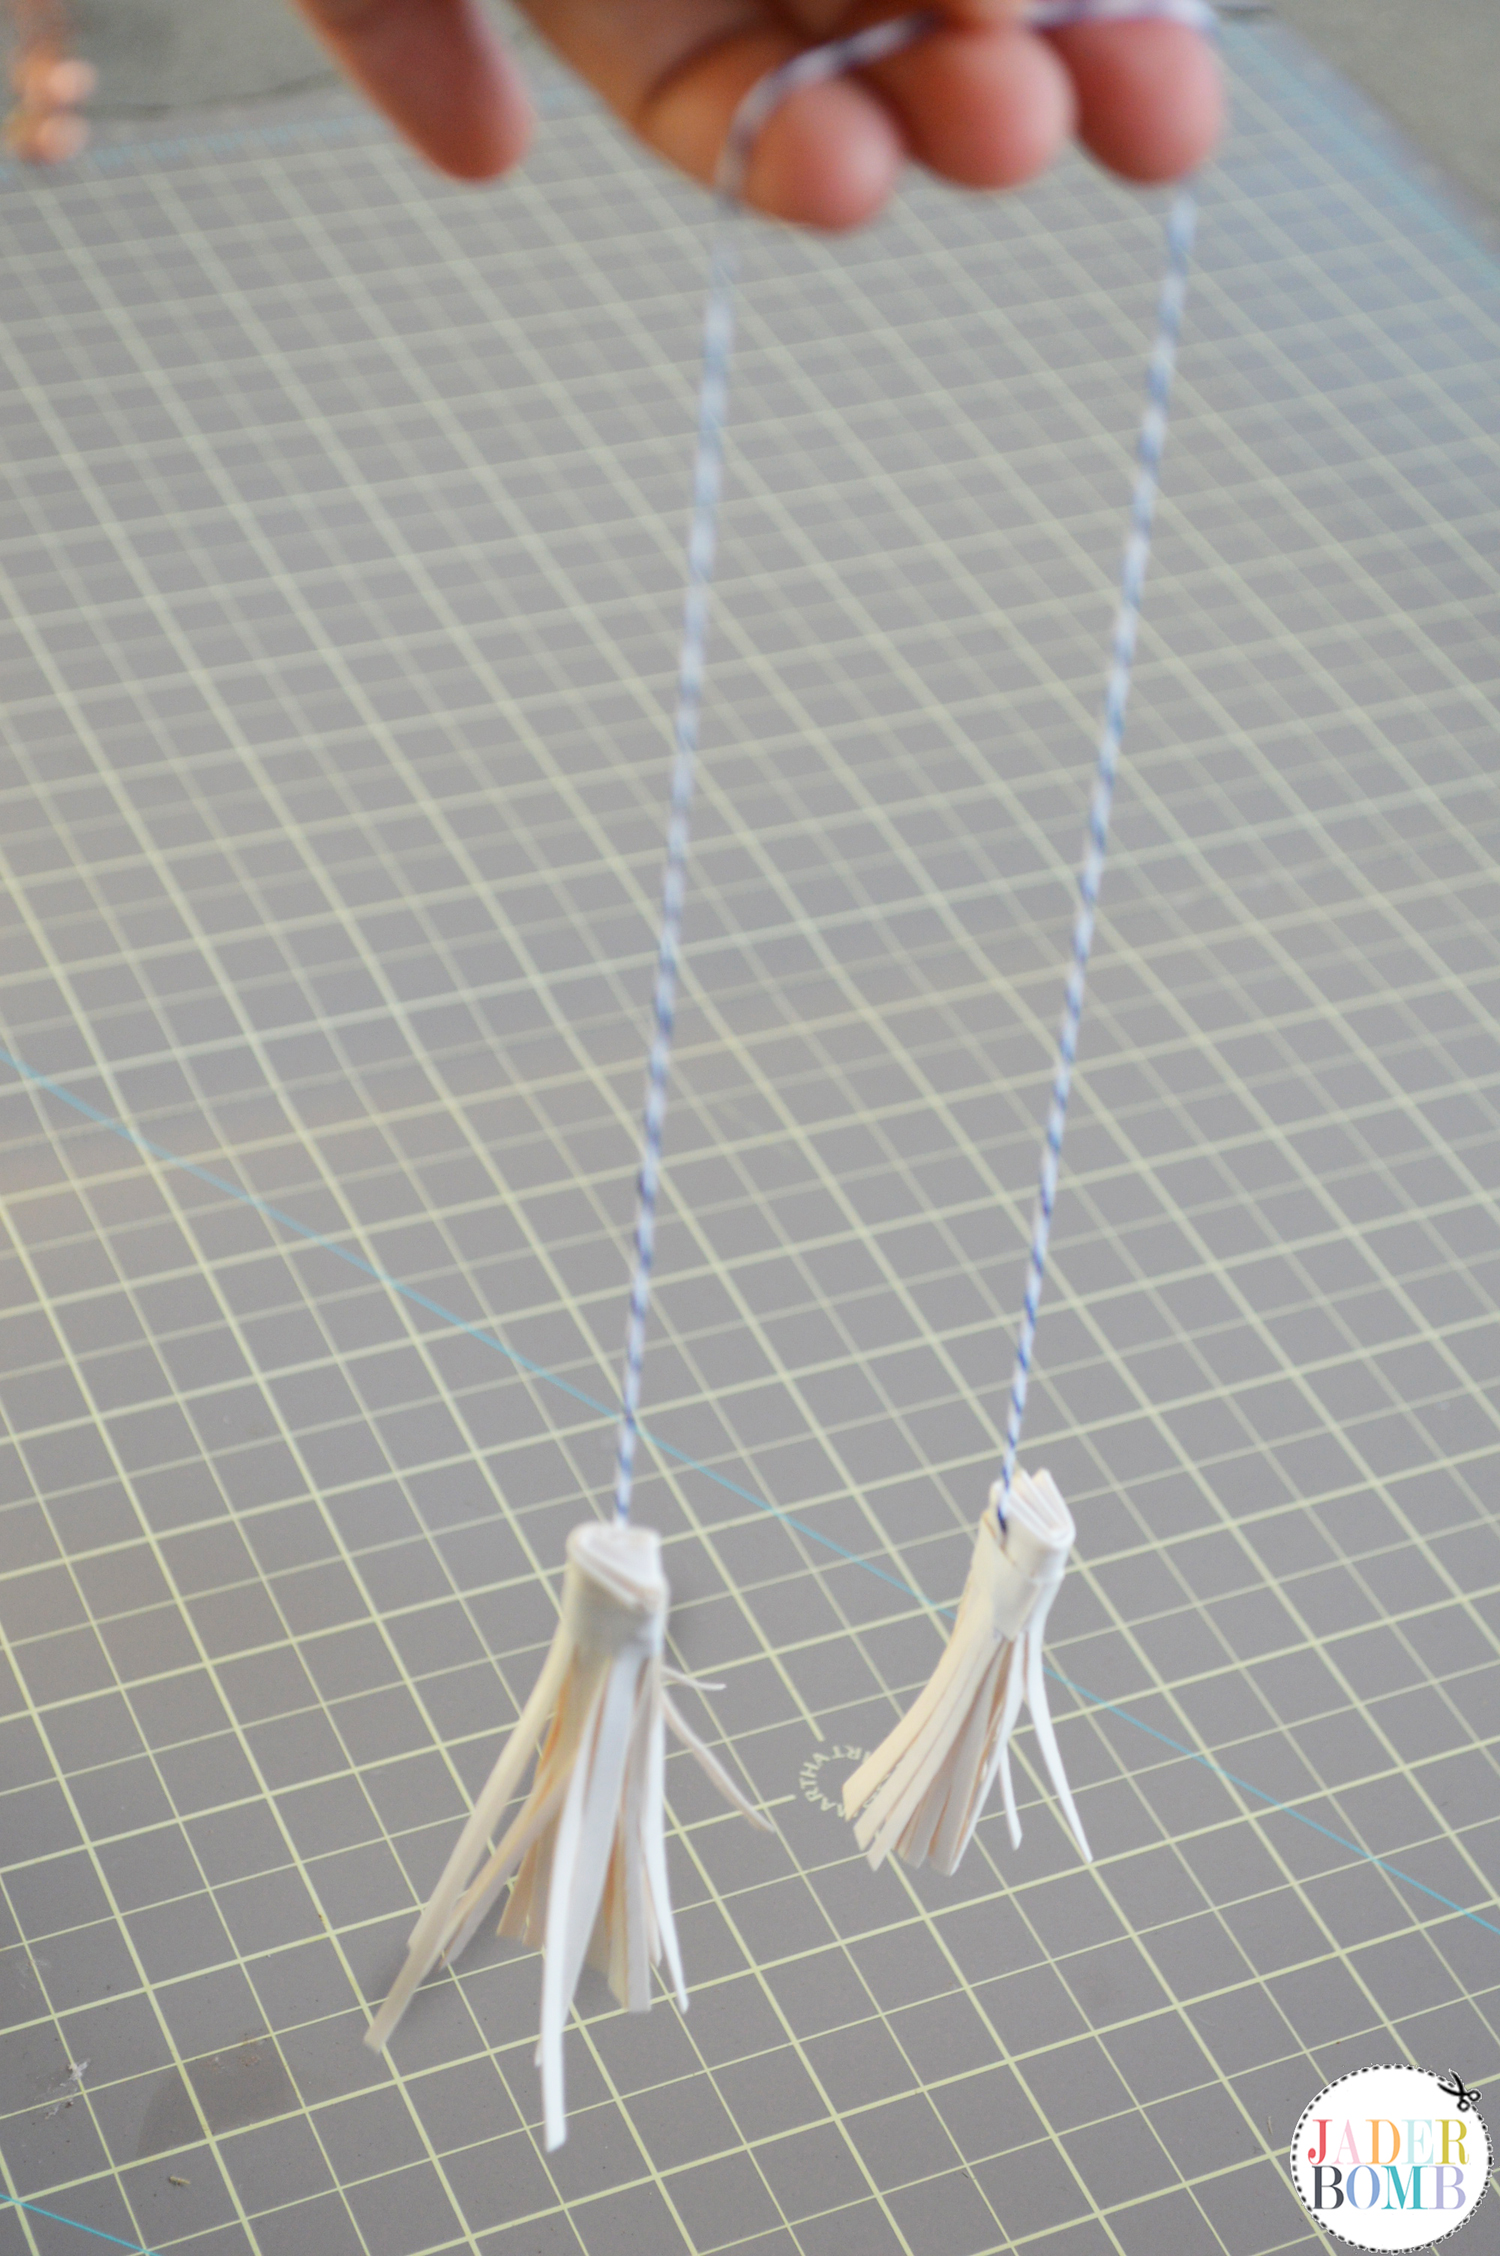
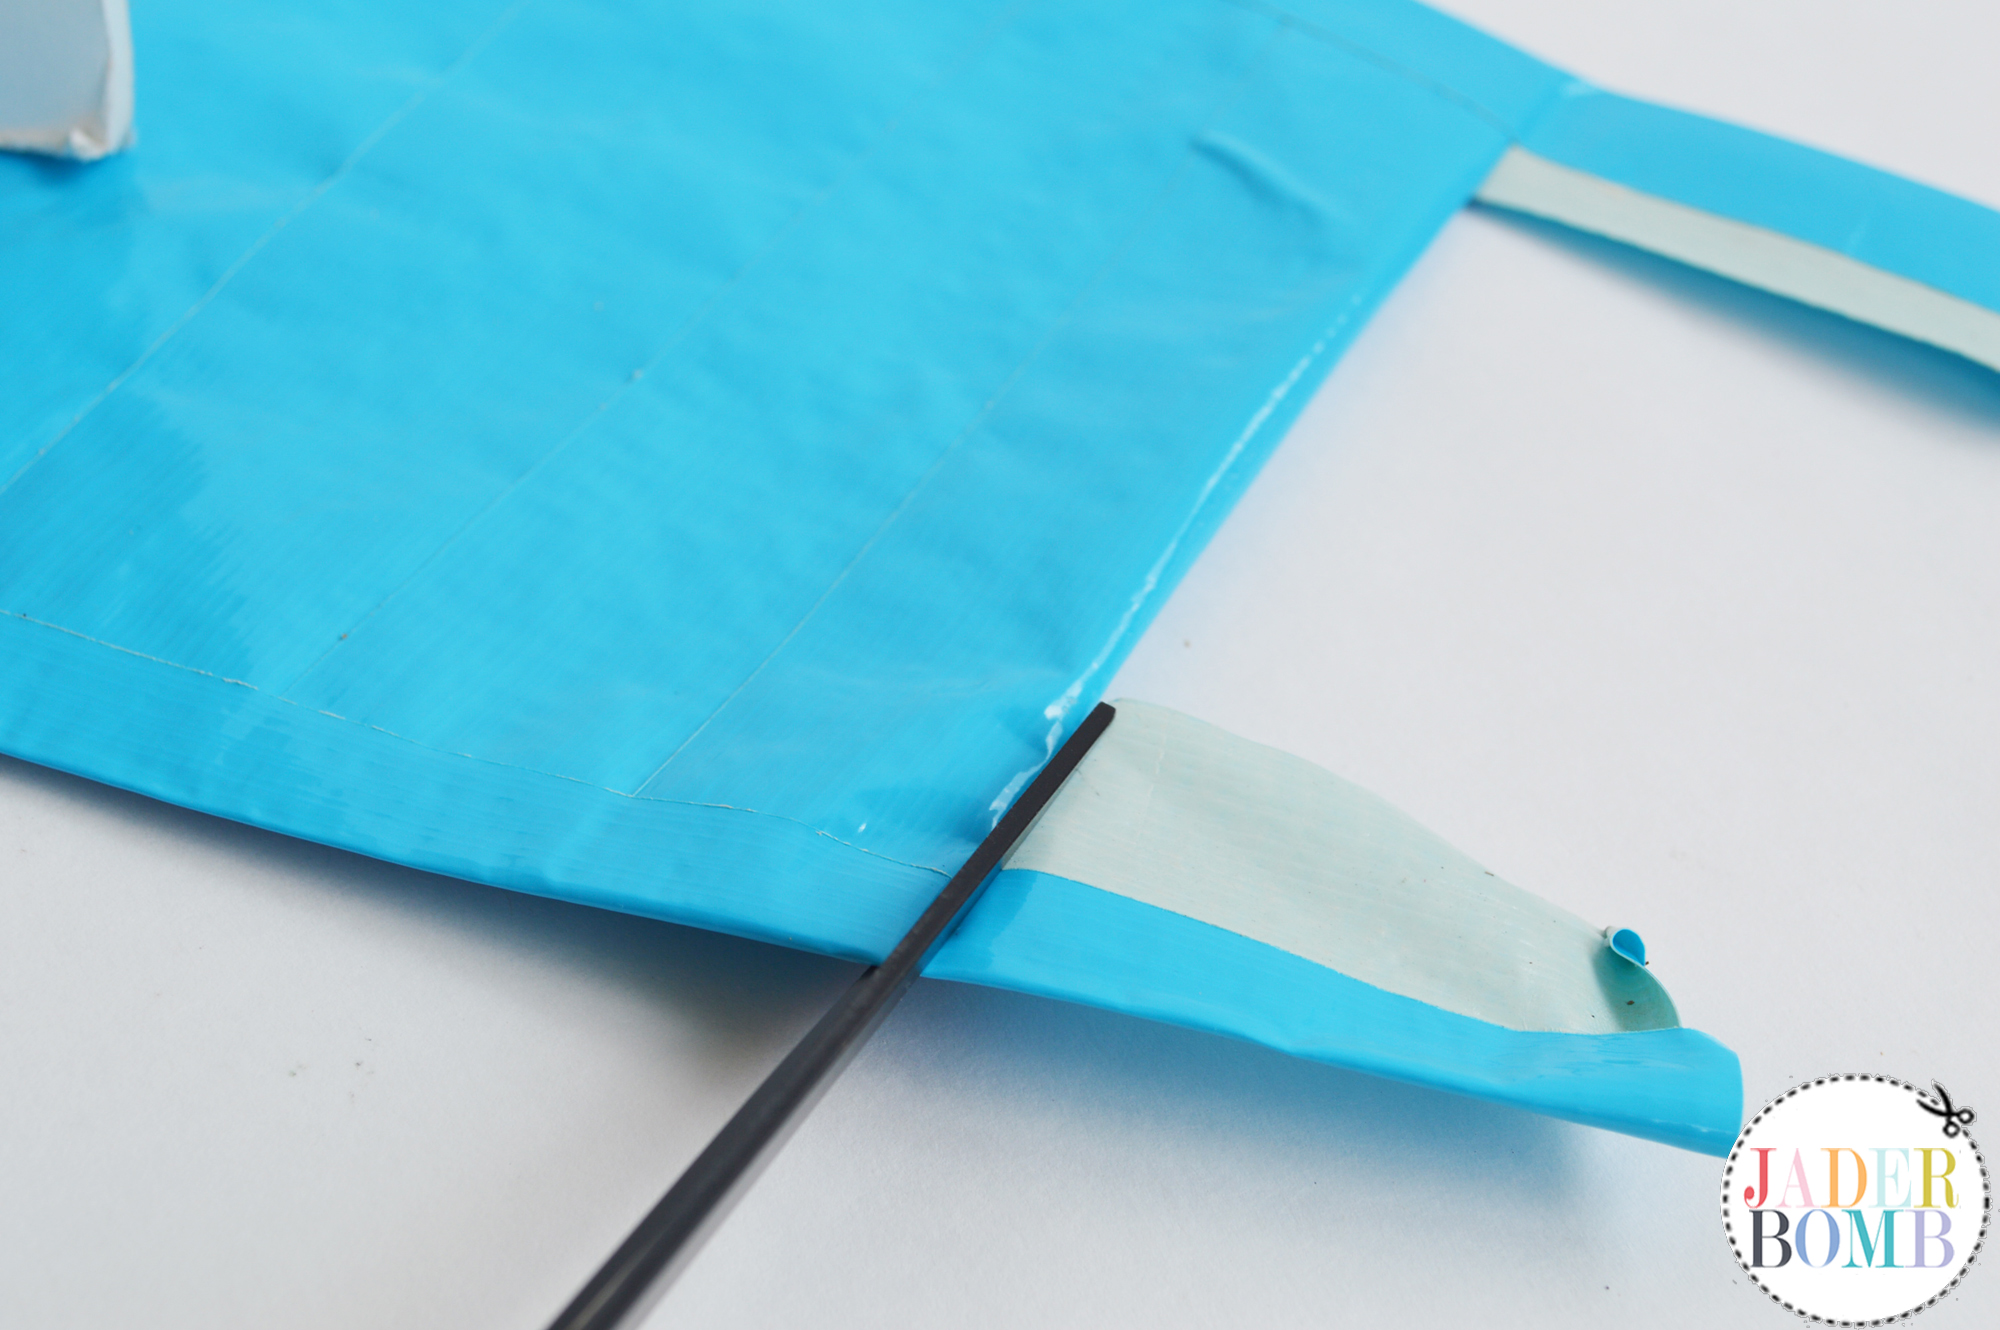
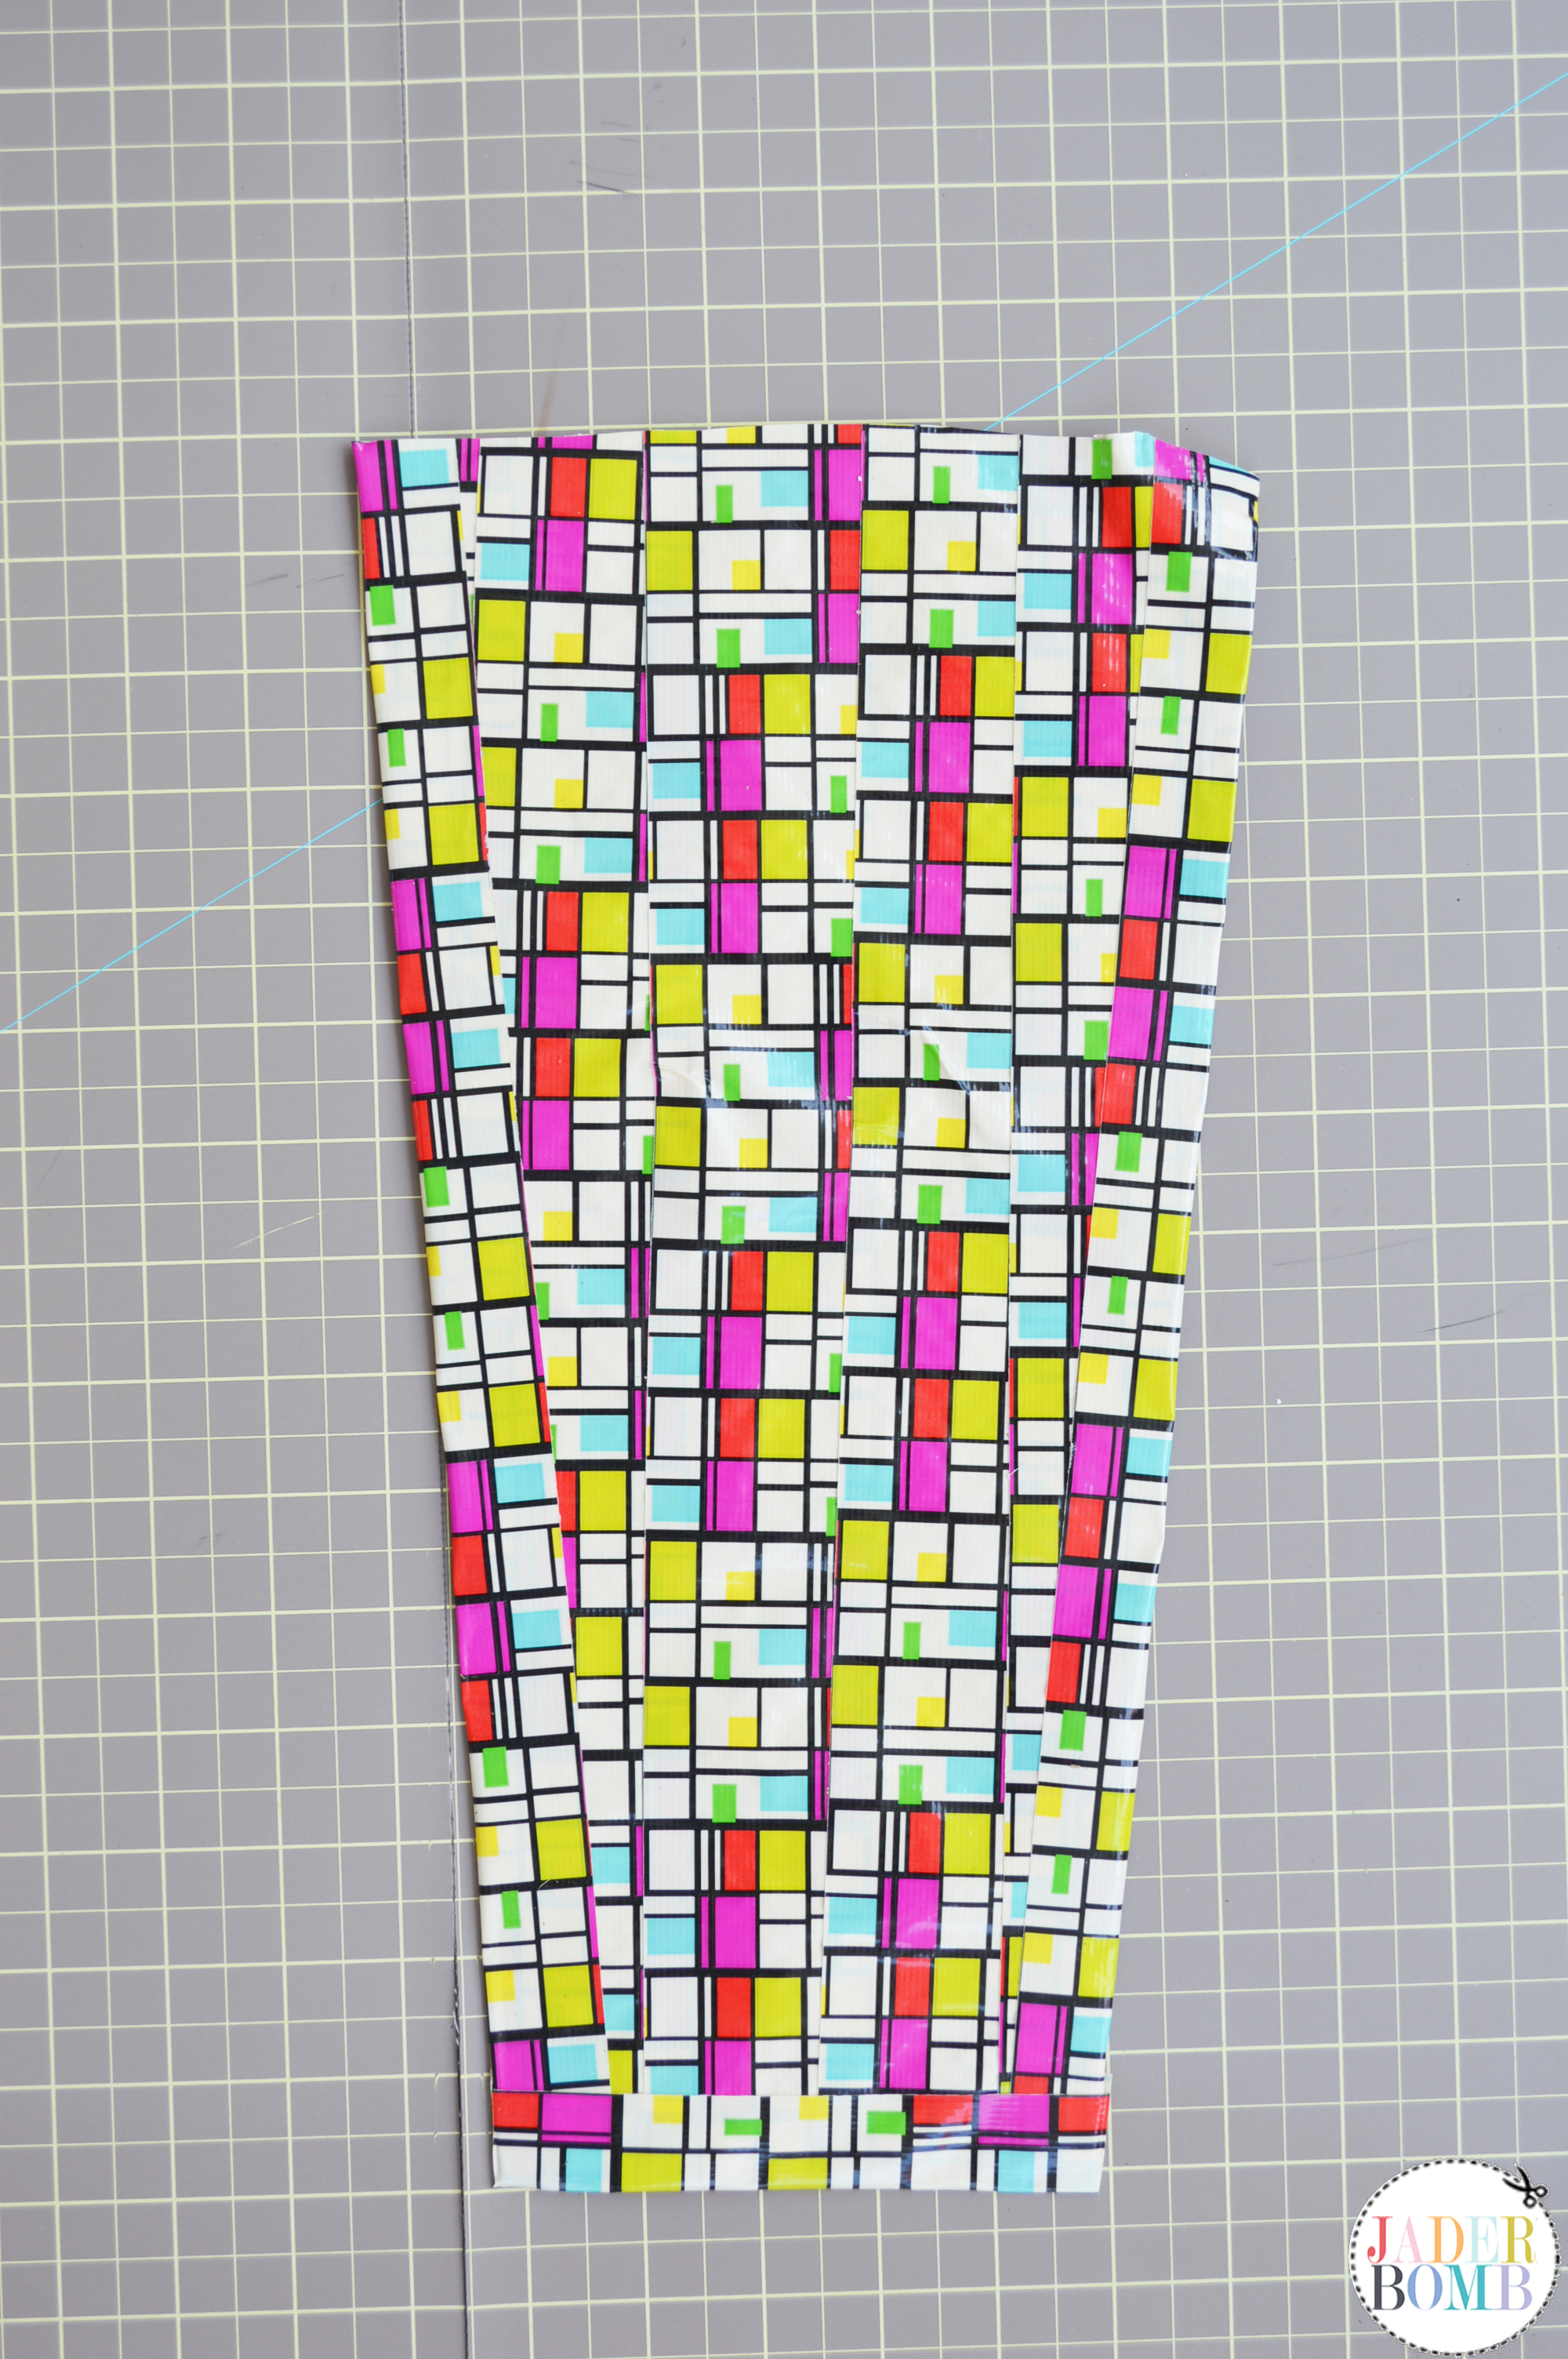
5. Start rolling your fringed strip from one side to the other until it’s all rolled up like the picture below. Once it’s all rolled up take a SMALL strip of duck tape and start wrapping it around the TOP of the tassel.
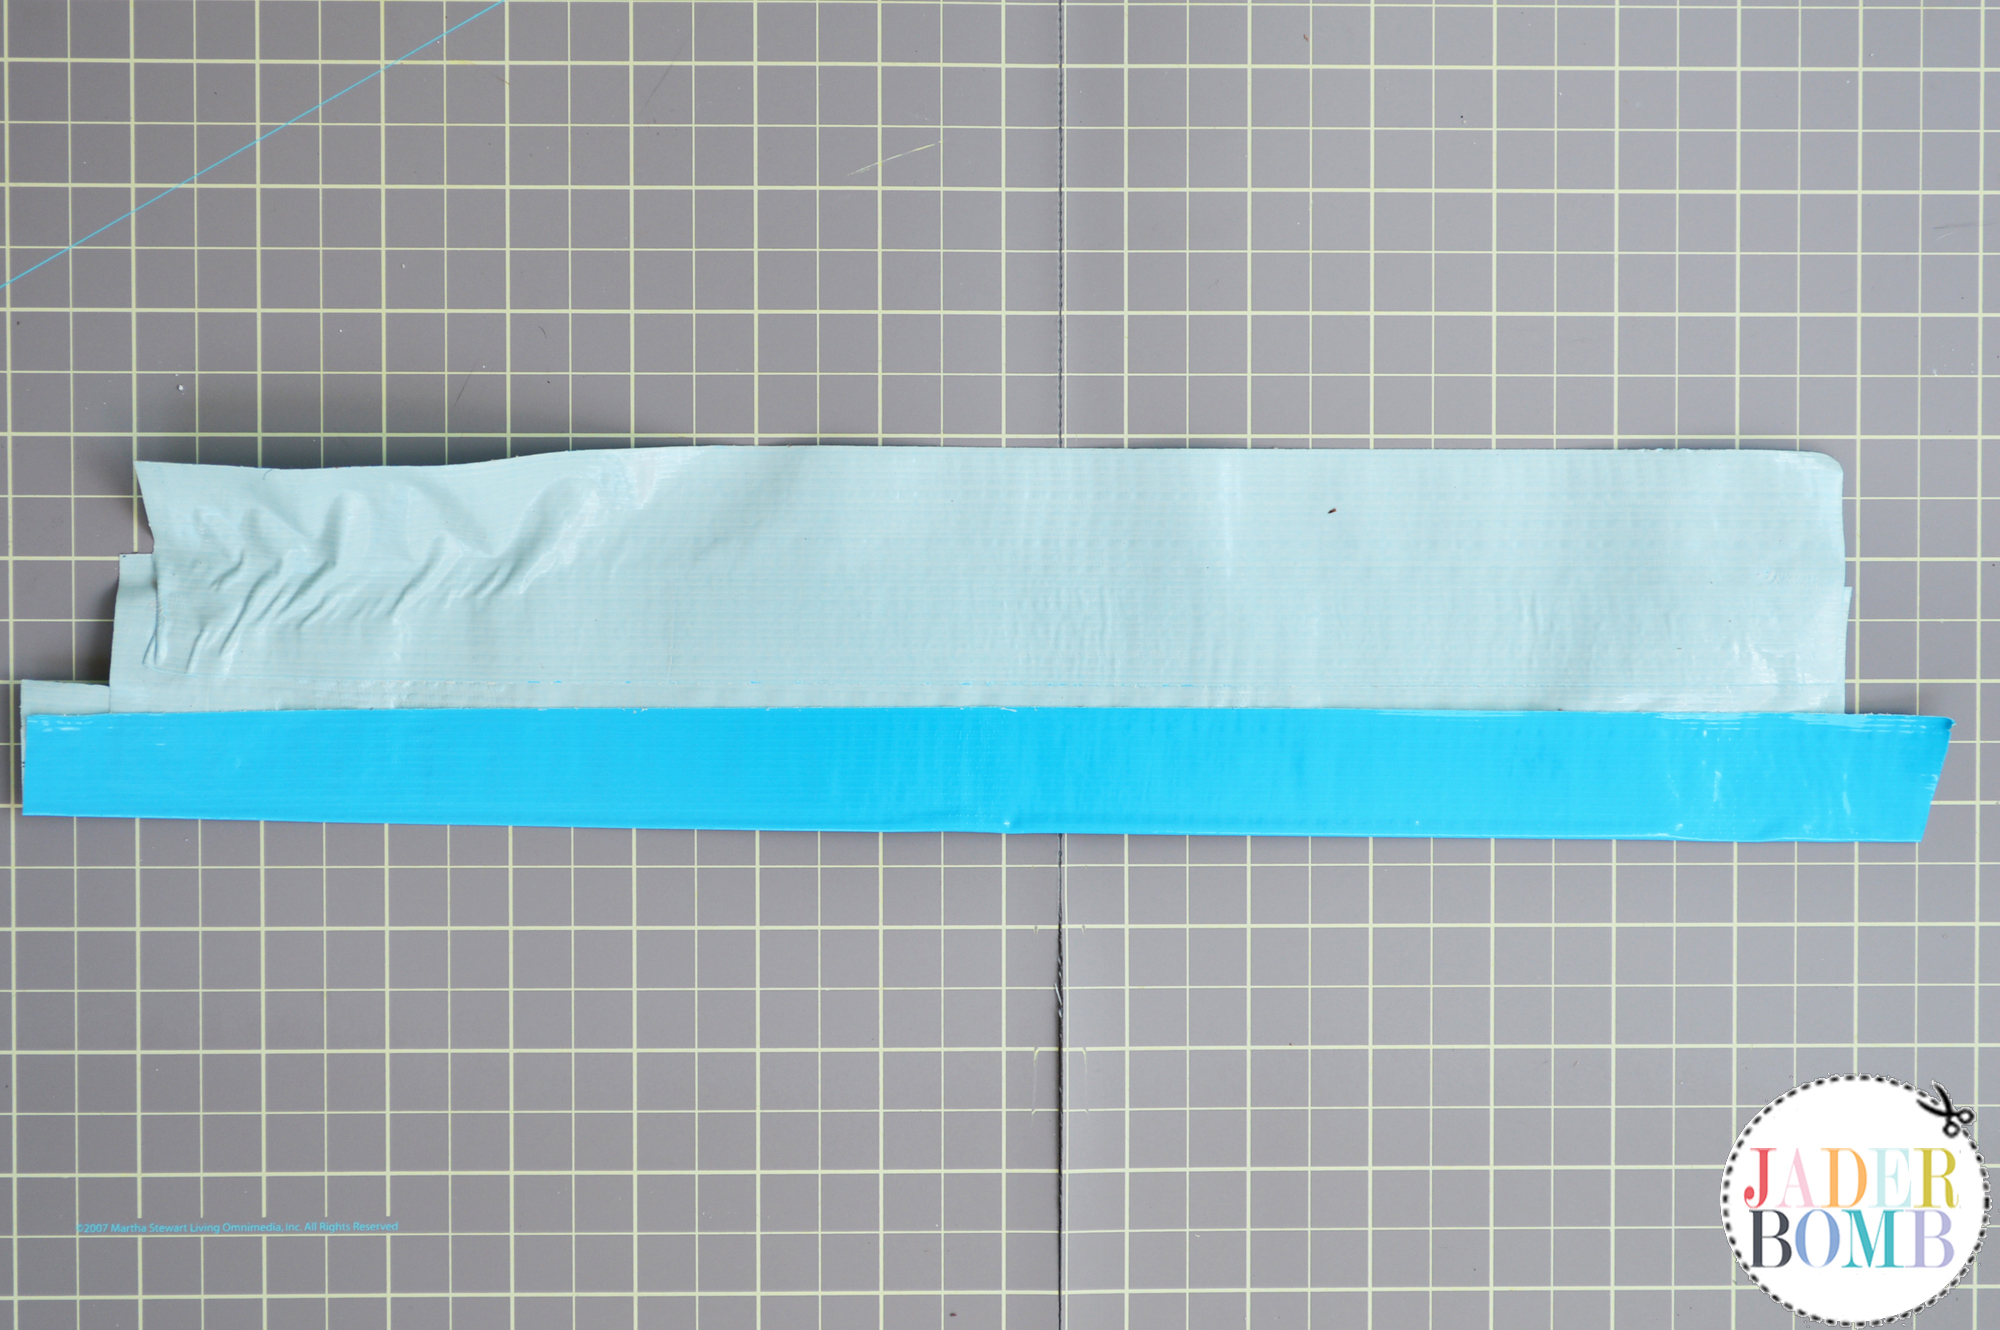
If you notice I placed a small piece of twine at the top of my tassel right before I was done rolling it up and securing it with my small strip. This is what my tassel will hang from. 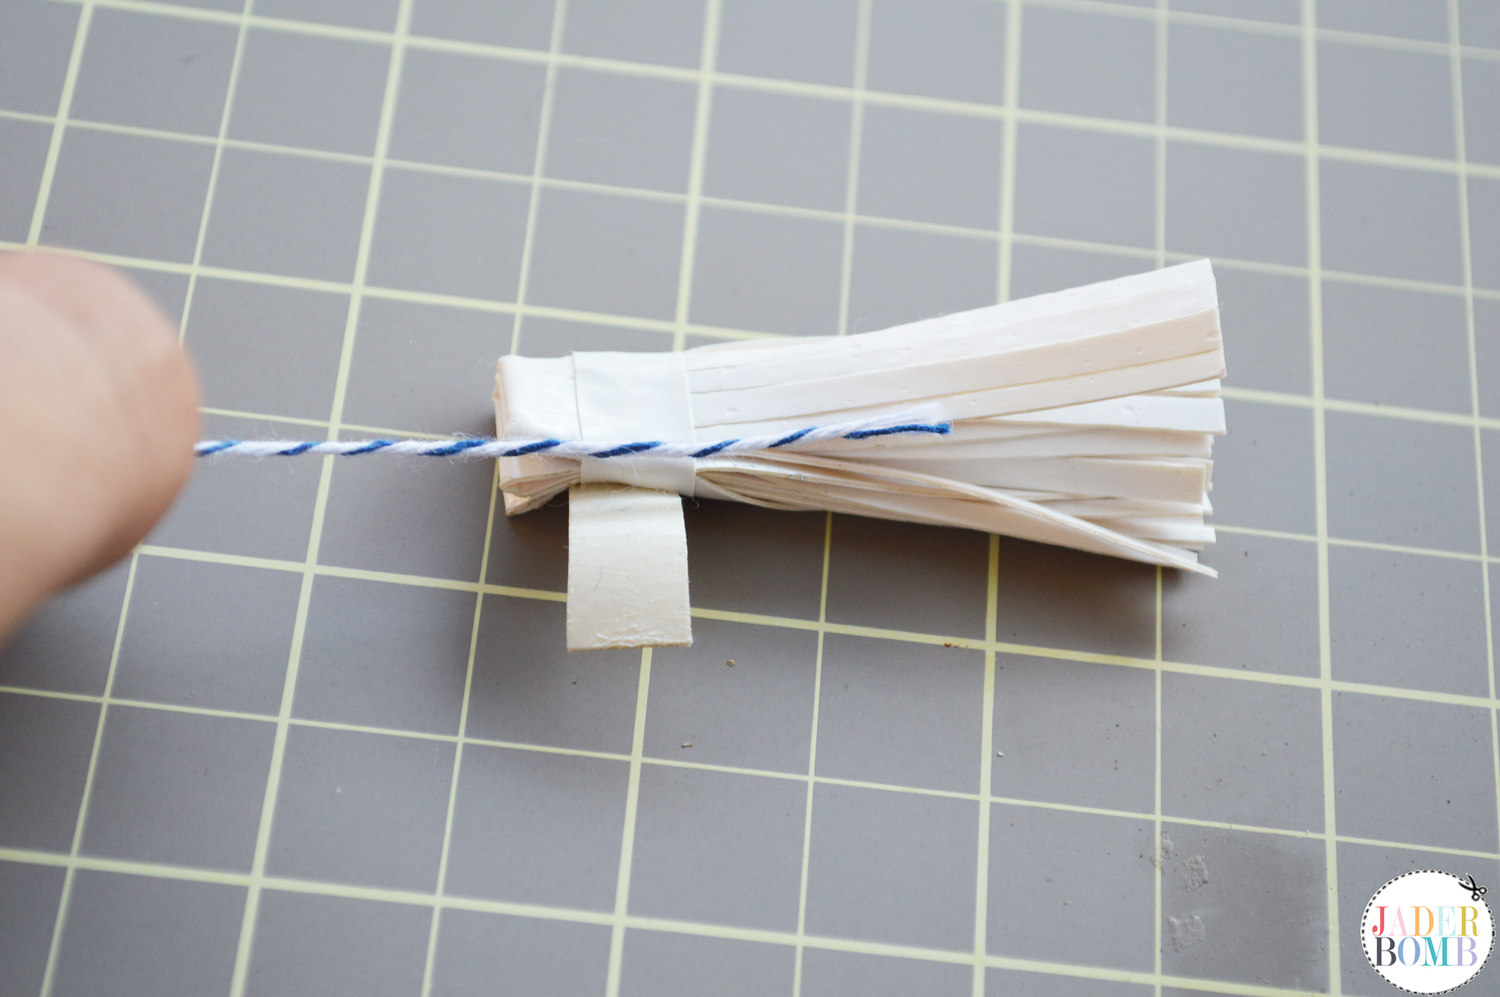
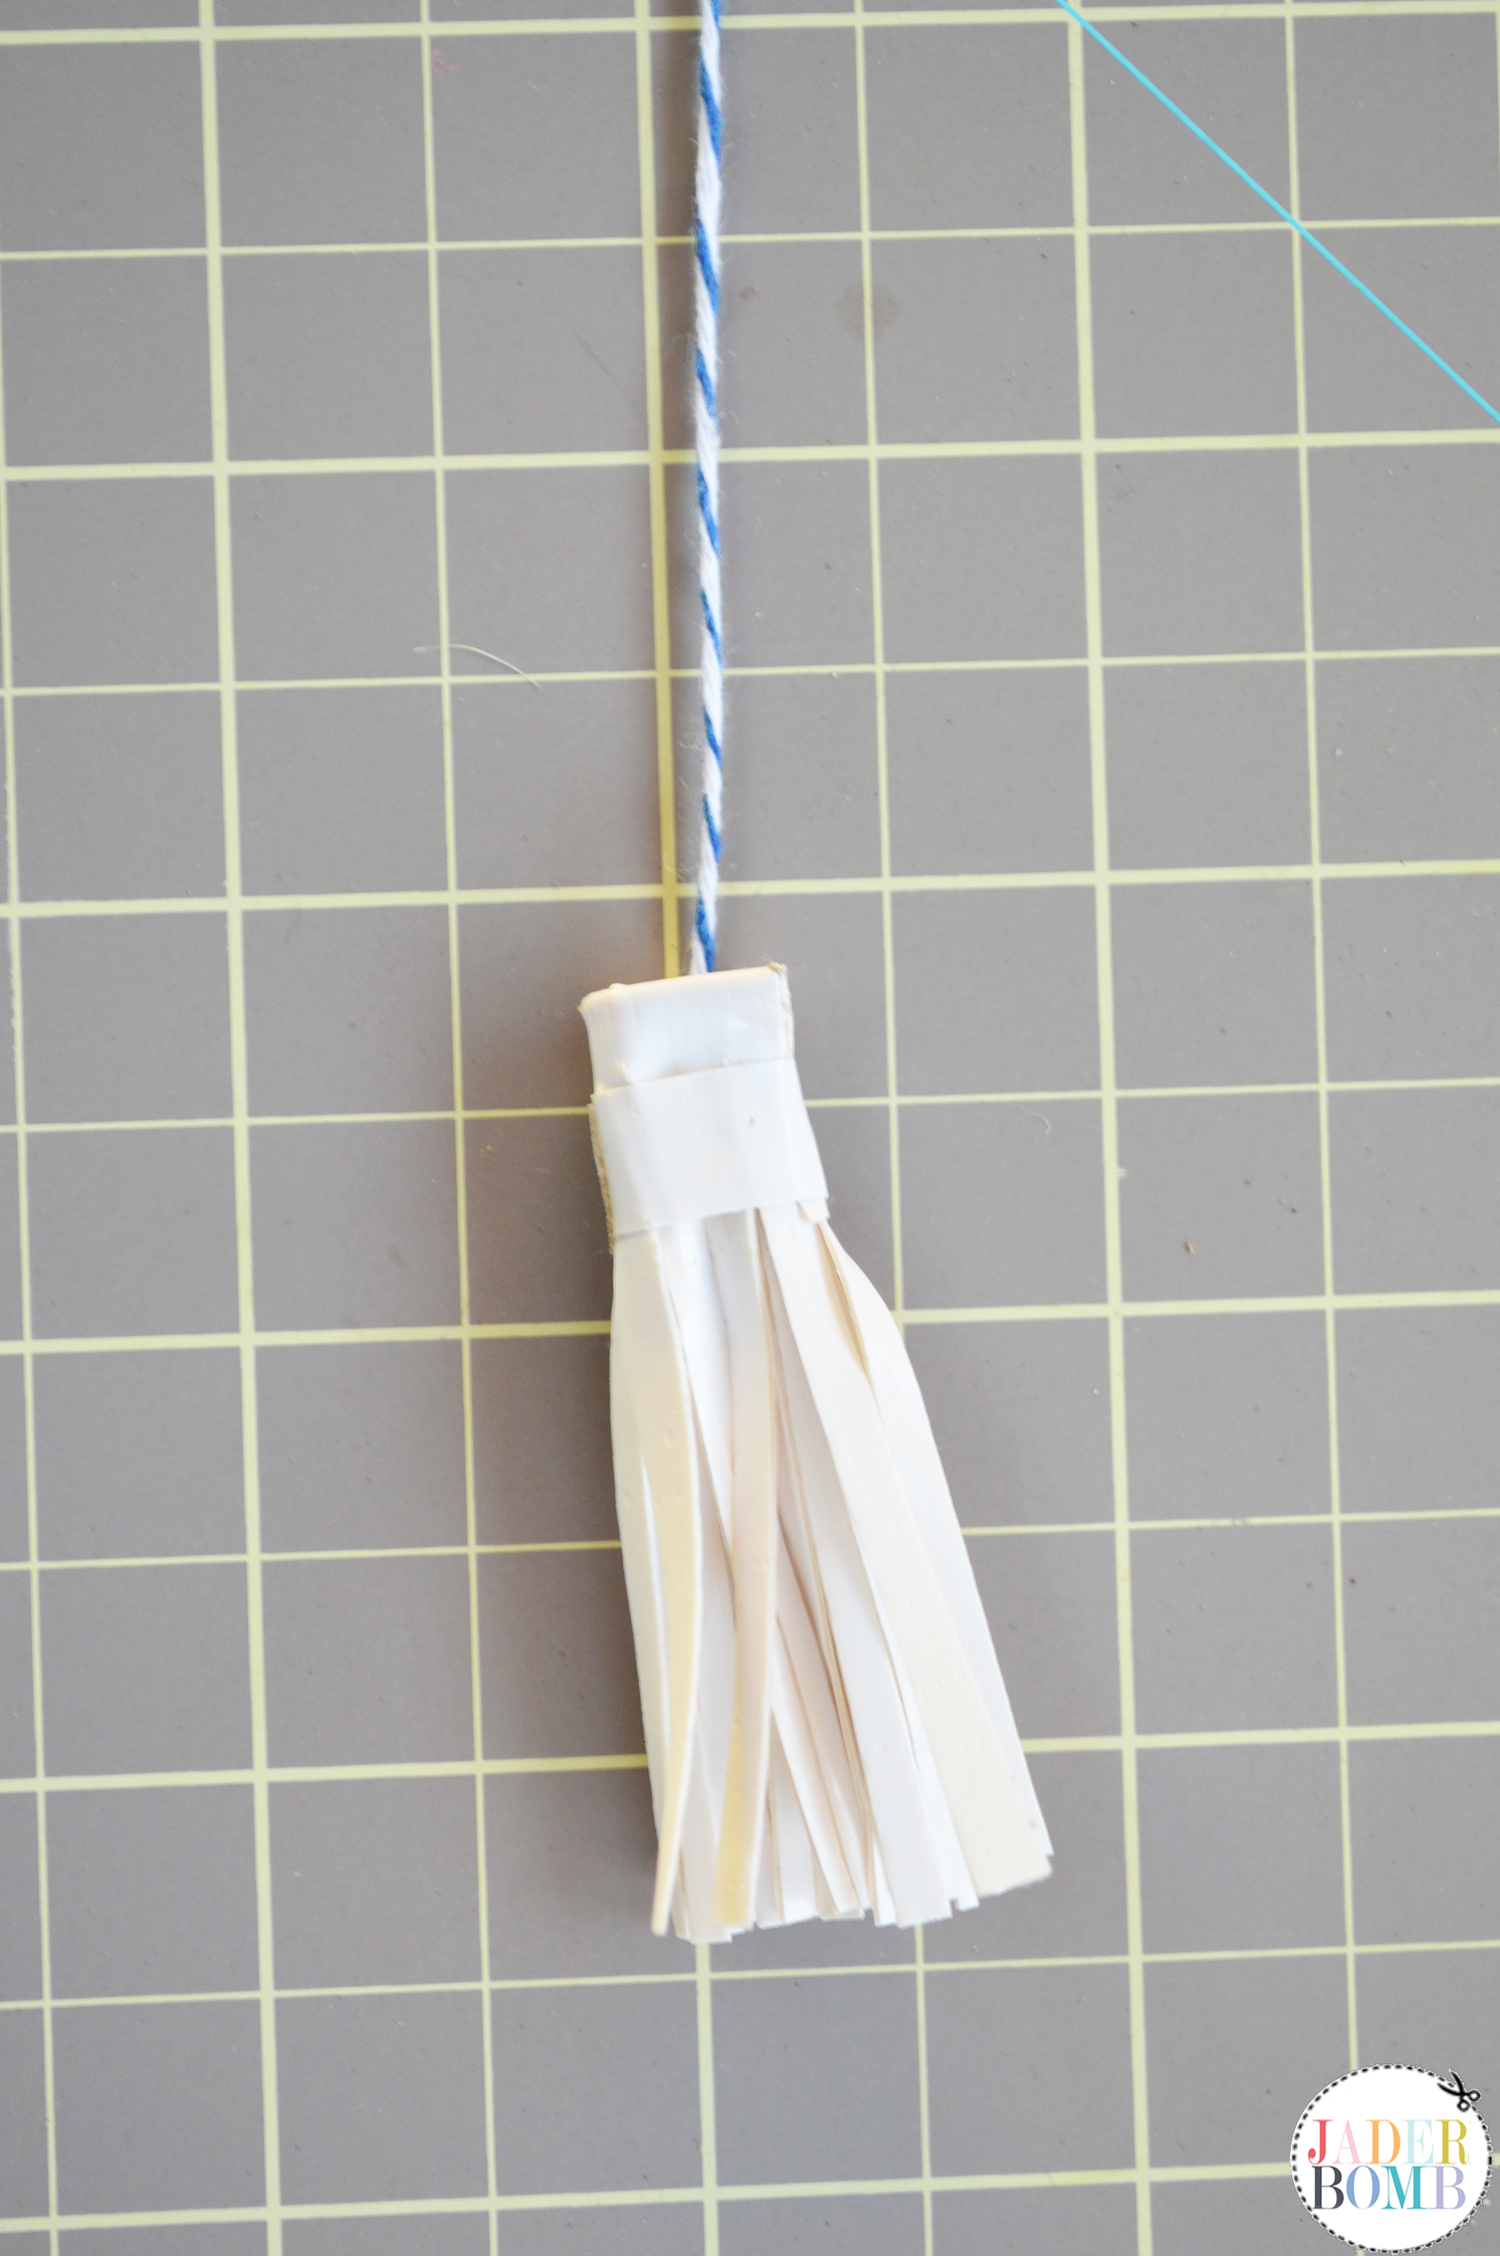 And just like that we have a hot diggity cute as can be hanging tassel. You can put this on a gift, hang from your car mirror, tie around a picture frame and so much more sha.
 I know you are gooing and gahhing huh. This fridge I covered in tape also made me gooh and gahh…. Check it out here.
 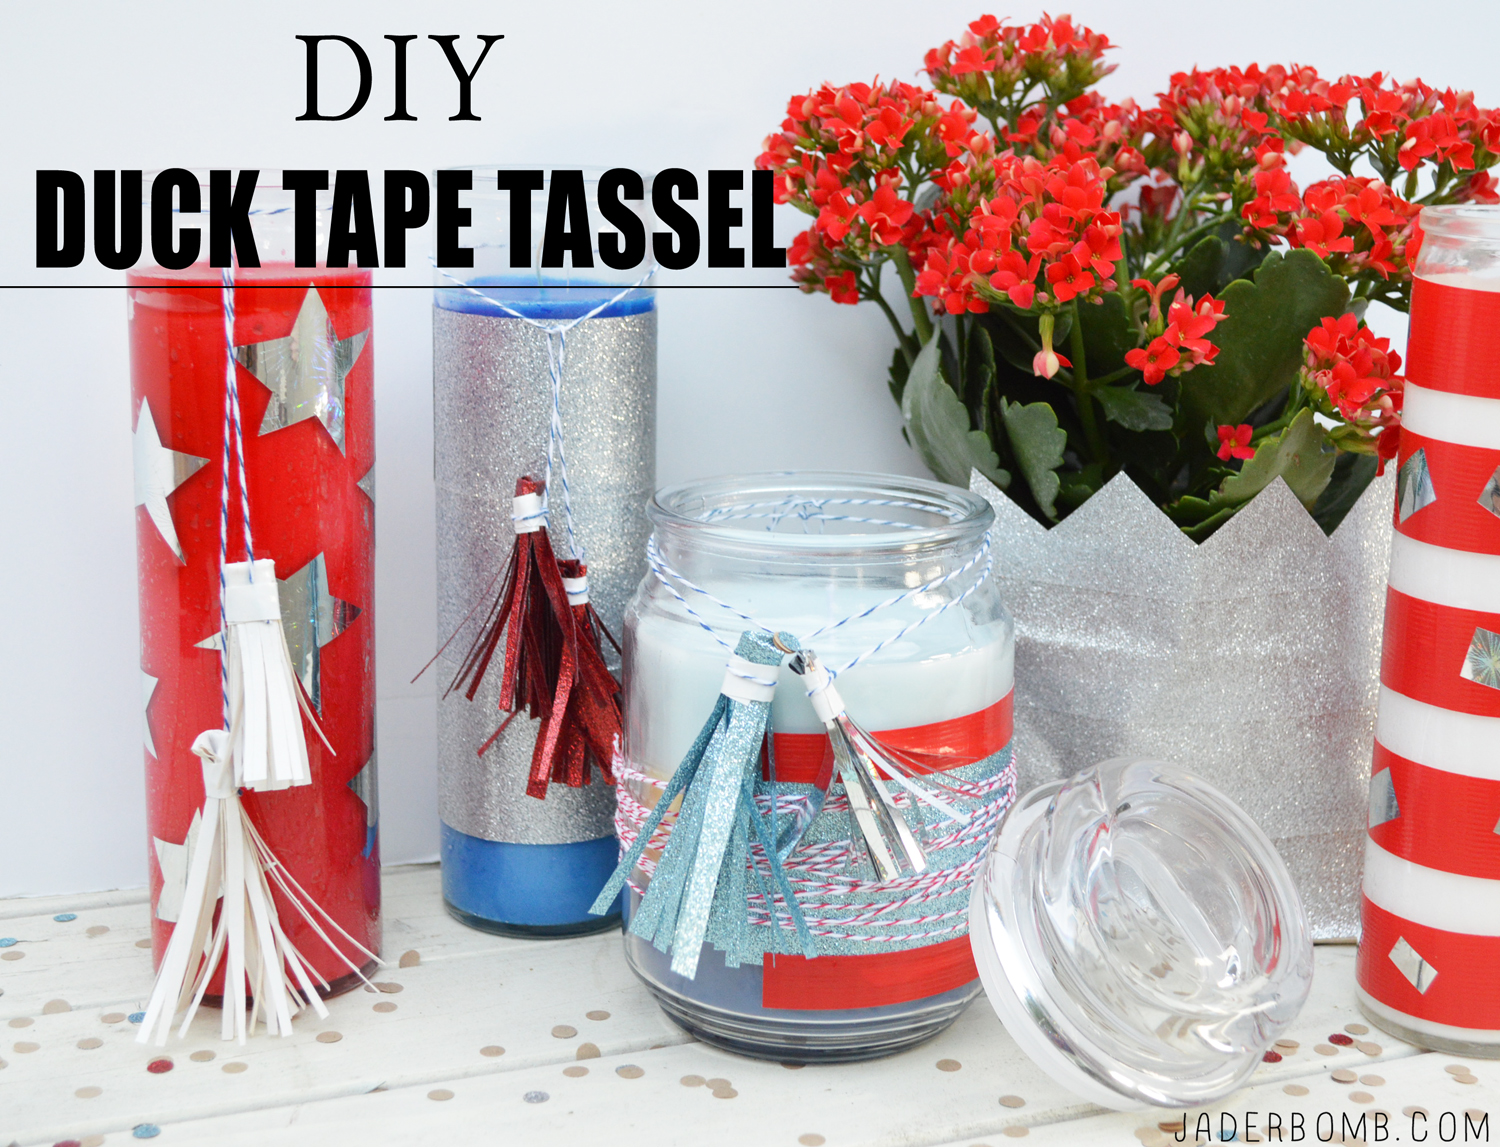 Hope you enjoyed this super sticky tutorial. What kind of tassels do you plan on making? Any suggestions of what they can be used for? Leave them in the COMMENT SECTION below! I am always looking for new tricks and trades. Until next time…
 CLICK HERE FOR THE FULL TUTORIAL
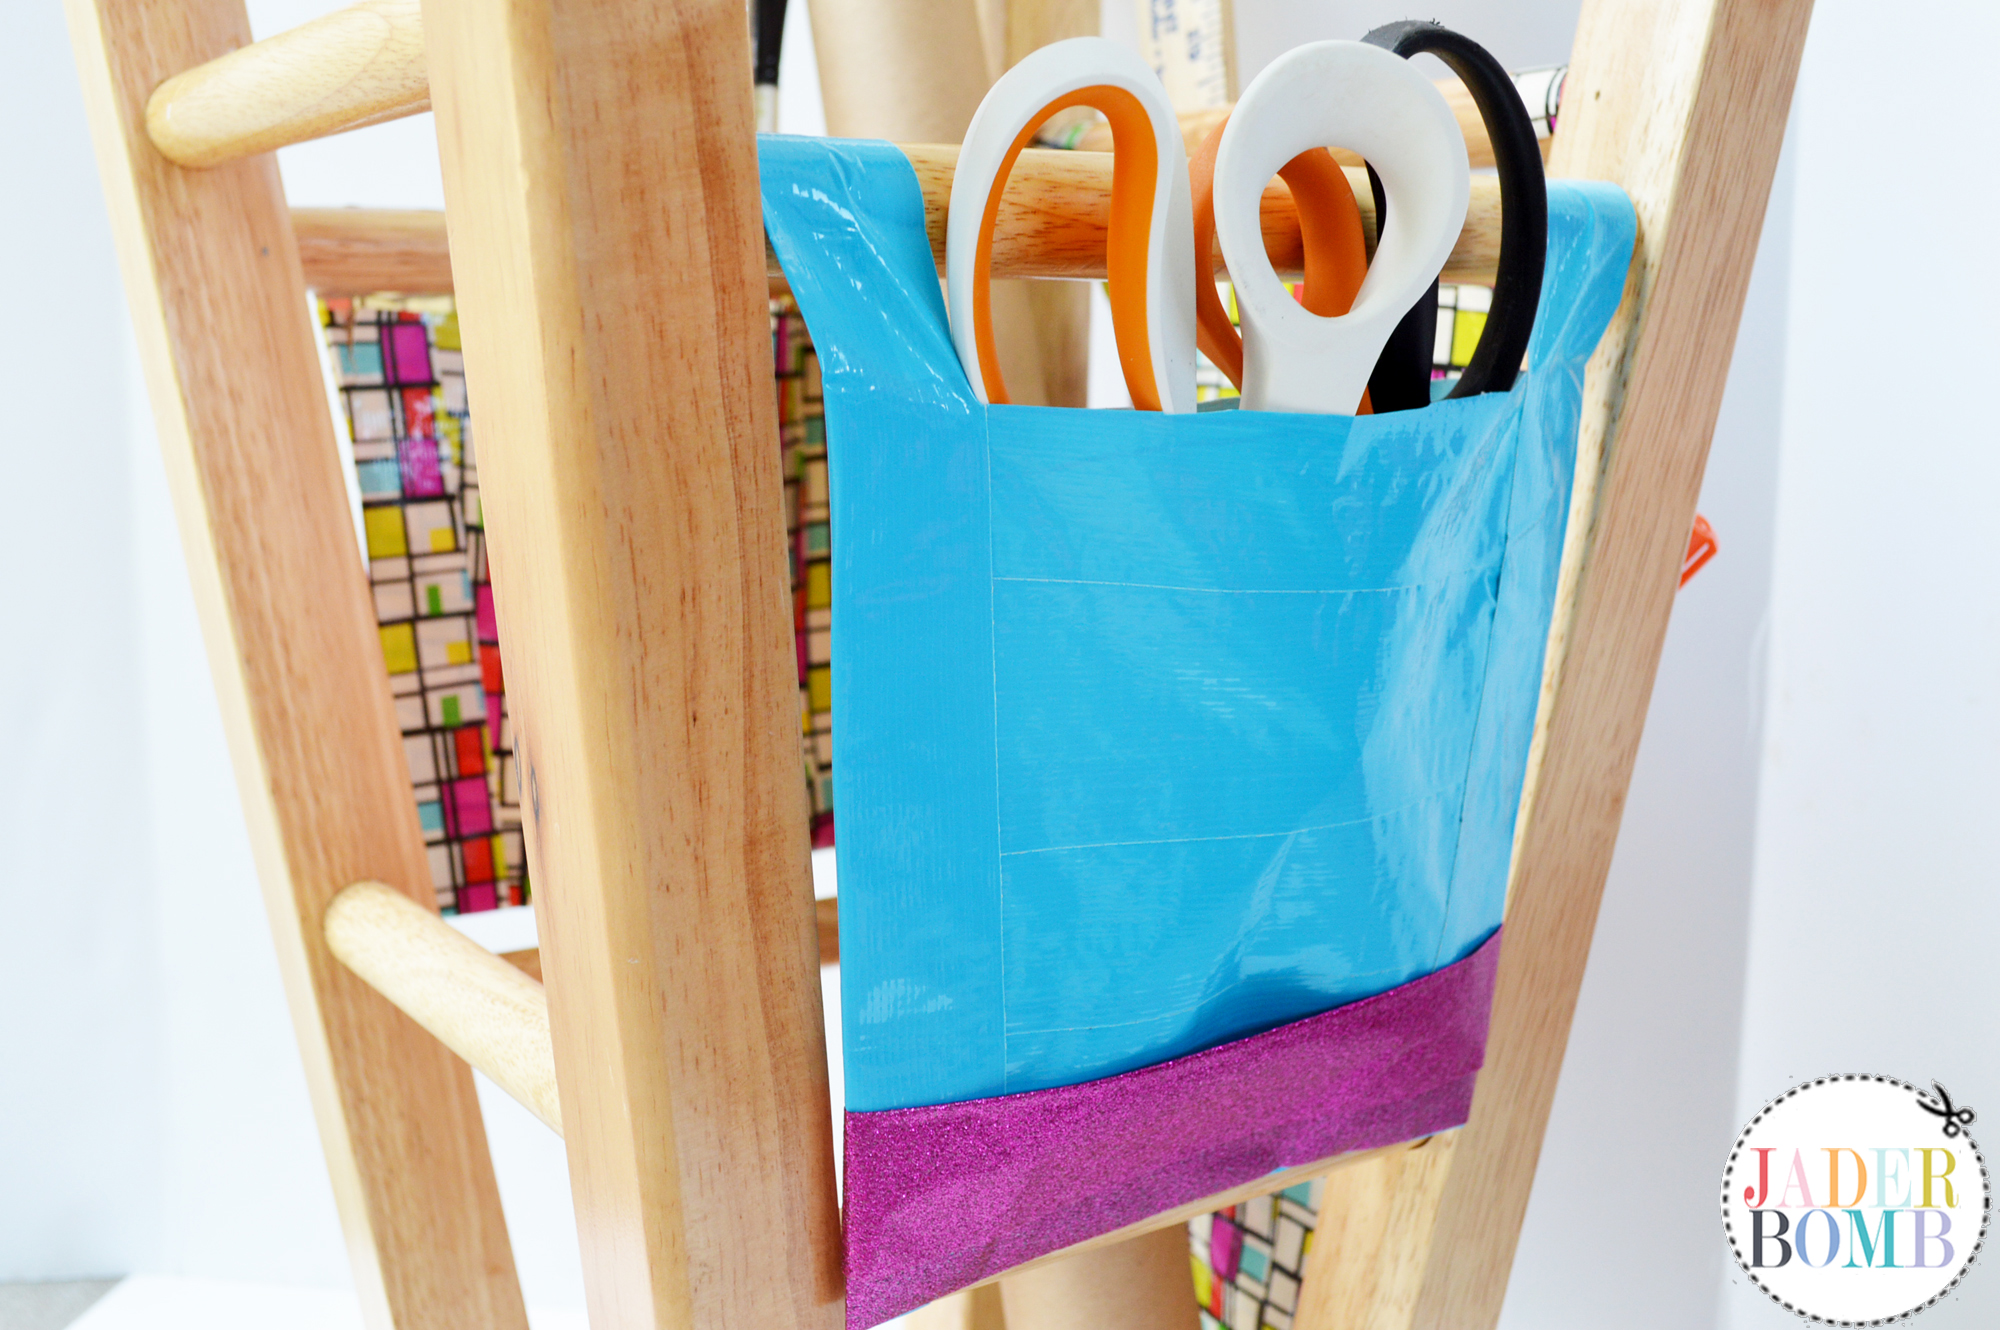
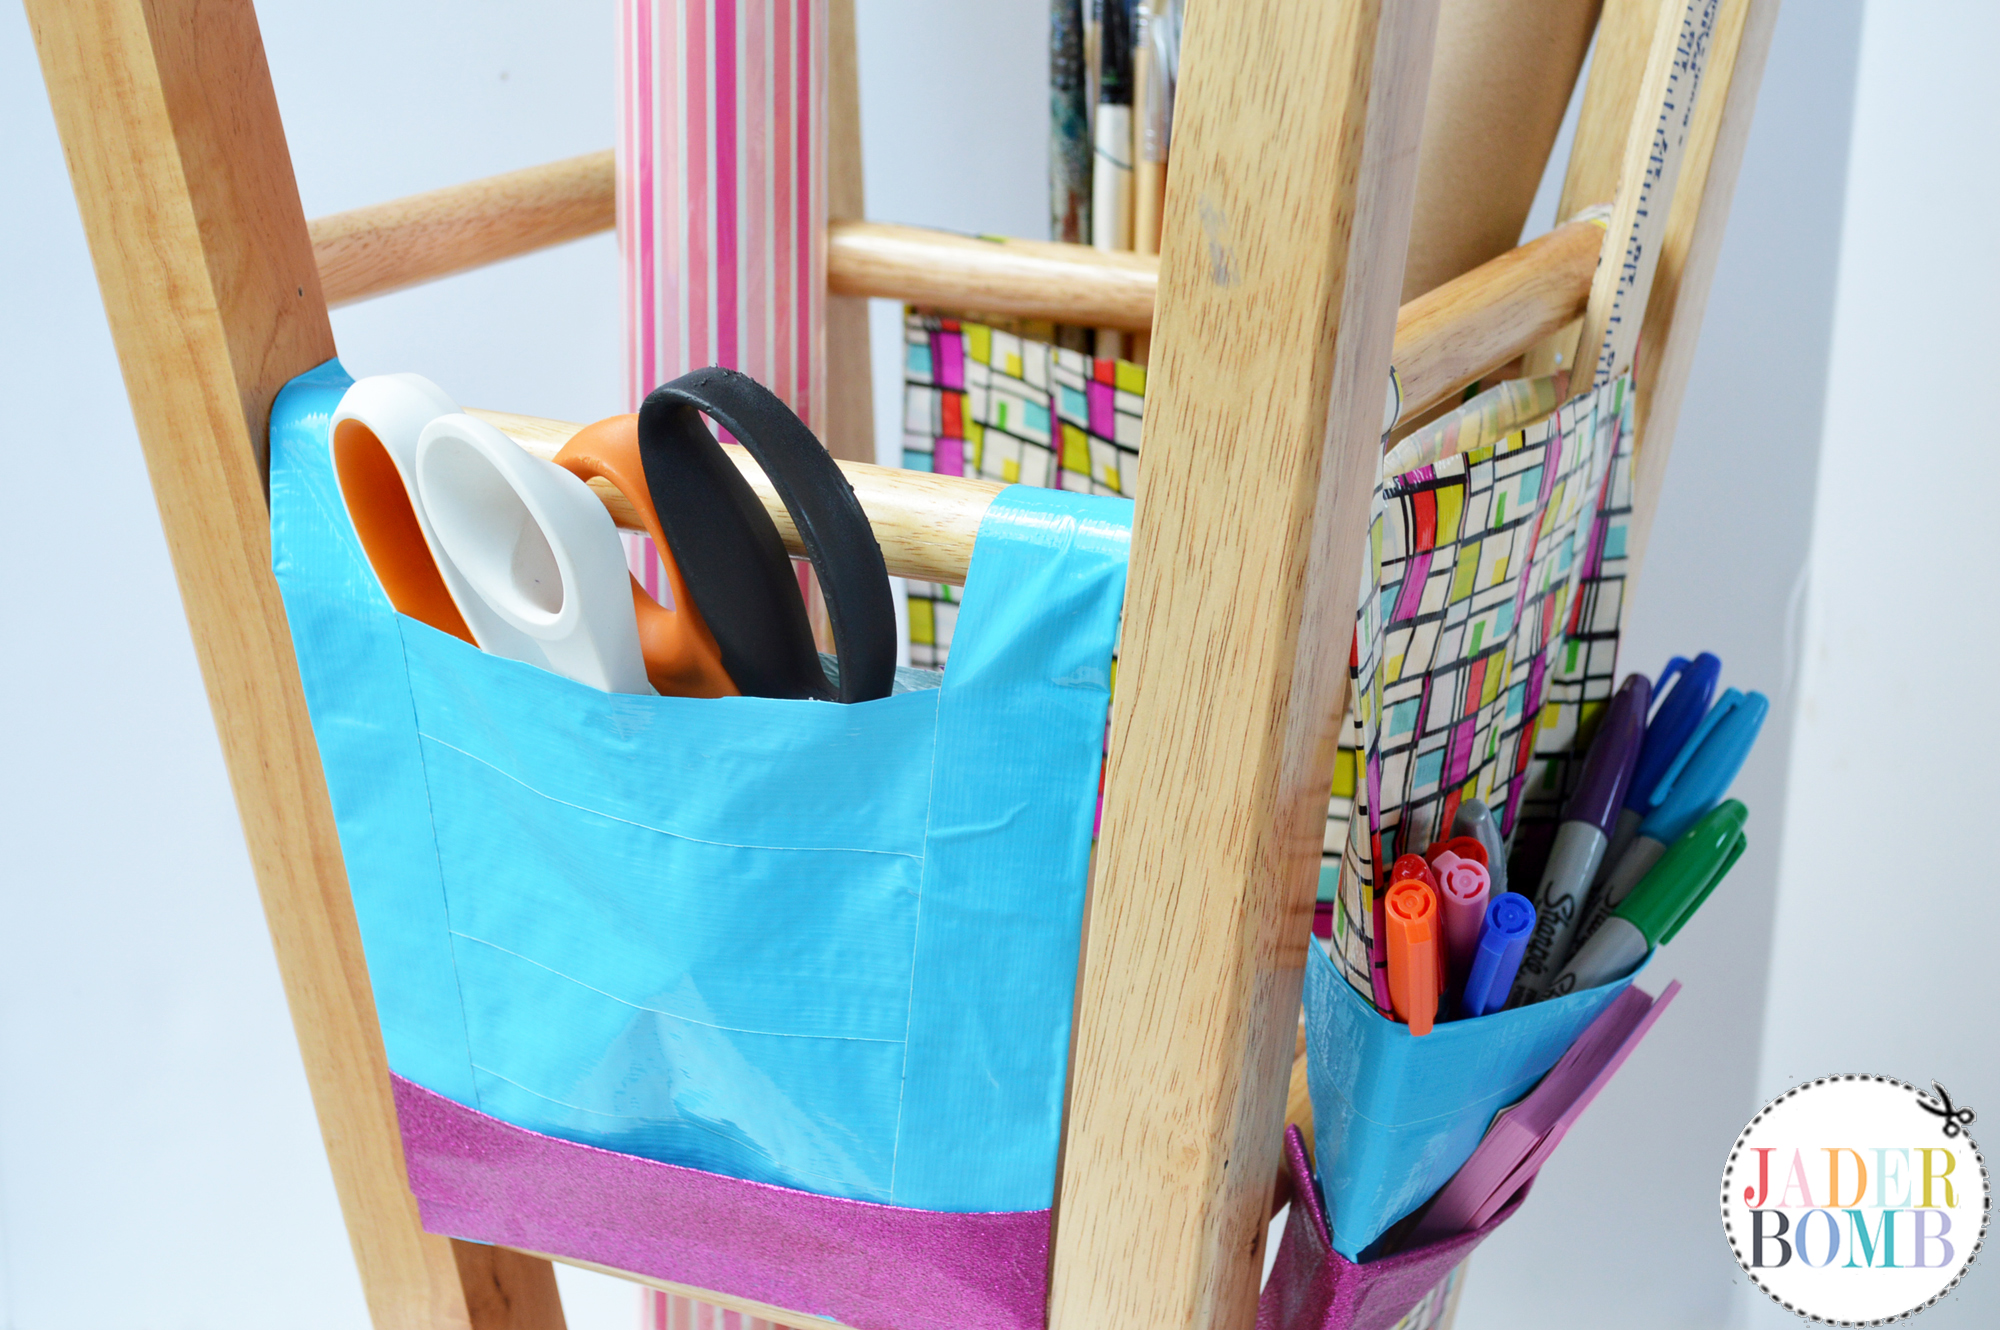
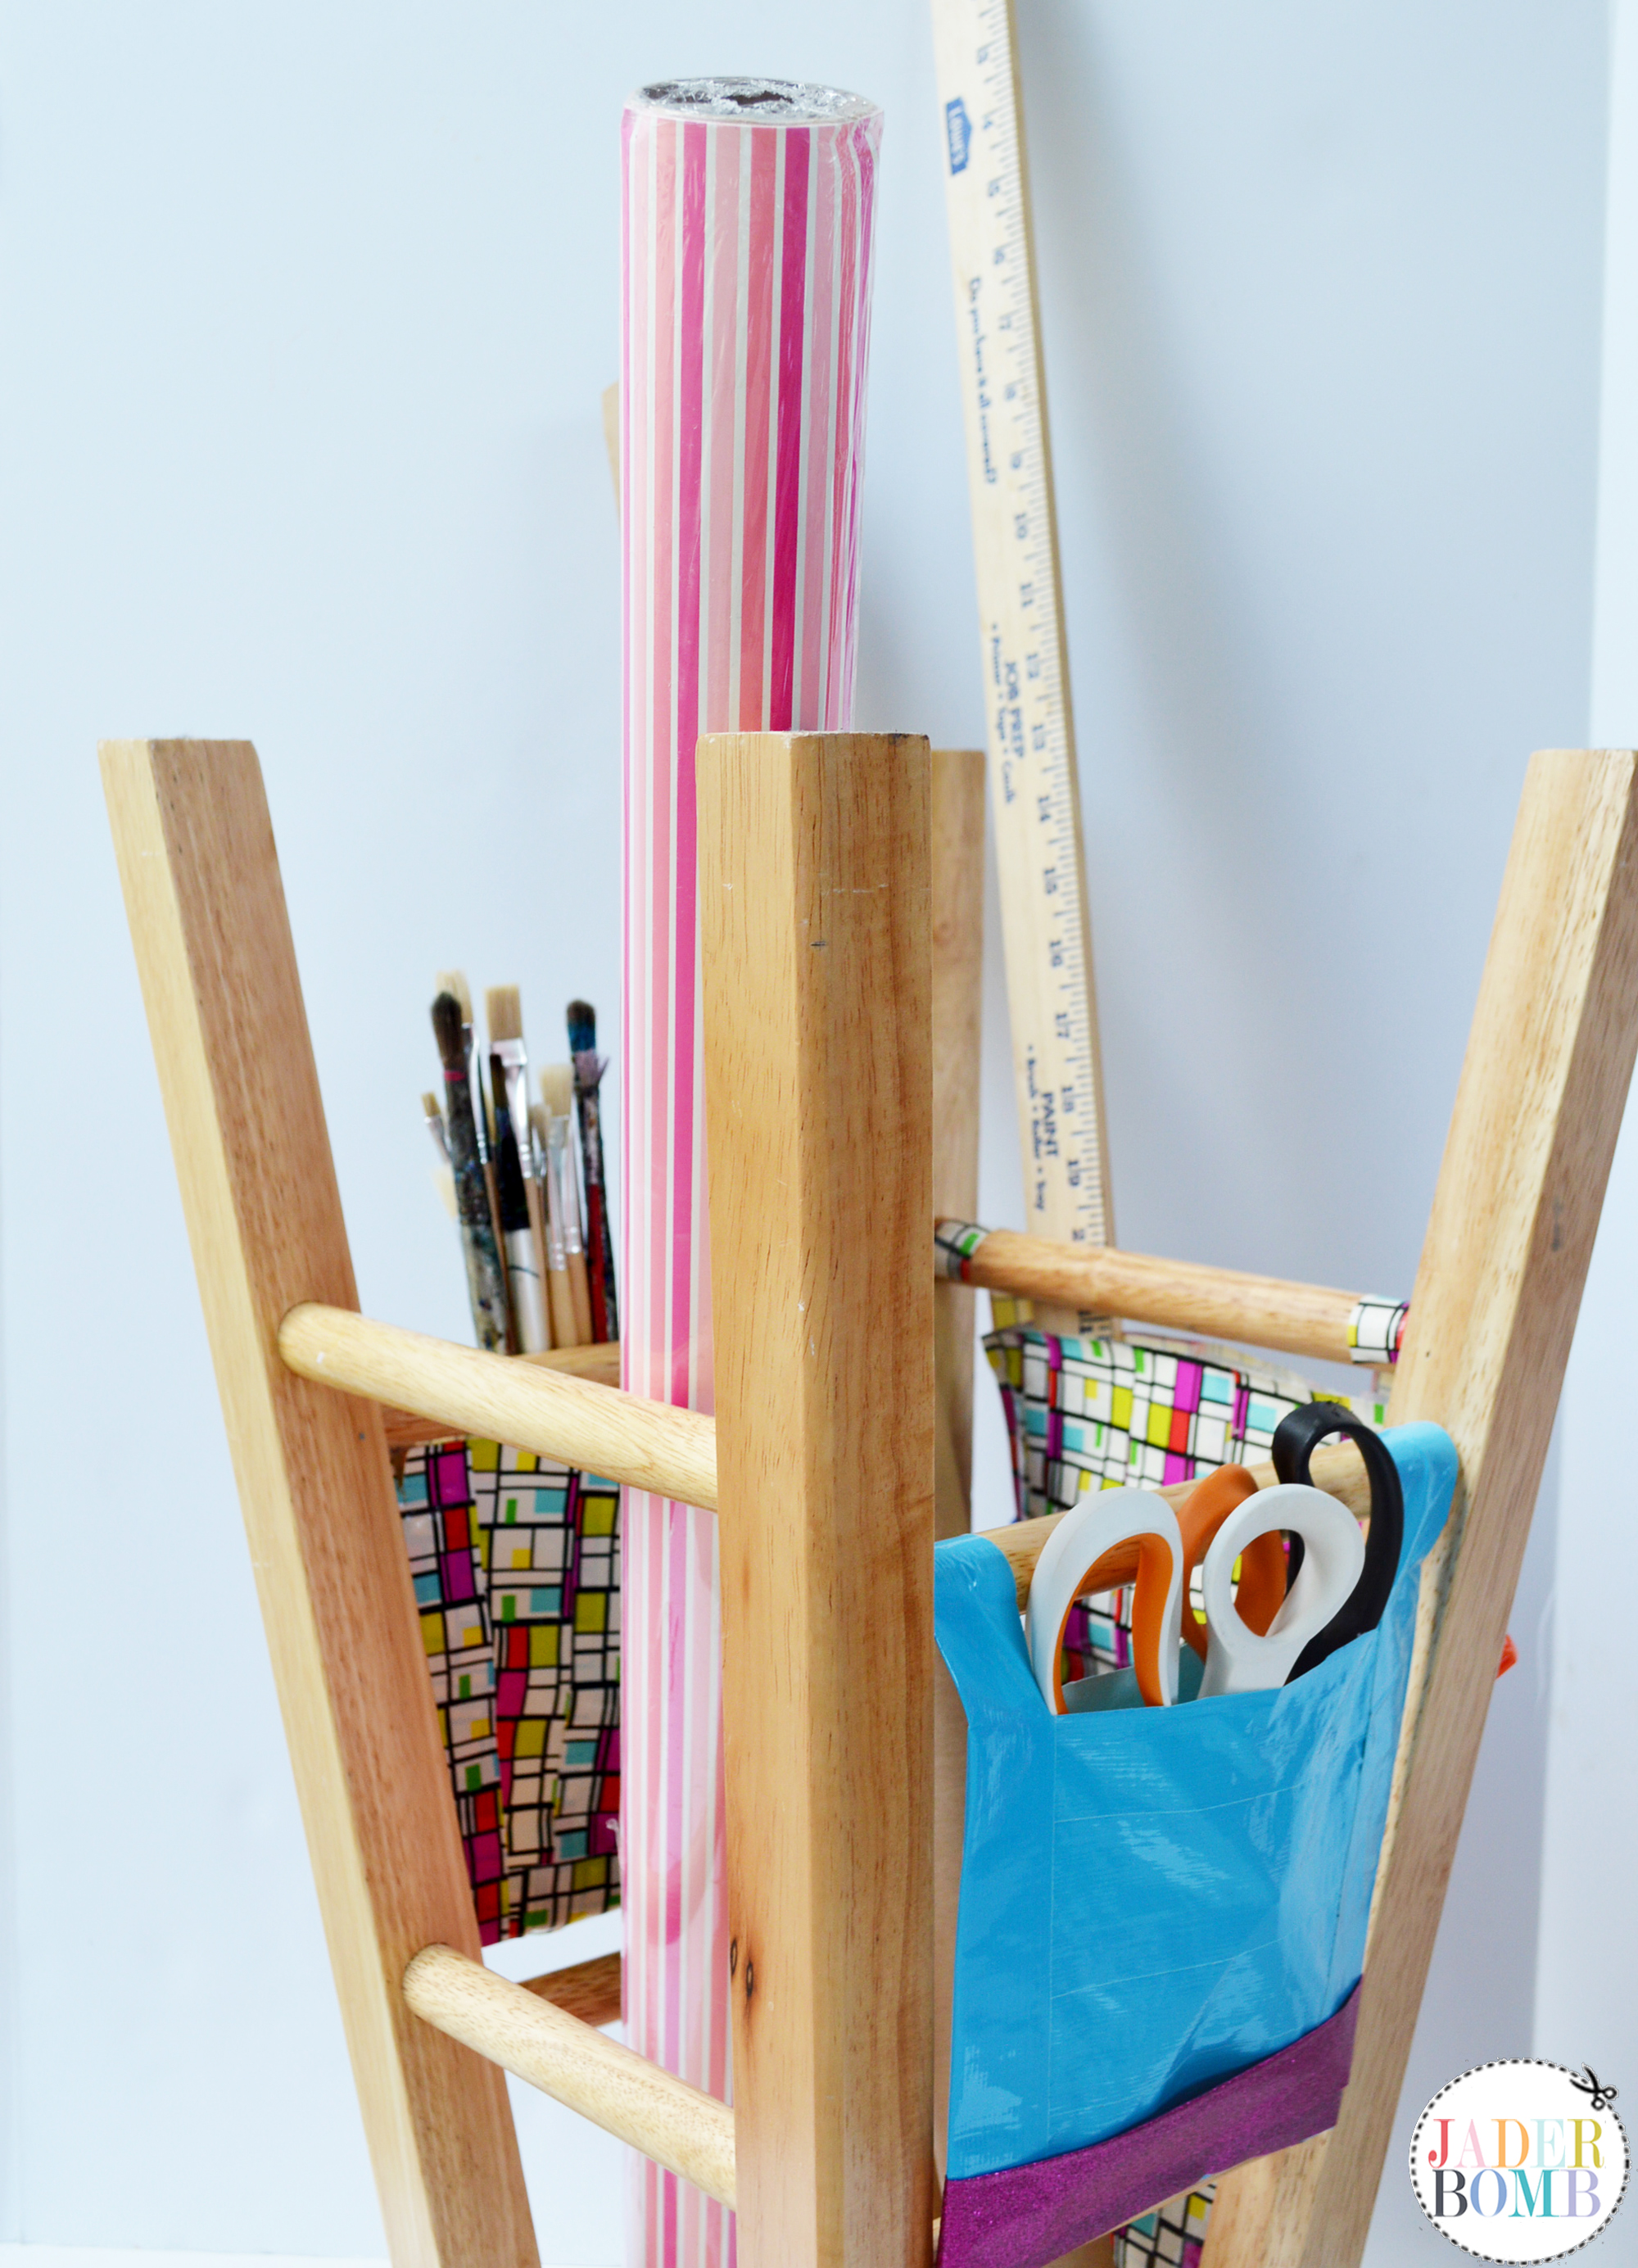
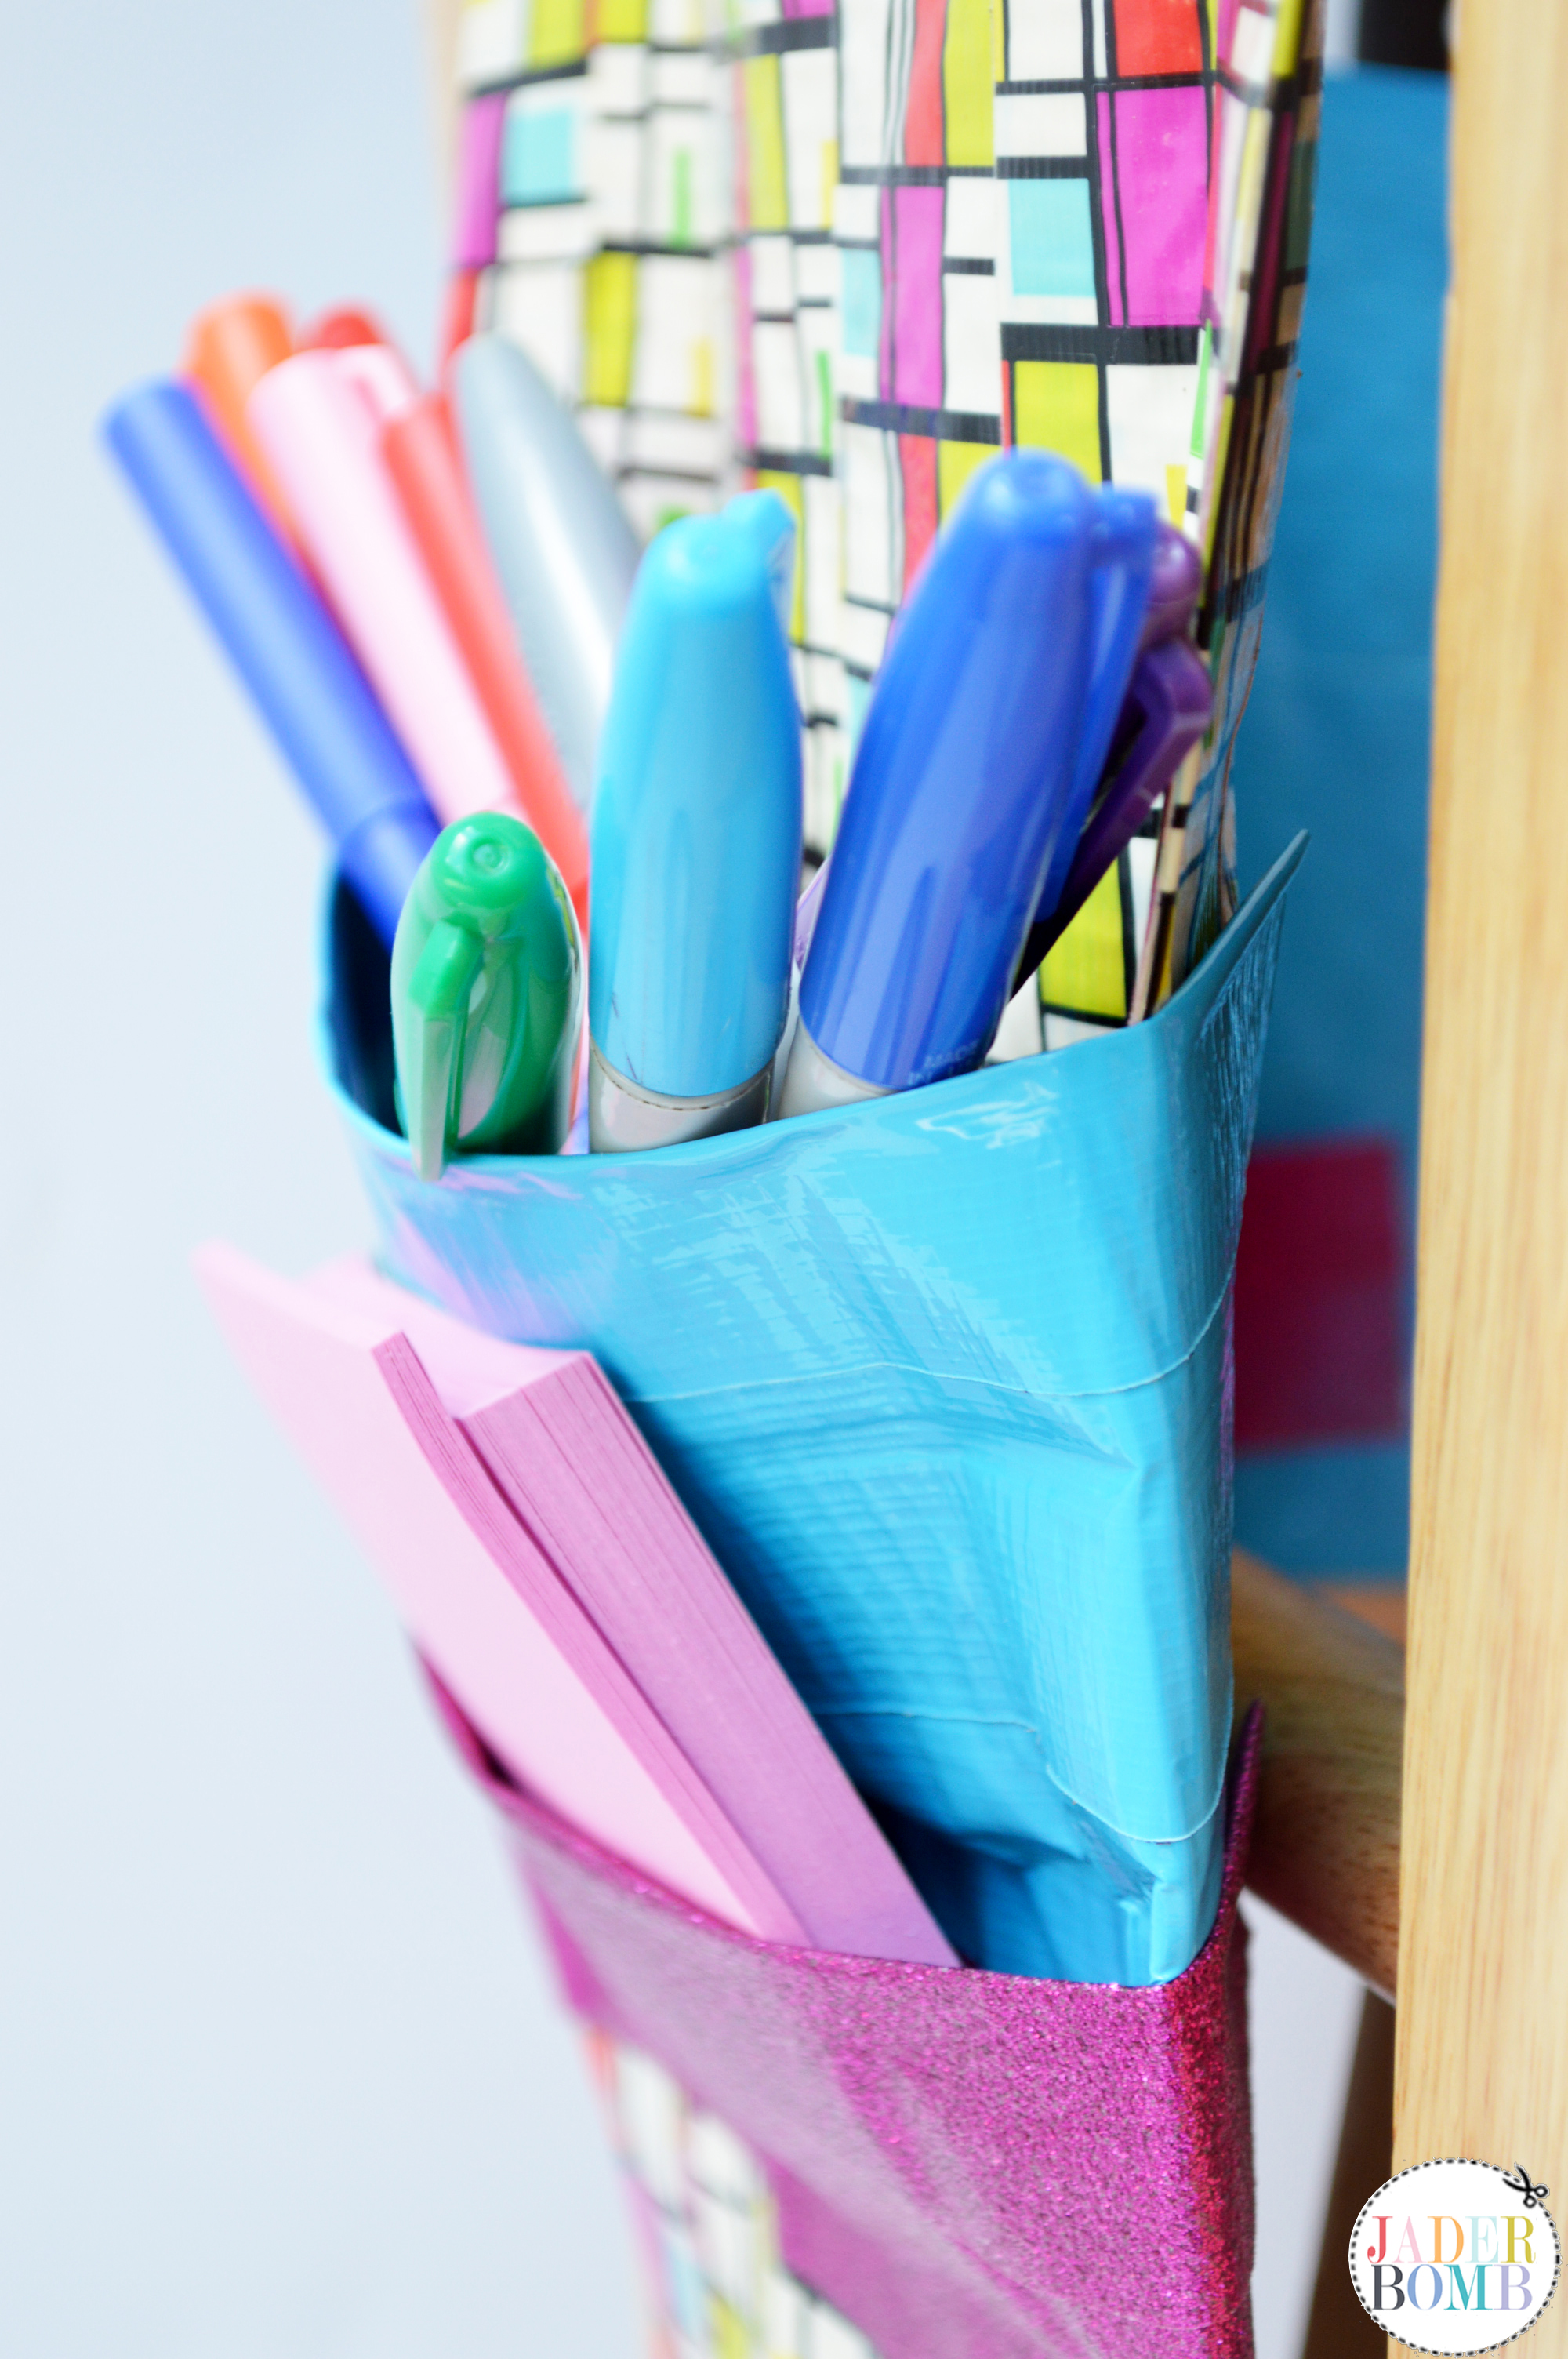
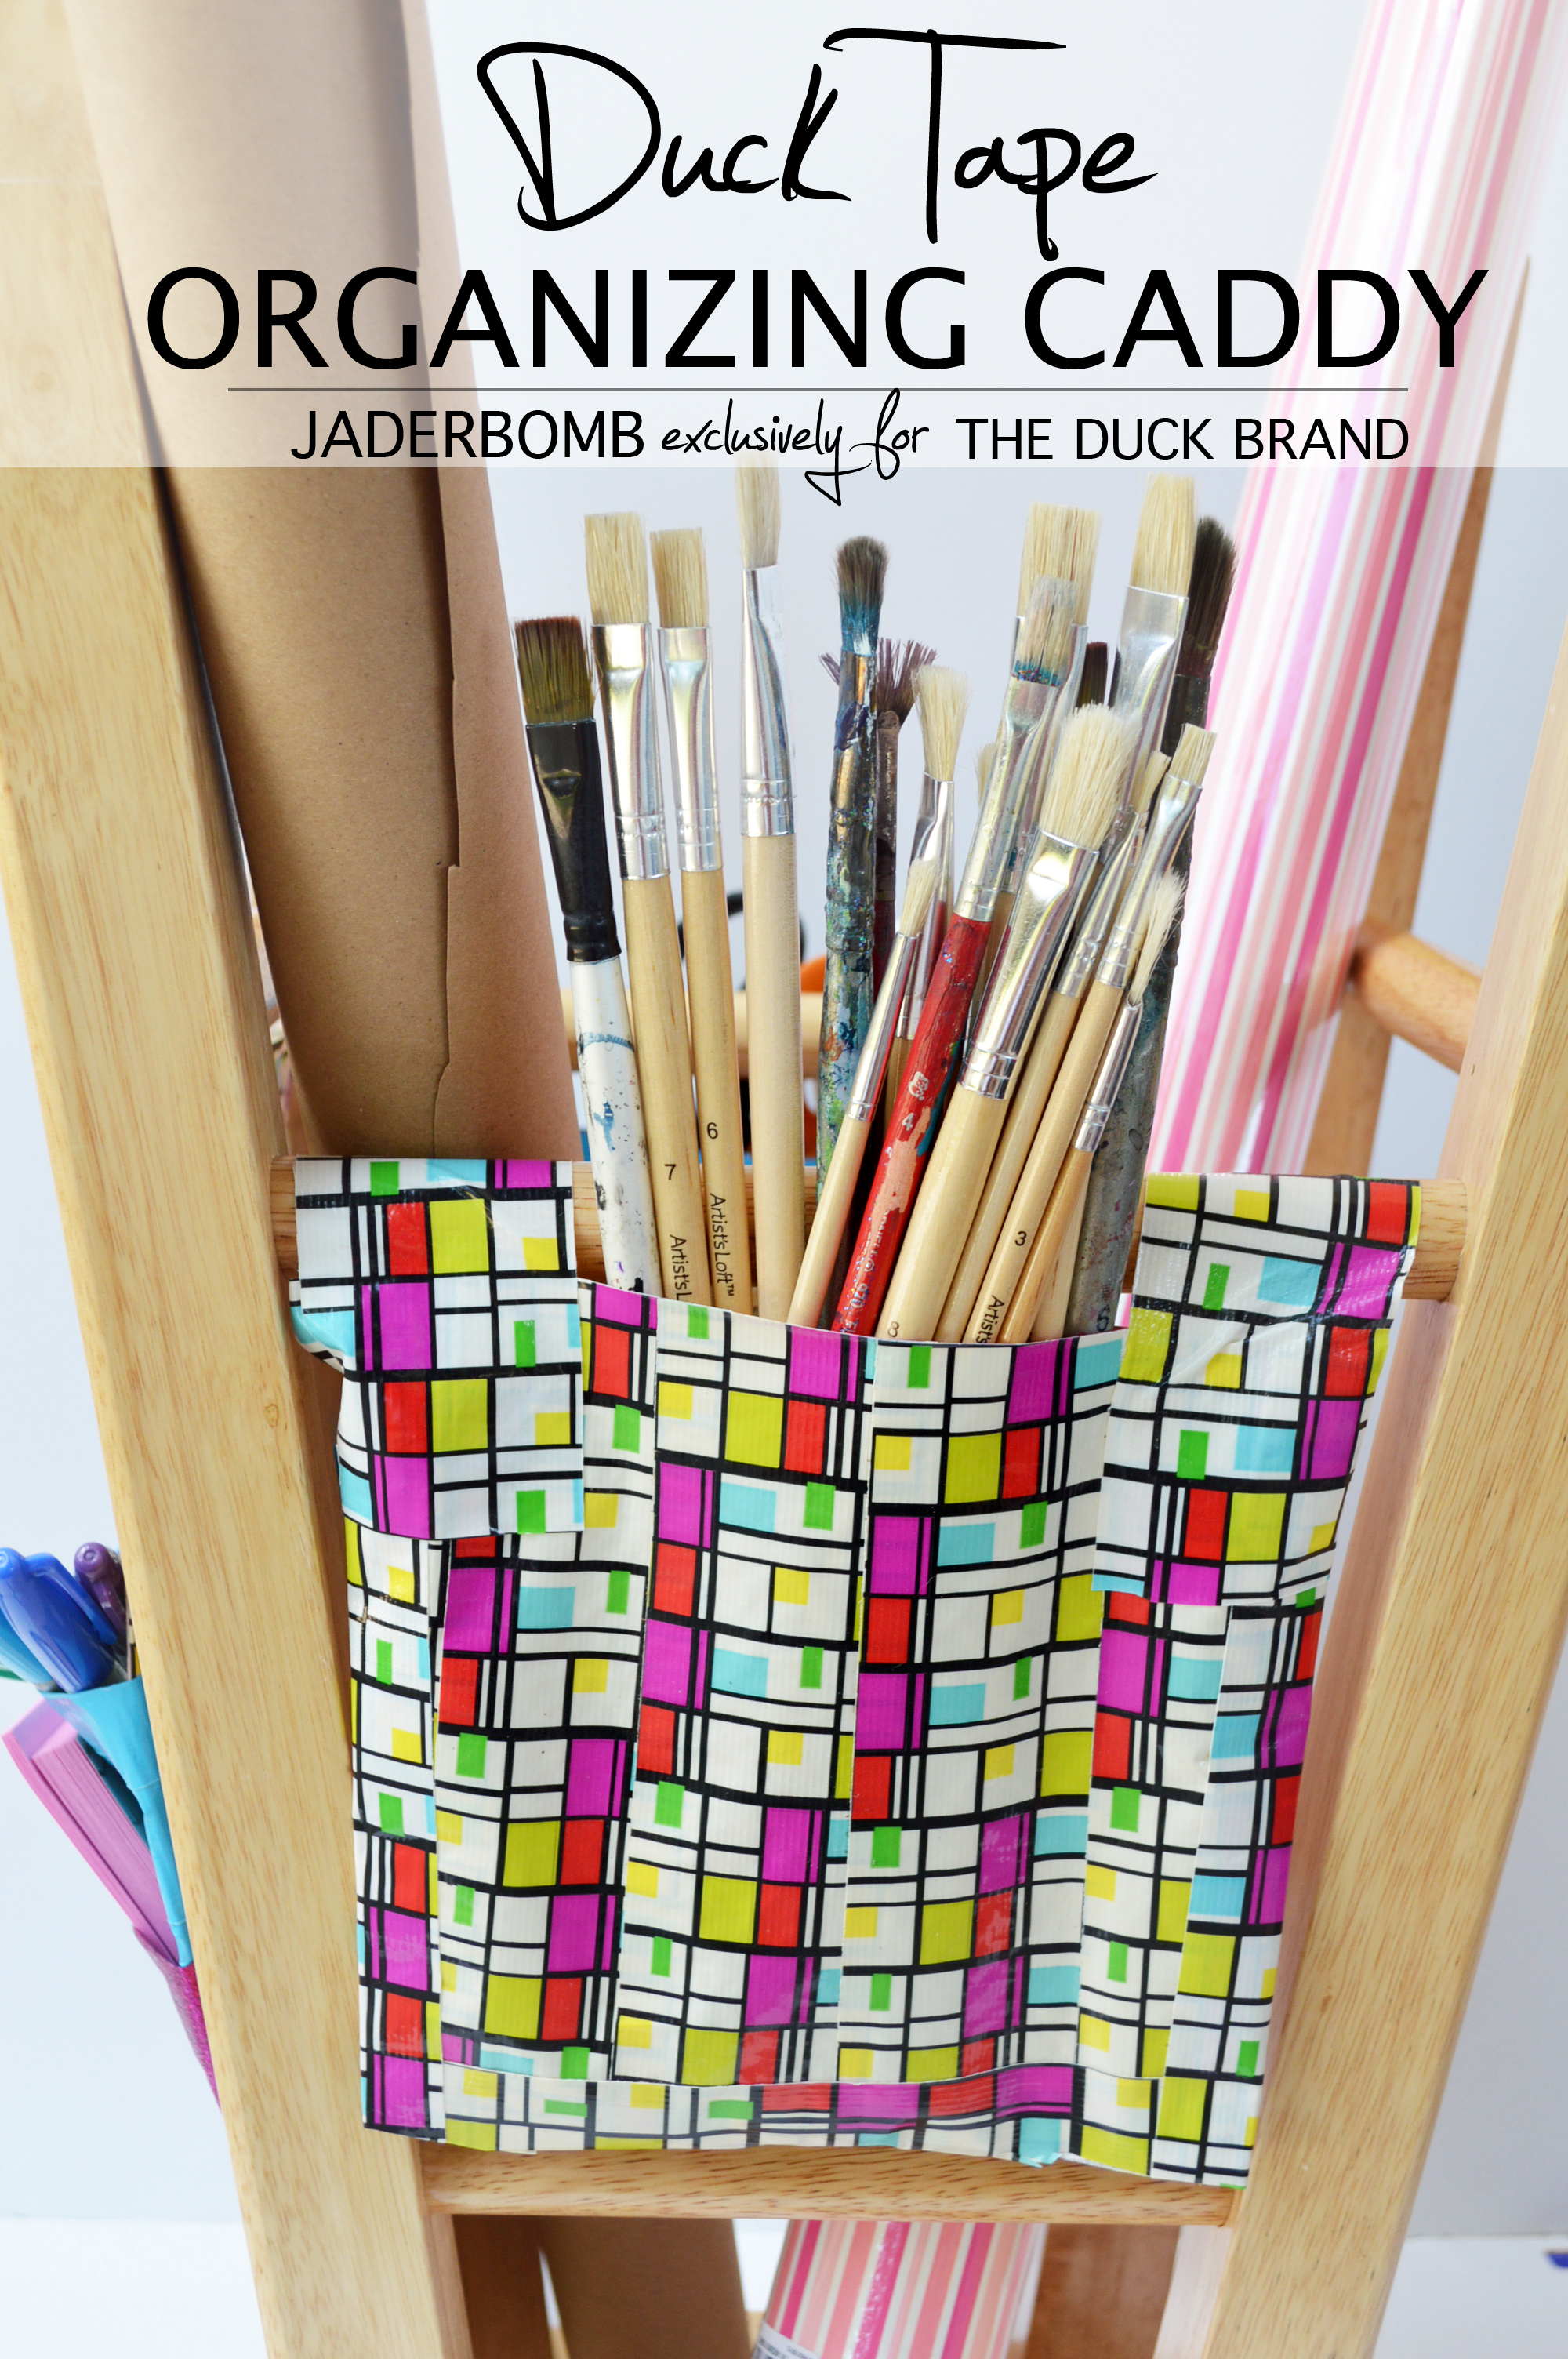
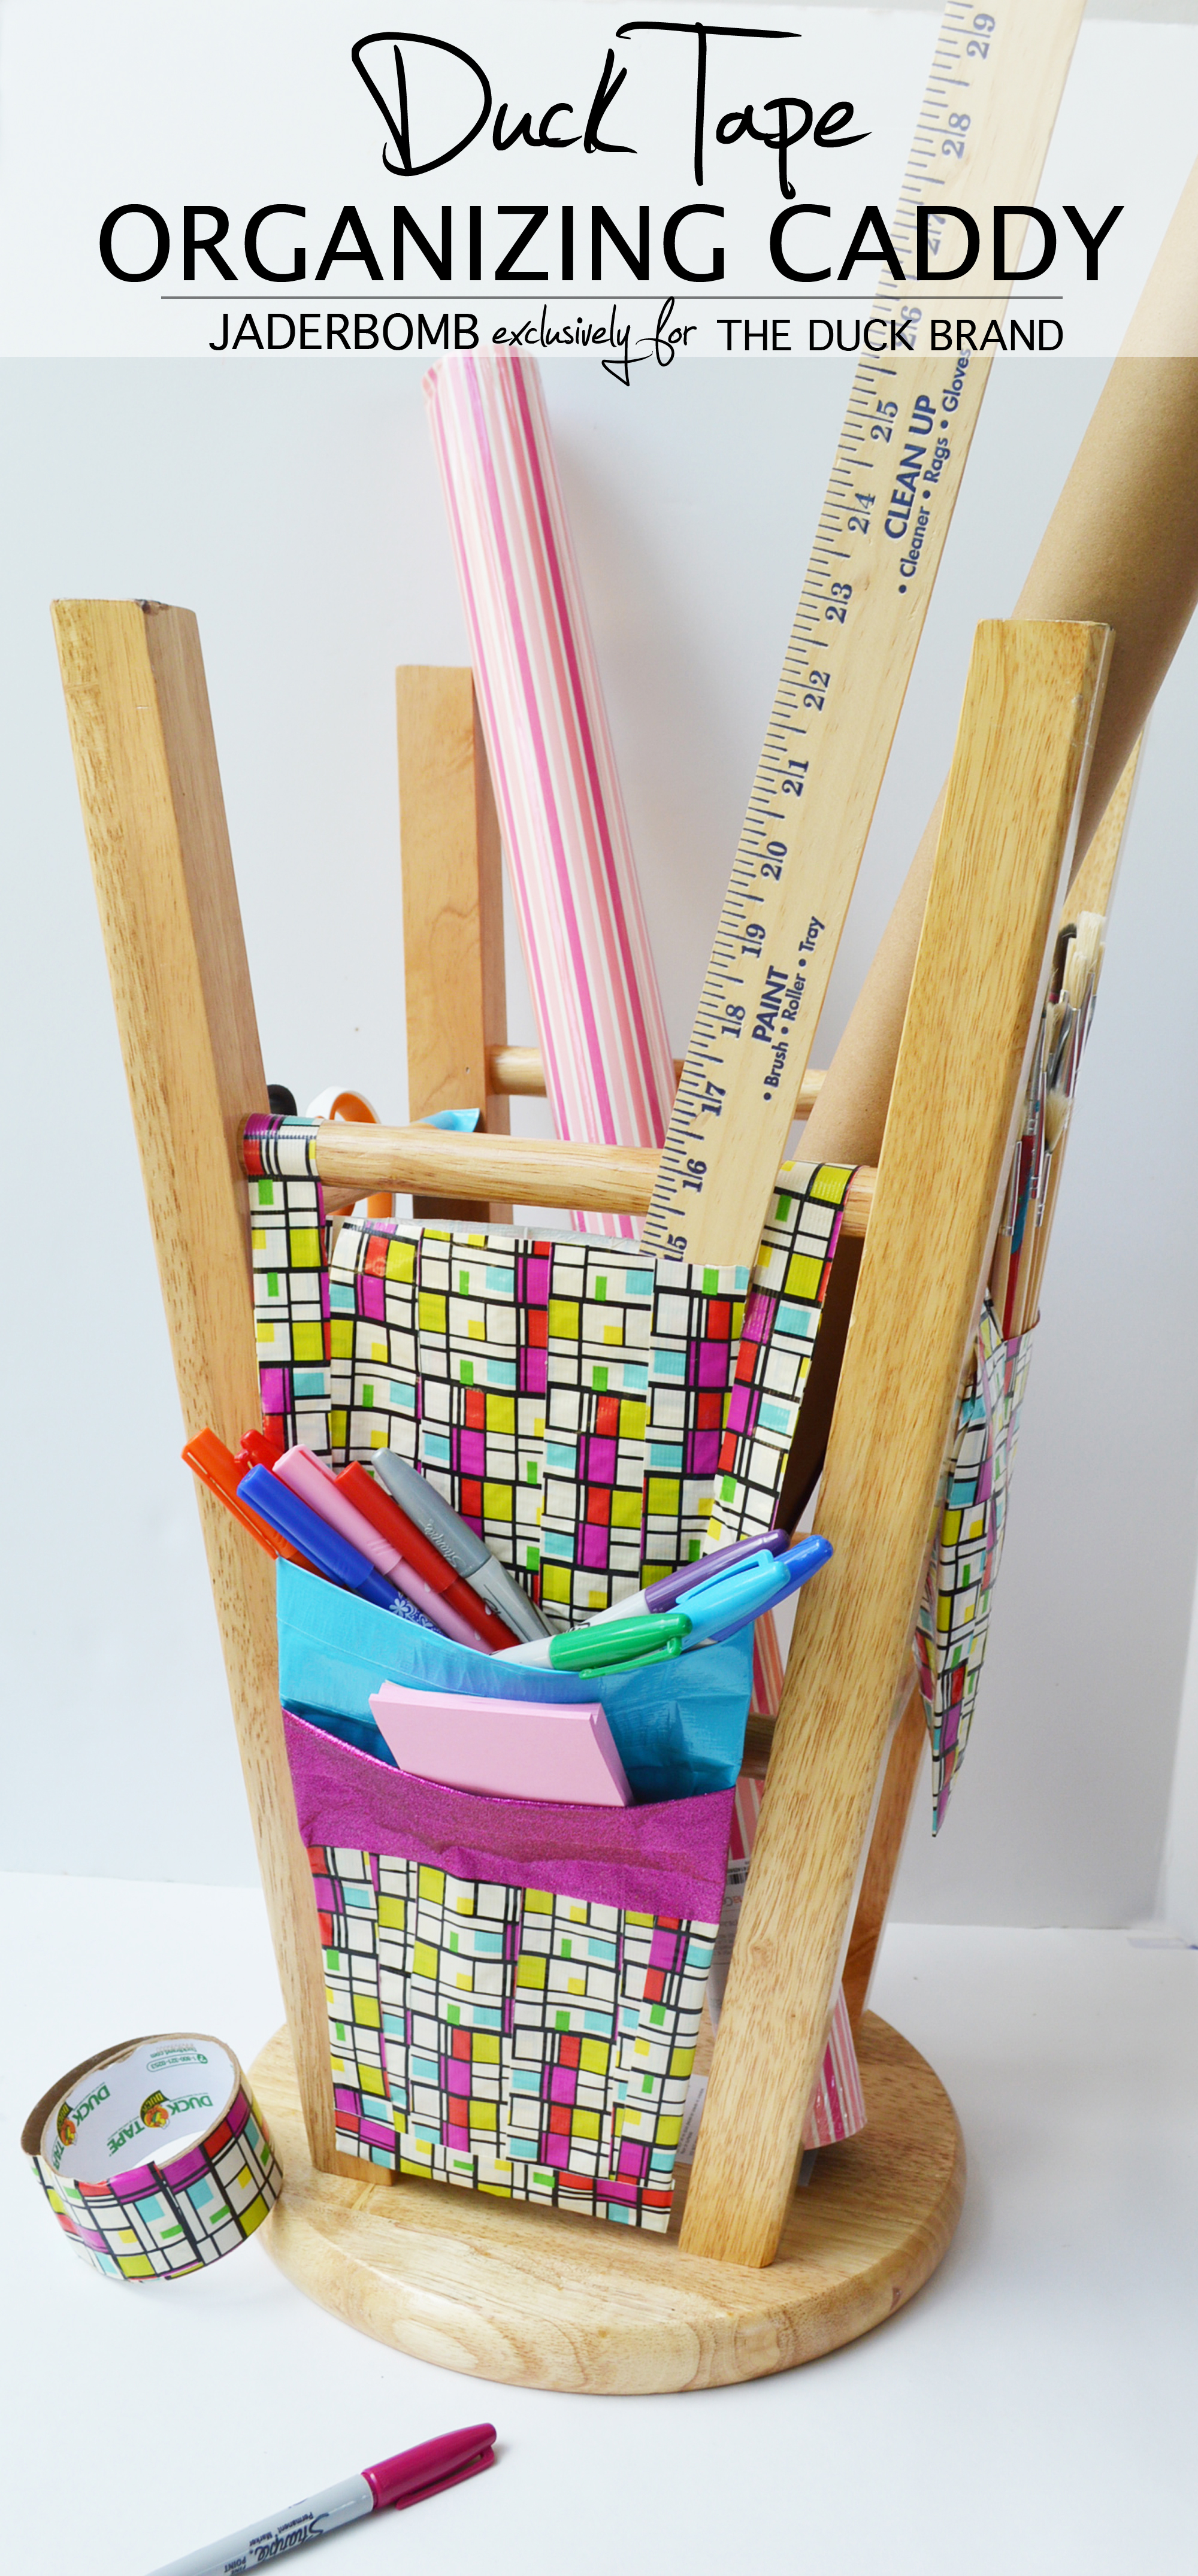
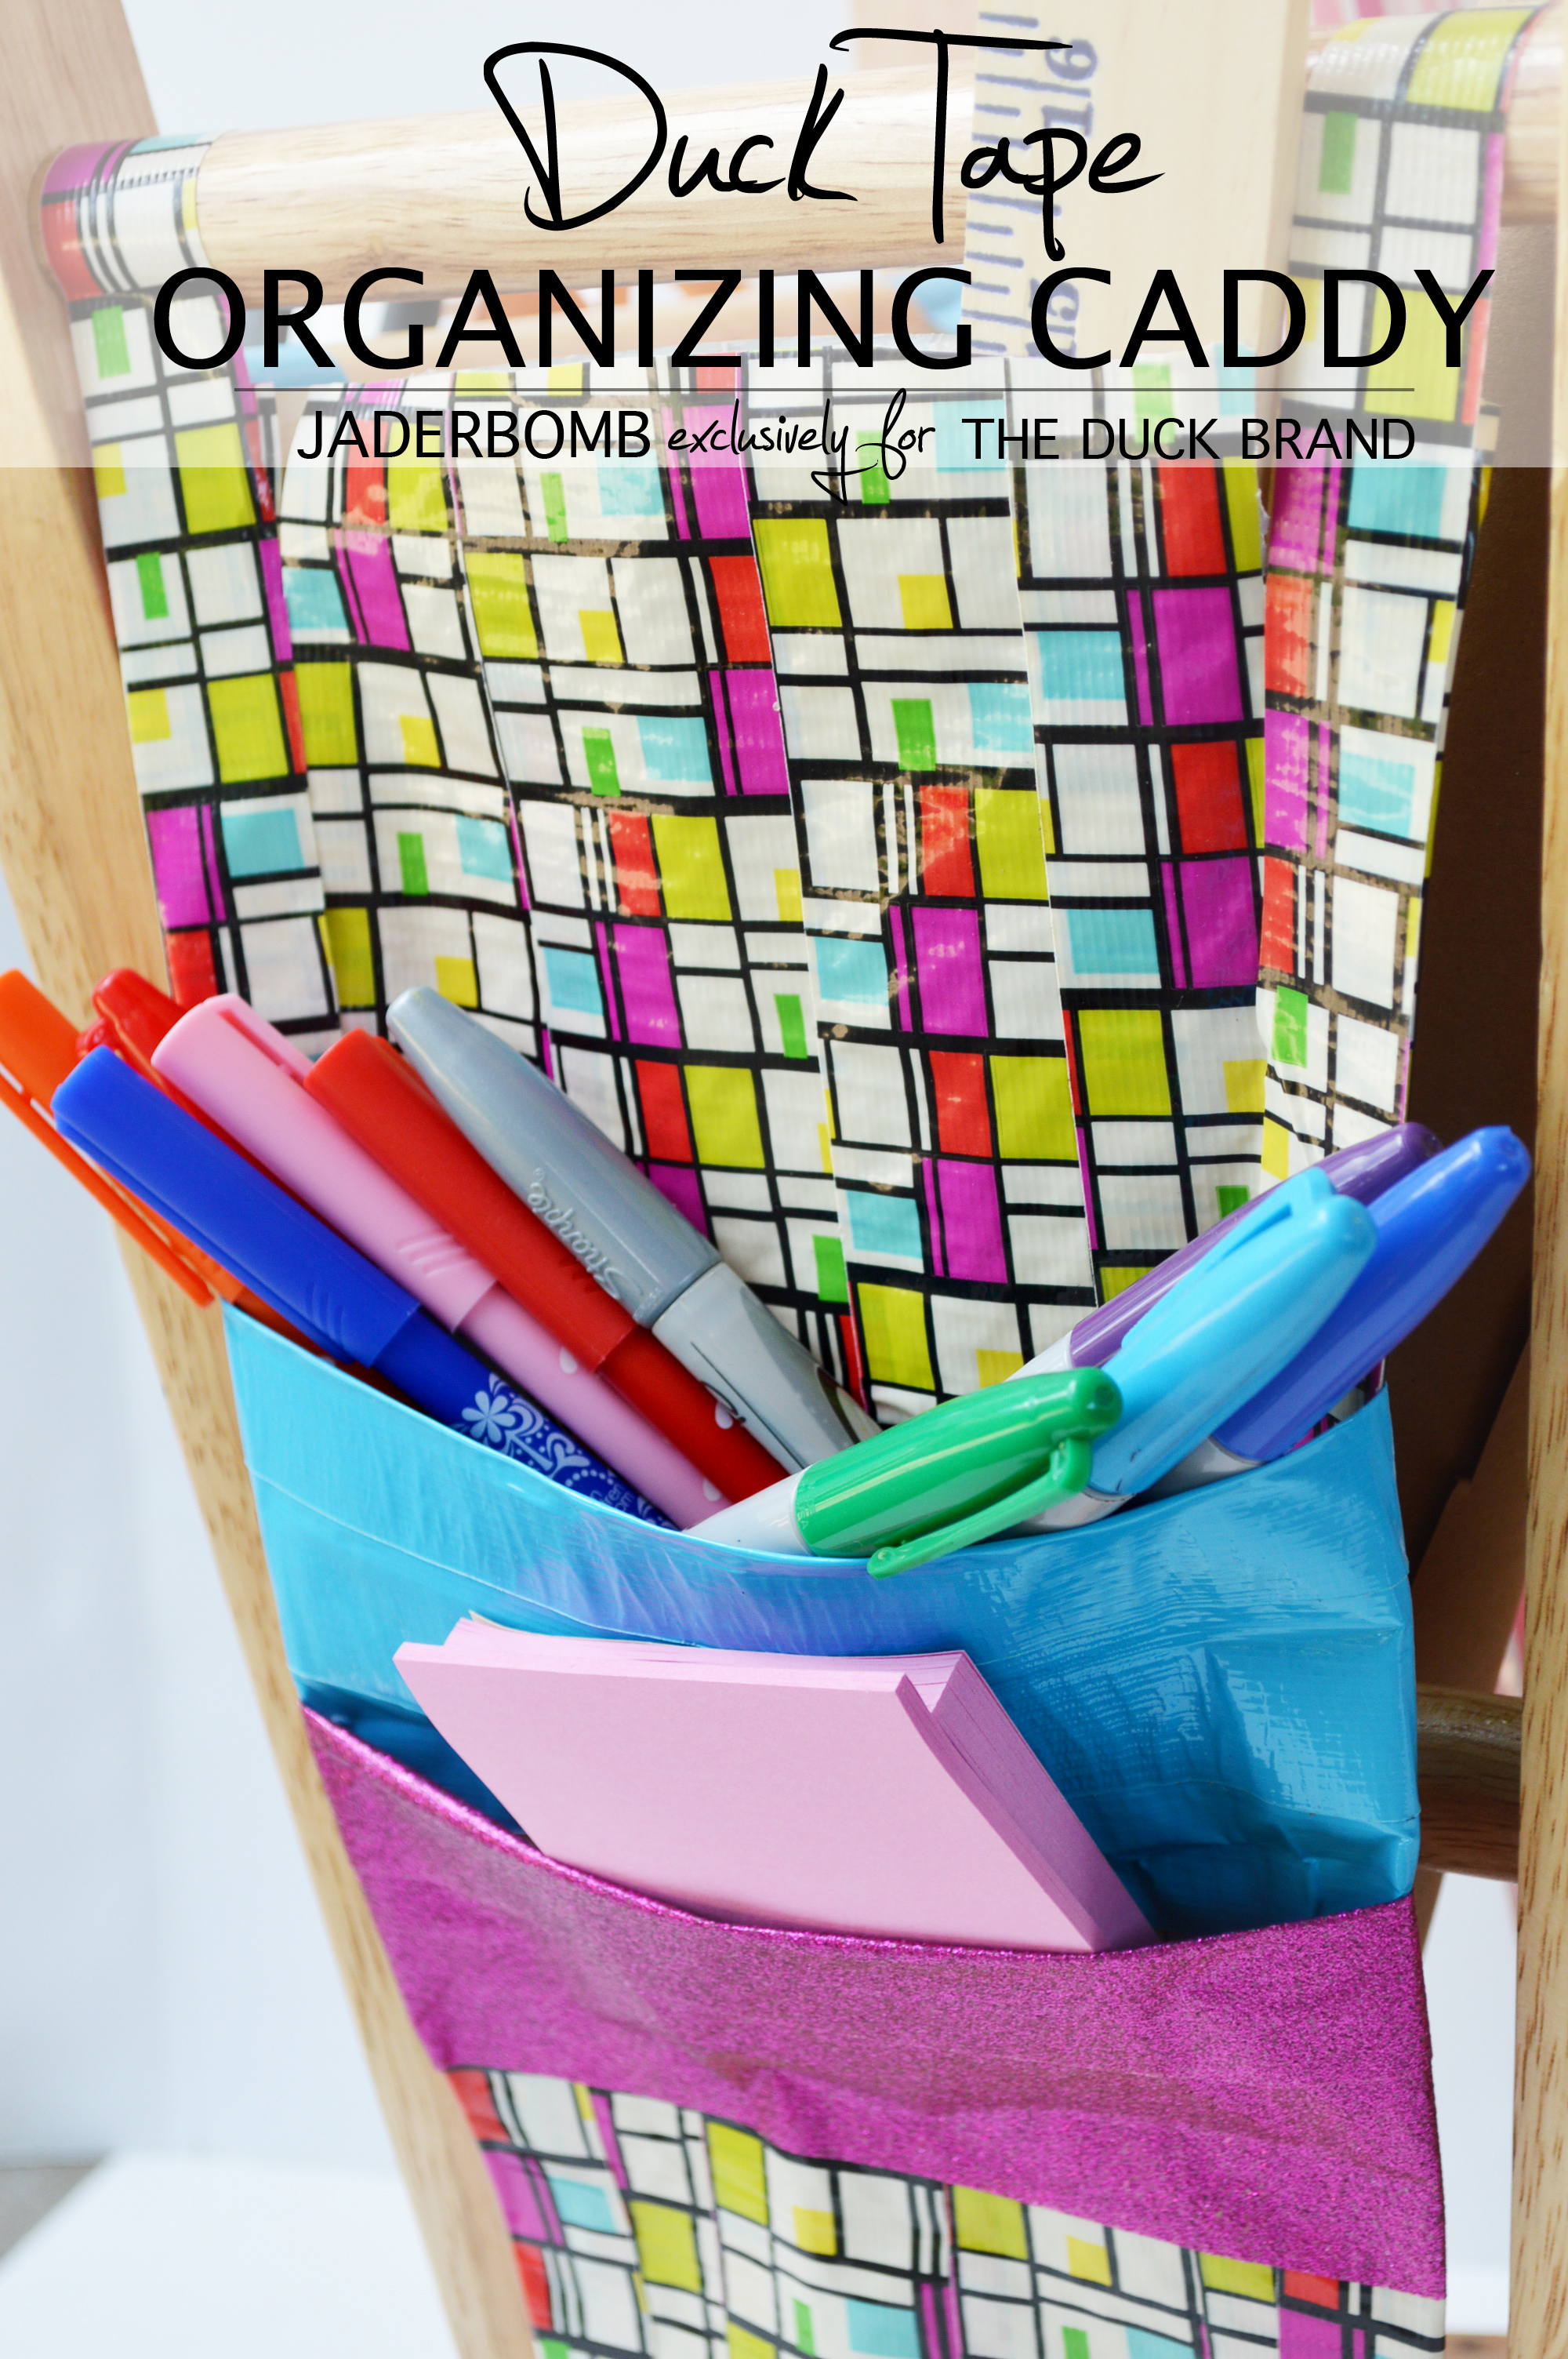
 I don’t know about you but I absolutely love mini organizing stations. Sometimes a good one can be hard to come by which is why today I am going to show you an easy way to create a duck tape organizing caddy. One that can go in any space,literally. The one thing I love about this caddy is you can choose the exact design or color of
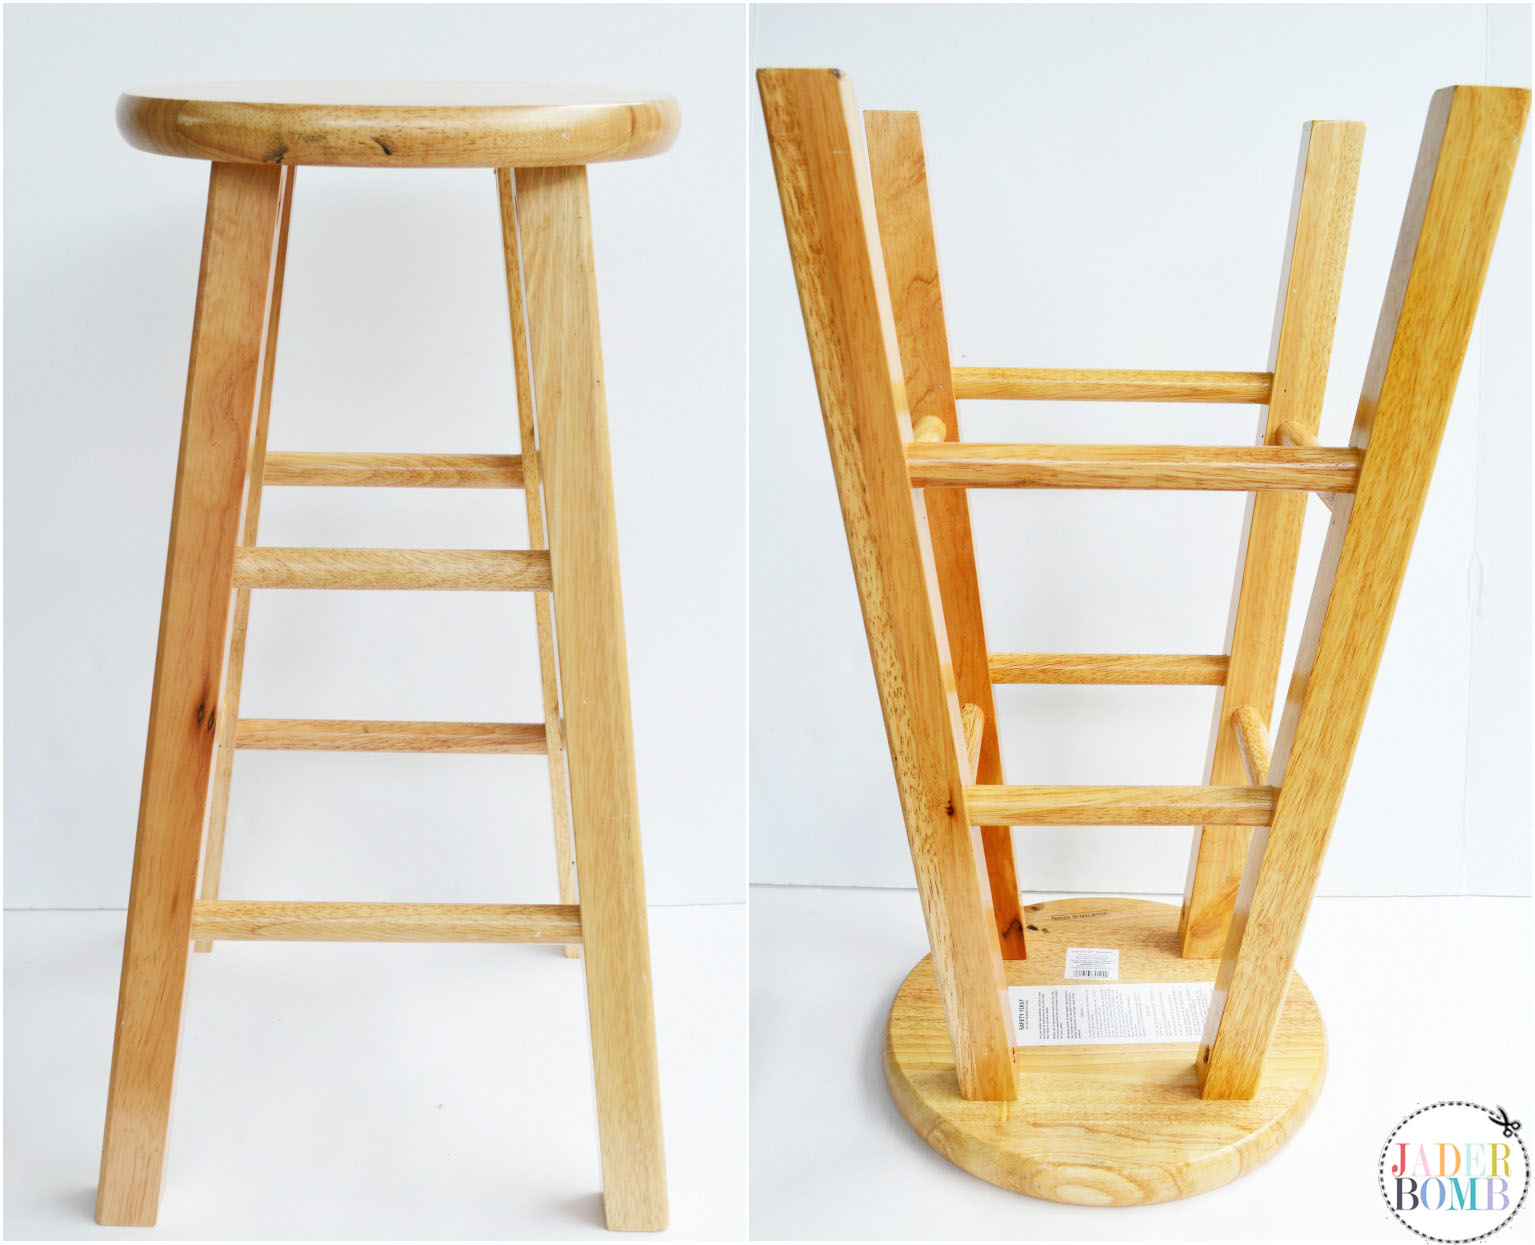
 The great thing about this crafts is choosing the colors you want!
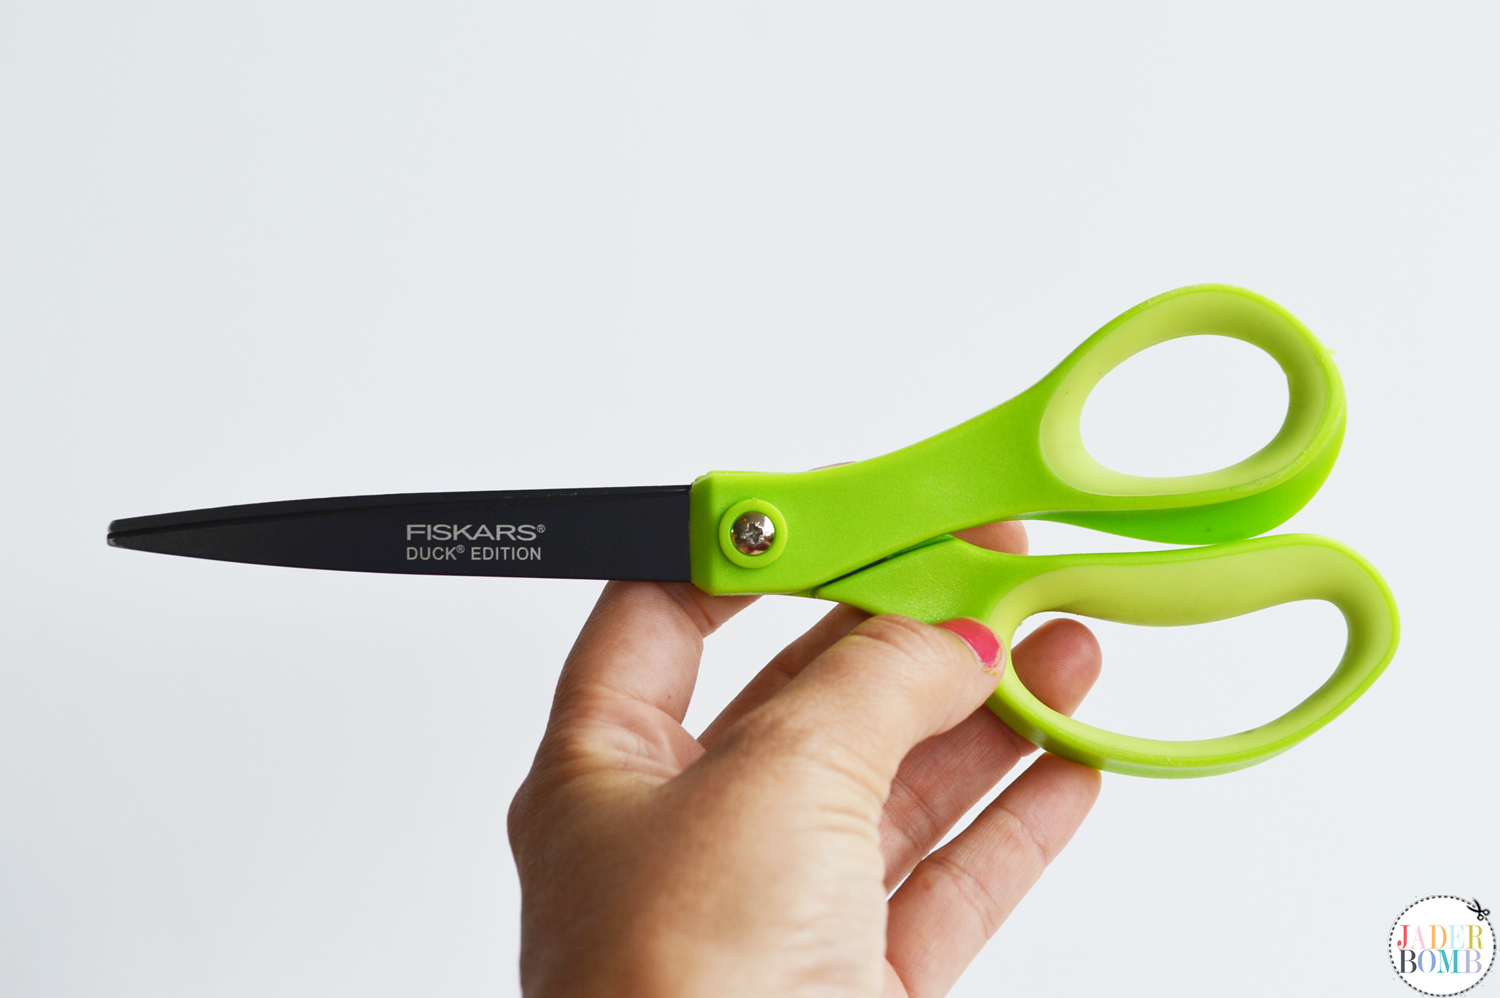
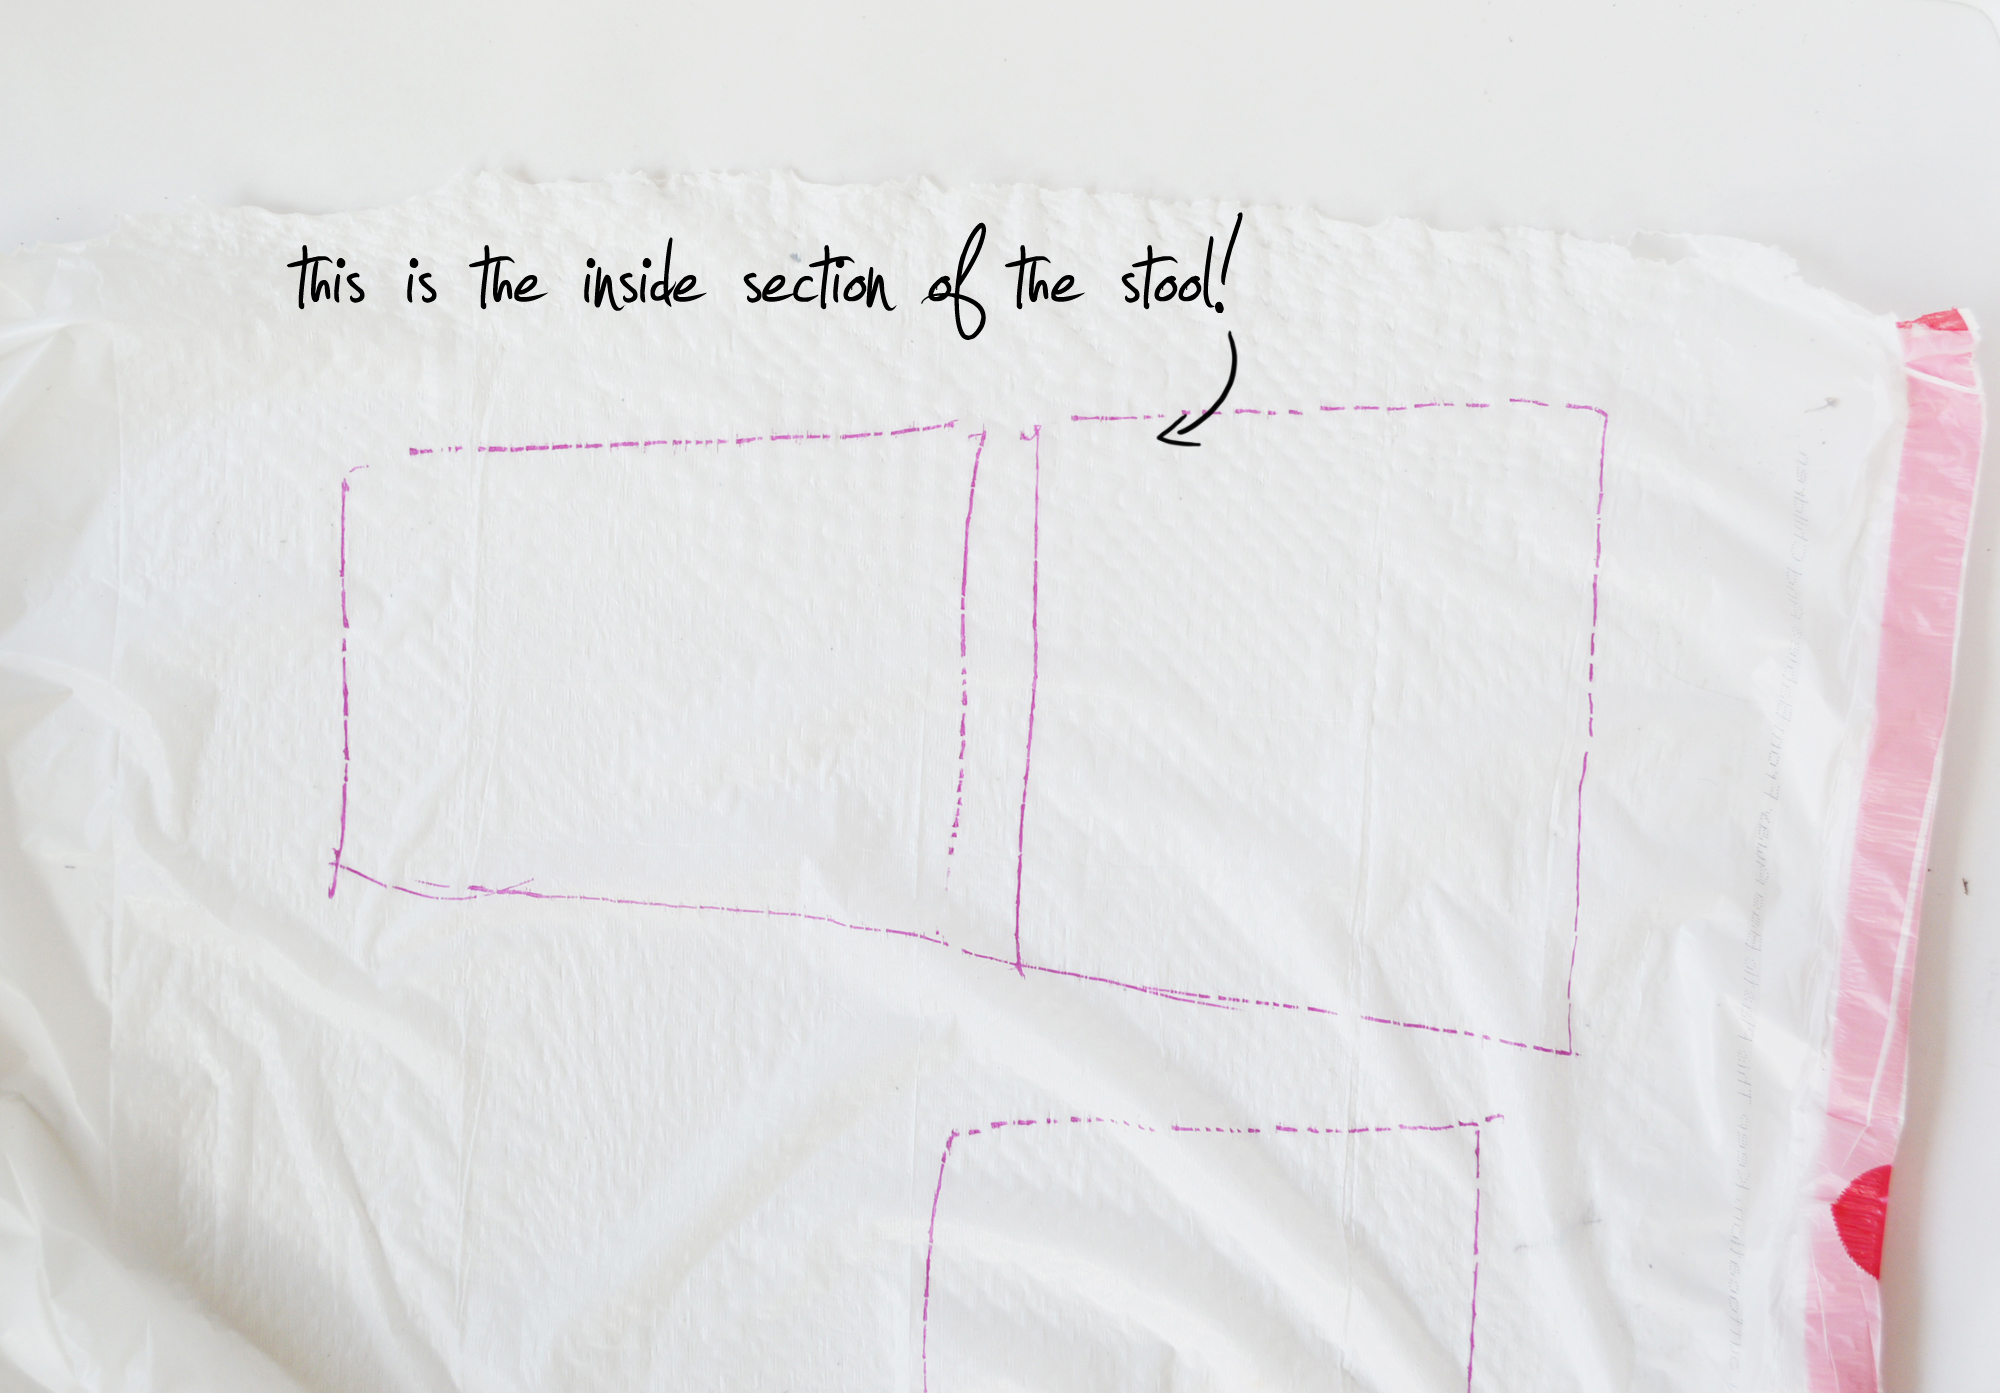
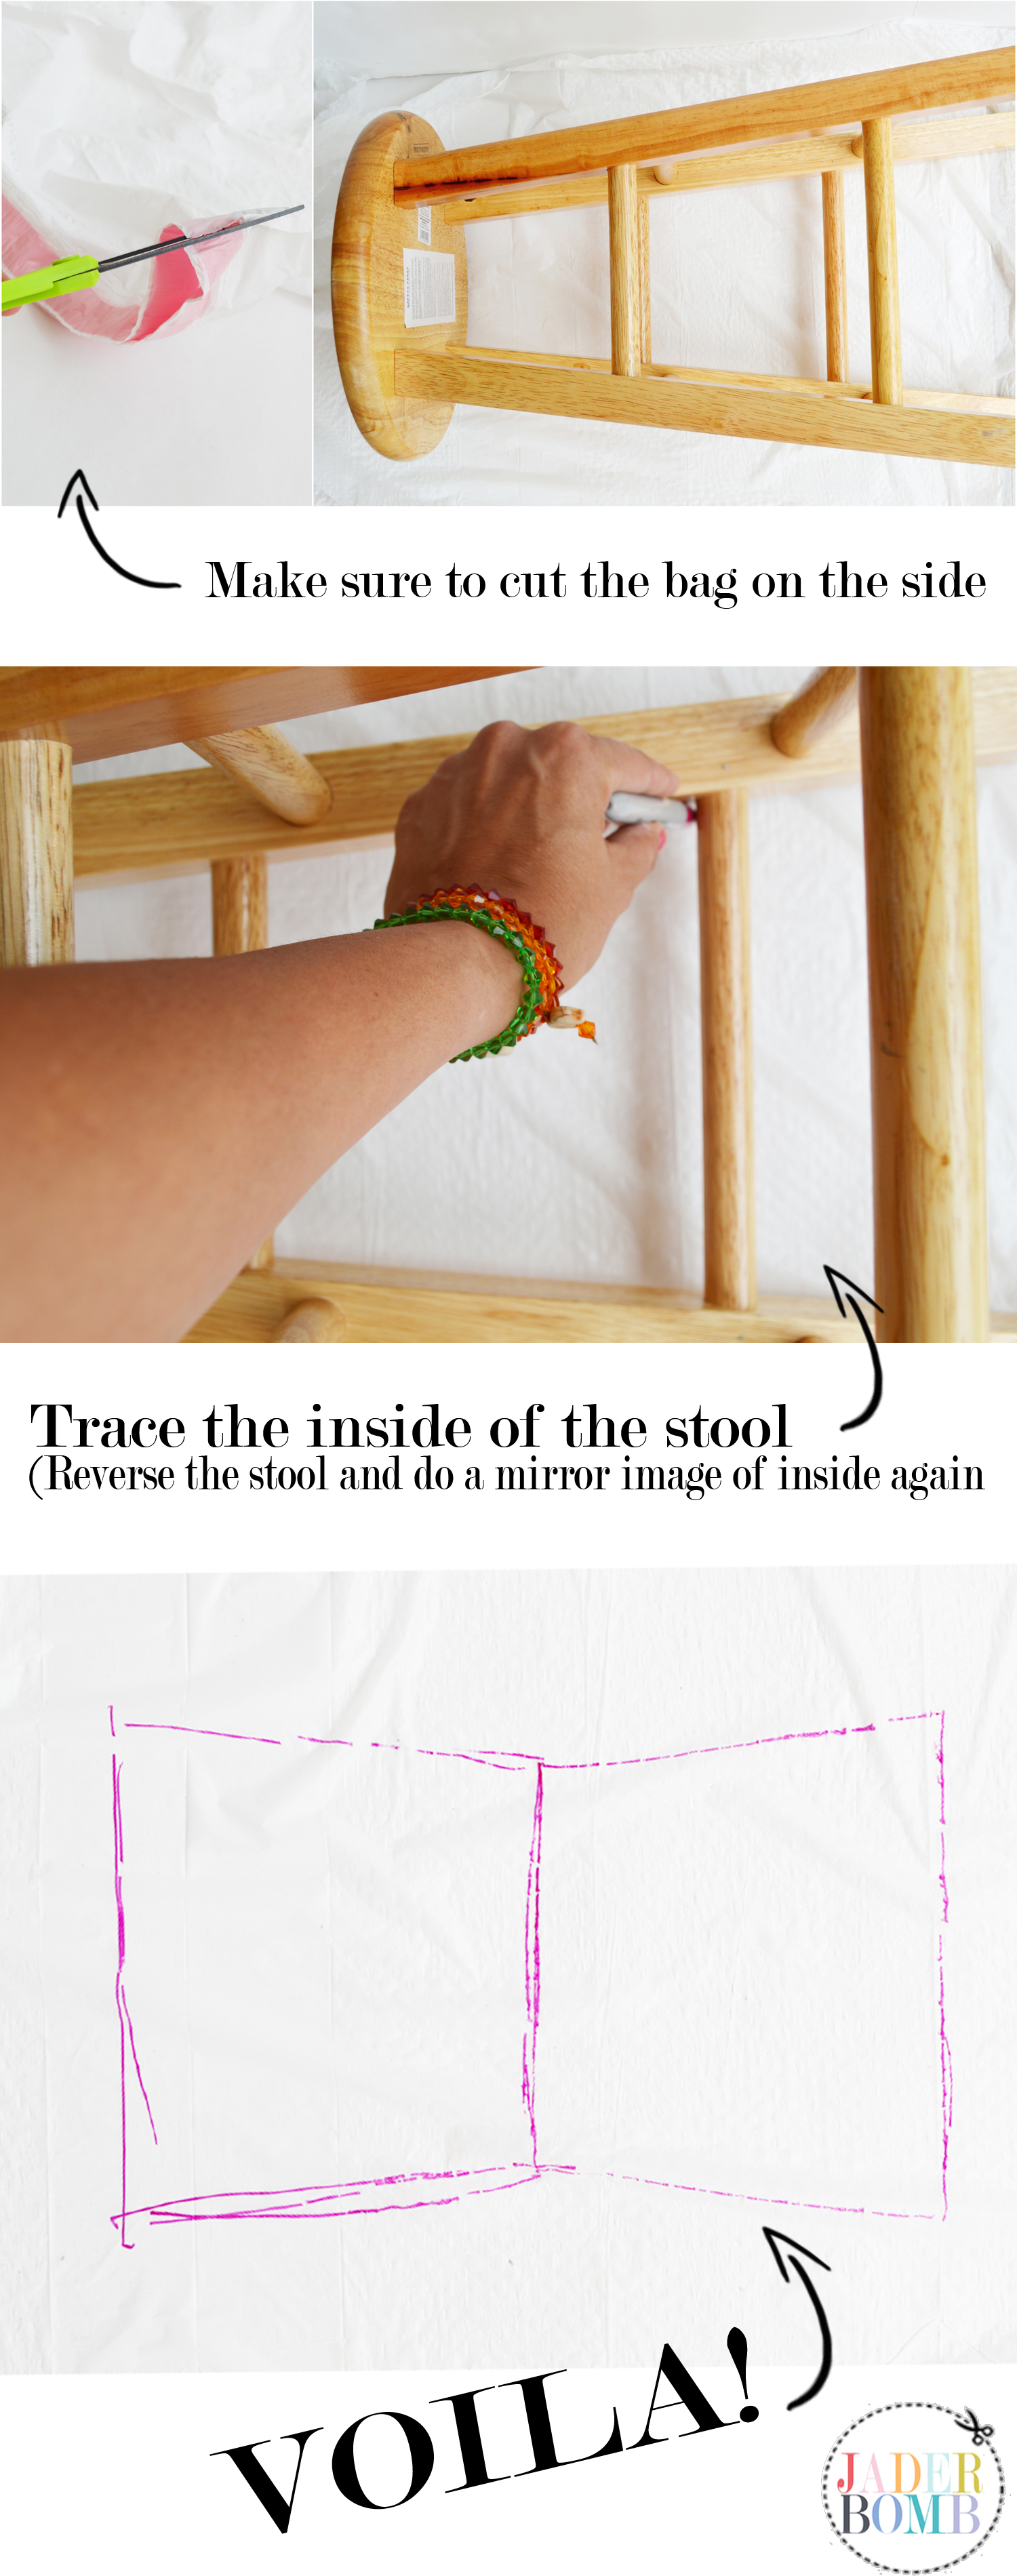 Step 1: Cut the sides of your trash bag and lay it out on a flat surface.
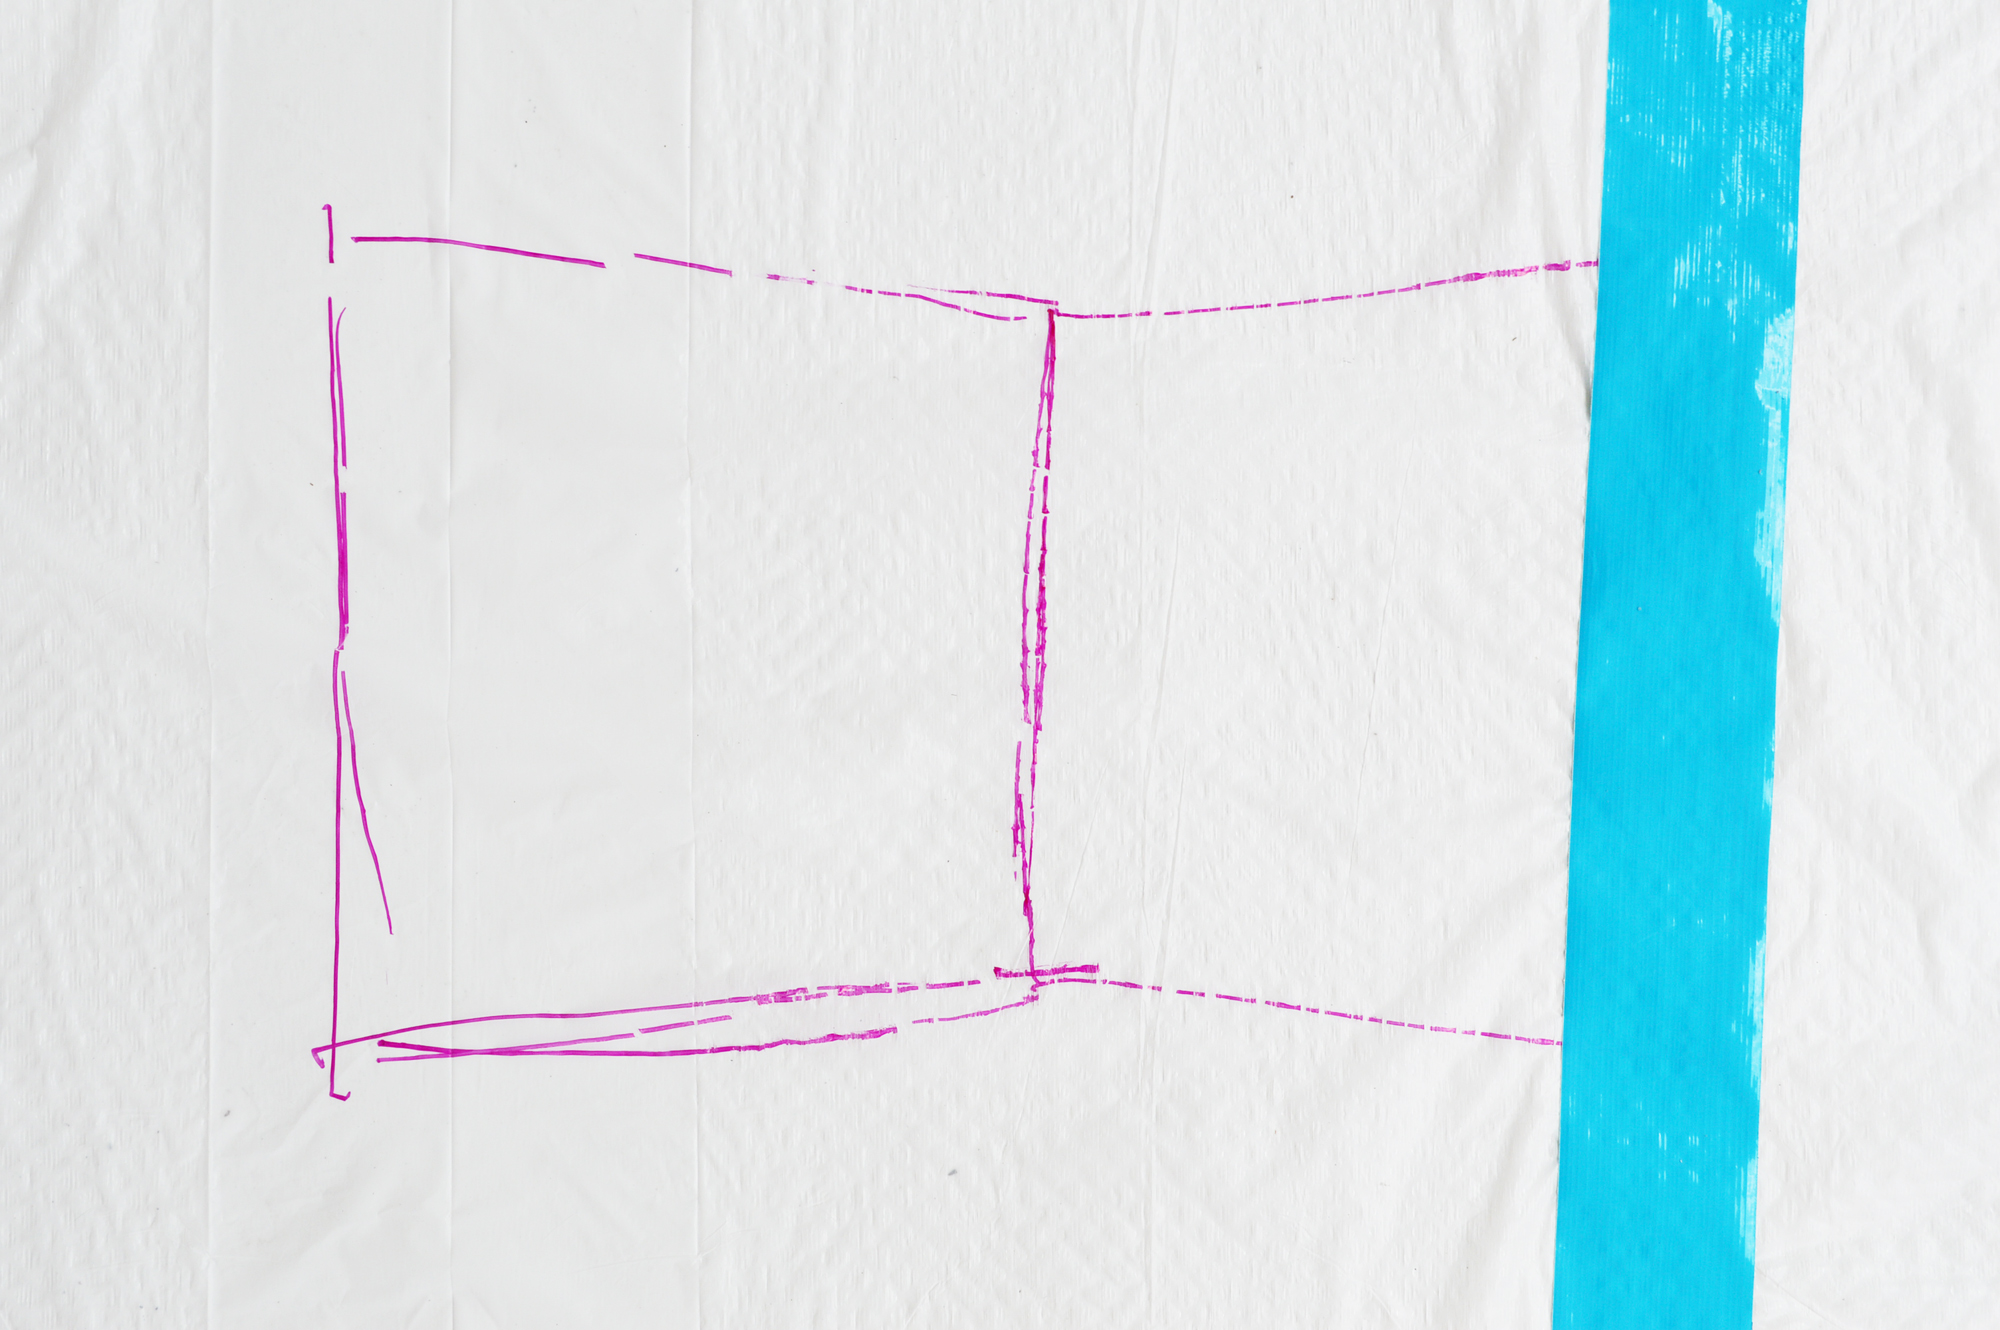 This is what it will look like when it’s done completely filled.
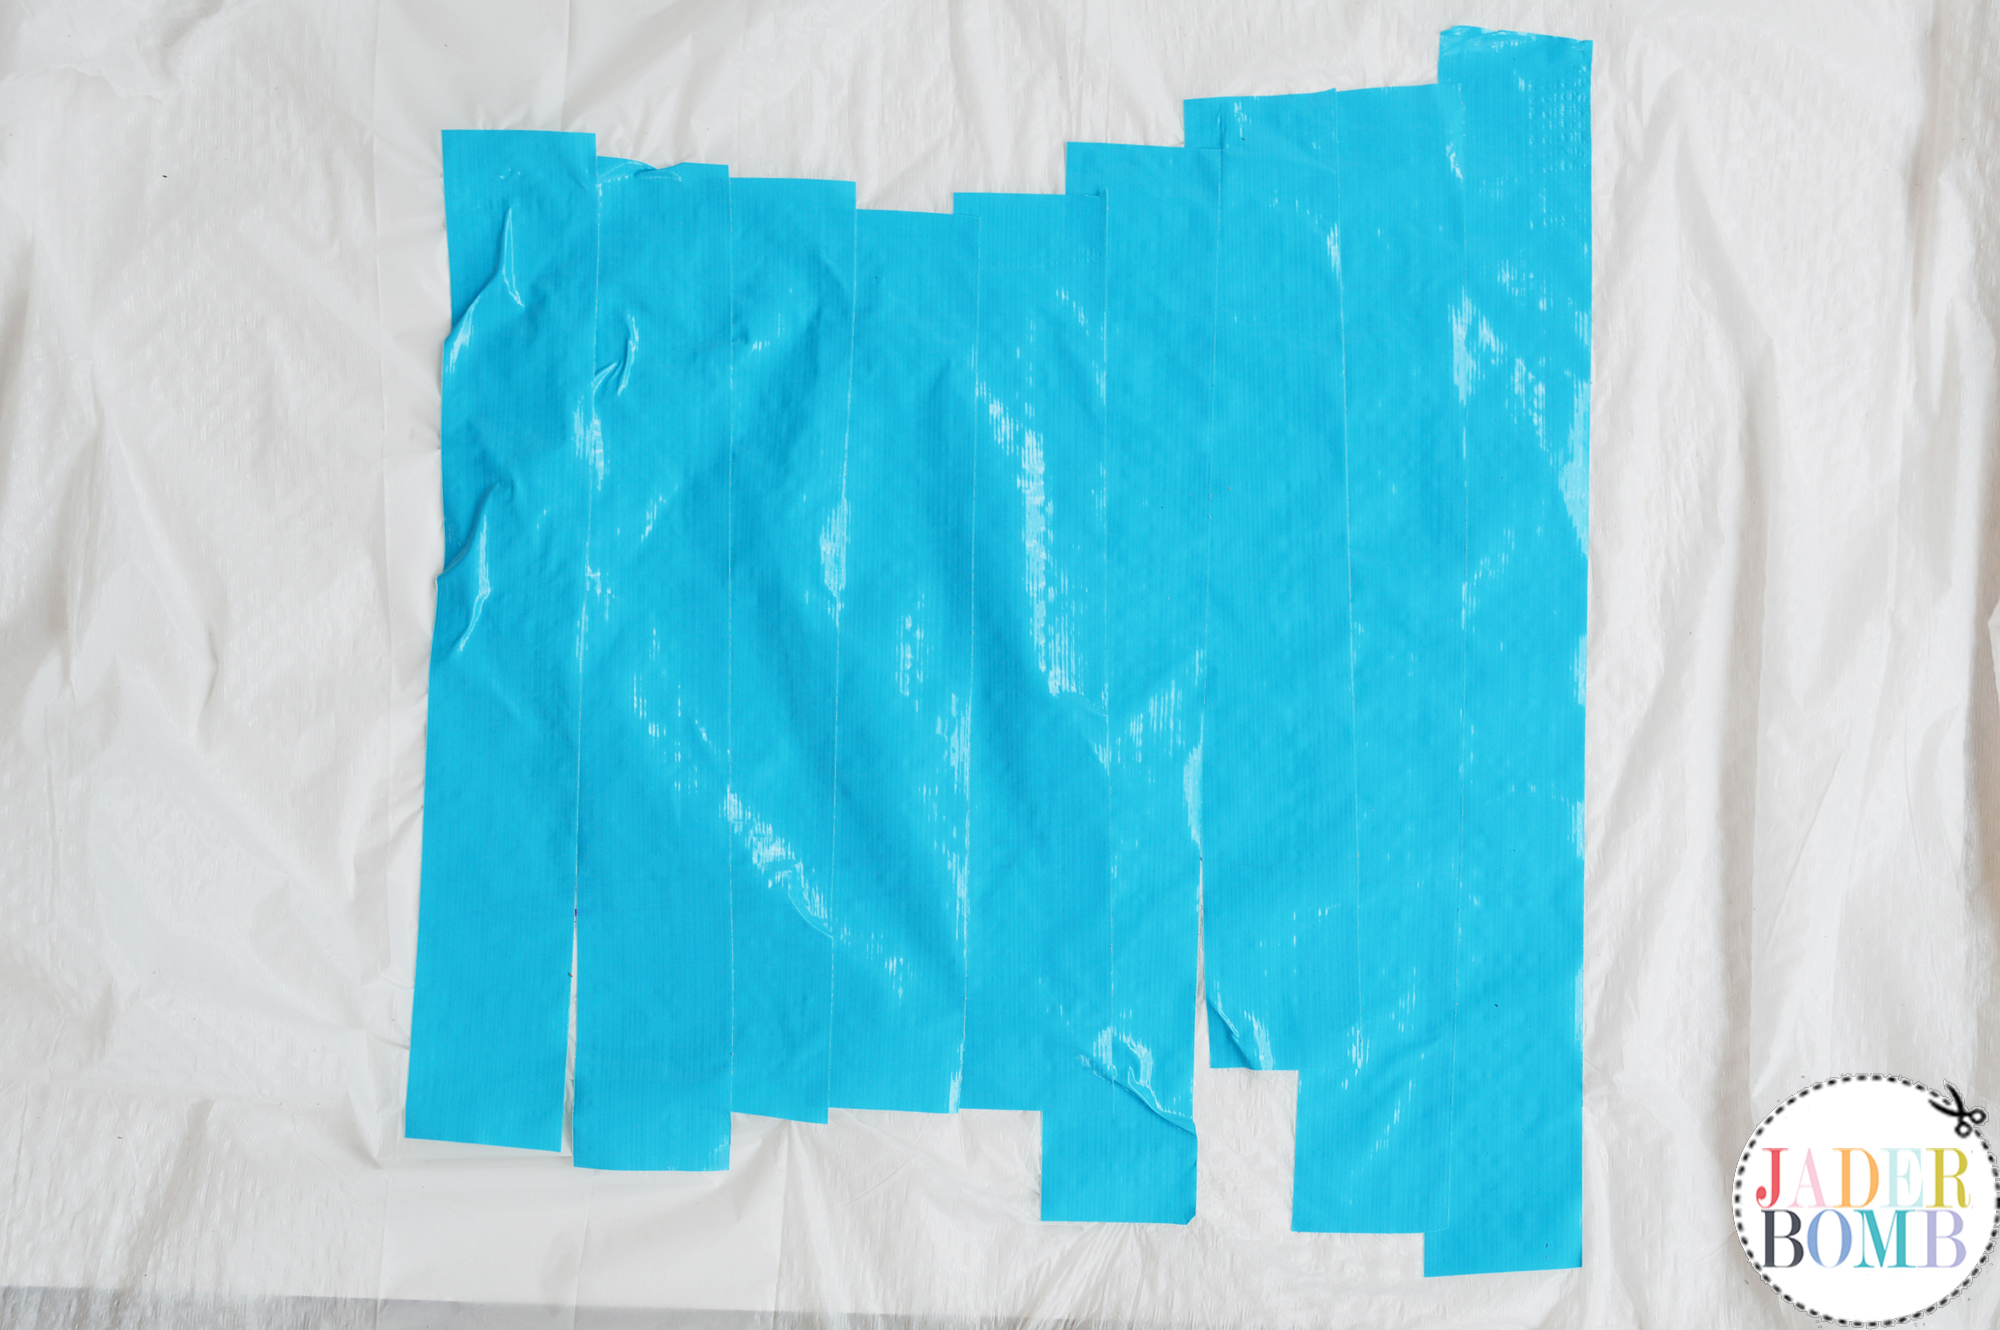 Step 6: Flip your trash bag over. You will still see your sharpie line even when flipped over. Kinda cool huh!
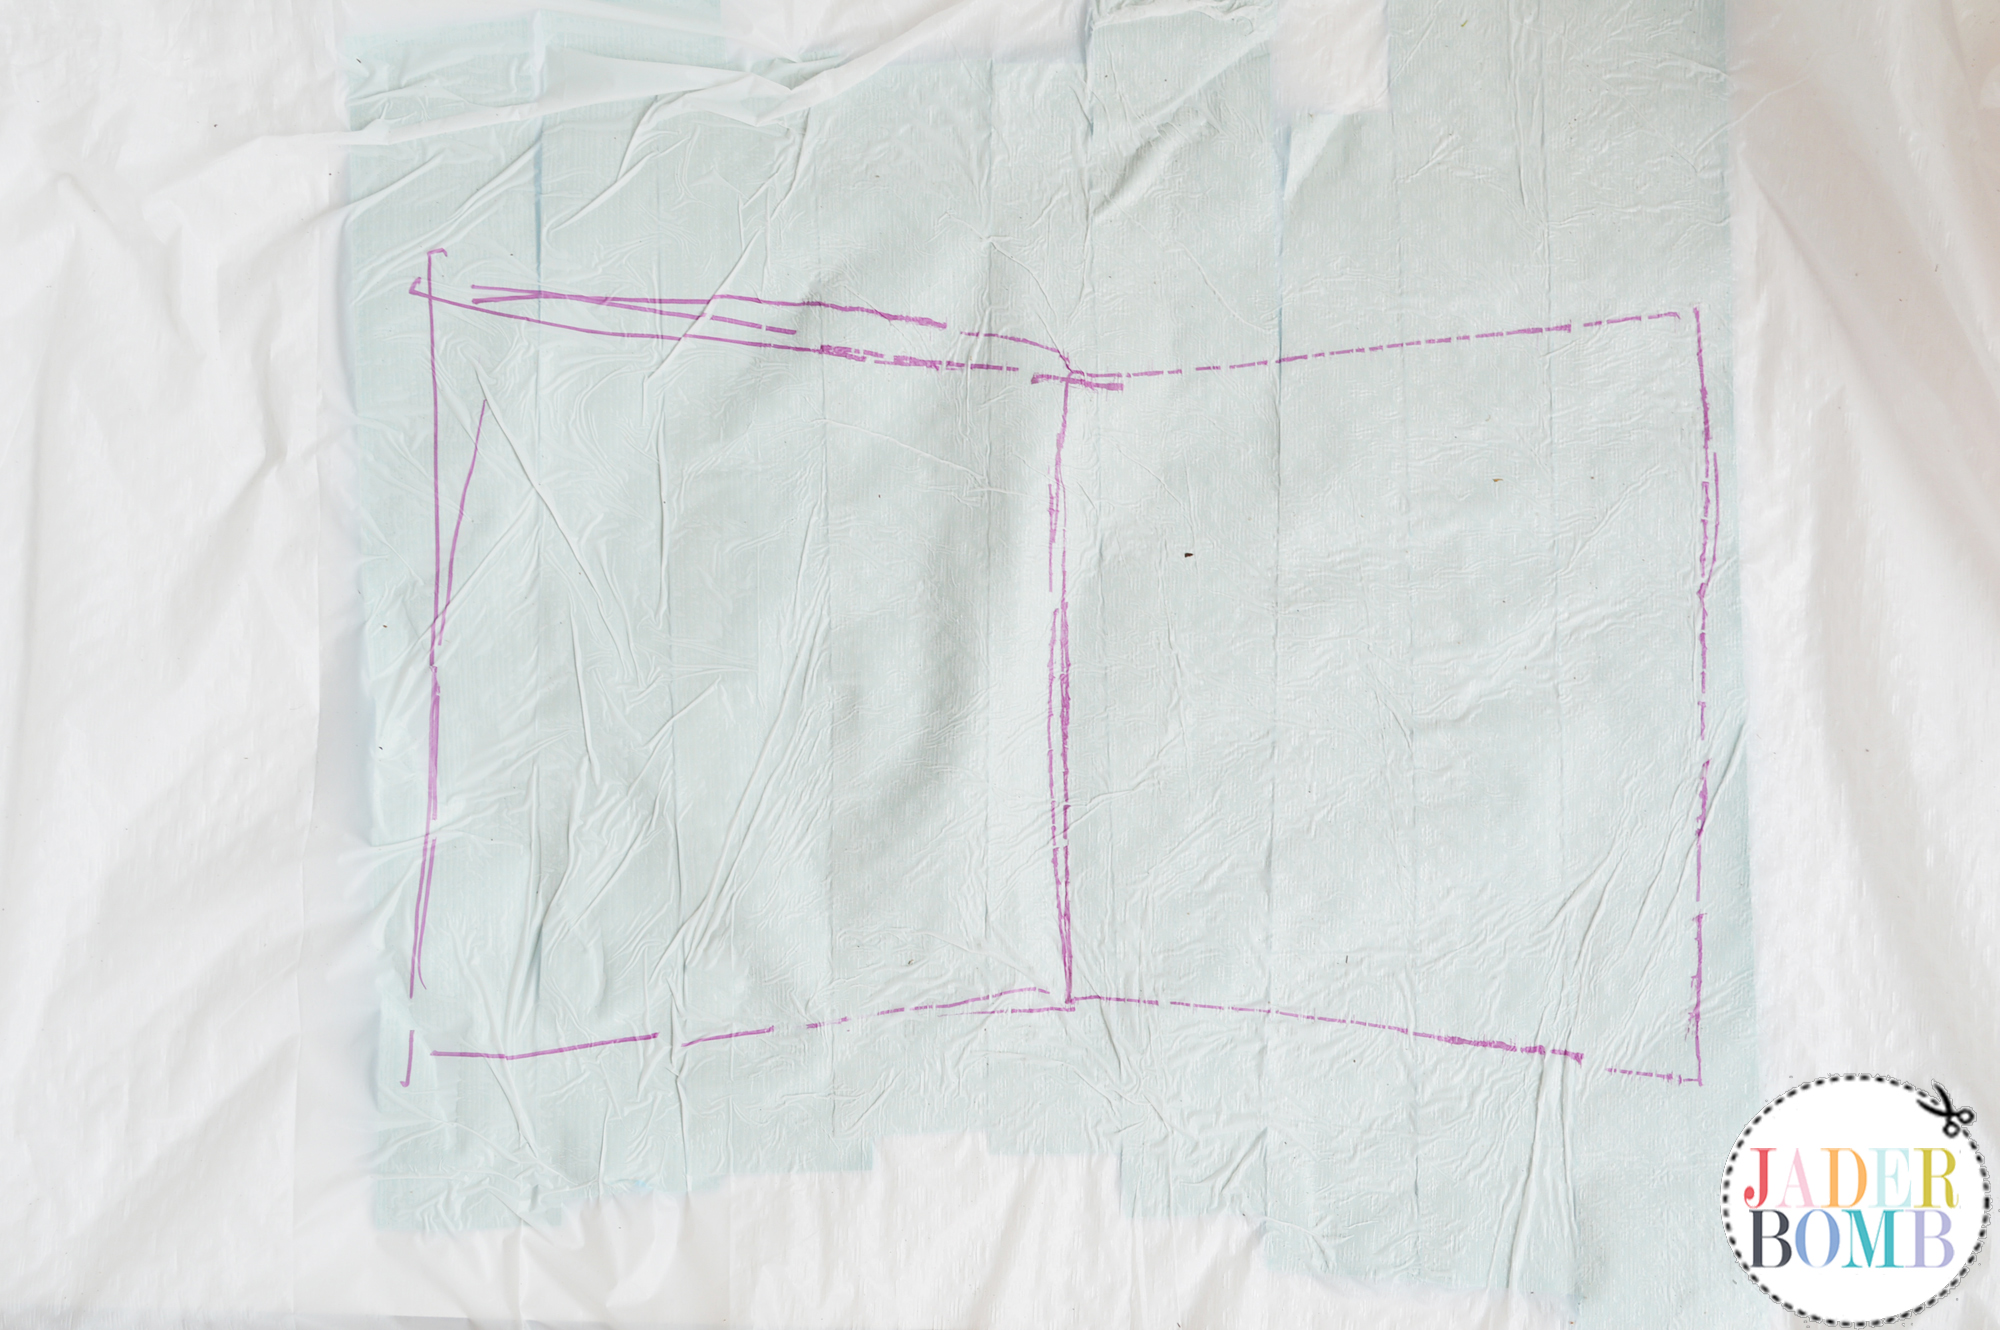 Step 7: Grab your
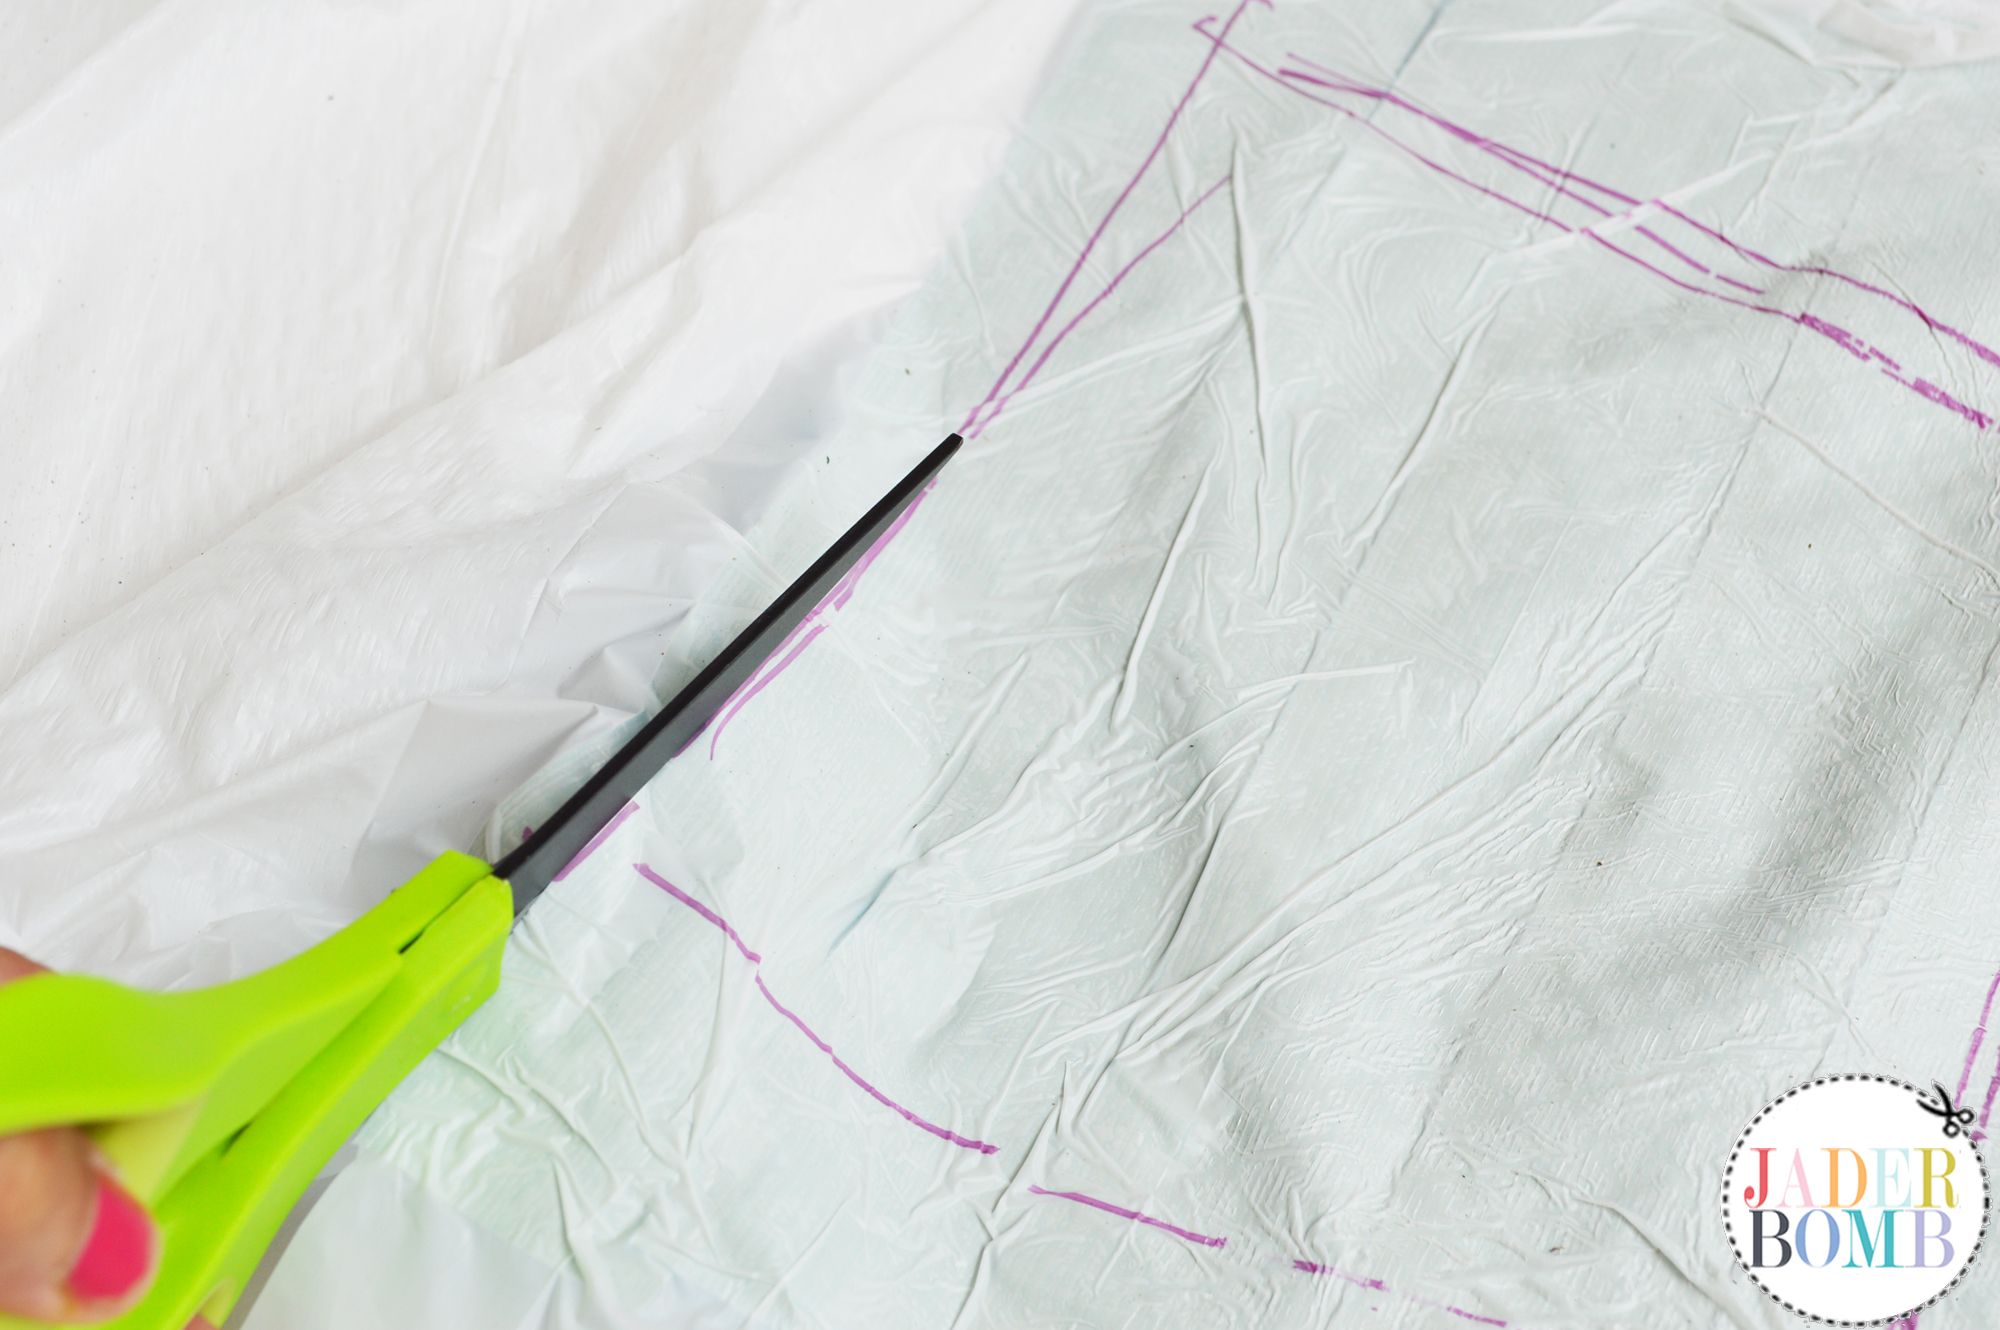
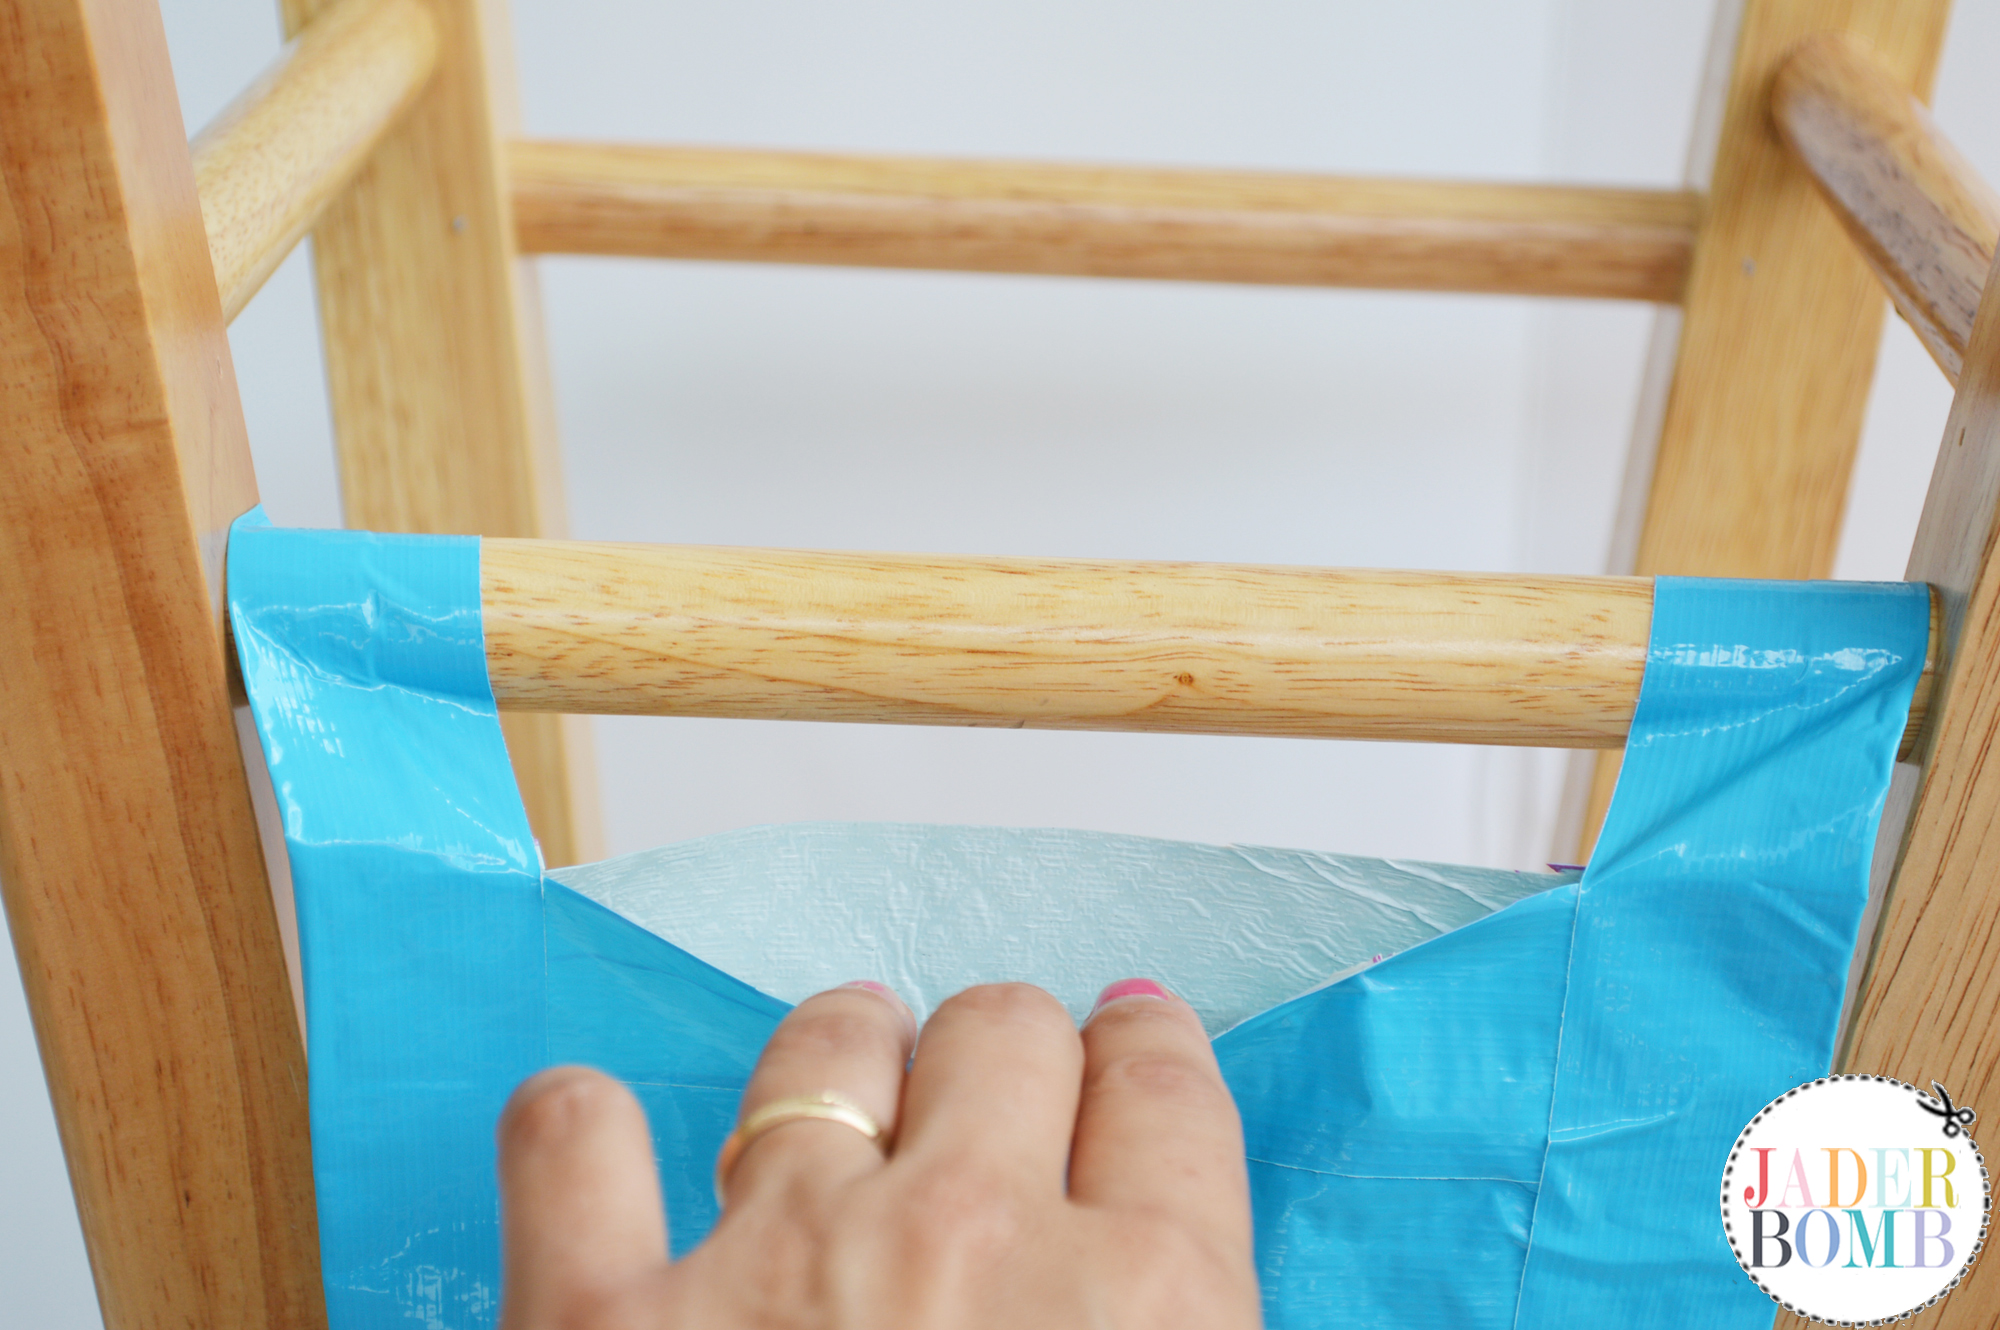
 Step 8: Fold your cut out in half. This is the start of a bag that will hang on the stool.
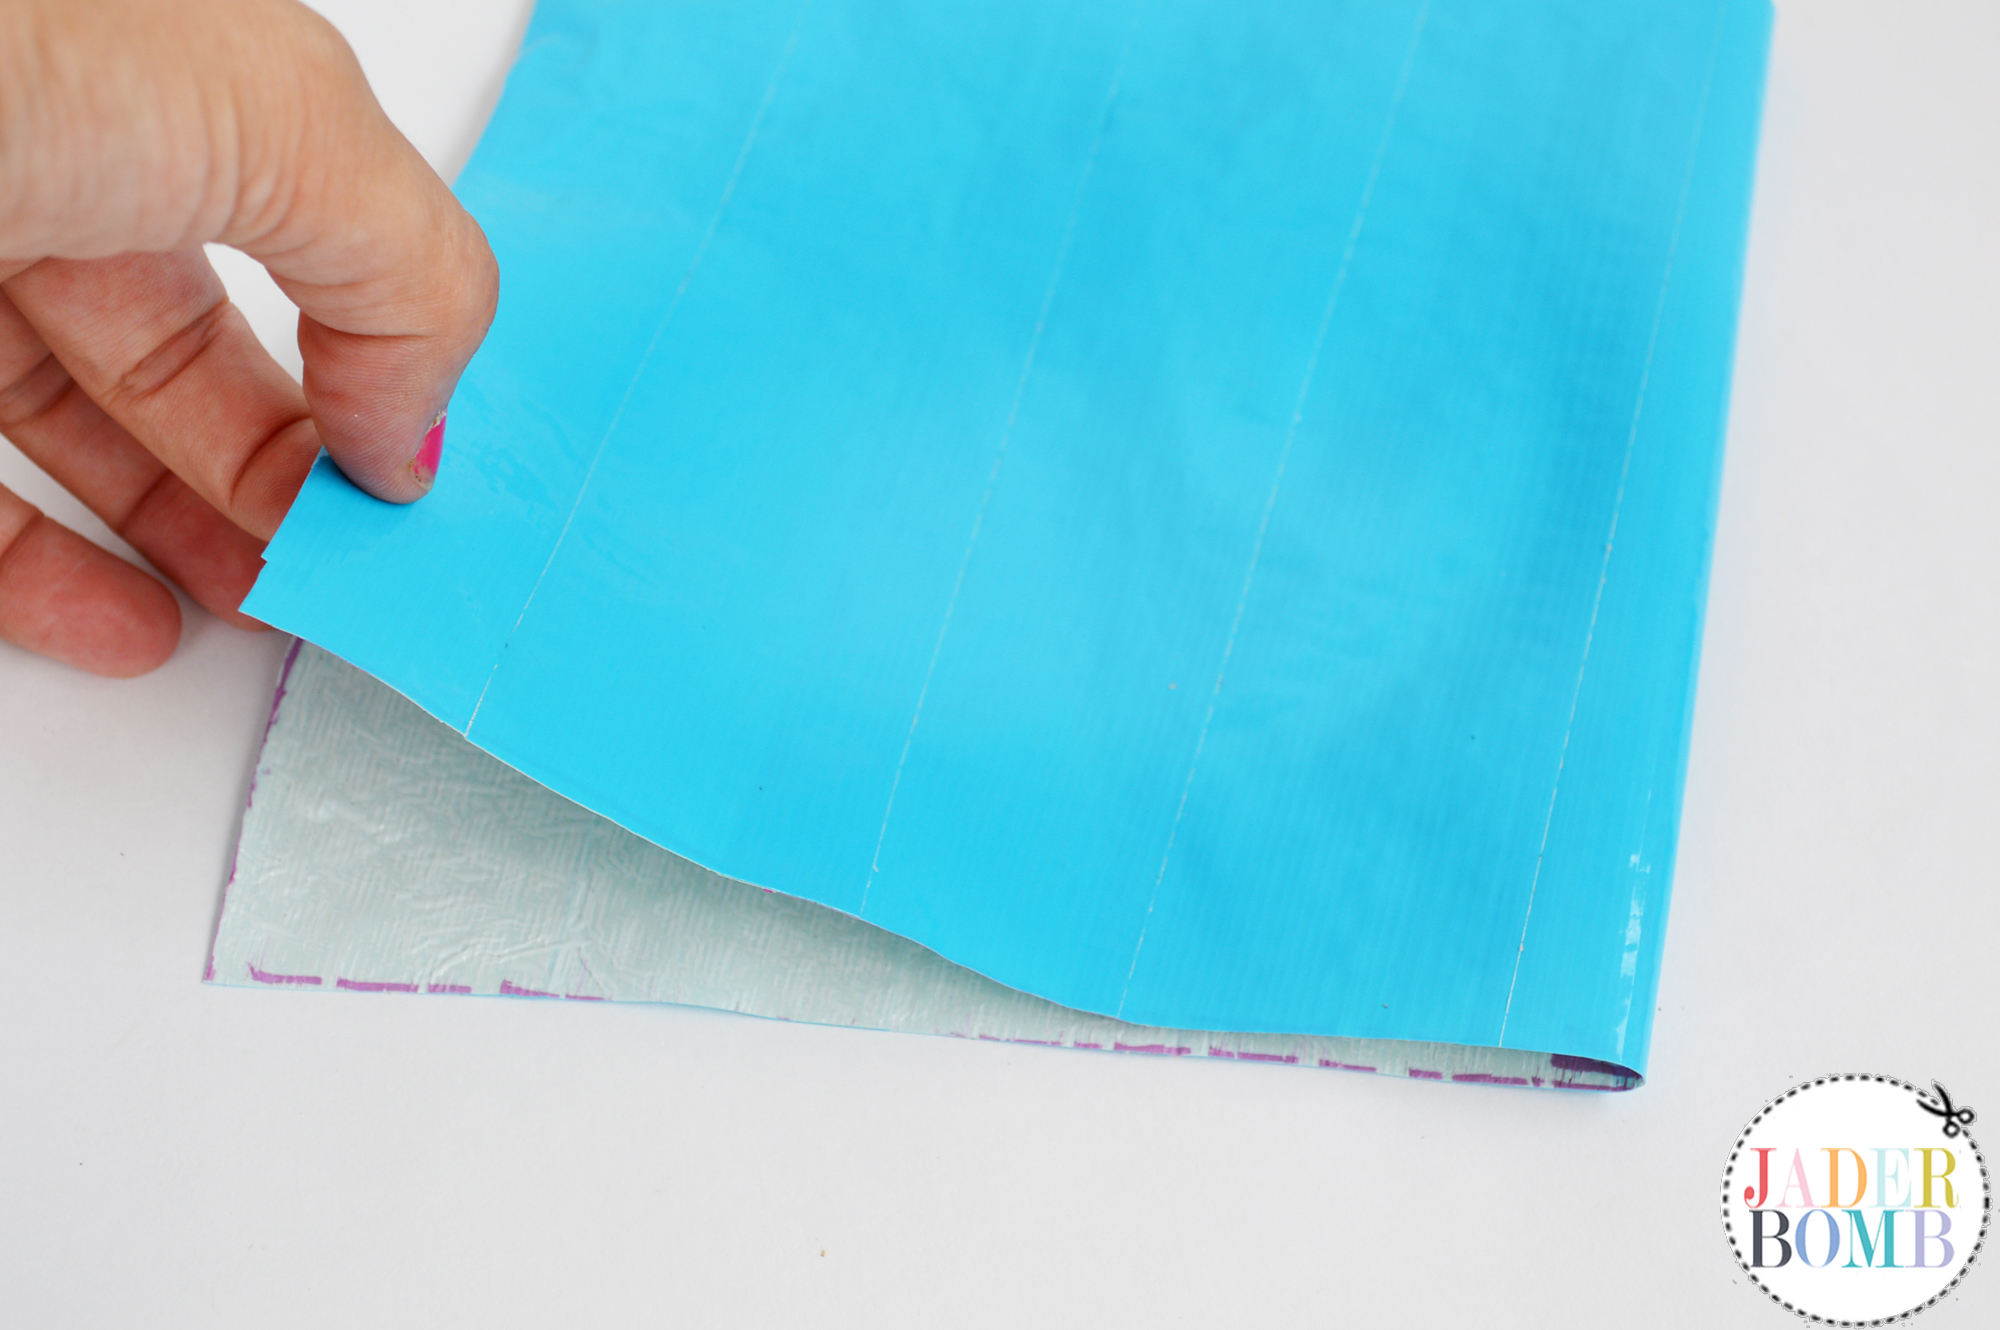
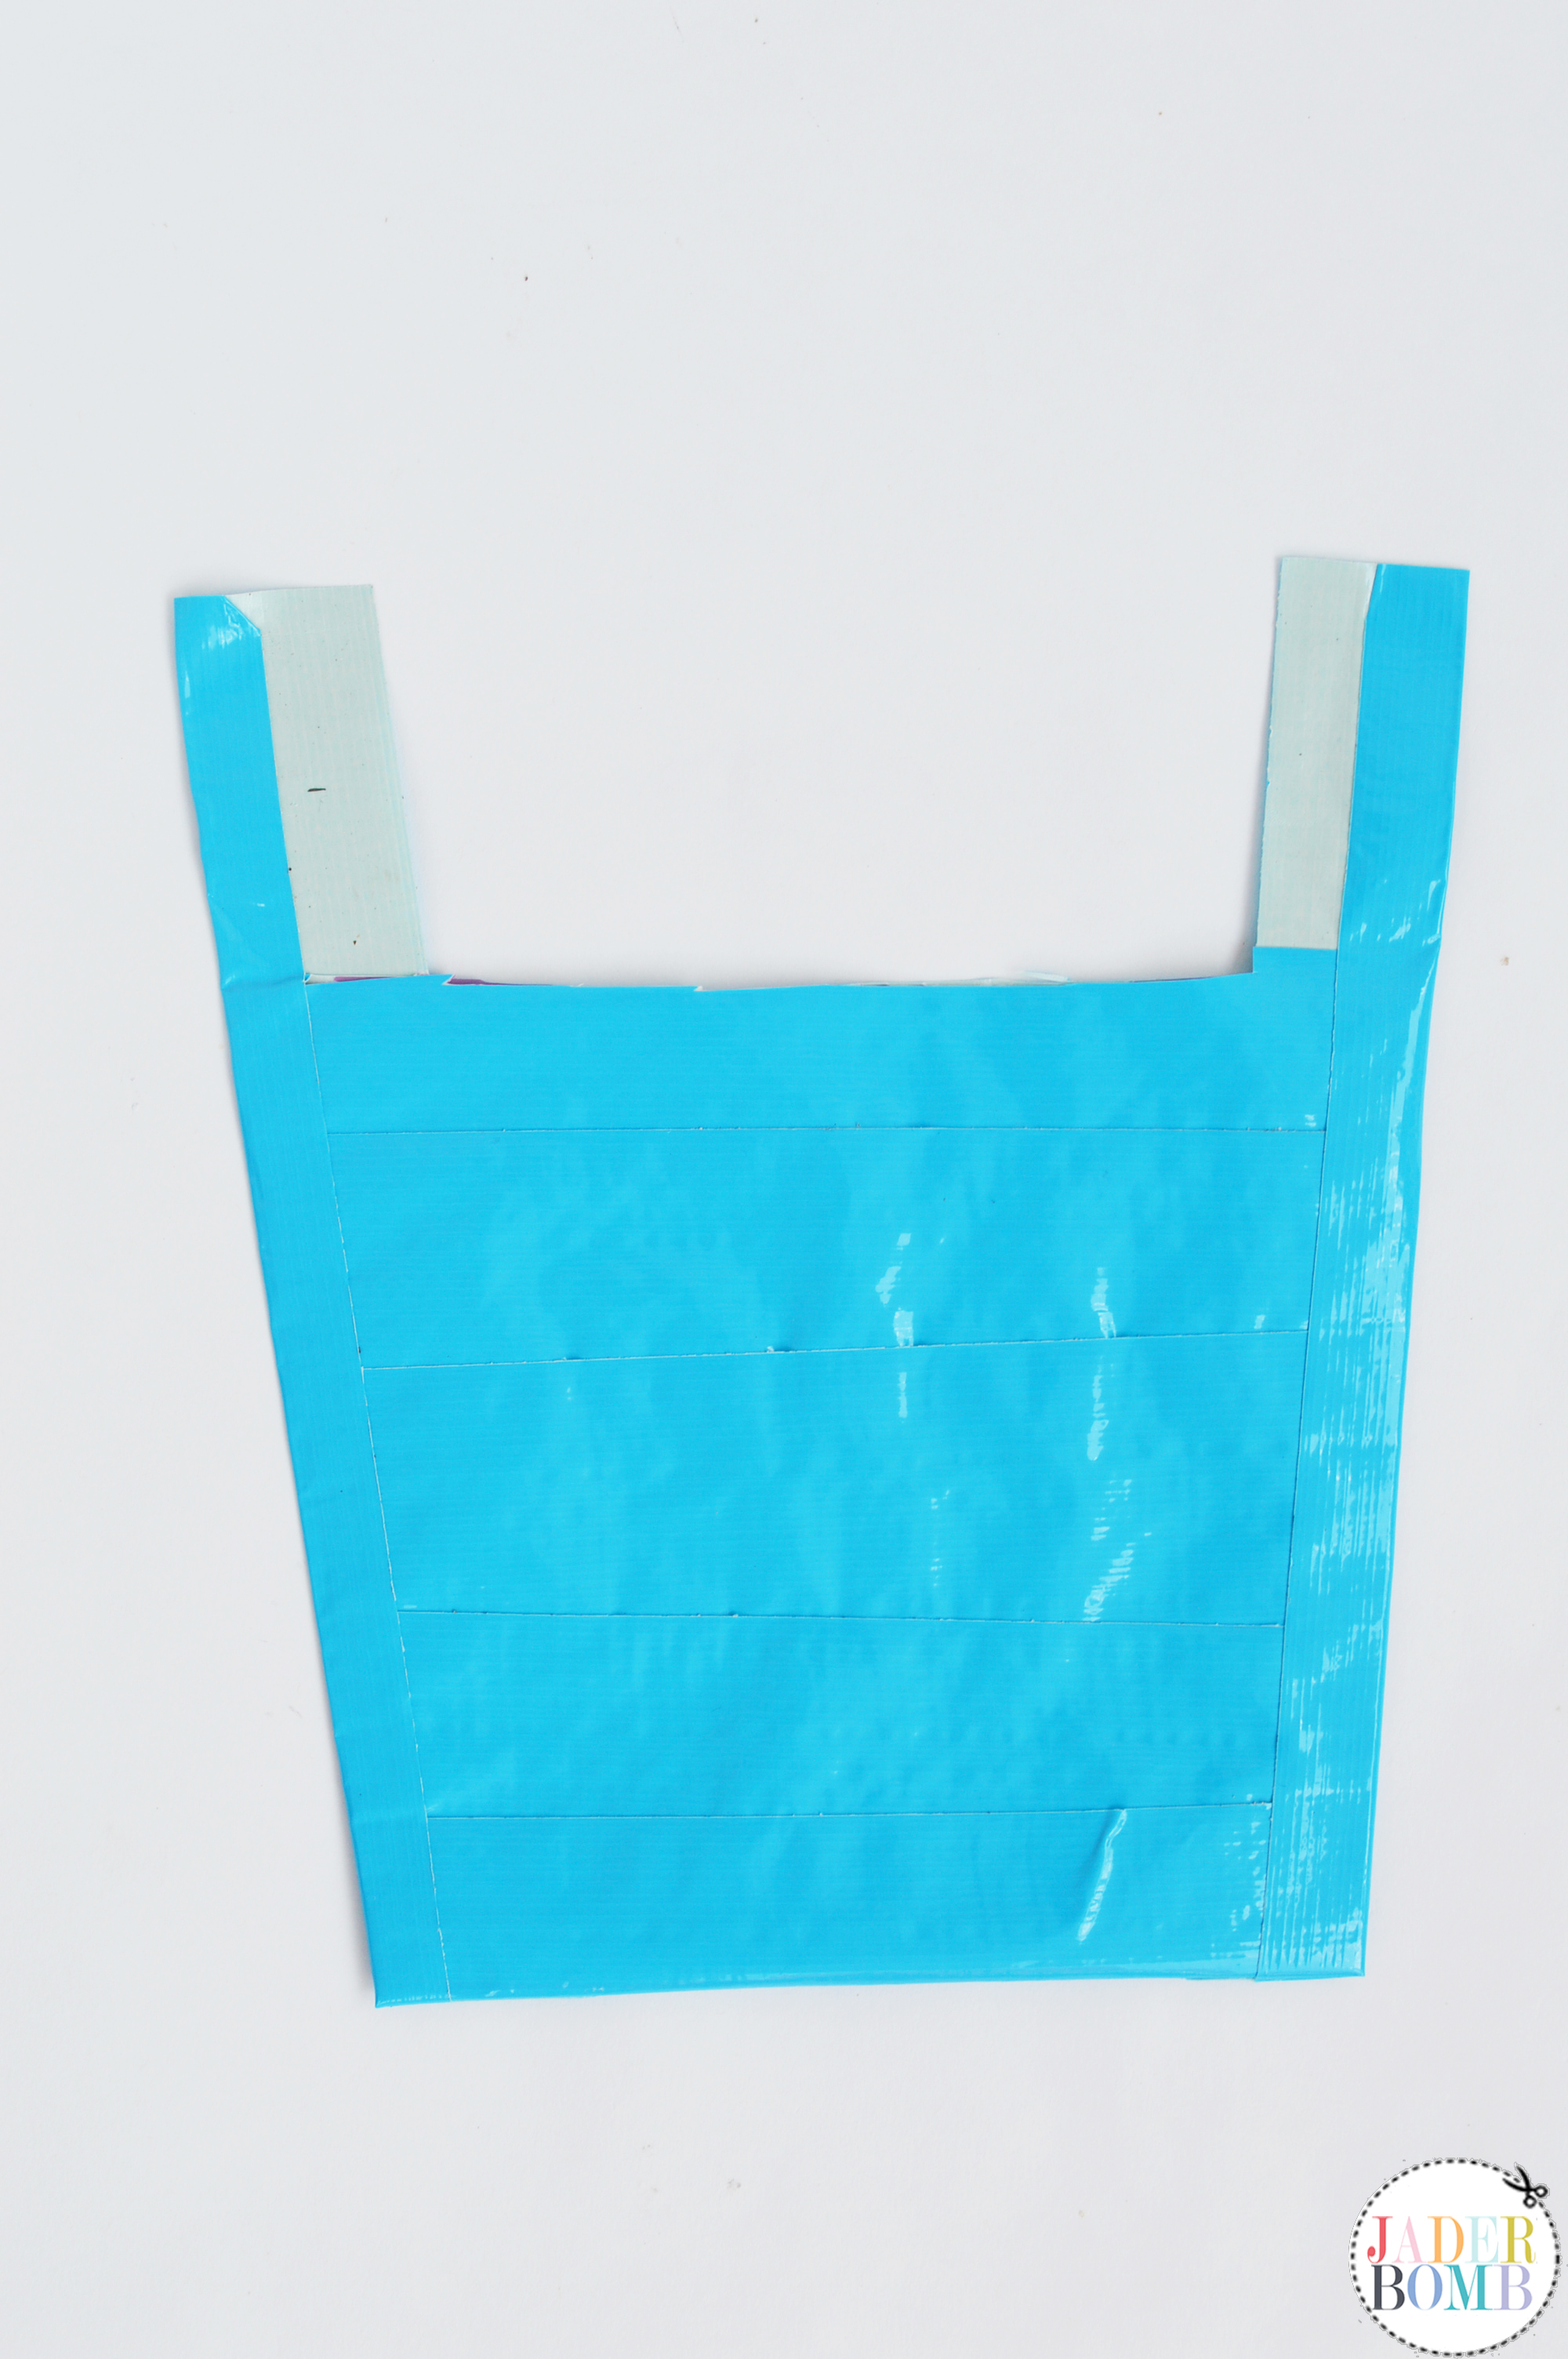
 Fill in the space like you did earlier for the small bag.
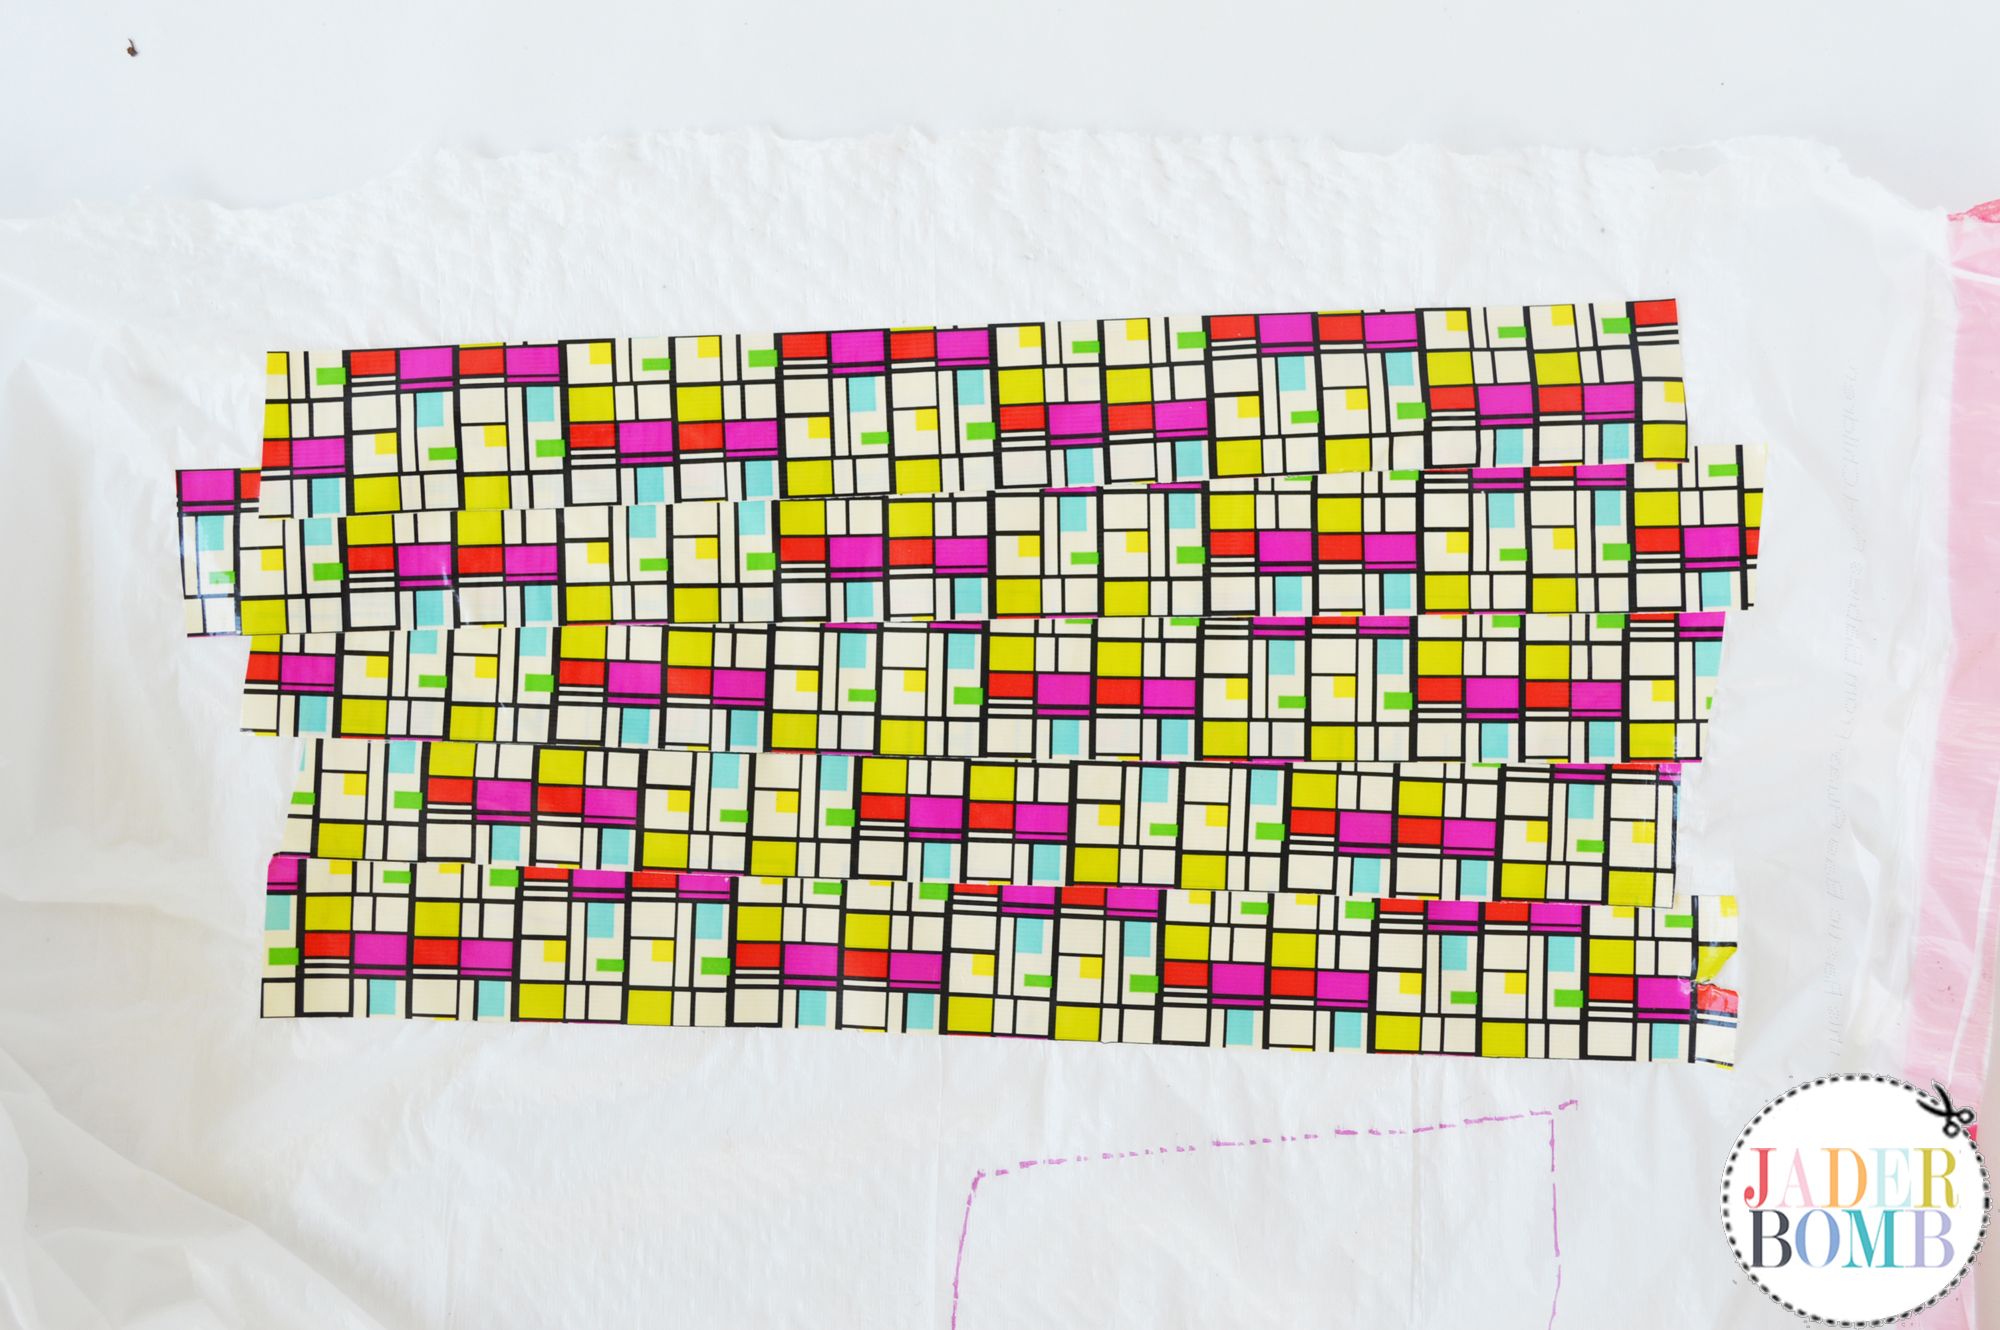 Cut out your pieces making sure to not cut the sections in half. We want this bag to be long! We are doing the same steps as we did for the small bag. Pretty simple ey!
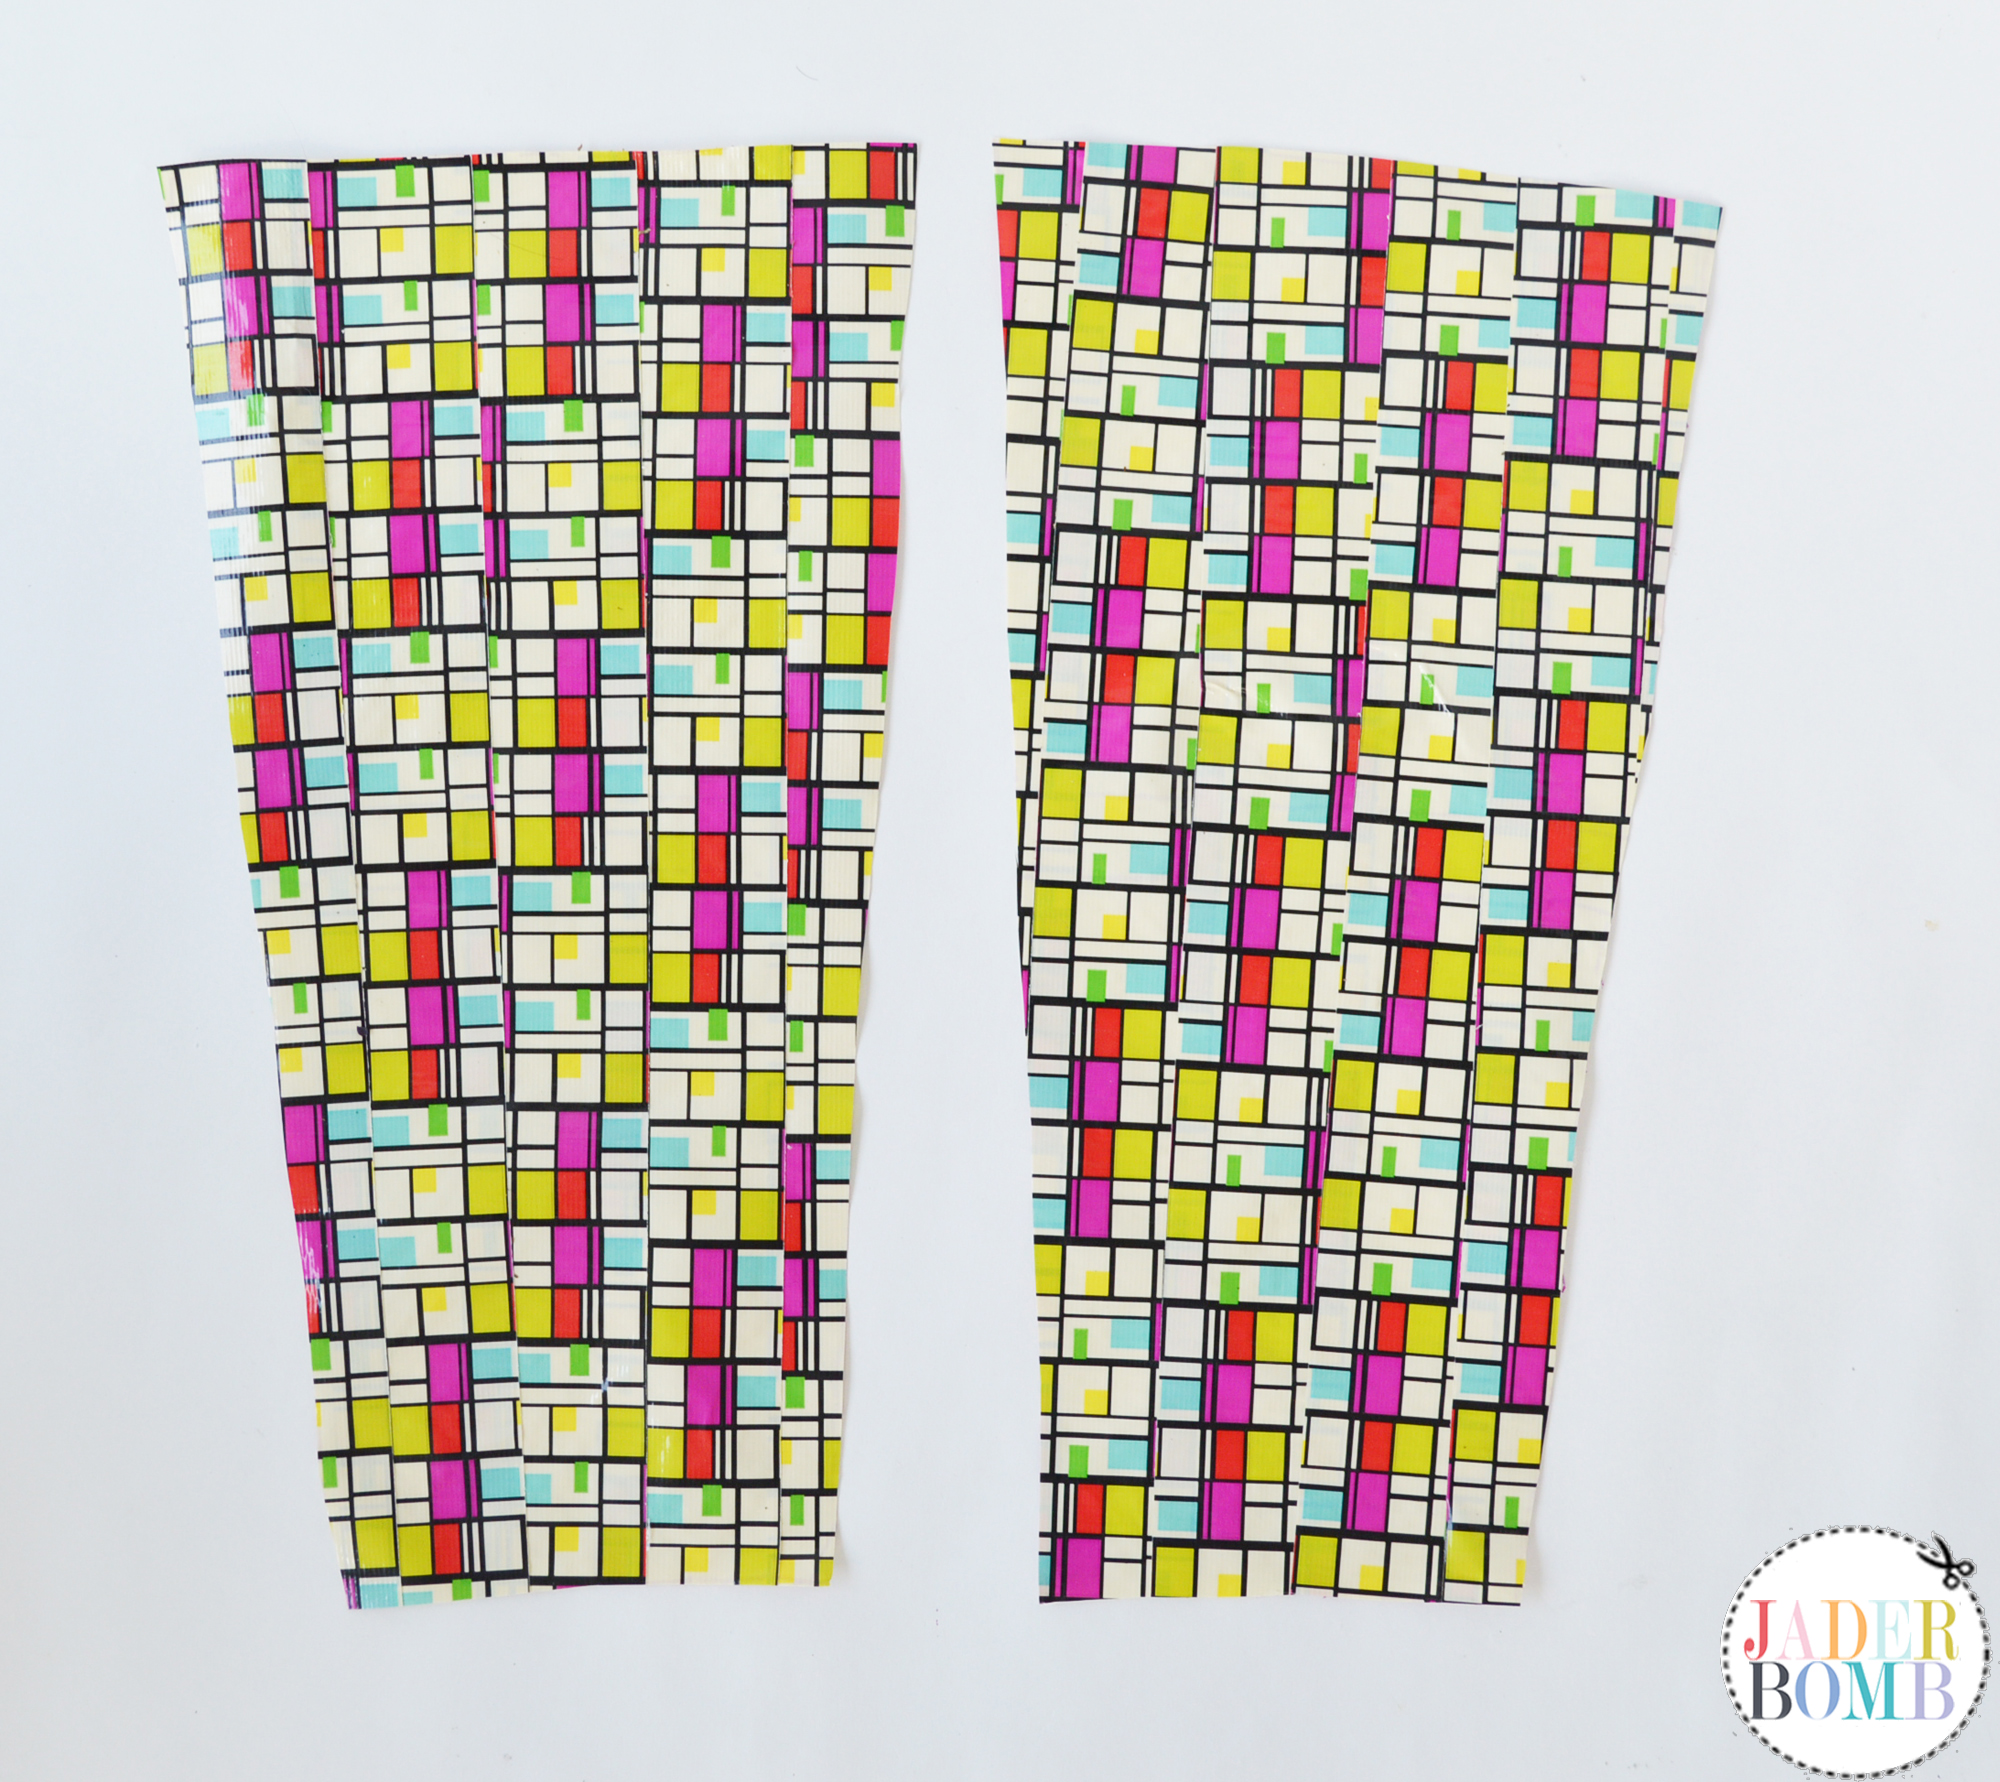


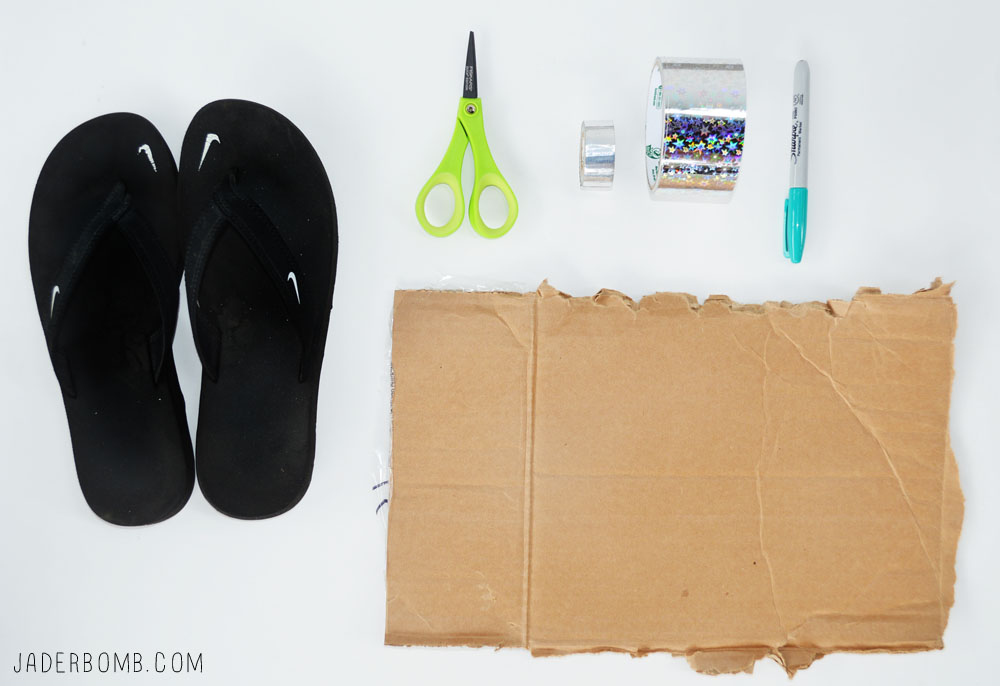
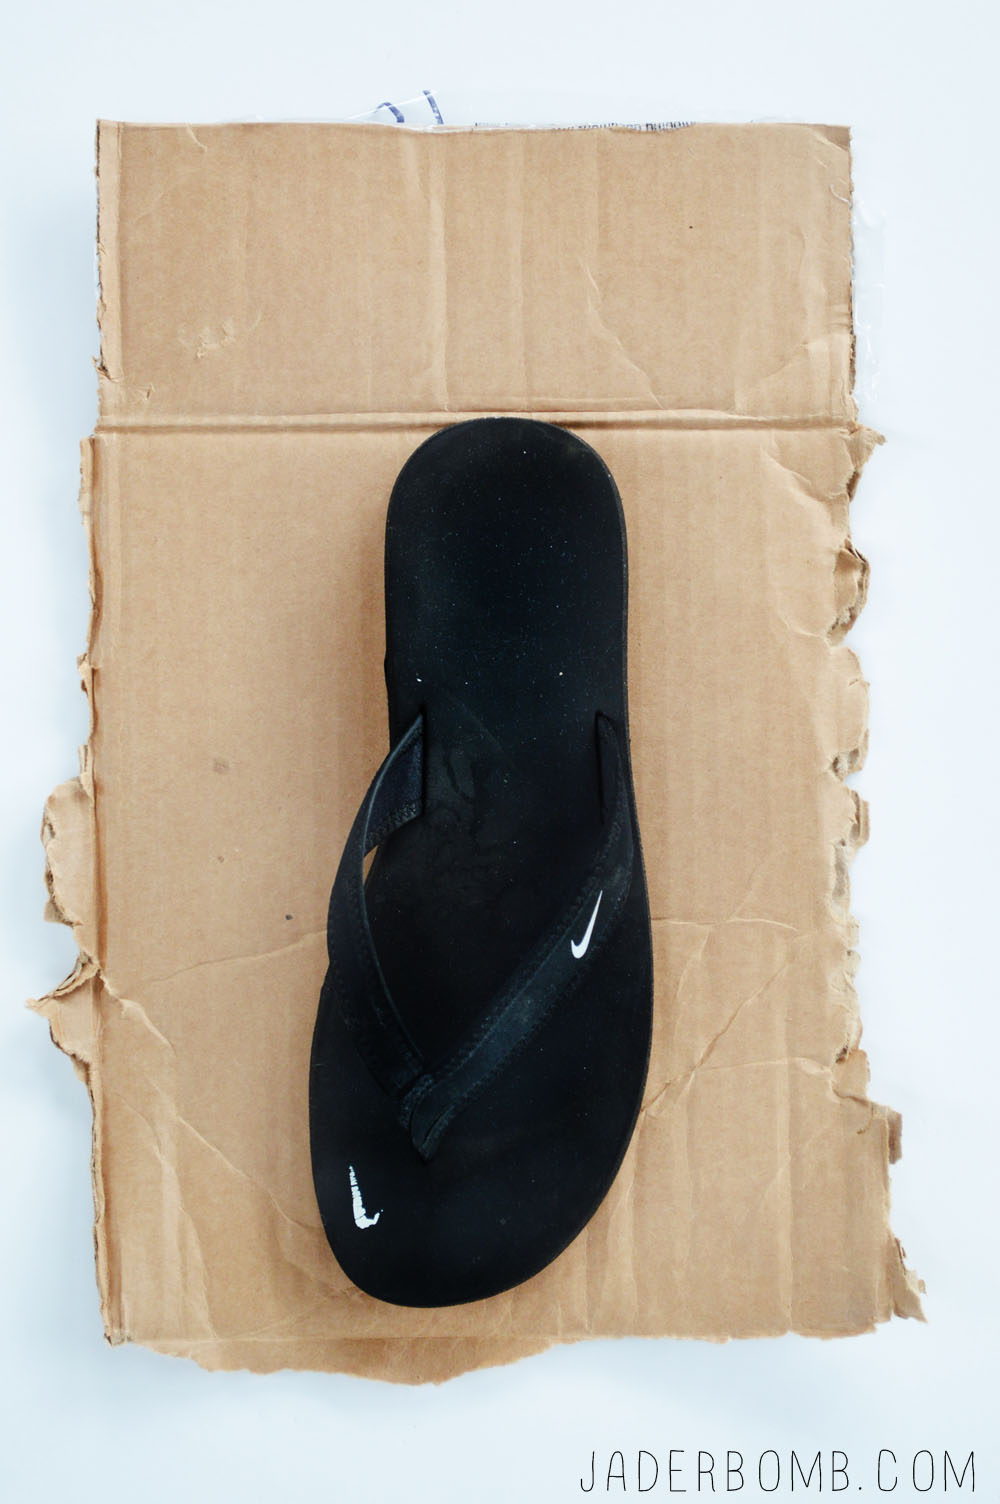
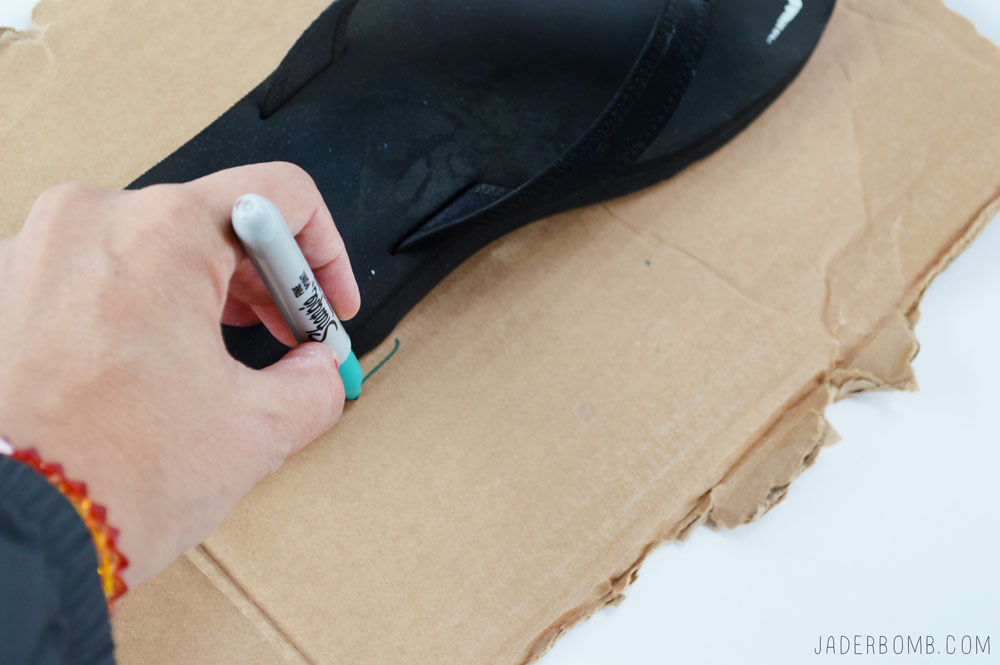
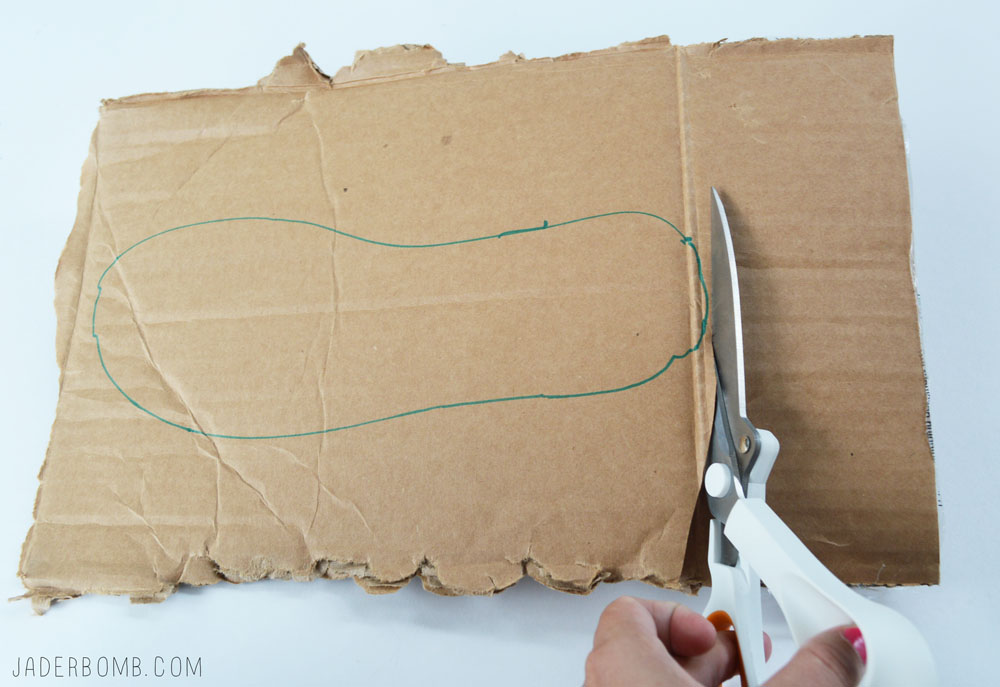
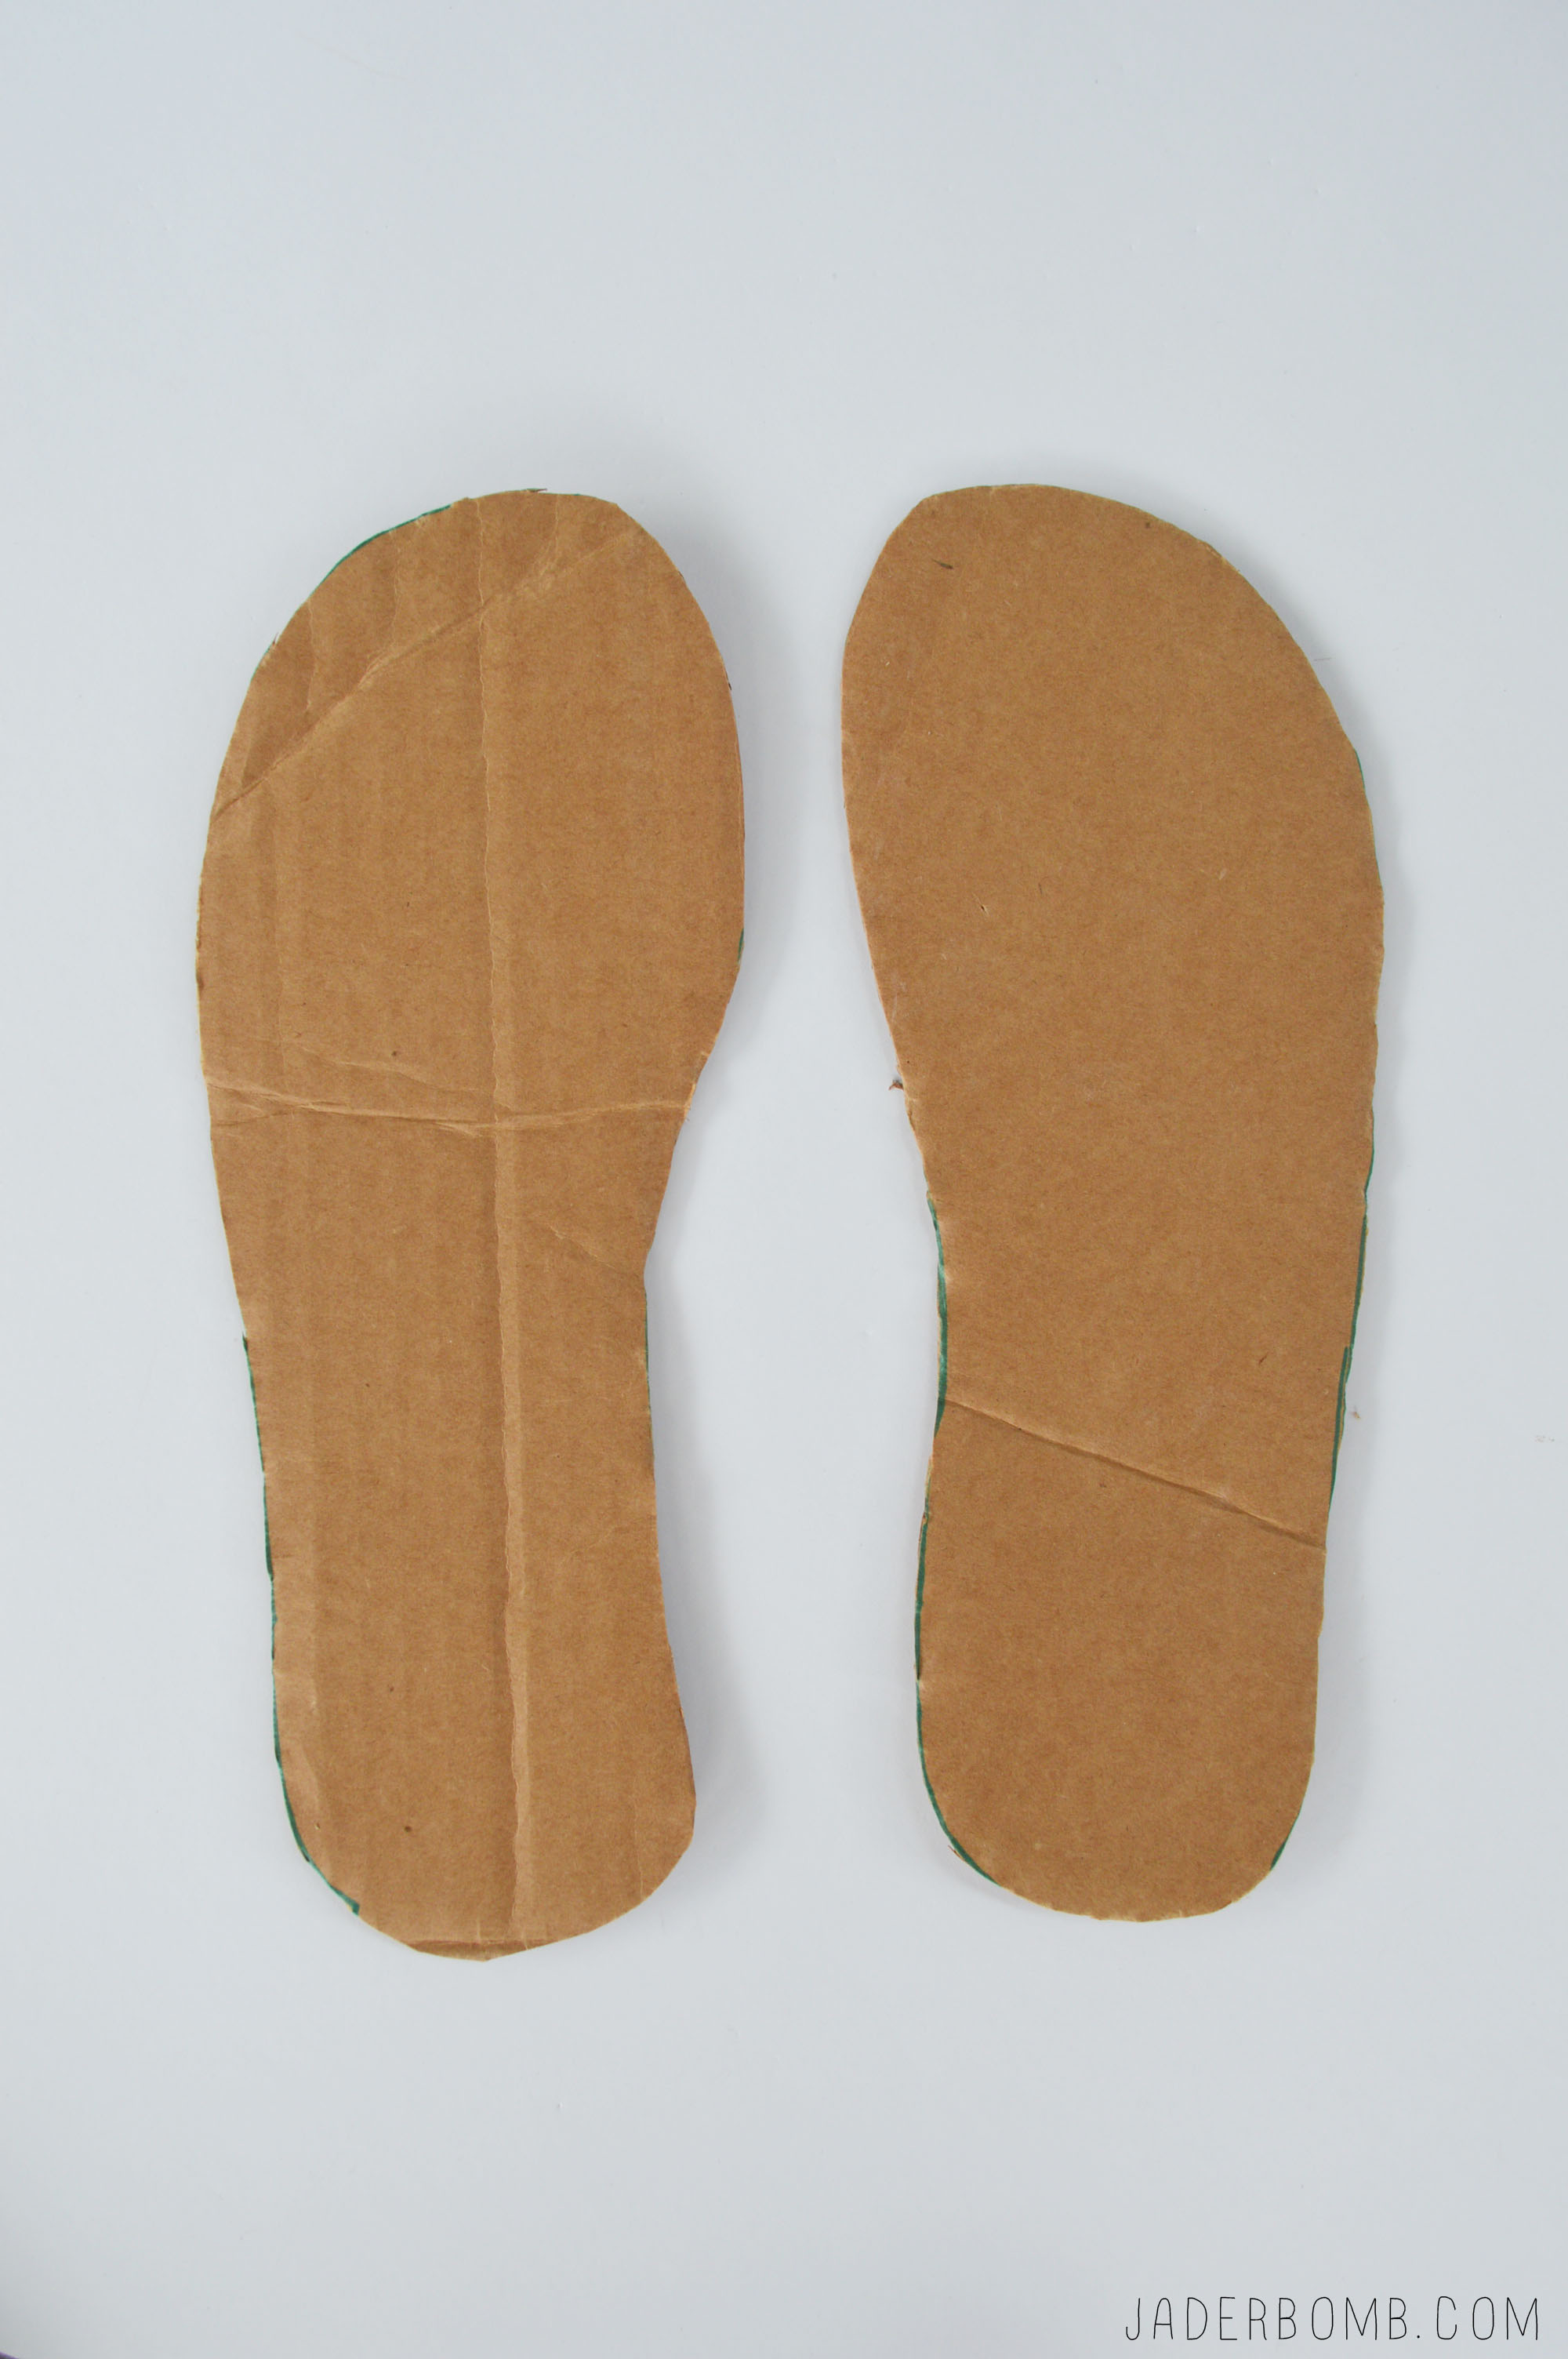
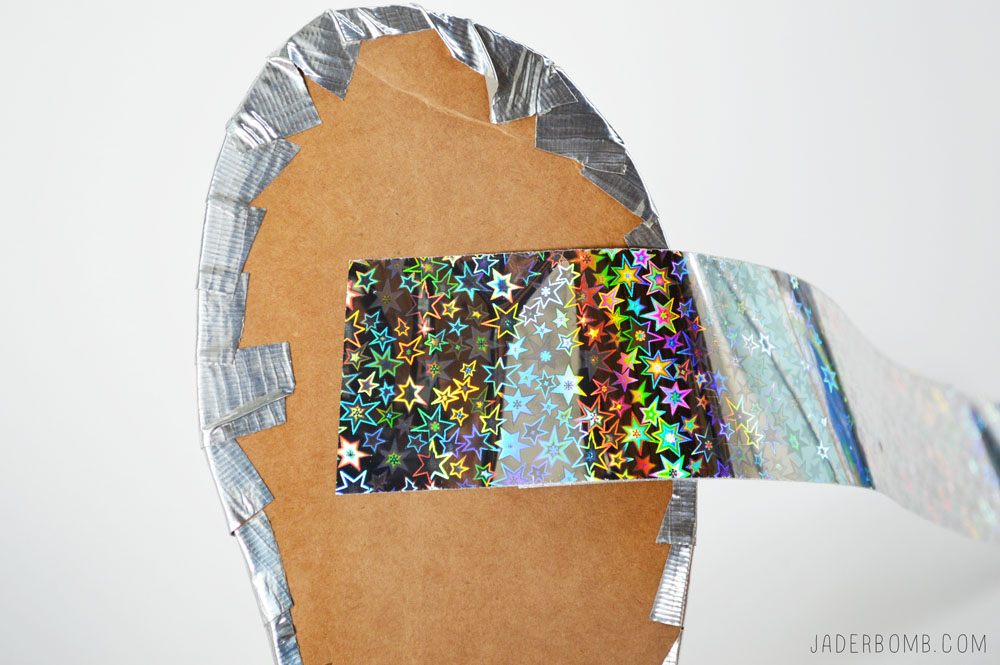
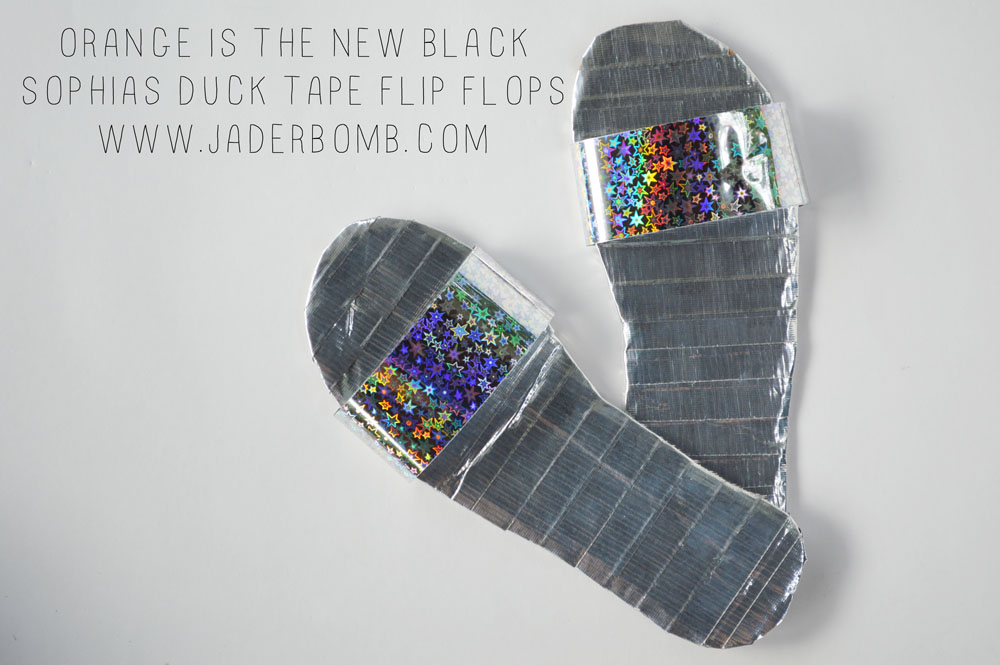
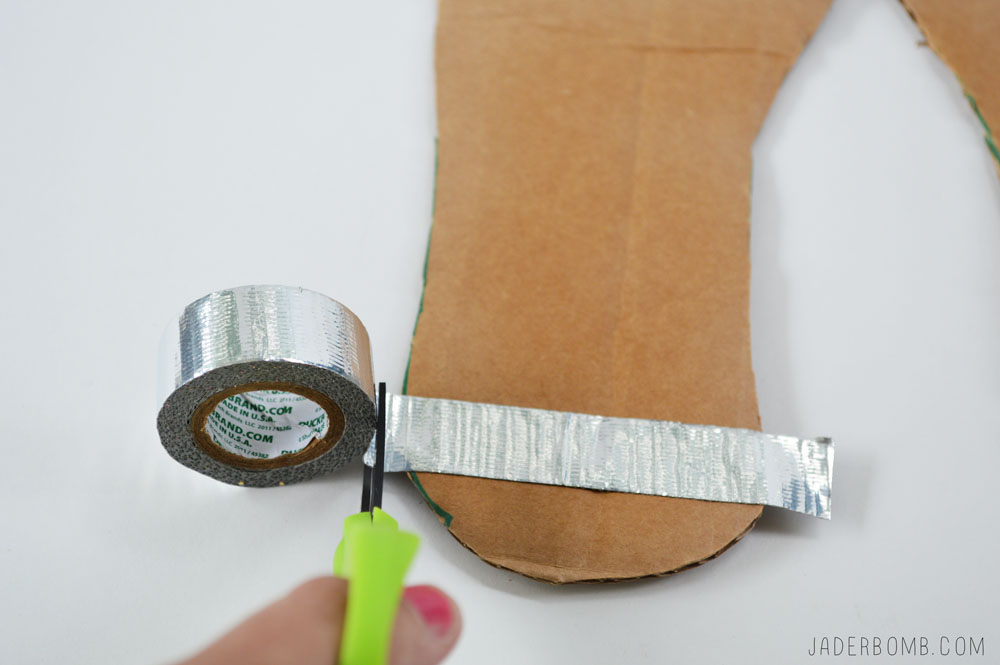 This is what they will start to look like once you cover them.
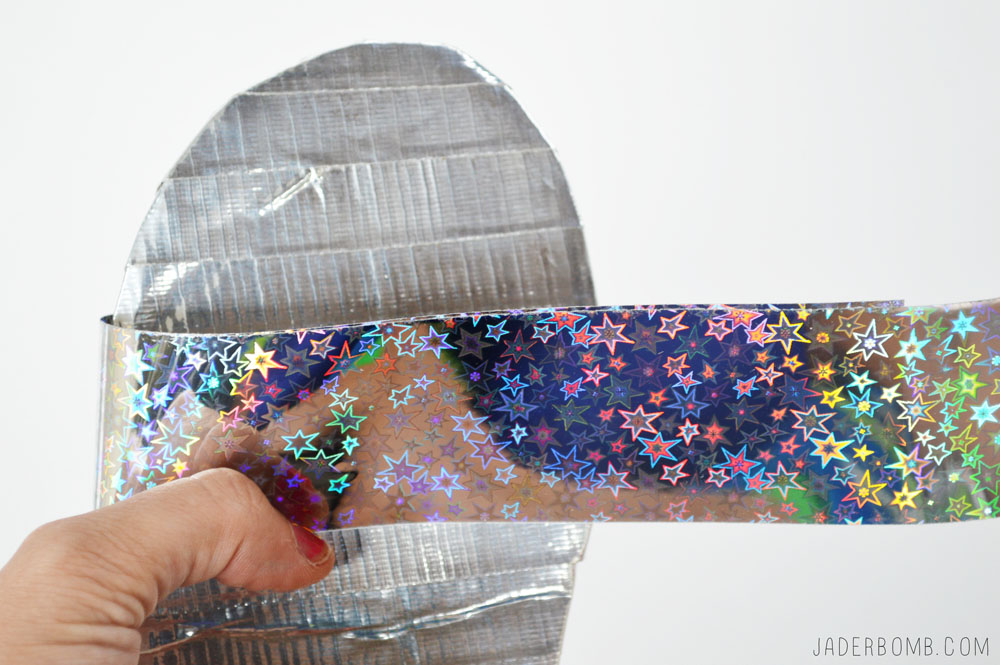
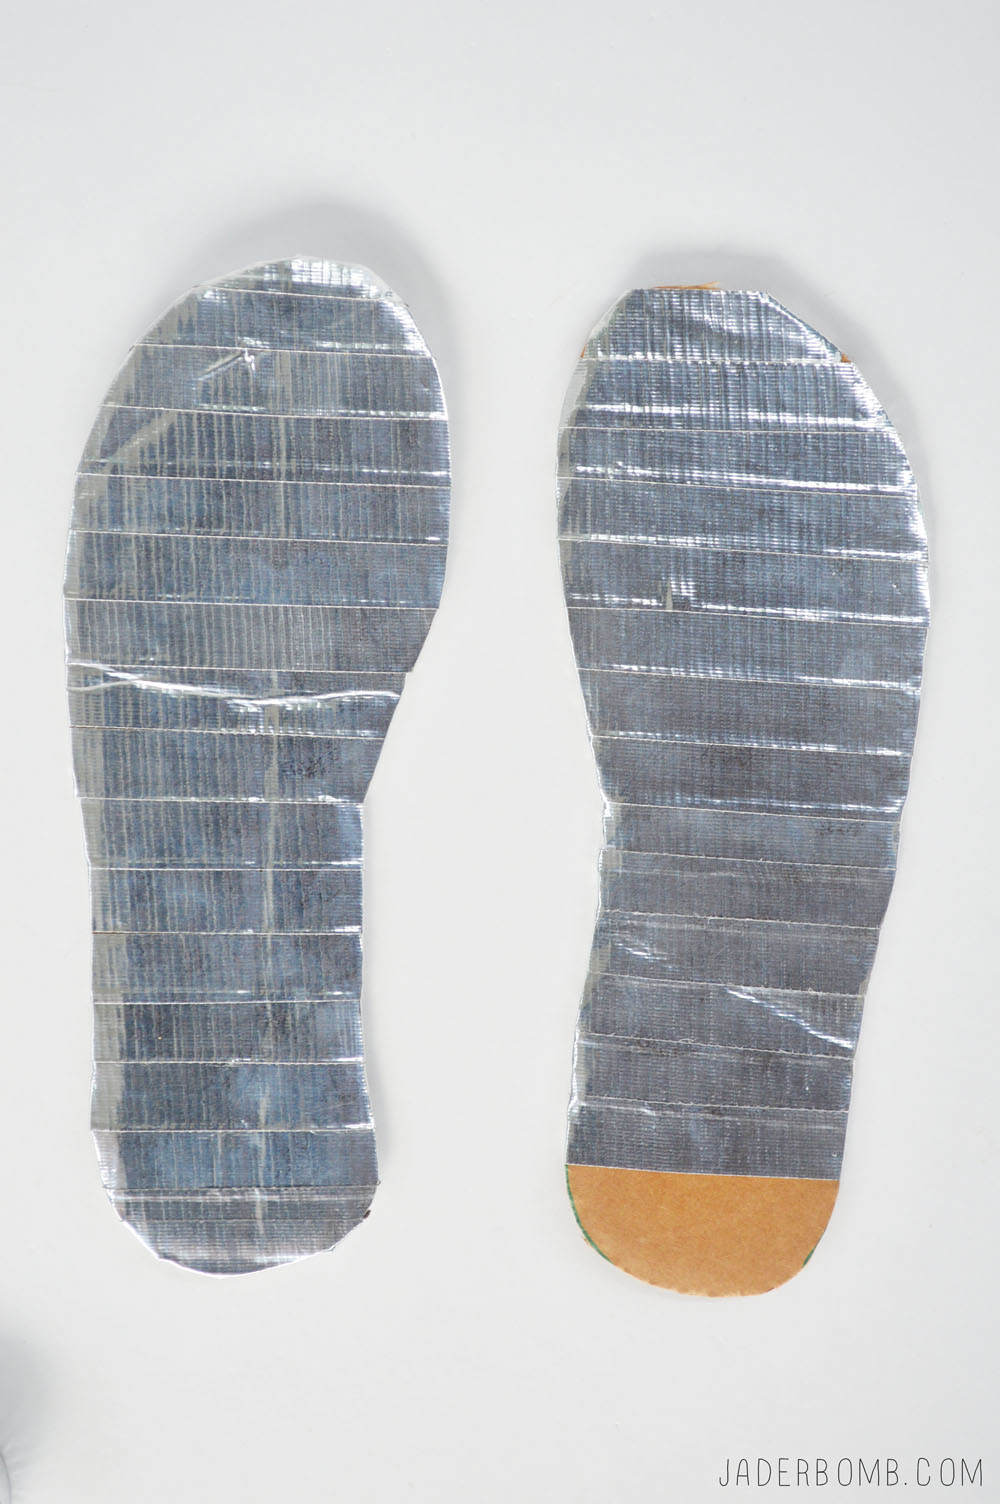 I am using a shiny heart filled duck tape for the top part of the flip flop.
  Cut two strips of shiny duck tape while making sure one is longer than the other. I guessed the length and everyones size is going to be different based on the size of your own flip flop size.
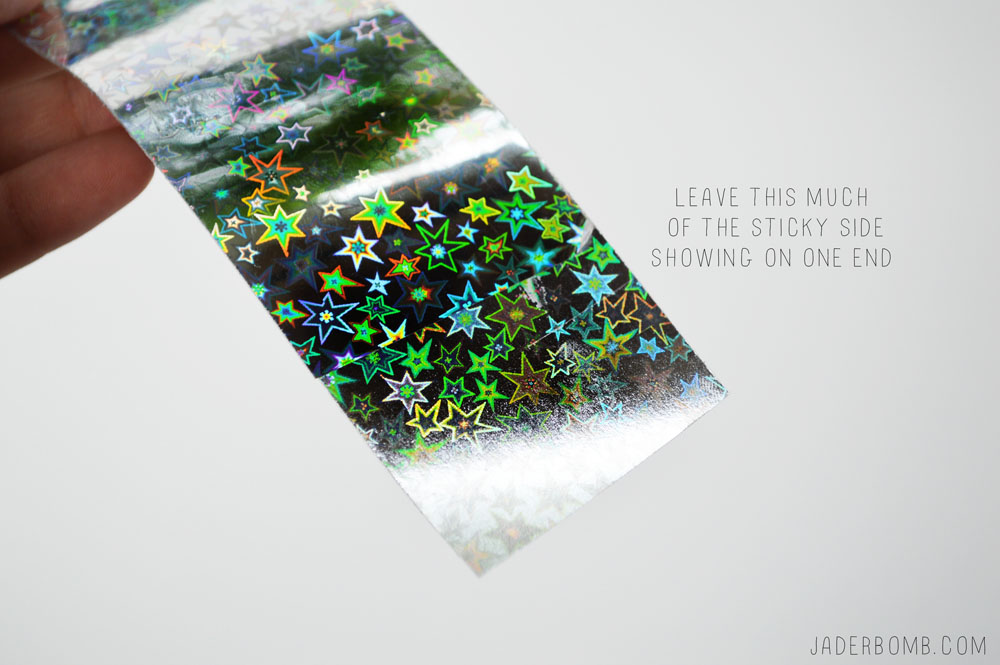
 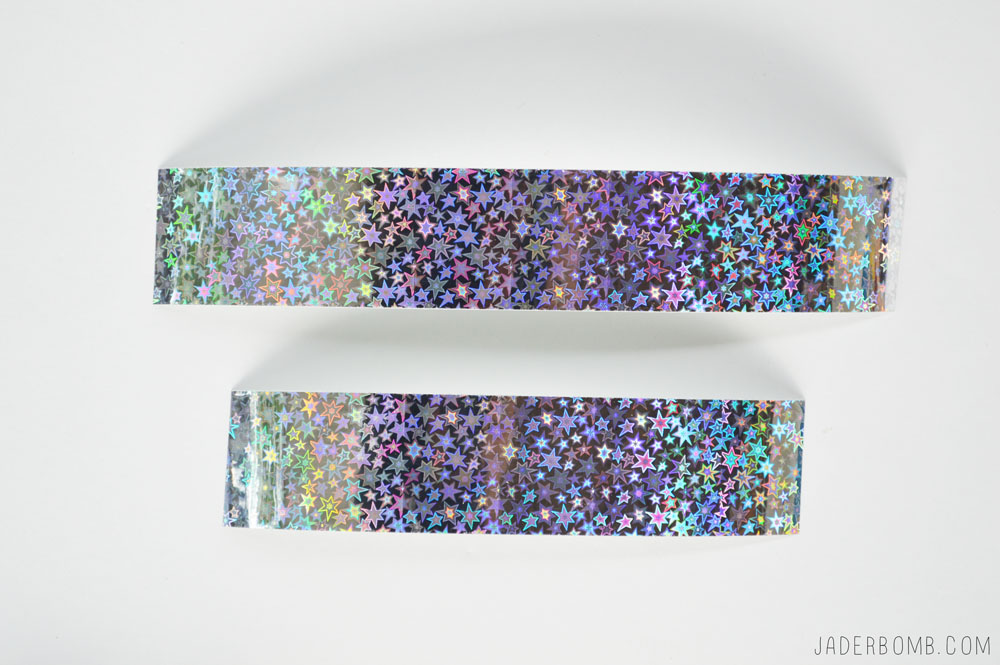 Peel the backs off of each one and place the smaller strip directly on top of the large strip.
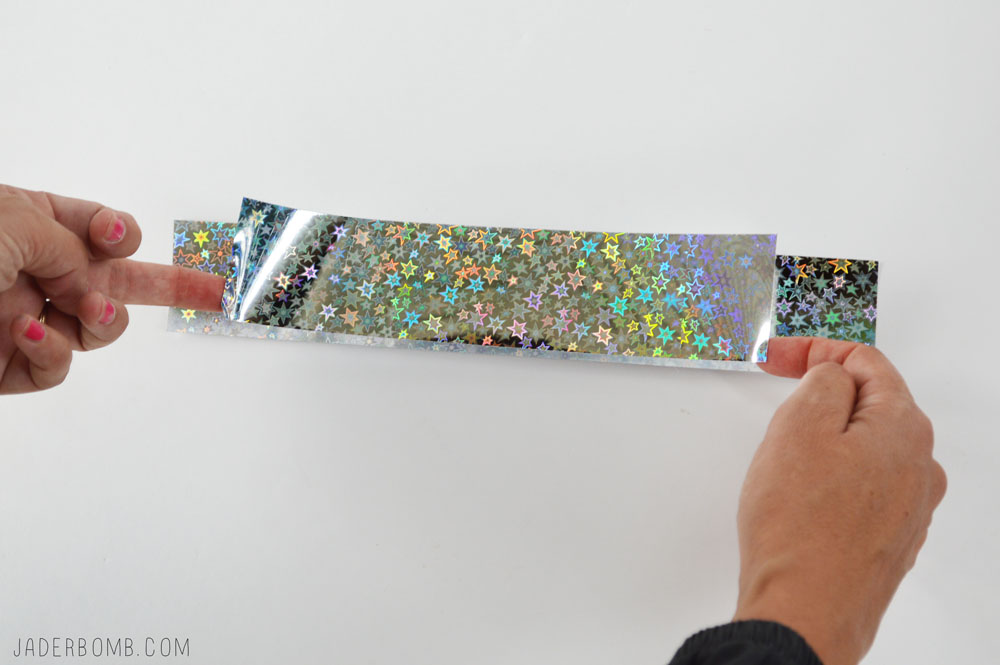
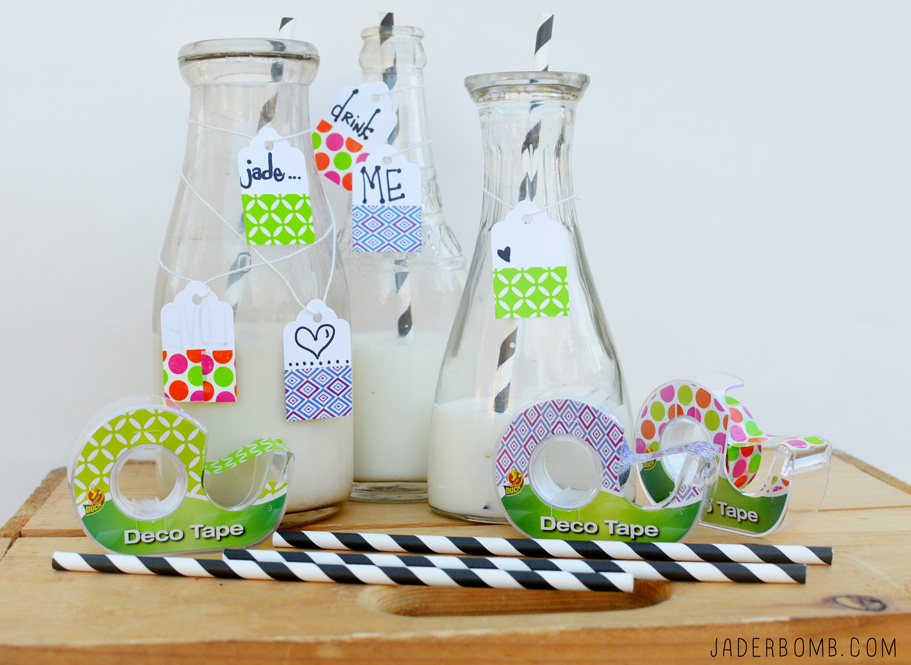
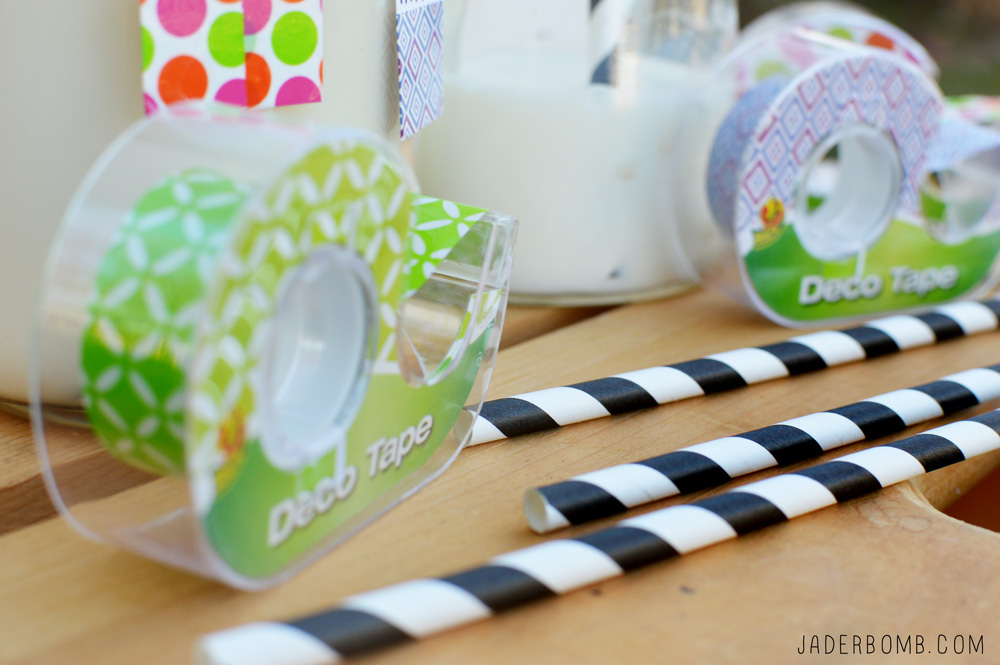
 Coming to you live from my messy studio with a major quack announcement. There is a new tape out on the loose! That’s right, a new decorative tape called
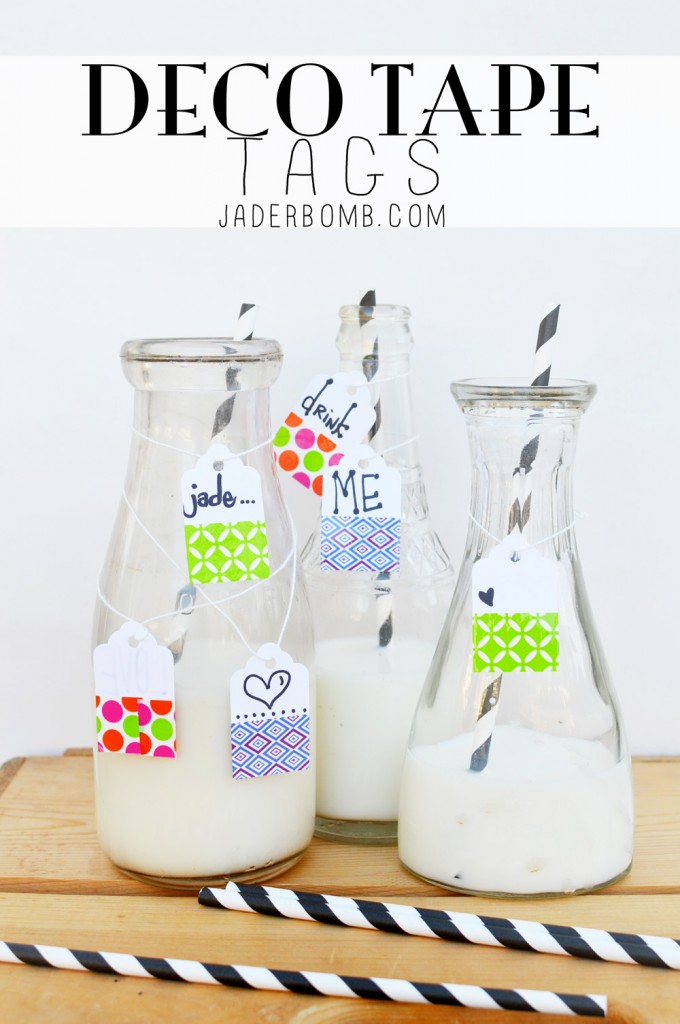
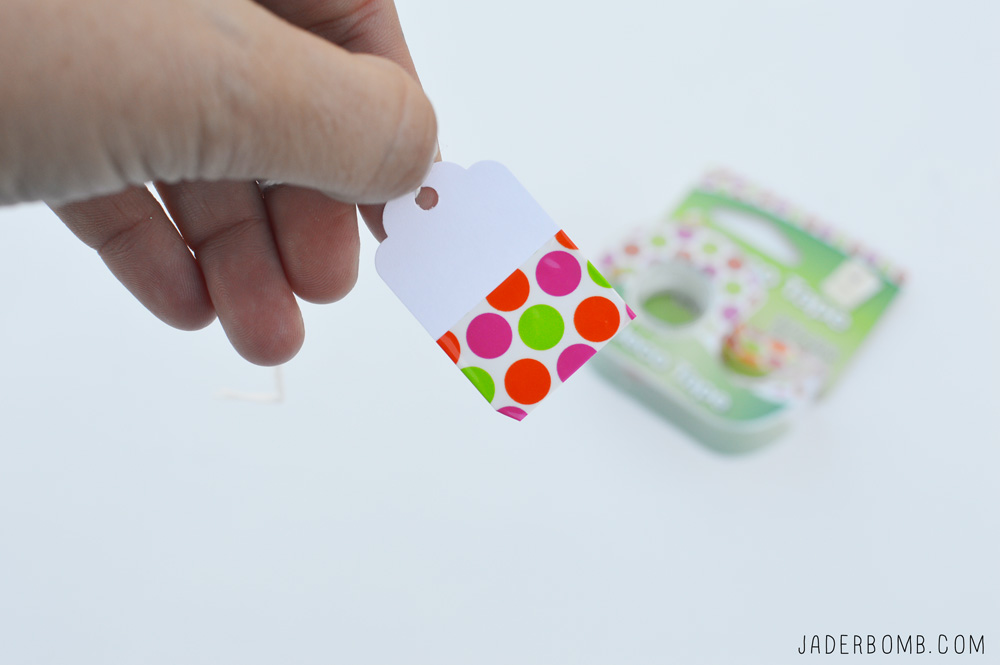
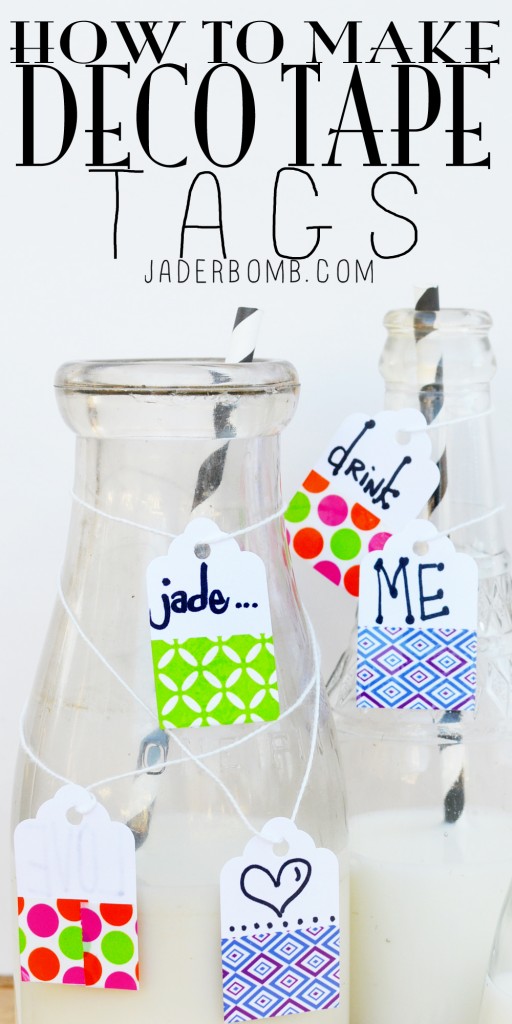
 Labels or Tags |
 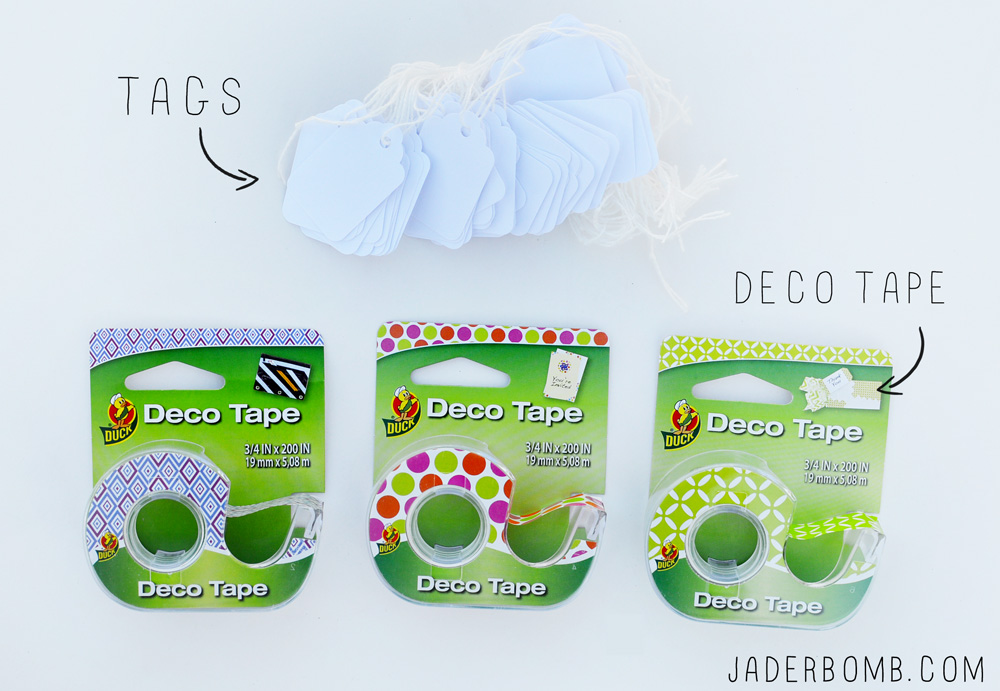 You simply tear a piece off and wrap it around the bottom portion of the tag. I tore a long piece to make sure it wrapped around the back completely then I cut the excess off with scissors.