Tag Archives: martha stewart crafts

RE-CREATE ZAK!

HEY YALL!! I am so excited to show you this craft!
Yes Yes Yes… You will fall in LOVE. First of all let me tell you that I really am fascinated by  ZAK! Have you ever heard of them? Well, they have this AMAZING “confetti” collection that makes me smile from ear to ear.

I started thinking of ways I could “re-create” something similar to the plastic “confetti”.

Let’s begin by getting some ingredients:

I bought this pack at Michaels for around 12 bucks.

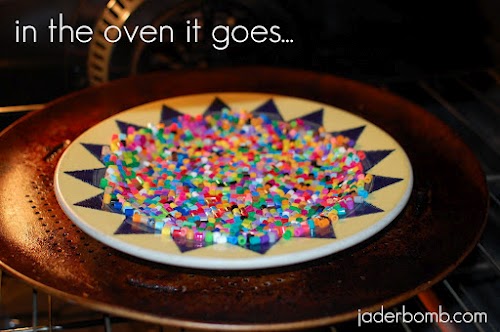
You will start by getting a heat “safe” plate and pour your beads onto the plate. Push all of them down so they all lay even. It does not matter if some are flat and some are faced up. Set your oven to 400 degrees and let it pre heat while you make your design.

If you notice it will start to melt in the center first. Leave it in the oven for 10 minutes.

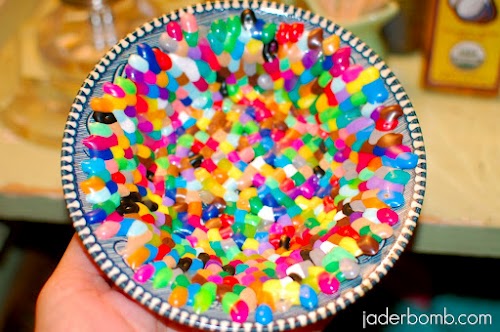
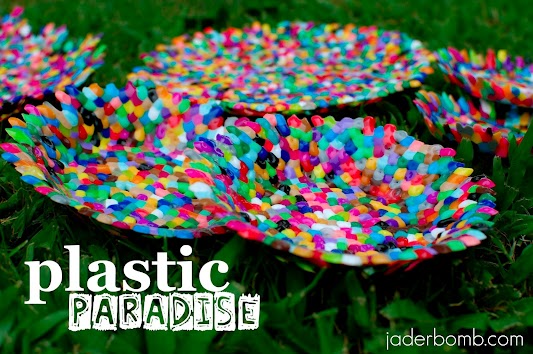
When you take it out this is what it will look like! So pretty right!!!!

Let it sit until it cools off. Once it is cool it will pop right out.

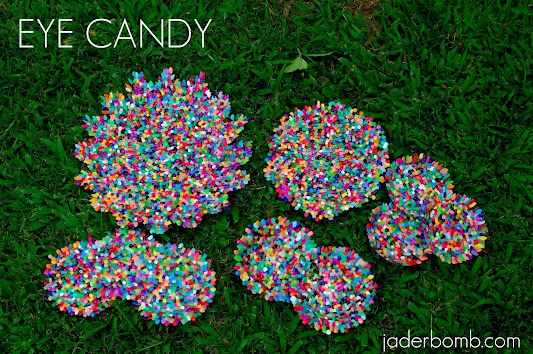
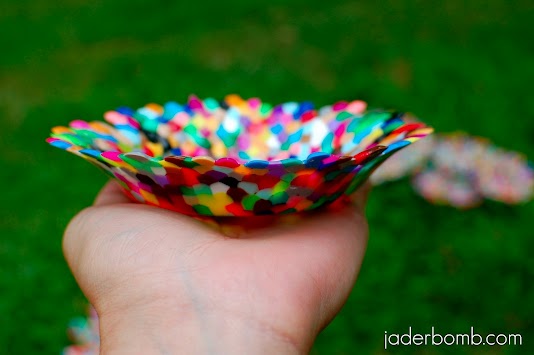
There are a ton of things you can use these for! I have them all over the house. I like one in my bathroom to put my little earrings in so I don’t loose them. Use them for a Candle holder, fruit bowl, soap dish, bottom of a pot plant, on the wall as decorative plates ((hehehe if they fall they won’t break!!!))), you get it right!!! You can use it for SOOO MUCH JADERBUGS!

I kinda went CRAZY making these suckers. What can I say, I get crazy with bright fun things! It’s truly addicting!! I will be putting some for sale in my Etsy store . Sometimes it’s easier to just “BUY” them. Right! So stay tuned for that!

I just love this little bowl. My mind is going CUH-RAZY thinking of all the things to put in here.

I hope you RUN to Michael’s and grab some beads! You can make this for a Christmas gift, Easter gift, Birthday or just a FUN GET TOGETHER! It is truly affordable and kid’s would love to make them.

FYI: Sorry Jackson that you are previewing your Birthday gift.


 Perler Bead fact: Perler Beads would like to reassure you that their beads are safely made using LDPE, a food-grade plastic. There are no harmful chemicals in the beads, as may have been found in similar products. The beads are manufactured in California of materials obtained entirely in the United States and are routinely tested to meet all required safety standards.

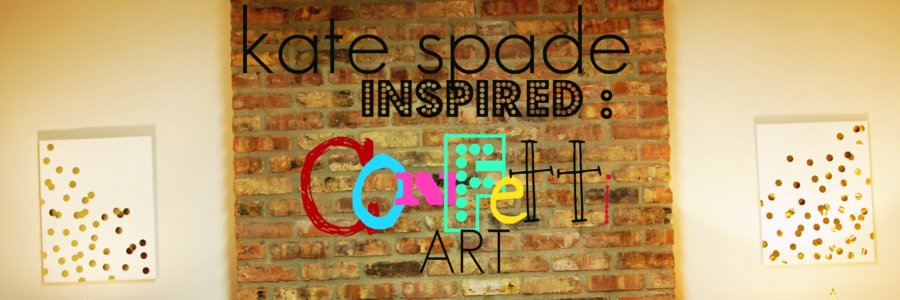
DIY: Kate Spade inspired CONFETTI CANVAS

So the other day I started looking online for a new iphone case. I wanted a really bright, shiny gold one. You know, like the real “gaudy” gold!!! {{teehee}}

In the process I ran across this:

 I fell in LOVE right away. While staring off into space deciding if I wanted this one  or if I wanted a COMPLETE gold one I noticed a big sheet of gold shiny paper just sitting there. I totally forgot I bought it and I though it would be cool to make some art using the gold paper. How cool would it be to have a BIG oversized Kate Spade Iphone case!! Wanna see what I decided to do!

Is it not so pretty!! Let’s make it now!

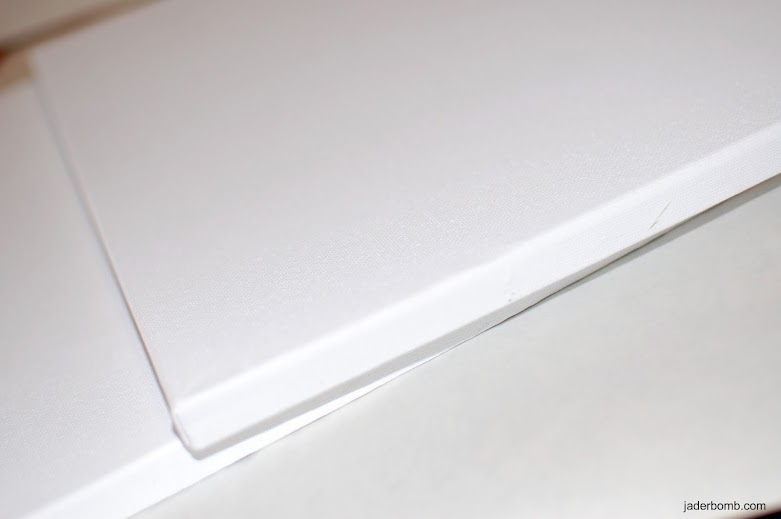
Get canvases. I got mine from Hobby Lobby.

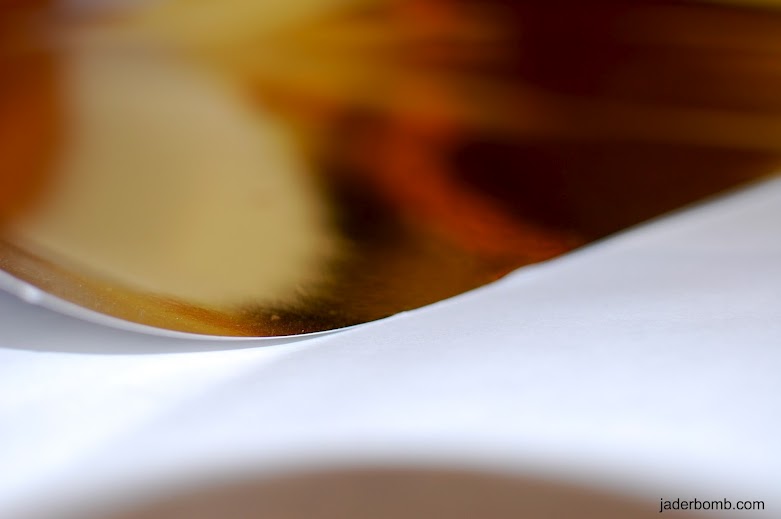
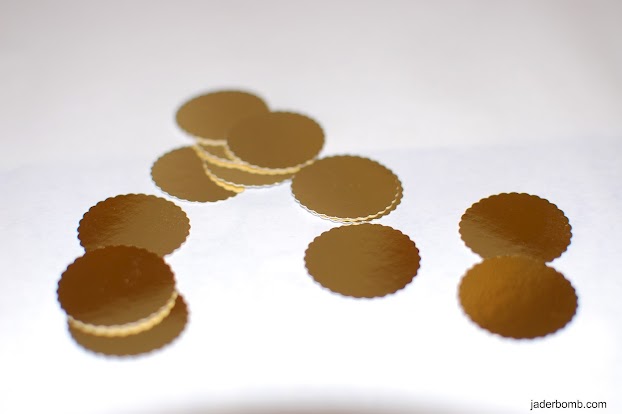
This shiny sheet of gold paper is from Hobby Lobby. I am not sure of the name but it’s where are the project paper is. I think it was around 5 bucks for a sheet but the sheet is large!!!!

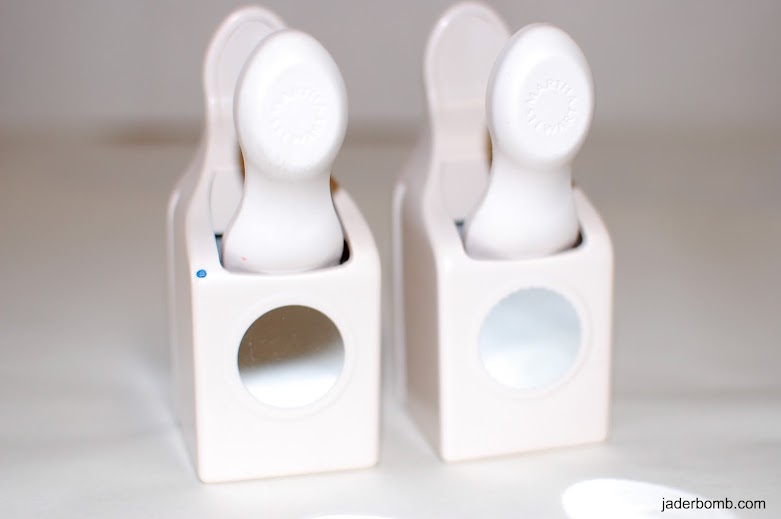
I used my Martha Stewart punches and you can get them at Michael’s Art’s and Crafts.

1-inch Craft Punch
Pointed Circle 1in Punch

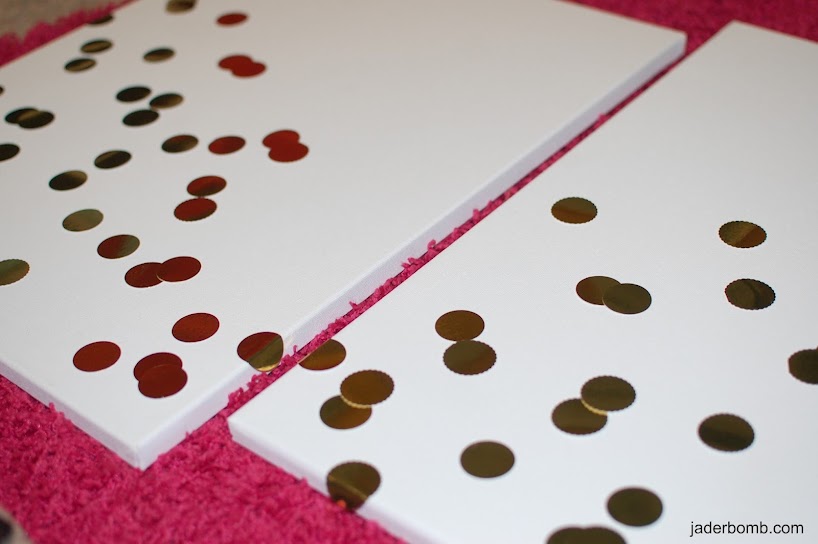
Get your hot glue gun and start glueing them down where you like them. I used Martha’s dual temperature glue gun.

Jaderbugs! This is what it will look like. I had a blast doing this.. If only I could find a gold confetti bed spread!
Happy Mardi Gras!!!
Sending you gold confetti and money to buy everything Kate Spade,

DIY: Glittered Envelope with Martha Stewart Glitter

 Jaderbugs… I have been super swamped lately! Don’t get me wrong… It’s the only way I know how to live but phew. I’m giving myself a run for my own money!

It’s 1 in the morning and I JUST have a minute to post this. LONG day ahead of me!

I hope you enjoy this quick but FUN tutorial!

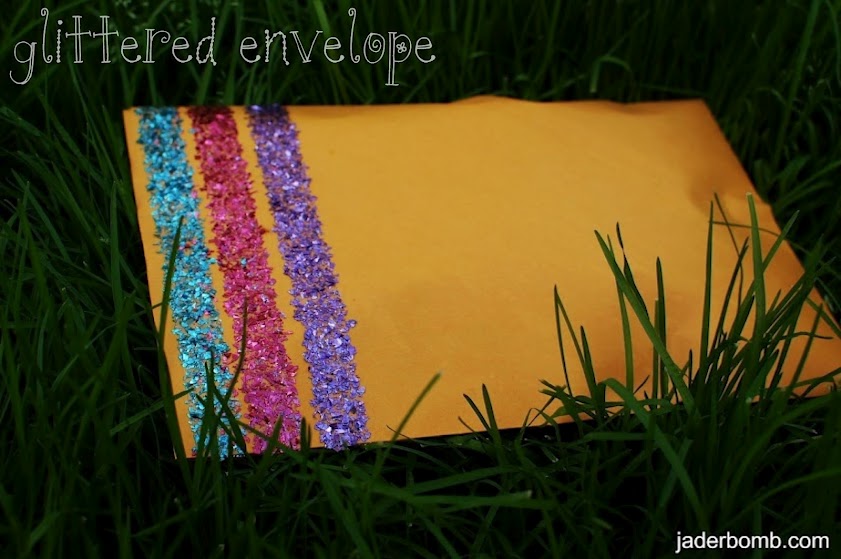
Isn’t it SO cute!

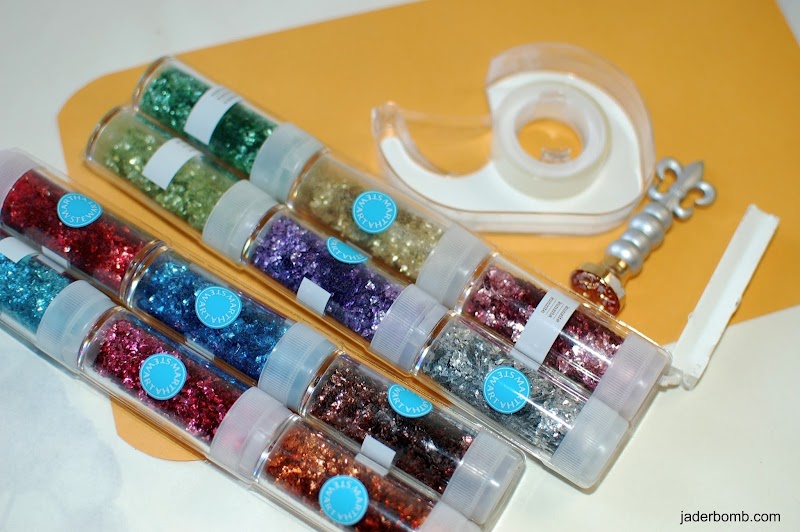
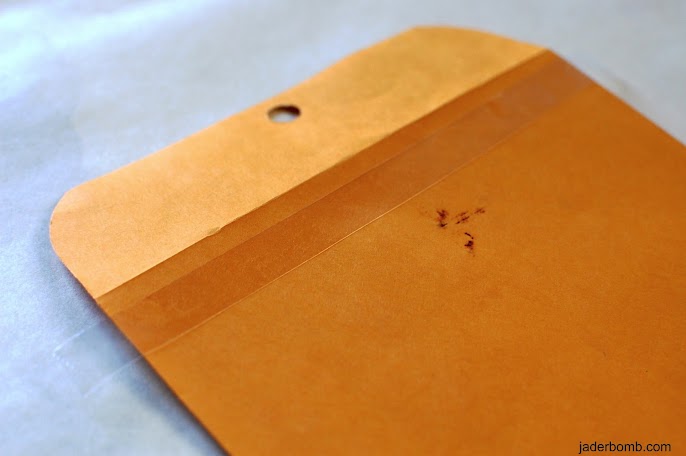
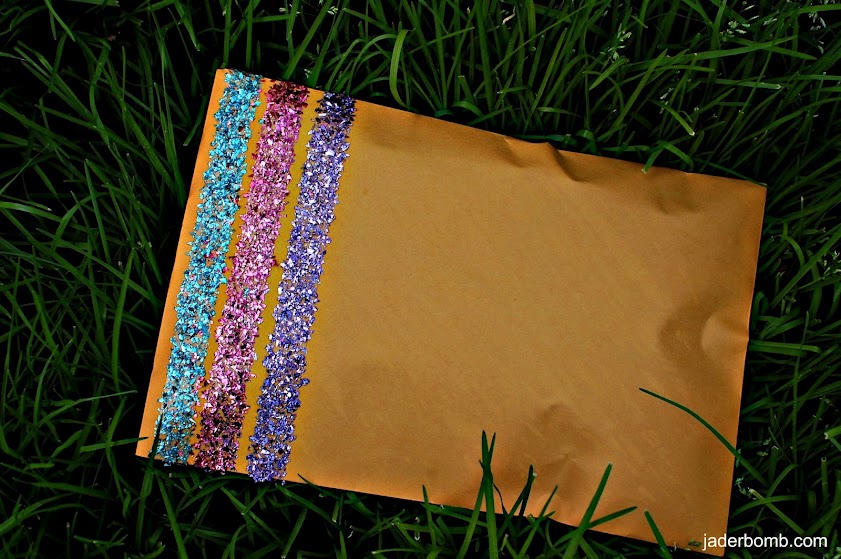
You will need double stick tape, envelope, Martha Stewart gold leaf glitter, wax seal, and a lot of love.

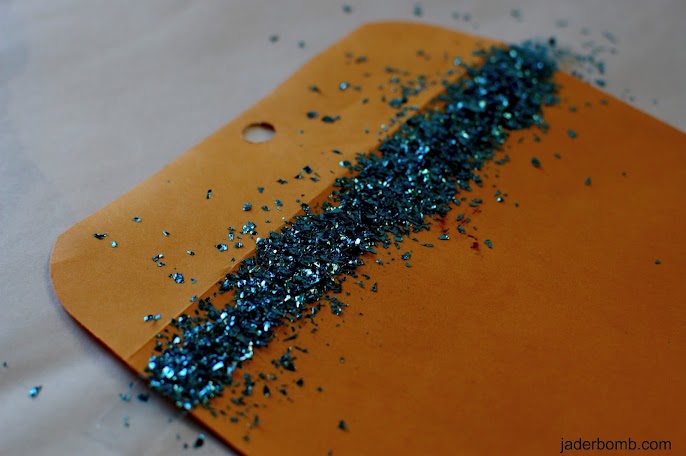
These are the colors I used. They are SO pretty.

Put a strip of double stick tape along the top and snip the sides.

Sprinkle whatever color you want to use on top of the double stick tape.

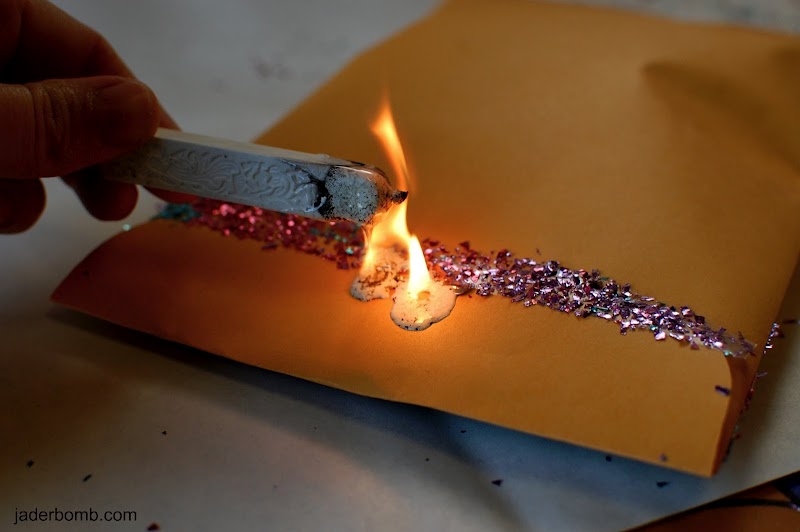
Read the directions before burning your wax. I like to turn my wax almost upside down and make it turn black in some spots!

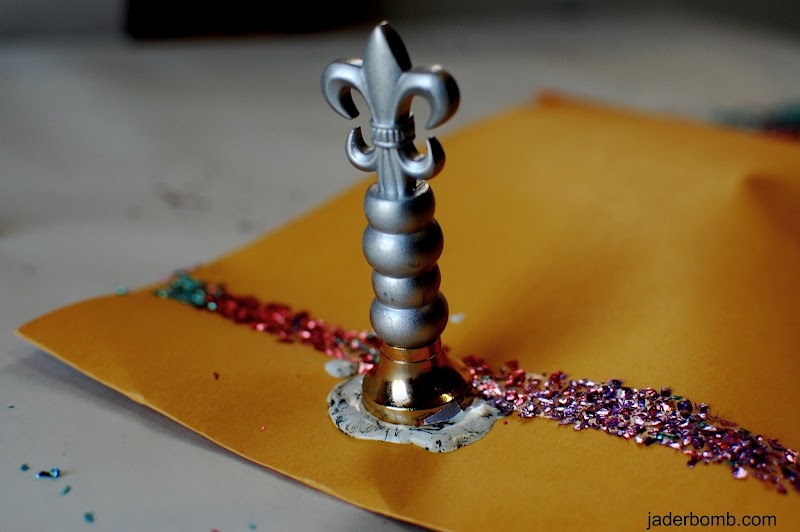
See the little black in it. Make sure you press your stamp in the wax before it melts.

So you see! It’s SUPER DUPER easy and I am positive whoever gets this will LOVE it!

I hope you enjoyed the extra picture I put for you!!! Happy Early Mardi Gras and Valentines day

Me and kitty wishes you a wonderful weekend,

This post is brought to you Plaid’s Martha Stewart line of paint and stencils. I received product for this post. All opinions expressed are 100% mine. You can check out Plaid’s fullMartha Stewart product line here

Happy Happy Happy Tirdsday…. (teehee) just joking! I have to tell ya, the creative juices have been working in overtime lately! I can’t seem to produce things as fast as they pass through my head. I am like, “head, stop it”, “where were you with all of these ideas 2 months ago”…. OH, I know I was kinda focused on my Martha Stewart  project. Do you remember that! If not check it out HERE.  It was such a massive project but at last, I finished it. I wanna say I passed with flying colors. {{fist pumping}}. I think Martha approved, hehe.

I went to Walmart the other day and got this awesome “Dr. Seuss ” looking plant. You know what I am talking about right? The Ponytail Palm. I found this cool site that gives you a little more information on it.  It is really “cartooooonie” looking which makes me really happy!

Let’s see what else is new…. OH Google friends is shutting down soon so if you were one of my followers on there you will have to find a new way to follow me. You can find me on Google+, or sign up for my RSS feed ( which means anytime I post something it will be sent to your email).  Either way is a great way to stay in touch! Of course you can find me on my facebook and twitter, and that is all on my website! 

Ok! I am ready to share this fun and random craft with ya!  OH I am sorta doing a MOD PODGE “paper” review because I have been having this one and never used it! I always use the gloss and sparkle one. This was a chance for me to finally try it out. Plus I wanted to see just how good the “paper one” worked on “fabric”. SO FAR SO GOOD!!!

Ingredients you will need are: fabric, scissors, hot glue gun, mod podge terra cotta pot, twine and a creative brain for 10 minutes! Don’t forget to check out my friends website! MOD PODGE ROCKS! It is SUPER fun and I am sure you will find a ton of things to do on it ! She is like the MOD PODGE queen… (at least in my eyes)
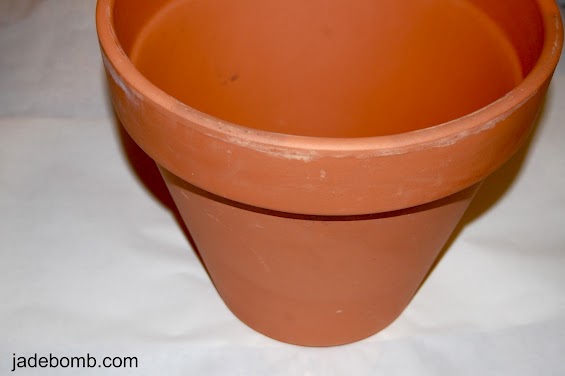
First thing we will do is grab our pot. I said “terra cotta” but you can really use ANY pot you have. I got this one at Wal-Mart for like…3 bucks!
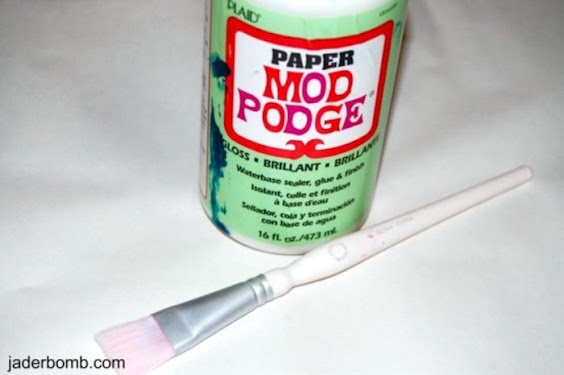
So I know I said this was a new “Mod Podge” that I was reviewing but you might wonder why it’s FULL of blue paint. Well, because it has been living in my studio for quite some time and it has seen a few falls and spills near it! HAHA. Of course I am using my Martha Stewart brush! I have done MANY reviews on this product and let me tell you it is worth every penny! Did you know Mod Podge comes in tons of different ways. Here are a few!
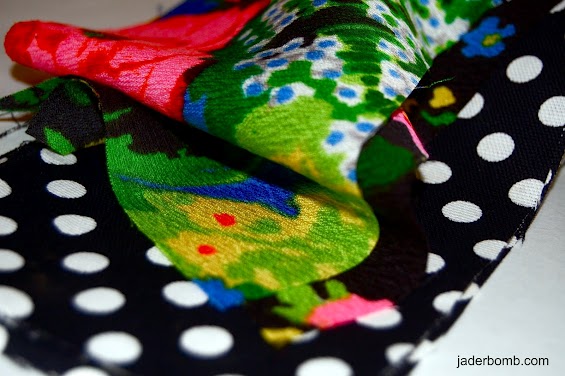
I went in my fabric closet and found some fun colors that looked great next to each other. Personally I think black and white go with ANYTHING!
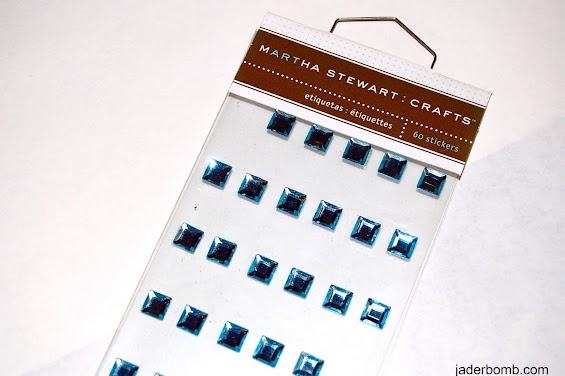
I had these little “jewel” stickers. I think they are made for scrap booking but I figured I would try them in a different way. I know you will love the end result! Oh, you can get some of these little babies at Michaels Art’s and Crafts!

Don’t forget to grab your hot glue gun and a pair of  “good” scissors. I used this glue gun and these scissors. Personally I like them the most and I have tried MANY before these landed in my hands! They were heaven sent! (thanks Martha) haha!
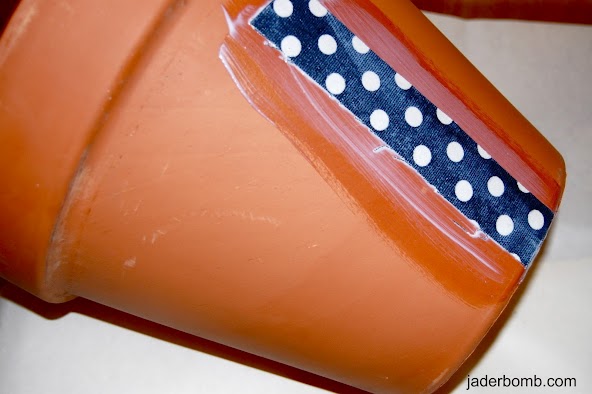
Start by cutting your fabric into strips and mod podge each one down. One at a time. It’s easy if you brush on top of your pot with the mod podge then place your strip down. Once it is down put a GOOD coat on top of it. Don’t worry if it looks really white, all Mod Podge dries CLEAR!
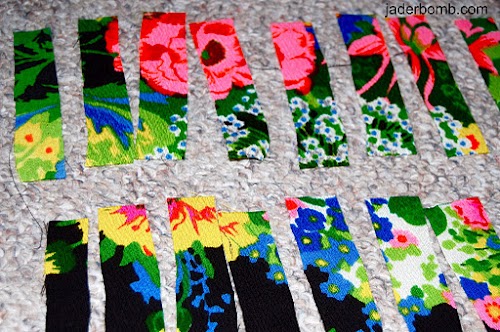
P.S. If you are using a fabric that has a print on it keep the strips next to each other so it “sorta” lines up when it’s all down.
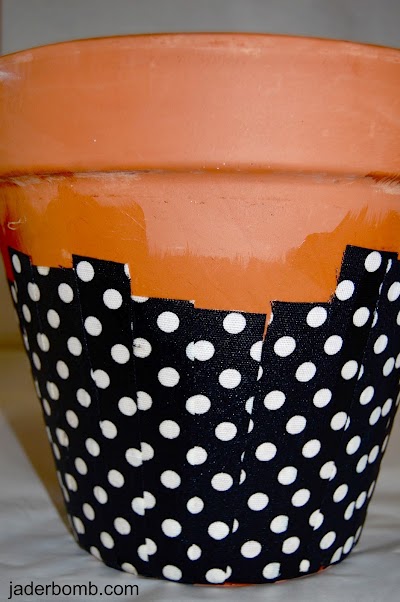
This is what it will look like when you are done with the bottom. You want to do the bottom THEN the top. See, I told you it dries crazy clear! So pretty, right!
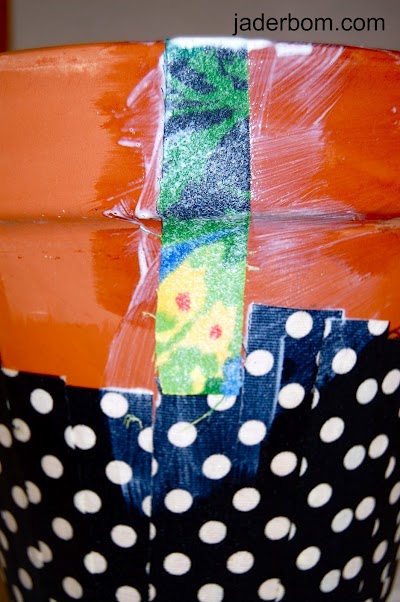
After you do the complete bottom, and it dries then you can start the top. Don’t worry, if they don’t match perfectly in the middle. We will be putting a strip of fabric there.
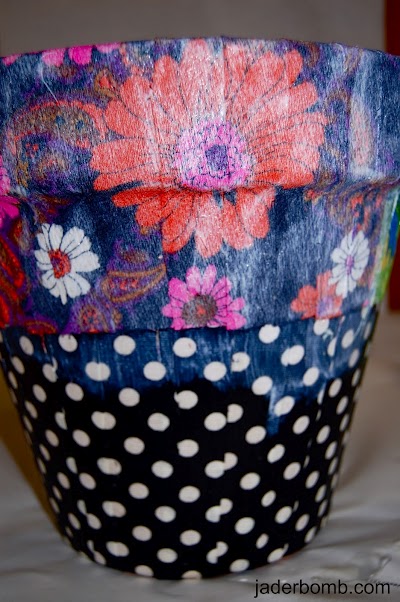
This is what it will look like full of Mod Podge and NO strip separating the two.
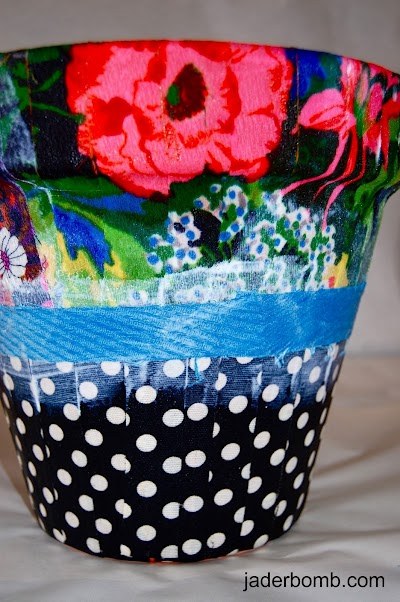
Look how pretty the top looks!! It’s crazy how this excites me! (craft geek)…After your top dries you will put a strip (whatever color or design you choose) in the middle to cover where they meet up. Use the same procedure.
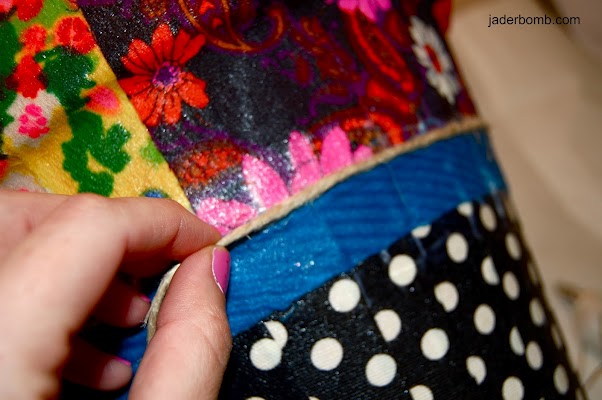
Next thing we have to do is hot glue down our twine along the edges of the center strip. Be careful not to burn your fingers!!!

If you notice in the MIDDLE of the strip I hot glued the sticker jewels to it. It just adds that PERFECT touch to it!
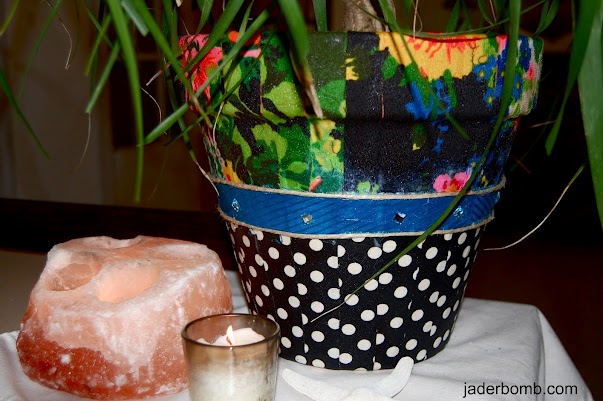
And this my Jaderbugs is the final result. Our Pony Tail tree finally has a cute little home, for now. (haha) Don’t worry if you have little hot glue strings hanging out ALL over your pot. Once your fabric is COMPLETELY dry you can just rub it off. Obviously I took these pictures WAY before it was dry! HAHA

I hope everyone is dreaming of memories of their favorite pony tail they rocked at some point in time,



Wowzers!!! I can’t believe it is already THURSDAY!!! RIGHT! I have been having so much fun making all of these crafts for you {{and for me}}!  The other morning while I was making my coffee I ran out of creamer. {wahhhhh}.  So the typical routine is to throw the empty bottle away, right! That is exactly what I would have normally done {UNTIL} my lightbulb went off! I thought “how cool would it be to use these instead of throwing them away..
And here you have it! JUST FOR YOU my little jaderbugs.
I hope you enjoy!!!
Ingredients:
 The pieces do NOT have to be a certain size.  Use the size you like.
  Are you having fun yet? OH and I am using “sparkle” Mod Podge!!!! When it dries it is full of GLITTER!!!
  Don’t worry about being perfect! It’s about having fun!!!
 This is what it will look like still damp!
 OMGJB {{ohmygodjaderbomb}} HOW FLIPPING FULL OF CUTENESS  ARE THESE LITTLE SUCKERS.
Wishing my coffee pot could bring me another cup of coffee,


Lookie Here!!!! Some things I got for Christmas!!

Well Jaderbugs~ It’s almost the weekend! What’s everyone’s plans this weekend! Ya kno the big game is going on in New Orleans this weekend!!!! I know it will be crazy!!!! While cleaning off my computer I found a couple of pictures that just made me smile and feel happy inside! It’s some things that seester bought me for Christmas and I am madly in love with them!!!

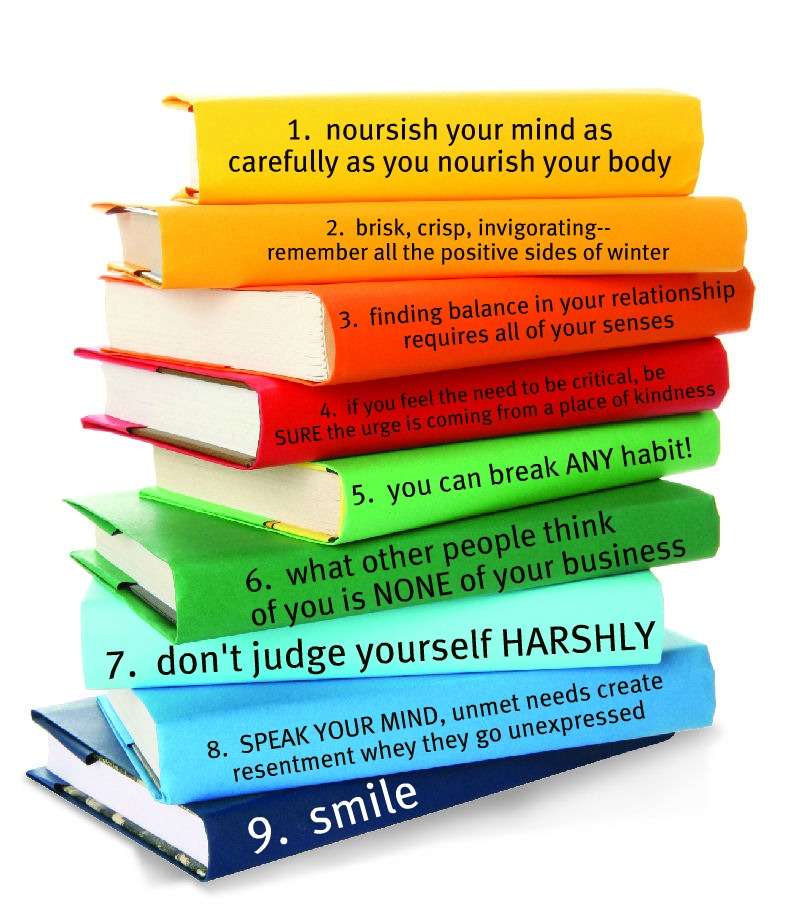
Before I show some fun and exciting pictures I wanted to share 9 things that I think you need to know to have a wholesome and happy NEW YEAR!!!

Don’t you just LOVE every single one of these!!! I hope they make you smile and make you have a grand outlook with your life!

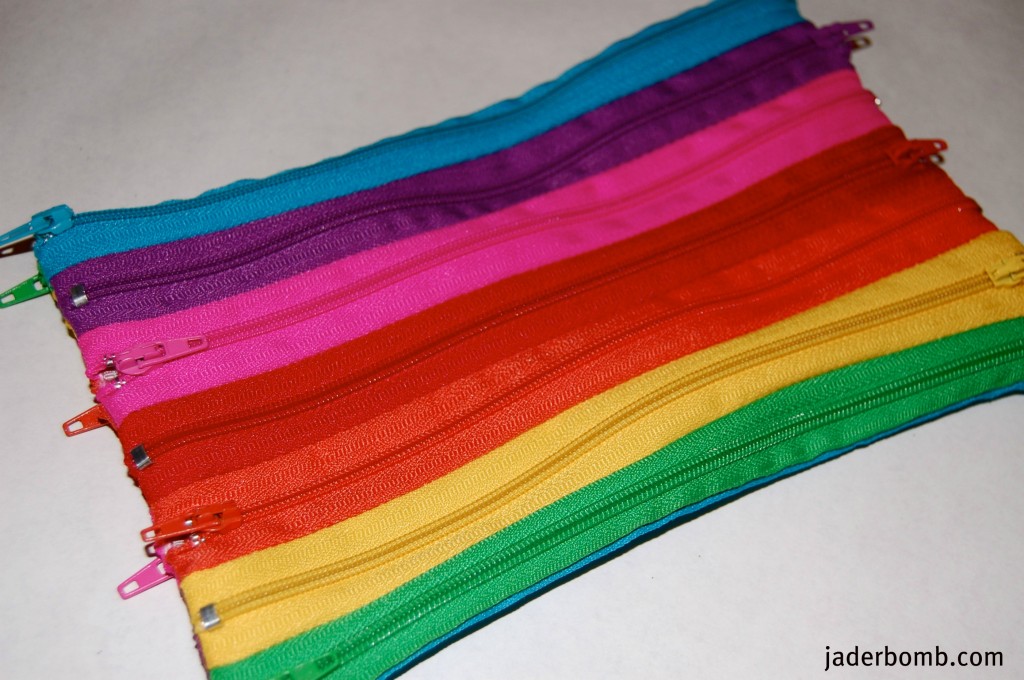
How cute is this sucker! Seester got me this and I LOVE LOVE LOVE it. She sure does know me WELL!!!! It’s a little bag to put tons of different things in. You can use it for makeup, pencils and pens or just JUNK!!! I am not sure where she got it but I will find out from her!

What do you think? Would you like me to do a tutorial on how to make one of these? If you do comment in this post and let me know! Who knows, I might end up putting it in a giveaway for someone to win!! (that is the one I will do, not seesters lol)

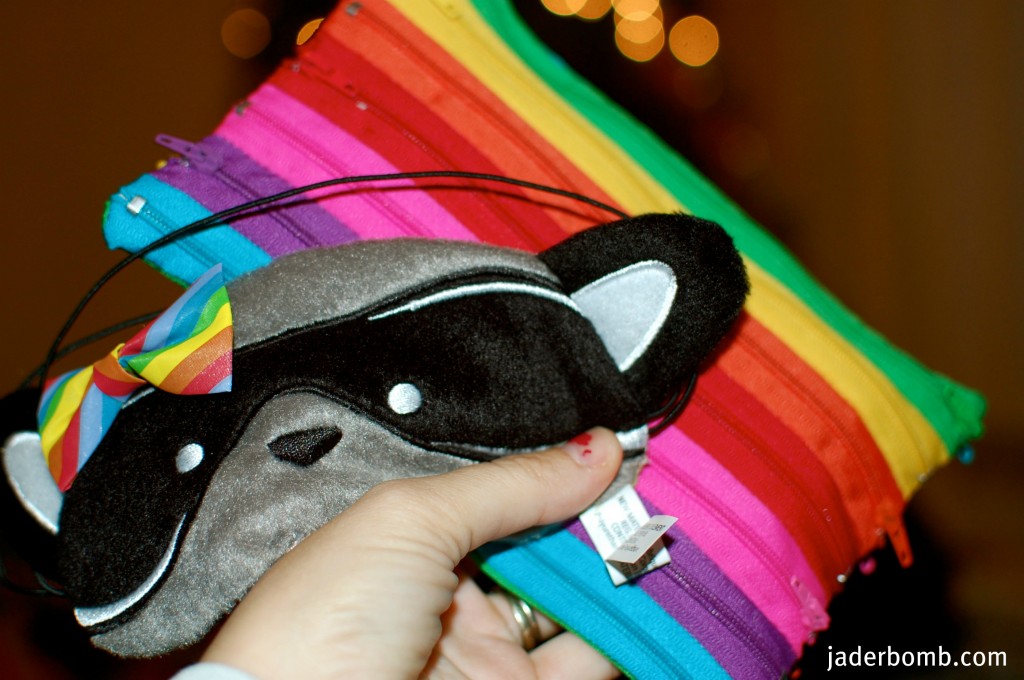
She also got me this cure eye mask! Ashy said it is SO cute on me! I will have to ask her where she got it in case you want one!

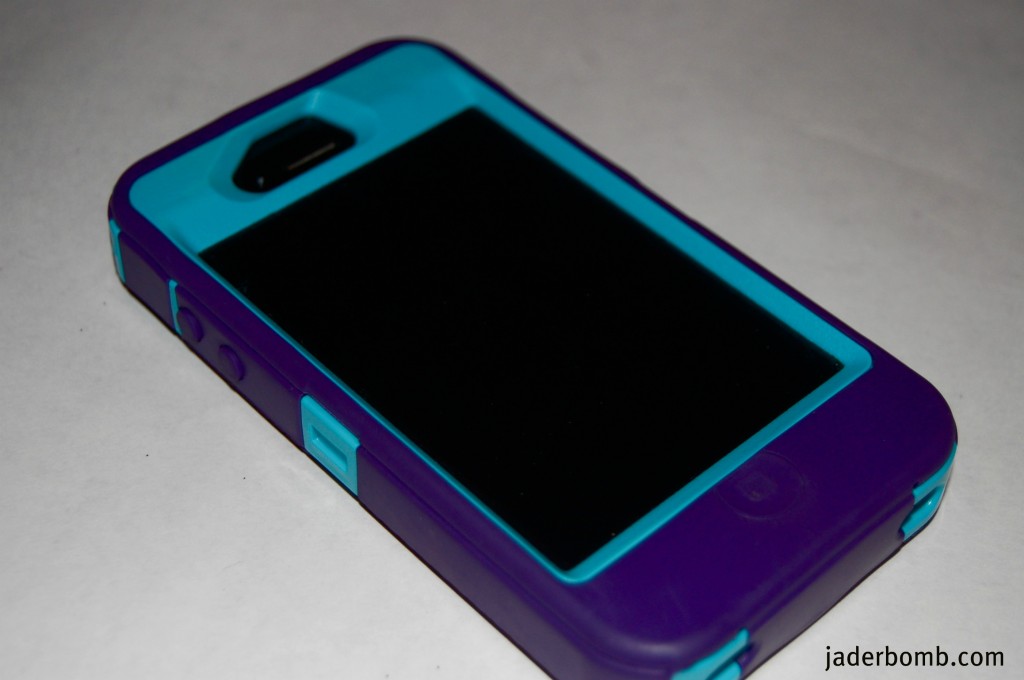
I had to show you my new phone case! I LOVE it! These two colors are my favorite of all time! I bought it from AT&T and I think it is so bright and fun!


I wanted to give you a SNEAK PEAK at something I will be using for a craft I am working on! What do you think it is? Comment and tell me!!!! I hated to mess these suckers up because they are SO pretty and fun!

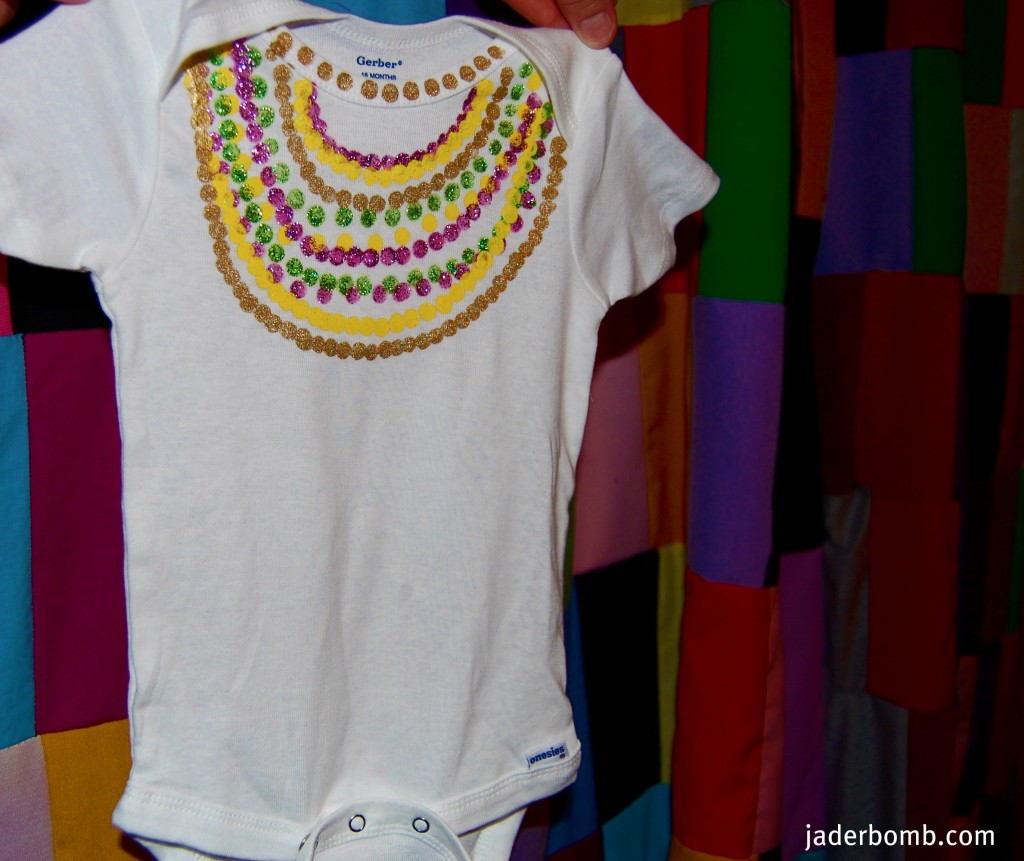
This is the craft I created yesterday. You can get to it HERE. Now any gender can wear this but I am doing another FUN onesie later on tonight which I think is SO CUTE! Again, I will be putting it up for a giveaway so stay tuned!!!

I hope you are having a wonderful day and accomplish everything on your to-do list! I am trying so bad but my list keeps getting longer and longer!!!

Lot’s of giveaway LOVE,