Tag Archives: crafts

Happy Sunday! I have been crafting away lately and I realized I didn’t post anything since Friday! What’s wrong with me! I think I am loosing it (hahahah).

I absolutely love the craft I am posting today. I posted  a “hint” on facebook & twitter, and everyone was exited about it. Wanna know what the hint was? {{matches}}.

I don’t know about you but I LOVE using matches instead of those long donky lighters. Don’t get me wrong, when I need to light something that’s impossible to do with a little match I am happy I have a long donky lighter! Speaking of flames, remember my post I did the other day?

How to cut glass

Well. I am totally STOKED because in 4 days it has gotten over 74K views! WHAT! I know. I am just as excited as you! I think we can top this with this baby! But I need your help Jaderbugs! Let’s get started because today’s a big day! It’s Father’s Day, so Happy Father’s Day to all your “Faja’s” out there. Especially “happy” day to my {faja} and {faja-n-law}.  Yes, you MUST say Faaa-Juhhhhhhh like this! (hahahah)

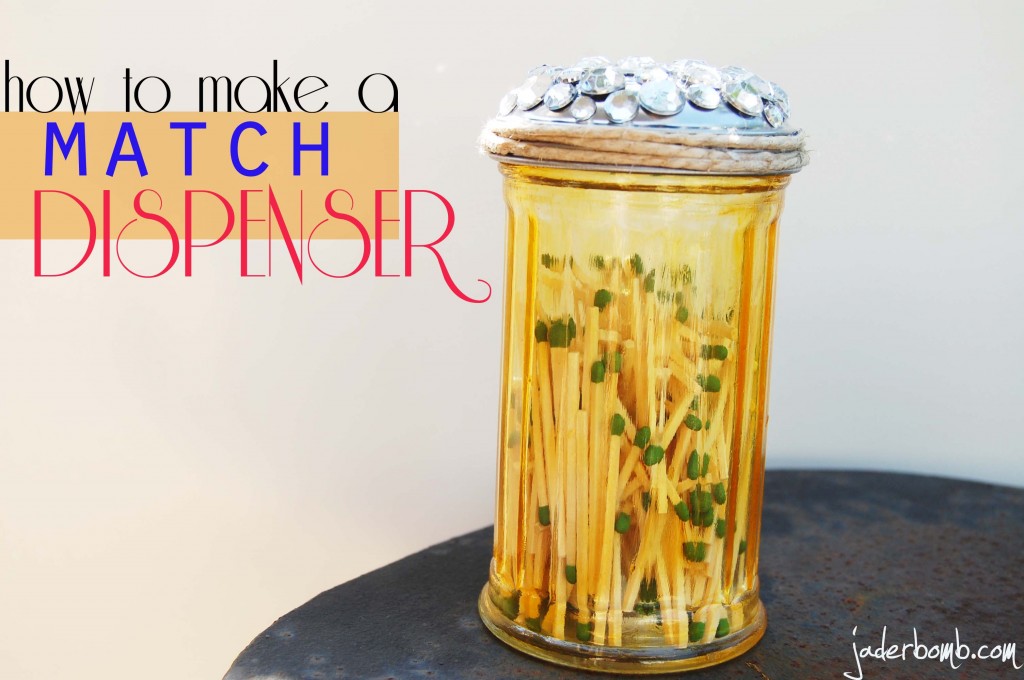
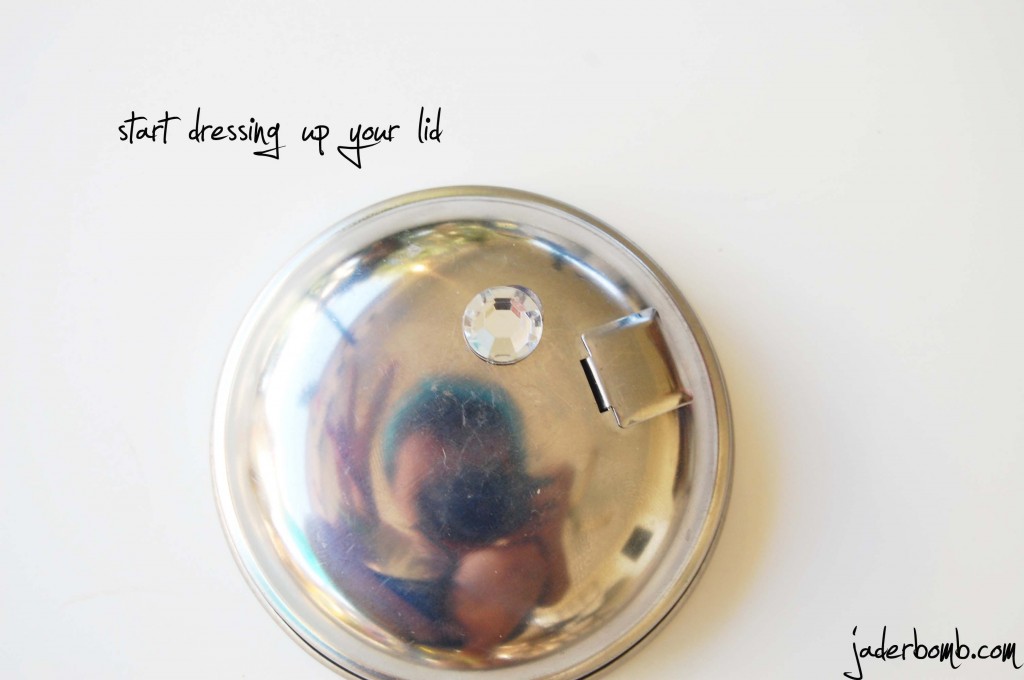
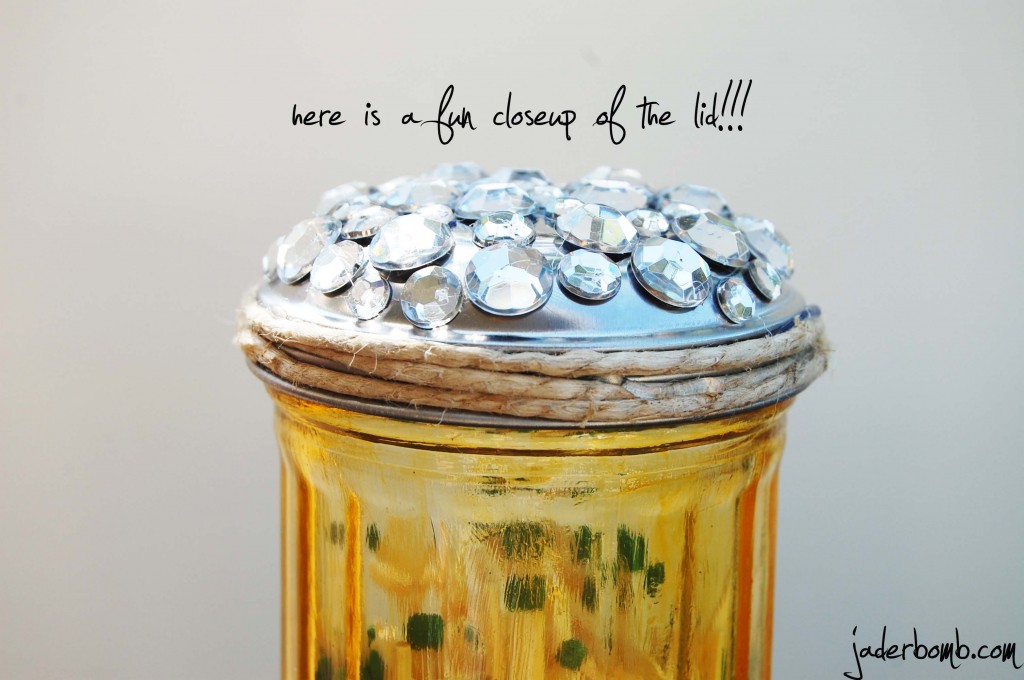
Seriously. How.cute.is.this.

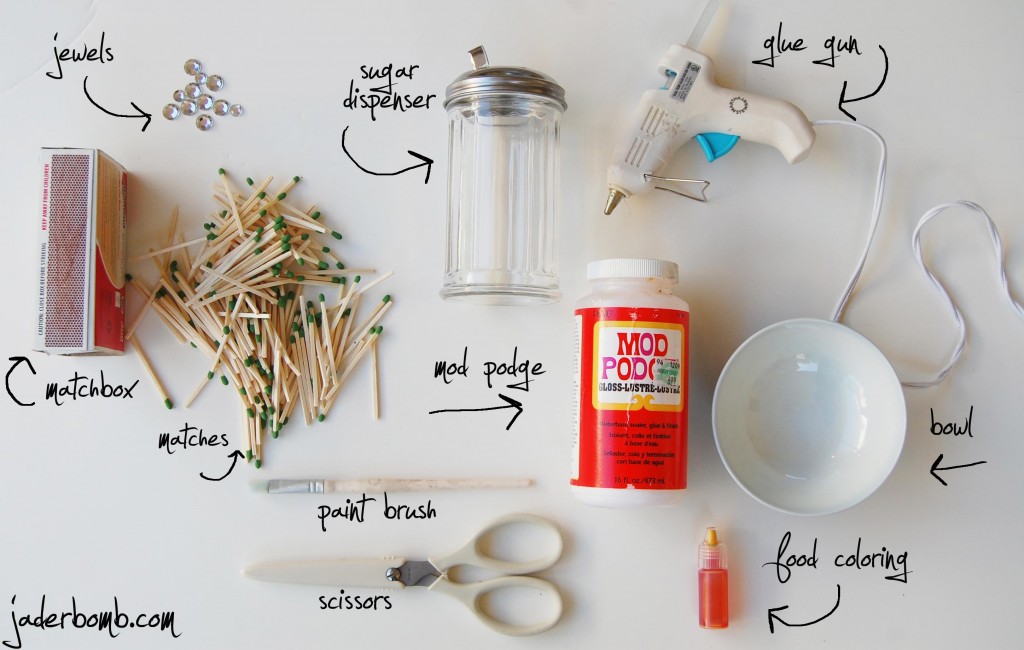
You will need a few things to make this!

INGREDIENTS:

I love using Mod Podge! Do you?

You know I am a HUGE fan of Martha Stewart products! ESPECIALLY her crafting tools! I am using her scissors, paint brush and glue gun today.

 I love, love, love MOD PODGE. It literally can go on top of ANYTHING and work! Check out my friends website MOD PODGE ROCKS!  Her book just came out it’s called Mod Podge Rocks! Stay tuned I will soon be doing a review and givewaye!!! 


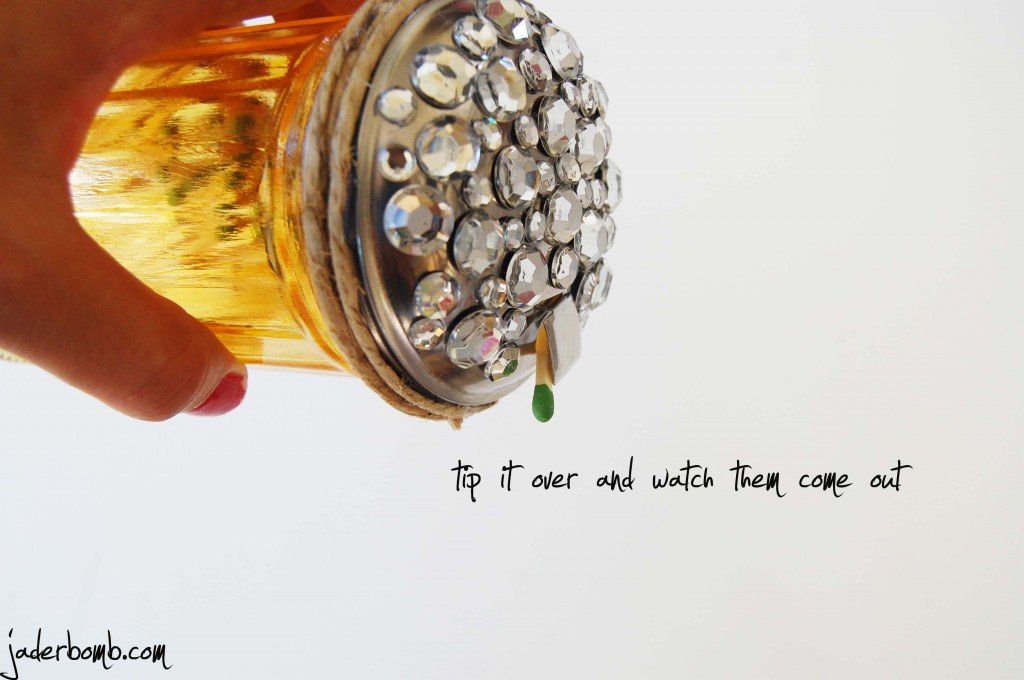
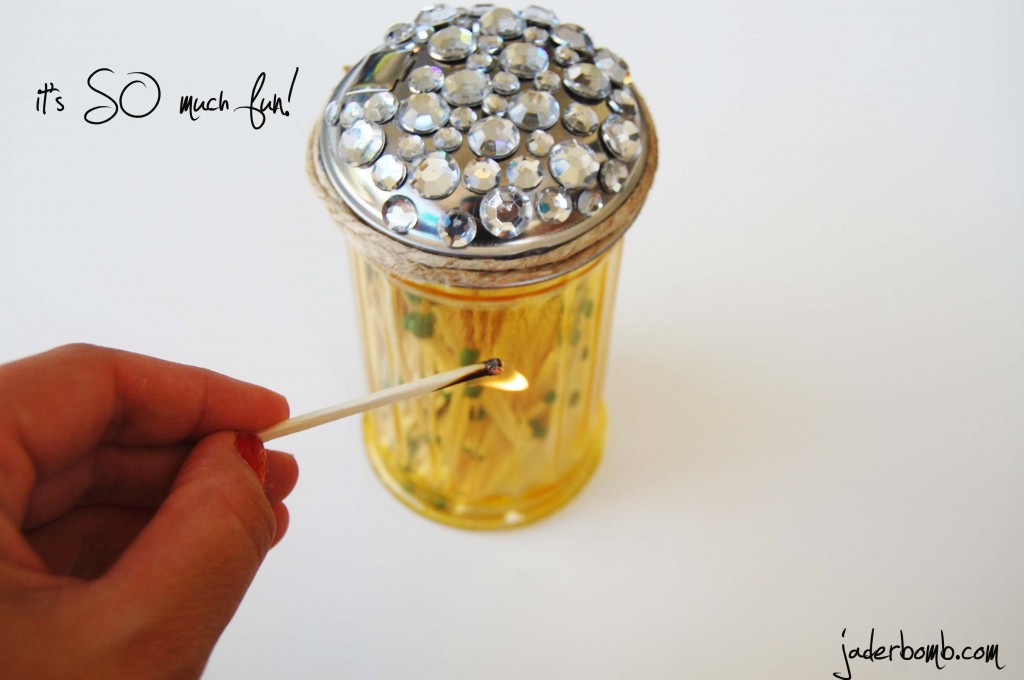
How practical is this little crafty-roo!!

I hope you enjoyed this craft because it really is a “practical” thing to do. You know they come in those boxes and if you accidentally leave it outside the box get’s all soggy and soft. Then you can’t light a match because the matches all soggy and soft. This should eliminate most of that problem! And don’t worry, if you are wanting to do this for a “DUDE” just don’t bedazzle the top and make it in a color a “DUDE” would like. {{or if you are a DUDETTE who doesn’t like bedazzled things}}

You can find me in these spots too!!!! {{down below}}

FACEBOOK  PINTEREST  GOOGLE+ TWITTER  


Do you ever look outside and think to yourself, “Hmmmm what can I do to spruce up this dingy back yard”….

Yes.
My
Yard
Looked
Dingy

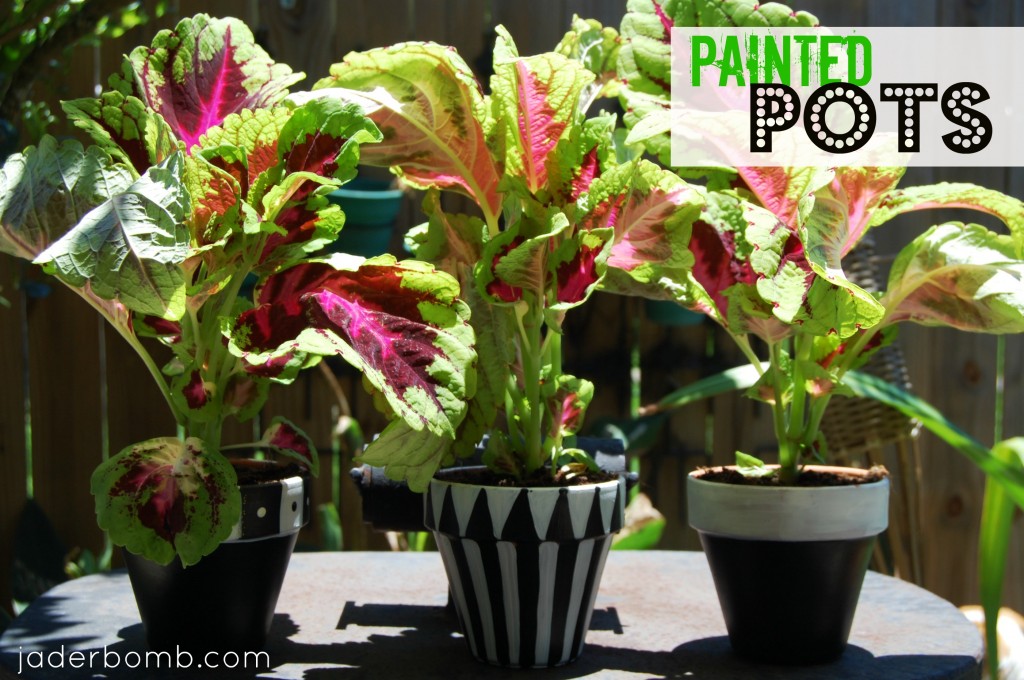
“LOOKED”….. Not anymore thanks to a little paint and new flowers! I know what your thinking. There is NO way painting a pot and putting new flowers in them will completely change the look of a space. I am here to tell you it DOES!  I have these three terra cotta pots ((and I love me some terra cotta)) which I love so much. I love them because they are cute and can be used in almost ANY spot.

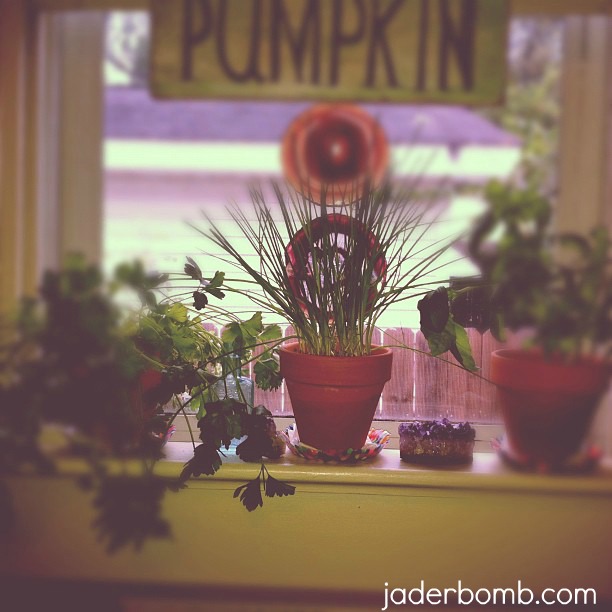
Remember when I posted this picture of them?

See how pretty they were when my little herbs were in them!!!!

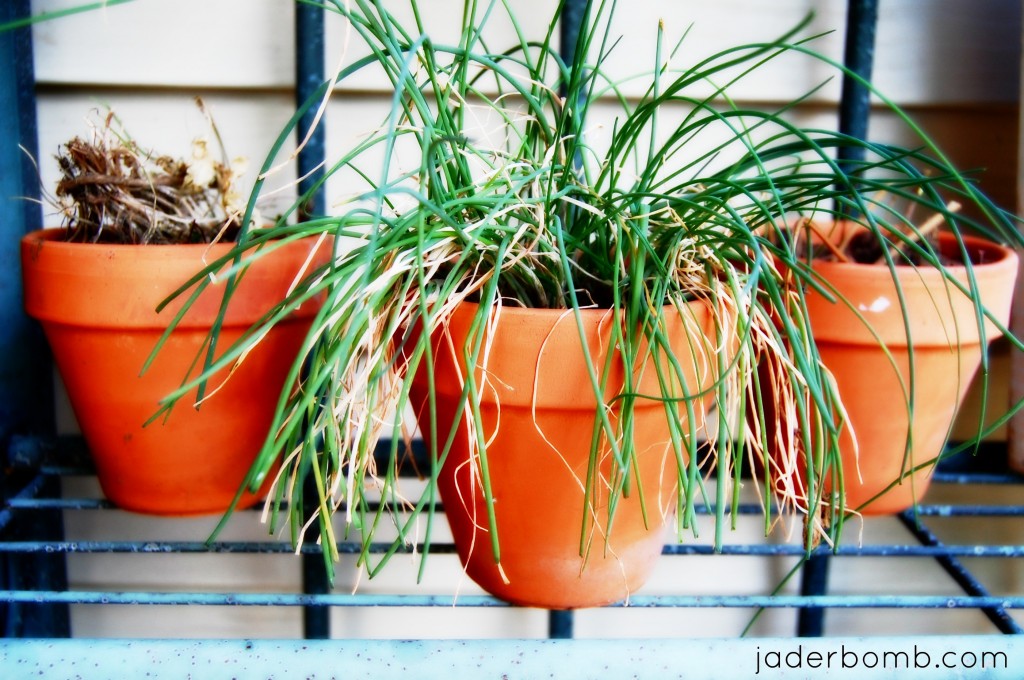
I am sure you know what happened next. I caused them to wilt soooo much that they could not wilt anymore!
(you get the idea, right!)

I thought maybe if I put them “outside” they would come back to life. This is what happened.

Yep. I know. My thumb is pink, not green. I mean I really really tried but the universe just was not on my side with these babies. After staring at them like this for the longest time I figured I would just “spruce” up the pots. With just a little bit of paint you could go a long way.

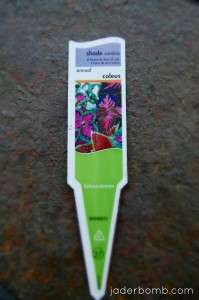
While I was at Home Depot the other day I ran across these beauties.

So pretty right!

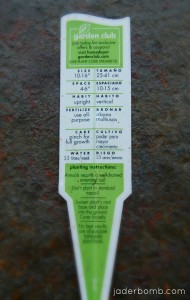
These are the instructions that came with them!
(if you click on the picture you can make it bigger)

It’s an “ANNUAL” and they are called
“COLEUS”.

FYI: they are on sale for $1.24 at HOME DEPOT

Are you ready to see these pretty suckers! I know I am! I find myself staring at them now. They are so vibrant and bright!

I think now you will agree that with a little paint and new flowers you can spice up any space!

I really did not use any special paint for this project. Just the cheap black and white paint I already had laying around. I always keep cheap paint for projects like this! I know I could of been a perfectionist and used tape for “perfect” lines but that would of taken the fun out of it! I wanted this to be quick and not painful!

Until next time Jaderbugs,

DIY: Animal Covered Books

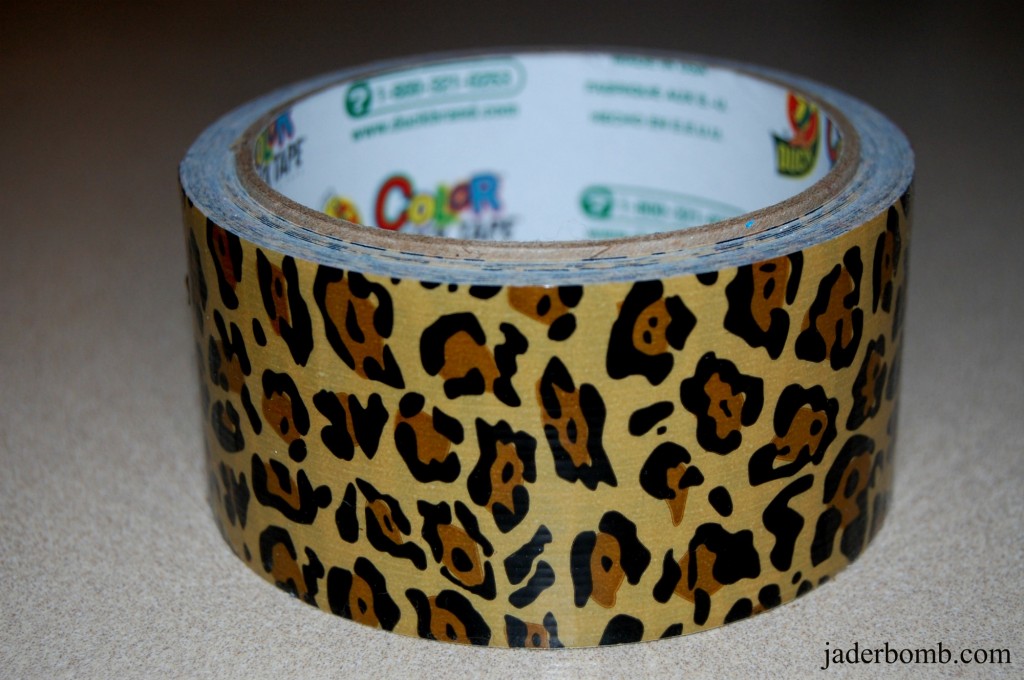
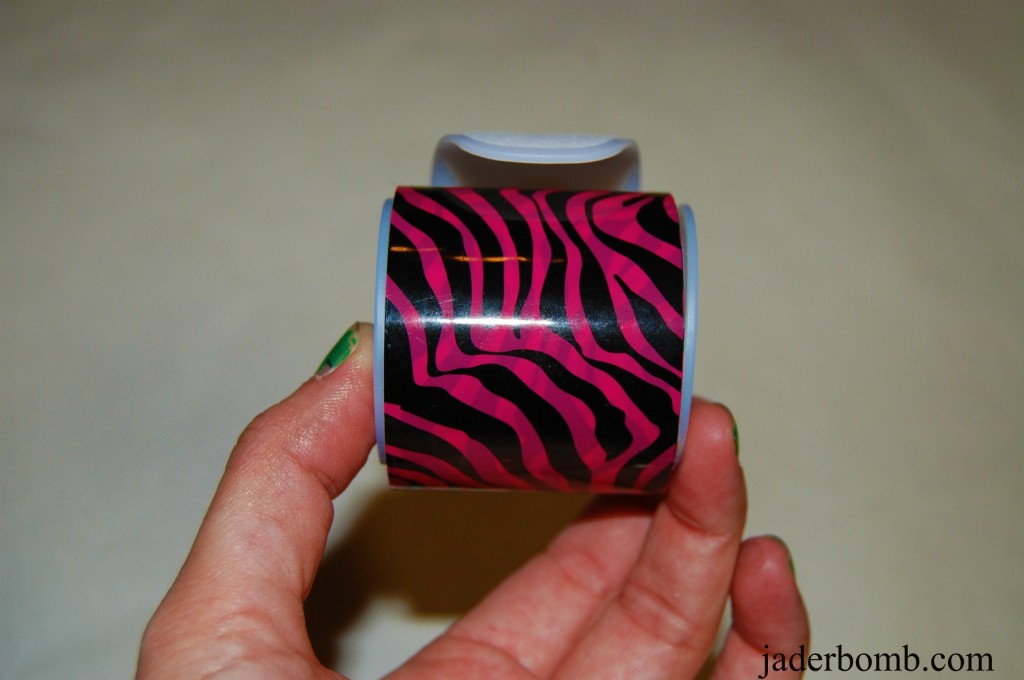
I am so excited about this post. I bought this duck tape a LONG time ago but never really found anything to use it on! Remember me posting it here? I fell in love when I saw it on the shelf. It was just sitting there begging me to take it home, so I did. Ashy just shook her head and laughed because I fall for all of these types of things. Boy am I glad I picked that baby up because look at what I did with it! Totally makes me want to buy tons and tons of more decorative duck tape. It’s endless Jaderbugs. What would you do with duck tape like this?
Are you ready to see this tutorial! I know I am ready to show ya!
Are you in love with this pretty little roll yet? I fall totally in love each time I look at it. Now with this craft I can see it EVERYDAY!
Ashy bought me this one for Christmas and I LOVE it!
Grab some ole books that you don’t really care to destroy… (not really but ya know what I mean)
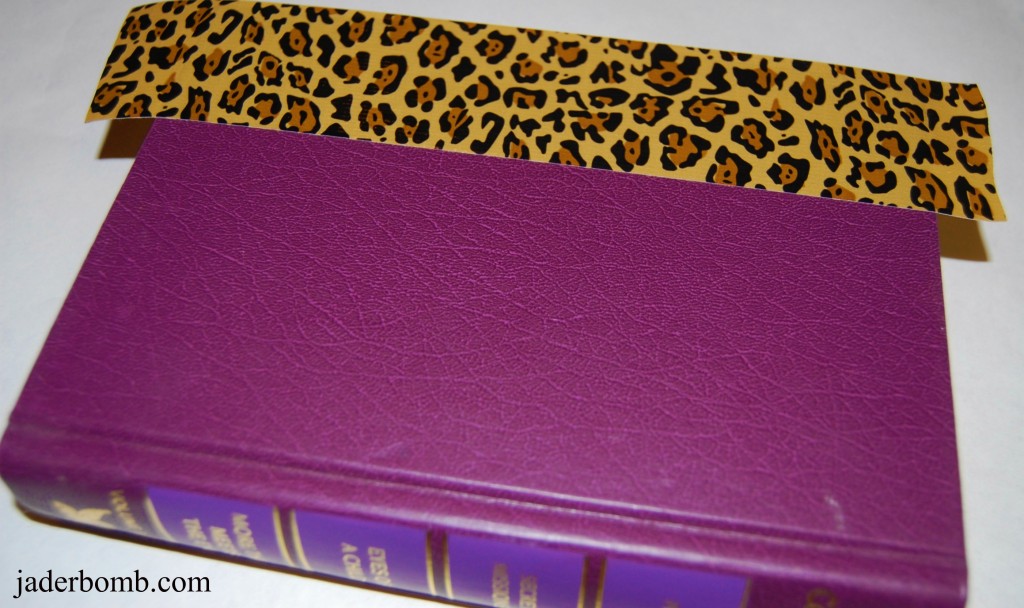
Tear off a piece of duck tape and place it on the edge of the book just like the picture above.
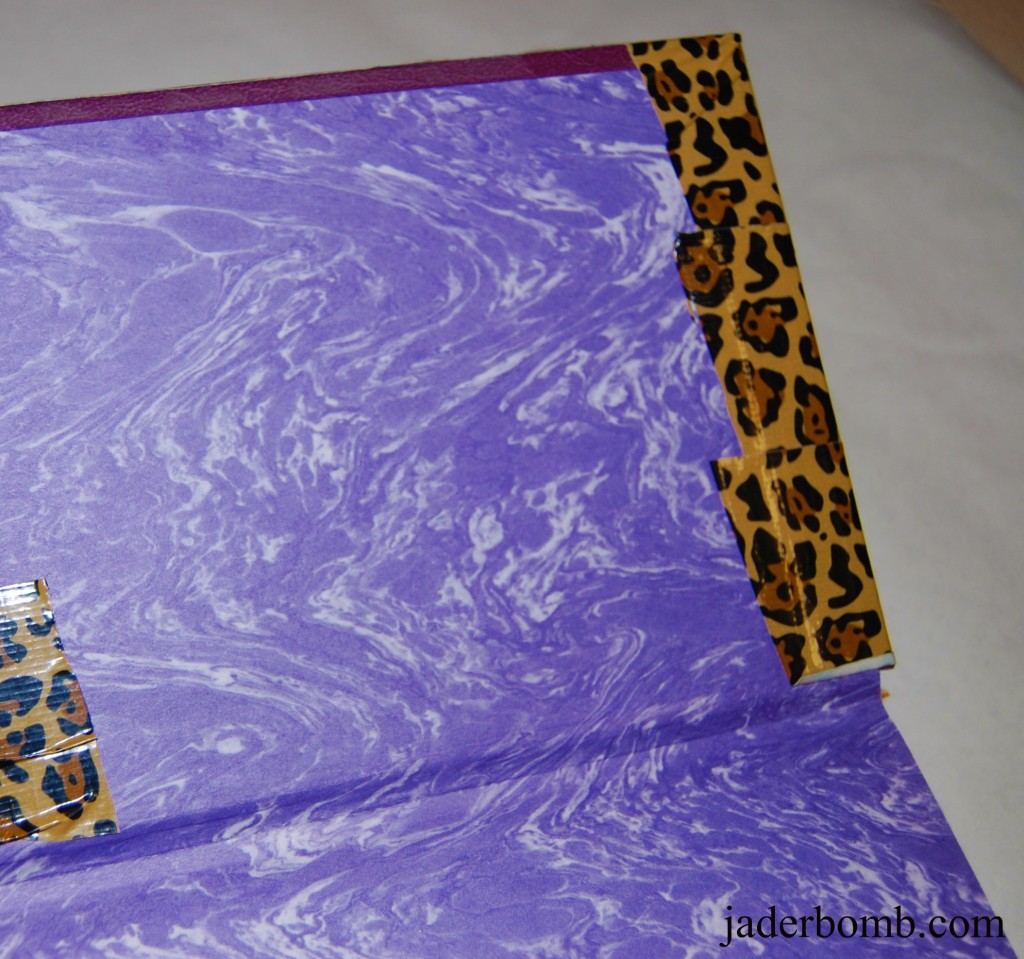
After you do this across the entire top of book you will have tape hanging off of the edge. Lightly fold each piece of duck tape over to the inside of the book.
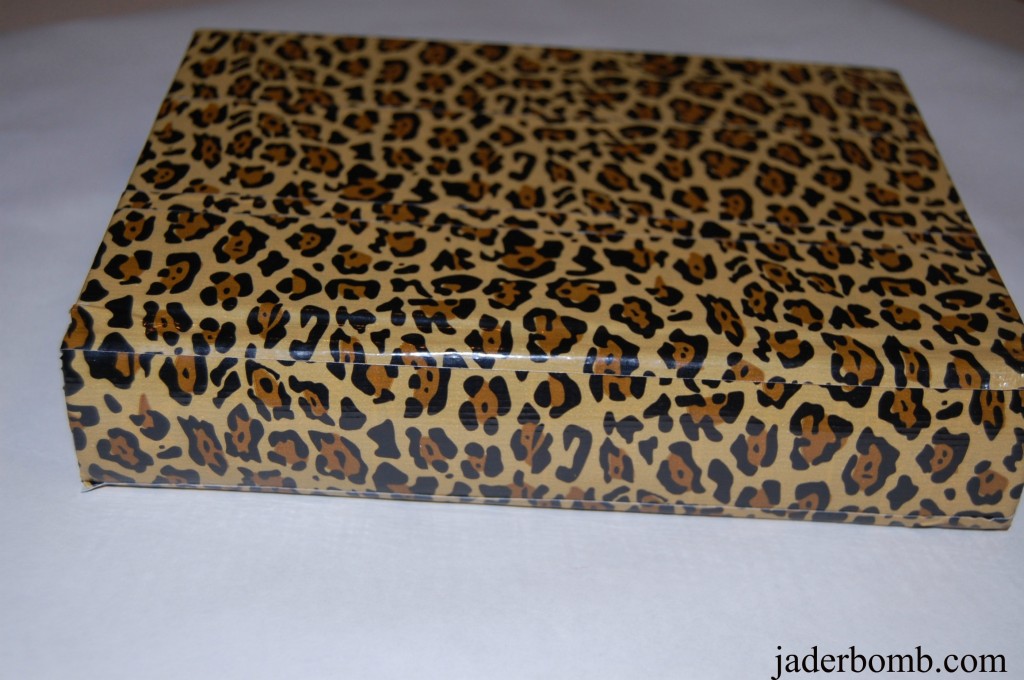
Once you do the entire book it will look like this.
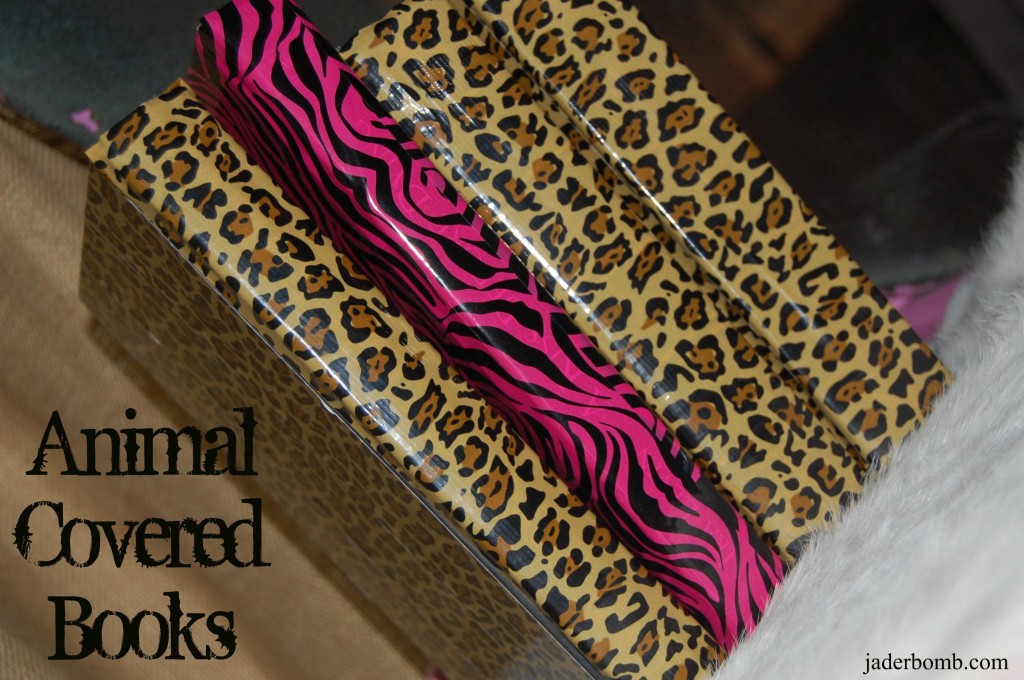
Can you believe your eyes! Some things you can do with these dressy books:
1. Put by your bed with a cute candle on top
2. Stack a couple on your book shelf to “spice” it up
3. But 3 or 4 stacked by each other to fill an empty space
4. Buy someone special a book and give it to them all wrapped cute like this
See! You can do so much! If you have not checked out ALL of the designs today is the day you should! Click HERE to see them!
Happy that my books are happy,