Tag Archives: diy ornaments

The Simple Secret to something you have in your bathroom!

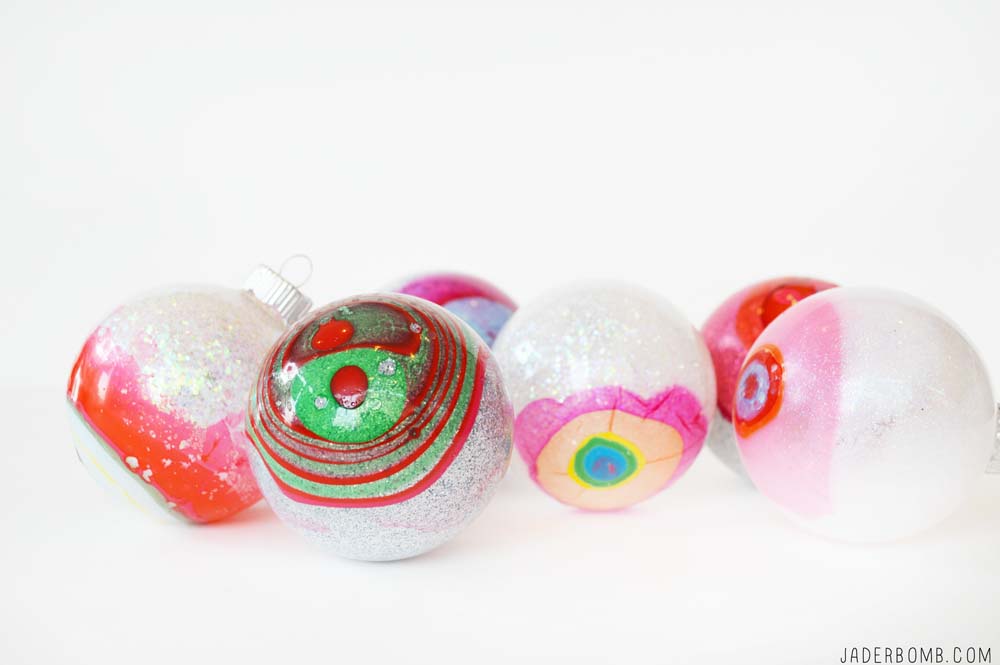
Happy Monday to all my crafty frans! Today I will be showing you how make glittery, swirly ornaments made with items you most likely have already in your home. Everyone is putting up their trees and even if you already purchased all of your tree decor this is still something you can add to it! What if you make a dozen DIY ornaments and give them to someone as a gift!

I promise you every year when they open that box they will always think of you, I think that is so special and sweet! Let’s face it, decorative ornaments can be pricey but if you make them you will be surprised how much money you can save!  Whattya say?! I made these snazzy ornaments last year for I Love to Create and if you want to see the FULL tutorial scroll to the bottom of this post and click on the link! P.S. Have you sen my dream tree I created this year for Michaels! Do It Yourself Nail Polish Ornaments

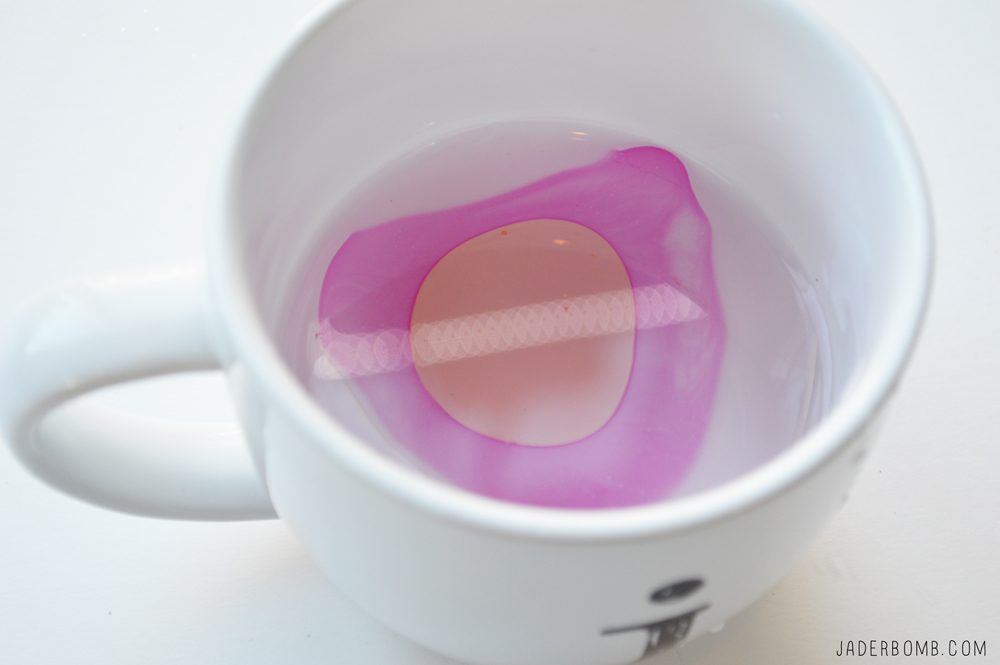
I am not sure if anyone will be able to guess what is in this cup but I will tell you if you don’t know, when you find out you will be like OMG! I kinda gave it away in the title, haha!  nail-polish-ornaments

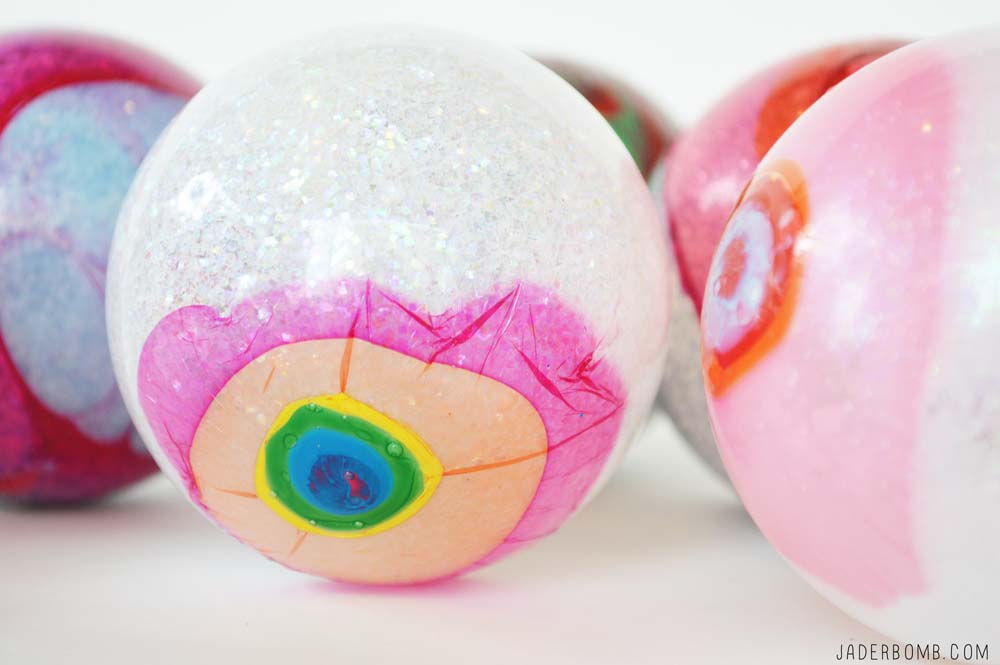
These are seriously beautiful! I could easily keep these up all year long because when I see them they really make me happy. They kinda remind me of the third eye, right! Oh if you are into cozy nights by the fire, this is the perfect thing to add to that night!diy-christmas-ornaments

I have to admit there is another cool trick that I did to these ornaments. Bad thing is you will have to head on over to the I Love to Create site to see, hehe! Remember the link is at the bottom of this post!how-to-glitter-ornaments

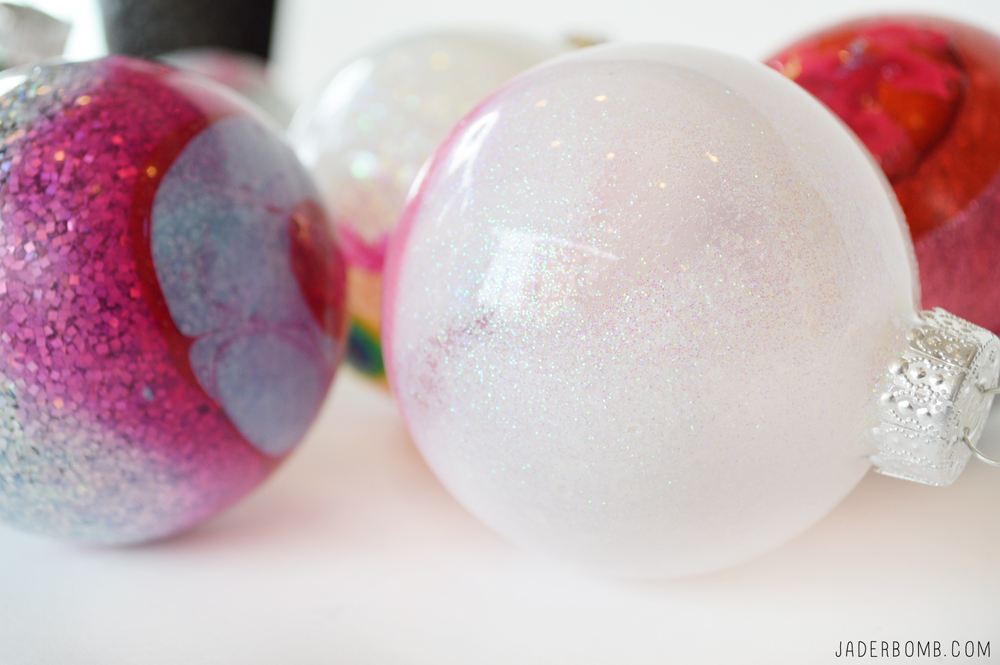
Are you drooling yet? glittered-christmas-ornaments

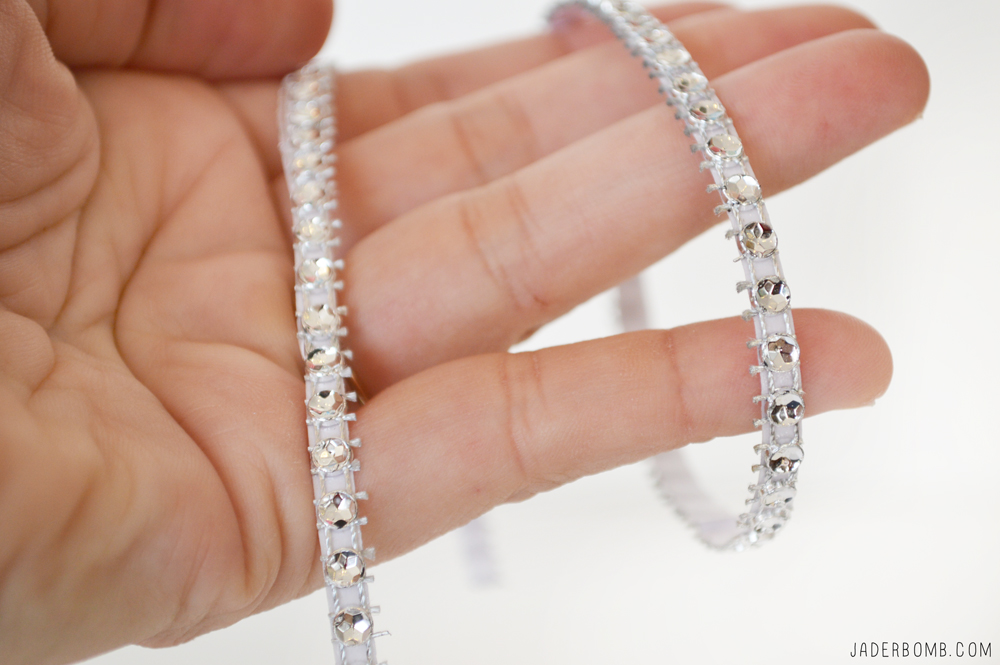
One more thing is you can always add other elements to your Christmas ornaments! 
how-to-bedazzle-ornamentsFULL TUTORIAL 

Don’t forget to follow me on all my Social Media spots! I get down and dirty on them. Fa real! Are you in love with DIY Coffee Mugs yet?

FACEBOOK | INSTAGRAM | TWITTER | PINTEREST 

This is a sponsored post. All opinions are 100% mine.

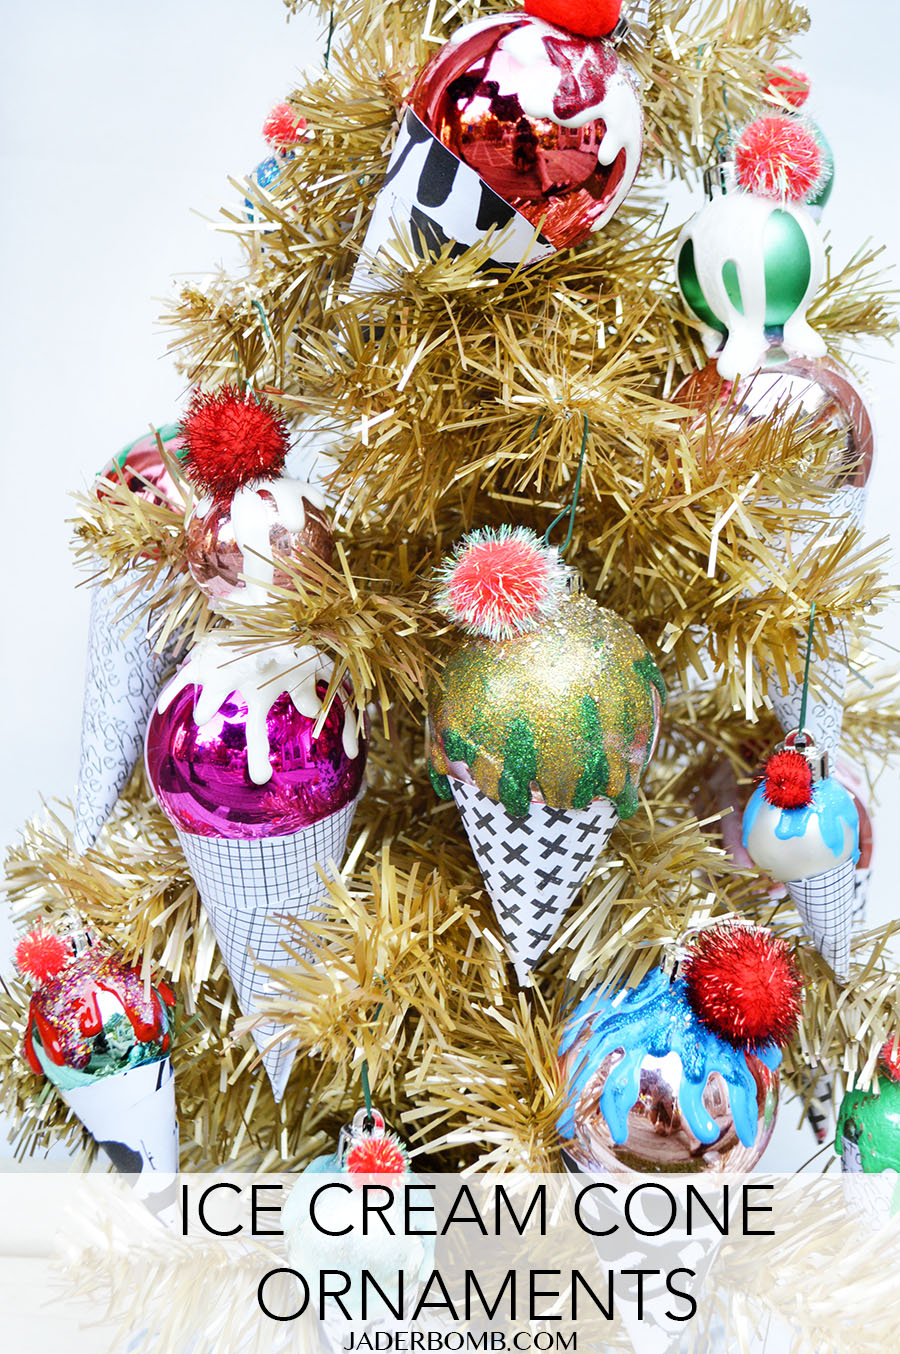
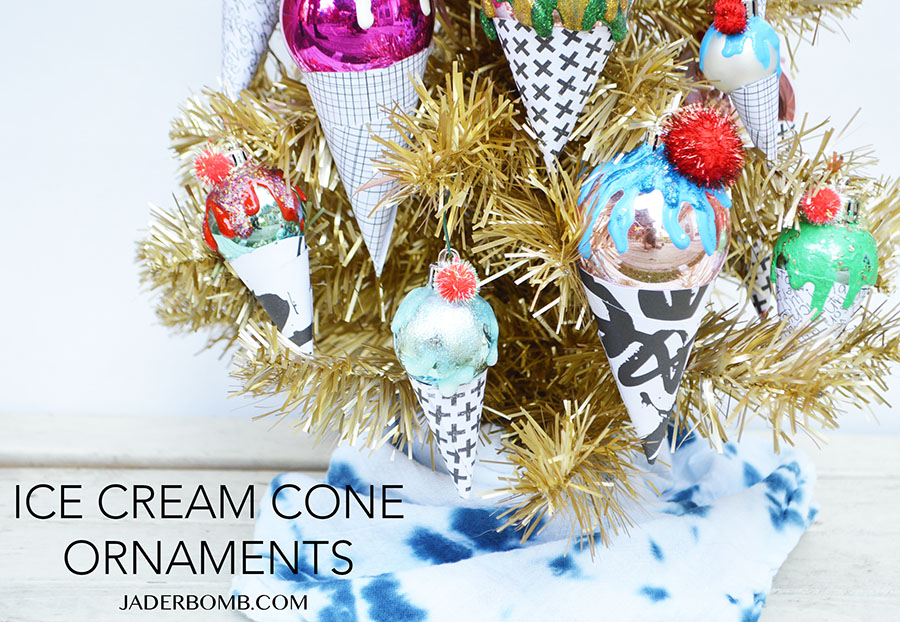
Howdy Hoo Jaderbugs, today I will be showing you how to make your very own Ice Cream Cone Christmas Ornaments. I don’t know if you remember last year when I made my CupCake Ornaments but let me tell you they were such a hit! I wanted to do something different this year. I have so much fun making festive ornaments for my tree and I love that they are so easy anyone can do them. Sometimes I make things that I want to eat, literally! You know those things you create and you walk by them and always stop to admire them. Yeah, that is how I feel about these suckers. I won’t lie to you the products I used in this project were key. So don’t make them without the awesome glitter dimensional paint.

Worried Santa will fill your stocking with your brother’s stuff because you left your stockings nameless this year? Scared to walk into an ugly Christmas sweater party and see someone else wearing the same thrift store sweater? From personalized Christmas decor to sparkly ornaments and   ugly sweaters, avoid disaster and make this holiday season uniquely yours with Tulip Dimensional Fabric Paint.

Make sure to check out all my projects I have made for I Love to Create HERE.Ice Cream Cone Christmas Ornaments - DIYAre you drooling yet? I have this old aluminum tree and I am thinking about making more and filling the tree with them. Wanna come to my house and help me make them??? Come on, it will be fun. We can sit at my table, drink coffee and make non edible ice cream cones. holiday diy ornamentsyou will need
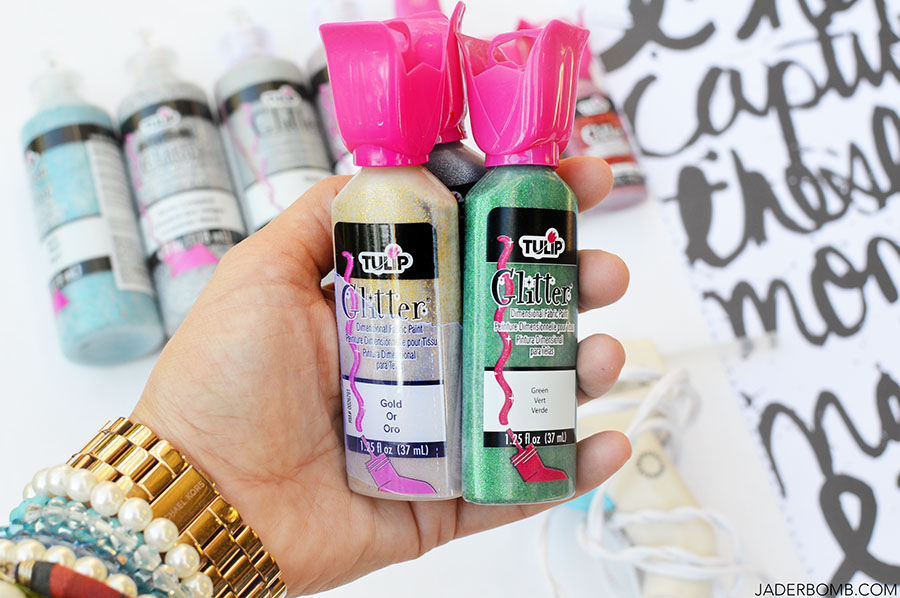
*Tulip Dimensional Paint
*Glue Gun
*Scissors
*Scrapbook Paper
*Christmas Ornaments
*Lotsa Love ice cream cone ornament supplies
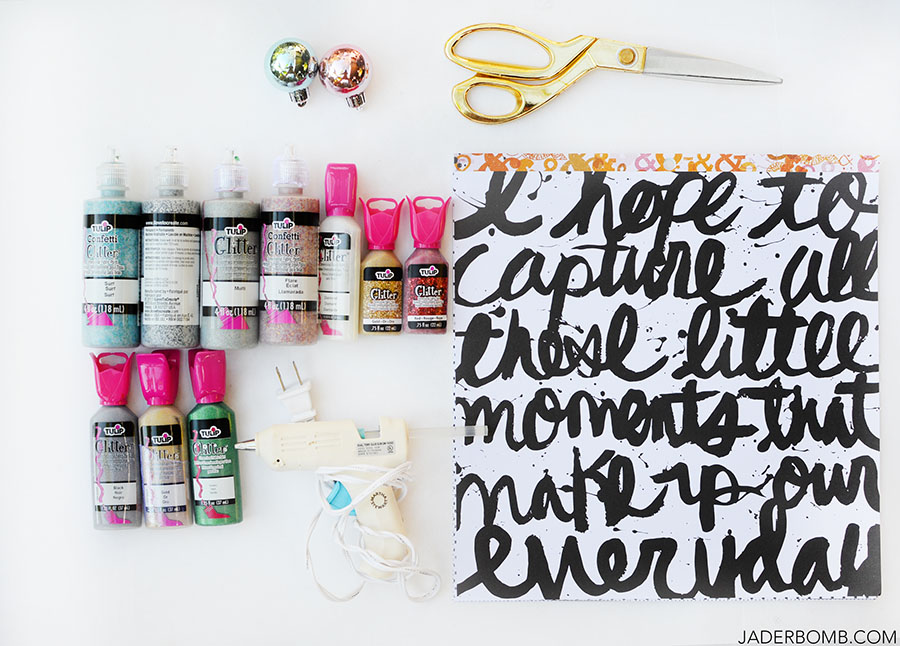
You can purchase all of the dimensional products I used in today’s post HERE.

Tulip Dimensional Fabric Paint is available at Walmart, Jo-Ann Fabric & Craft Stores, Hobby Lobby, Michaels, AC Moore, Amazon and most other major craft supply stores.

I literally keep this stuff stocked in my studio. You will be so surprised how much this stuff comes in handy for the most random projects. They have this new Confetti Glitter that is so beautiful. It looks matte when you first squeeze it out but when it dries it’s like a glittery heaven. GLITTER PAINT
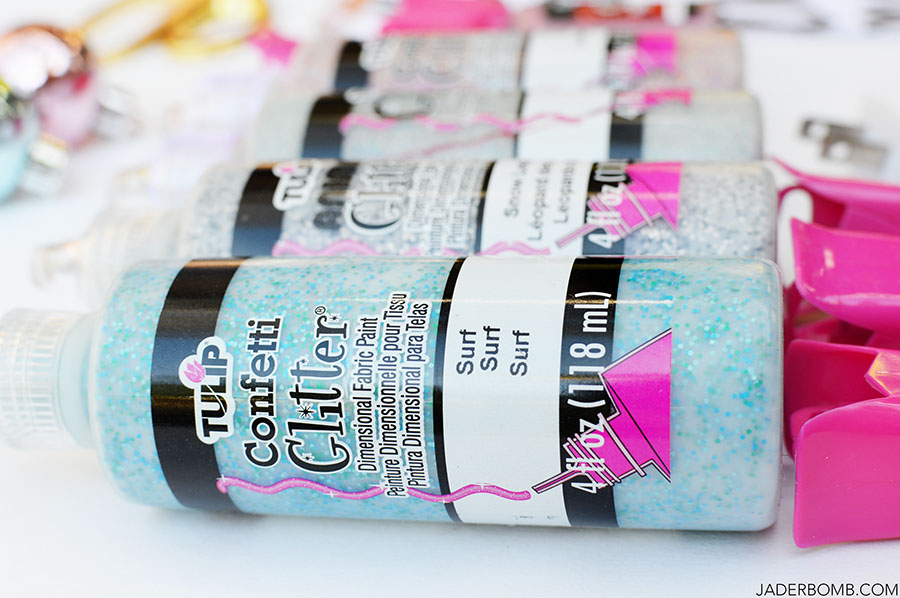
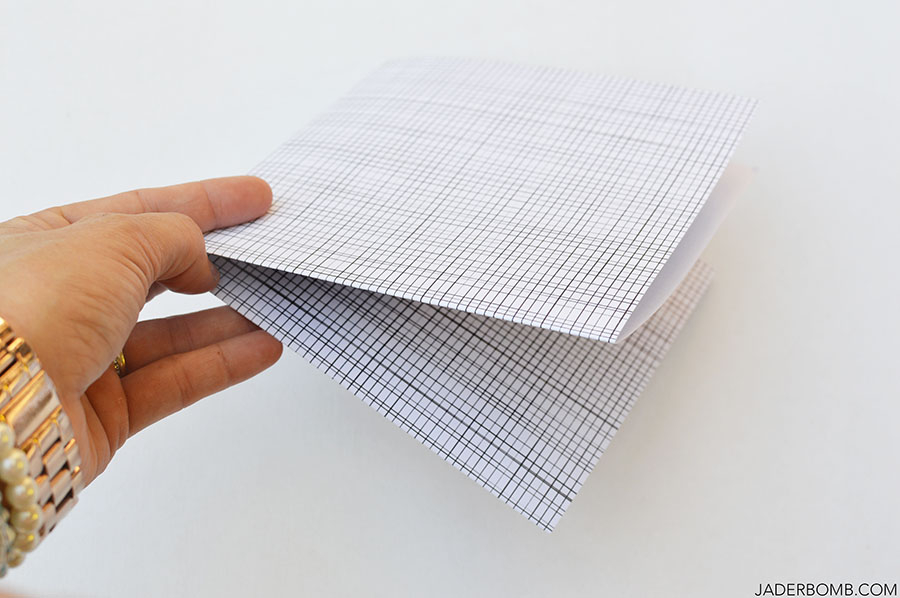
Check out these amazing Christmas colors. Tulip has a great Christmas pack that is totally necessary in your life. glitter puff paintSTEP ONE – Get a sheet of scrapbook paper and lay it on a flat surface then fold it in half.
I wanted to do all black and white designs for my cones so my color would POP!
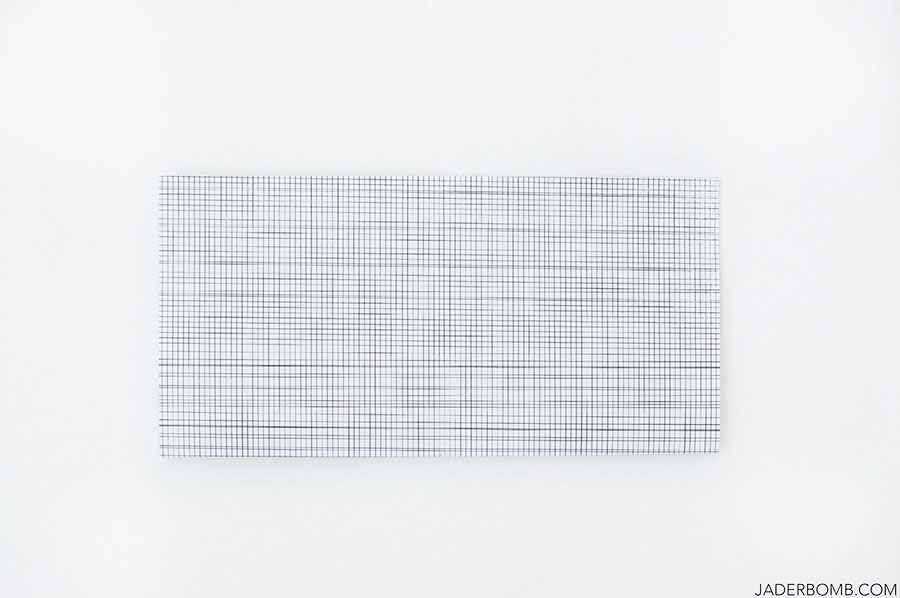
black and white patterns

This is what it should look like once you fold it in half. Easy right!
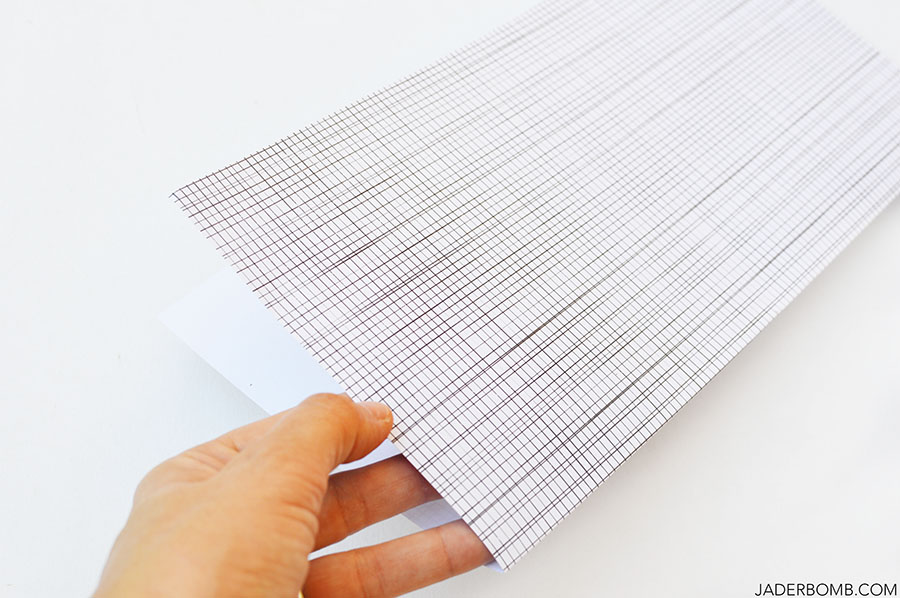
cutting paper

STEP TWO – Fold that half in another half. It will look like the size of a greeting card at this point. diy christmas ornamentsSTEP THREE – unfold your sheet and it will look like it has four squares. Now you can grab those handy dandy scissors and cut along all the lines.
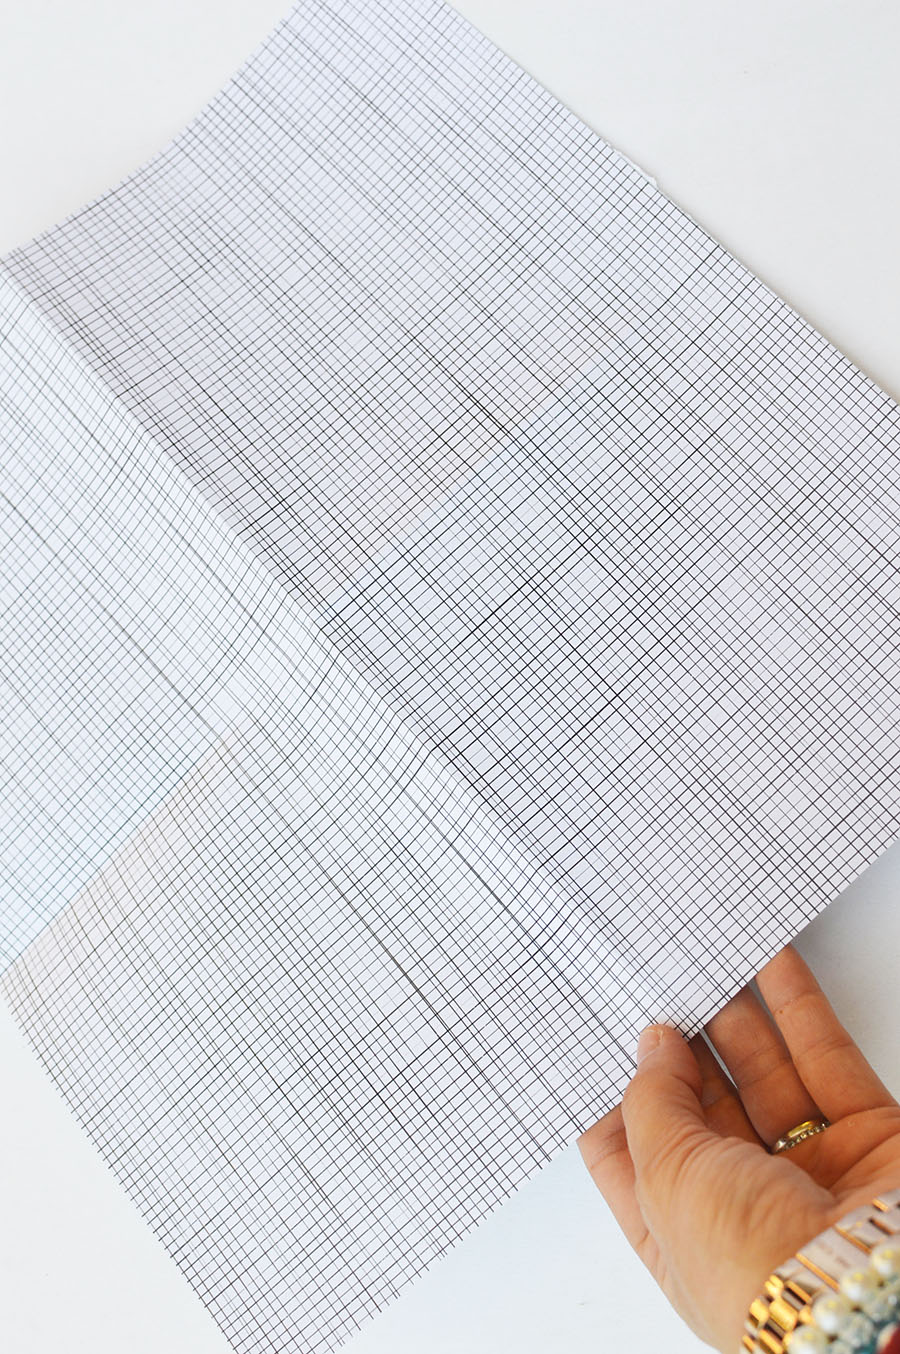
striped scrapbooking paper

You will have four squares ready to get folded into baby cones. christmas ornament tutorial
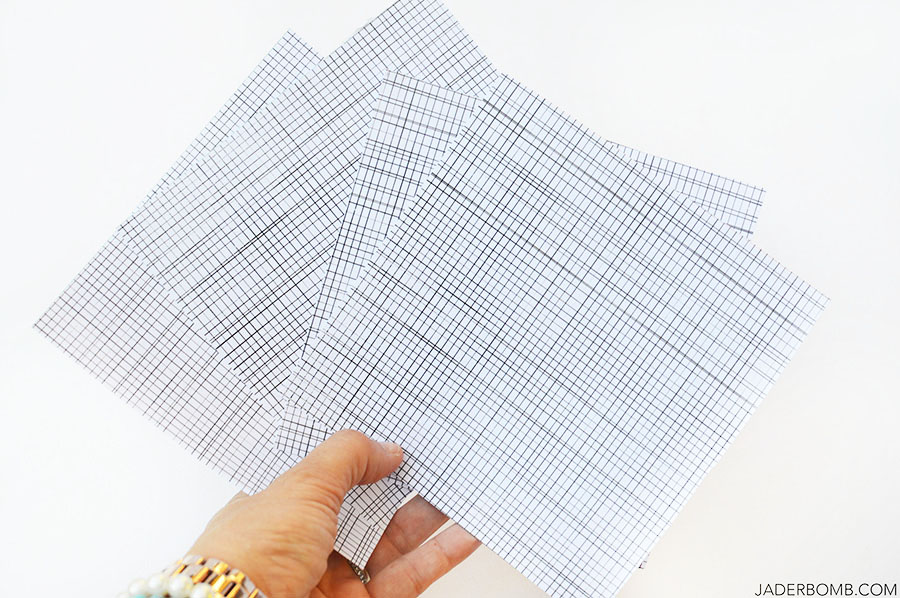
STEP FOUR – Cut out a circle in each small square. I free handed my circle because honestly in the end it will not matter if it’s perfect. However if you are a perfectionist you are more than welcome to place something down and trace a circle. The bigger the circle the bigger the cone.

These four small squares will give you smaller cones. If you want to do a bigger cone you can use one whole sheet of paper for one large cone.

Once you start making your circles you will get a feel for what size you prefer. I like to have a variety of small and large cones.
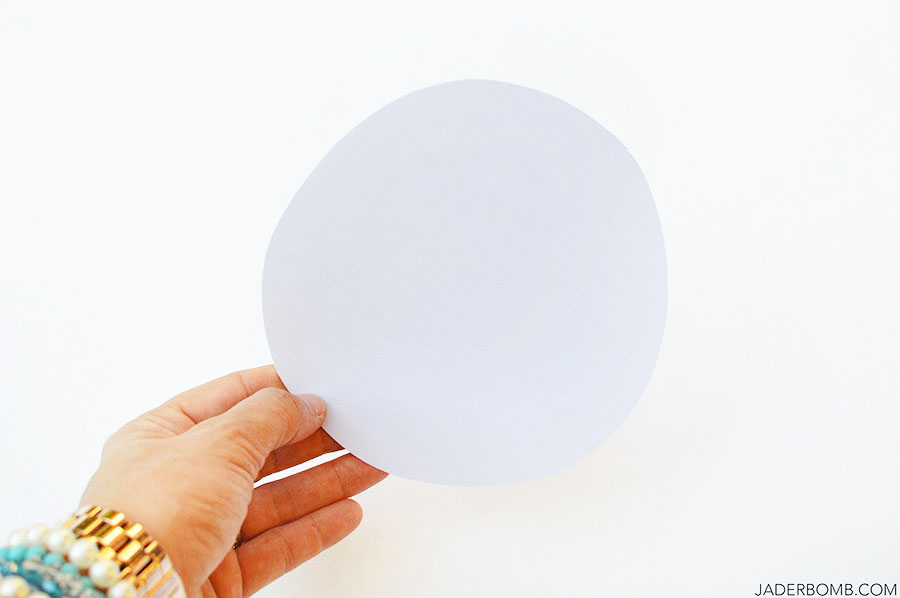
how to cut a circle

STEP FIVE – cut out a piece of pie from that circle. Again, it does not matter if it’s exactly perfect. how to make a cone
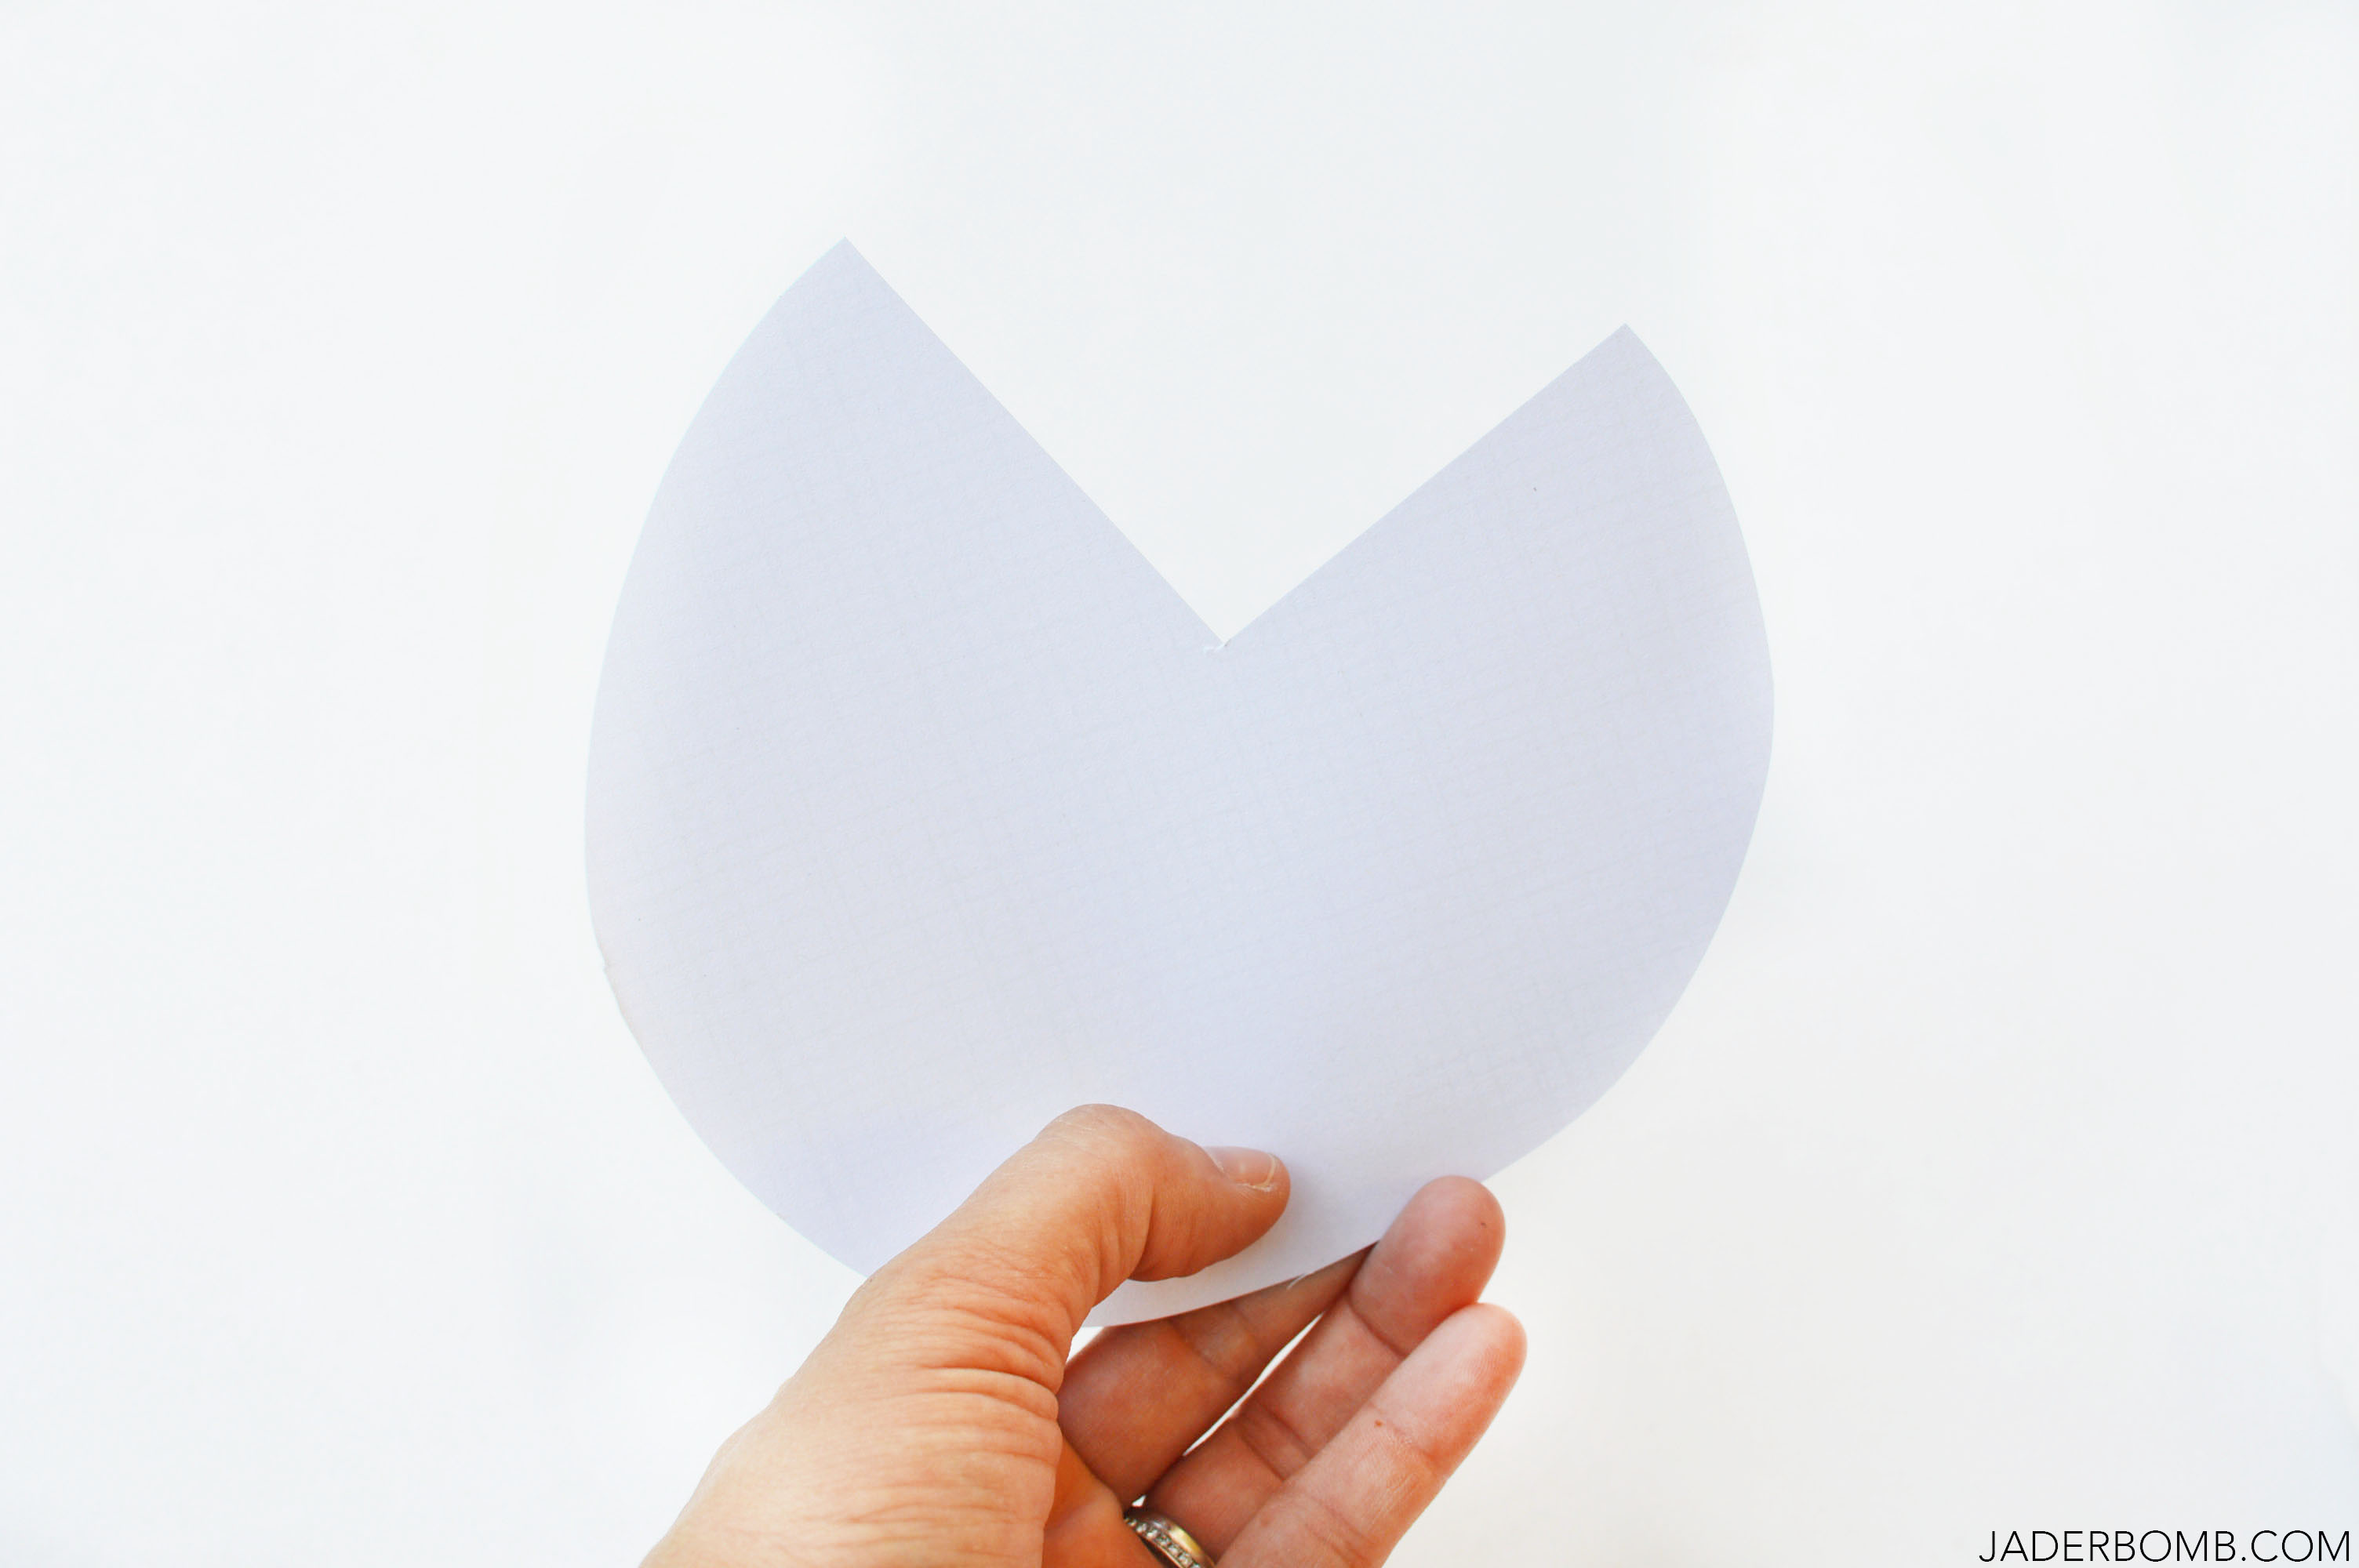
STEP SIX – Take one end of the pie and fold it over continuously folding into the cone shape. It’s almost like twisting the paper and after a few times you will understand what I mean. I will be honest and tell you it’s SUPER EASY, can we hug now? paper cones
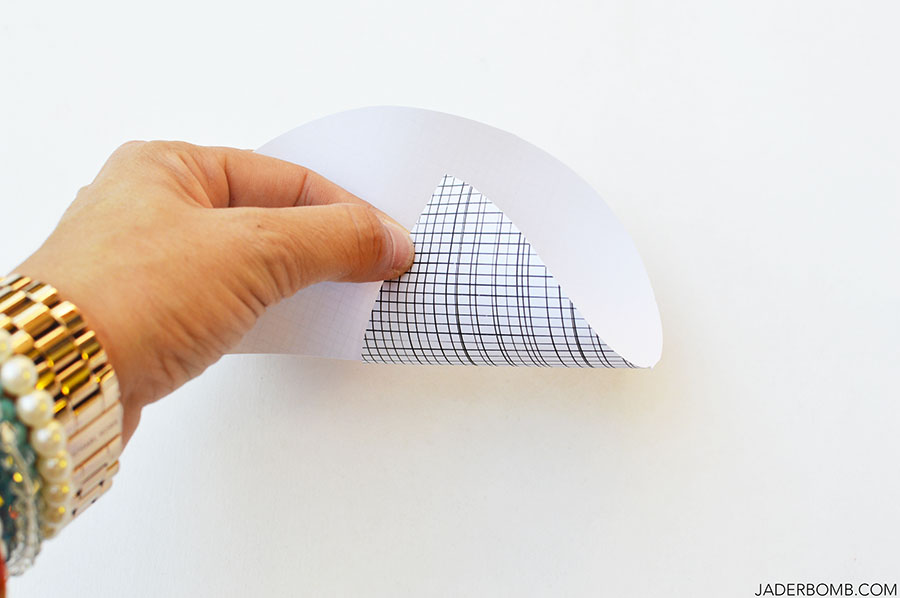
Tadahhhhhh! We now have our very own paper cone. I seriously love this pattern!  Once you are done rolling the cone you can add a drop of hot glue to the end to secure the paper in place. diy paper cones
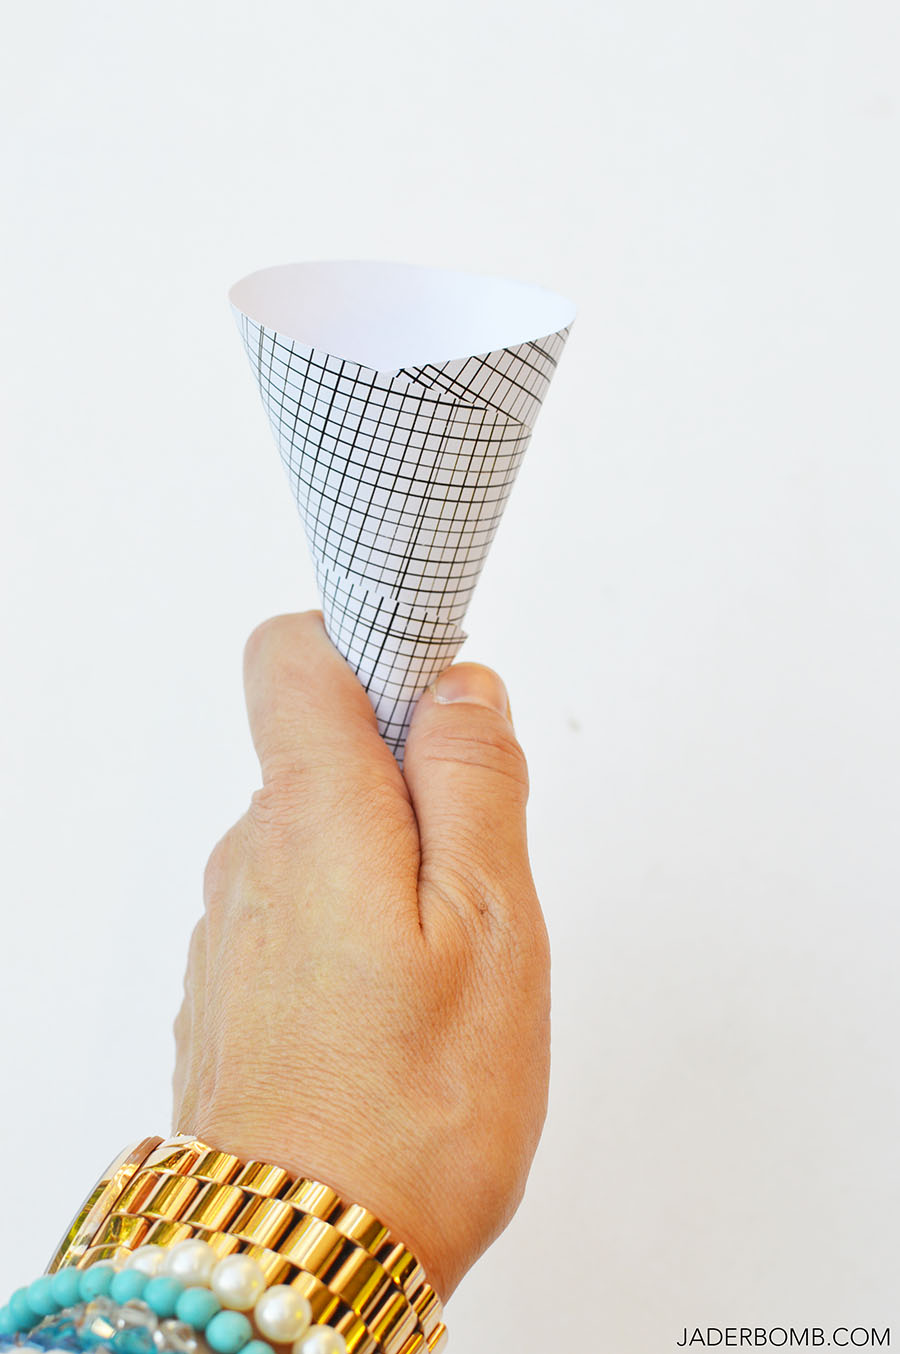
STEP SEVEN – Once your cone is all rolled up you will line the inside of the cone with hot glue. I will warn you to work a little fast at this point because you don’t want the glue to dry before you put the ornament inside. martha stewart hot glue gun
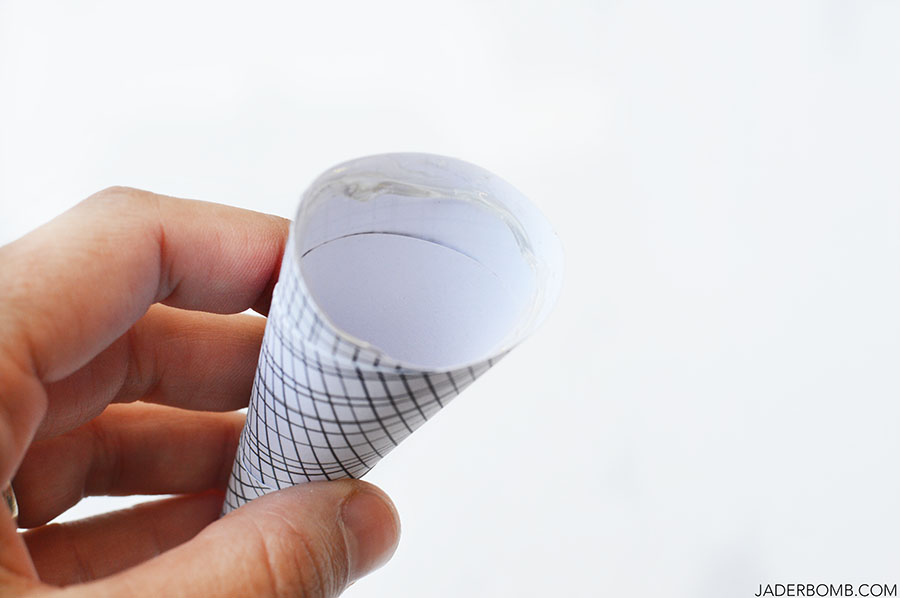
STEP EIGHT – Quickly place your ornament inside of the cone. Make sure to leave the part that you put the hanger in at the top. This is also where we will be putting out cherry! Wait, do ice cream cones have cherries on top? If not then mine do, hehe!cupcake ornaments
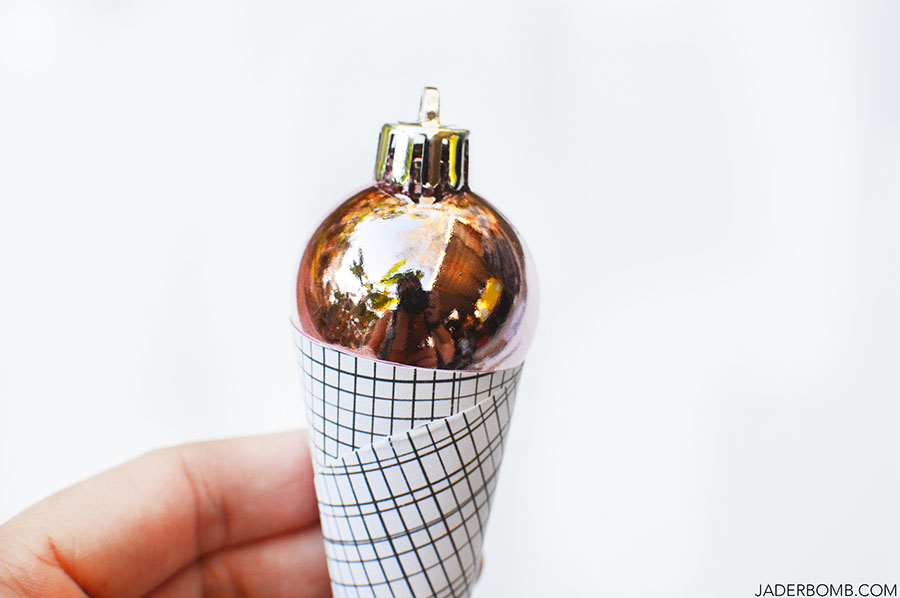
Once you are done making all of your ice cream cones we will add the dimensional paint to look like they are dripping off the ornament. Now I know most ice cream cones are not colorful but mine are and I like it that way. Just a tip, if you want you can use ornaments that reflect real flavors of ice cream.

How long does it take to dry? 
Depending on application thickness, Tulip Dimensional Fabric Paint has a dry time from 2-8 hours. I recommend letting your project dry overnight; it is washable after the paint has fully dried. ice cream cone diy

NON TOXIC
Tulip Dimensional Fabric Paint is nontoxic. However, we discourage the use of the product around the rim of any dinnerware or stemware. Tulip Dimensional Fabric Paint is for fun with friends, not food.

You can add one solid color  then come back on top with the dimensional glitter paint. Remember, this stuff dries clear so it will look completely different once they are dry.
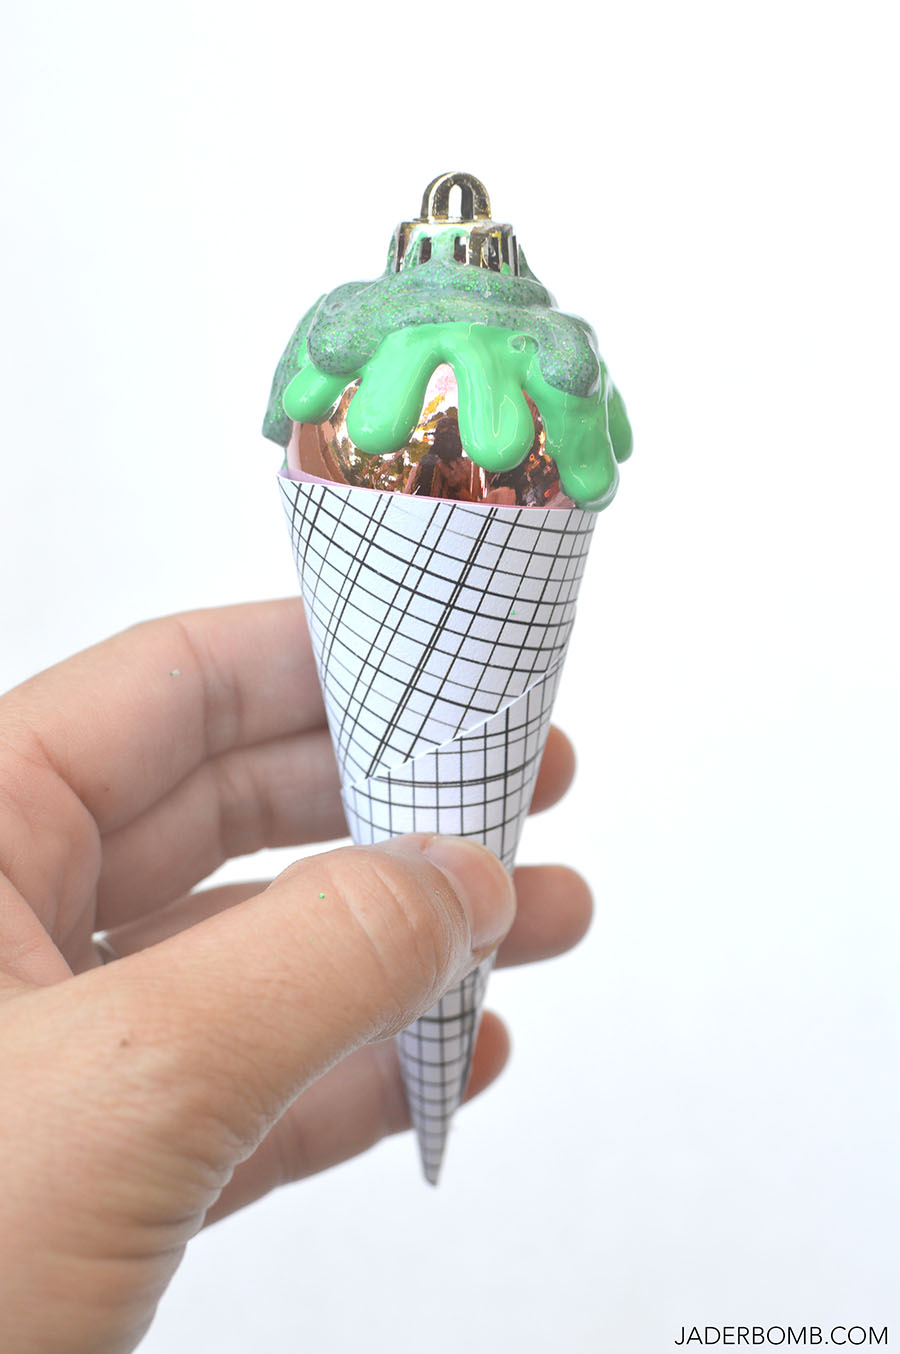
green puff paint

I added some glittery red paint to the top to mimic a cherry however you can also glue red pom poms on top.  candy christmas
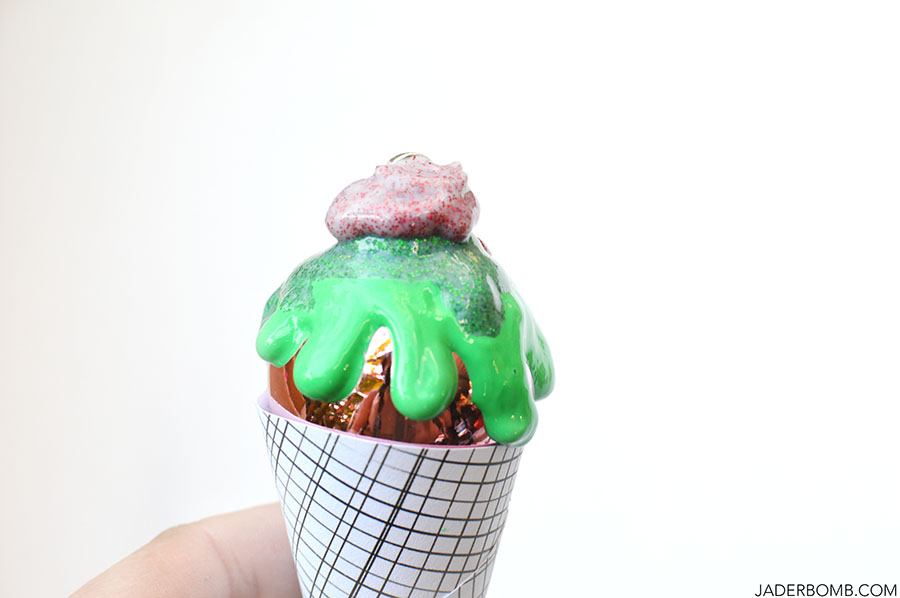
How stinking CUTE! I love that these are so precious you can literally keep them up all year long. Yes. I am that person that has a hard time putting things away that look like this. You could also add them to packages to add some spice. icecream cone diy ornaments
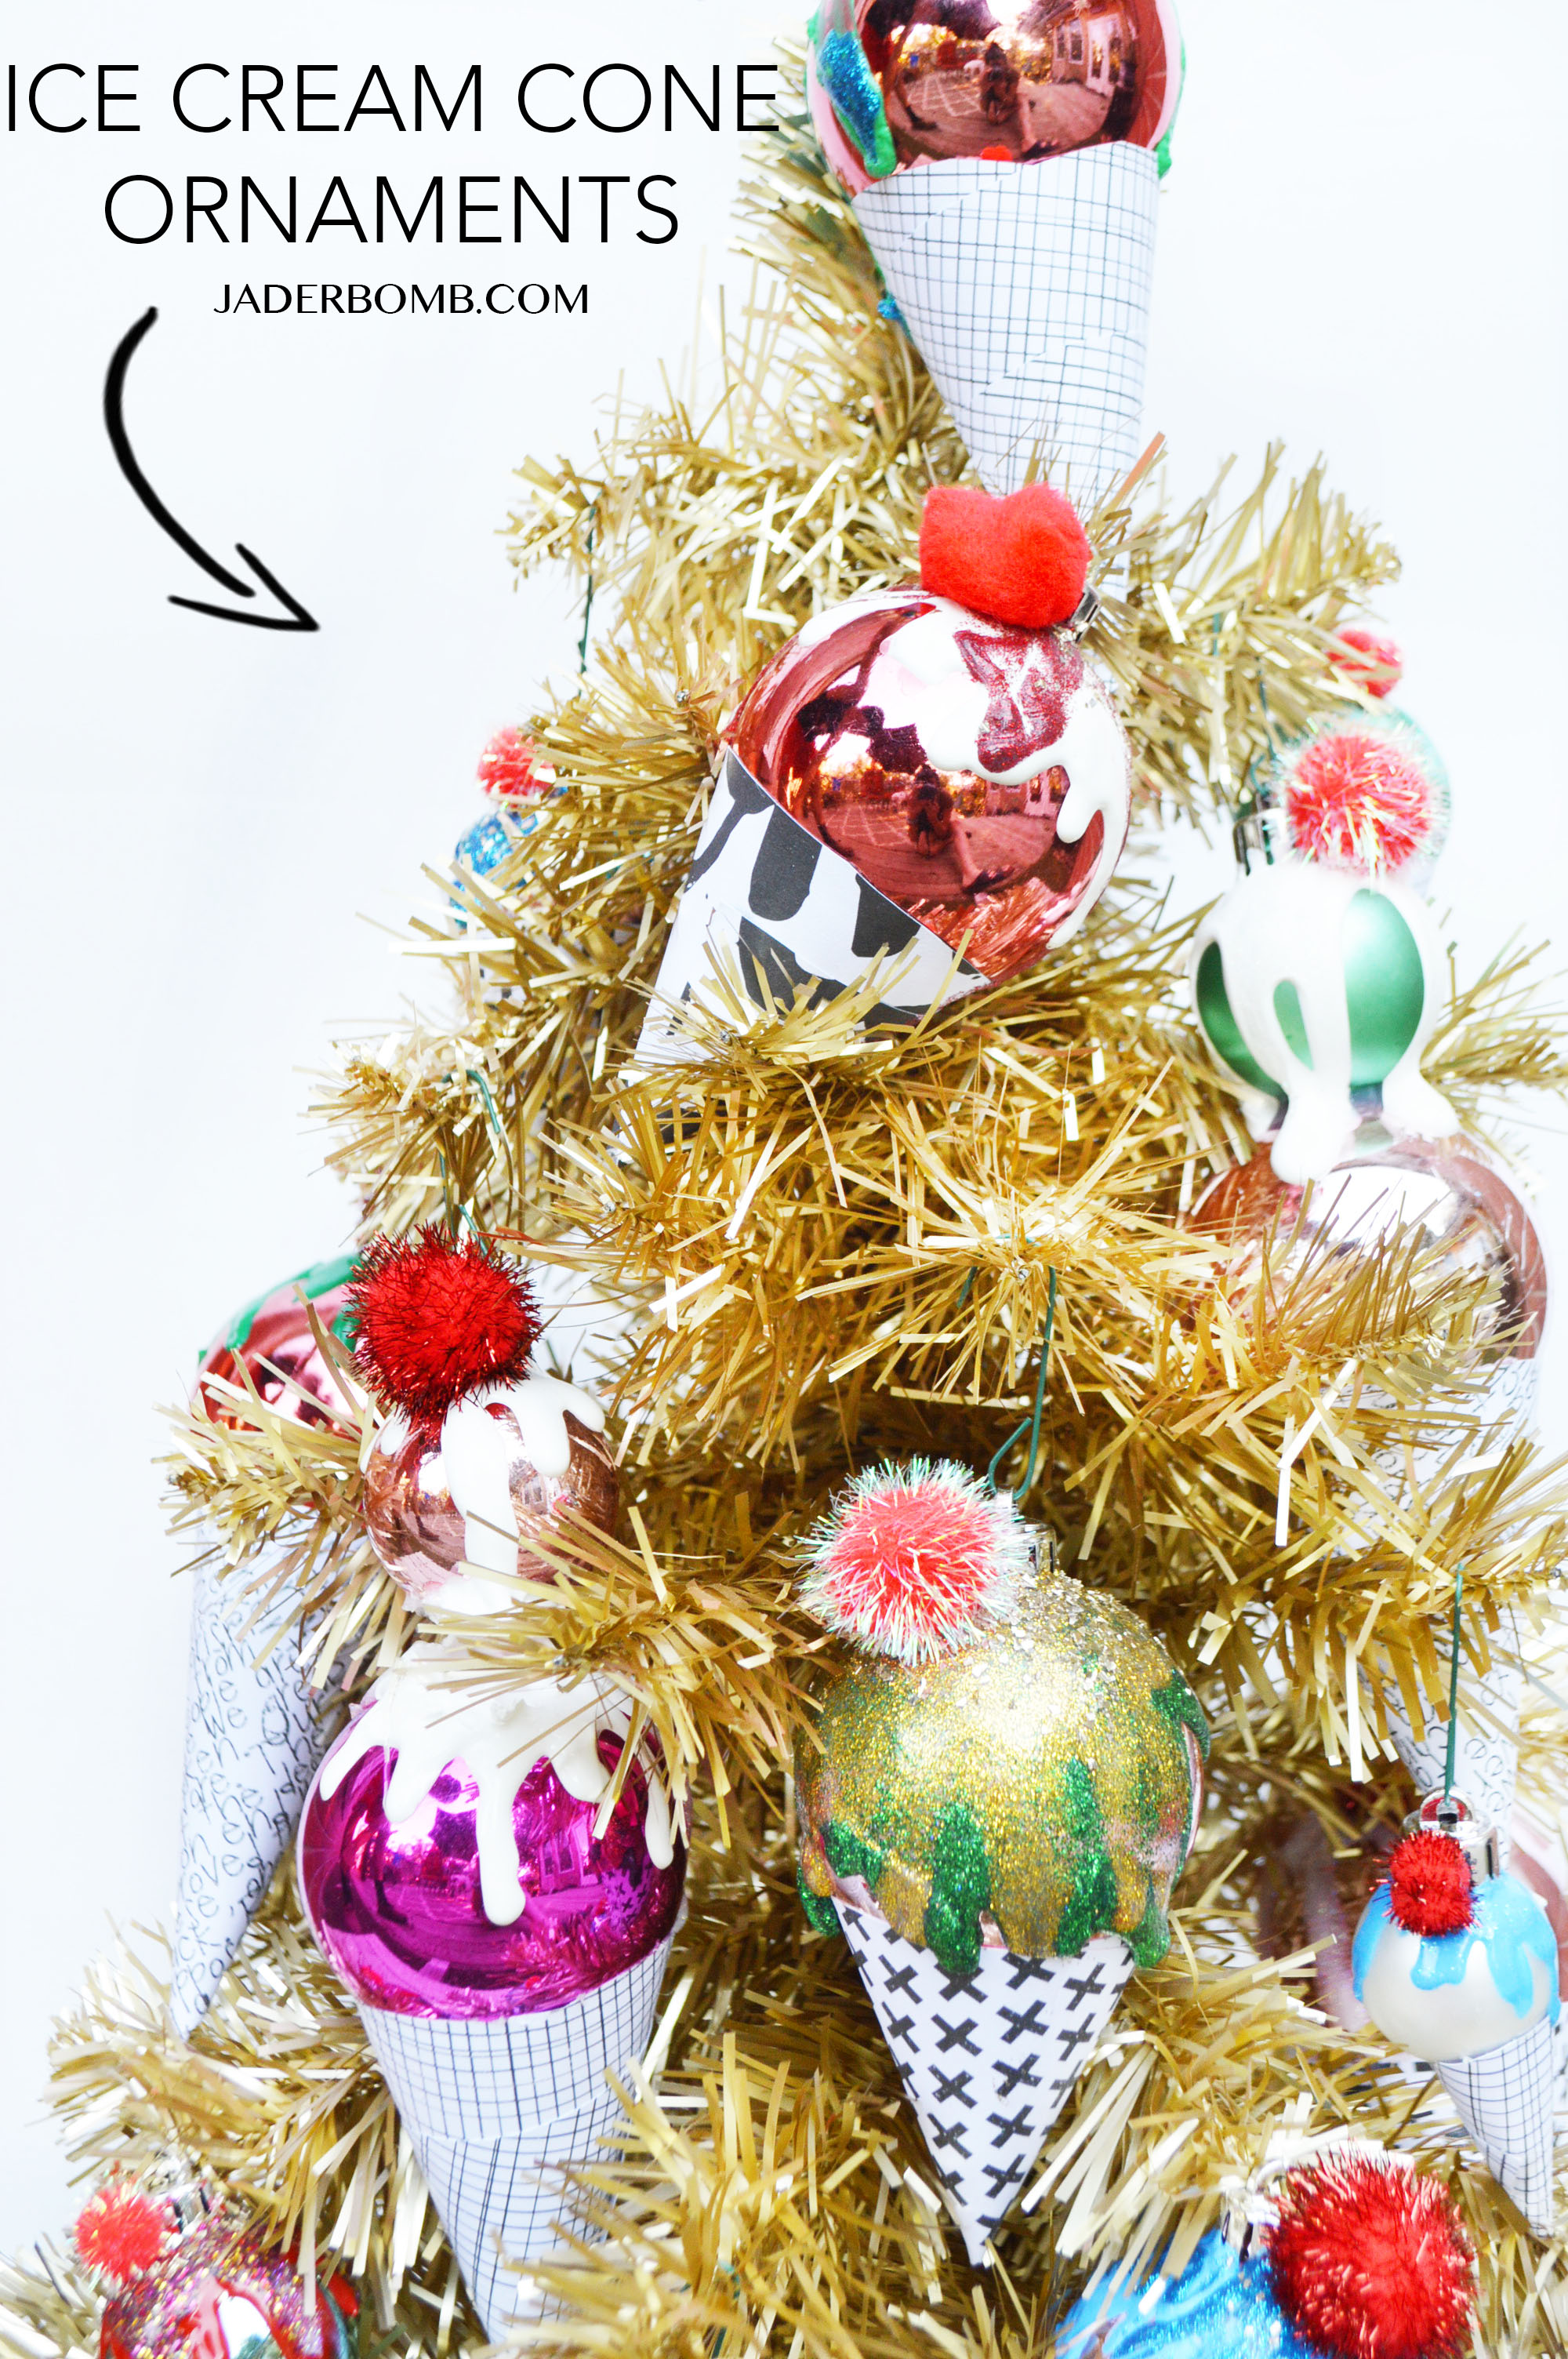
holiday ornaments

I hope you enjoyed this project and you share it with the WORLD! Let’s face it we all need ice cream ornaments in our life.

Come visit me on all my social media sites! Just search JADERBOMB on all of them!
FACEBOOK | INSTAGRAM | PINTEREST | TWITTER | GOOGLEYOU TUBE

If you share this project on your social media make sure to use these hashtags so we can all see what you make.
#puffypaint #diychristmas
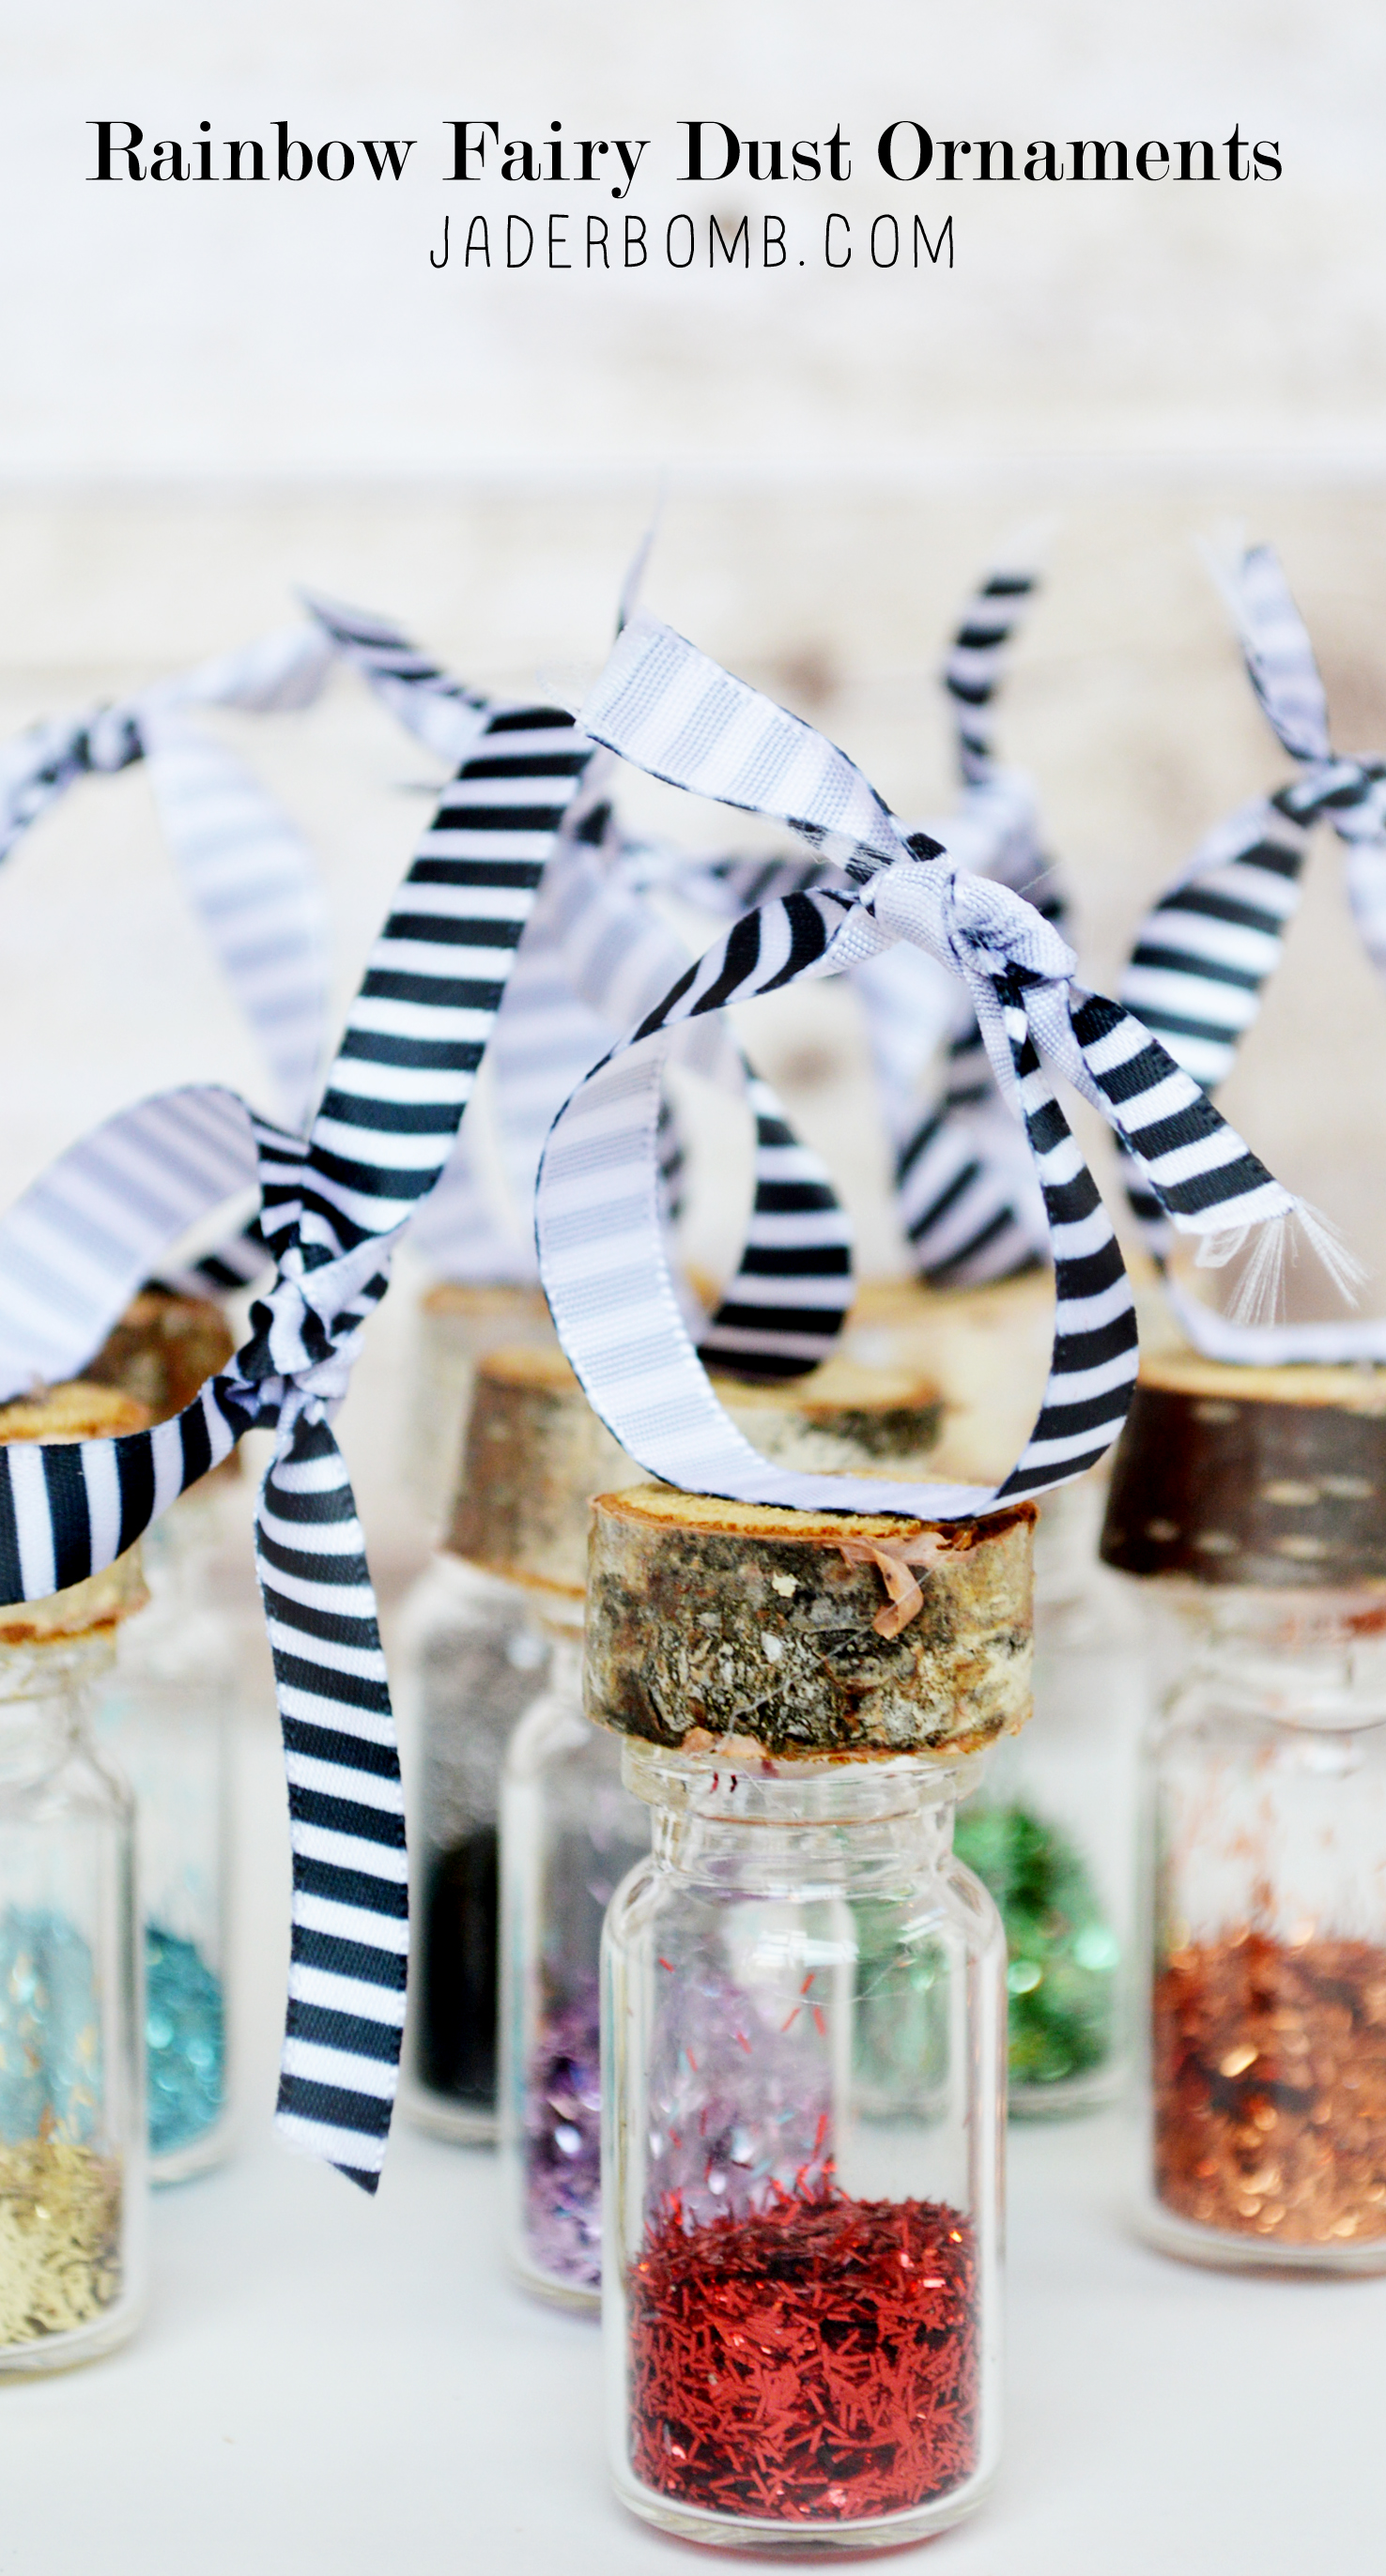
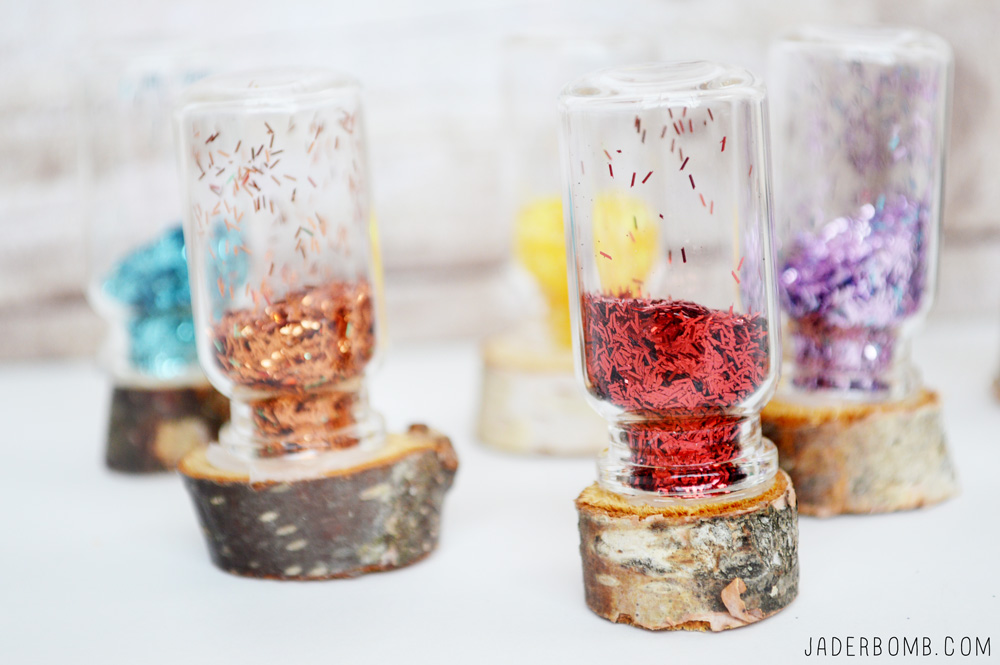
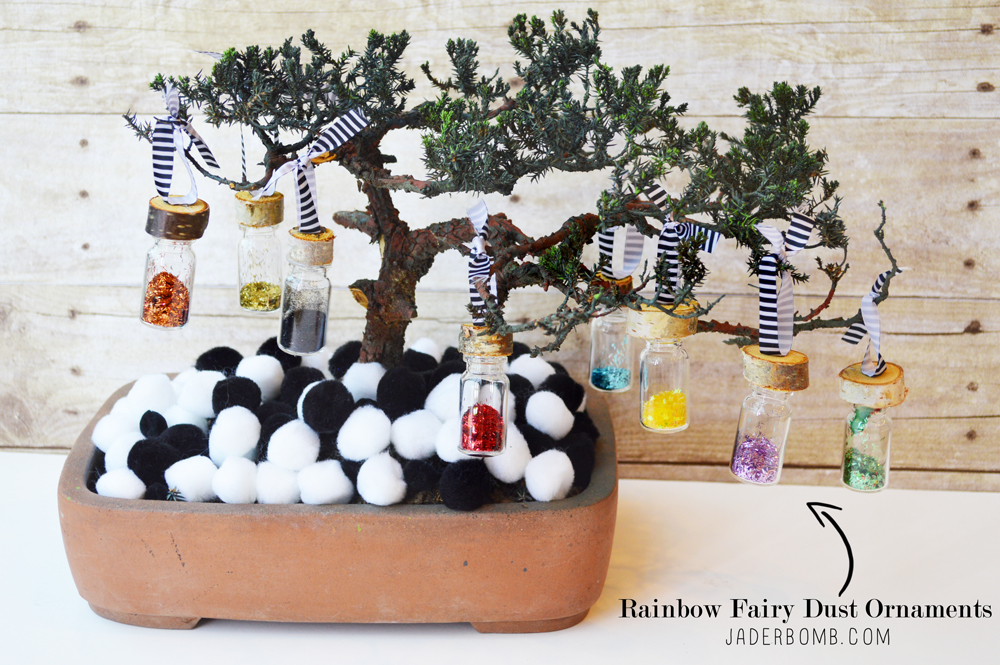
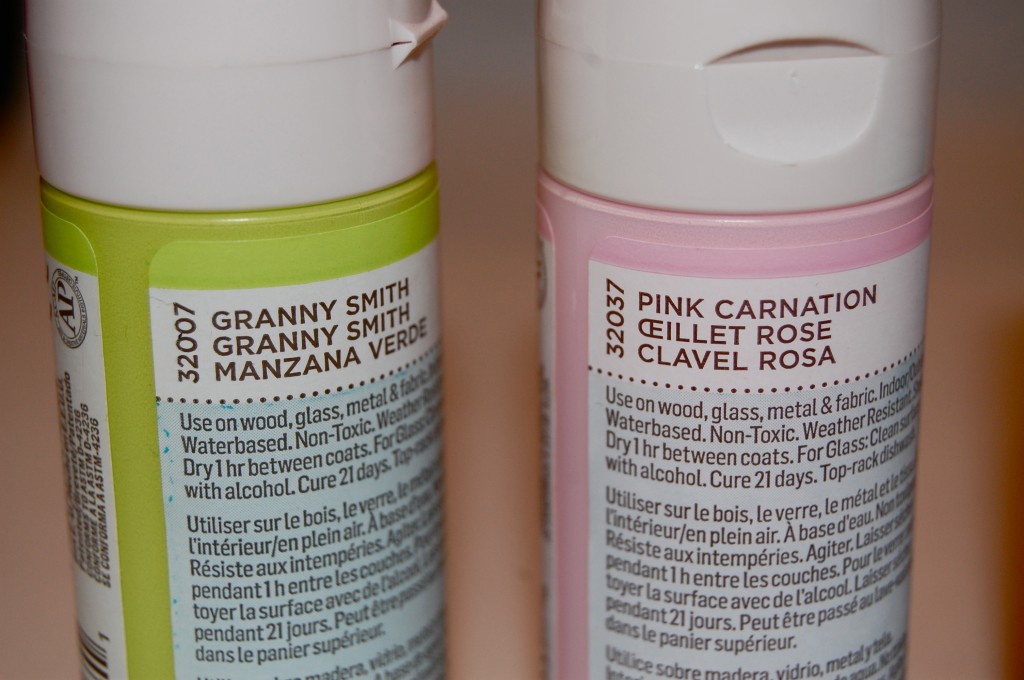
Today we will close our eyes and make Rainbow Glass Jars, you know the ones that are made for fairies… What! You are not one? Good news for ya, the yumminess in these jars will turn you into one as soon as you sprinkle it on you.

Ok fine all that will happen if you dump this load of glitter on you is a hot dam mess on the floor. Let’s not forget your precious hair, yes it will be full of glitter. I used tinsel glitter for this lil project so you really are doomed. Unless you are like me and you wouldn’t mine glistening in the sun like Edward Cullen did daily. If you like all that glitters, then check out all of my rainbow crafts.

…now let’s get to the nitty gritty

Rainbow Glass Jars

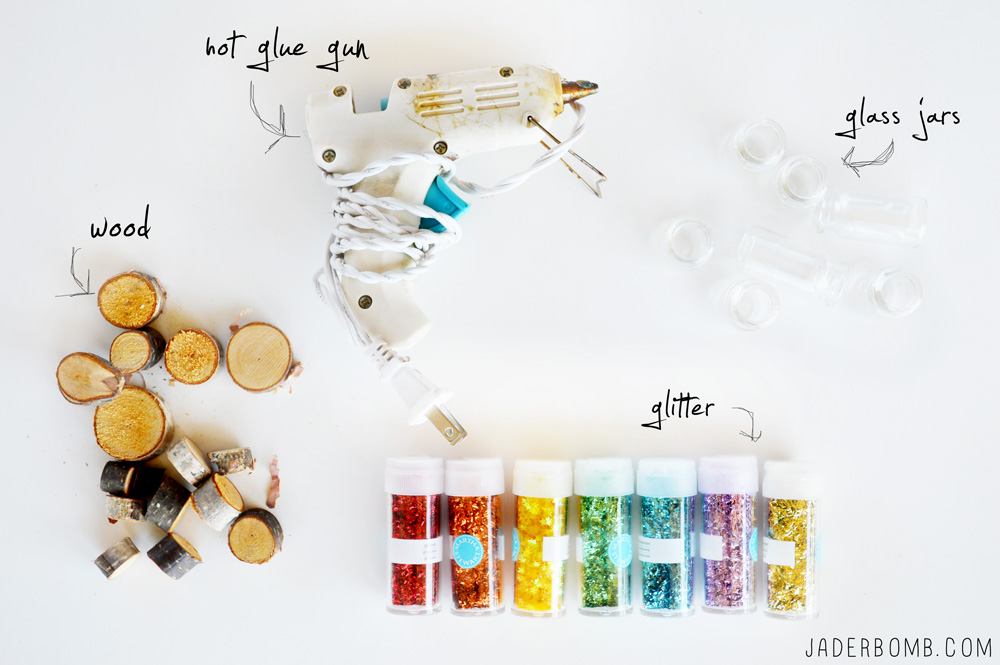
What You’ll Need (You can purchase all of the items I used in this post by clicking on the links below. These are affiliate links so ordering from them helps me buy more glitter and glue)

*Hot Glue Gun
*Slices of Wood
*Mini Glass Jars
*Glitter
*Ribbon (Make sure it’s thin)
rainbow glass jars

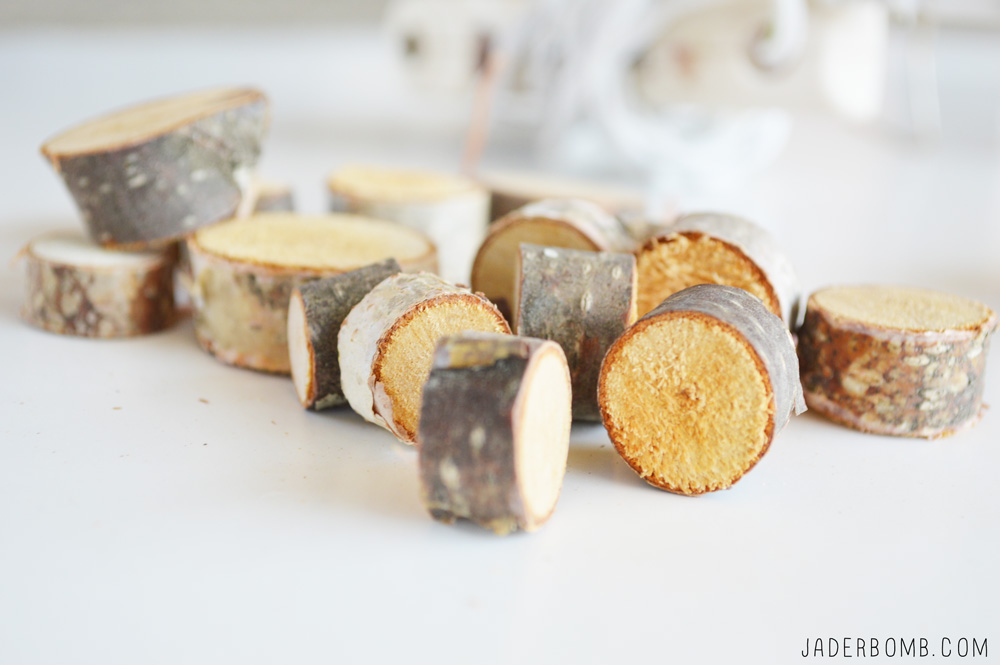
I bought a little bag of sliced birch wood at Michaels. They are so dang precious I didn’t even want to use them for this post! FYI: they were only 2 bucks a bag. Now say that 6 times really fast!birch wood

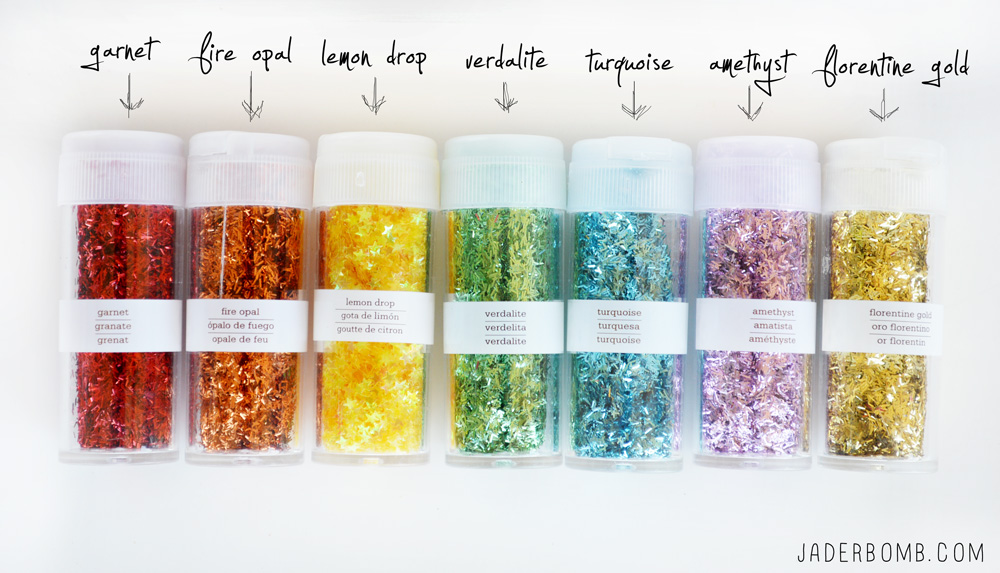
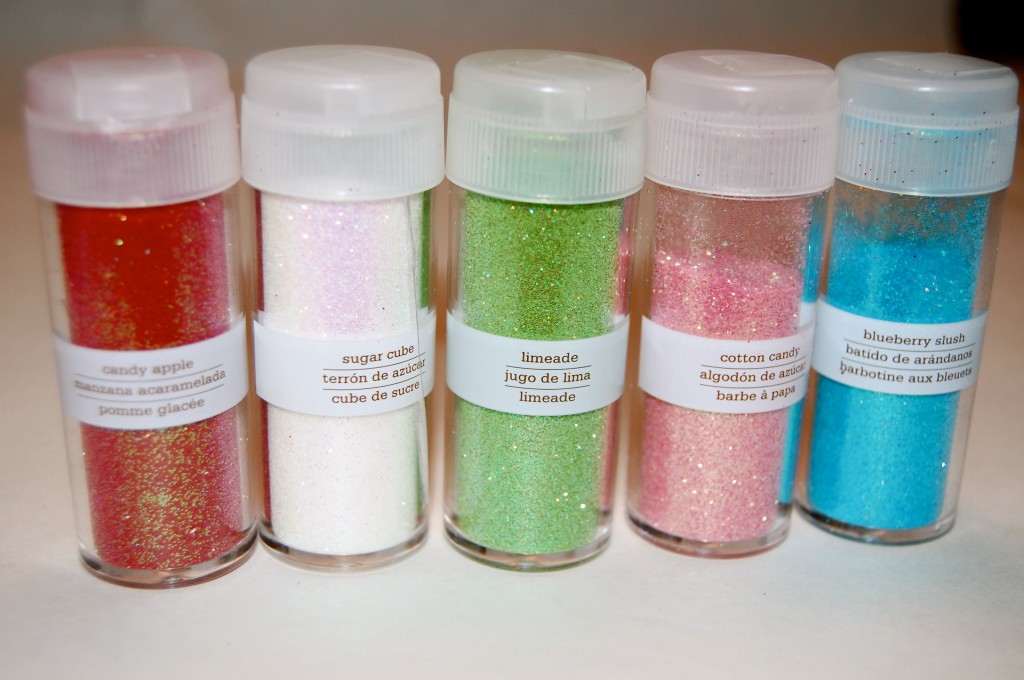
These are all of the colors I used for this post, well minus black. martha stewart rainbow glitter

Step One: Fill your glass jars with glitter. It’s your choice to fill them all the way or half way. I like leaving room for them to float around a little.

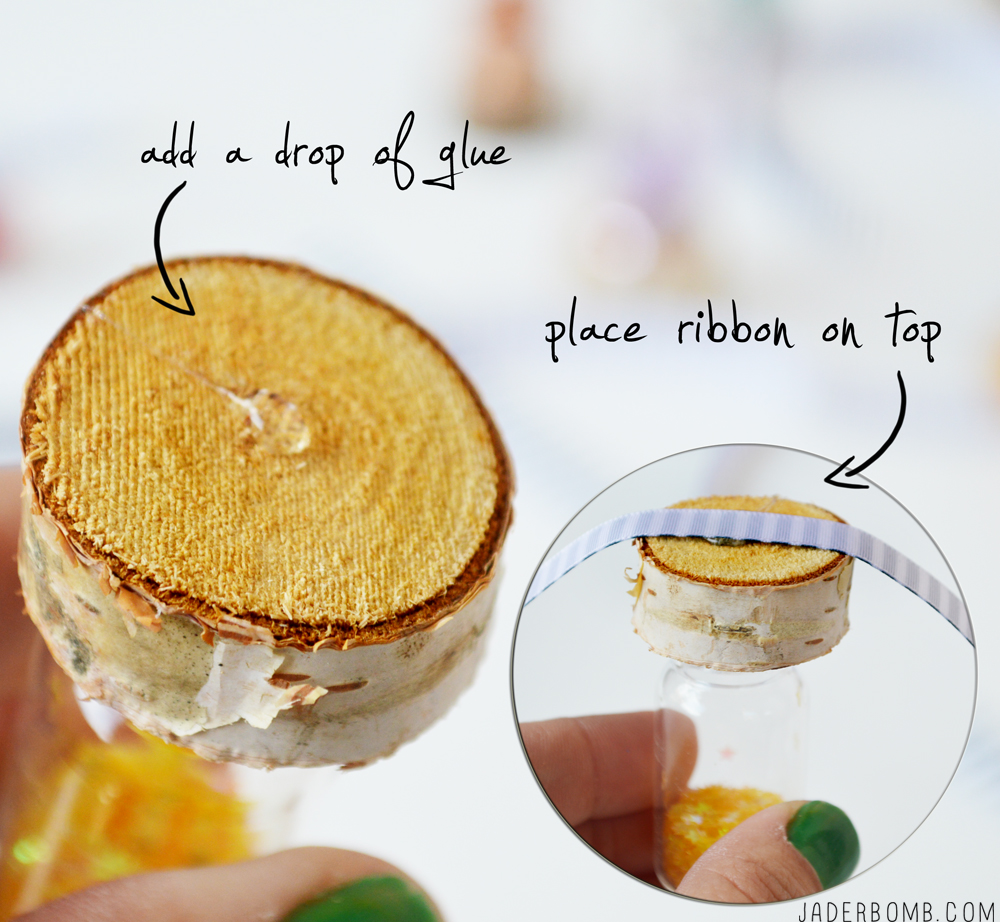
Step Two: With the bottle up right put a little hot glue around the rim and then carefully place your piece of wood right on top. Hold it in place for a few seconds until the glue is dry. VOILA!
glitter jars

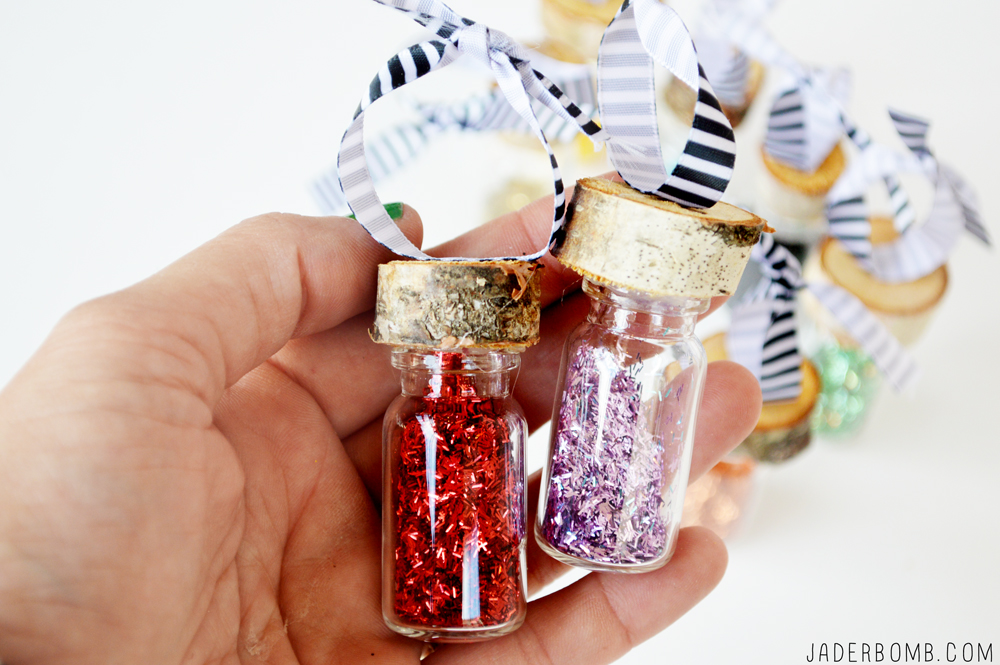
Step Three: on the opposite side of the wood put a dot of glue then place your ribbon “good side down” right on top. birch wood craftsStep Four: Tie the ends of your ribbon together. You just created a hanger on your fun glitter jar. diy christmas ornaments

I am absolutely in LOVE ♥glass glitter jars

glittered ornaments

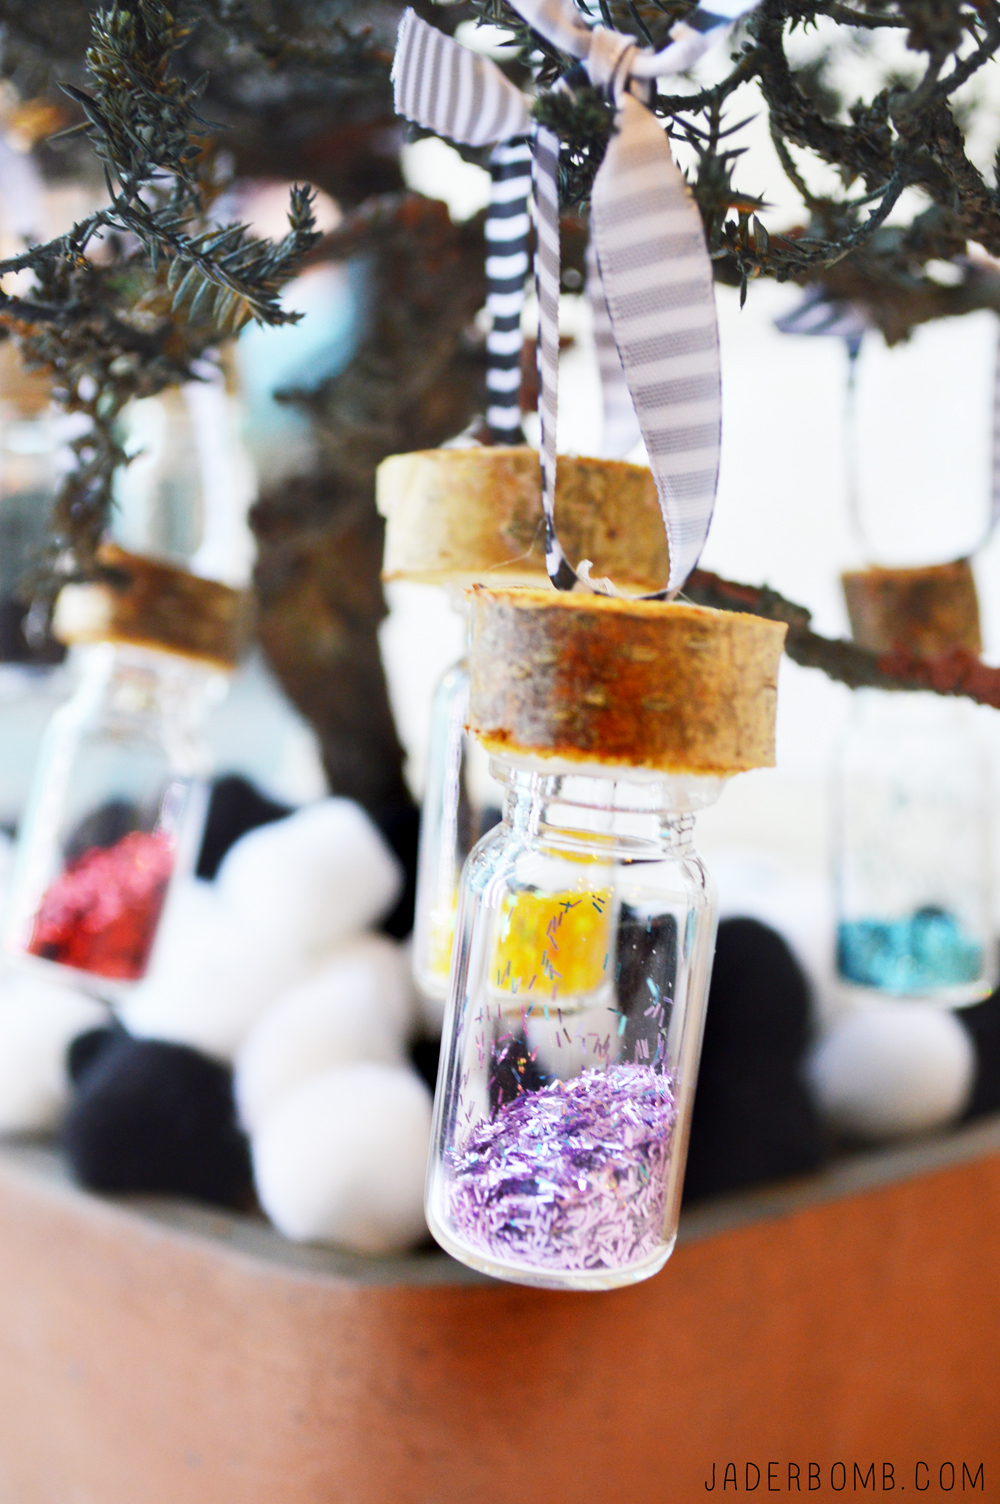
Don’t you feel super happy looking at these babies! They will surely hang all year in my studio!
rainbow christmas ornaments

I hope you enjoyed this post and you make ton’s of dust for all of the fairies out there! HASHTAG LOGO

Don’t forget to connect on social media! Make sure to use use the hashtag #JADERBOMB on Instagram or Twitter or Facebook so I can keep track of all your awesome creations! HAVE A GLITTERY DAY! ♥, Jade

Christmas Ornaments

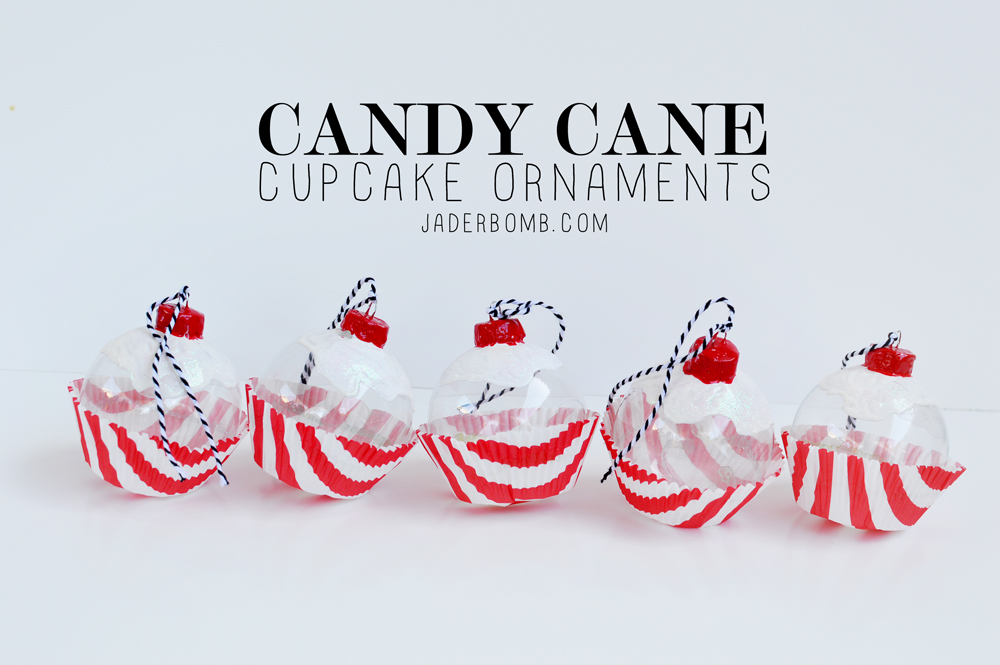
Today I am sharing something that will make you go ga-ga! Not Lady GaGa just candy cane Ga-Ga.

I made these cupcake ornaments a few weeks ago and they were a hit so I figured I would make another version of them.

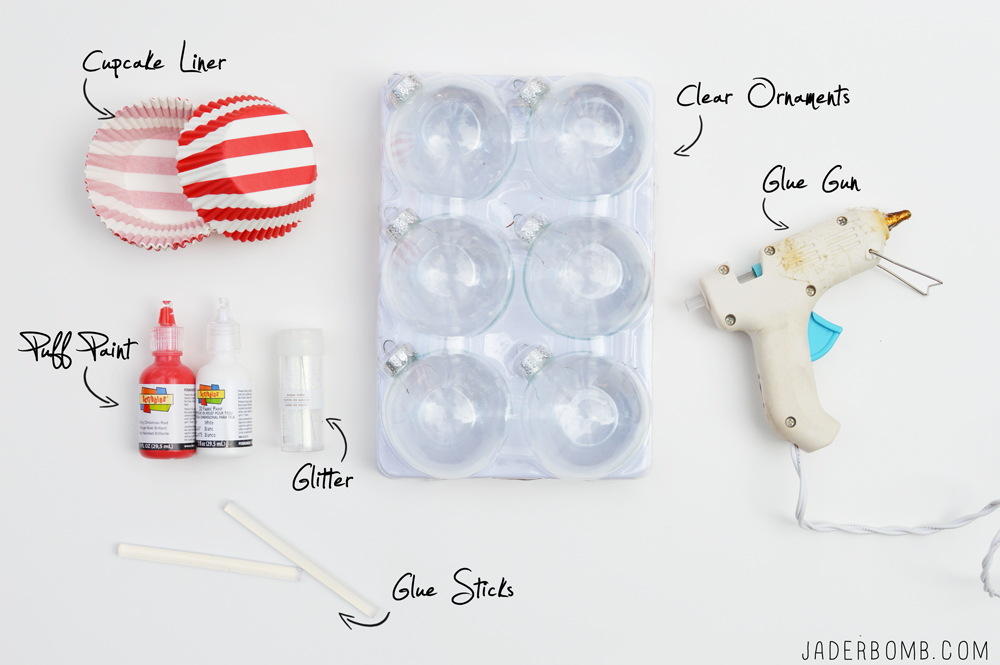
YOUWILLNEED

Cupcake Liner | Clear Ornaments | Glue Gun | Puff Paint | Glitter | Glue Sticks
You can purchase all of these items by clicking on my affiliate links!

cupcake ornament supplies

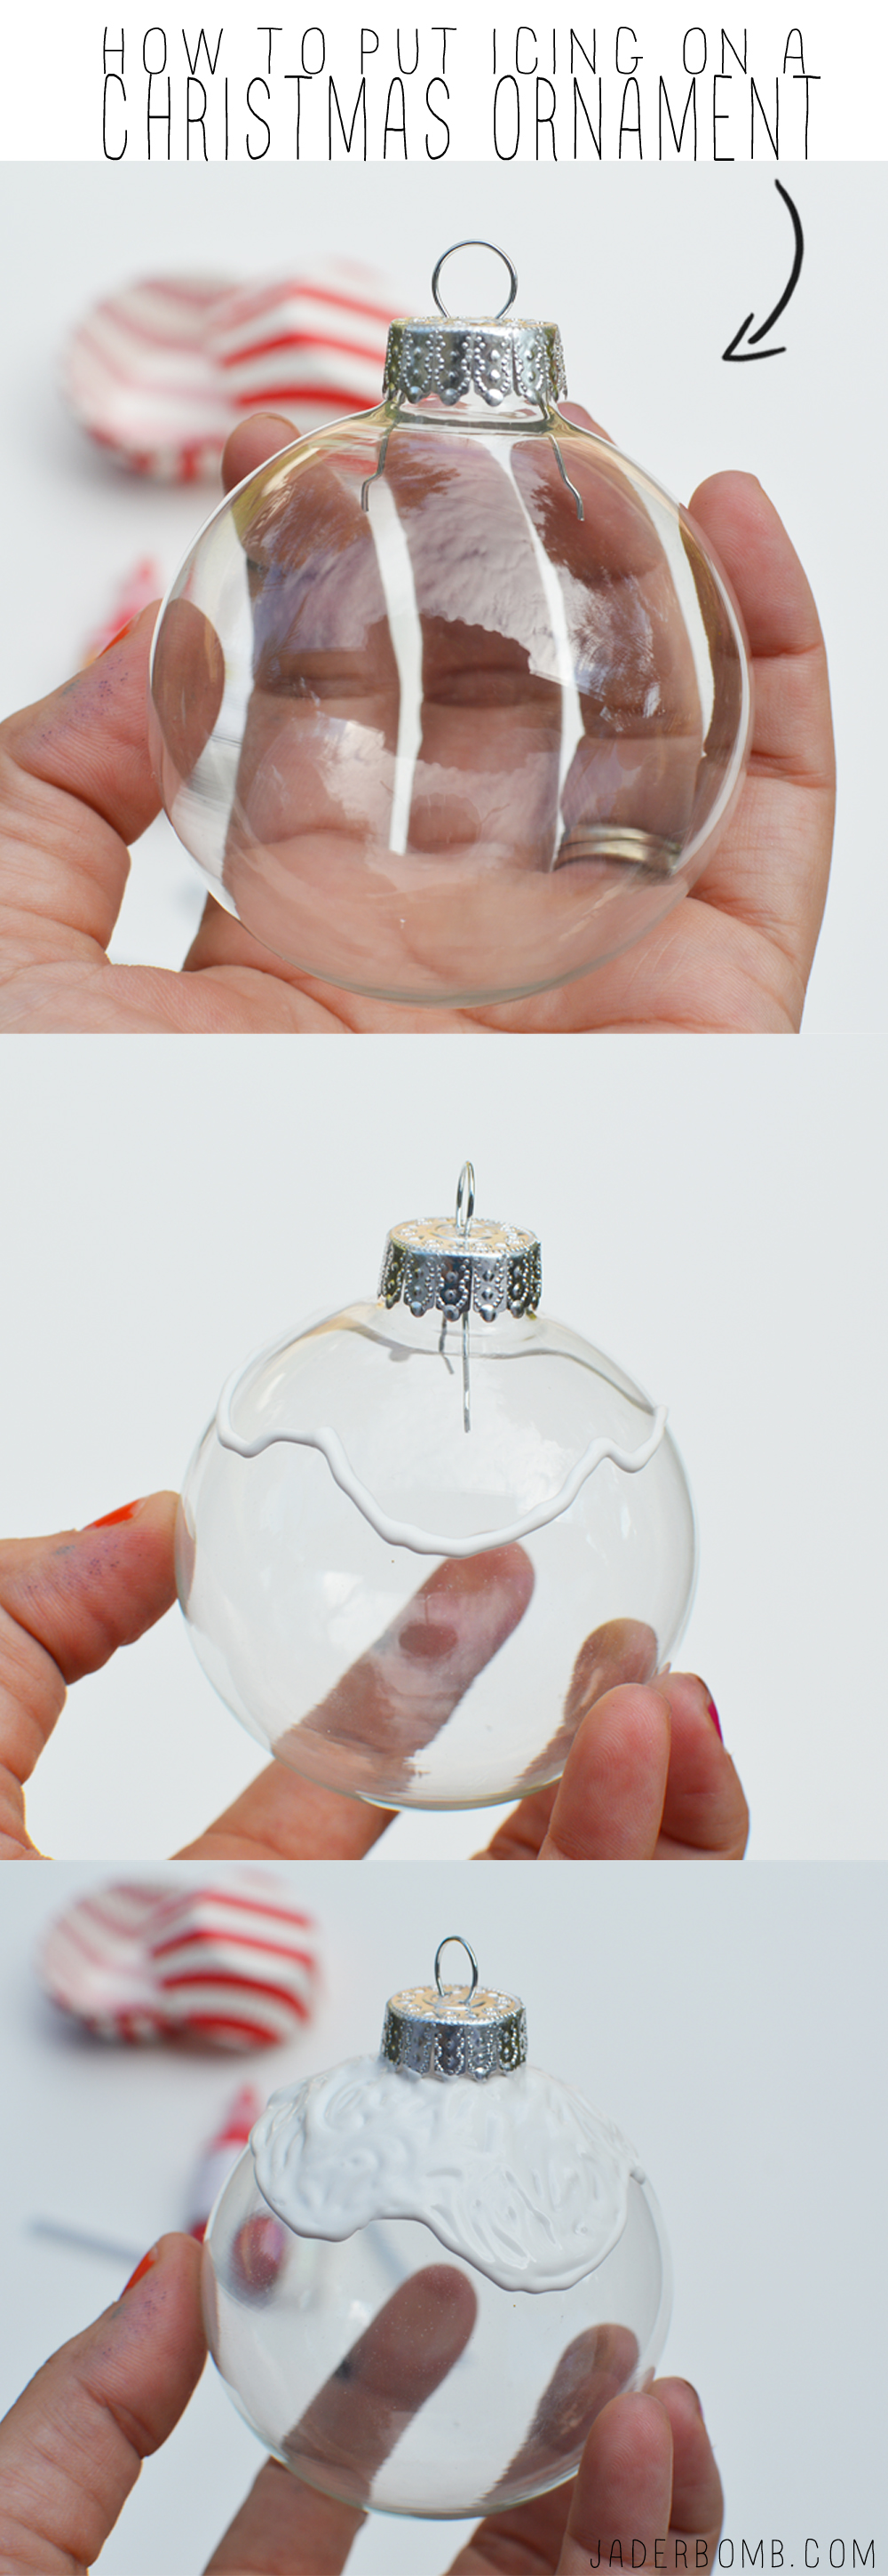
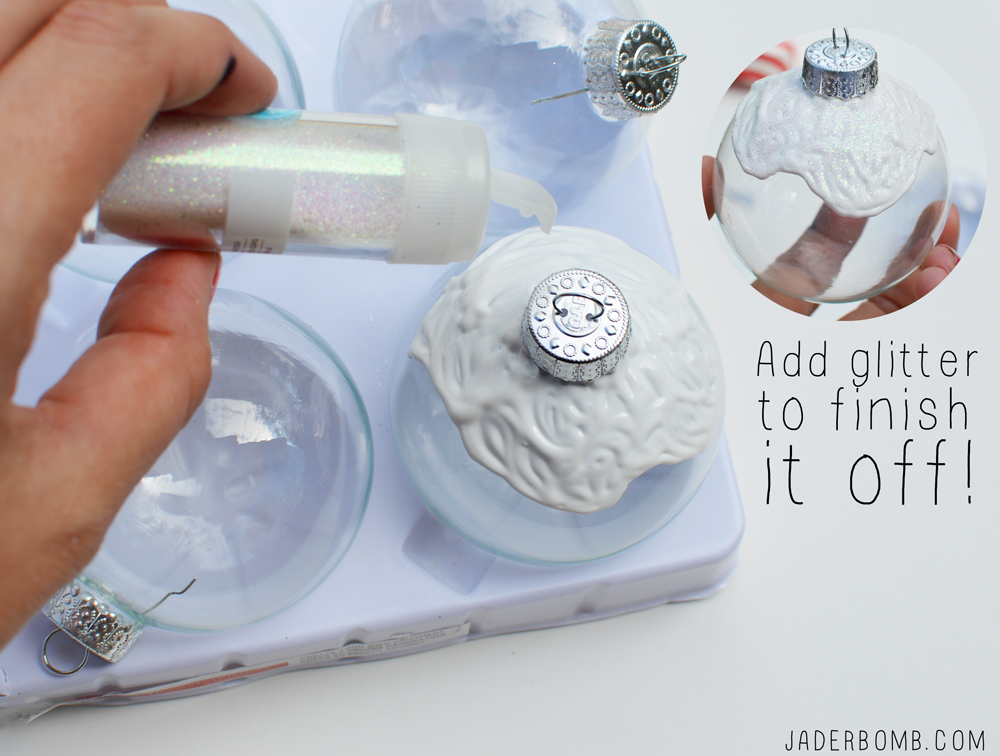
I am using white puff paint so it looks like real icing! Have fun, use any color that makes you smile from ear to ear. how to put icing on an ornament

I like to set them down in the container they came in after I apply the puff paint. Once in the container, sprinkle with glitter. decorate cupcake ornaments

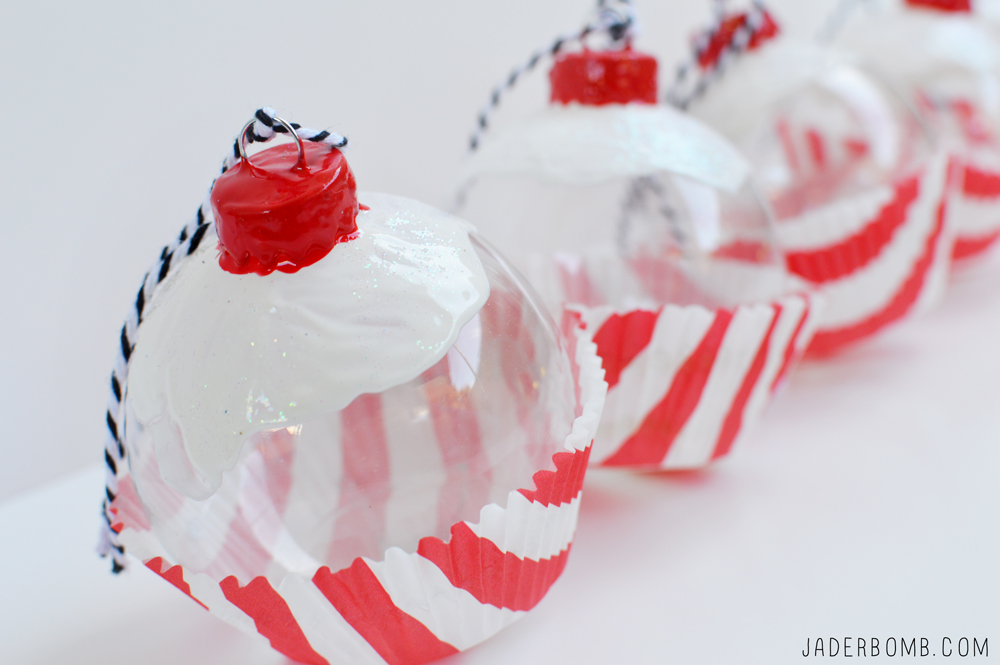
When they are dry, add a little hot glue to the bottom of ornament and stick on a cupcake liner.

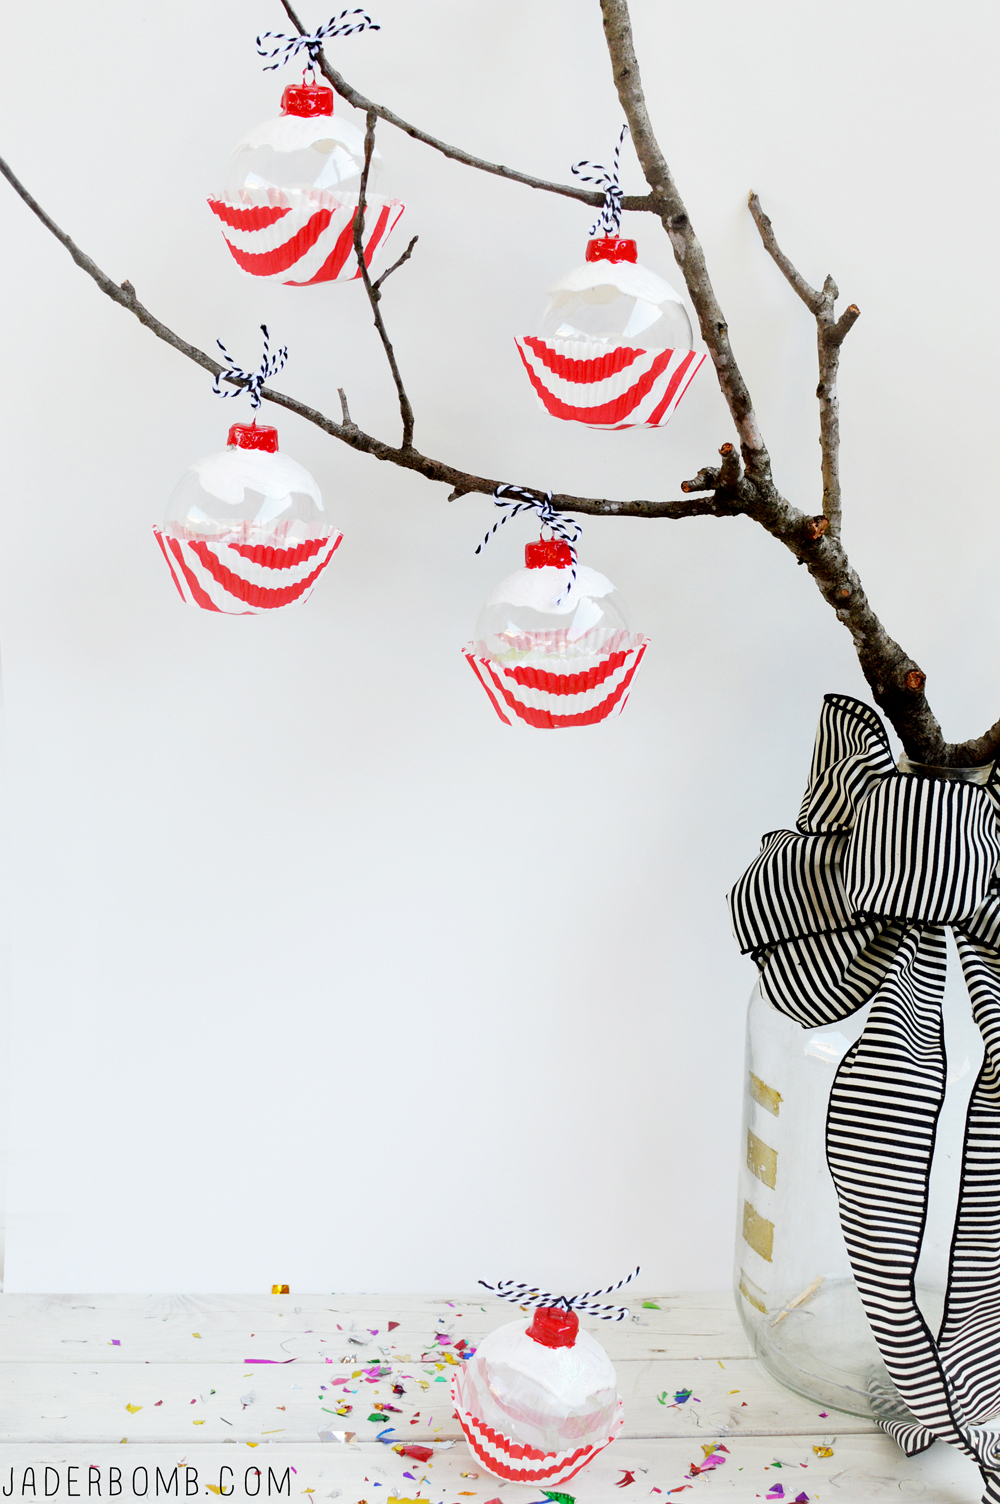
peppermint ornamentsRED AND WHITE CHRISTMAS ORNAMENTS

I cut a few pieces of black and white bakers twine to hang them with. I think they are just precious!how to make candy cane ornaments

ending

Huge glittery hugs—See you in the next post! Visit me on FacebookTwitter,Pinterest, or Instagram!

Homeade Doorbells

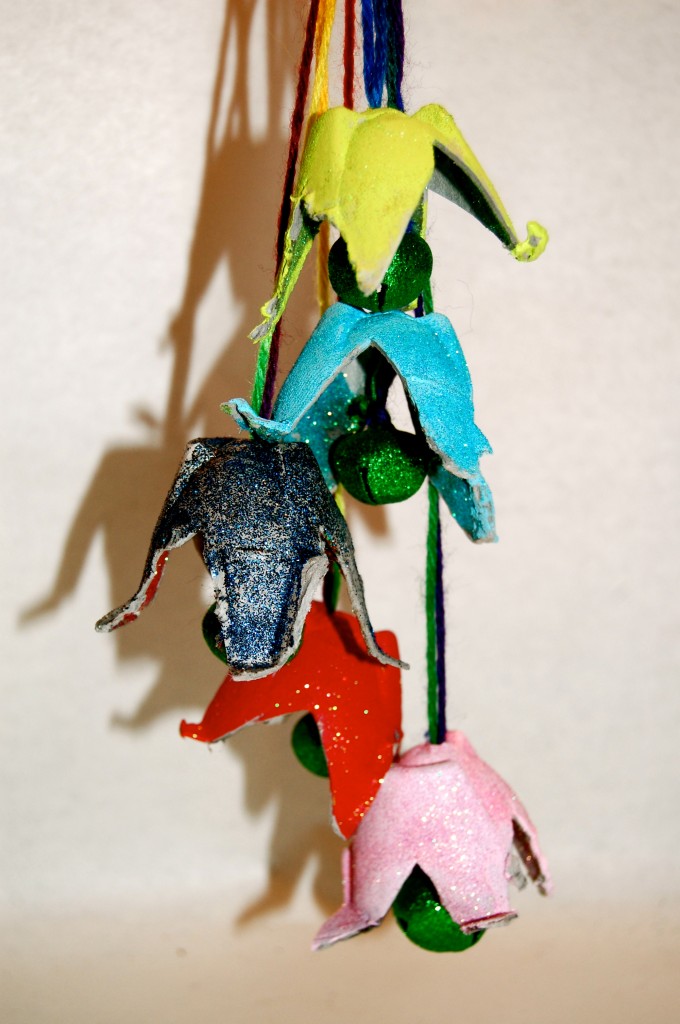
Deck the doorknobs with jolly kid-made bells. It’s a great activity for days when it’s too wet or chilly to play outside and — between your craft bin and the refrigerator — you probably have all the supplies on hand: an egg carton, paint, glitter, glue, and yarn.

(and you jaderbugs know how much I love GLITTERRR (singing) again)

NINETYYYYYYYY 99999999999999999999999999… (SINGING LOUD in a MANLY voice)

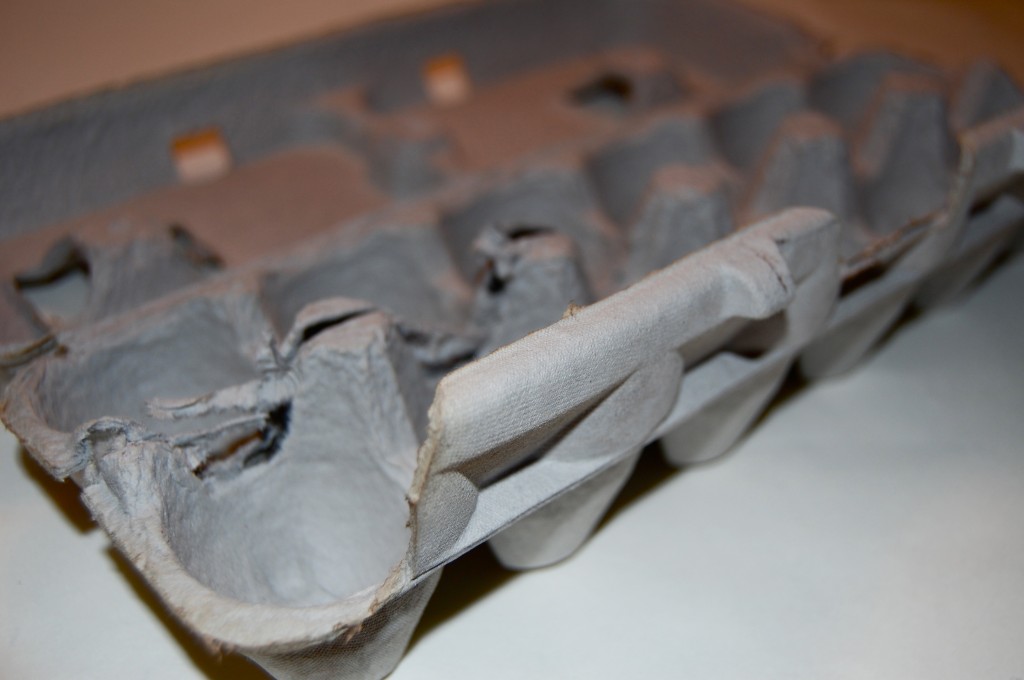
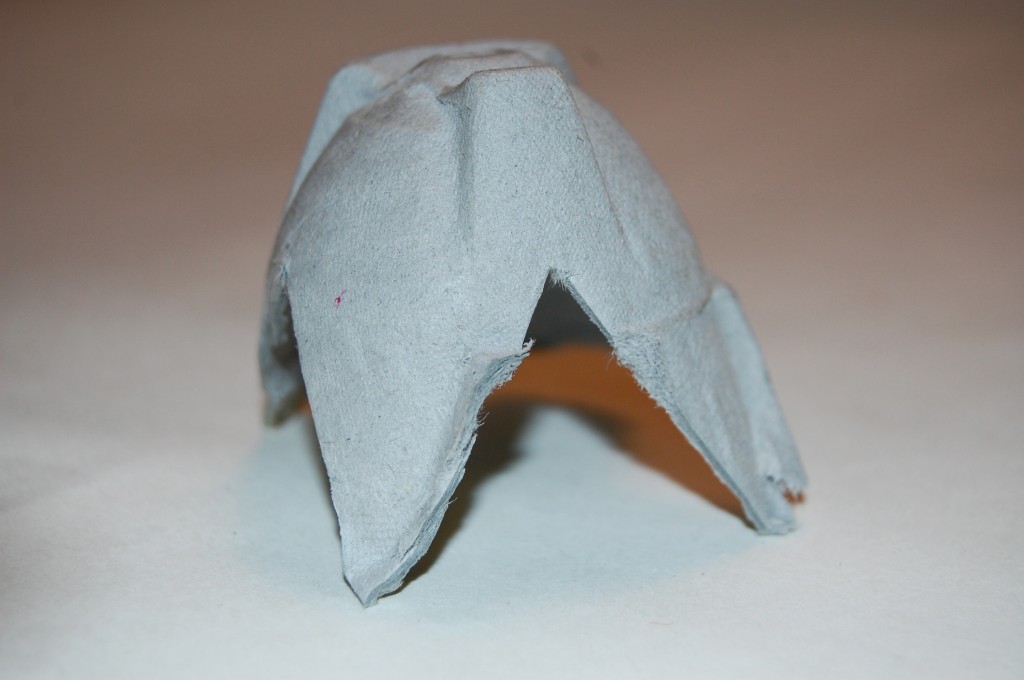
Get your egg carton. Paper works best!

 Cut the cone-shape pieces that separate the eggs out of a cardboard carton (one egg carton will produce five bells).

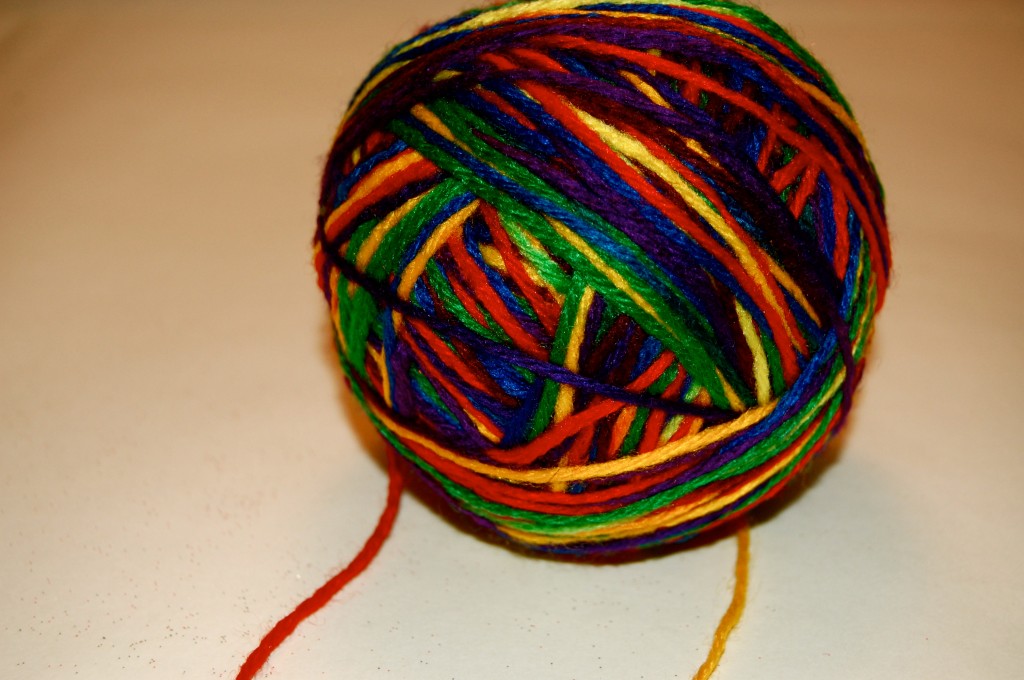
I just used a roll of colorful yarn. Heart this!

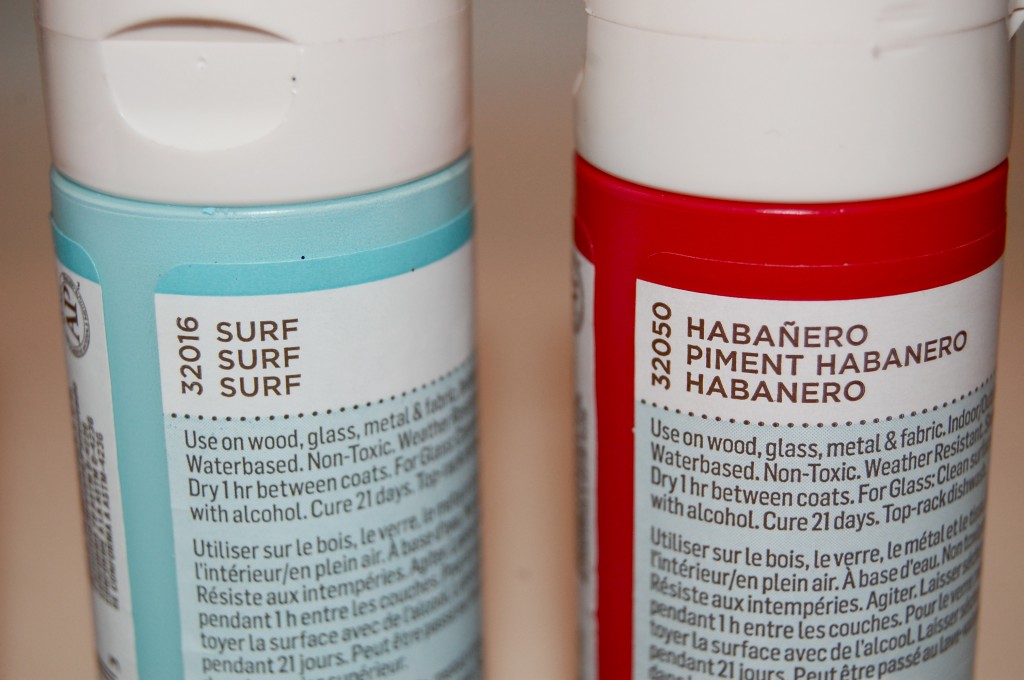
Colors I used for my craft. You can get it HERE.

Colors I used for my craft. You can get it HERE.

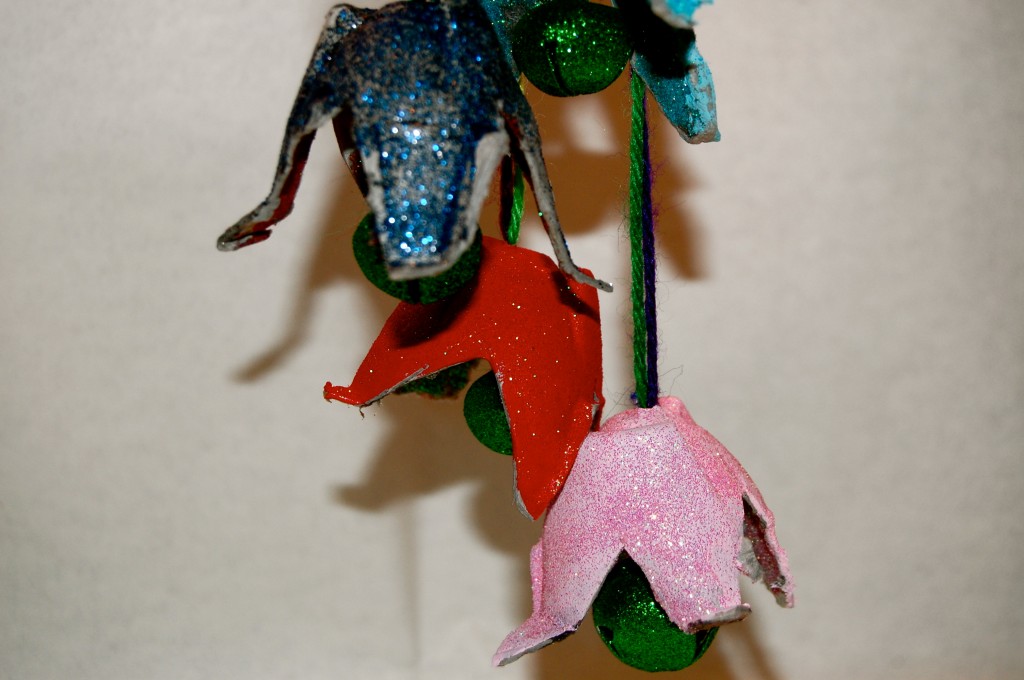
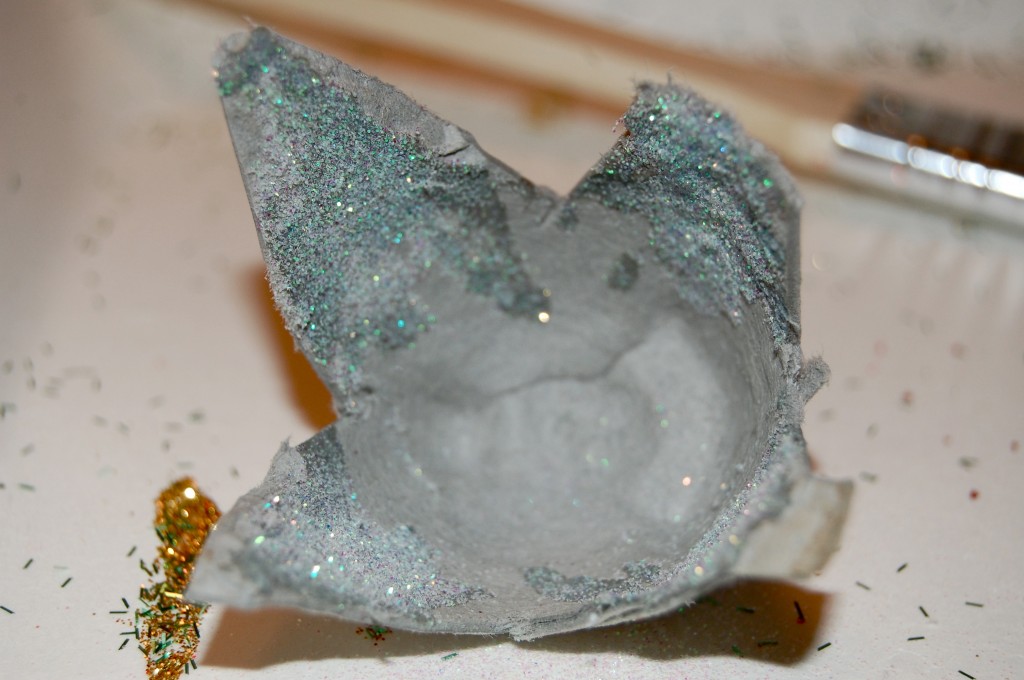
Paint each divider, using acrylic or poster paint. Let dry; apply glue along the edge of the divider, all over the outside, or wherever you like, and sprinkle with glitter.

These are the glitter colors I used!! ORDER SOME HERE!! Don’t forget to use THESE!

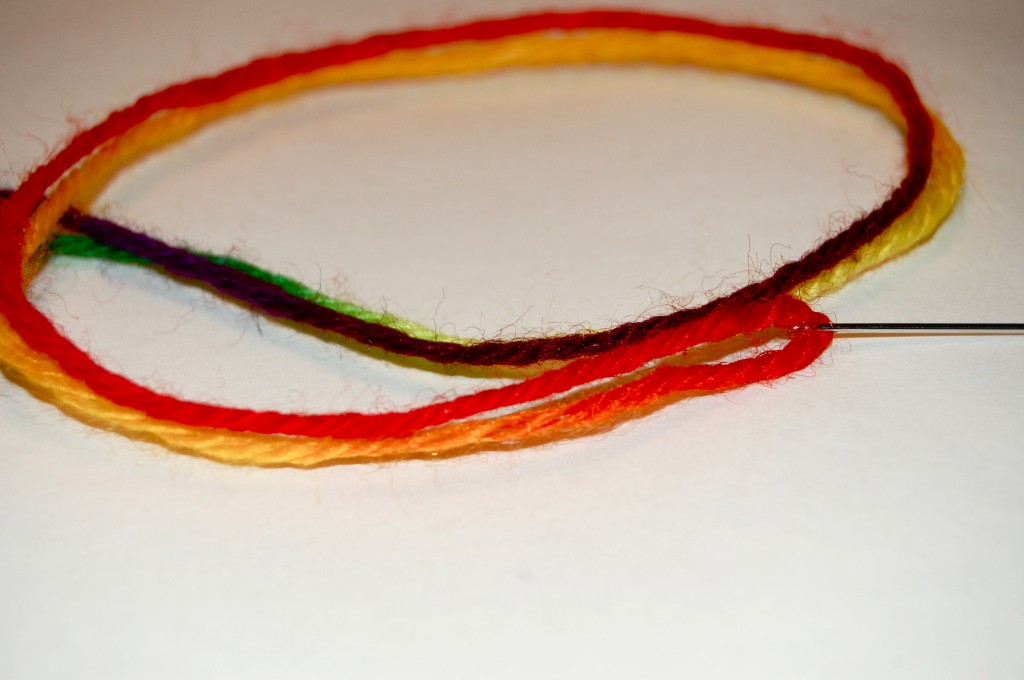
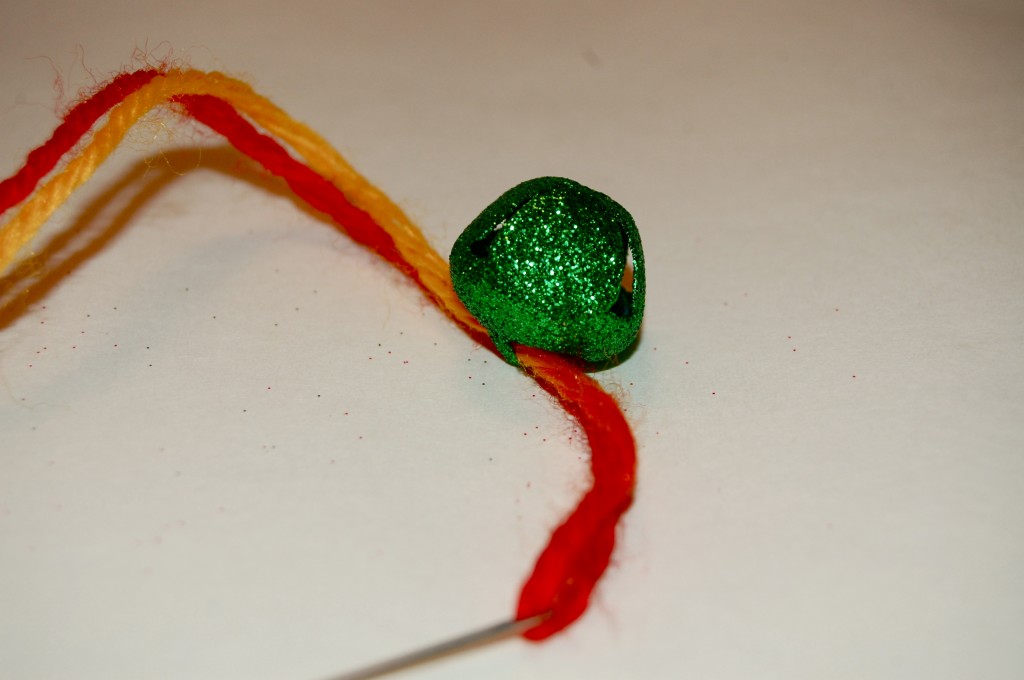
Thread an embroidery needle with yarn. Poke a hole through a bell’s crown, and pull yarn through partway.

Slide a bell onto the yarn.

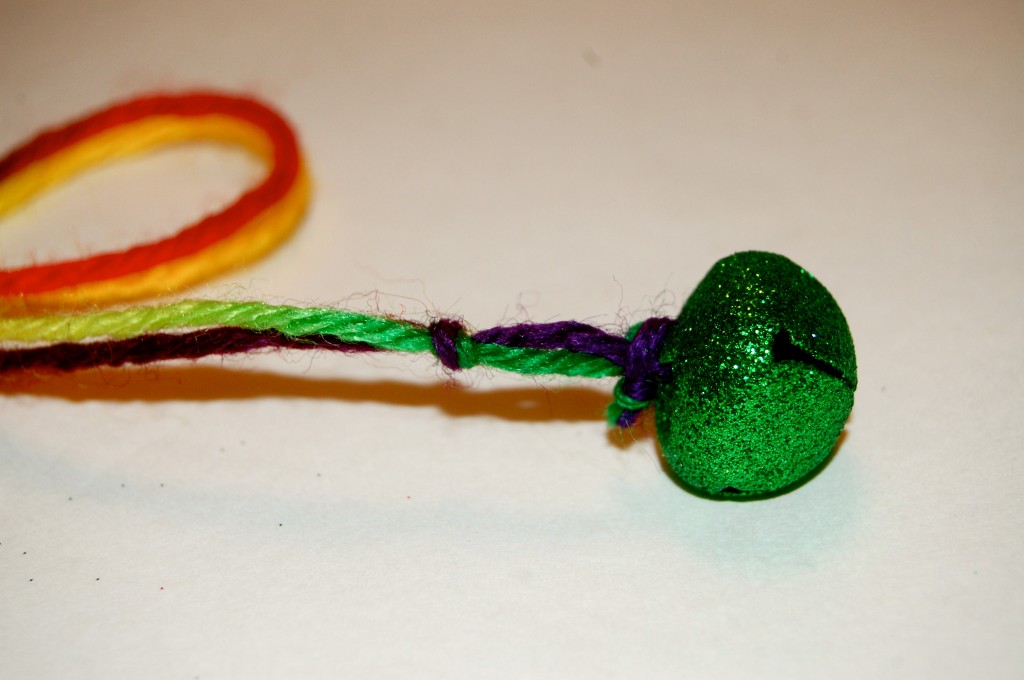
 Tie a knot above the jingle bell and one a little higher. Like this!

Tie several bells around a doorknob, staggering the lengths of the yarn.

OK. Fa real! I am in LOVE. I know I say that about every craft that has GLITTER on it!!! Can you believe this is 99!!!

I got 99 problems and a _____ ain’t one,

Check out Martha’s original craft HERE and you can purchase Martha Stewart’s Encyclopedia of Crafts here!

CLICK HERE TO WATCH VIDEO  (me on the show!)


Click HERE to read all about it!!!

 IF YOU DECIDE TO DO ANY OF THE CRAFTS, SHOOT ME AN EMAIL AND I WILL ATTACH  IT TO THE POST WITH A LINK THAT GOES STRAIT TO YOUR BLOG!  IF YOU DON’T HAVE A BLOG JUST EMAIL IT TO ME AND I WILL PUT IT UP!!!!
JADE@JADERBOMB.COM
Thanks to Martha Stewart crafts for sponsoring me with craft supplies!


Recycled Ornaments

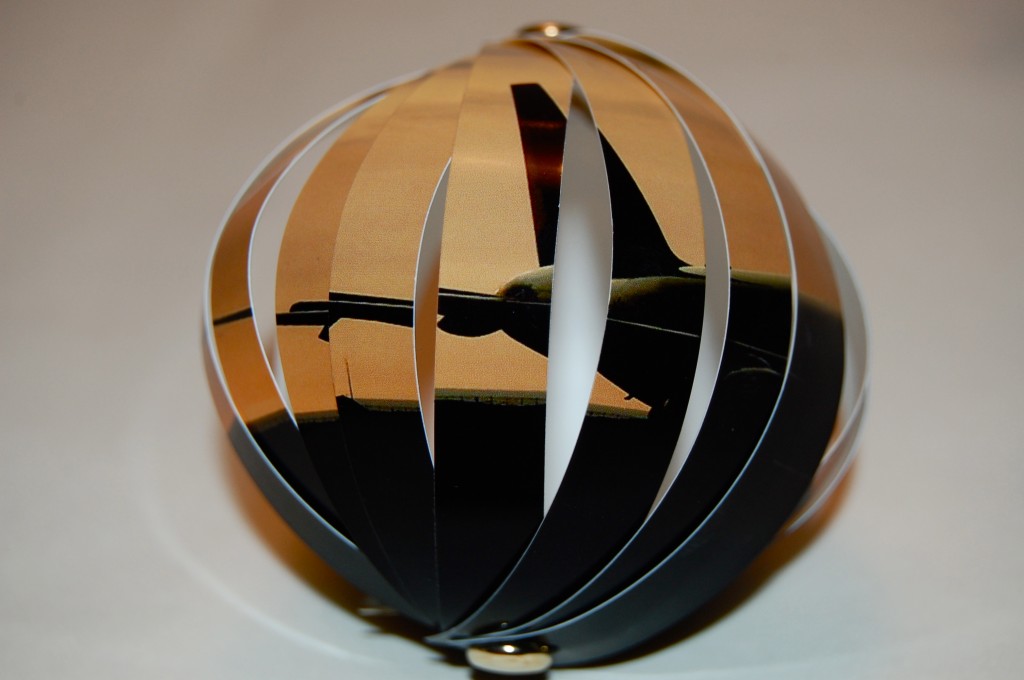
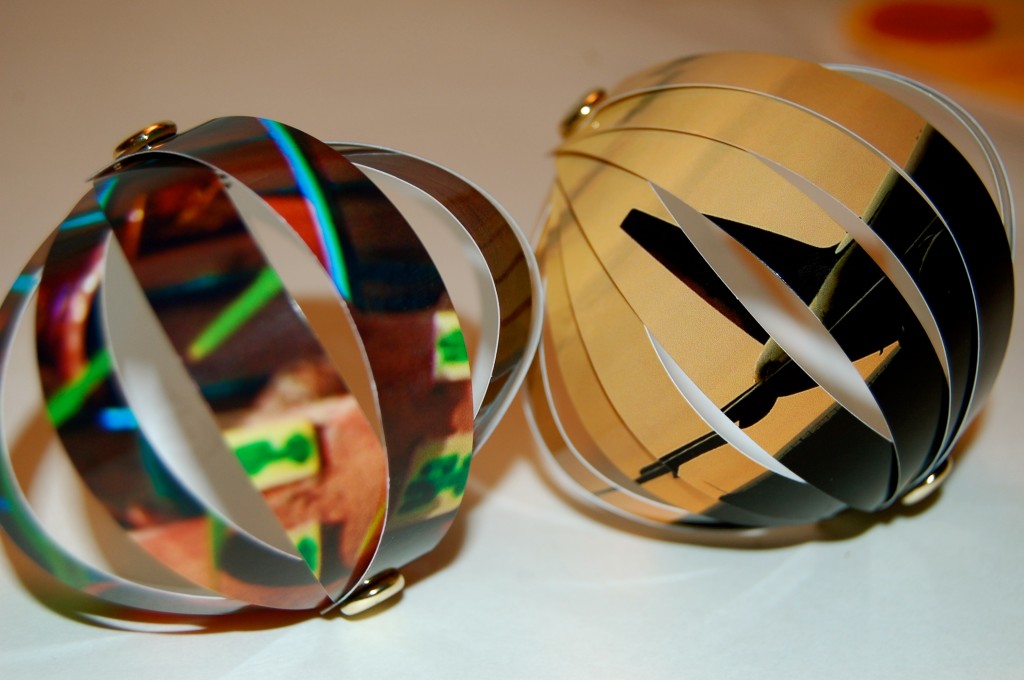
Holiday cards make perfect ornaments: dazzling and delicate yet impossible to break. In a few steps, turn cards into darling globes or circles that lock together, ready to twirl. Or frame a snowy scene in a frosting of sparkles. To make the glitter ornament, cut out a circle from a card and punch a hole for string; add glue around the edge and sprinkle with glitter. Hang your new ornaments with card garlands for an enchanting tree. HOW UH-MAZING is that Jaderbugs! Little one brought home one of these and I thought it was the most clever idea. How awesome to be able to capture a moment in time and decorate with it FOREVER. Just think…You could have a big ole tree full of pictures. HAHA
These airy ornaments are a breeze to make.
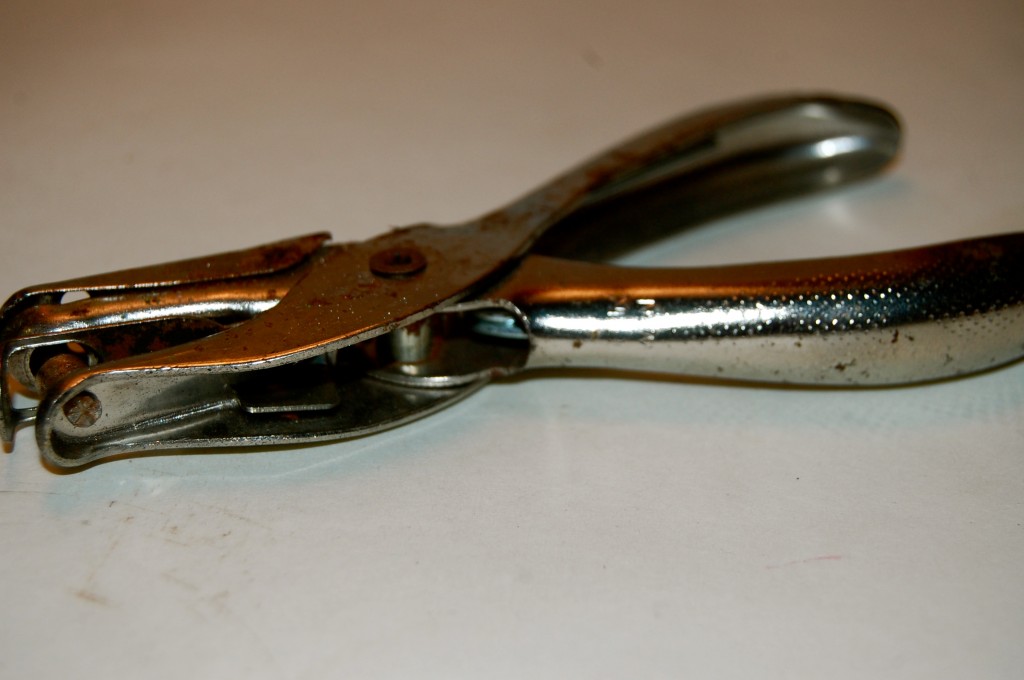
You will need a hole puncher. I know before you give me any hassle these babies are amazing. They are like, 25 years old. I have been having them for as long as I remember.

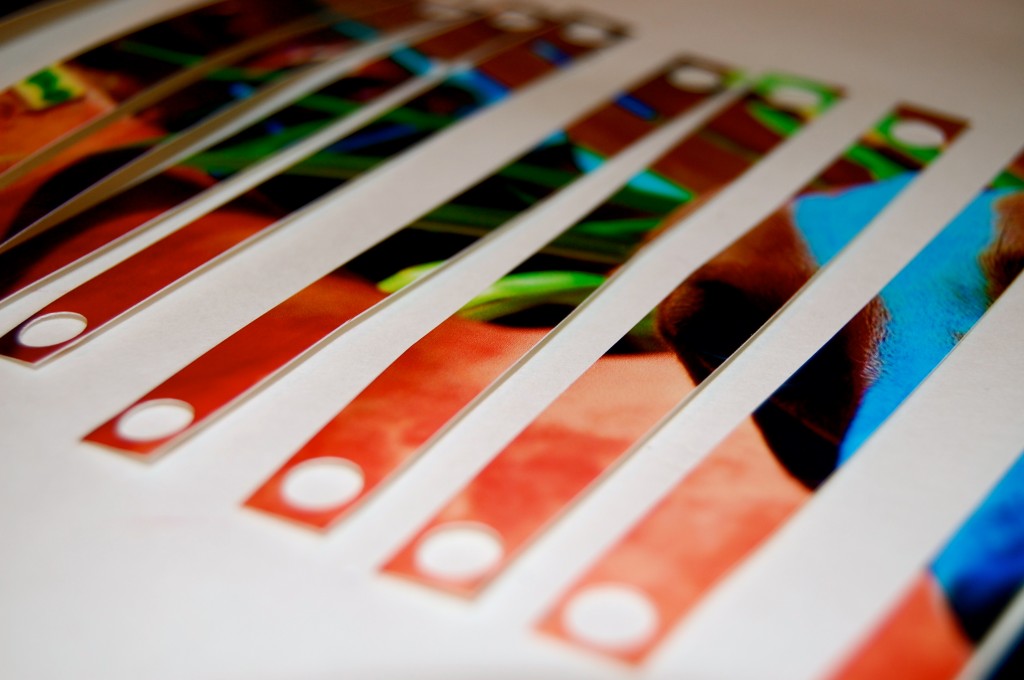
Cut a card into narrow strips; you’ll need about eight to 20 pieces, depending on how much space you want between them.

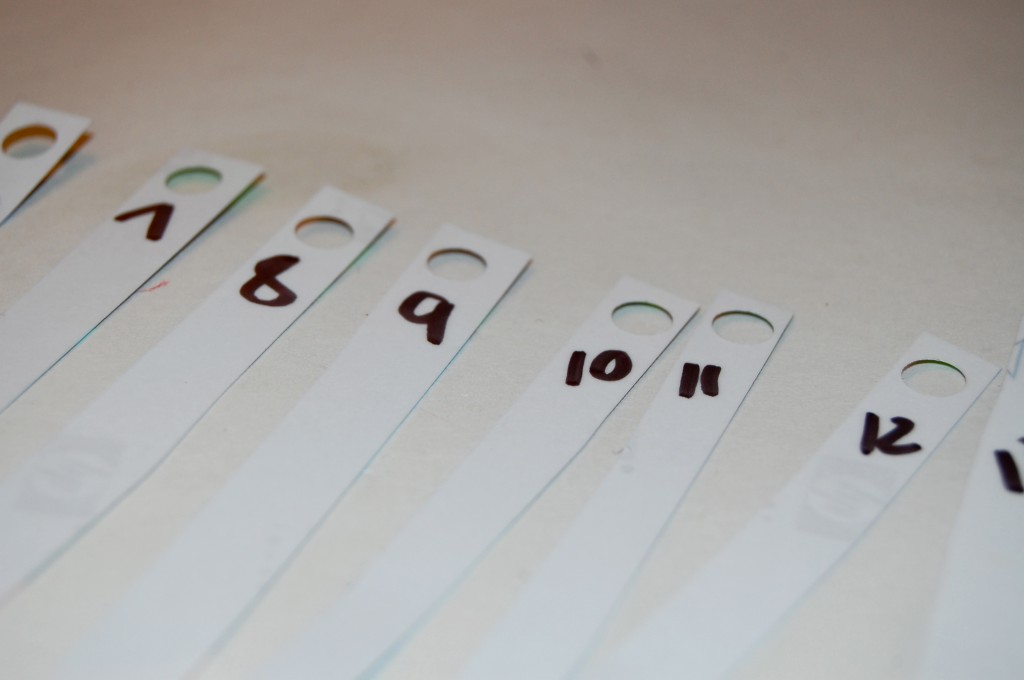
I always number mine that way I don’t mix them up. OH and remember to keep your numbers at either the top or bottom that way they are all facing the right direction. Yep. Full of tricks. Don’t forget after you cut all of your slices to punch on EACH end with the hole puncher!

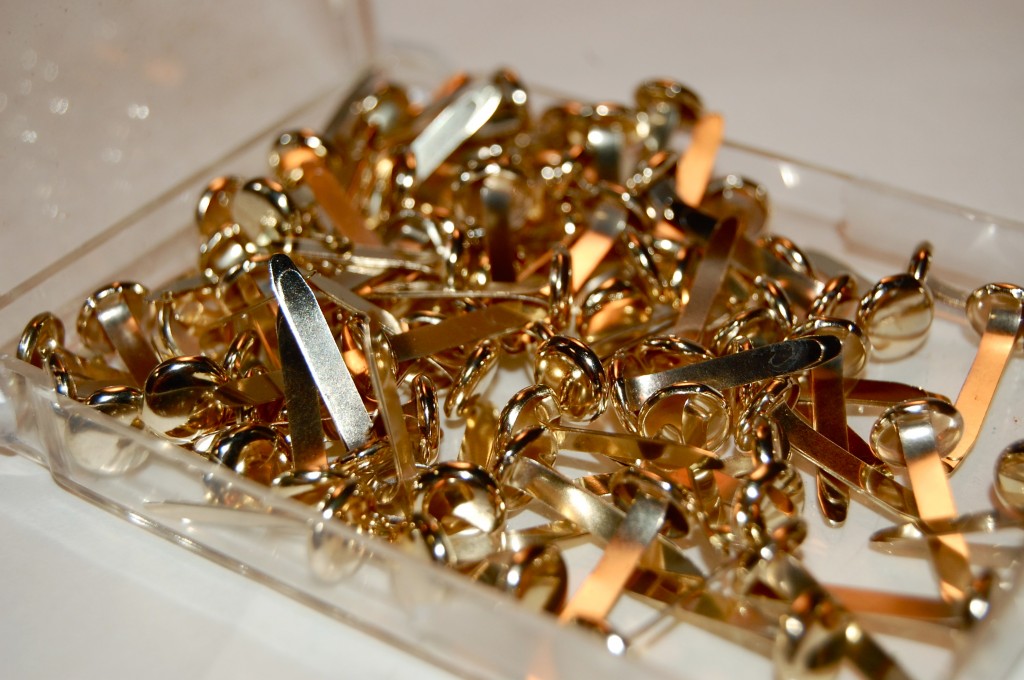
Get some good ole paper fastener’s.

Stack strips and punch holes through both ends with a hole punch (if the stack is too thick, do a few strips at a time); insert a paper fastener into each hole.

Now do you see what I mean. PRICELESS.

Wishing I was the cow jumping over the moon, or the sheep jumping the fence…


Check out Martha’s original craft HERE and you can purchase Martha Stewart’s Encyclopedia of Crafts here!

CLICK HERE TO WATCH VIDEO (me on the show!)


Click HERE to read all about it!!!

 IF YOU DECIDE TO DO ANY OF THE CRAFTS, SHOOT ME AN EMAIL AND I WILL ATTACH  IT TO THE POST WITH A LINK THAT GOES STRAIT TO YOUR BLOG!  IF YOU DON’T HAVE A BLOG JUST EMAIL IT TO ME AND I WILL PUT IT UP!!!!
JADE@JADERBOMB.COM
Thanks to Martha Stewart crafts for sponsoring me with craft supplies!