Tag Archives: martha stewart

Duncan Hines Angel Food Cake REVIEW

I have always LOVED to bake. My mom was/IS a great baker and I would like to think I have a little bit of her ” baking” genes. {haha}

I love making things from scratch. Not the biggest fan of box mixes.

I ran across a certain box mix the other day and it just made me wonder if it would taste like my “homemade” version.

I guess from what I hear a lot of people use box mixes. I mean I don’t blame you! They are easy and fast. Ya know though, there is something special about getting out that big mixer and an apron. Something about getting flour all over and making a little mess. Maybe it’s the memory I have of flour all over and me and my mom baking. I have this certain picture of me and mom baking in the kitchen. I must have wiped my hands on my {{{you know what}}} and you know my mom got it on film. TWO perfect little hand prints made out of flour. I need to find that picture because I swear for some strange reason I remember that particular day.

Isn’t that funny how you can “not” remember so much but then you can remember things from when you were so little?!?!? CUH-Razy!!!

Let me start this post because momma is tired from working so hard this weekend!

I know cake is cake but do you think this “angel” food cake will be delicious? ?!?!? Let’s SEE!

So here is the box that caught all of my little attention! I swear I wanted to jump through the box and eat all of the blueberries! AND IT’S FAT FREE!!!

Pour all of the mix into a large mixing bowl and add your water. (just make sure you follow the directions on the back of box)

Now this part is important. You can’t mix for very long! This could mess up the whole cake if you don’t follow these directions to a T!!!! {{{I would NOT know}}}haha

I used our wonderful kitchen aid that is from mother in law (thanks it is the best thing ever)! You can get one HERE!!!


RIGHT after you mix your cake mix pour it into your pan and stick it RIGHT in the oven.  Do you remember Martha Stewart’s Blueberry-Lemon Bundt Cake??? If you have not seen this recipe click here to check it out! 

I’m decided to make my OWN topping. I didn’t want to use whip cream so I grabbed a box of Pistachio pudding. Make sure you click on that link to check out all of Jell-O ‘s awesome flavors.  I LOVE THIS STUFF… oh, and some strawberries and blueberries.

Mix your pudding and set aside.

Now doesn’t this look so pretty! I somehow deleted the AWESOME picture I took of this baby in the oven. I swear ashy was laughing the whole time because it was getting SOOOOO big she swore it was going to touch the top of the oven! I was like a mad scientist in the kitchen. I can’t lie. This turned out better than I thought. I wasn’t as soft as my homemade one but the flavor was great! I guess for the future if I need to recommend a cake mix this would be the one!

I hope you had a great weekend and didn’t work everyday like I did! Is it REALLY already MONDAY? Lawd!

Wishing there were a gazillion hours in a day,

* All opinions expressed are 100% mine.  

DIY: Glittered Envelope with Martha Stewart Glitter

 Jaderbugs… I have been super swamped lately! Don’t get me wrong… It’s the only way I know how to live but phew. I’m giving myself a run for my own money!

It’s 1 in the morning and I JUST have a minute to post this. LONG day ahead of me!

I hope you enjoy this quick but FUN tutorial!

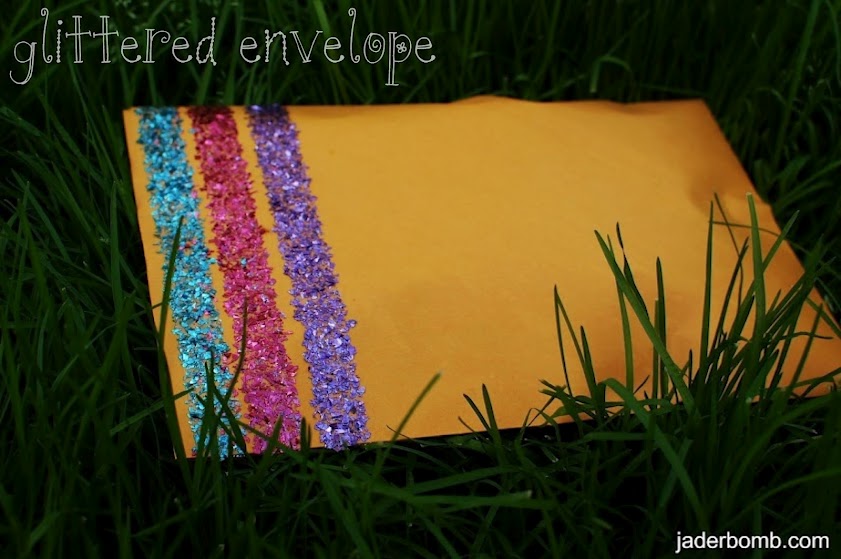
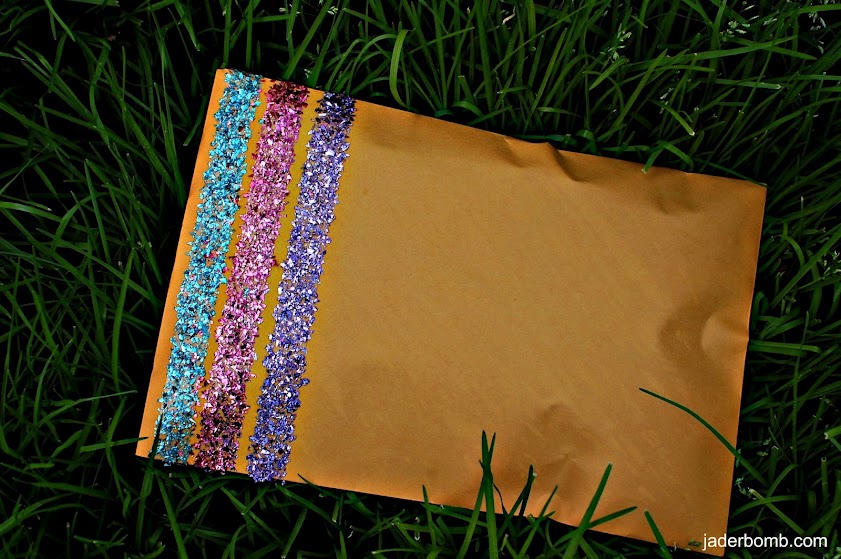
Isn’t it SO cute!

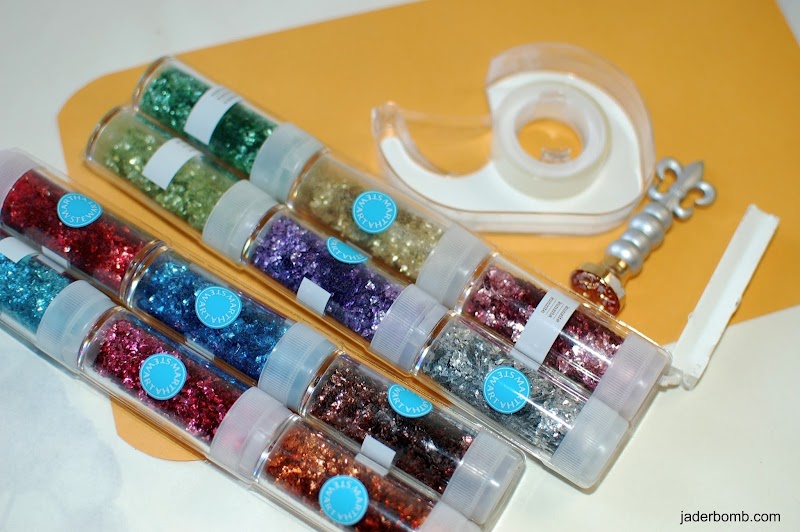
You will need double stick tape, envelope, Martha Stewart gold leaf glitter, wax seal, and a lot of love.

These are the colors I used. They are SO pretty.

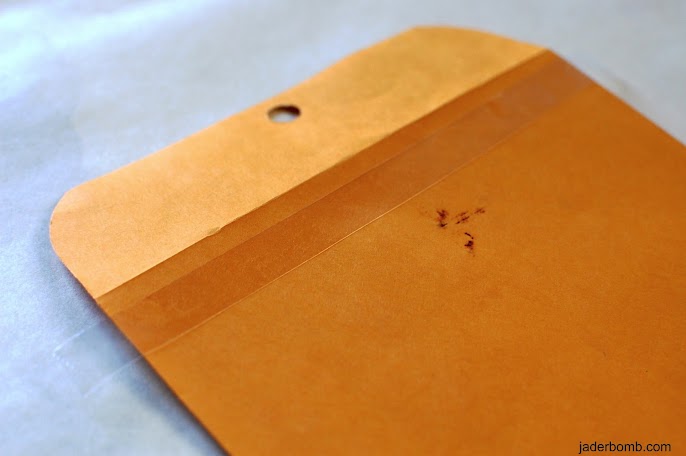
Put a strip of double stick tape along the top and snip the sides.

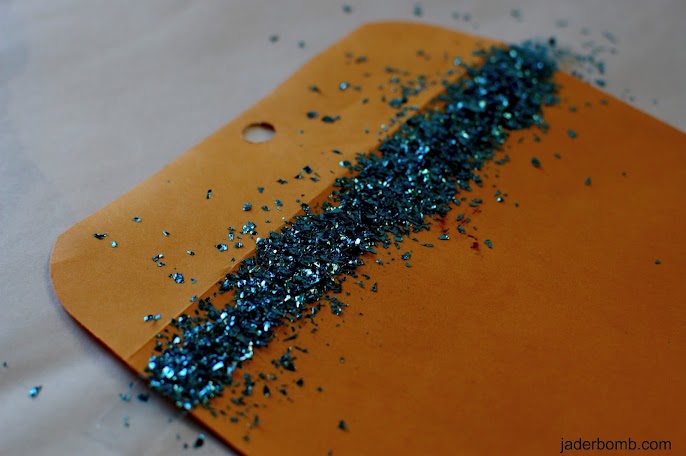
Sprinkle whatever color you want to use on top of the double stick tape.

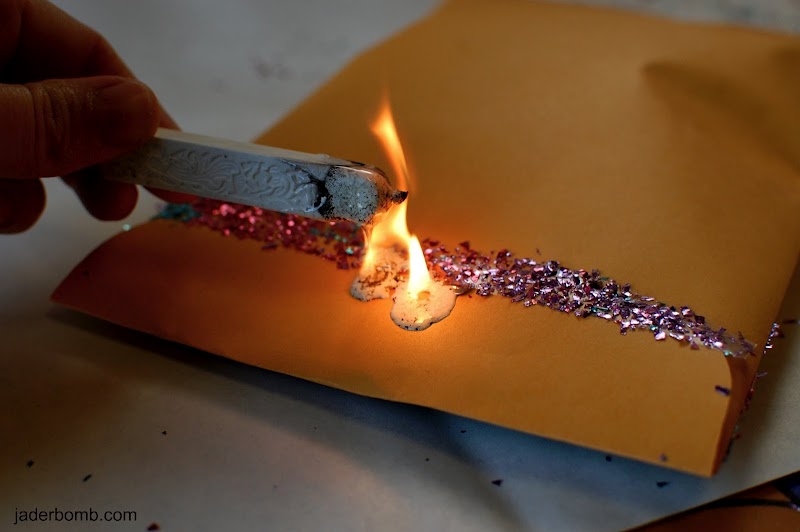
Read the directions before burning your wax. I like to turn my wax almost upside down and make it turn black in some spots!

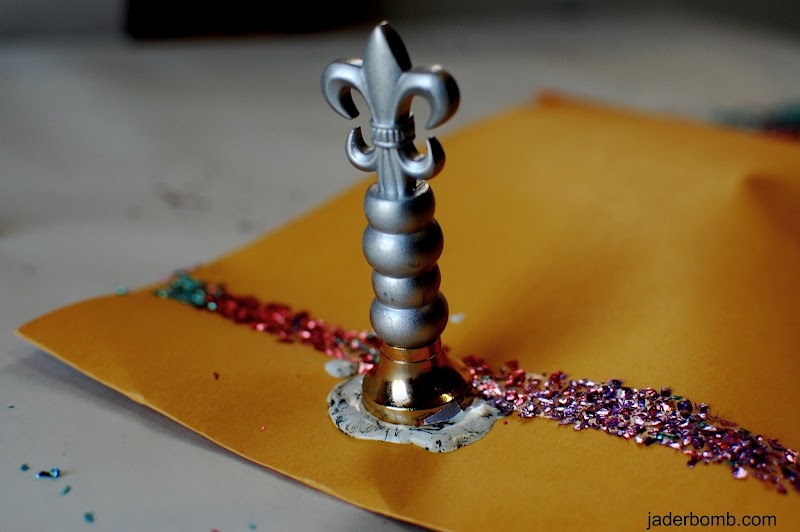
See the little black in it. Make sure you press your stamp in the wax before it melts.

So you see! It’s SUPER DUPER easy and I am positive whoever gets this will LOVE it!

I hope you enjoyed the extra picture I put for you!!! Happy Early Mardi Gras and Valentines day

Me and kitty wishes you a wonderful weekend,

This post is brought to you Plaid’s Martha Stewart line of paint and stencils. I received product for this post. All opinions expressed are 100% mine. You can check out Plaid’s fullMartha Stewart product line here

Happy Tuesday Jaderbugs!

It was a beautiful day today. The sun was shining. I was OFF. I rearranged our living room. I DANCED my BUTT off while doing this. I ate a bowl of fruity pebbles.

I wish I could do all of these things EVERY day.  I am ready for a new and wonderful day and I am trying to figure out what my theme song will be. After I rearranged the living room I realized we needed more “greenery”. What was a girl to do? Time to get out the plants that even I can’t kill. Just joking, (not really).

Let’s start making out terrarium!

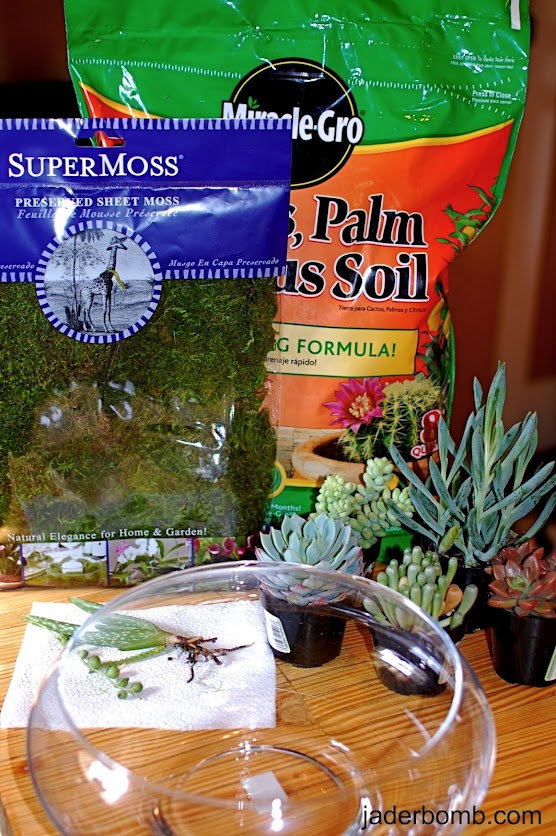
You will need: a fish bowl, succulents (i get mine from Home Depot) and they are super cheap there, moss (i LOVE super moss), rocks and potting soil (the kind for these types of plants).

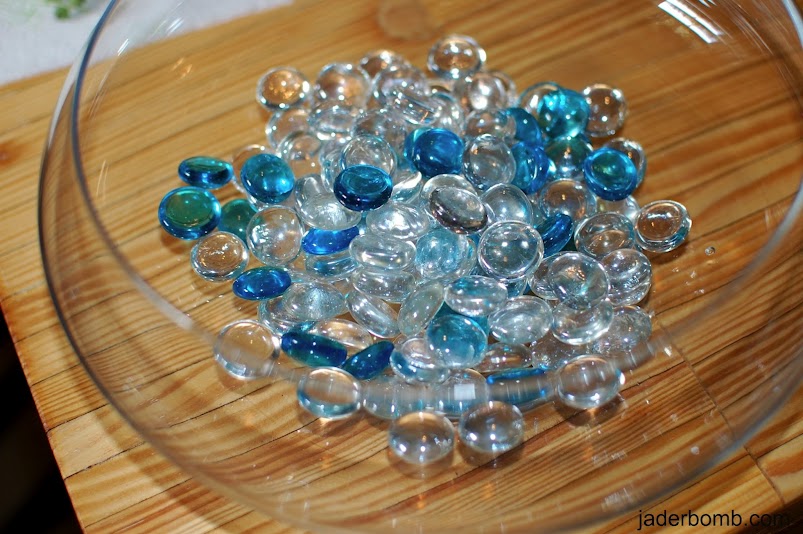
Line the bottom of your bowl with rocks or glass beads. Anything to make the draining process better.

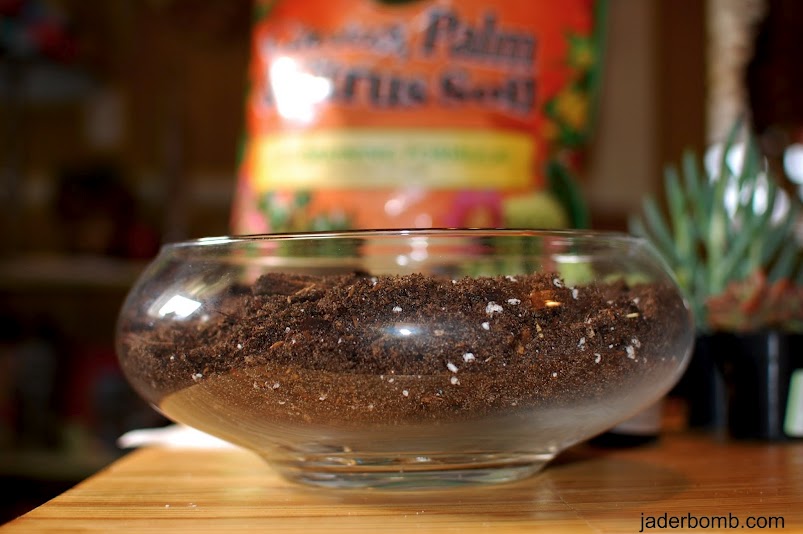
Fill up your bowl with your cactus potting mix by Miracle Gro.

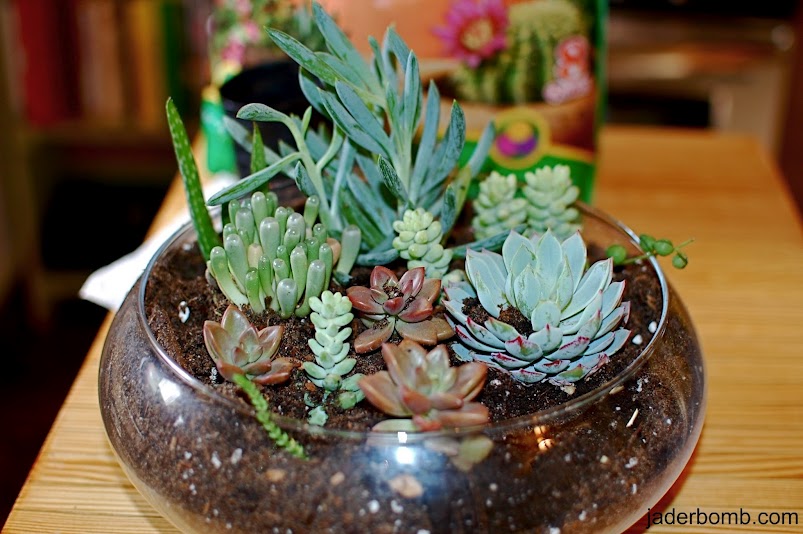
Well whatduhya know! We are almost done!

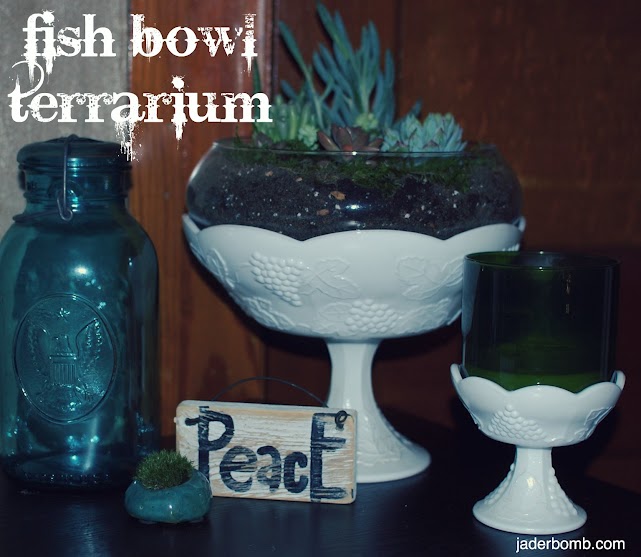
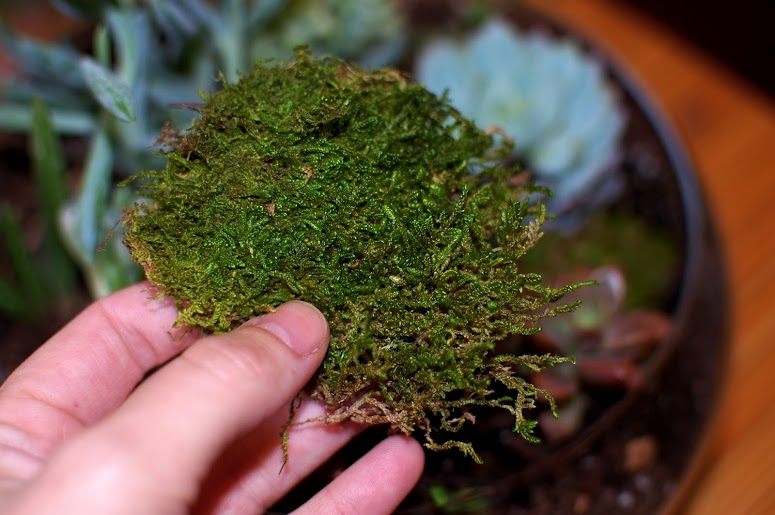
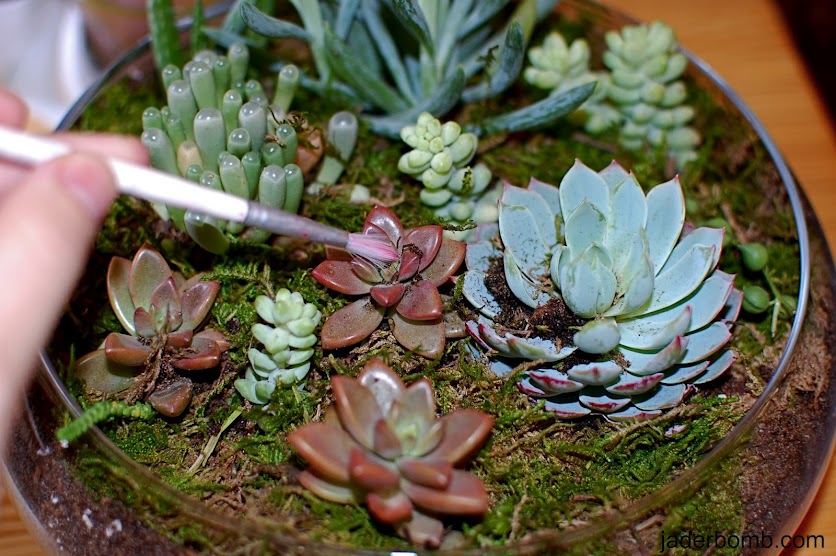
Look how pretty this is! It reminds me of the moss plant I got from Moss Rocks! Remember, he was on the Martha Stewart show after my segment! You HAVE to check out his stuff! UH-Maz-ING! OH I just realized it is in the picture at the top of this post! Look how cute it is! Thanks again David!

After you put every thing in it’s new home you can clean your plants using a small brush.  Make sure you lightly water until soil is moist. Don’t forget to place in a spot that gets plenty of sunlight and you can water it once a week!

There you have it jaderbugs! These suckers usually last pretty long if you don’t tend to them that much, haha. My little moss rock has been going strong since I got it.

{{sorry Trista}}

Sending you big warm waxy hugs,


DIY: Garden GNOMES

Happy SUPER BOWL SUNDAY!!!   I think my mouth is still OPEN from the halftime show. I can’t even get over the fact that MADONNA is still the hottest performer alive! There is nothing like her. Maybe that’s because I grew up with her and she was the most daring person I knew as a child. She has a new album coming out and if you click HERE you can pre-order it!!! I just did!!!

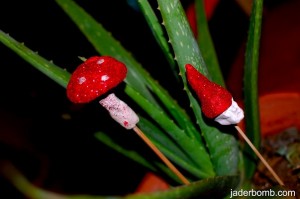
I wanted to squeeze in a fun little craft before my hectic week started. I LOVE gnomes. Maybe it’s that little “red” pointy hat that make me smile. I wanted to make some little plant stakes for some of my lonely plants. We had a really cold winter and my plants are coming alive again. Figured I could make some “friends” for them! 


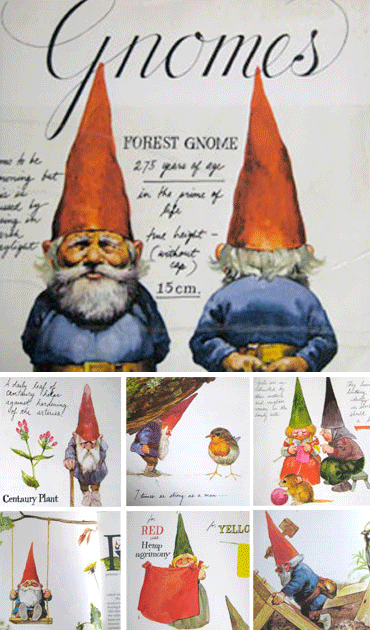
It all came back when I got this book. I had a credit at a book store for sending in some old books and one day I went in the store and found it. I had this book when I was little and didn’t think I would ever see it again. When I was a little girl I used to watch “The world of David the Gnome”.  Do you remember it? It’s BASED off of this book!!!I will post a clip at the bottom of this post!!!!

The book is called “Gnomes” by Huygen and illustrated by Dutch artist Rien Poortvliet. You can order a copy HERE  if you are interested! I will share some fun facts that are in the book and maybe you will fall in love with garden gnomes like I have!

* The adult male weighs 300 grams and the female weights 250grams * You would typically only come in contact with the male because the females stay home *ONLY the males wears a peaked red cap *They are 7 times as strong as a man *When it’s really cold the male keeps his hands warm by placing them under his beard *They speak their own language, only animals can understand them.* Goodnight is “slitzweitz” and Thank You is ” te diews”.  

Let’s get started!!!

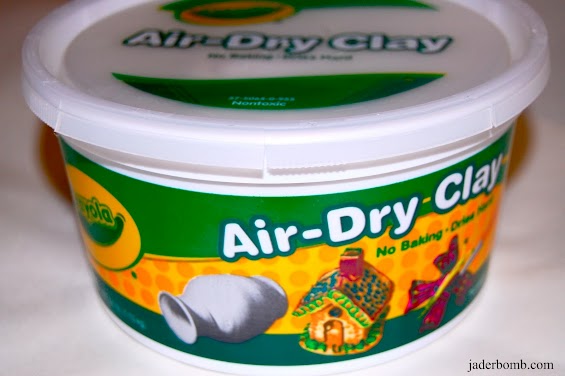
Grab some air dry clay. You can get this at walmart or any craft store. I order my stash from from the Crayola website!

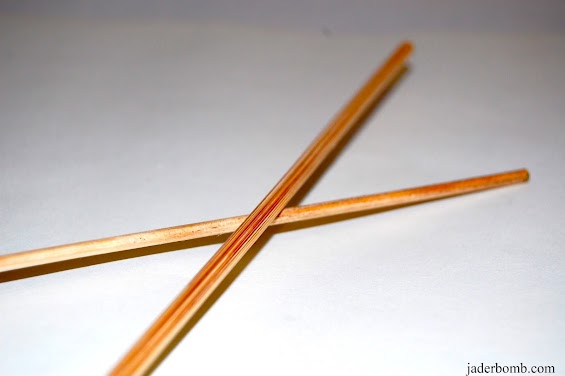
Grab some  wooden skewers.

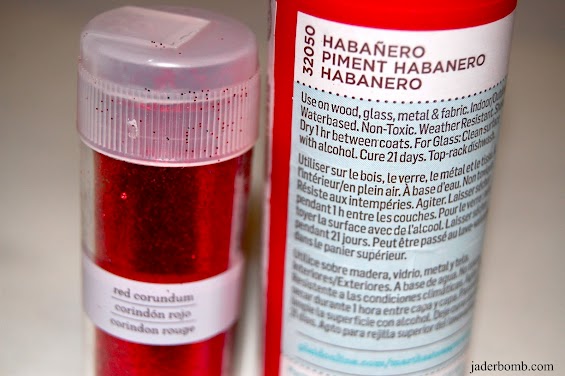
Of course you will need red paint and if you are a glitter fanatic like me you will need red glitter! Grab a small detailing brush also. If you follow me then you KNOW my commitment to anything “Martha Stewart”.  I absolutely swear by everything and it is by FAR the best quality of products I have ever worked with.

I used Habanero for my paint. You can get it at Michaels Art’s and Crafts or just order it here. I used red corundum for my glitter and you can get it here.

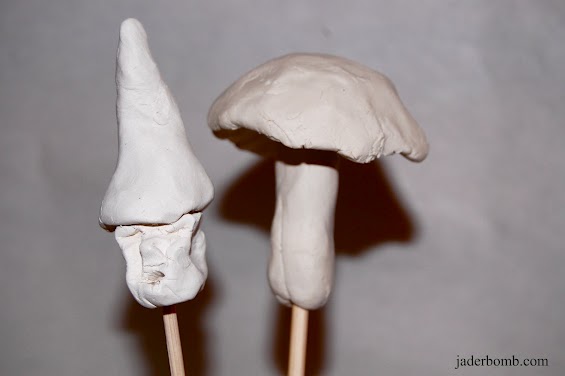
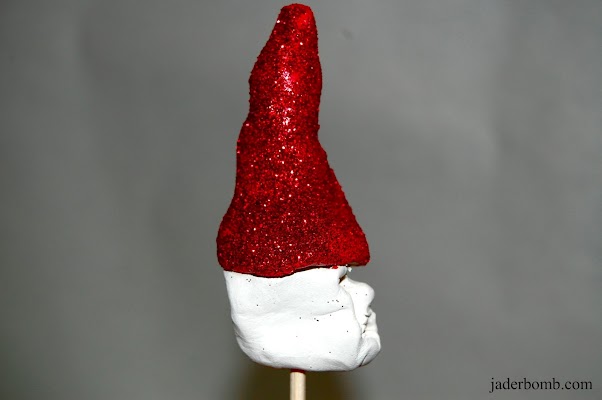
Start by shaping your air dry clay into the shapes you want. I did two separate pieces for each one then put them together after. Make sure you stick them onto the skewers before they dry. You want them to dry around the wood.

Put some paint on the hat then sprinkle glitter on top!

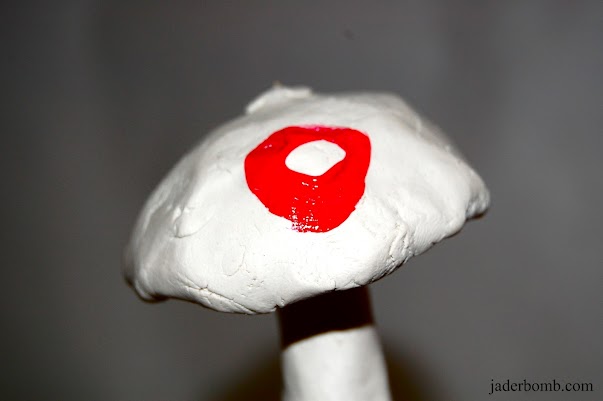
Don’t forget when you paint your mushroom to leave some little white circles. It will be cute with a couple of these on top.

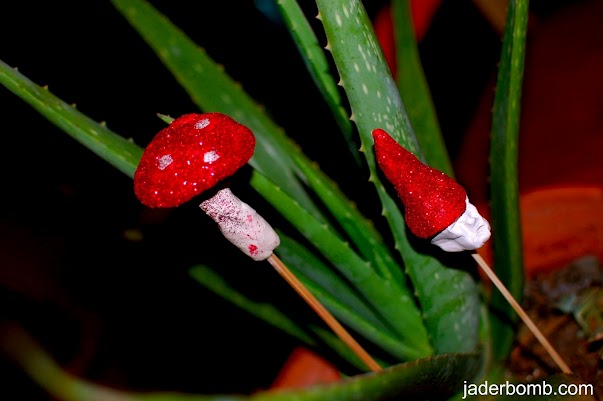
This is what your mushroom should look like. BEWARE, if you sprinkle glitter while the clay is WET it will stick and you will NOT be able to get it off! ( haha, go figure I learned this the hard way)… But don’t worry, if this happens it will only give your mushroom
“character”.

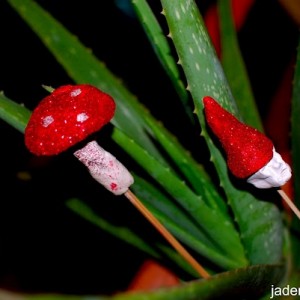
Tadahhhhh!!! Here are my cute little creations. I just love them and I can’t wait to make a ton of them to put in ALL of my plants. I think I will make them ALL different! I hope you enjoyed this craft and create whatever makes you happy. This clay is super fun and very easy to work with.

Oh, before I forget…here is the video of the cartoon I used to watch.


Sending you lot’s of gnome love,

This post is brought to you Plaid’s Martha Stewart line of paint and stencils. I received product for this post. All opinions expressed are 100% mine. You can check out Plaid’s fullMartha Stewart product line here

Happy Happy Happy Tirdsday…. (teehee) just joking! I have to tell ya, the creative juices have been working in overtime lately! I can’t seem to produce things as fast as they pass through my head. I am like, “head, stop it”, “where were you with all of these ideas 2 months ago”…. OH, I know I was kinda focused on my Martha Stewart  project. Do you remember that! If not check it out HERE.  It was such a massive project but at last, I finished it. I wanna say I passed with flying colors. {{fist pumping}}. I think Martha approved, hehe.

I went to Walmart the other day and got this awesome “Dr. Seuss ” looking plant. You know what I am talking about right? The Ponytail Palm. I found this cool site that gives you a little more information on it.  It is really “cartooooonie” looking which makes me really happy!

Let’s see what else is new…. OH Google friends is shutting down soon so if you were one of my followers on there you will have to find a new way to follow me. You can find me on Google+, or sign up for my RSS feed ( which means anytime I post something it will be sent to your email).  Either way is a great way to stay in touch! Of course you can find me on my facebook and twitter, and that is all on my website! 

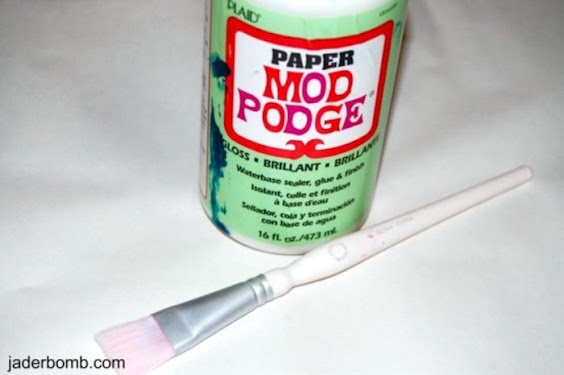
Ok! I am ready to share this fun and random craft with ya!  OH I am sorta doing a MOD PODGE “paper” review because I have been having this one and never used it! I always use the gloss and sparkle one. This was a chance for me to finally try it out. Plus I wanted to see just how good the “paper one” worked on “fabric”. SO FAR SO GOOD!!!

Ingredients you will need are: fabric, scissors, hot glue gun, mod podge terra cotta pot, twine and a creative brain for 10 minutes! Don’t forget to check out my friends website! MOD PODGE ROCKS! It is SUPER fun and I am sure you will find a ton of things to do on it ! She is like the MOD PODGE queen… (at least in my eyes)

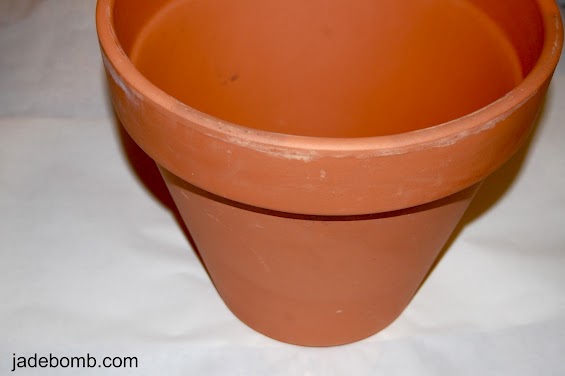
First thing we will do is grab our pot. I said “terra cotta” but you can really use ANY pot you have. I got this one at Wal-Mart for like…3 bucks!

So I know I said this was a new “Mod Podge” that I was reviewing but you might wonder why it’s FULL of blue paint. Well, because it has been living in my studio for quite some time and it has seen a few falls and spills near it! HAHA. Of course I am using my Martha Stewart brush! I have done MANY reviews on this product and let me tell you it is worth every penny! Did you know Mod Podge comes in tons of different ways. Here are a few!

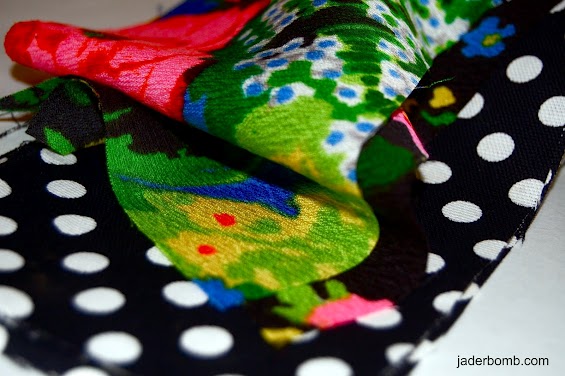
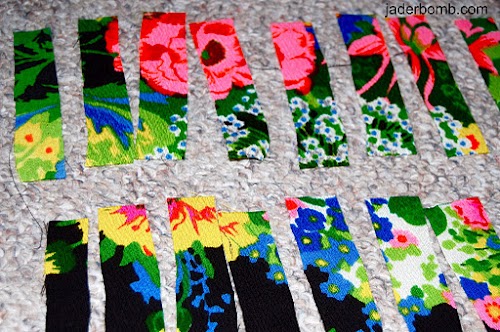
I went in my fabric closet and found some fun colors that looked great next to each other. Personally I think black and white go with ANYTHING!

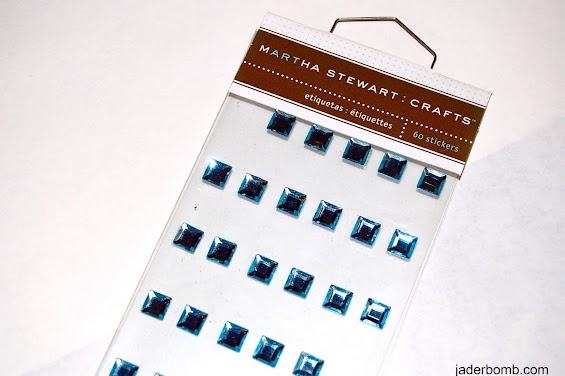
I had these little “jewel” stickers. I think they are made for scrap booking but I figured I would try them in a different way. I know you will love the end result! Oh, you can get some of these little babies at Michaels Art’s and Crafts!

Don’t forget to grab your hot glue gun and a pair of  “good” scissors. I used this glue gun and these scissors. Personally I like them the most and I have tried MANY before these landed in my hands! They were heaven sent! (thanks Martha) haha!

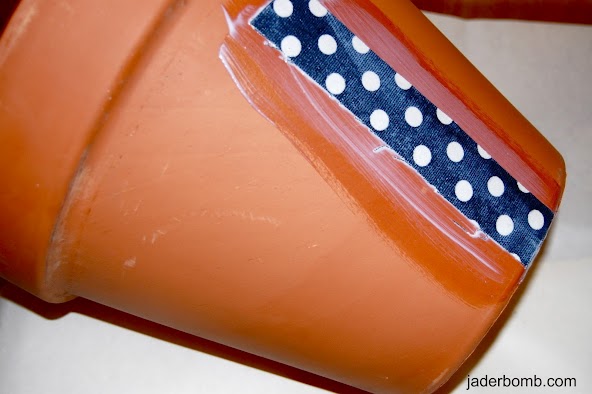
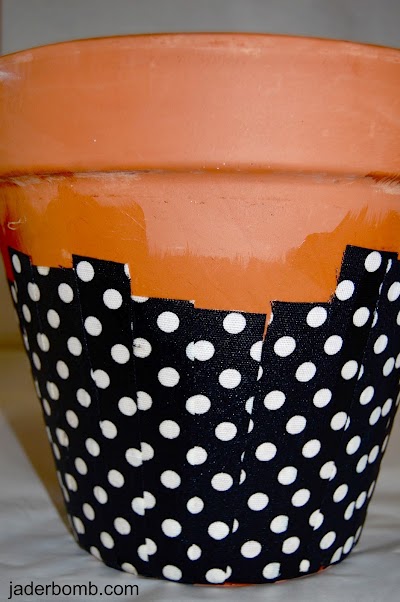
Start by cutting your fabric into strips and mod podge each one down. One at a time. It’s easy if you brush on top of your pot with the mod podge then place your strip down. Once it is down put a GOOD coat on top of it. Don’t worry if it looks really white, all Mod Podge dries CLEAR!

P.S. If you are using a fabric that has a print on it keep the strips next to each other so it “sorta” lines up when it’s all down.

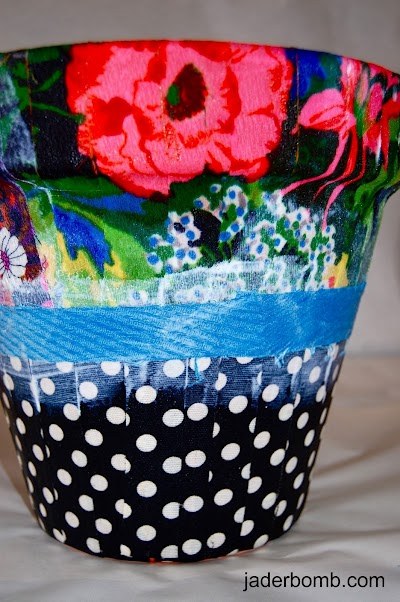
This is what it will look like when you are done with the bottom. You want to do the bottom THEN the top. See, I told you it dries crazy clear! So pretty, right!

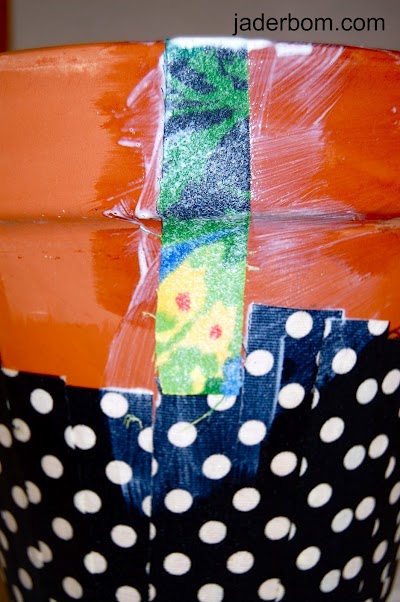
After you do the complete bottom, and it dries then you can start the top. Don’t worry, if they don’t match perfectly in the middle. We will be putting a strip of fabric there.

This is what it will look like full of Mod Podge and NO strip separating the two.

Look how pretty the top looks!! It’s crazy how this excites me! (craft geek)…After your top dries you will put a strip (whatever color or design you choose) in the middle to cover where they meet up. Use the same procedure.

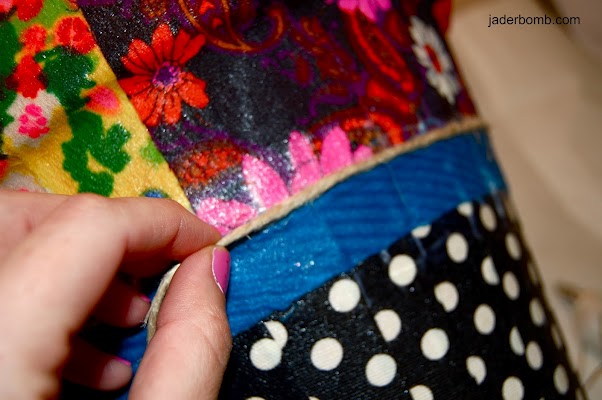
Next thing we have to do is hot glue down our twine along the edges of the center strip. Be careful not to burn your fingers!!!

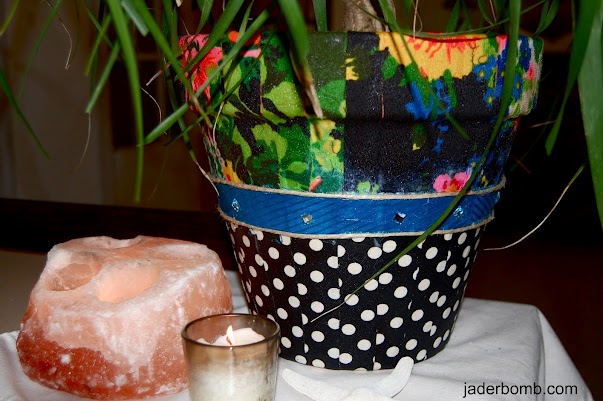
If you notice in the MIDDLE of the strip I hot glued the sticker jewels to it. It just adds that PERFECT touch to it!

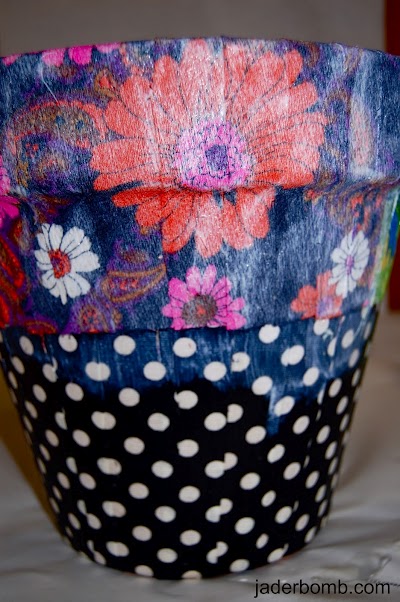
And this my Jaderbugs is the final result. Our Pony Tail tree finally has a cute little home, for now. (haha) Don’t worry if you have little hot glue strings hanging out ALL over your pot. Once your fabric is COMPLETELY dry you can just rub it off. Obviously I took these pictures WAY before it was dry! HAHA

I hope everyone is dreaming of memories of their favorite pony tail they rocked at some point in time,


Paint Chip Canvas TUTORIAL

Hey Jaderbugs!!! I can’t believe I forgot to click “publish” yesterday after I wrote this!

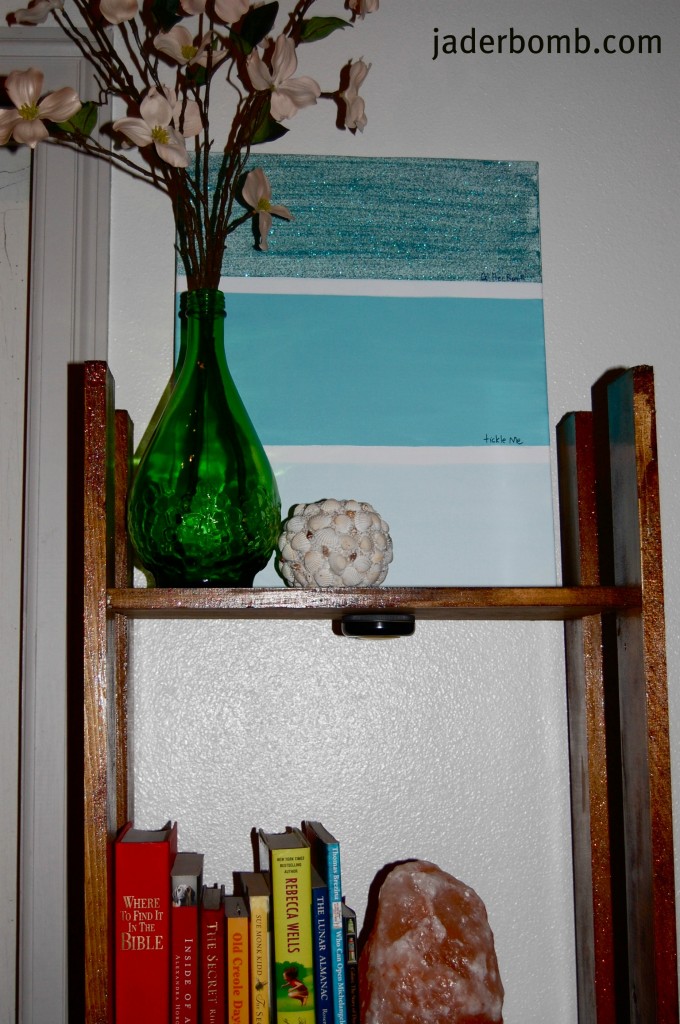
I wanted to make you something that is FUN and EXCITING for Valentine’s day. I am always drawn into paint samples at any store I go into. I can think of a MILLION things to do with them and I never seem to have enough time! Sometimes I find paint samples that I absolutely can’t choose from, because I love the entire thing. That is why I came up with this fun craft! Why not make your own LIFE SIZE paint samples. You know, the kind where you can “pick” your own colors and “pick” your own names! I had so much fun making this and it would be a great gift to anyone! It is a great and cheap way to add lot’s of decor to a space and you can have tons of them for different holidays!

Some of the things I used to make this craft are:

1.  Martha Stewart Crafts™ Basic Brush Set – 5pc

2.  Martha Stewart Crafts™ Paint

3.  Artist’s Loft™ 2 Pack Value Canvas   

The colors I used for this project are : Pink Carnation, Raspberry Ice, Fruit Punch, Turquoise, Surf and Sea Lavender. They are all from the Martha Stewart line.
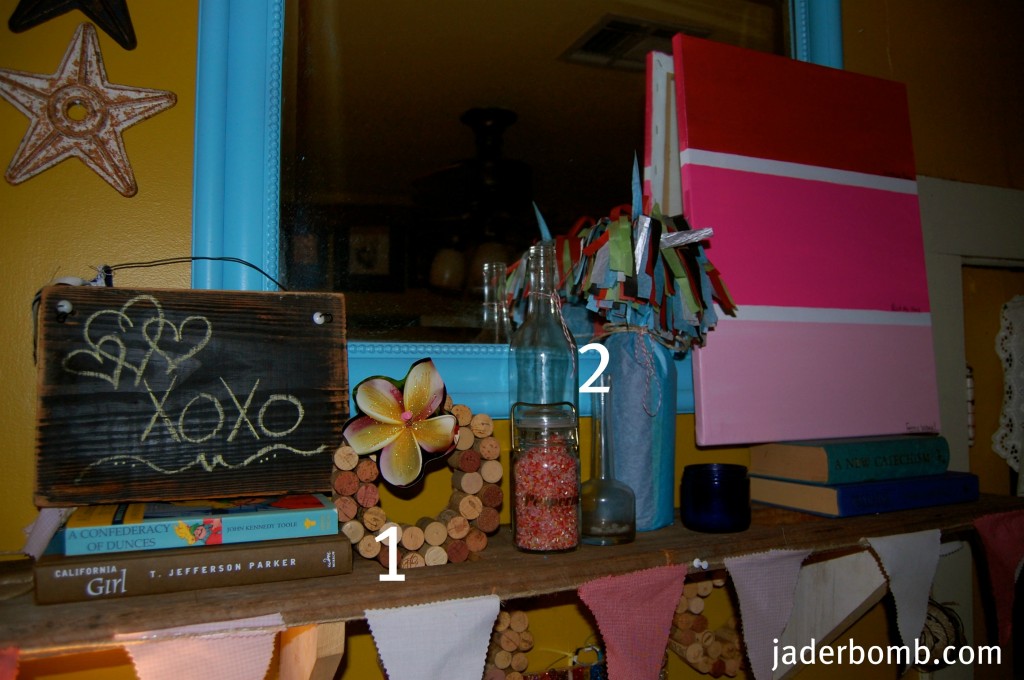
I hope you enjoyed the quick show I made you! If you want to see the tutorials on two of the crafts in the picture above here are the links!!! Enjoy!!!

1. Wine Cork Board
2.  Champagne-Bottle Wrap


Stay tuned I will be posting a tutorial on how to make a “head” to put on your wall. You will have to come back to see what kind of HEAD I am talking about!!!!

Sending you lots of paint chip colored canvases,