Tag Archives: michaels arts and crafts

DIY: Garden GNOMES

Happy SUPER BOWL SUNDAY!!!   I think my mouth is still OPEN from the halftime show. I can’t even get over the fact that MADONNA is still the hottest performer alive! There is nothing like her. Maybe that’s because I grew up with her and she was the most daring person I knew as a child. She has a new album coming out and if you click HERE you can pre-order it!!! I just did!!!

I wanted to squeeze in a fun little craft before my hectic week started. I LOVE gnomes. Maybe it’s that little “red” pointy hat that make me smile. I wanted to make some little plant stakes for some of my lonely plants. We had a really cold winter and my plants are coming alive again. Figured I could make some “friends” for them! 
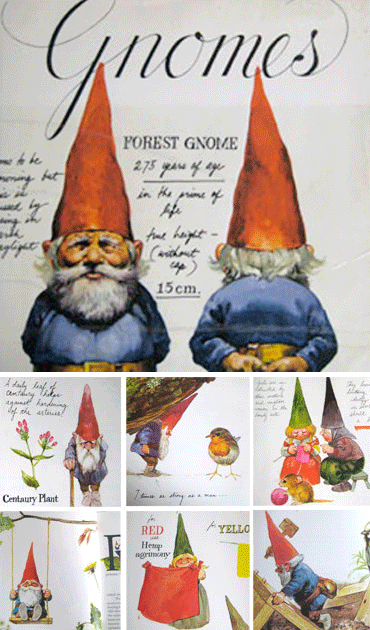

It all came back when I got this book. I had a credit at a book store for sending in some old books and one day I went in the store and found it. I had this book when I was little and didn’t think I would ever see it again. When I was a little girl I used to watch “The world of David the Gnome”.  Do you remember it? It’s BASED off of this book!!!I will post a clip at the bottom of this post!!!!

The book is called “Gnomes” by Huygen and illustrated by Dutch artist Rien Poortvliet. You can order a copy HERE  if you are interested! I will share some fun facts that are in the book and maybe you will fall in love with garden gnomes like I have!

* The adult male weighs 300 grams and the female weights 250grams * You would typically only come in contact with the male because the females stay home *ONLY the males wears a peaked red cap *They are 7 times as strong as a man *When it’s really cold the male keeps his hands warm by placing them under his beard *They speak their own language, only animals can understand them.* Goodnight is “slitzweitz” and Thank You is ” te diews”.  

Let’s get started!!!

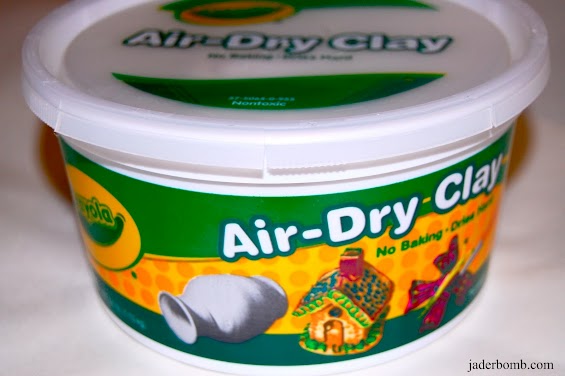
Grab some air dry clay. You can get this at walmart or any craft store. I order my stash from from the Crayola website!

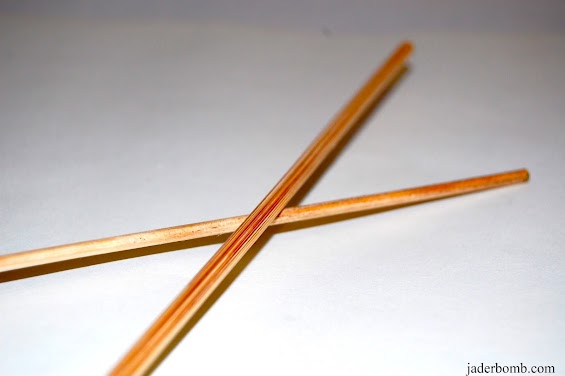
Grab some  wooden skewers.

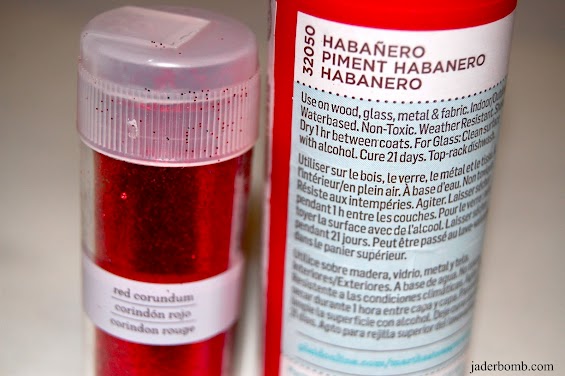
Of course you will need red paint and if you are a glitter fanatic like me you will need red glitter! Grab a small detailing brush also. If you follow me then you KNOW my commitment to anything “Martha Stewart”.  I absolutely swear by everything and it is by FAR the best quality of products I have ever worked with.

I used Habanero for my paint. You can get it at Michaels Art’s and Crafts or just order it here. I used red corundum for my glitter and you can get it here.

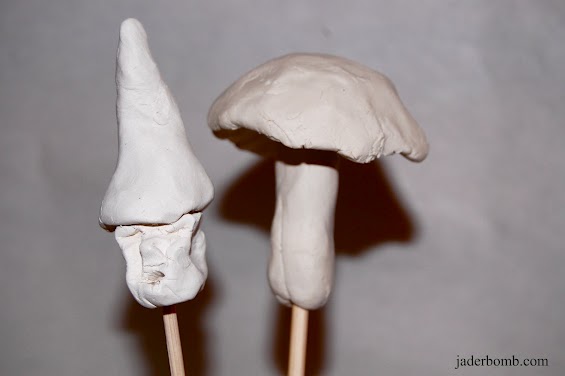
Start by shaping your air dry clay into the shapes you want. I did two separate pieces for each one then put them together after. Make sure you stick them onto the skewers before they dry. You want them to dry around the wood.

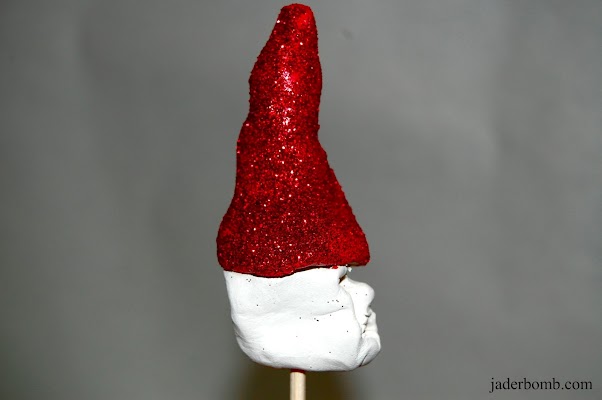
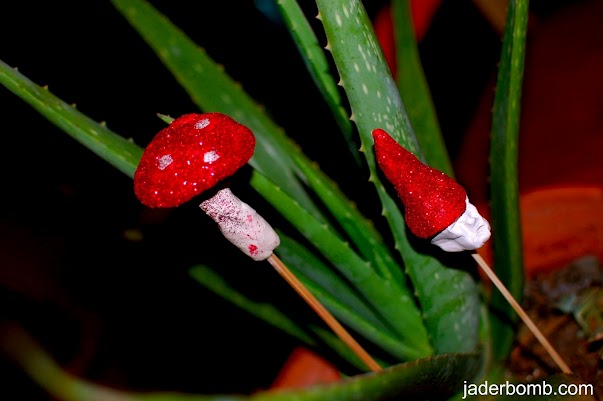
Put some paint on the hat then sprinkle glitter on top!

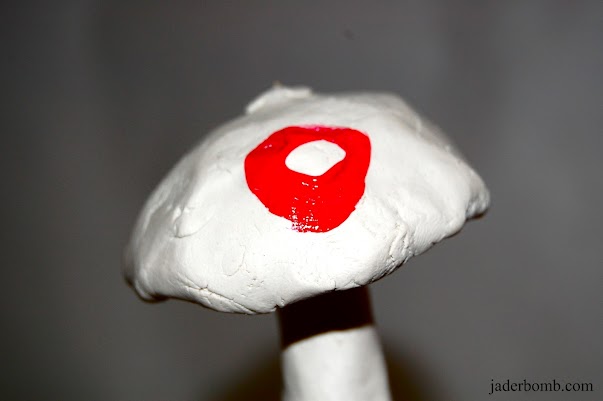
Don’t forget when you paint your mushroom to leave some little white circles. It will be cute with a couple of these on top.

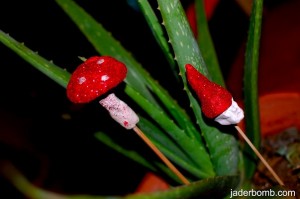
This is what your mushroom should look like. BEWARE, if you sprinkle glitter while the clay is WET it will stick and you will NOT be able to get it off! ( haha, go figure I learned this the hard way)… But don’t worry, if this happens it will only give your mushroom
“character”.

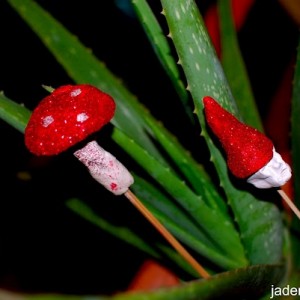
Tadahhhhh!!! Here are my cute little creations. I just love them and I can’t wait to make a ton of them to put in ALL of my plants. I think I will make them ALL different! I hope you enjoyed this craft and create whatever makes you happy. This clay is super fun and very easy to work with.

Oh, before I forget…here is the video of the cartoon I used to watch.


Sending you lot’s of gnome love,

This post is brought to you Plaid’s Martha Stewart line of paint and stencils. I received product for this post. All opinions expressed are 100% mine. You can check out Plaid’s fullMartha Stewart product line here

Happy Happy Happy Tirdsday…. (teehee) just joking! I have to tell ya, the creative juices have been working in overtime lately! I can’t seem to produce things as fast as they pass through my head. I am like, “head, stop it”, “where were you with all of these ideas 2 months ago”…. OH, I know I was kinda focused on my Martha Stewart  project. Do you remember that! If not check it out HERE.  It was such a massive project but at last, I finished it. I wanna say I passed with flying colors. {{fist pumping}}. I think Martha approved, hehe.

I went to Walmart the other day and got this awesome “Dr. Seuss ” looking plant. You know what I am talking about right? The Ponytail Palm. I found this cool site that gives you a little more information on it.  It is really “cartooooonie” looking which makes me really happy!

Let’s see what else is new…. OH Google friends is shutting down soon so if you were one of my followers on there you will have to find a new way to follow me. You can find me on Google+, or sign up for my RSS feed ( which means anytime I post something it will be sent to your email).  Either way is a great way to stay in touch! Of course you can find me on my facebook and twitter, and that is all on my website! 

Ok! I am ready to share this fun and random craft with ya!  OH I am sorta doing a MOD PODGE “paper” review because I have been having this one and never used it! I always use the gloss and sparkle one. This was a chance for me to finally try it out. Plus I wanted to see just how good the “paper one” worked on “fabric”. SO FAR SO GOOD!!!

Ingredients you will need are: fabric, scissors, hot glue gun, mod podge terra cotta pot, twine and a creative brain for 10 minutes! Don’t forget to check out my friends website! MOD PODGE ROCKS! It is SUPER fun and I am sure you will find a ton of things to do on it ! She is like the MOD PODGE queen… (at least in my eyes)

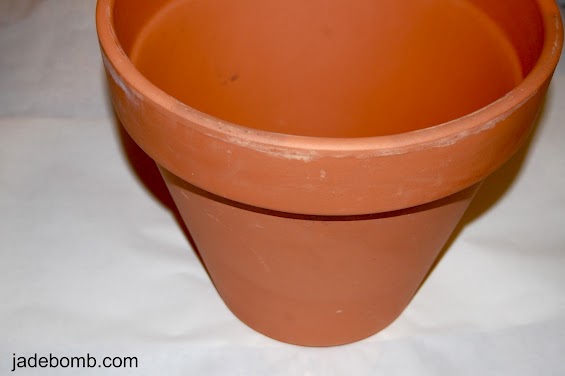
First thing we will do is grab our pot. I said “terra cotta” but you can really use ANY pot you have. I got this one at Wal-Mart for like…3 bucks!

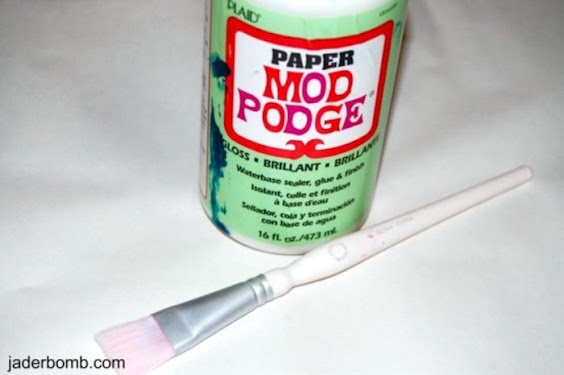
So I know I said this was a new “Mod Podge” that I was reviewing but you might wonder why it’s FULL of blue paint. Well, because it has been living in my studio for quite some time and it has seen a few falls and spills near it! HAHA. Of course I am using my Martha Stewart brush! I have done MANY reviews on this product and let me tell you it is worth every penny! Did you know Mod Podge comes in tons of different ways. Here are a few!

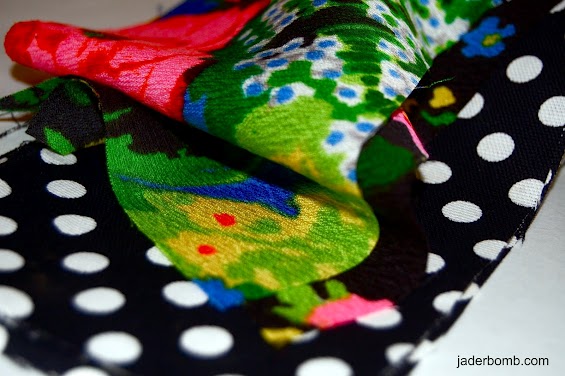
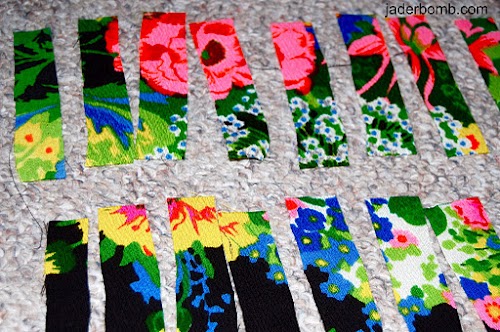
I went in my fabric closet and found some fun colors that looked great next to each other. Personally I think black and white go with ANYTHING!

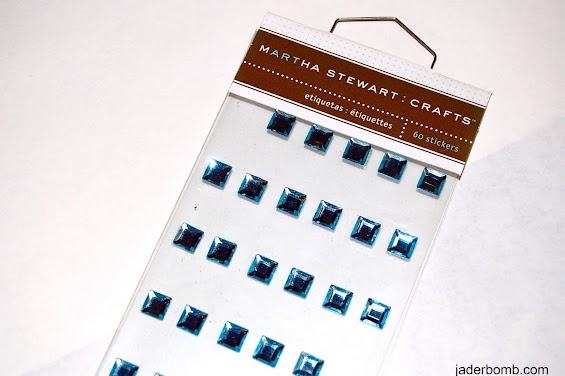
I had these little “jewel” stickers. I think they are made for scrap booking but I figured I would try them in a different way. I know you will love the end result! Oh, you can get some of these little babies at Michaels Art’s and Crafts!

Don’t forget to grab your hot glue gun and a pair of  “good” scissors. I used this glue gun and these scissors. Personally I like them the most and I have tried MANY before these landed in my hands! They were heaven sent! (thanks Martha) haha!

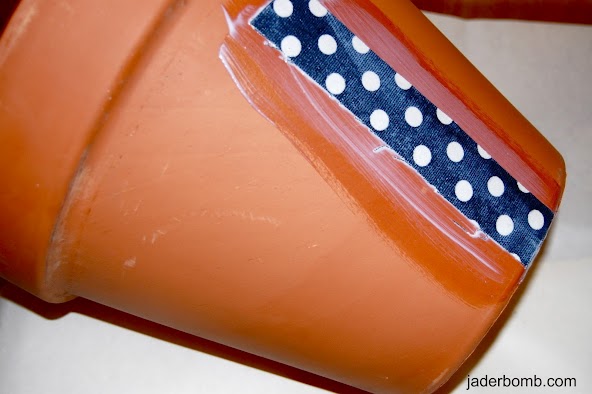
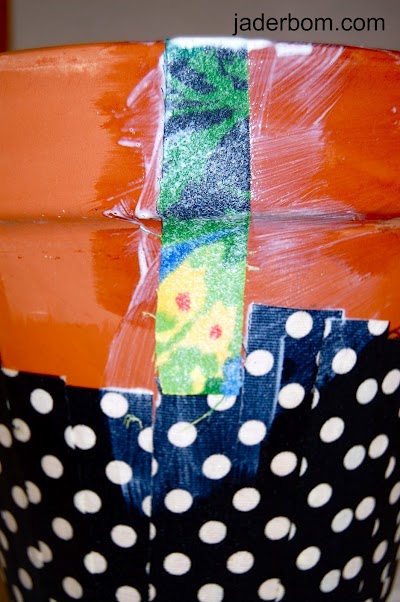
Start by cutting your fabric into strips and mod podge each one down. One at a time. It’s easy if you brush on top of your pot with the mod podge then place your strip down. Once it is down put a GOOD coat on top of it. Don’t worry if it looks really white, all Mod Podge dries CLEAR!

P.S. If you are using a fabric that has a print on it keep the strips next to each other so it “sorta” lines up when it’s all down.

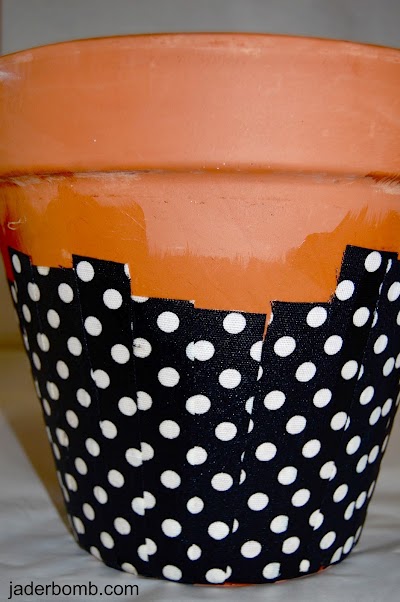
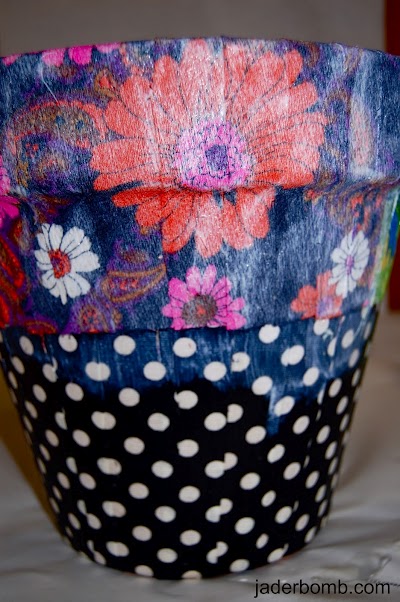
This is what it will look like when you are done with the bottom. You want to do the bottom THEN the top. See, I told you it dries crazy clear! So pretty, right!

After you do the complete bottom, and it dries then you can start the top. Don’t worry, if they don’t match perfectly in the middle. We will be putting a strip of fabric there.

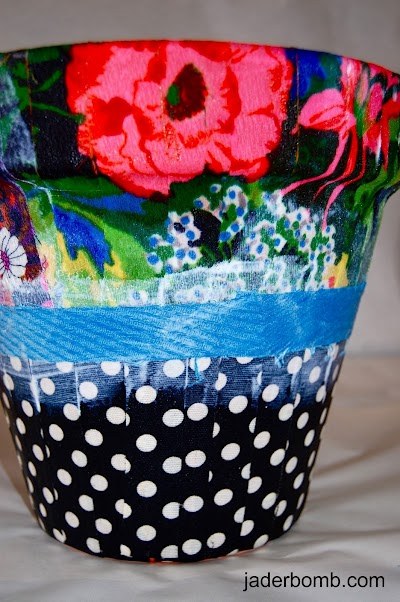
This is what it will look like full of Mod Podge and NO strip separating the two.

Look how pretty the top looks!! It’s crazy how this excites me! (craft geek)…After your top dries you will put a strip (whatever color or design you choose) in the middle to cover where they meet up. Use the same procedure.

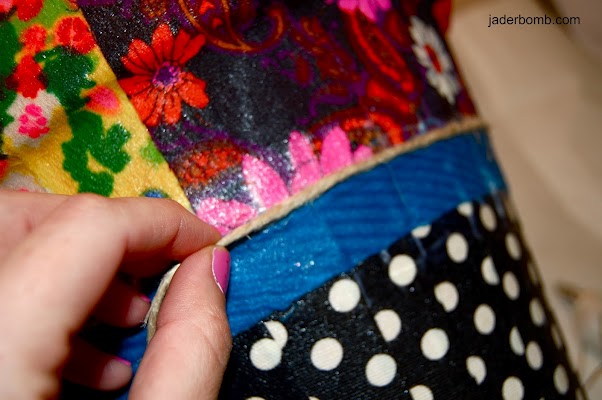
Next thing we have to do is hot glue down our twine along the edges of the center strip. Be careful not to burn your fingers!!!

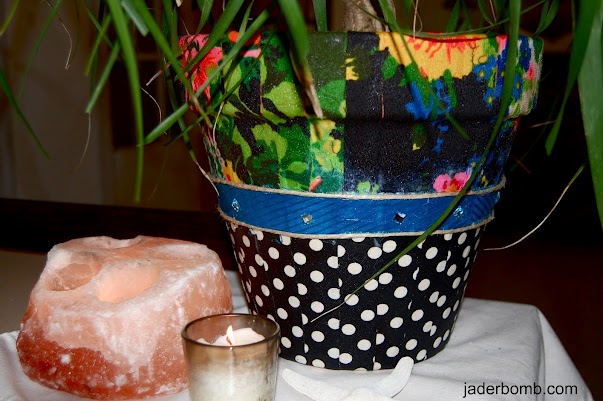
If you notice in the MIDDLE of the strip I hot glued the sticker jewels to it. It just adds that PERFECT touch to it!

And this my Jaderbugs is the final result. Our Pony Tail tree finally has a cute little home, for now. (haha) Don’t worry if you have little hot glue strings hanging out ALL over your pot. Once your fabric is COMPLETELY dry you can just rub it off. Obviously I took these pictures WAY before it was dry! HAHA

I hope everyone is dreaming of memories of their favorite pony tail they rocked at some point in time,


Lookie Here!!!! Some things I got for Christmas!!

Well Jaderbugs~ It’s almost the weekend! What’s everyone’s plans this weekend! Ya kno the big game is going on in New Orleans this weekend!!!! I know it will be crazy!!!! While cleaning off my computer I found a couple of pictures that just made me smile and feel happy inside! It’s some things that seester bought me for Christmas and I am madly in love with them!!!

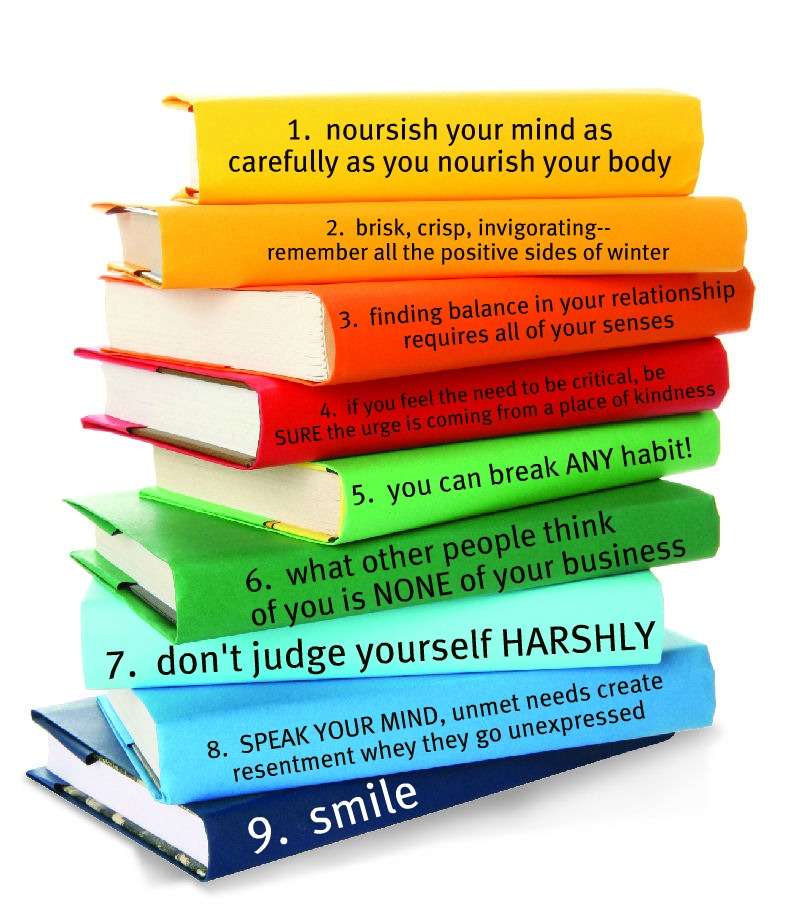
Before I show some fun and exciting pictures I wanted to share 9 things that I think you need to know to have a wholesome and happy NEW YEAR!!!

Don’t you just LOVE every single one of these!!! I hope they make you smile and make you have a grand outlook with your life!

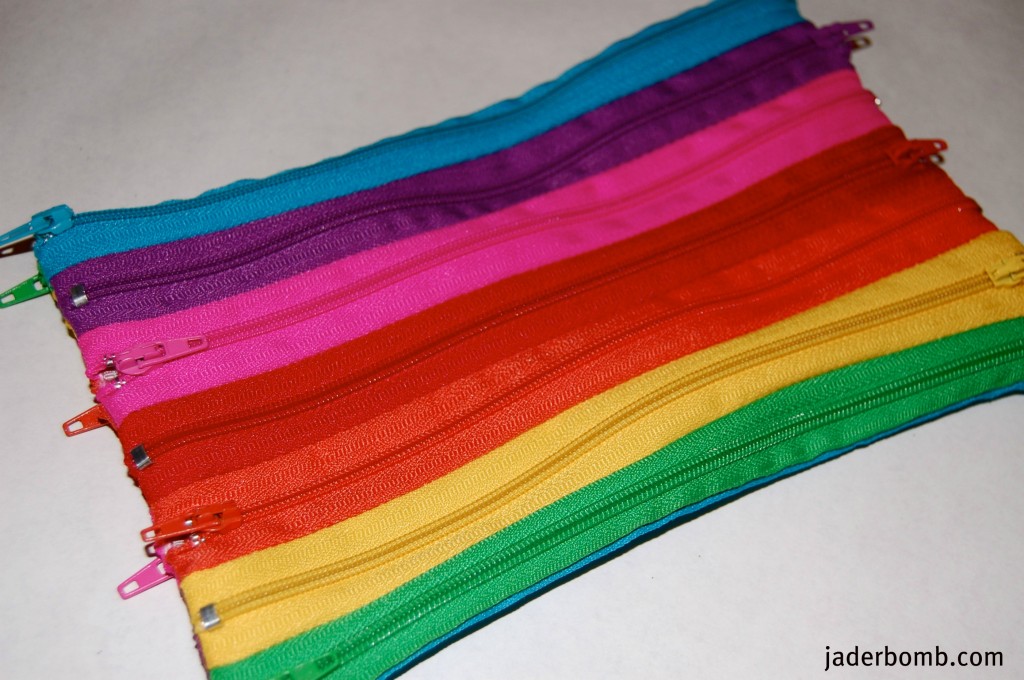
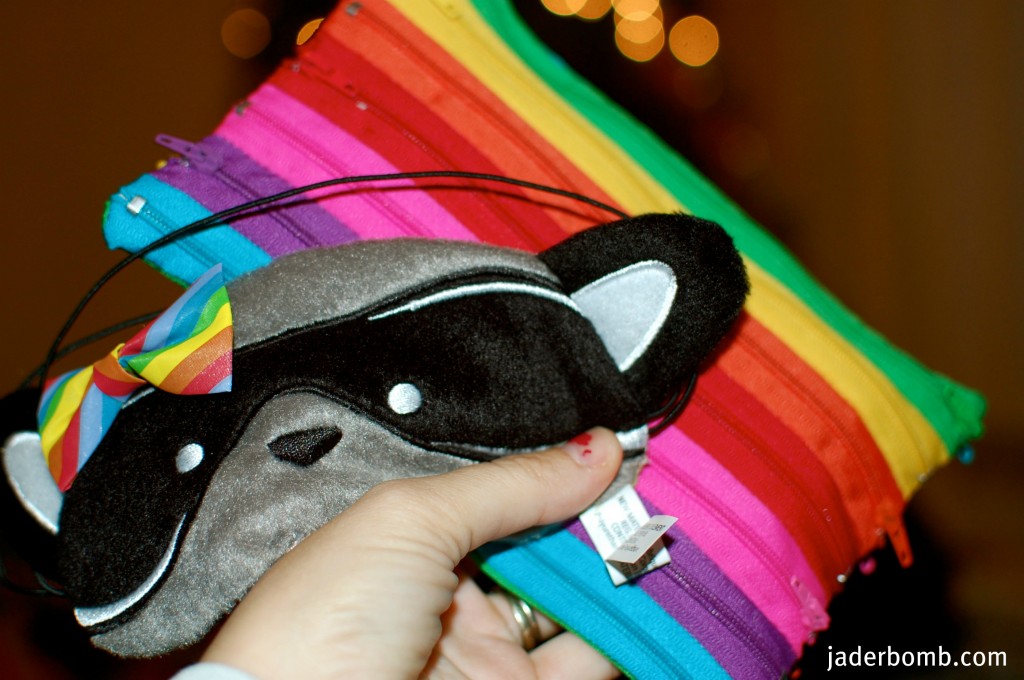
How cute is this sucker! Seester got me this and I LOVE LOVE LOVE it. She sure does know me WELL!!!! It’s a little bag to put tons of different things in. You can use it for makeup, pencils and pens or just JUNK!!! I am not sure where she got it but I will find out from her!

What do you think? Would you like me to do a tutorial on how to make one of these? If you do comment in this post and let me know! Who knows, I might end up putting it in a giveaway for someone to win!! (that is the one I will do, not seesters lol)

She also got me this cure eye mask! Ashy said it is SO cute on me! I will have to ask her where she got it in case you want one!

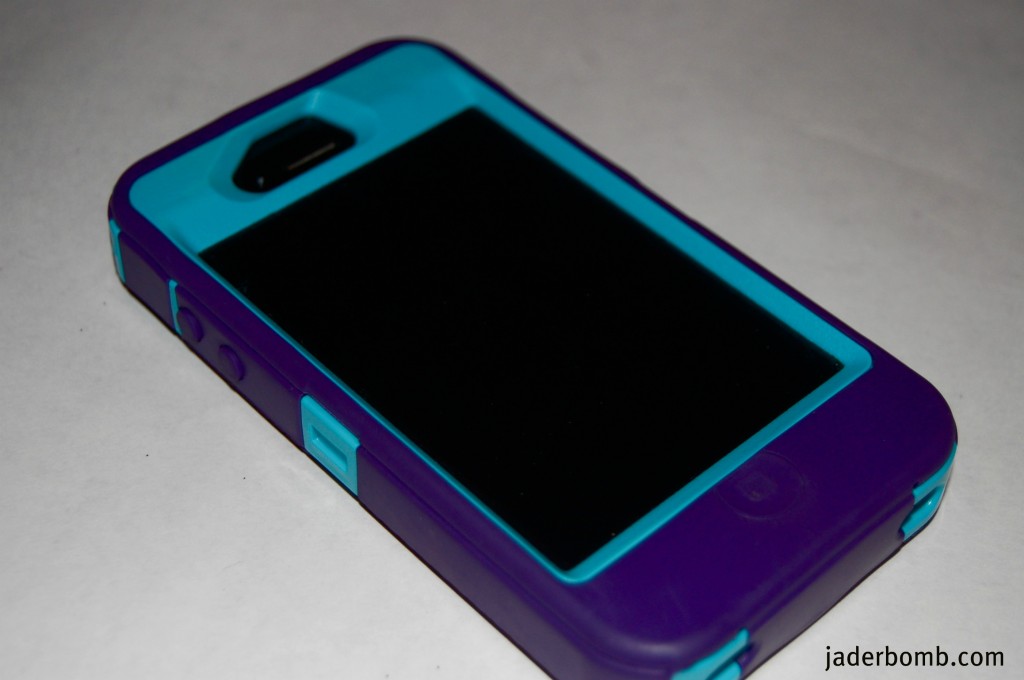
I had to show you my new phone case! I LOVE it! These two colors are my favorite of all time! I bought it from AT&T and I think it is so bright and fun!


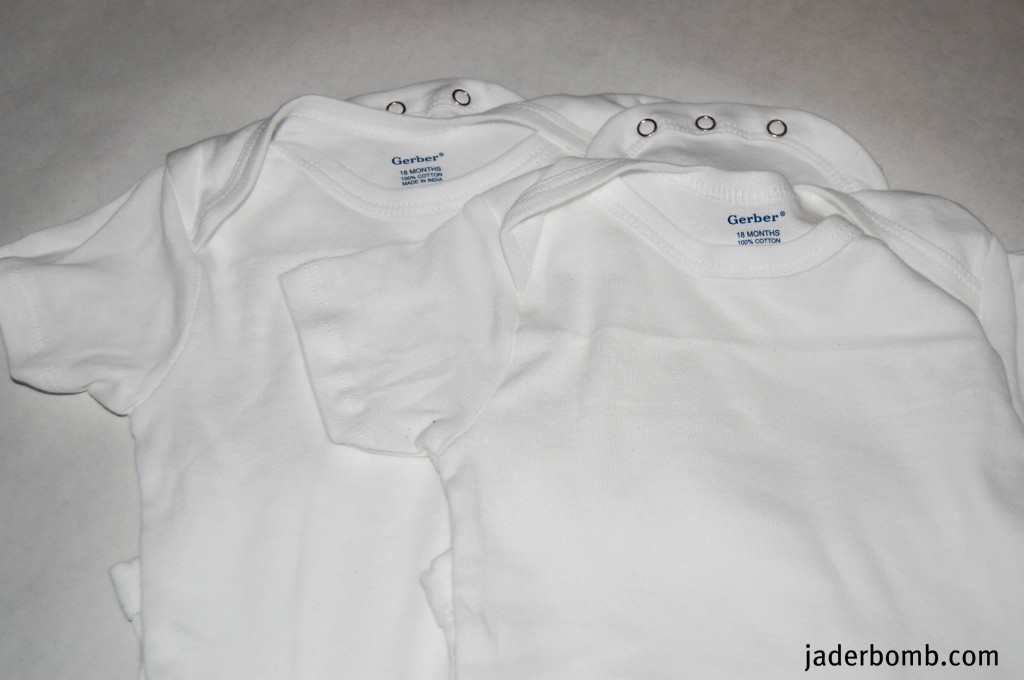
I wanted to give you a SNEAK PEAK at something I will be using for a craft I am working on! What do you think it is? Comment and tell me!!!! I hated to mess these suckers up because they are SO pretty and fun!

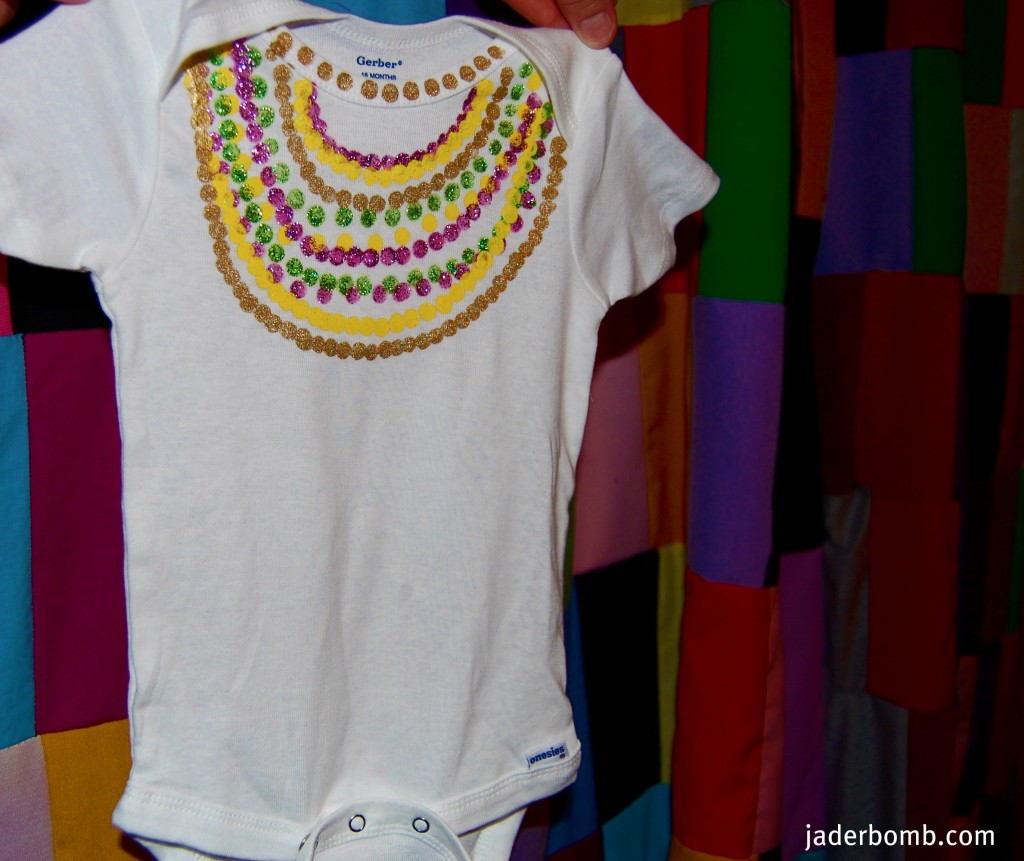
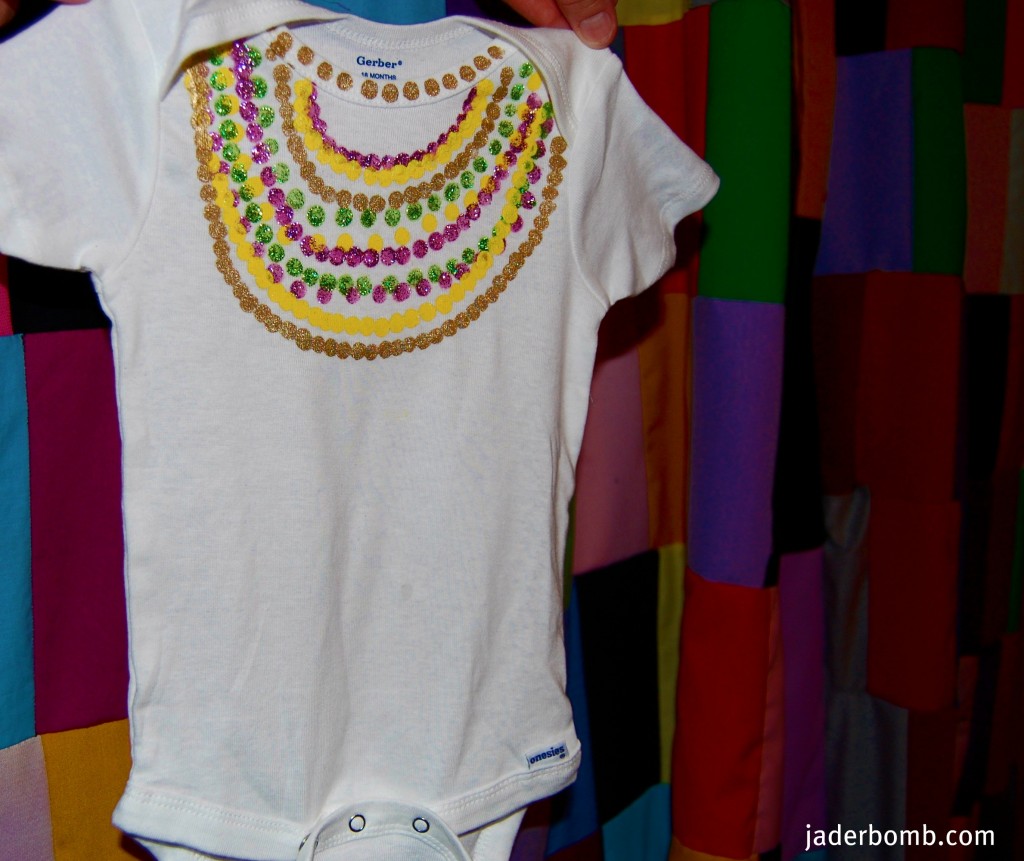
This is the craft I created yesterday. You can get to it HERE. Now any gender can wear this but I am doing another FUN onesie later on tonight which I think is SO CUTE! Again, I will be putting it up for a giveaway so stay tuned!!!

I hope you are having a wonderful day and accomplish everything on your to-do list! I am trying so bad but my list keeps getting longer and longer!!!

Lot’s of giveaway LOVE,

DIY: Mardi Gras Bead Onesie

Happy (almost) Mardi Gras! Living in the SOUTH all of my life I got to experience the best of MARDI GRAS, year after year. I think most people in the world refer to New Orleans when they think of Mardi Gras. Lafayette gives New Orleans a run for it’s money! I grew up knowing that when Mardi Gras comes around it’s time to PARTY. Lemme tell you, people in the SOUTH can drink. Probably too much. I really love Mardi Gras for the Krewes, Balls, Parades and the best parties. 

What Mardi Gras is also known for is the BEADS!!!! I know you heard of what we do, right? It is “known” (fine it’s TRUE) that women AND men will do anything to get a bead, including lifting their shirts. Ya know, it’s like a free peep show, realllly free. Just warning ya now, your picture can appear all over the world in like…5 minutes so make sure if you DO lift your shirt that it is a bead with diamonds in it!! HAHA

During this holiday season you will see EVERYONE walking around with loads and loads of beads around their neck. It’s kinda like bad manners if you don’t have at least ONE bead around your neck. I found some pictures of me and some friends in New Orleans last year on my computer and I got to thinking. I know babies start young here and I wanted to create something that is super easy and ANYONE can do! Ya know, it’s prolly not the safest thing in the world putting loads of bead around an infants neck. JS

Let’s get started because I am ((((aghhhh)))) so excited!!!

Grab some “all in one” get ups!

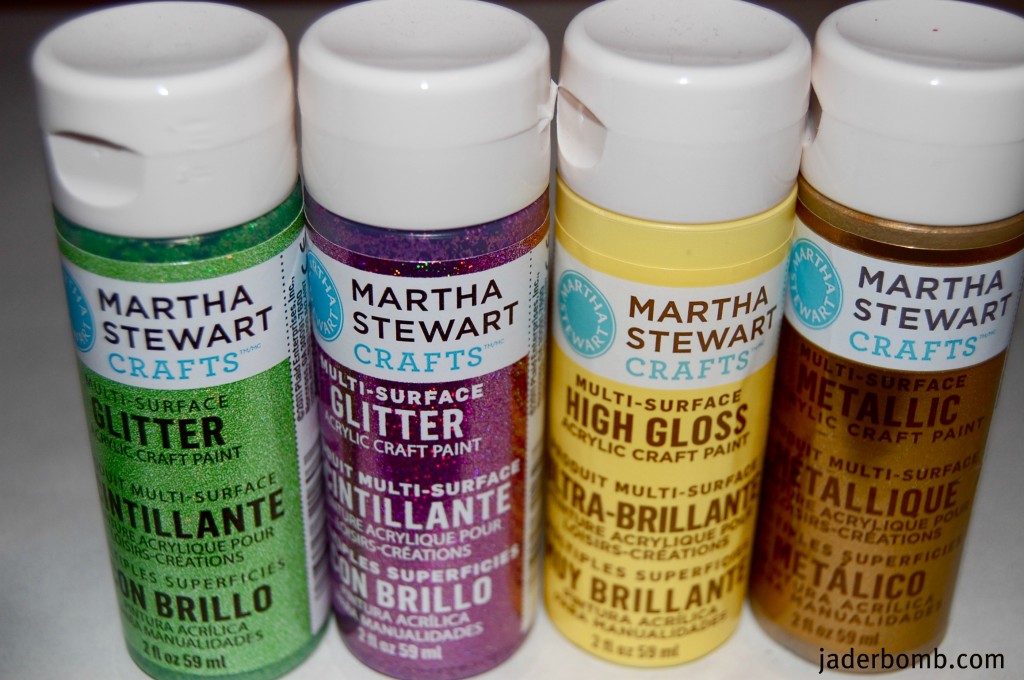
Of course I used Martha Stewarts new line of paints. I got them from Michaels Arts and Crafts and they are AMAZING!

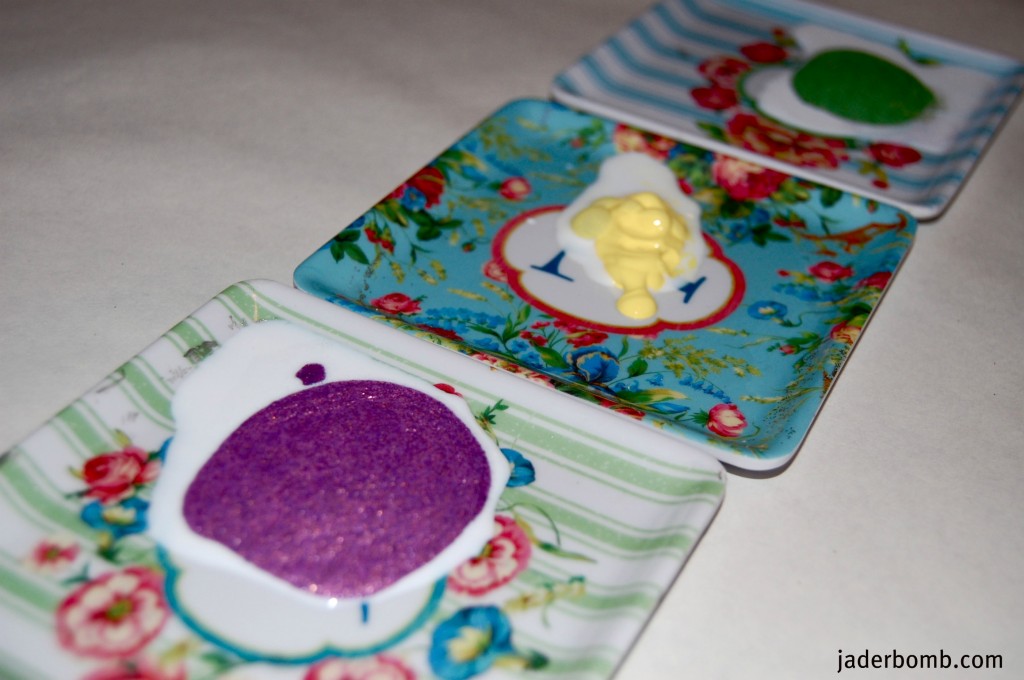
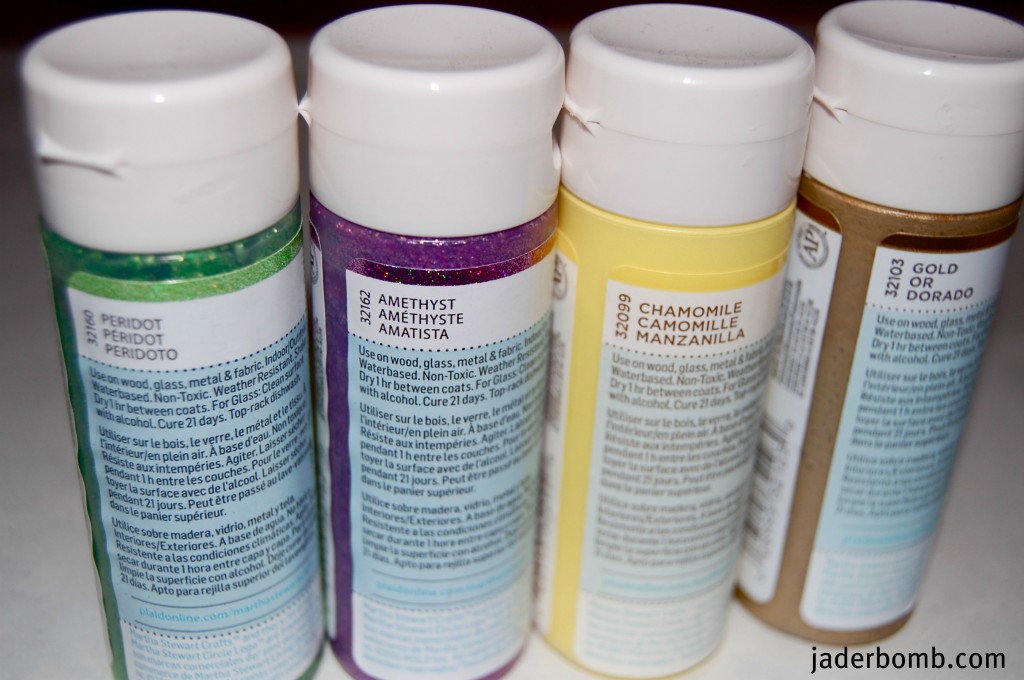
These are the colors of the paint used for this project. Make sure you note that some are glitter, high gloss and metallic.

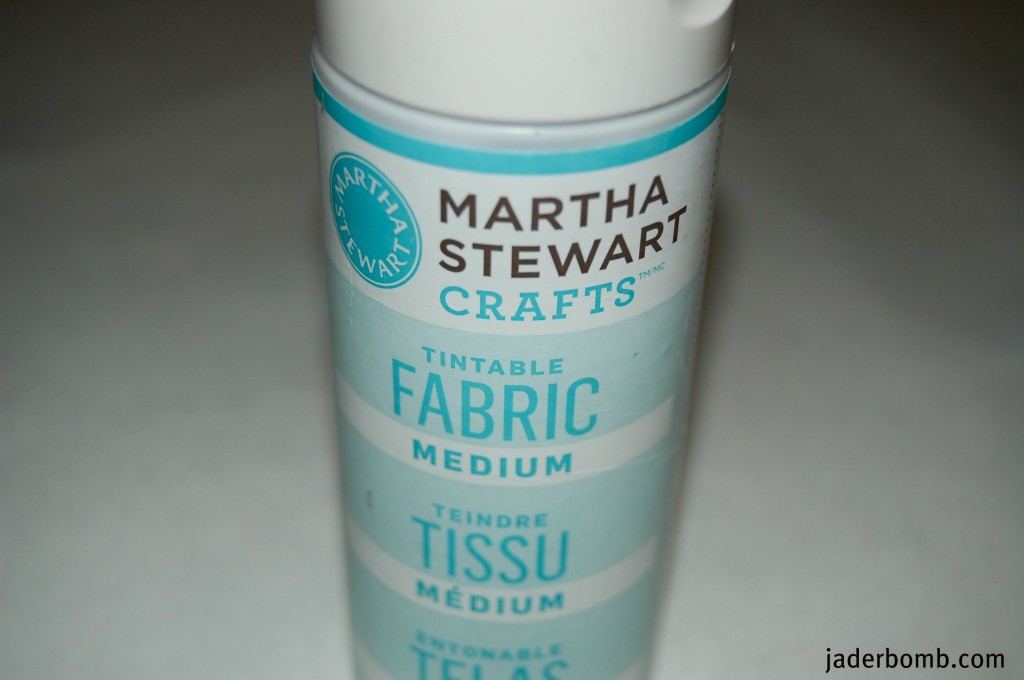
Just in case you don’t know, her new line of paint can be used in multiple ways. One way that I love the most it being able to use it on fabric. Grab some fabric medium and follow the directions. It’s super simple and you can put ANYTHING you want on fabric!

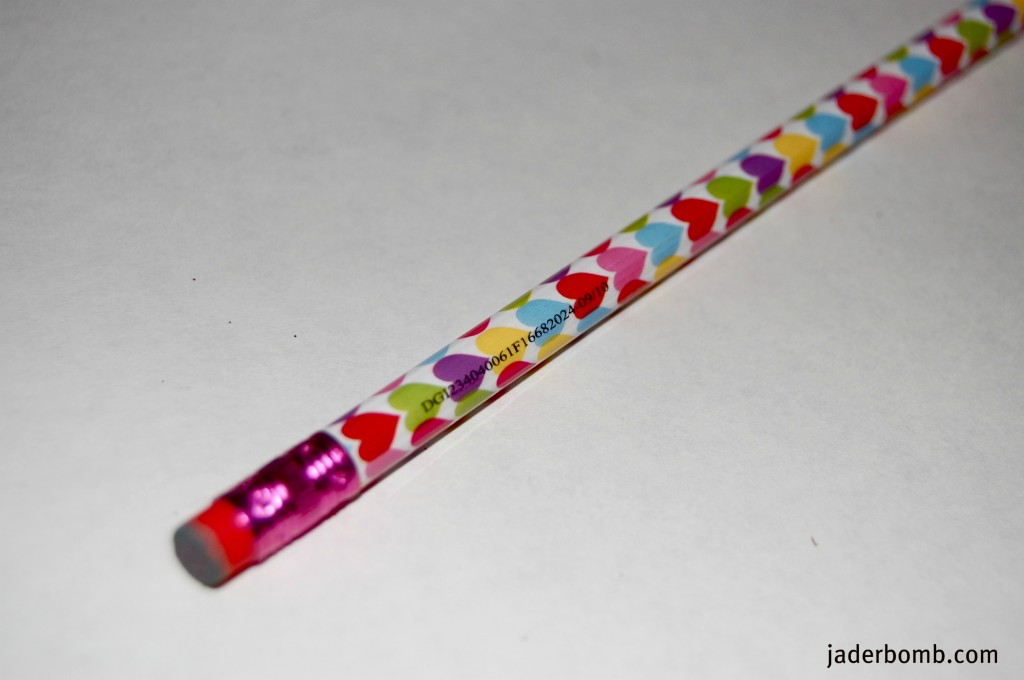
Your MAIN tool though is this sucker! Yes! Can you believe it! Just a simple pencil.

I have these little trays I use for paint but if you don’t you can use whatever is laying around. A paper plate works great!

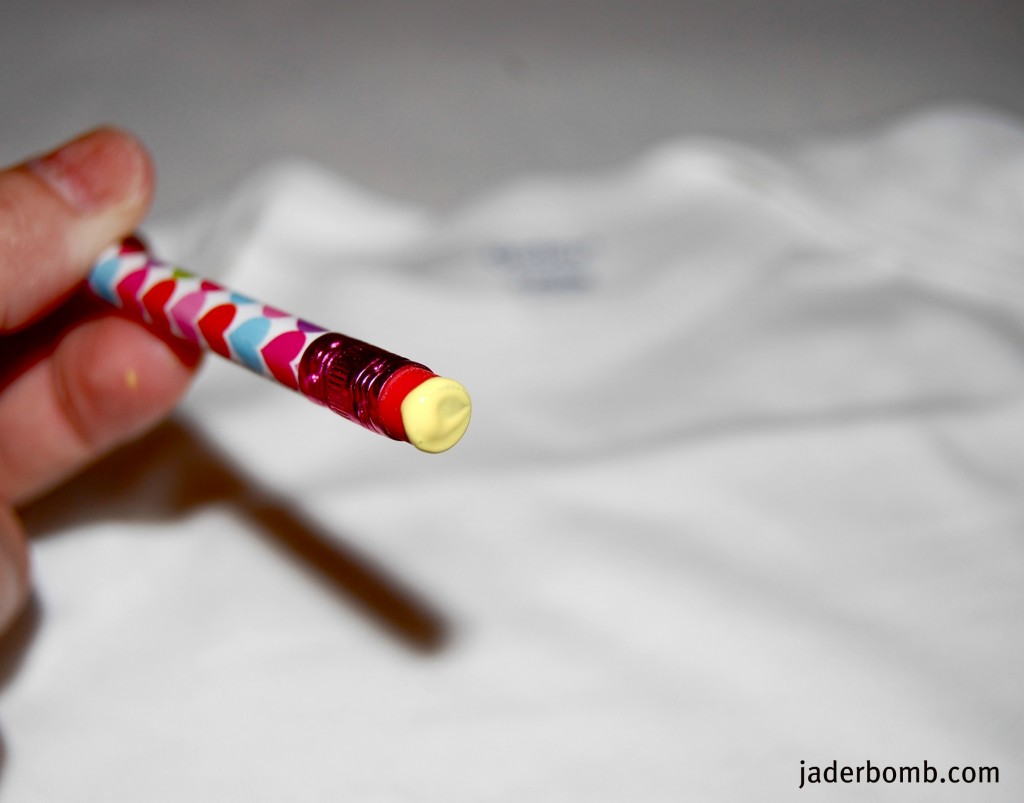
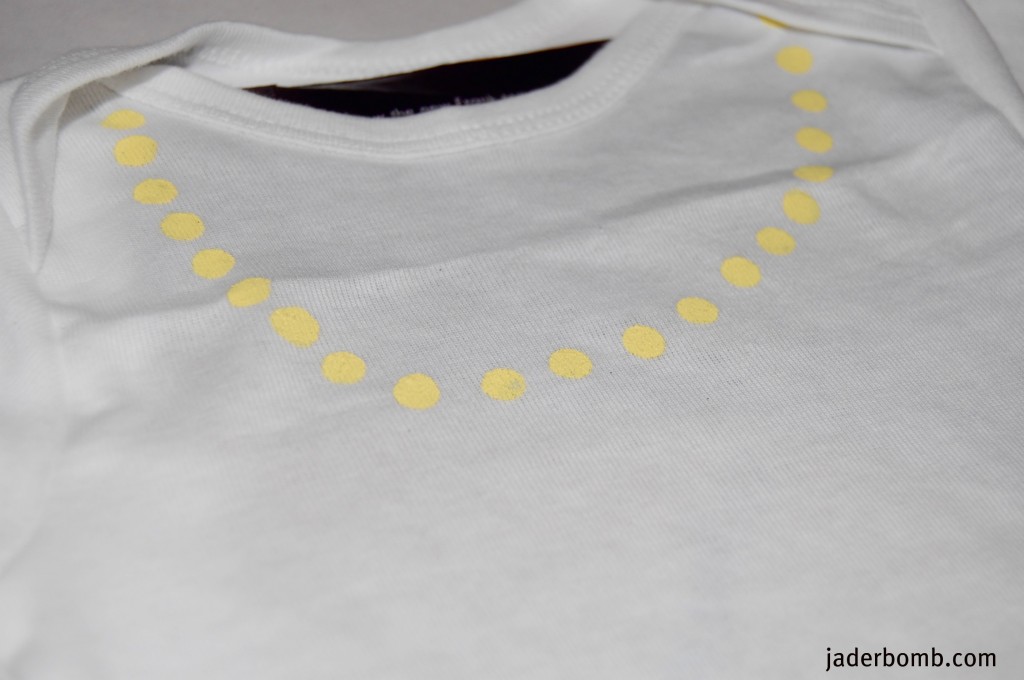
Just dip your eraser into the paint.

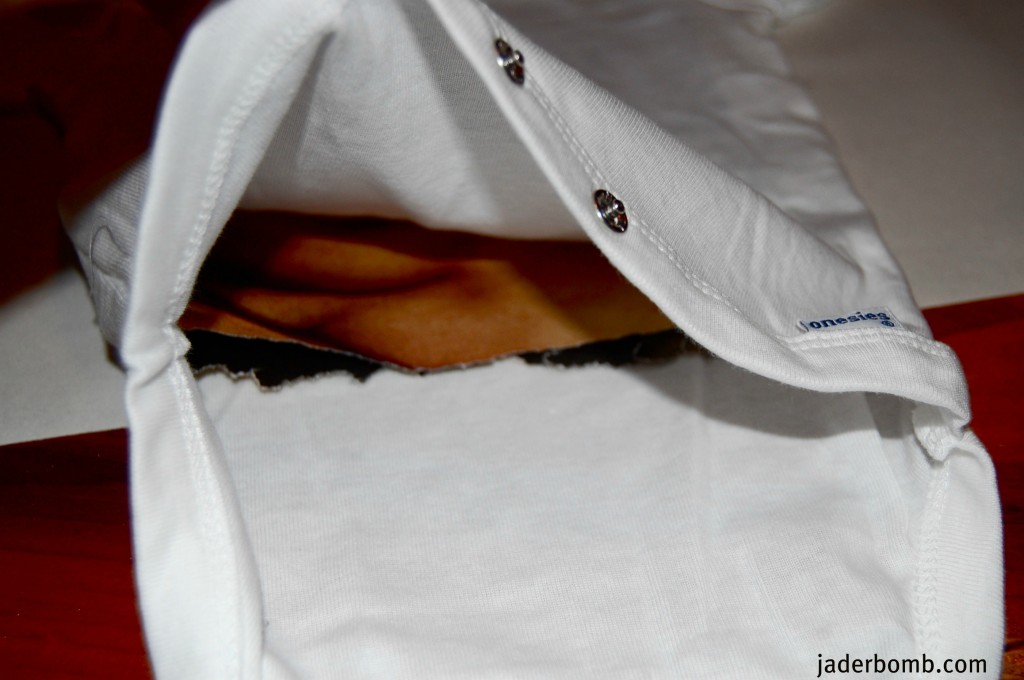
I put a piece of paper in between the two layers so the paint wouldn’t bleed through.

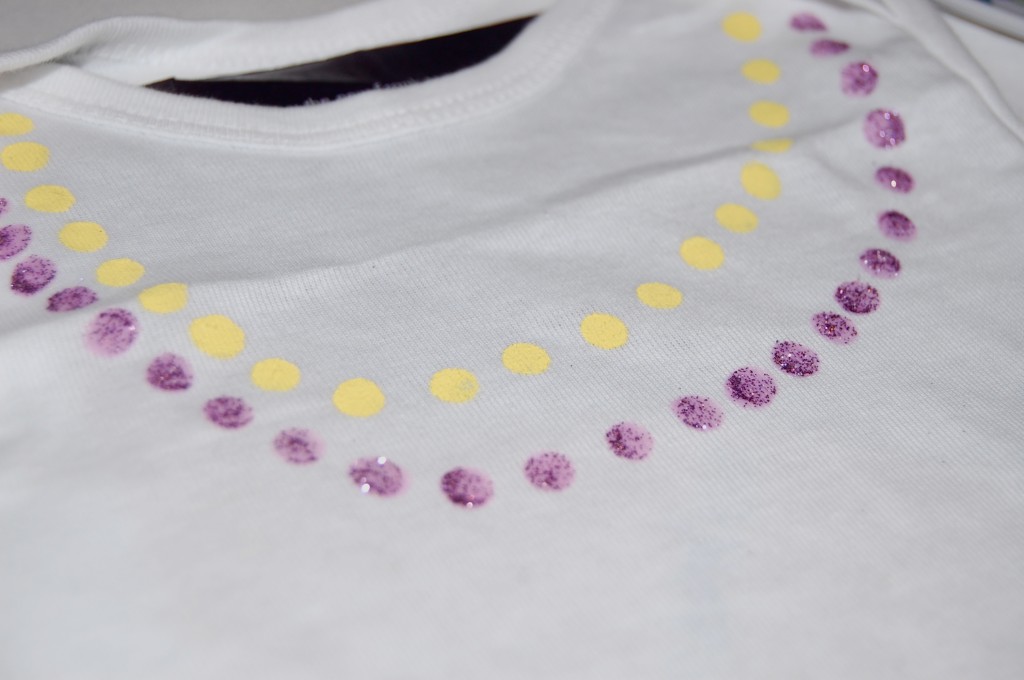
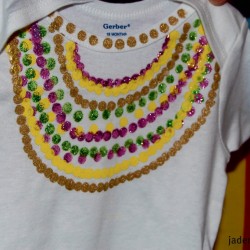
Start making dot’s. If you notice I am making a “eraser” bead necklace. How fun!!!! OH wait till you see the end result!!

This is what it should start to look like.


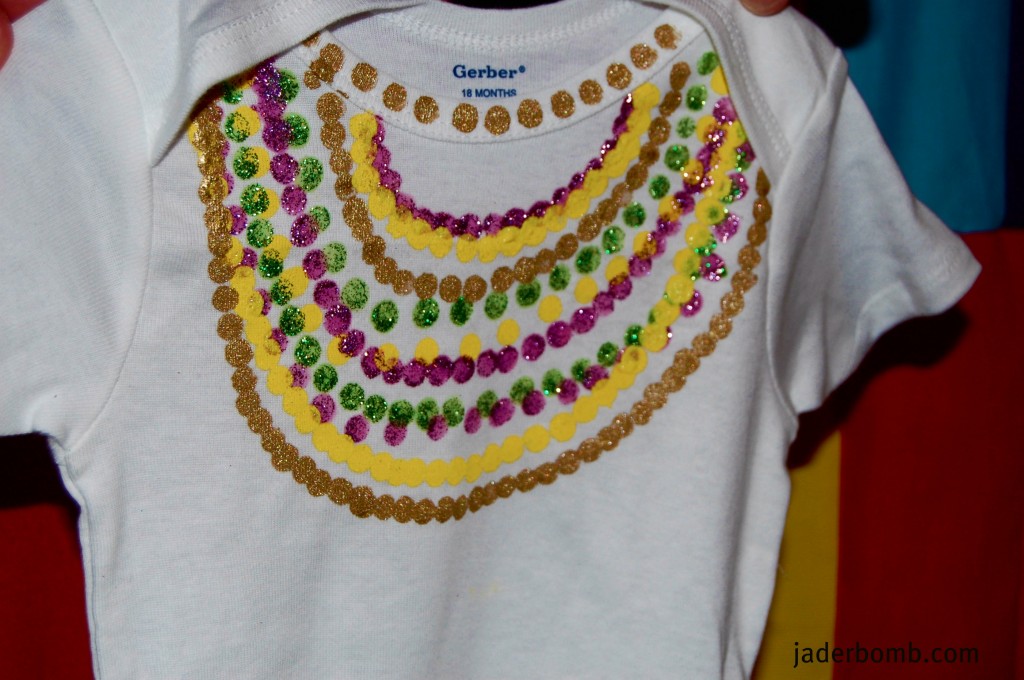
Doesn’t this look like something you could just eat up!

I know you are like… OMG!! This just makes me feel so happy inside. Oh, did I mention it’s a little safer than REAL beads choking a baby’s neck!!!

So this little get up is 18 month’s. I am doing a quick GIVEAWAY. If you want this or know someone who would like it then SIGN UP TO WIN IT! Plus it’s super fun to win things! 

To enter the GIVEAWAY you will need to leave a comment to this post and tell me why you love this onesie, why you love Mardi Gras or your favorite memory of Mardi Gras. If you have NEVER experienced Mardi Gras then just tell me what you like about this cutey patootie outfit! 

Extra entries are and extra way to enter!!!

Following me on Facebook  (extra entry)

Leave a comment on Facebook telling me why you love this outfit!  (extra entry)

Follow me on TWITTER  (extra entry)

Subscribe to my feed on my website www.jaderbomb.com (it’s at the top right and you will enter your email)

Jaderbugs! That is up to 5 entries!!!! GOOD LUCK AGAIN!!! It will end on Saturday!!!

Trying to hurry and finish this post before my computer dies, 

Martha Stewart Countdown #100 Lucky Plant Gift

WOW! I am sitting at my computer right now crying so much. I am not sad or upset. I am just overwhelmed with what I just accomplished. I never thought any of this would happen to me. WHY would it? Well because I believe in myself for one and the rest comes with faith. {{thanks UNIVERSE}}

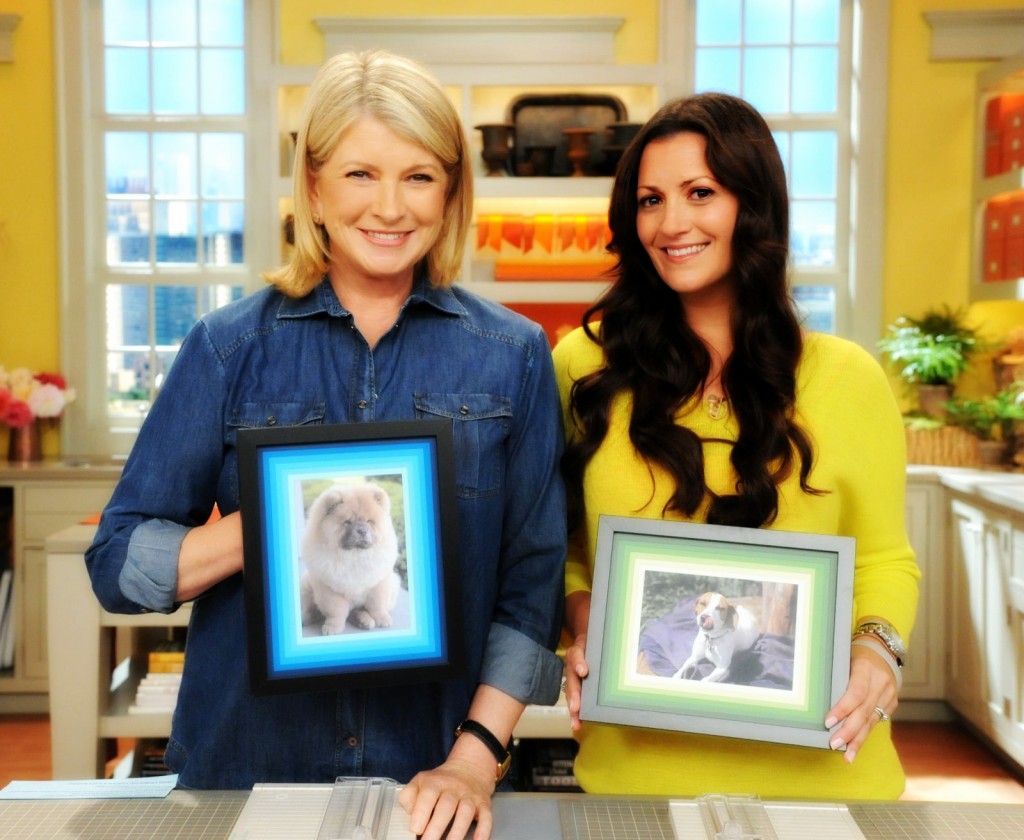
If you know me then you know I believe in the Universe more than I believe in myself. This countdown took on a big role in my life. I literally felt like I woke up thinking about Martha Stewart and I went to bed thinking of Martha Stewart. If I wasn’t doing this countdown one might would think I was OBSESSED.. HAHA. OK. Maybe I am just a little. I remember when I was standing right next to her, before the camera’s started rolling. I looked at her and it took me a minute to realize what was happening. I kinda wanted to frantically hug her or maybe just touch her cheek. I wanted to see if it was real. But I touched her hand and she kinda hugged me on the show so that was REAL ENOUGH!!!

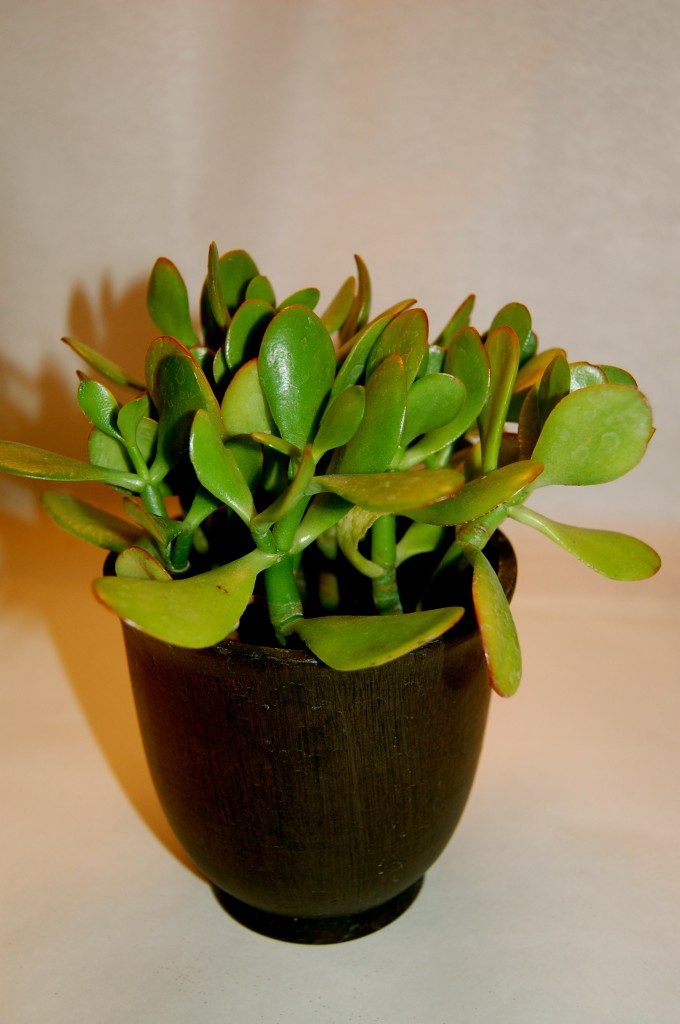
I know you might of thought I would go out with a BANG. What I mean is, everyone is asking me “What will your 100th craft be”…It’s actually very simple and delicate. I thought it was perfect because a “JADE” plant is considered a “lucky plant. Did you know that? I have them all over my house and I have one in particular that I bought at the beginning of the countdown. You can get them at walmart! I got it because, well I guess I thought I NEEDED luck to do what I just promised to do. I remember when I told Ashy what I was doing. She just looked at me and said, “WHAT”. Really she said, {{are you flipping nuts woman}}.. HAHA. She turned into my biggest supporter. THANK YOU AND I LOVE YOU FOR THAT! 

Remember my post that I did announcing to the world about the Martha countdown? Let me share a couple of things I wrote in it:

Sometimes I pretend I am her. Have you ever seen her hands? She is just magnificent I tell ya. She makes every craft seem like walking on water. She is the craft god. I just wanna feel like I have walked in Martha’s shoes for a period in time.

Can you believe all of my energy led me to this. I had NO idea when I wrote THIS  post that 3 weeks later I would be standing next to her. FA REALLLL!! Thank you UNIVERSE again.  I made so many friends when I went to New York and I am so glad they are in my life. I have learned how to “REALLY” network and be the consistent crafter that I am!  Well here it is people. My 100th craft.

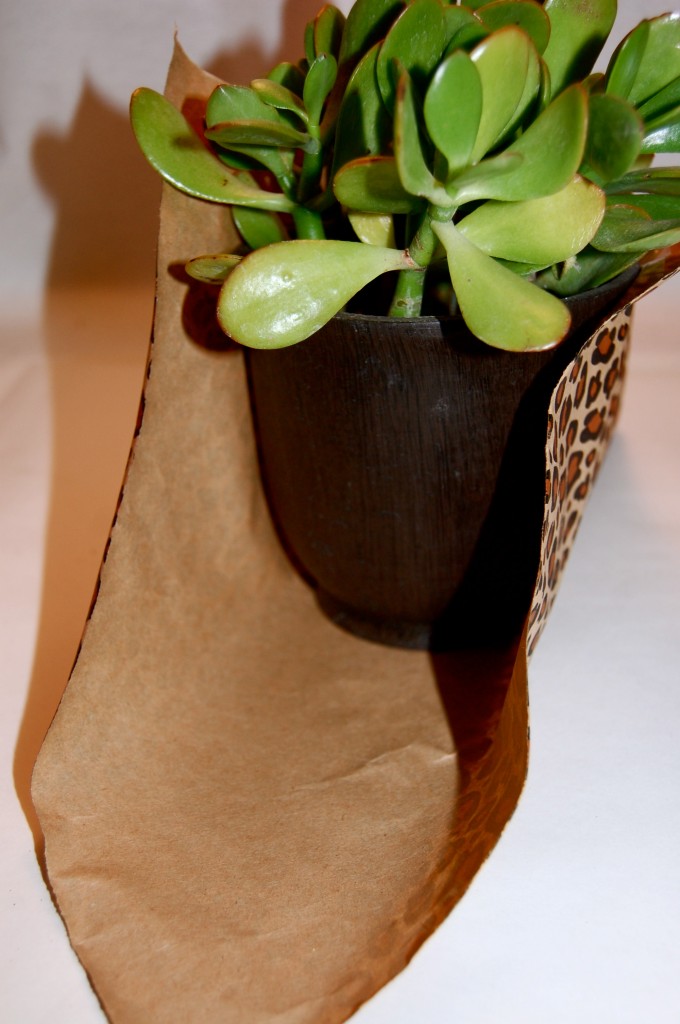
Wish someone an auspicious new year with a jade plant, Crassula ovata. This easy-care succulent is said to bring prosperity. 

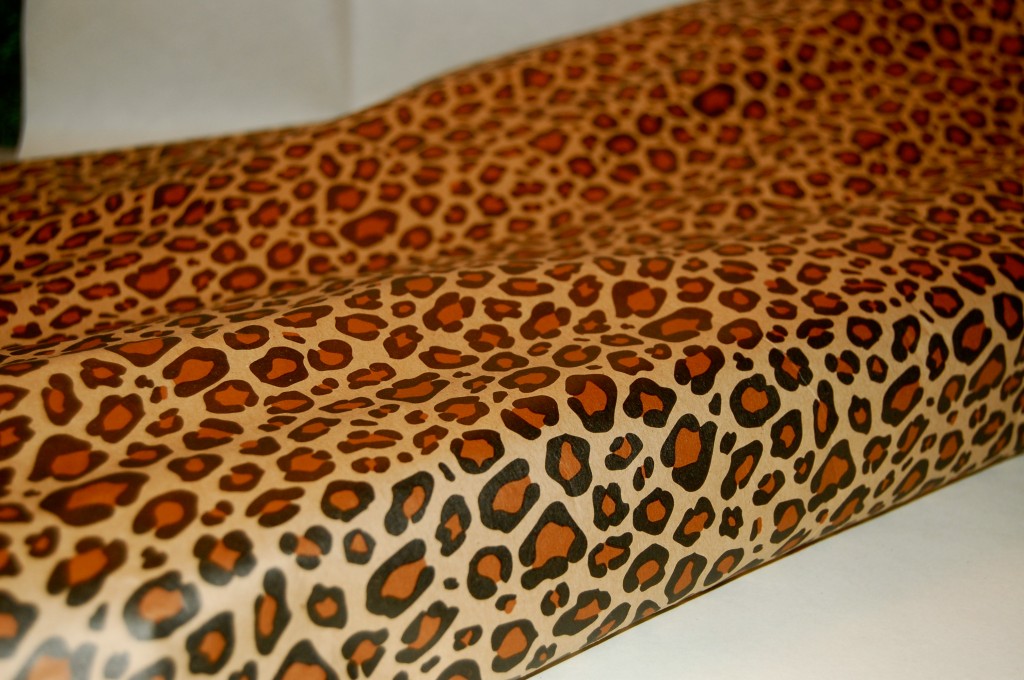
To wrap the pot, place it on a square sheet of decorative paper.

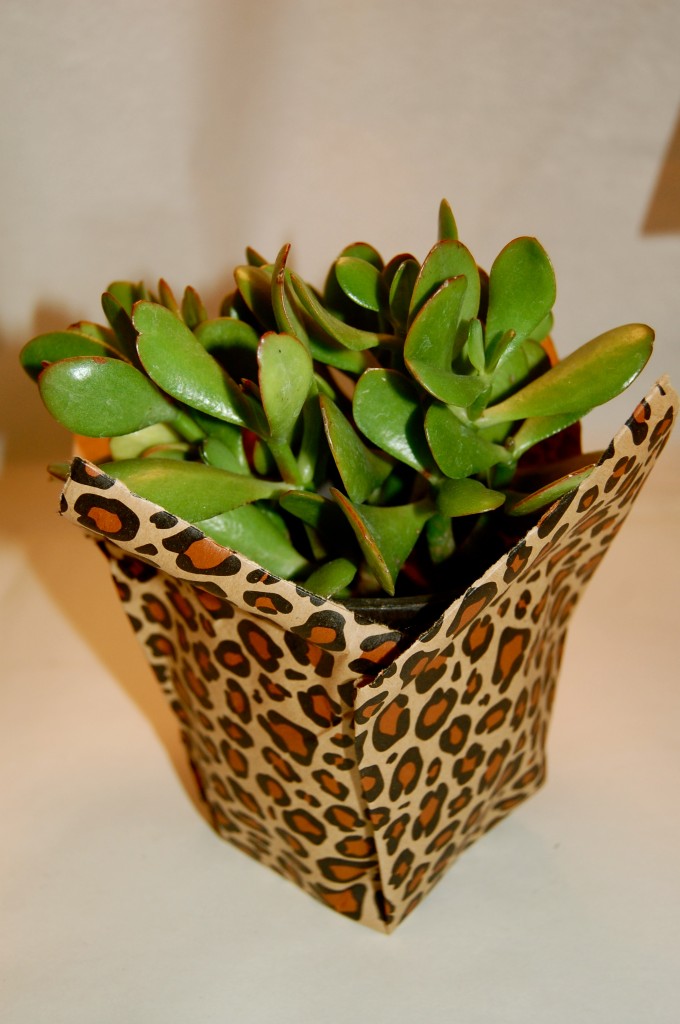
Bring up two opposite corners, and secure to the pot with double-sided tape. 

Fold the other two flaps as shown; tape. 

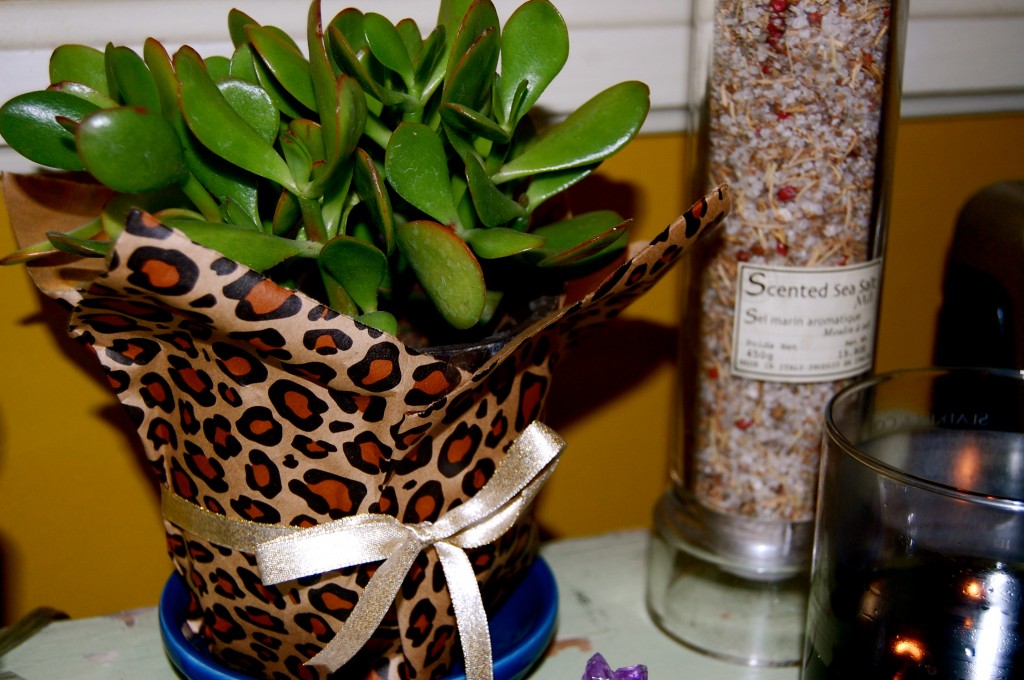
Tie gold cord around the pot, and add a tag with a message.Well Jaderbugs, it’s been amazing and wonderful. I couldn’t of done it without you and your excitement about each and every craft I do! I will forever remember this STRESSFUL wonderful experience. HaHa. Don’t worry! I am not going anywhere. I was a craft blogger long before this project and I will be one long after! GUESS WHAT? You will NOW start getting all of my ORIGINAL JADERBOMB CRAFTS BACK!!! I AM SO EXCITED…
Martha, if you are reading this…thank you for recognizing me as a true crafter. You changed my life before I went on the show and now I will forever carry this memory with me. I will NEVER forget what you said on the show:
“There’s dedication and then there’s DEDICATION.”  -Martha Stewart

Floating on CLOUD 1 million,


Check out Martha’s original craft HERE and you can purchase Martha Stewart’s Encyclopedia of Crafts here!

CLICK HERE TO WATCH VIDEO (me on the show!)


Click HERE to read all about it!!!

 IF YOU DECIDE TO DO ANY OF THE CRAFTS, SHOOT ME AN EMAIL AND I WILL ATTACH  IT TO THE POST WITH A LINK THAT GOES STRAIT TO YOUR BLOG!  IF YOU DON’T HAVE A BLOG JUST EMAIL IT TO ME AND I WILL PUT IT UP!!!!
Thanks to Martha Stewart crafts for sponsoring me with craft supplies!

Homeade Doorbells

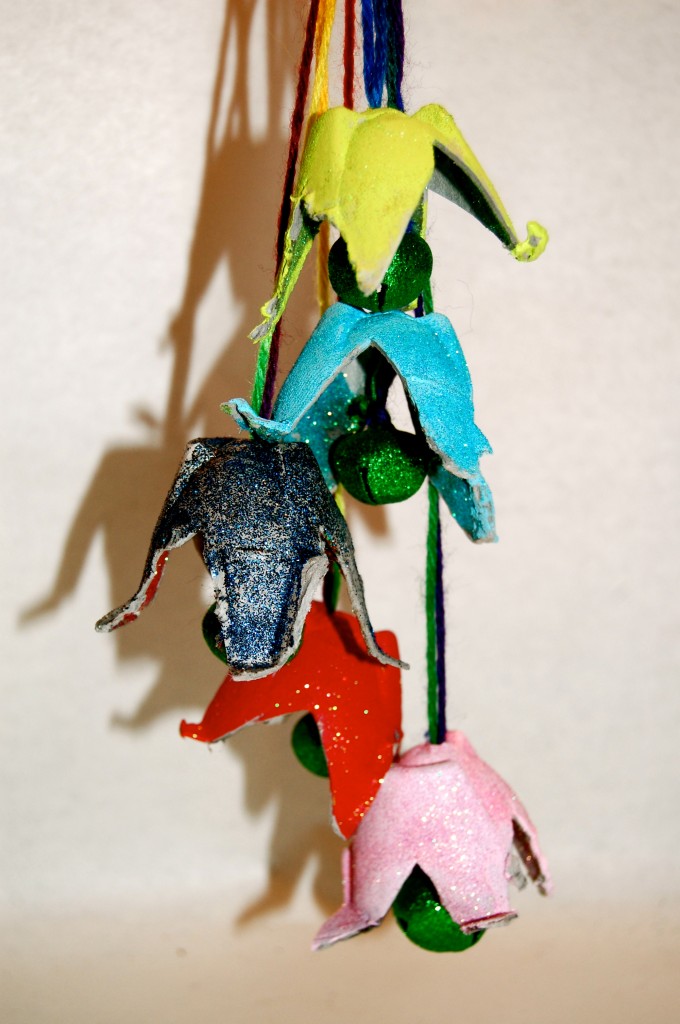
Deck the doorknobs with jolly kid-made bells. It’s a great activity for days when it’s too wet or chilly to play outside and — between your craft bin and the refrigerator — you probably have all the supplies on hand: an egg carton, paint, glitter, glue, and yarn.
(and you jaderbugs know how much I love GLITTERRR (singing) again)

NINETYYYYYYYY 99999999999999999999999999… (SINGING LOUD in a MANLY voice)

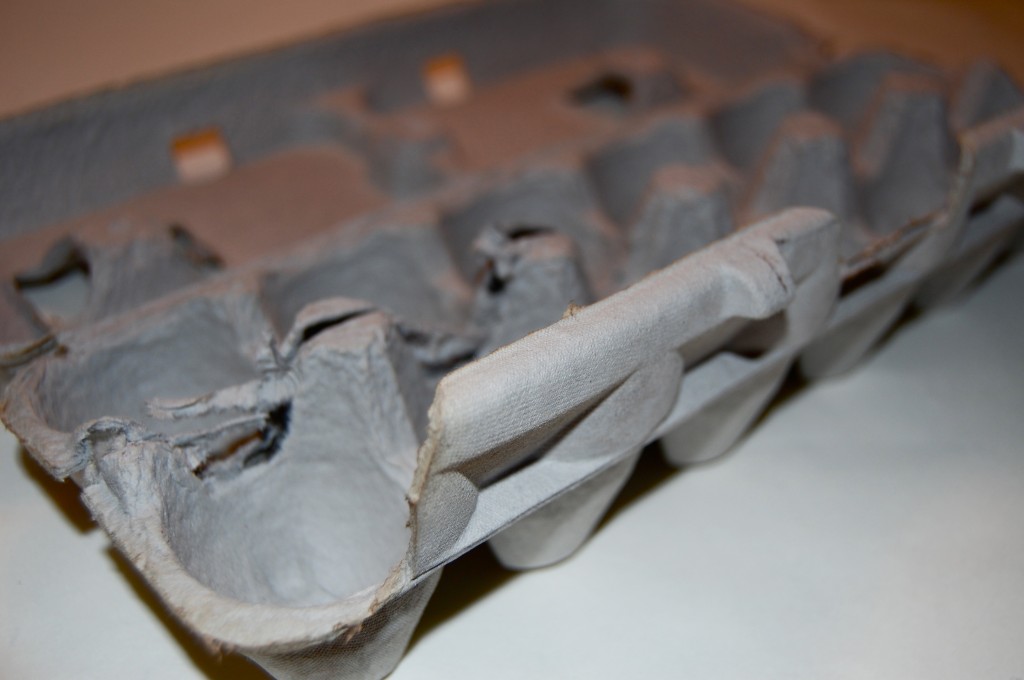
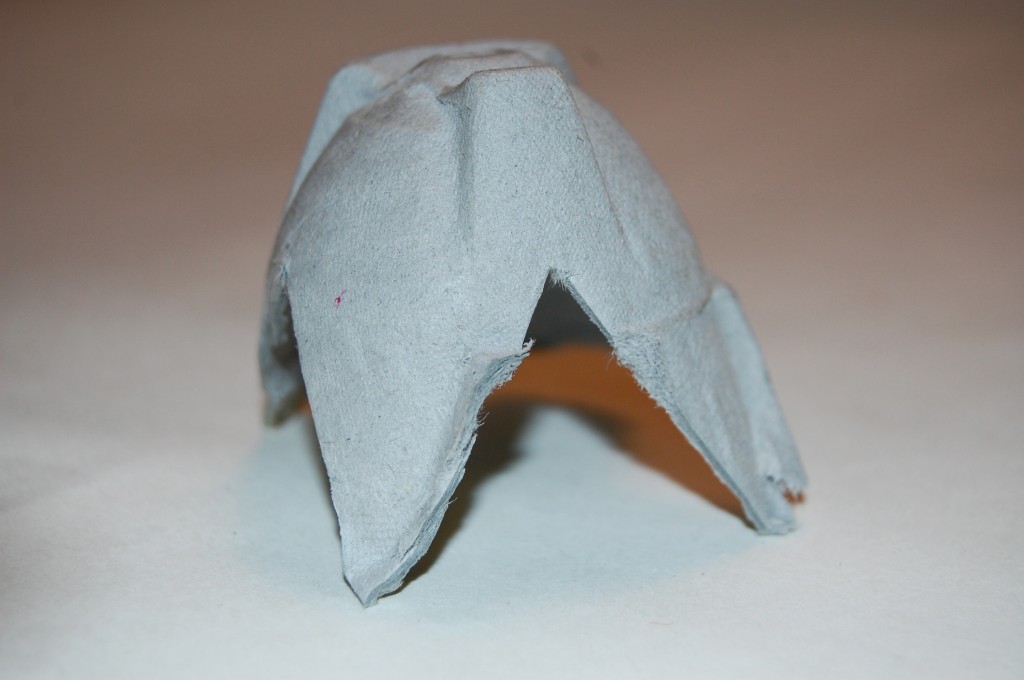
Get your egg carton. Paper works best!

 Cut the cone-shape pieces that separate the eggs out of a cardboard carton (one egg carton will produce five bells).

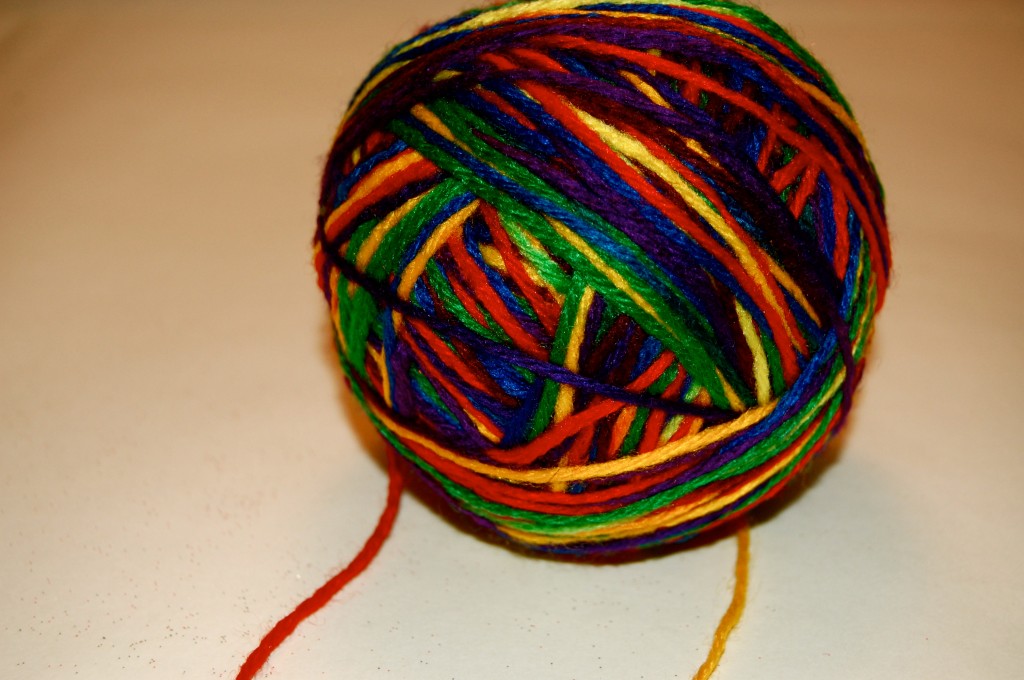
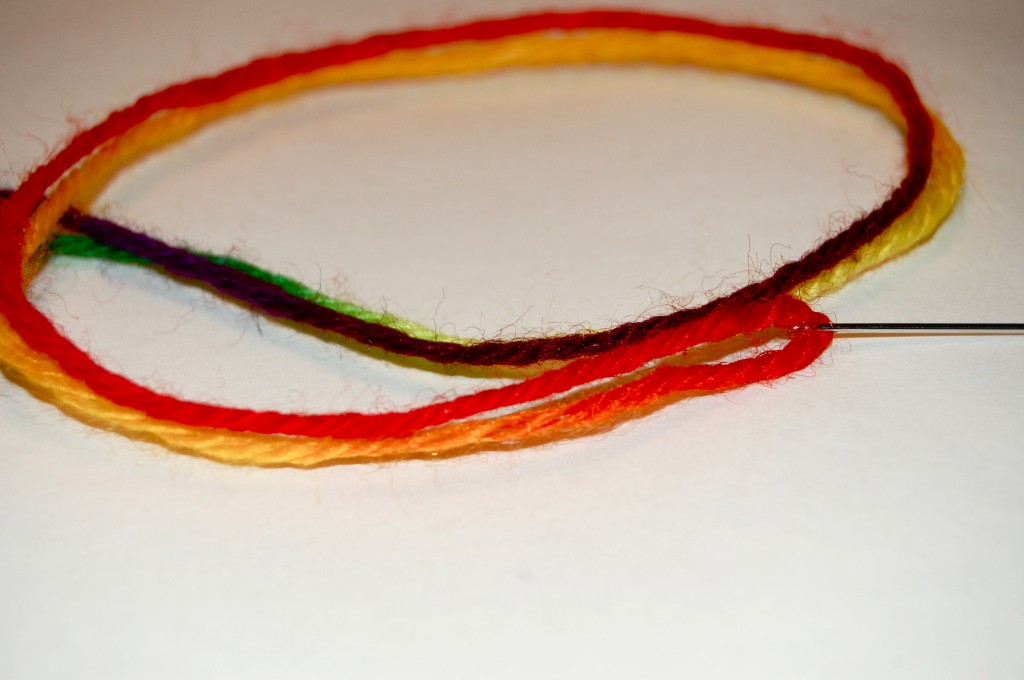
I just used a roll of colorful yarn. Heart this!

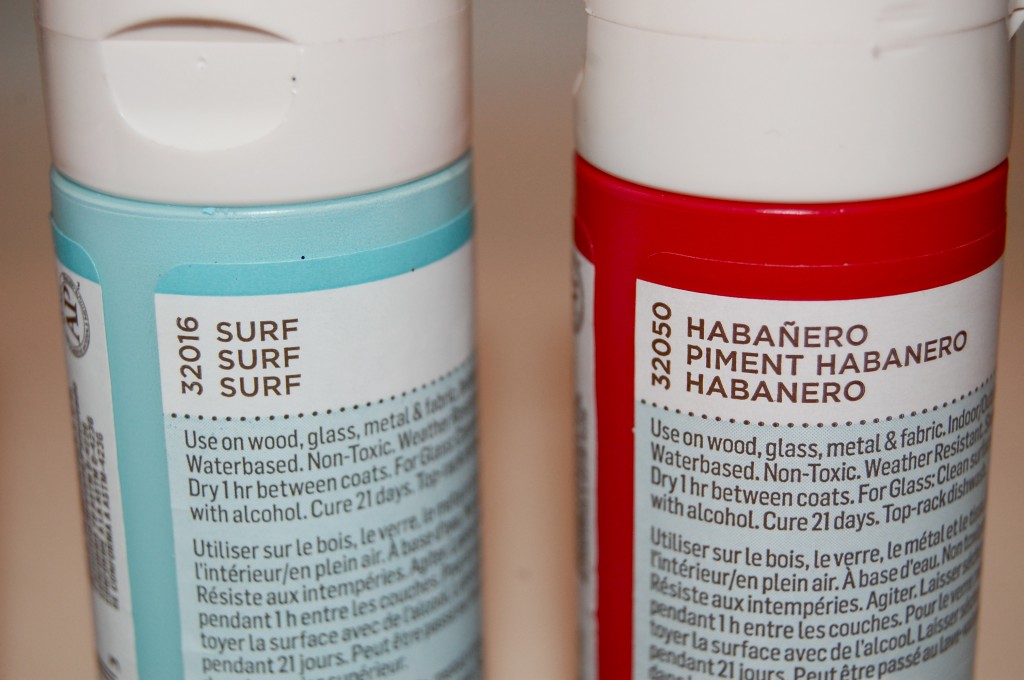
Colors I used for my craft. You can get it HERE.

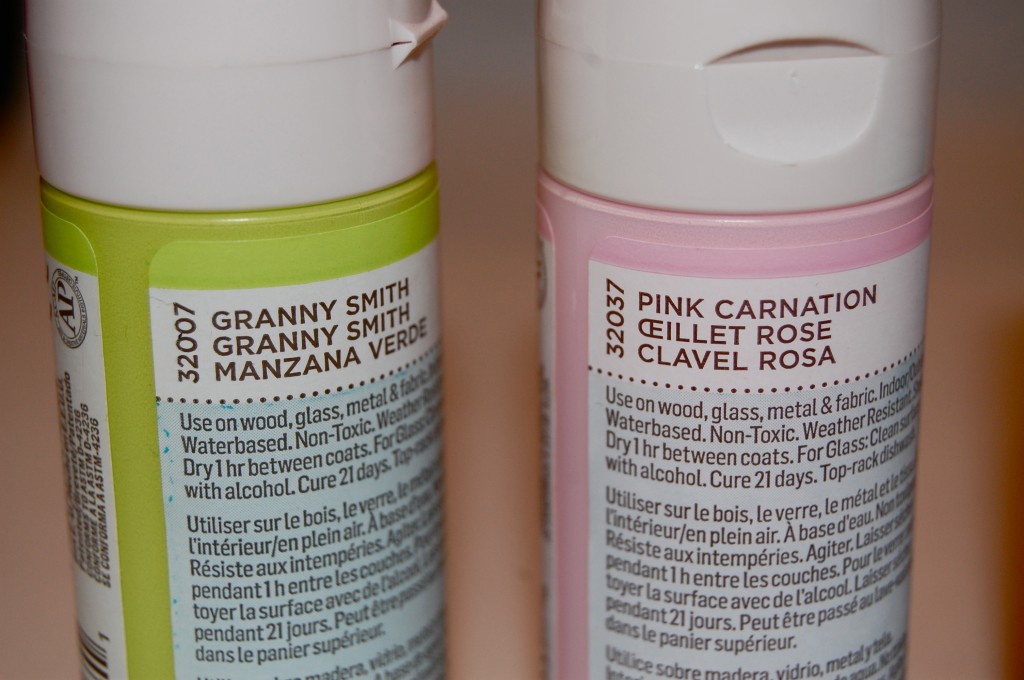
Colors I used for my craft. You can get it HERE.

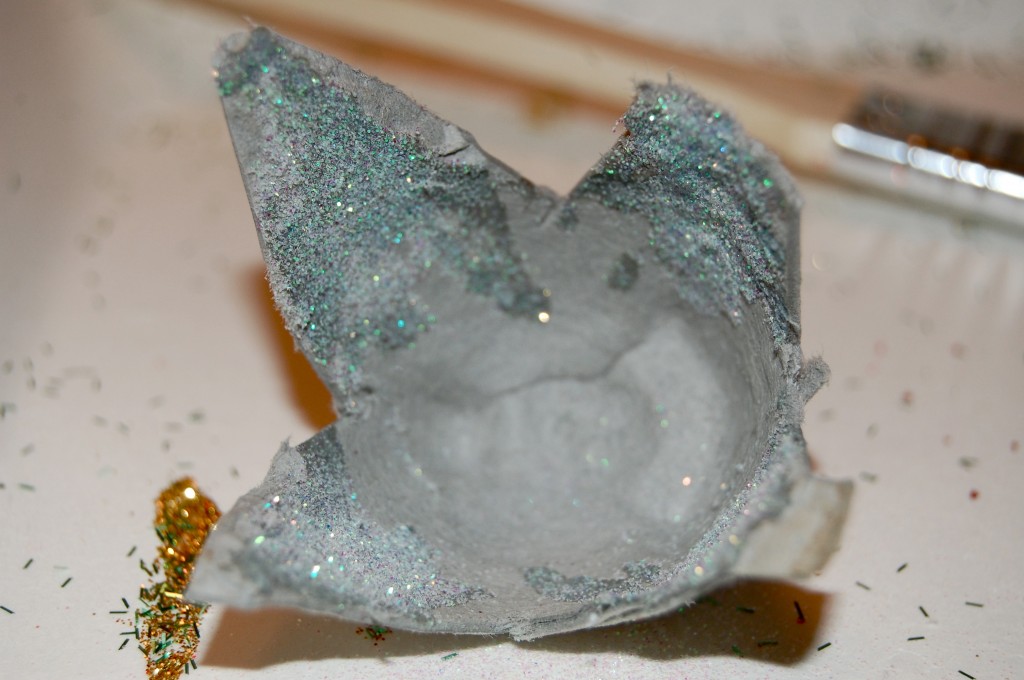
Paint each divider, using acrylic or poster paint. Let dry; apply glue along the edge of the divider, all over the outside, or wherever you like, and sprinkle with glitter.

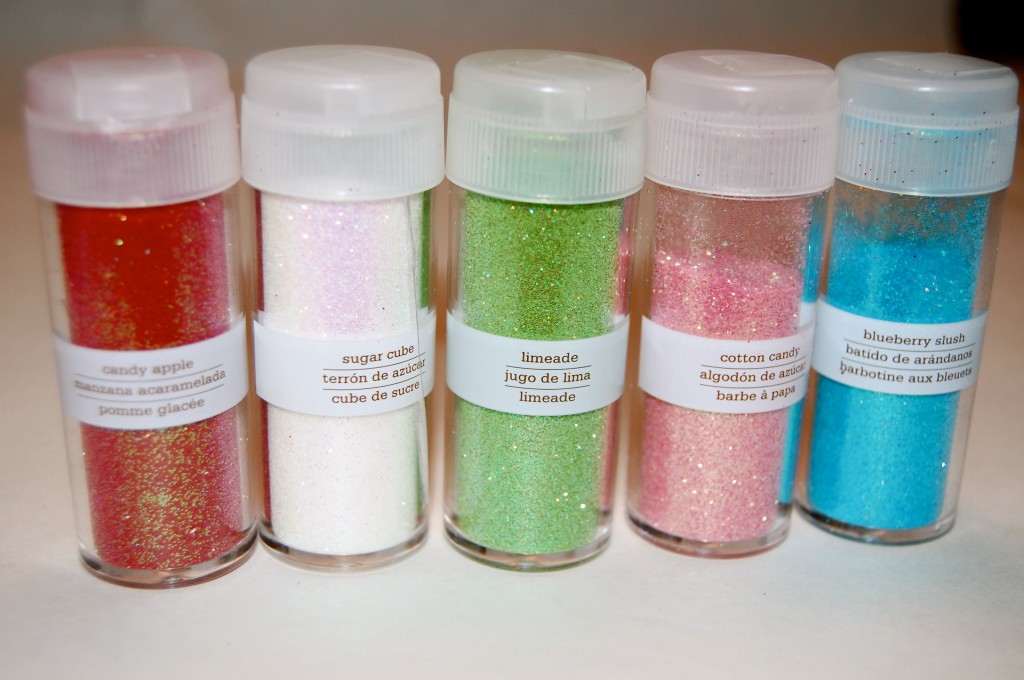
These are the glitter colors I used!! ORDER SOME HERE!! Don’t forget to use THESE!

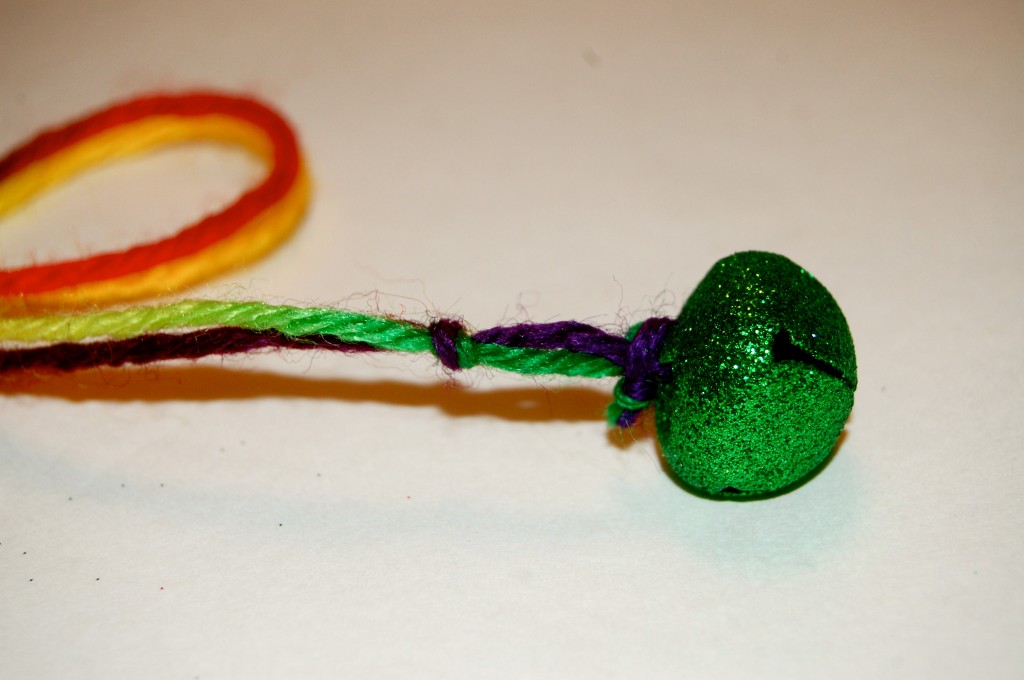
Thread an embroidery needle with yarn. Poke a hole through a bell’s crown, and pull yarn through partway.

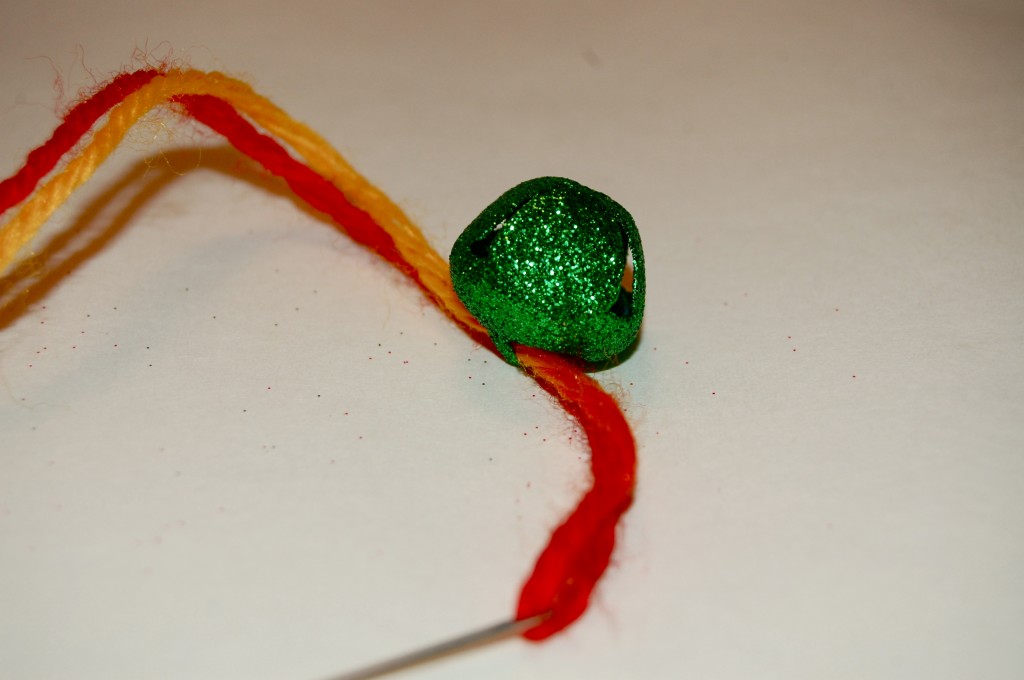
Slide a bell onto the yarn.

 Tie a knot above the jingle bell and one a little higher. Like this!

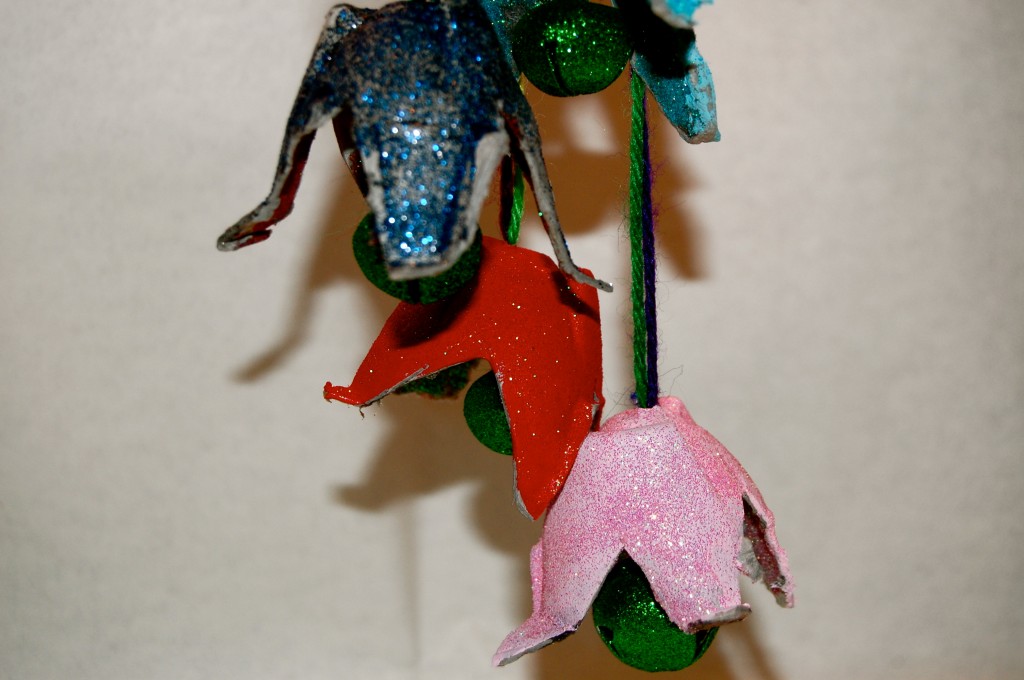
Tie several bells around a doorknob, staggering the lengths of the yarn.

OK. Fa real! I am in LOVE. I know I say that about every craft that has GLITTER on it!!! Can you believe this is 99!!!

I got 99 problems and a _____ ain’t one,

Check out Martha’s original craft HERE and you can purchase Martha Stewart’s Encyclopedia of Crafts here!

CLICK HERE TO WATCH VIDEO  (me on the show!)


Click HERE to read all about it!!!

 IF YOU DECIDE TO DO ANY OF THE CRAFTS, SHOOT ME AN EMAIL AND I WILL ATTACH  IT TO THE POST WITH A LINK THAT GOES STRAIT TO YOUR BLOG!  IF YOU DON’T HAVE A BLOG JUST EMAIL IT TO ME AND I WILL PUT IT UP!!!!
Thanks to Martha Stewart crafts for sponsoring me with craft supplies!